Glider paper airplane 2.1 – Step by Step Folding Tutorial

Introduction:
With this long-haul plane, it is possible to cover long distances when flown. Using the right throwing technique, this long-haul aircraft flies in a slight arch shape that glides smoothly through the air. The folding instructions for this paper airplane are quite tricky but it will surely be worth it once you are done making this paper airplane. Now let’s get started!
Make a Triangle at the Top
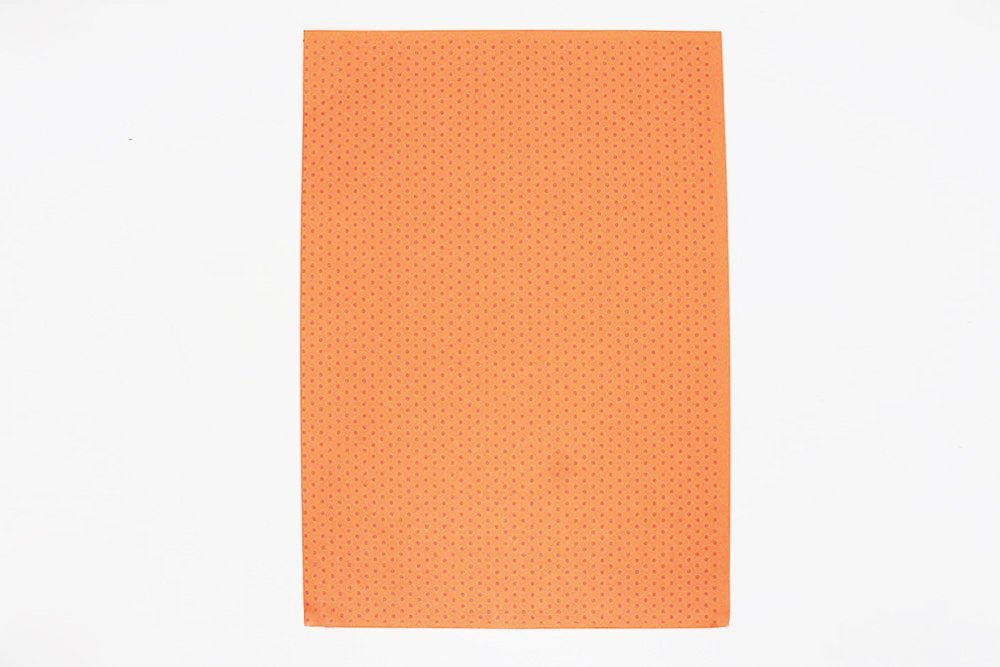
Lay the paper in front of you in portrait.
Do a diagonal fold on the top left corner of the paper.
Unfold, then do a diagonal fold on the top right corner
Unfold the paper.
As you can see, there is an “X” crease mark on the paper once it has been unfolded.
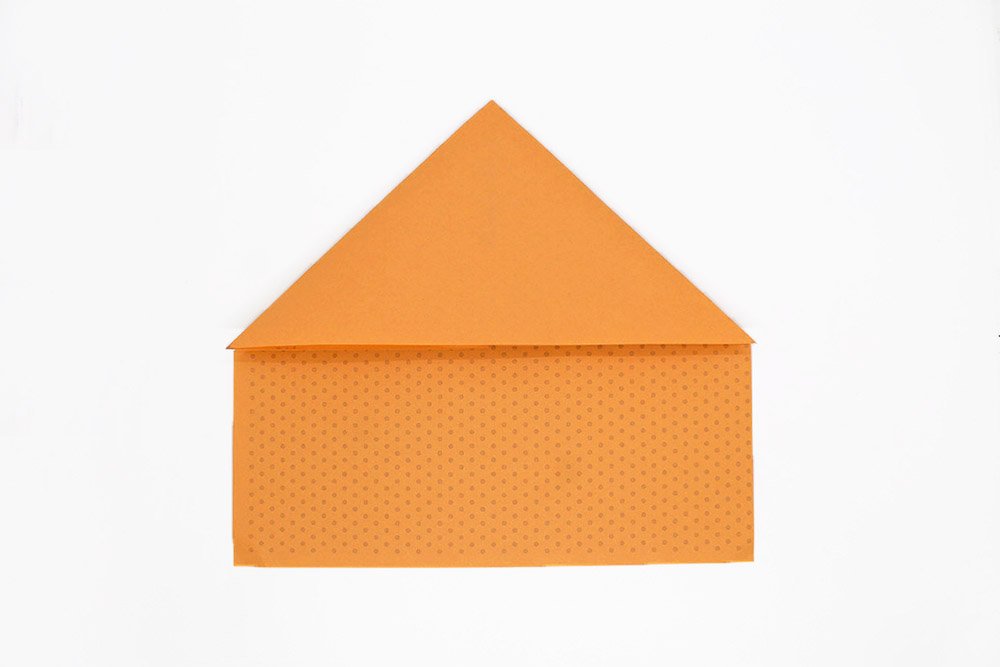
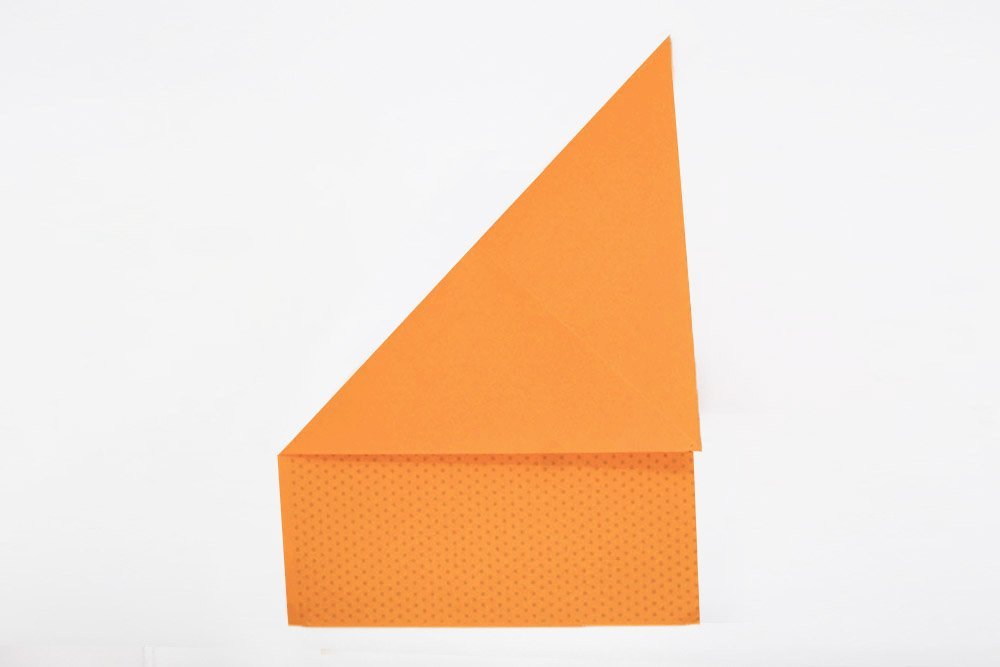
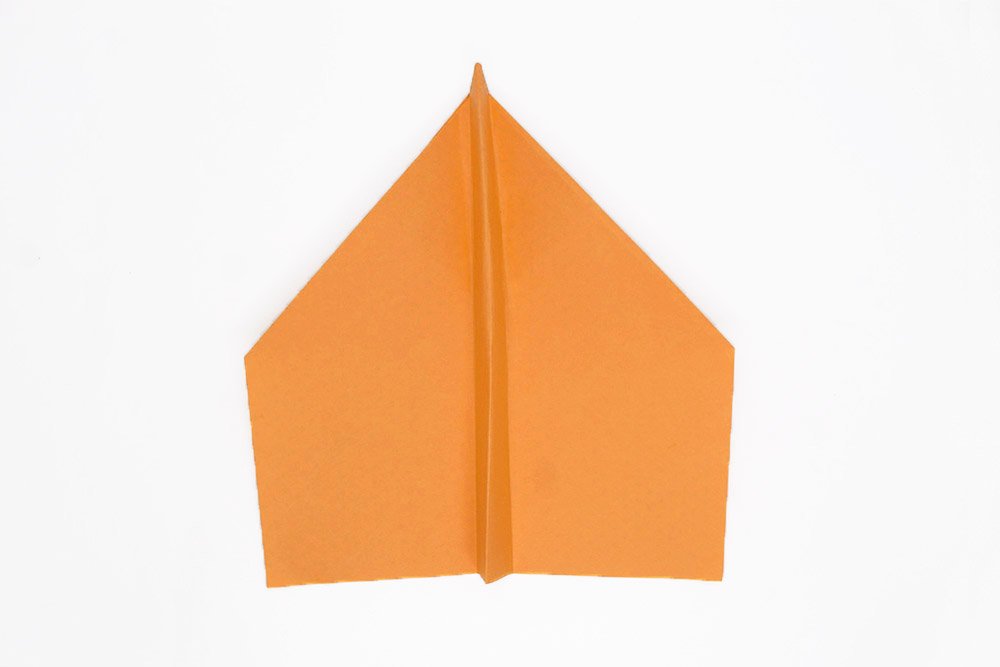
Fold downwards along the point made by the X crease mark.
As you fold the left edge to the right, it will naturally fold into a triangle because of the “X” crease mark.
Prepare to Fold the Glider Paper Airplane 2.1 Symmetrically
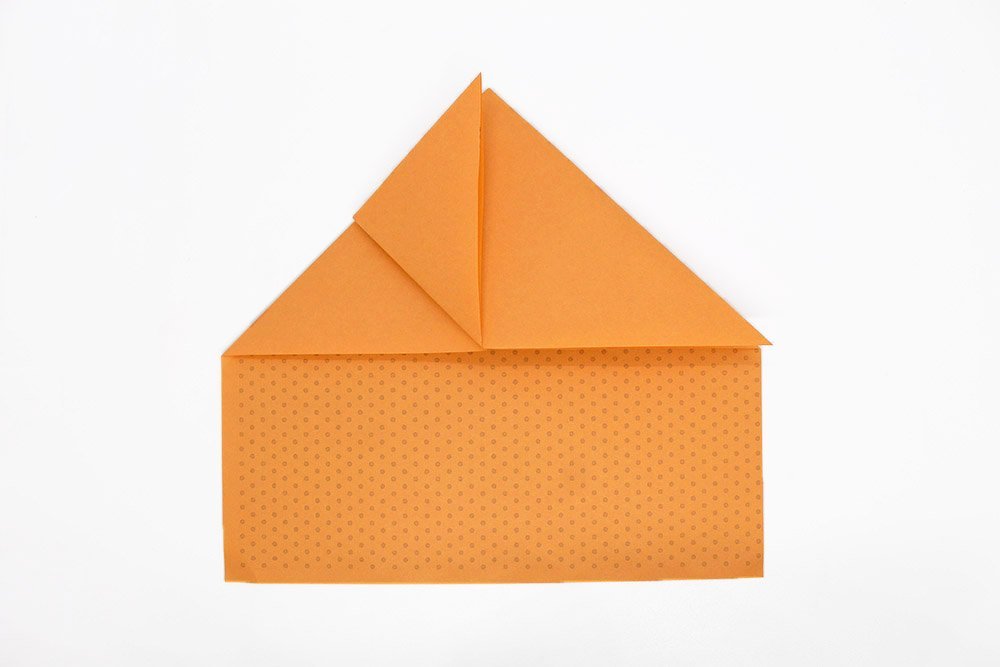
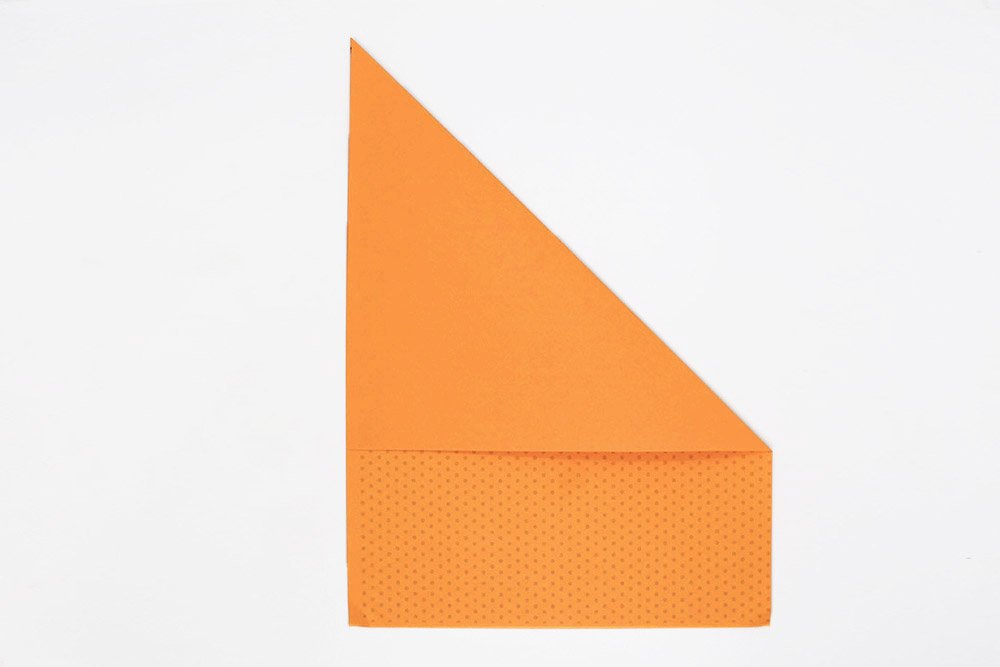
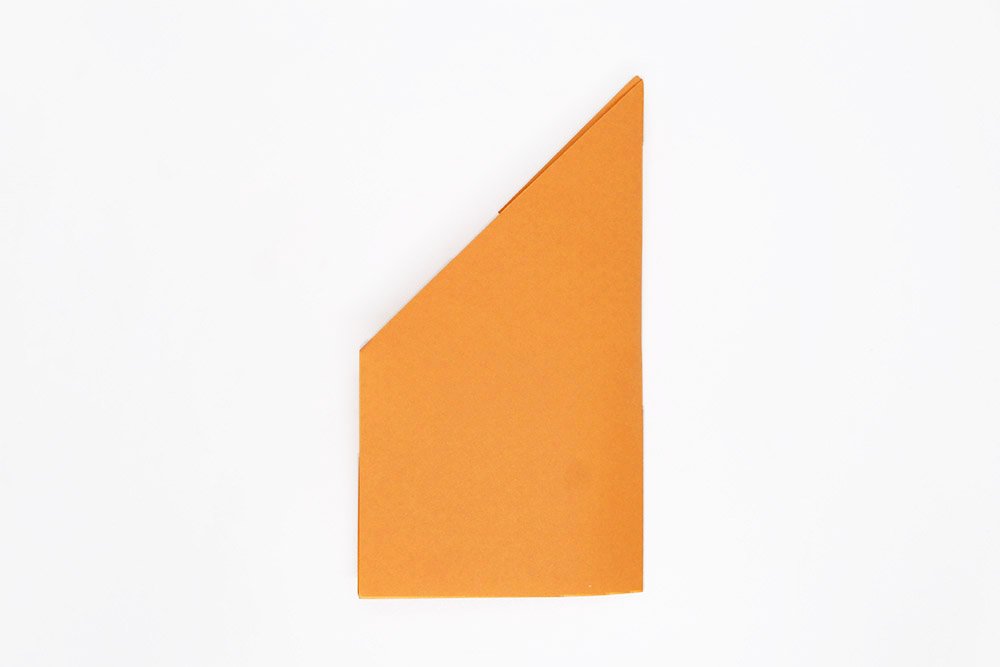
Fold the bottom corner of the left triangle top flat to the top corner.
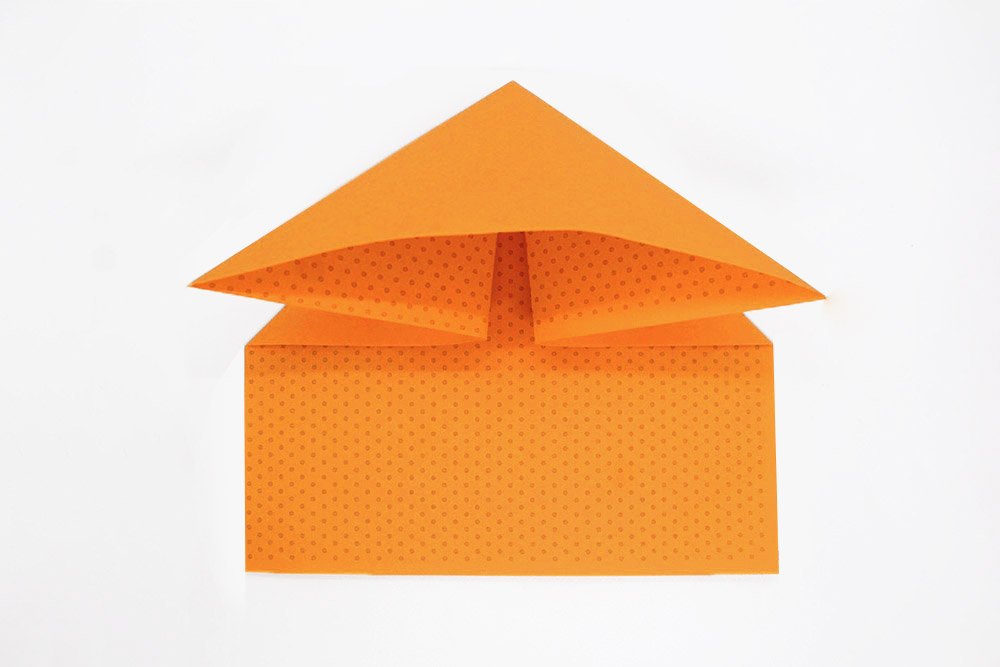
Now, do the same for the right part. Bring the right part to the middle.
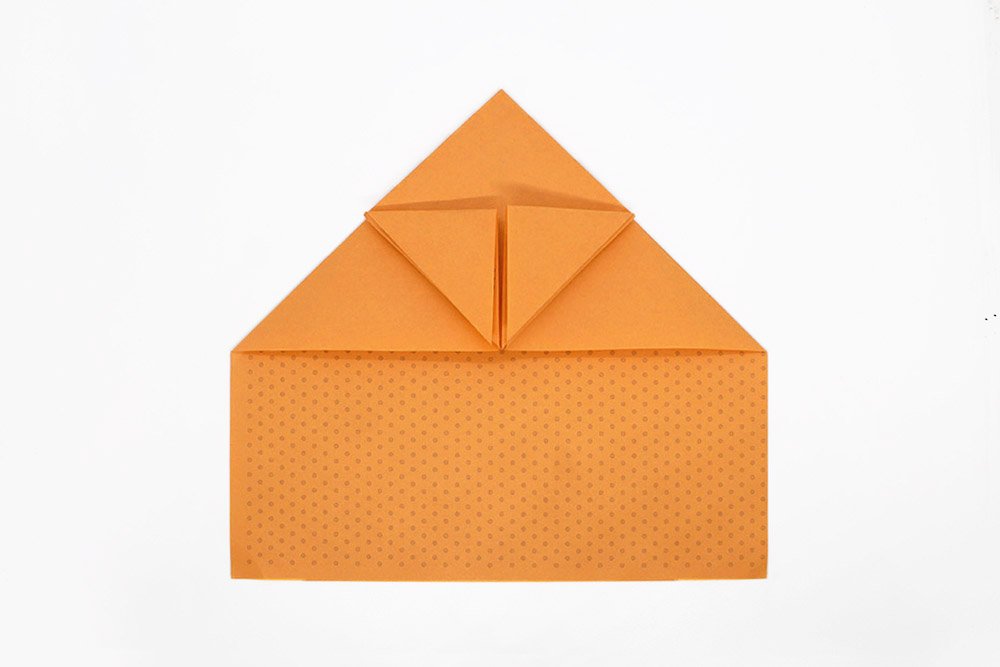
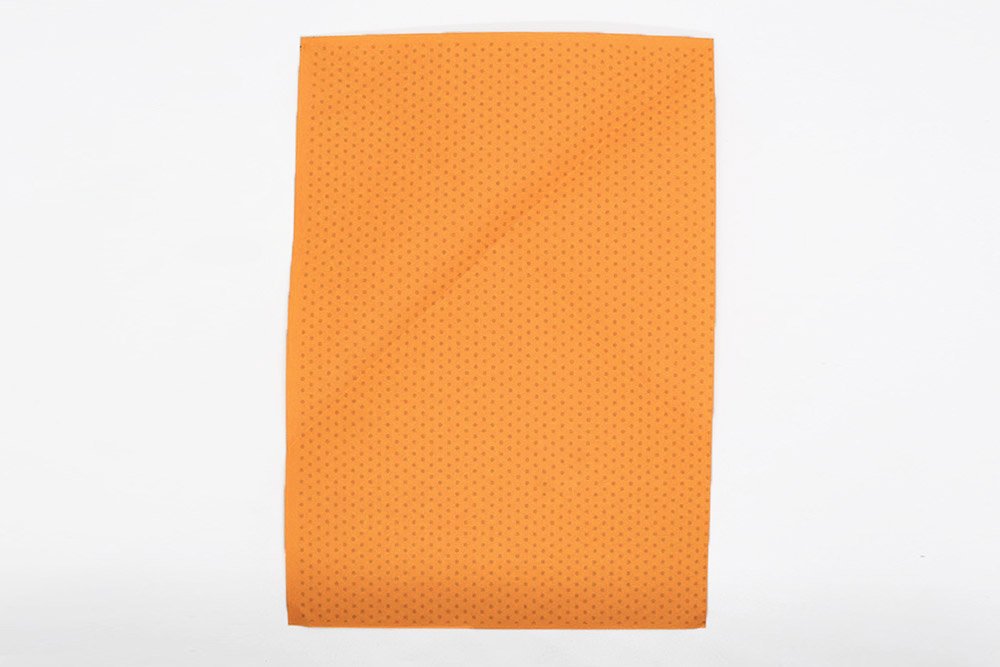
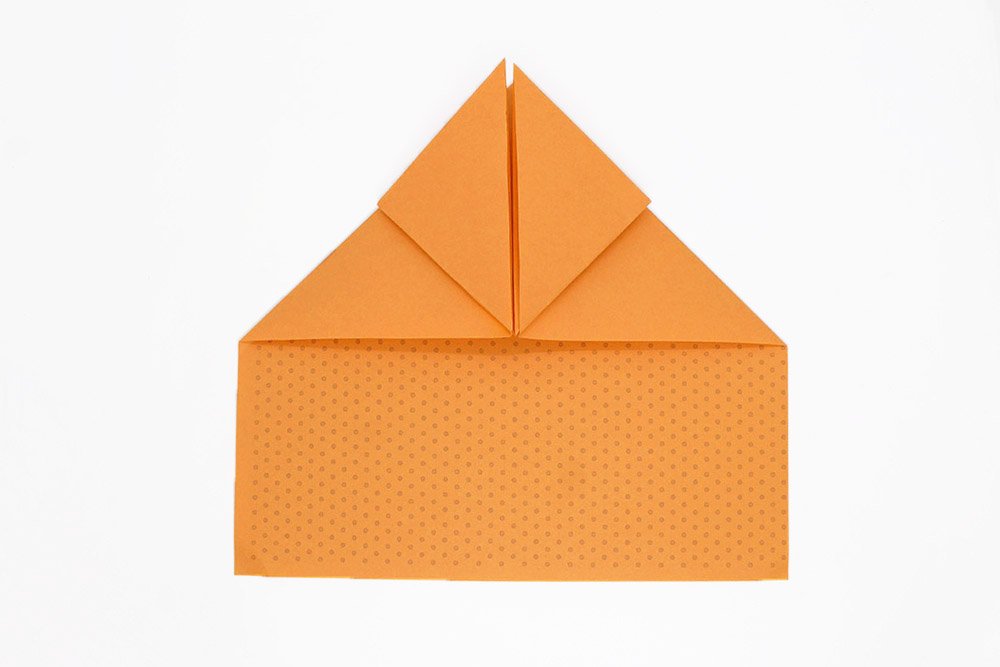
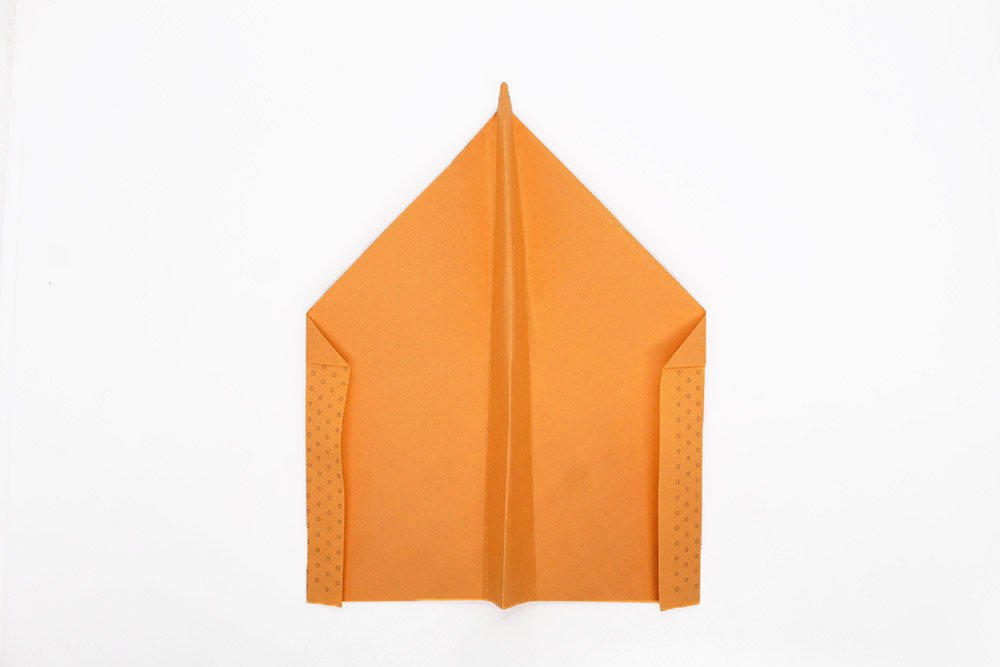
Fold downwards in half the two top flaps. See the next image on what it should look like.
Finish the Glider
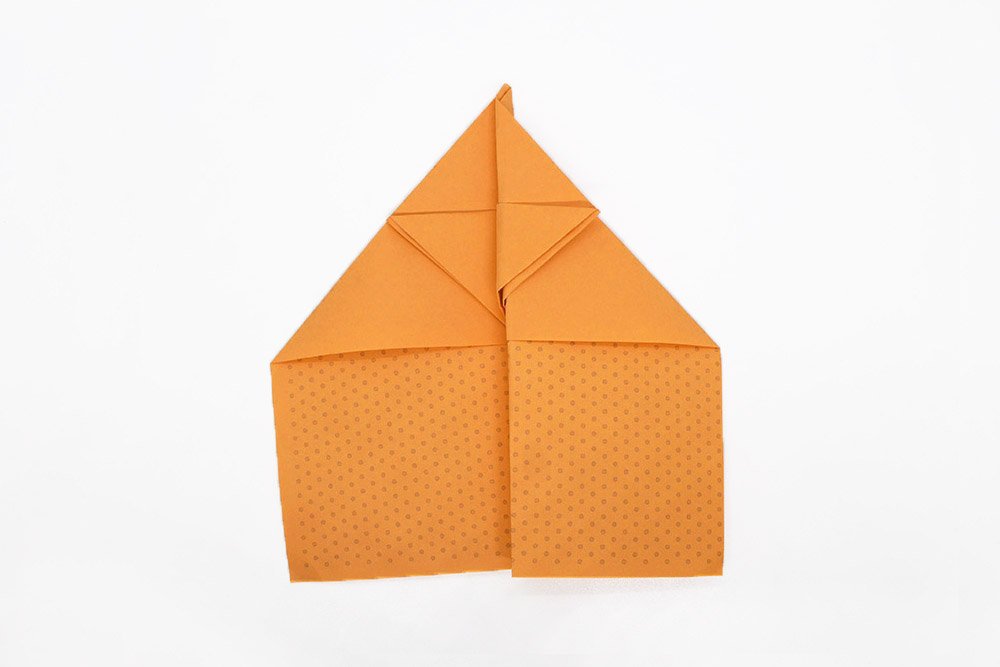
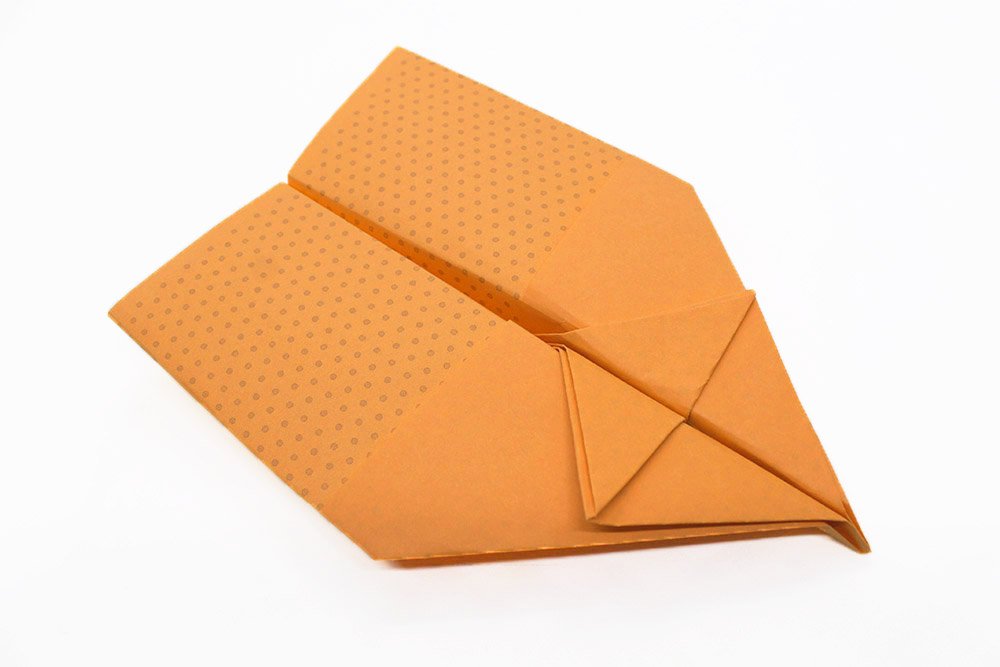
Fold it in half by bringing the right side to the left side.
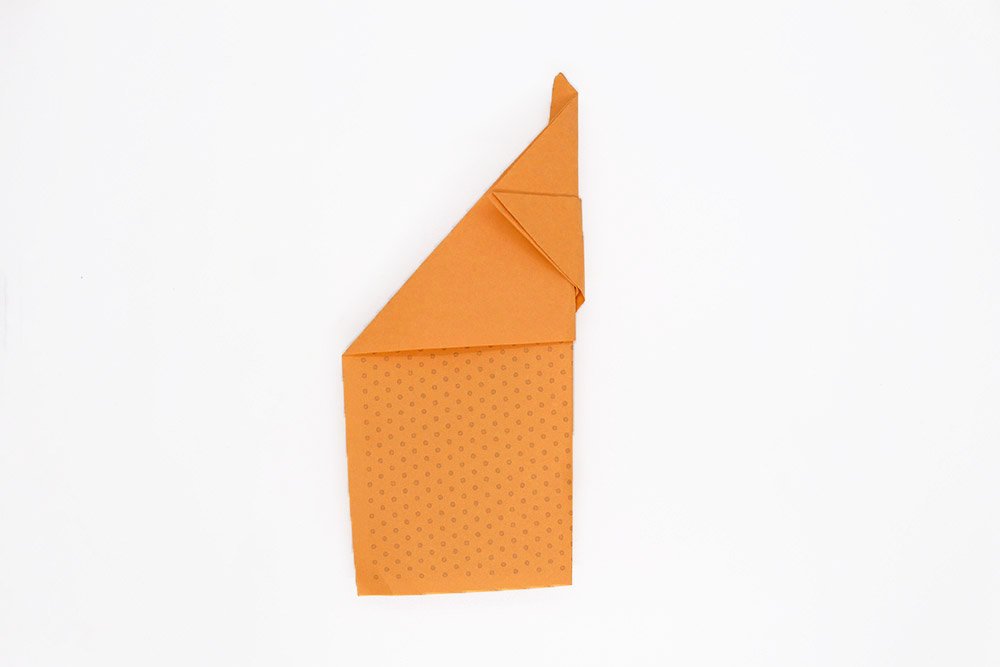
Make a wing of the plane by folding a large portion of the top layer to the right.
Flip the paper and make another wing on the top layer. Fold a big portion to the left.
Flare the wings out at a 90-degree angle.
Fold a small portion of the outer edges inwards. These will be the winglets of the paper plane.
And your long-distance glider is ready. Have fun flying!
Extra Tips
- If you want to fly your paper airplane outside, then try this: Use a long strip of scotch tape and stick it under the fuselage of the paper airplane.
- Paint your plane with cool details like stars on the wings, a flight number plate, and a cockpit.
- If you want your paper airplane to fly even better, use another strip of scotch tape. Connect both wings with the strip so that they stay together in flight. If the wings stop falling apart, the air resistance is lower, and the arrow flies faster through the air.


Looks weird, tbh. Flies okayy though
Don’t know why but I just folded properly and nicely. It flew 60 feet ez! ahahah
Made it 3 minutes, and it flew 50 feet+ so yeah nice experience.
Darn it so tricky! I made it though :_