Learn How to Make an Elegant 3D Origami Rose from Scratch

Introduction:
The origami rose may be a bit tricky to do, but with lots of patience and practice, you will be able to create this intricate masterpiece beautifully. For this origami activity, use thin origami paper. That way, you can curl the rose petals to make them look softer and more realistic. The paper used in the instruction below uses a a red colored origami paper. You may use any color you want for your paper flower
Create a waterbomb base of the origami flower
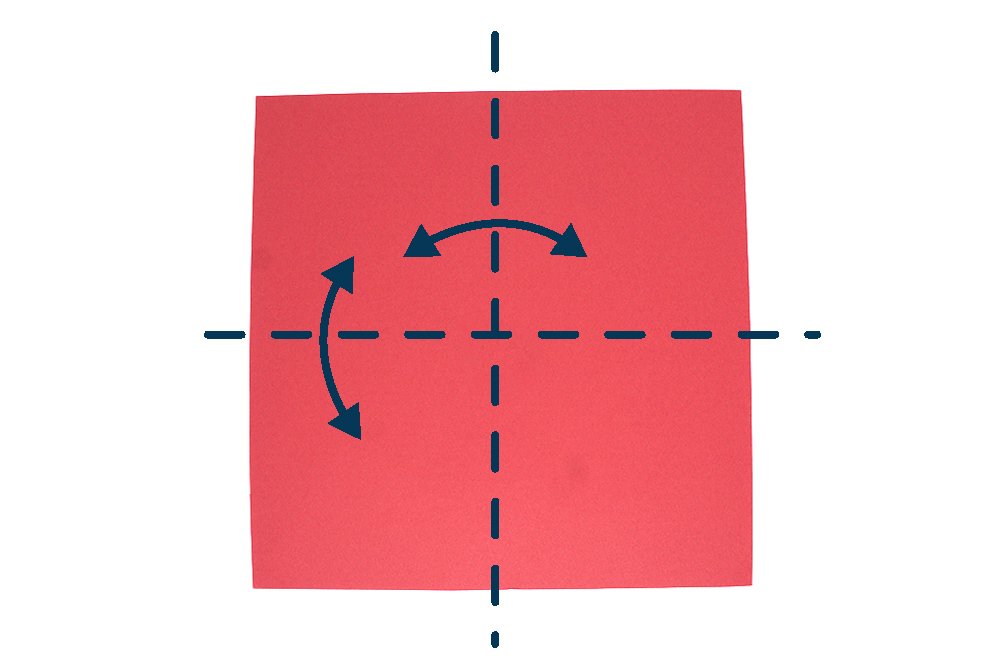
Get a square piece of origami paper. Lay it on a flat surface and fold it crosswise and lengthwise in half. Crease the folds well and then unfold.
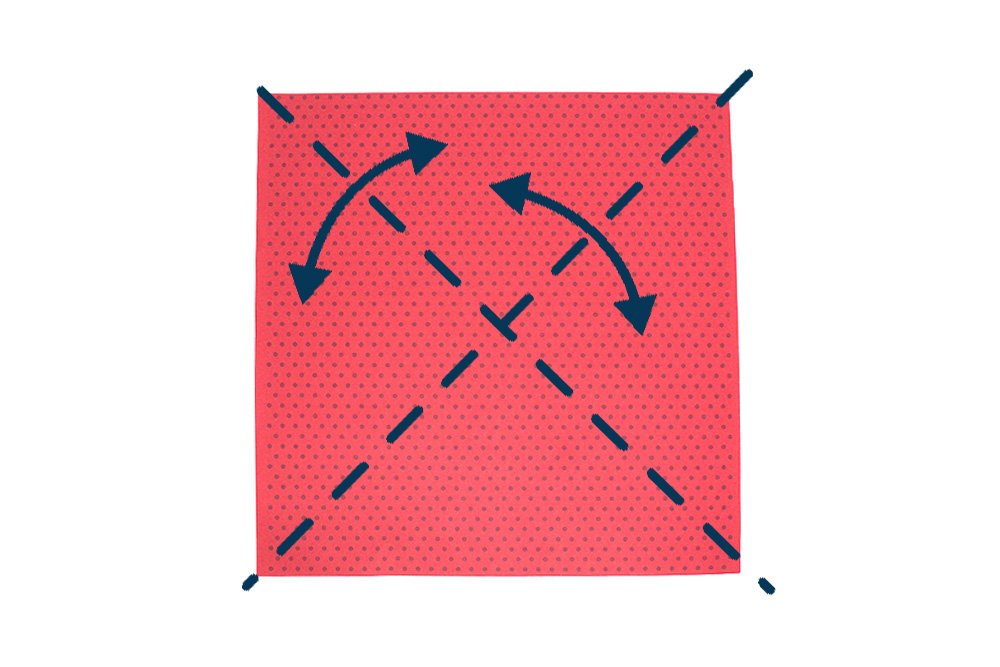
For the second step, flip the origami paper and then diagonally fold along the dashed lines as shown. Crease well and unfold.
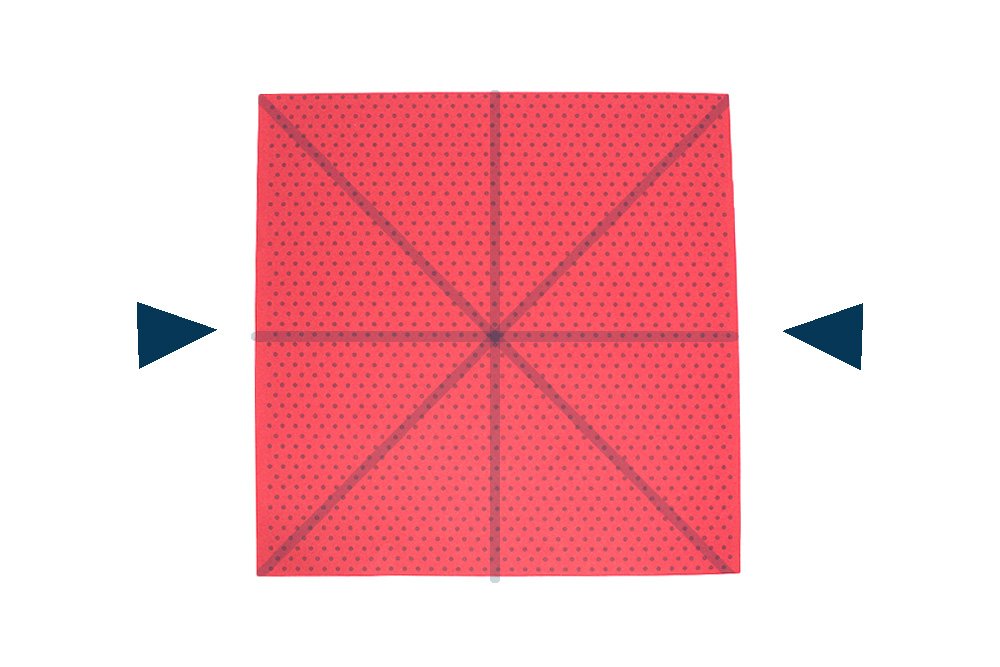
Form a waterbomb base by pushing the paper from both sides.
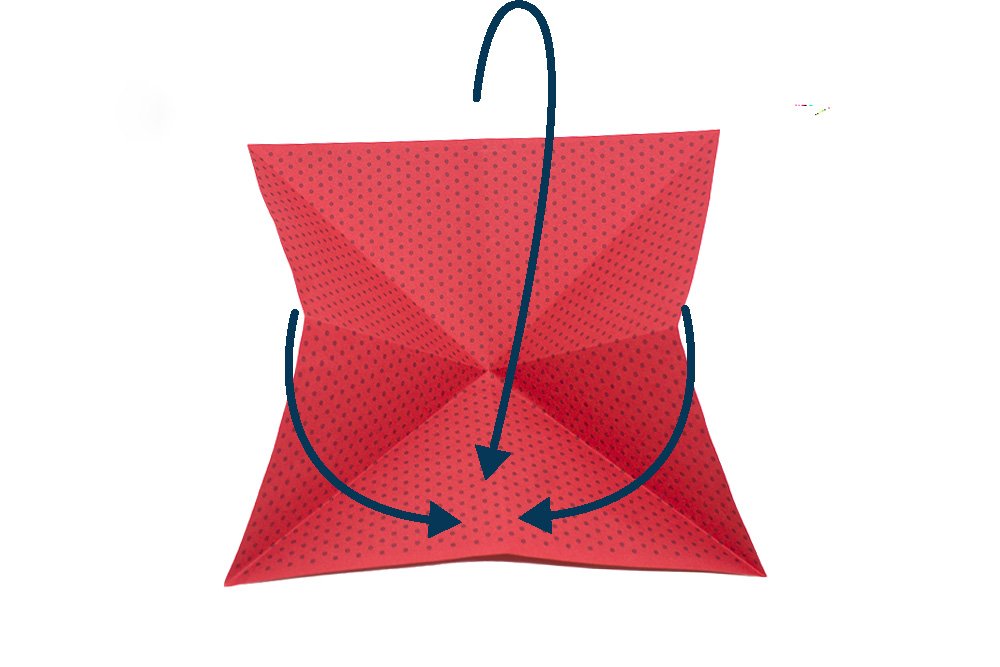
As you push the sides in, the background triangle should form. Hold it down as you continue to bring both sides together.
Make squash folds
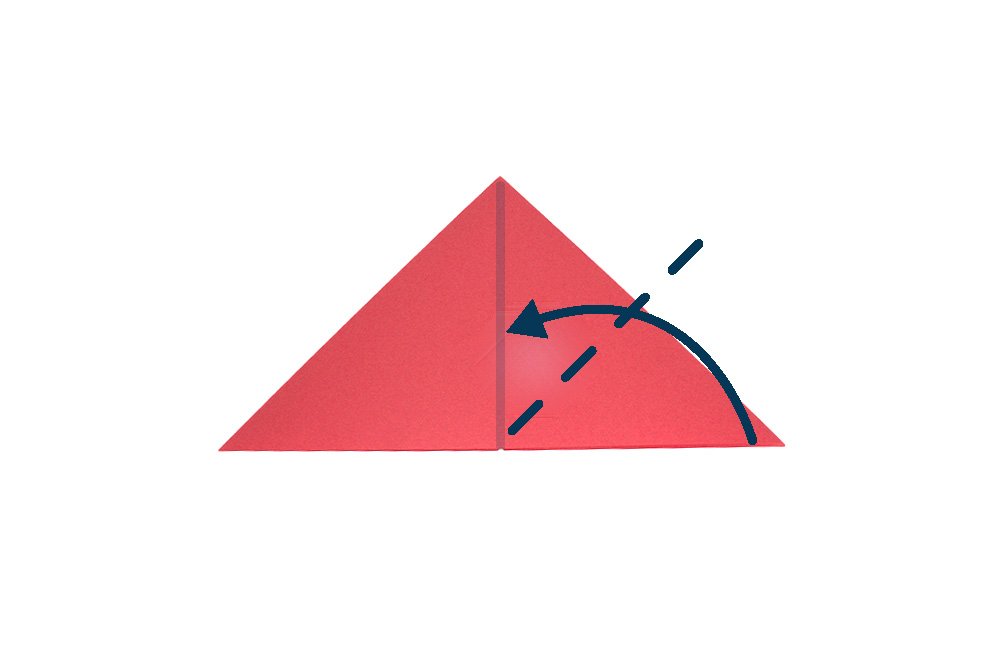
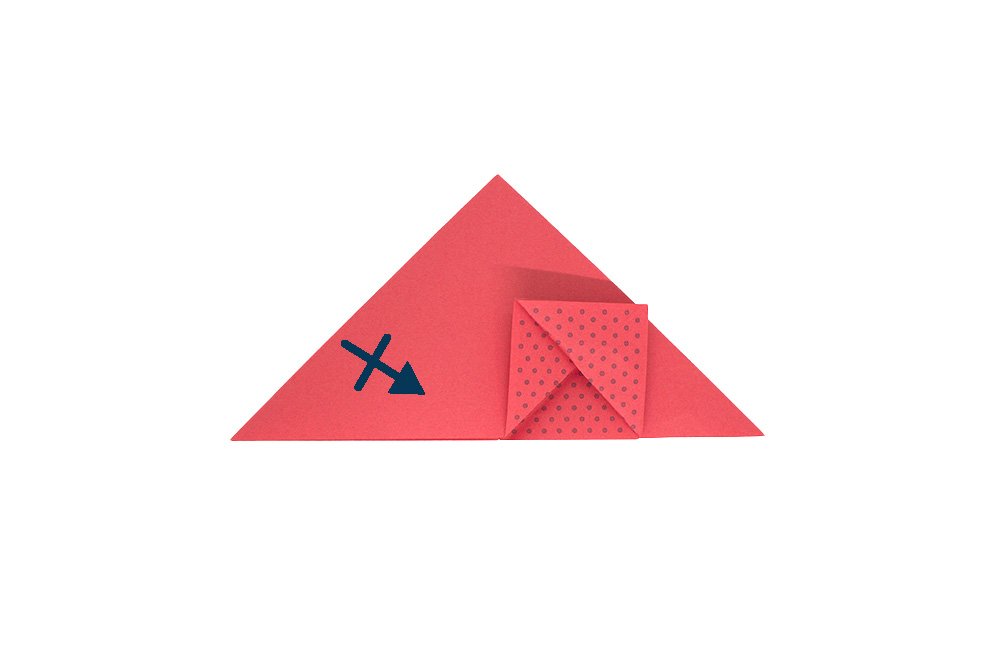
Diagonally fold upwards the top right corner of the topmost layer to the top corner. Follow along the dashed line as shown in the image above.
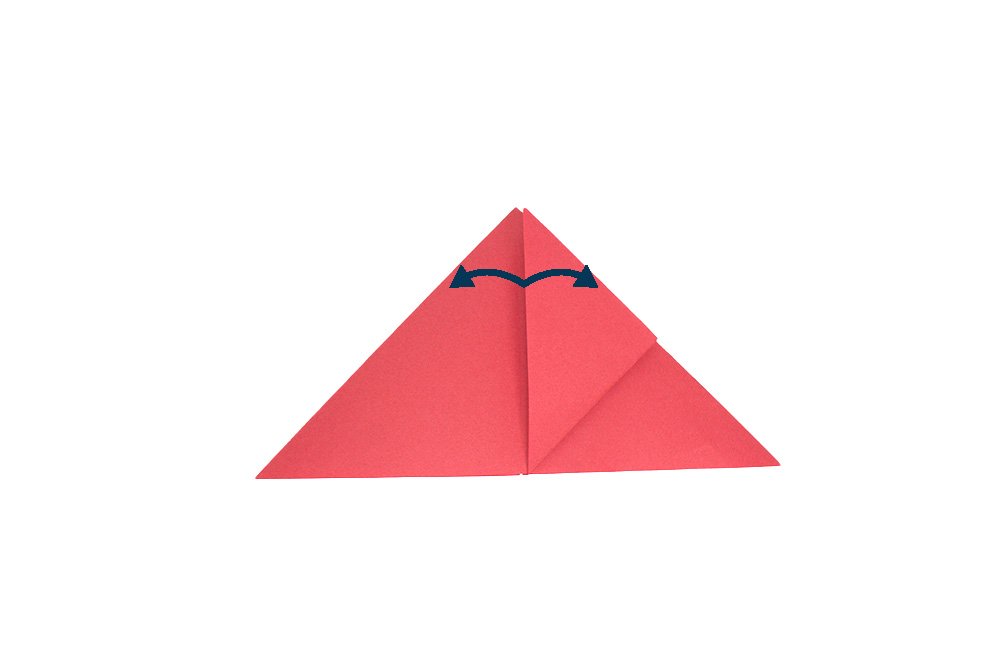
Pry open the layers of the flap made in the previous step.
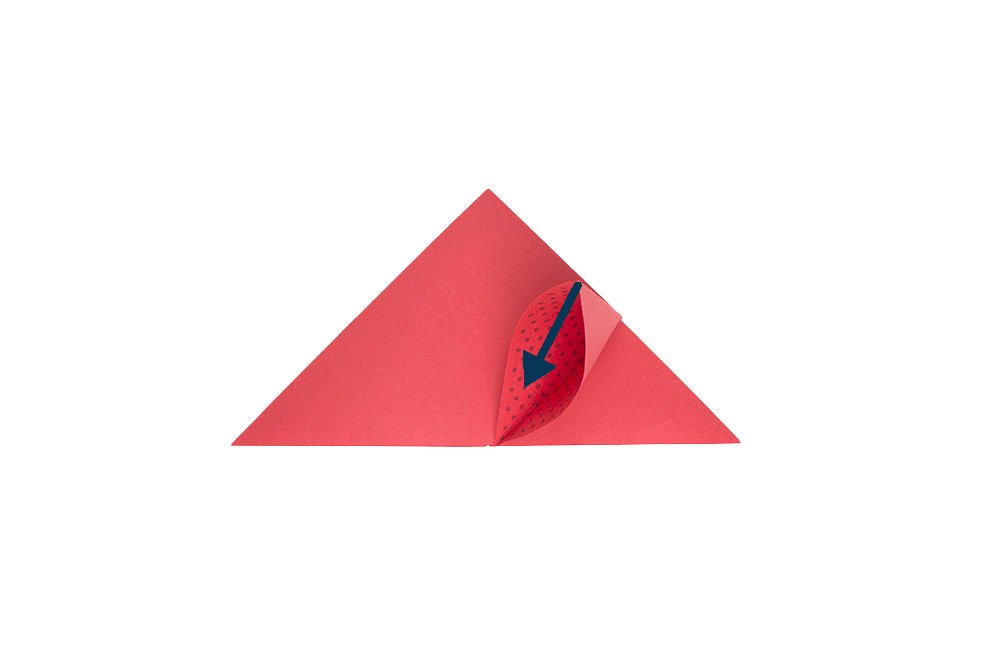
Lift the topmost flap as you pry it open and then squash.
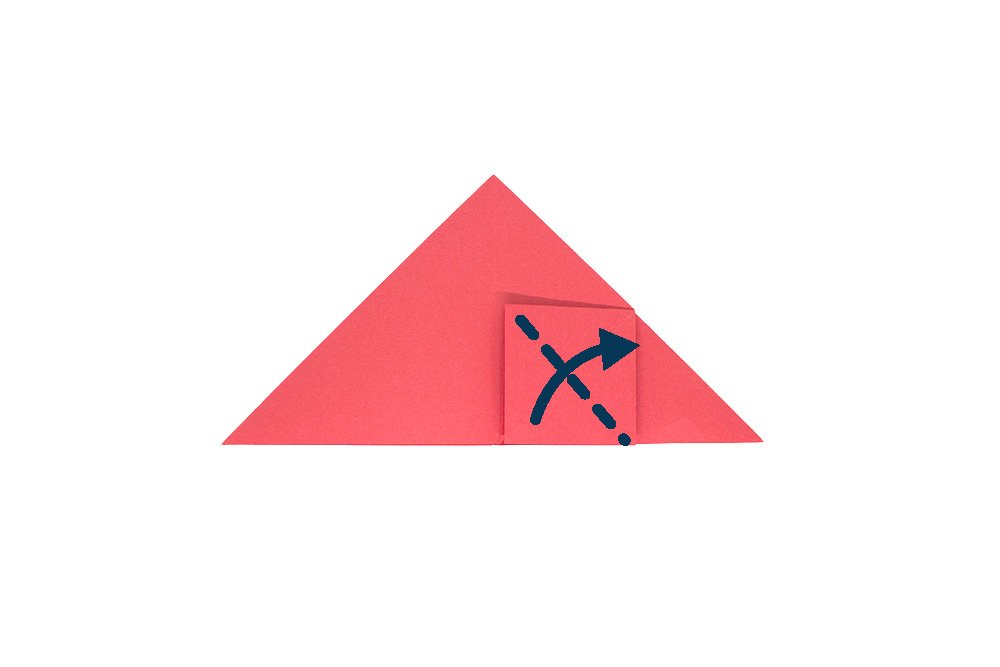
Fold the bottom left corner of the topmost layer upwards.
The squash fold made on the right side is done. Repeat the squash fold on the left side as well.
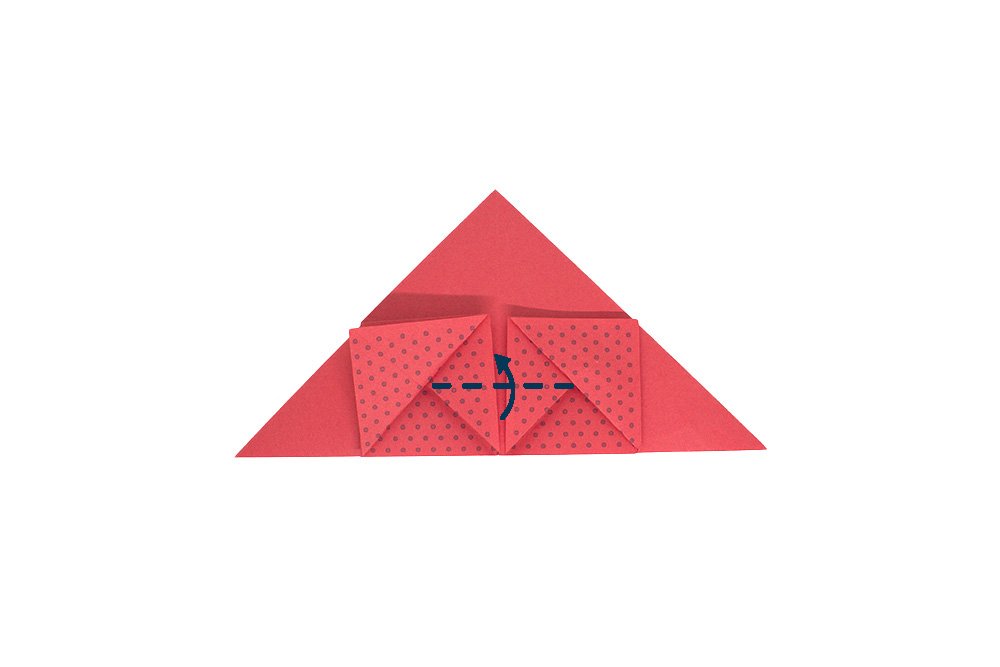
Once you have done the previous step, bring upwards the small flap located at the bottom middle part of the paper.

Repeat steps 5 to 10 on the back side of the origami paper as well.
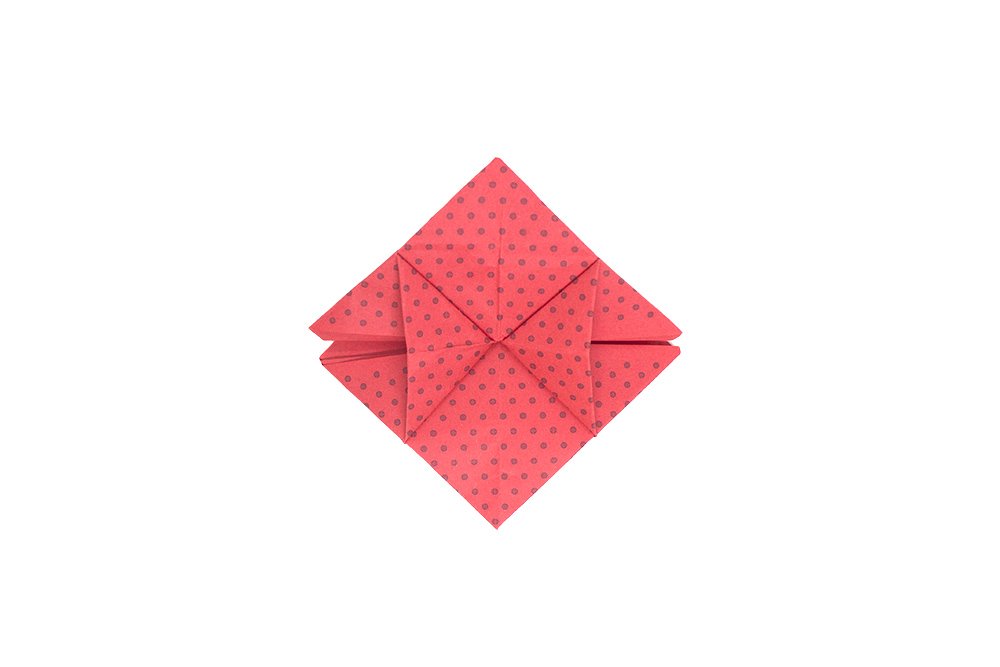
Form the origami paper into a diamond
Like flipping a page from a book, flip the left side to the right side and then do the same at the back.

Bring the bottom left and right corner of the topmost layer to the center,

Do the same on the back side of the origami paper. This time do this on the bottom corners of the back layers.

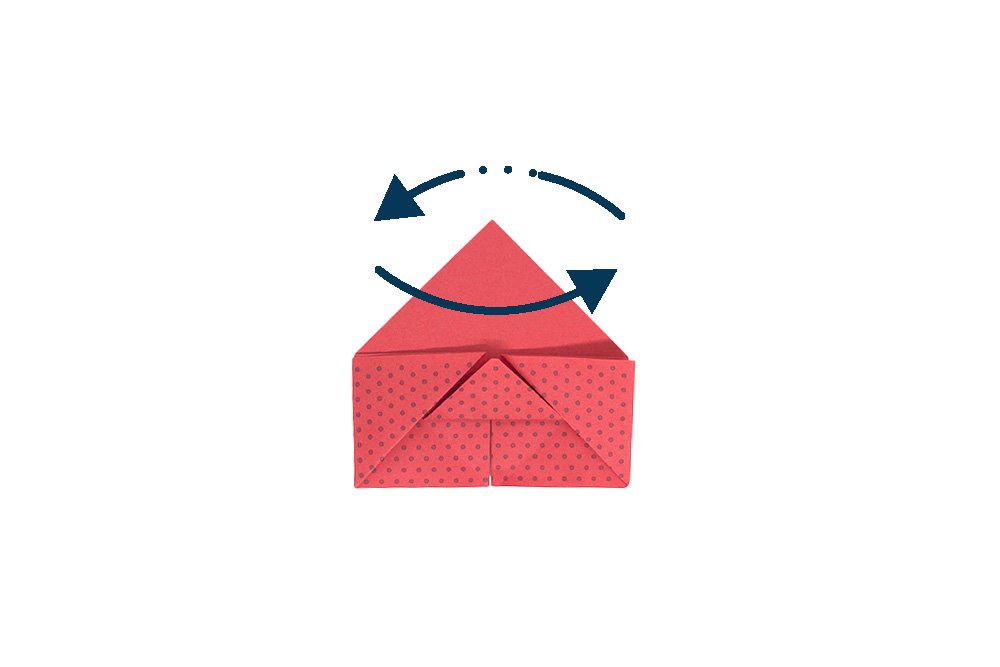
Face the side of the origami paper to where the arrow is pointed
Pry open the flaps
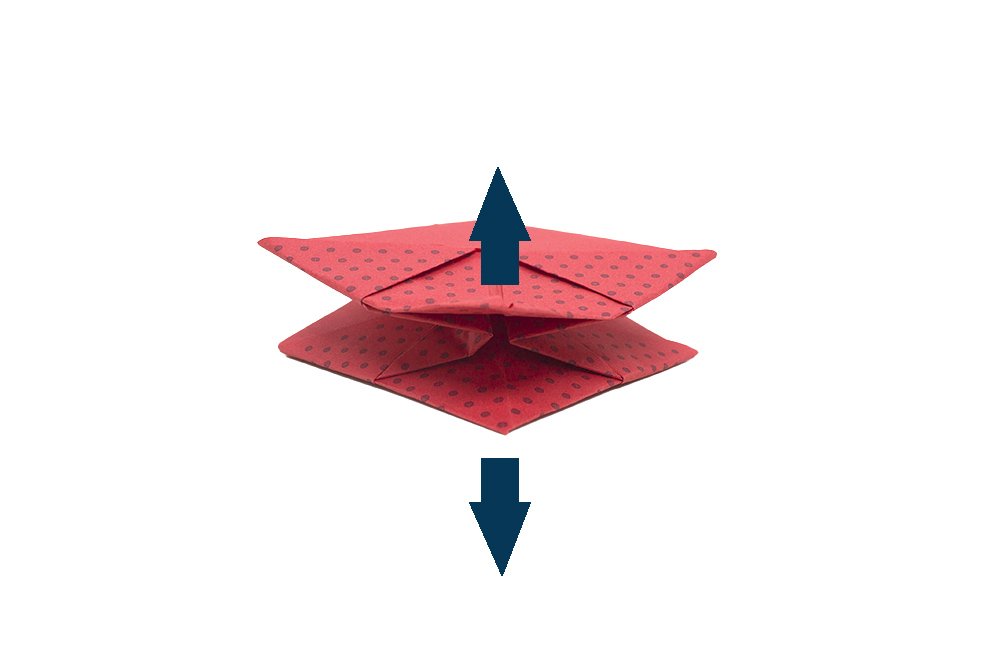
Once the direction of the arrow is facing towards you. Gently pull the bottom and top flaps in the opposite direction.

Keep pulling it halfway.
Once you have pulled it halfway, flatten it. The origami paper should now look like this.
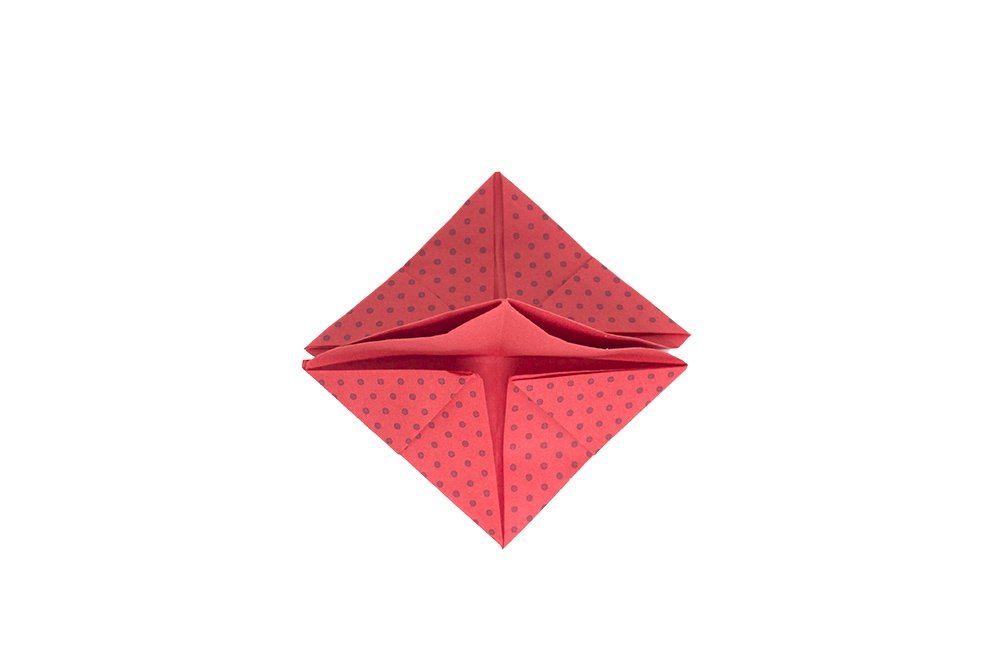
Flip it over to the other side. The origami paper should now look like this.
Twist it to form a rose
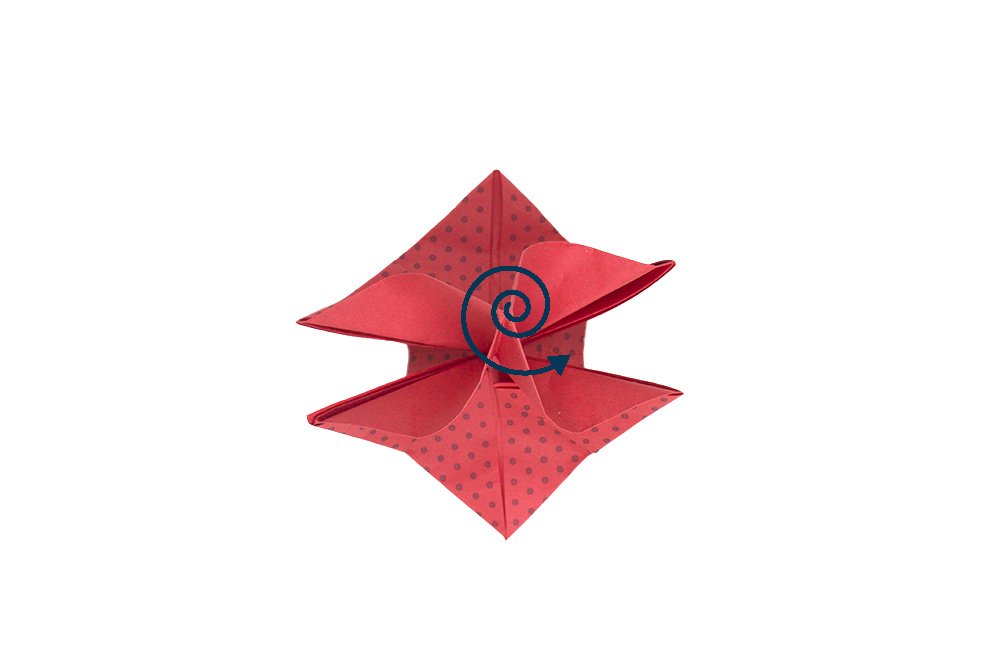
To form the petals of the rose, gently twist the origami paper.
Keep twisting it in an inwards motion.

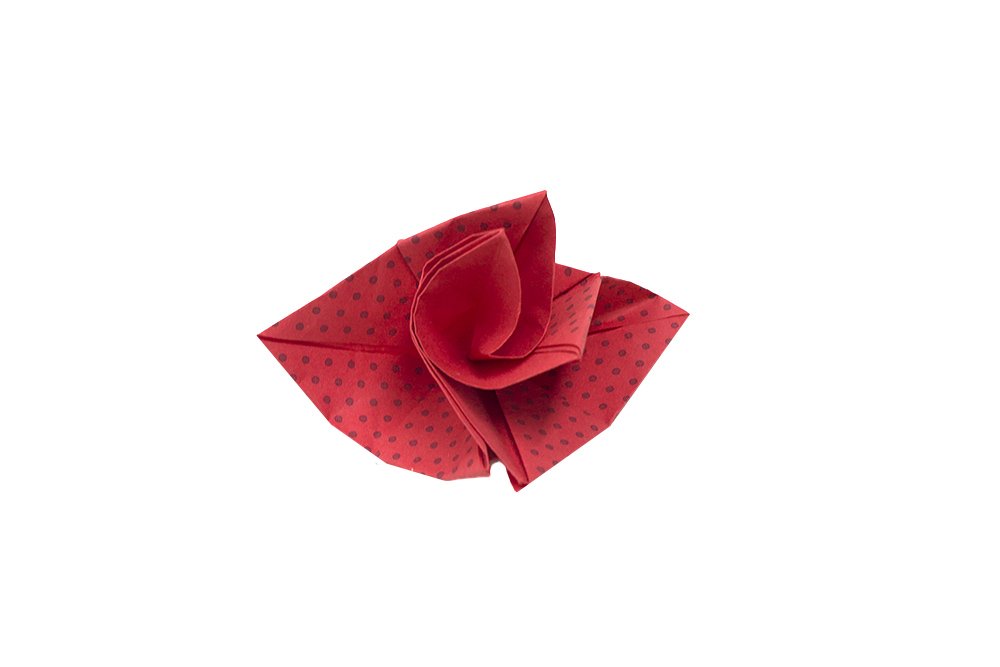
Once you have twisted it tightly, gently loosen and fix the petals to form the lovely layers of the paper flower.

The origami rose is done!
Extra Tips
- Want to learn a fancy way to fold a leaf that pairs well with paper flowers? Learn how to fold a leaf here.


I didn’t have origami paper so mine looks weird but it still looks good I guess
Me: “seems pretty simple”
My hands when I try: “the actual and literal frick. no.”
Real cool I am maxing this for Mother’s Day! Cheers ❤️❤️
to anyone who has done this! YOU’RE THE ORIGAMI MASTER!!!!
mine is not as close to that D: BUT SOMEDAY I WILL BECOME THE NEXT ORIGAMI MASTER 😀