Spooky Origami Halloween Ghost Décor Step-by-Step Instructions

Introduction:
Are you looking for an excellent Halloween decoration to make with the kids? Inspired by the <i>Teru Teru Bozu </i>or Japanese rain doll, this ghost-like decoration is a great DIY activity. It’s simple and fun to make.
All you need is paper and some strings. You’ll have to make a face, so you will also need a marker. From making the ghost’s body to securing it with the string, you will only need a short amount of time to create one.
But of course, why settle with making only one ghost? In this guide, we’ll teach you how to make a ghost out of paper so you and the kids can enjoy an activity together on Halloween!
Have fun making this craft.
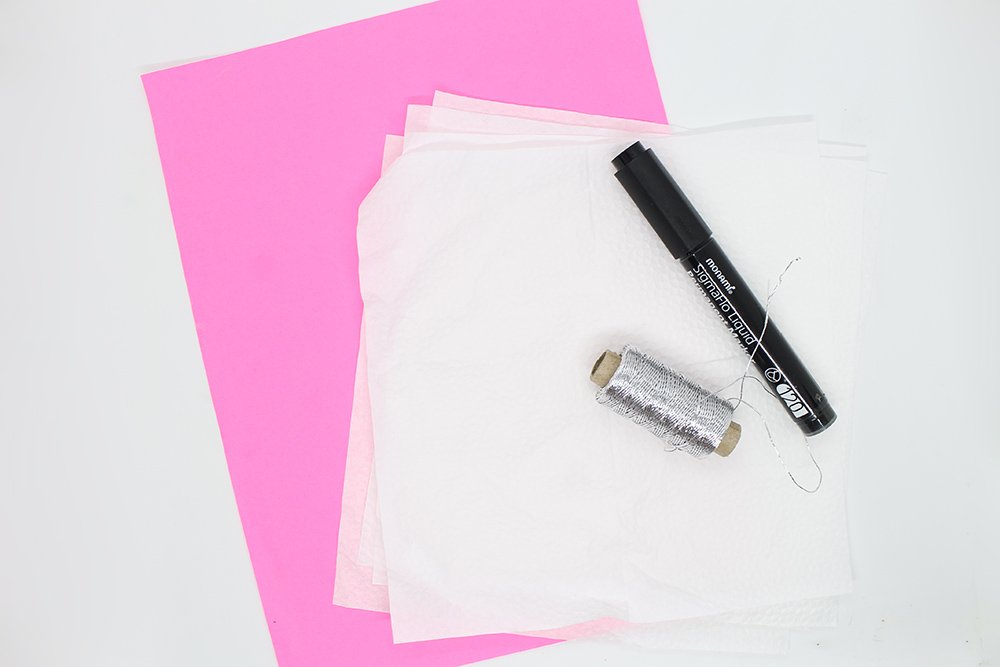
Tools
- Black marker
Supplies
- Tissue Paper or any paper that is thin and flowy
- Any type of paper ( scraps are okay)
- Metallic Thread
Mold a piece of paper to form the base of the origami Halloween ghost
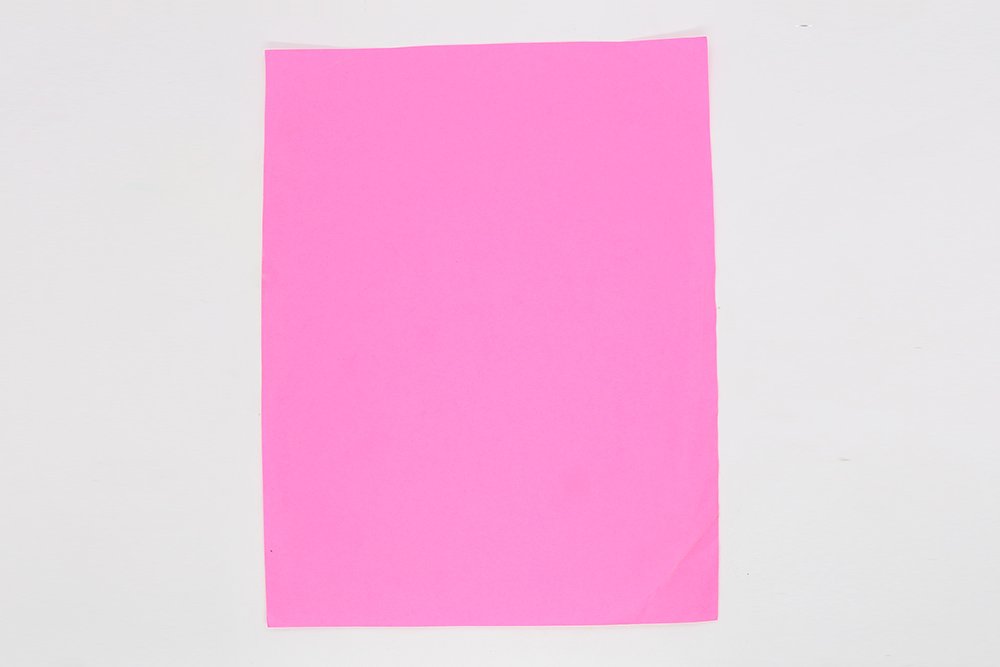
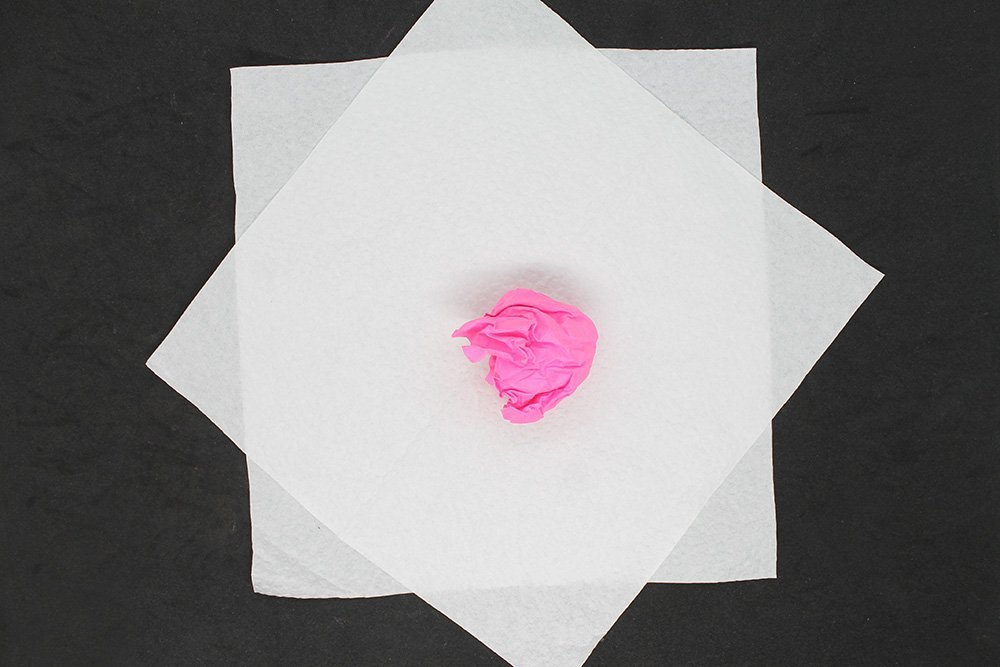
Lay a paper in front of you. Our first step is to make a ball out of a piece of paper. Scrap paper is OK, as we will only crumple it later.

Next, roll and crumple that piece of paper until it resembles a ball. This will be the base of the paper origami ghost.
Build the white veil of the paper origami ghost
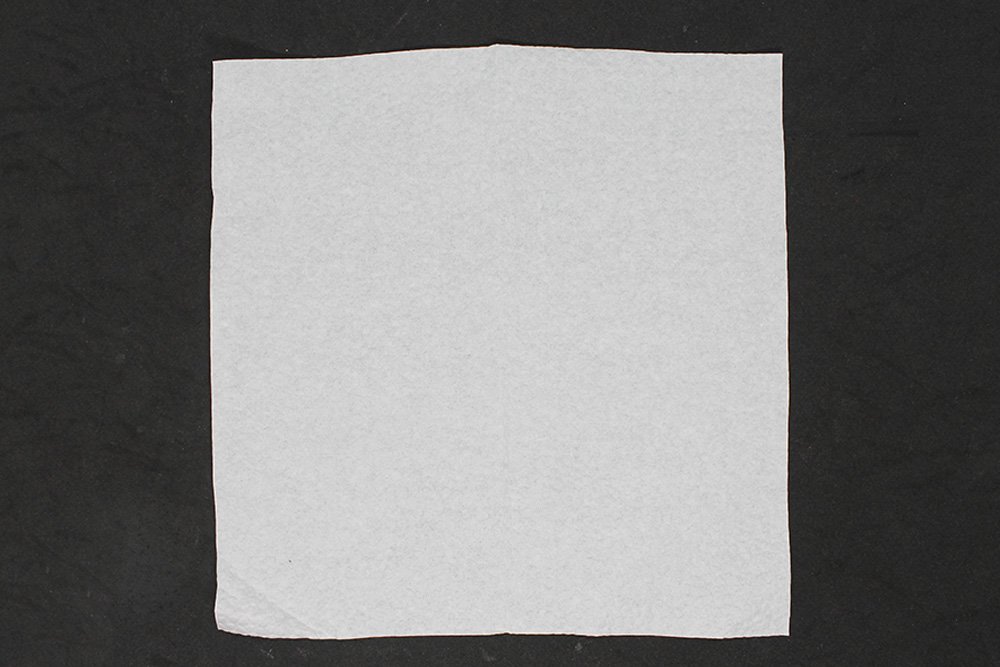
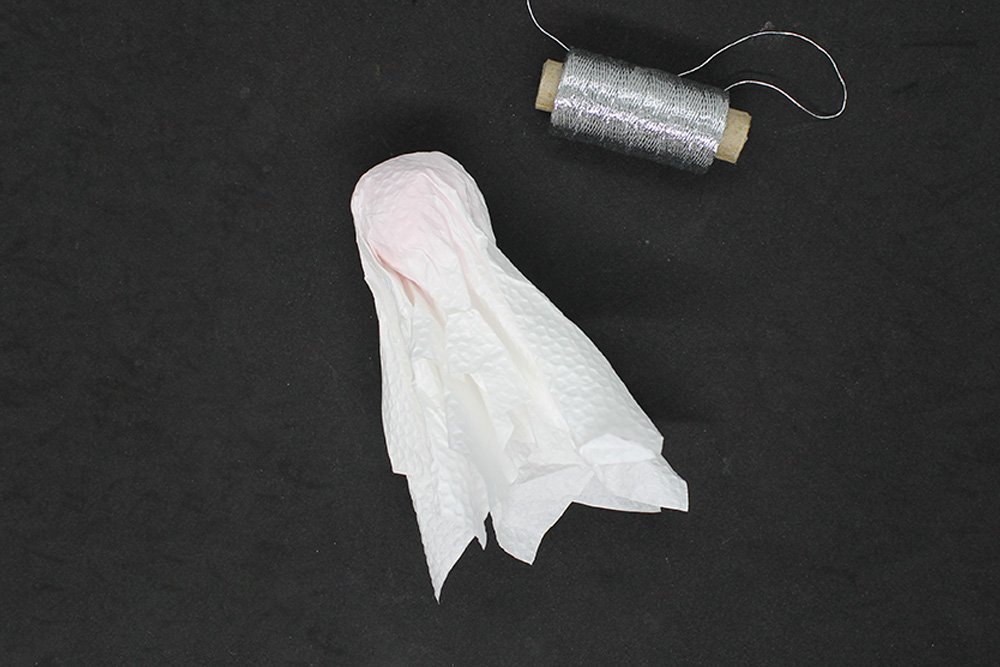
We need to make the white veil of the ghost. Lay one tissue paper flatly as shown in the picture above.
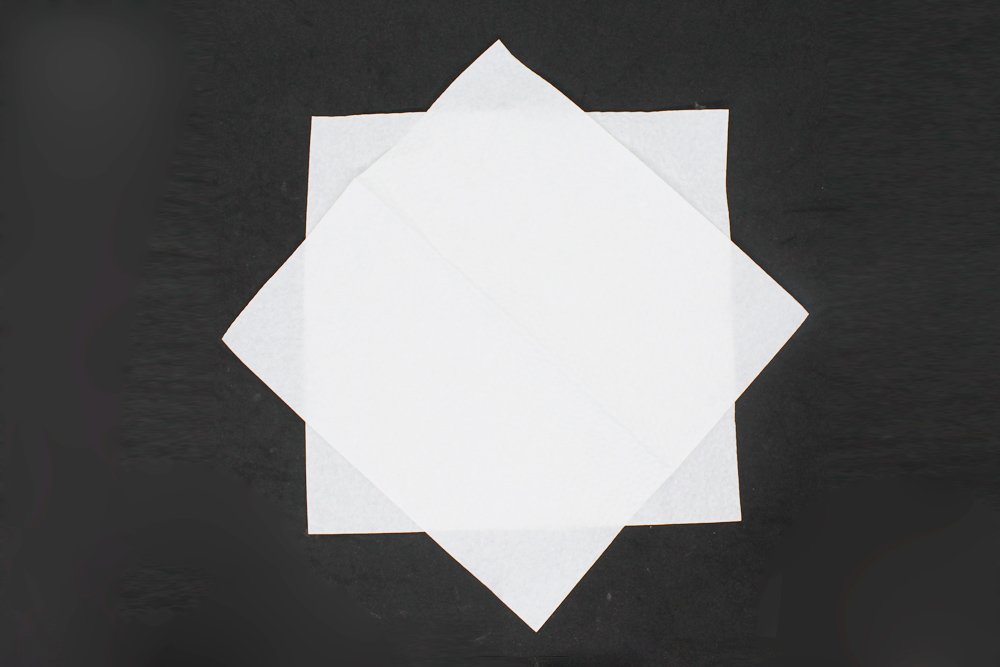
Then, lay another paper towel on top of the previous one. But this time, change the orientation to look like the image above. Laying out the tissue paper like this makes the veil of the ghost drape nicely.
Put the ball in the center of the paper towels. We will wrap the ball inside the tissue paper.
Mold it into a paper ghost
Now that the paper ball is at the center, cover the rolled ball with a paper towel. Once covered, you have to hold the paper towels together below the head.
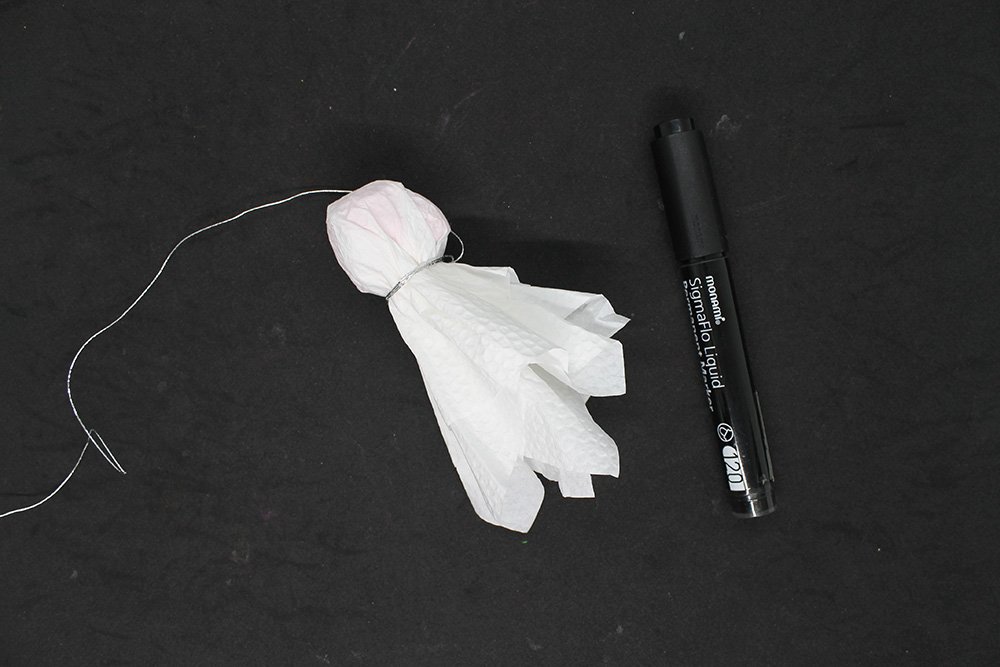
Now wrap the string around the ghost and knot it on one side. Make sure one side of the string is longer.
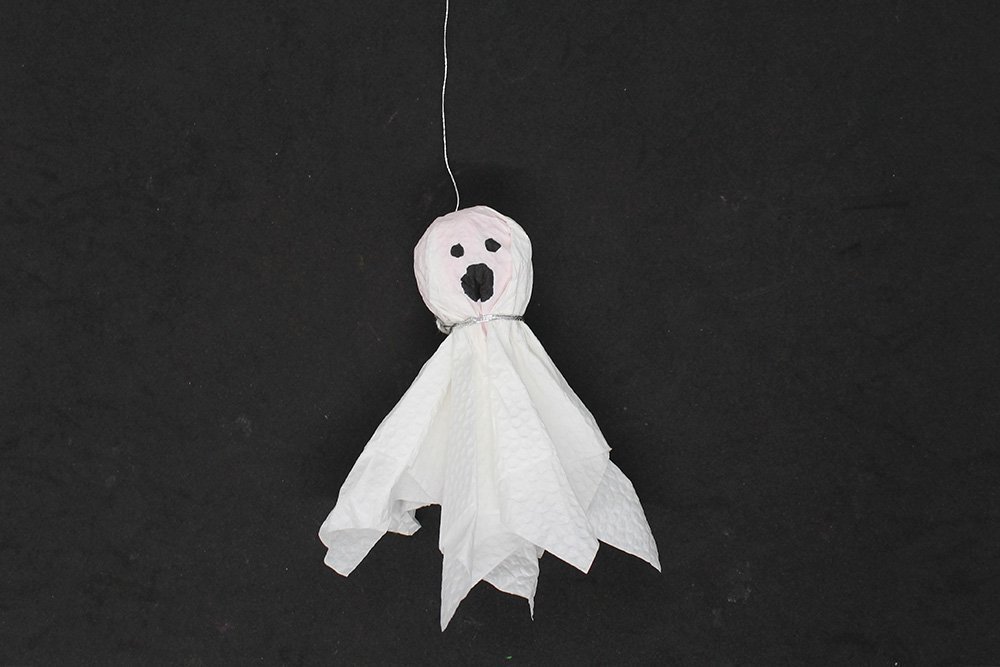
Now all that’s missing is a little face. Use a marker to color in the eyes, mouth, and nose. If you want, you may also decorate the body of the ghost.
Extra Tips
- The ghost is now ready and can be hung up. It would be best to use a transparent cord to tie it so that the spirit looks like it’s flying in midair. Just take a small strip of scotch tape and stick the string to the ceiling.
- Tissue paper can easily tear; if you want a much more durable material, especially if you plan to hang it outside. Use a cloth and wrap it on something hard and round like a tennis ball.
- Personalize your ghost however you like! Make it silly with some googly eyes or make your paper ghosts more menacing by giving it red eyes.
- Make tons of these paper ghosts and hang them on the ceiling for a spookier decoration for Halloween. If you are making several ghosts, hanging them up at different heights will look good.


fast to make, recommended for kids of all ages 🙂
thanksss for the guide
I like it a lot
Good guide, thanks
I made 20 of these than hour!!
that’s a lot, ahaha