Lovely DIY Clothespin Love Letter Message – Step by Step Tutorial

Introduction :
This creative DIY gift of converting a clothespin into a small love letter is superb. And it should be given to your special someone. I found the idea on the internet and just had to put this wholesome activity on this blog. This DIY gift is small and one-of-a-kind.
Anyone will truly appreciate the effort put into it when given this gift as a present.
You’ll only need a few materials to start this activity, and it’s easy to make. Crafts like this might be considered as simple but it packs a lot of punch when it comes to the “I care for you” department!
Have making this craft, and make someone happy.
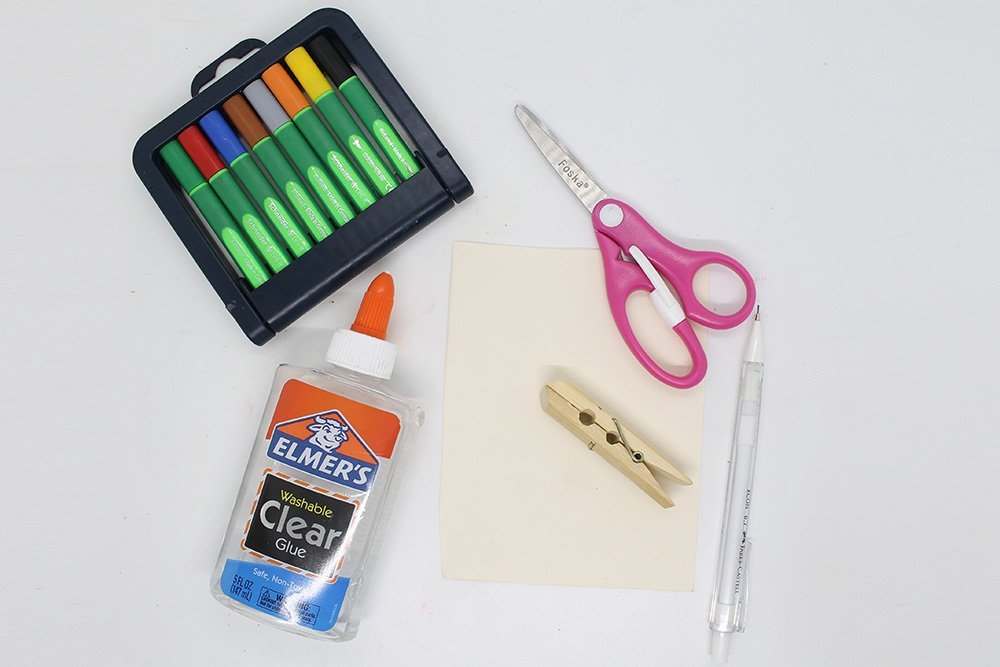
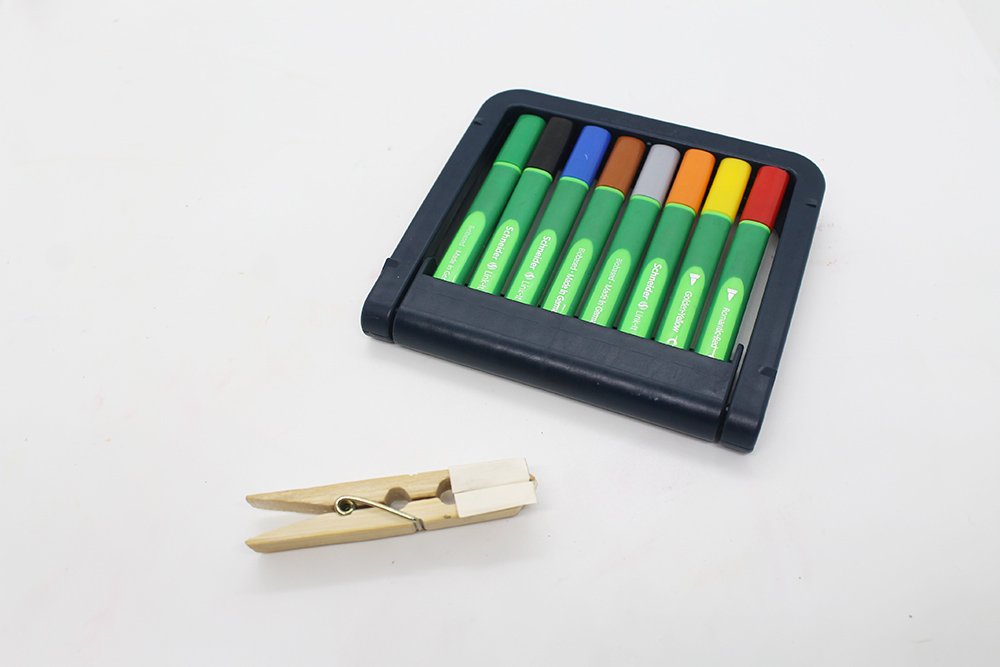
Tools
- Pencil
- Scissors
Supplies
- Clothespin
- Coloring Materials of your Choice
- Bond Paper or Any Thick Paper
- Glue
Prepare a message on a tiny piece of paper for your clothespin love letter
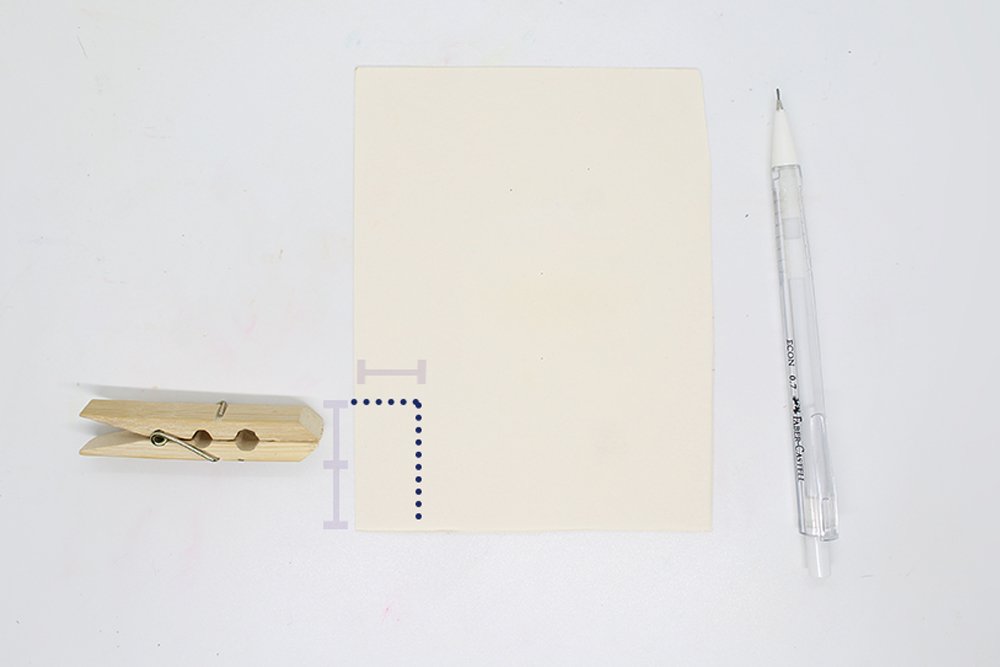
Let's get started with this clothespin letter craft guide! The first thing you should do is to get a paper, pen, and clothespin.
Draw rectangle that has the same width as the mouth of the clothespin. Make sure the length of the rectangle is twice it's width so that you have an ample amount of space to write a message.
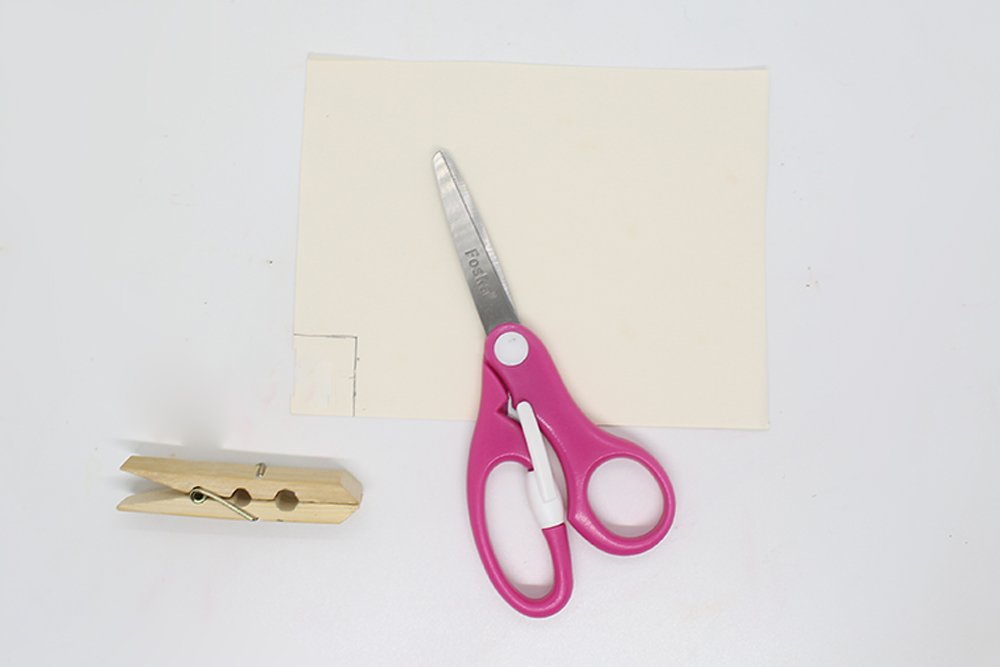
Once you have drawn a rectangle, get a scissor next and cut along the drawing you have made.
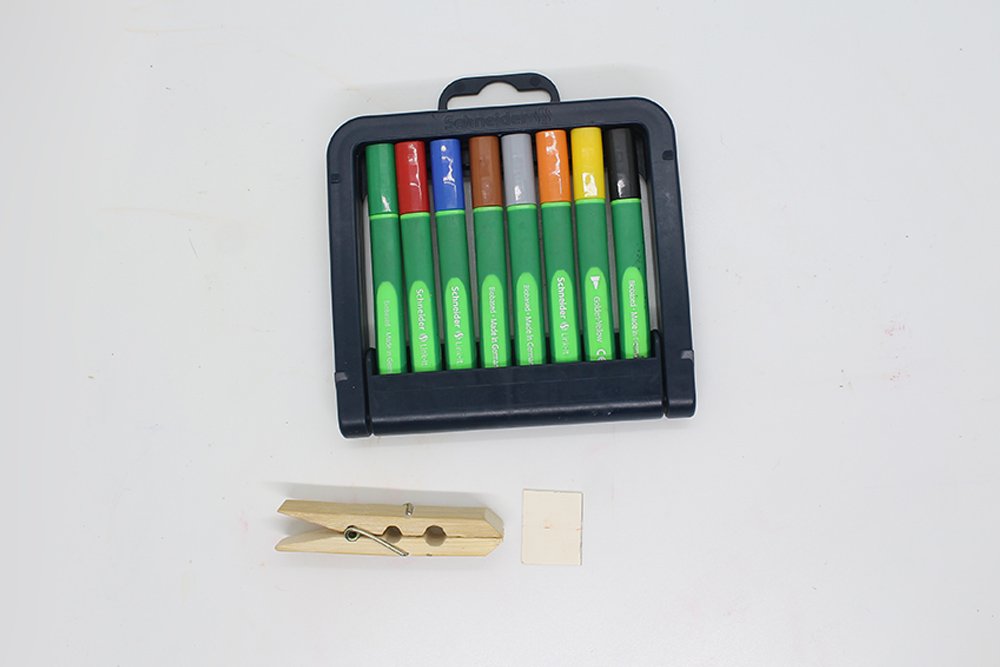
Next, get any coloring materials of your choice once done with cutting a rectangle.
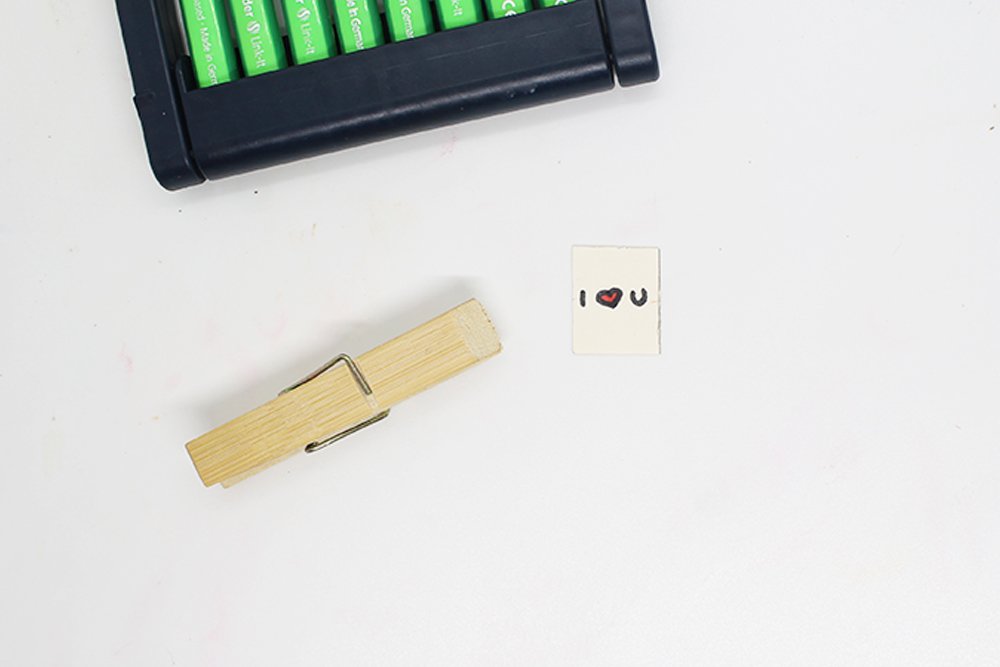
Then you should make a small note on that piece of paper (or a drawing if you like). For this example, the message is short and sweet. Your message is up to you, and how you style your short letter is also up to you! Just make sure that the news is mainly on the middle part because the sides of the paper will be glued to the clothespin.
Once you have the letter's design, we can proceed to attach it to the clothespin.
Attach the letter to the clothespin

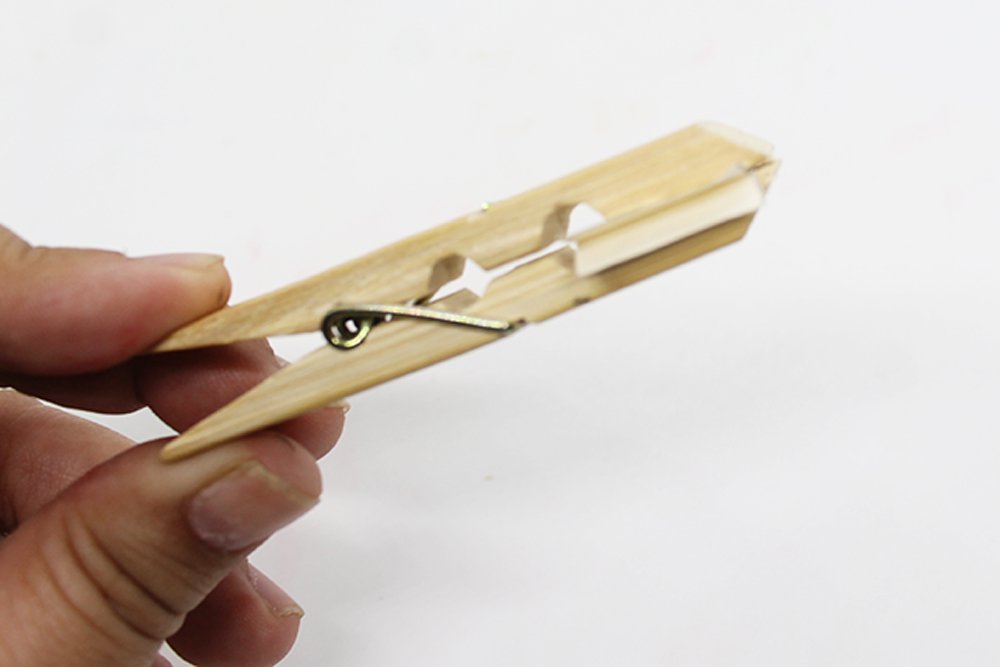
Now that you've written a message down, the next step is to fold the rectangle crosswise in half. For this step, you will be attaching the letter to the clothespin.
Open the clothespin and insert the folded letter inside.
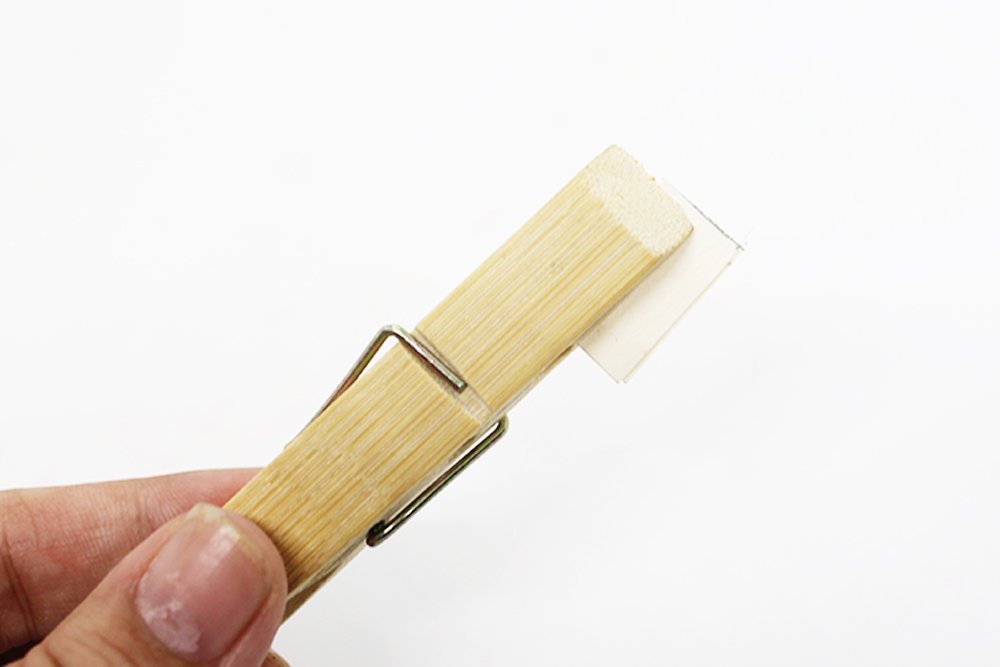
Make sure a small part of the paper protrudes outside when the clothespin is closed. The protruding flaps are where you need to put adhesive and stick to the outer part of the clothespin.
Flatten out both sides of the protruding flap so that the paper will look like the image above. Next, get your glue.

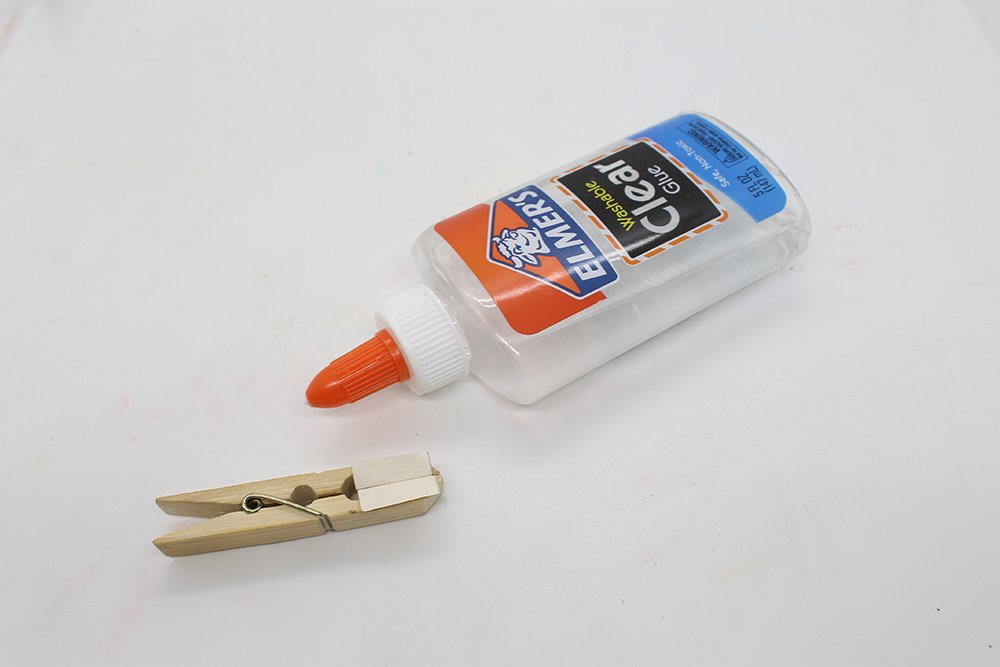
After folding, glue both the top and bottom sides of the paper to the clothespin.
Before proceeding to the following procedure, ensure the glue has already dried. Give it some time to dry before attempting to open the clothespin.
Decorate your letter clothespin project

After waiting for the glue to dry, gently press your clothespin love letter so that it will open and extend the paper. As you can see, the hidden message was revealed once you pressed on your clothespin. If you close it, the flaps form a mini rectangle where you can design it like an envelope. Pretty cool, right?
Grab your coloring materials and decorate the envelope.
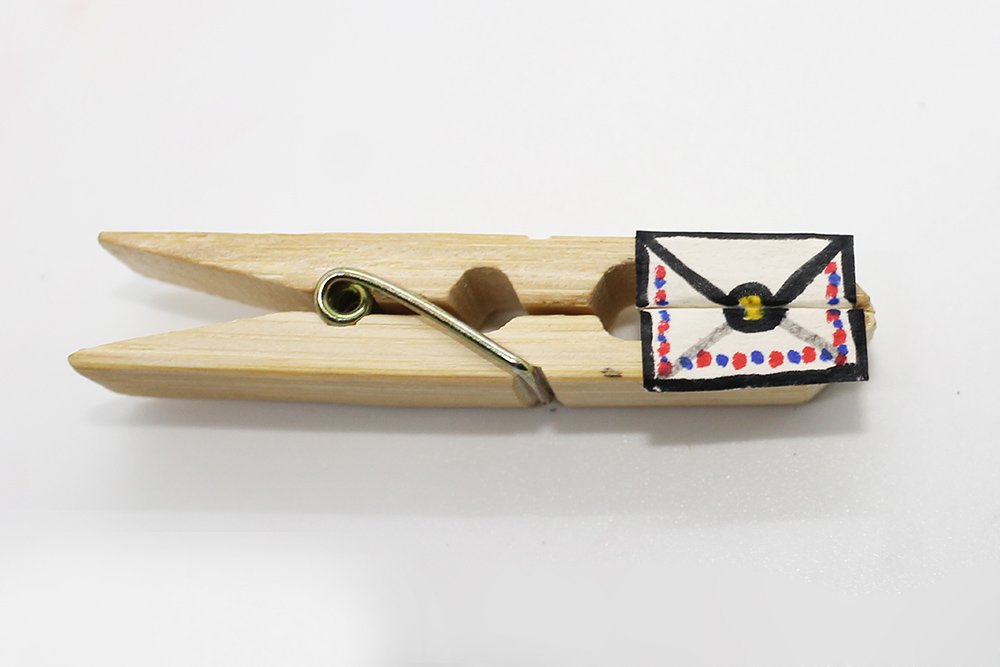
Start decorating! In this example, the design is a classic envelope with some colors on the sides. It would be best if you went for your own unique and awesome design.
Congratulations! You are now finished with the craft. We hoped you had fun, and be sure to check out some of our other cool crafts for kids.
Extra Tips
- Don't have clothespins? no worries! Try a binder clip especially a large one so that could write longer messages.
- One cool additional step for this instruction is to decorate the clothespin itself. Personalize your clothespin however you like!
- It doesn't have to be a love letter. Send a message to any friend and families or anyone you sincerely care for.


Awesome guide guyss, i like it a lot <3 🙂
nice way of showing the process step by step. i like the idea itself too
I love the way my pink clothespeg turned out!
Love it so much – awesoe guide guys!
fantasticoo!!