DIY 3D Paper Star Instructions | Guide on How to Make a Christmas Ornament

Introduction:
Create this wonderful star made out of simple cardboard! This super stylish star would make an awesome decoration that you can hang with a string or turn into a mobile. Whether it’s winter, spring, summer, or autumn, it is great to use in any season and in any festivities. Now let’s start with the tutorial.
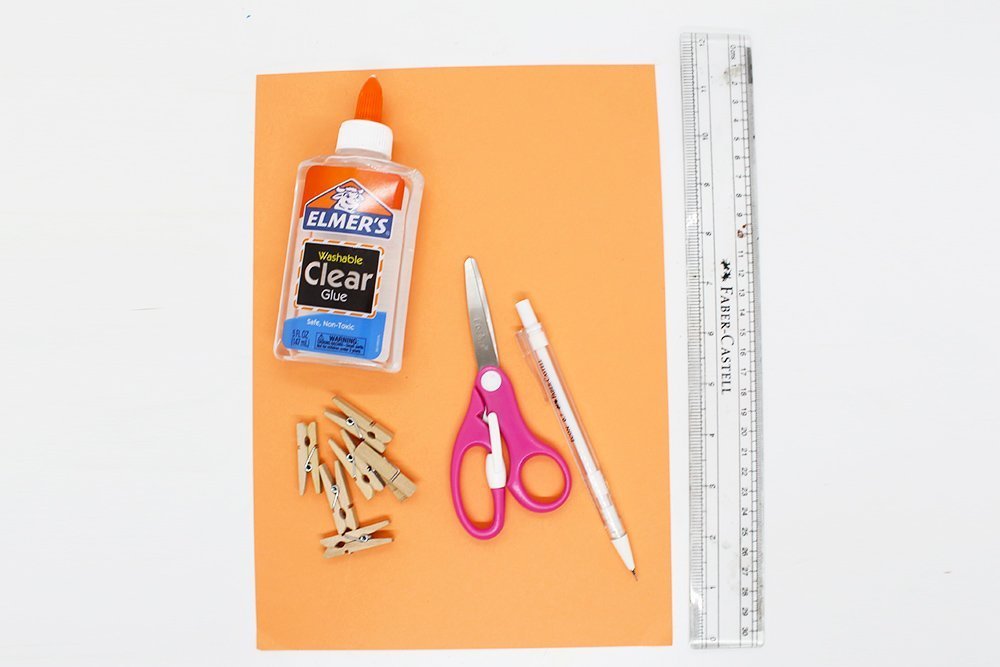
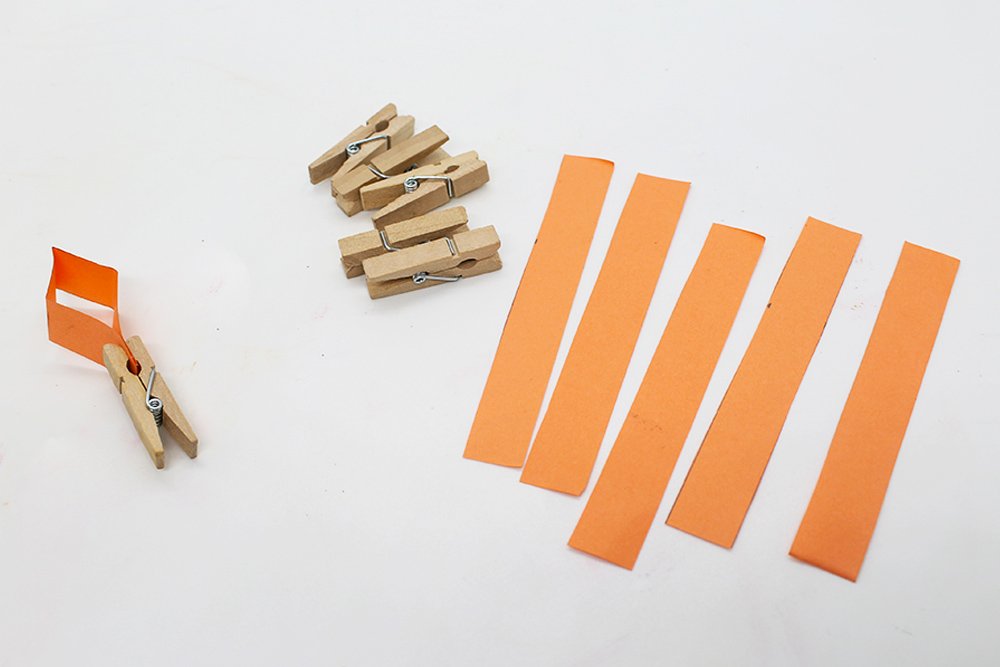
Tools
- Pencil
- Ruler
- Scissors
- Clips
Supplies
- A4 colored paper
- Glue
- String (optional)
Cut some strips of paper to make the DIY 3D paper star
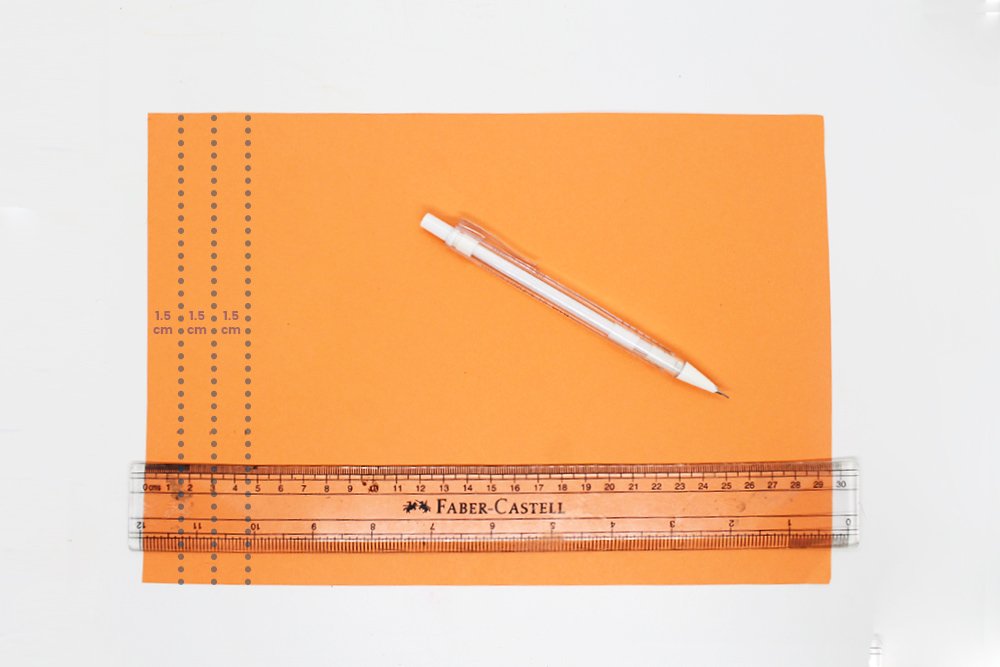
Get a piece of A4 colored paper. Draw lines on your paper based on the measurements on the image above.
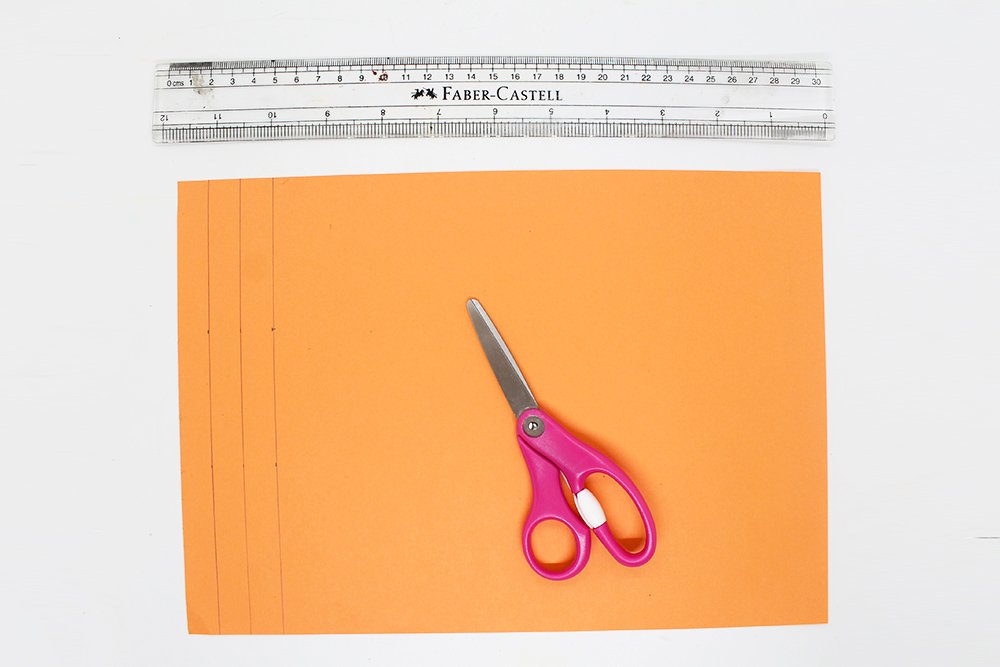
Cut it into strips along the lines made in the first step.

You should now have three pieces of colored paper. Cut each strip in half.
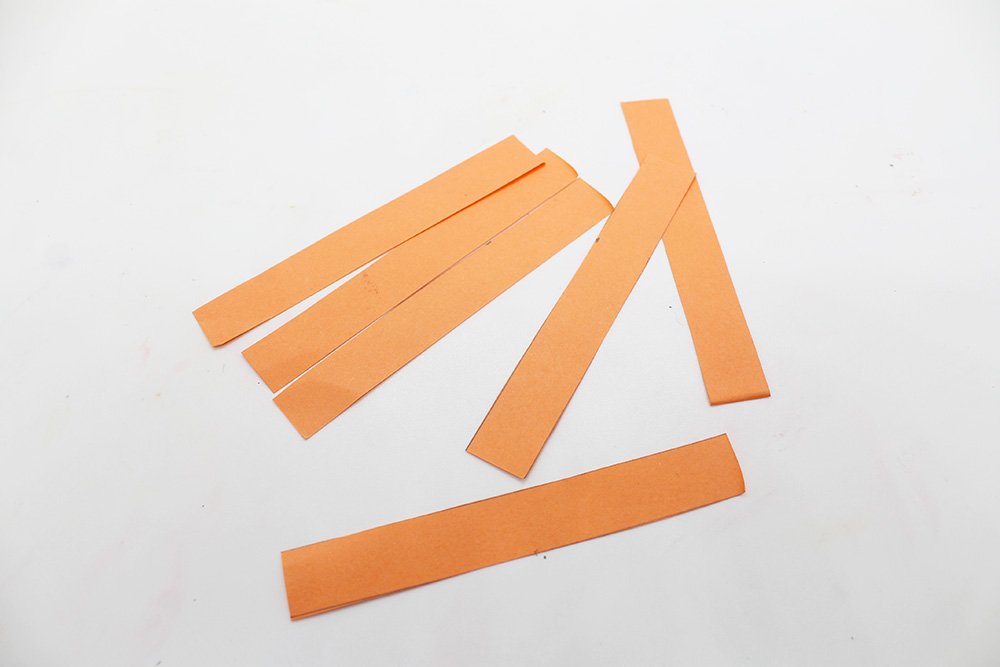
Now that your strips are done, we can now form the segments of the star.
Learn how to make a segment of the paper star.
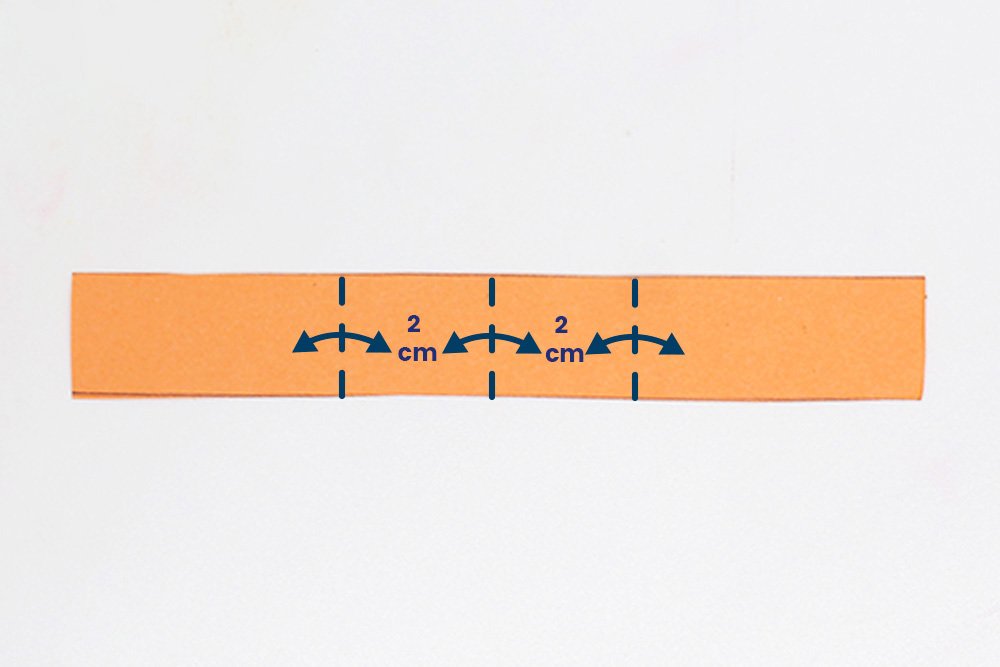
Now mark the middle of the stripes and make two more marks to the right and the left, the distance should be 20 millimeters from the middle. Fold and unfold along the marks made to make the crease lines.
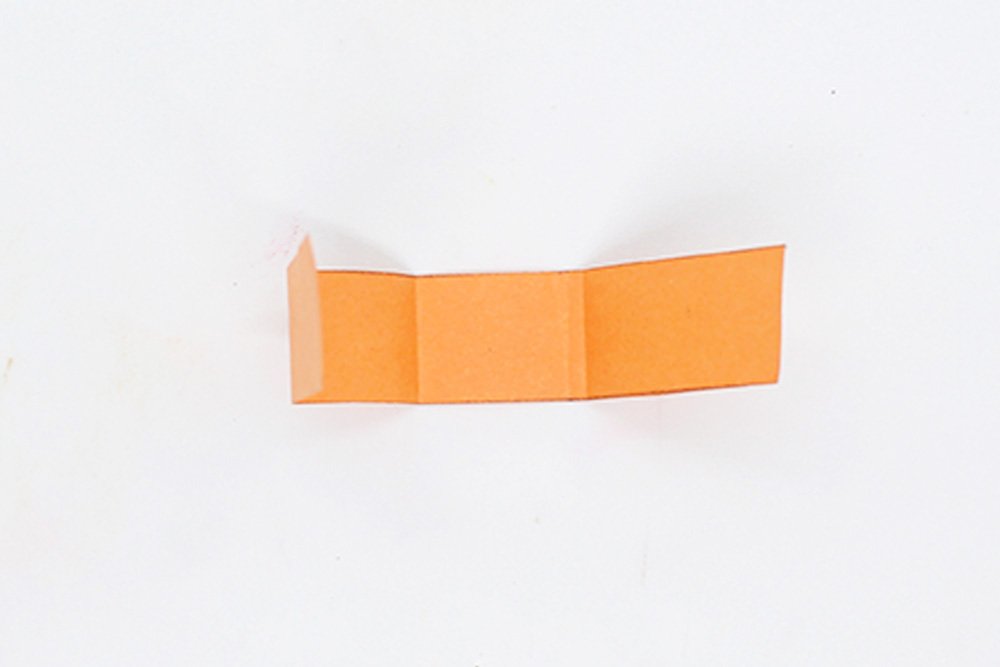
Bend the strips at the crease lines.
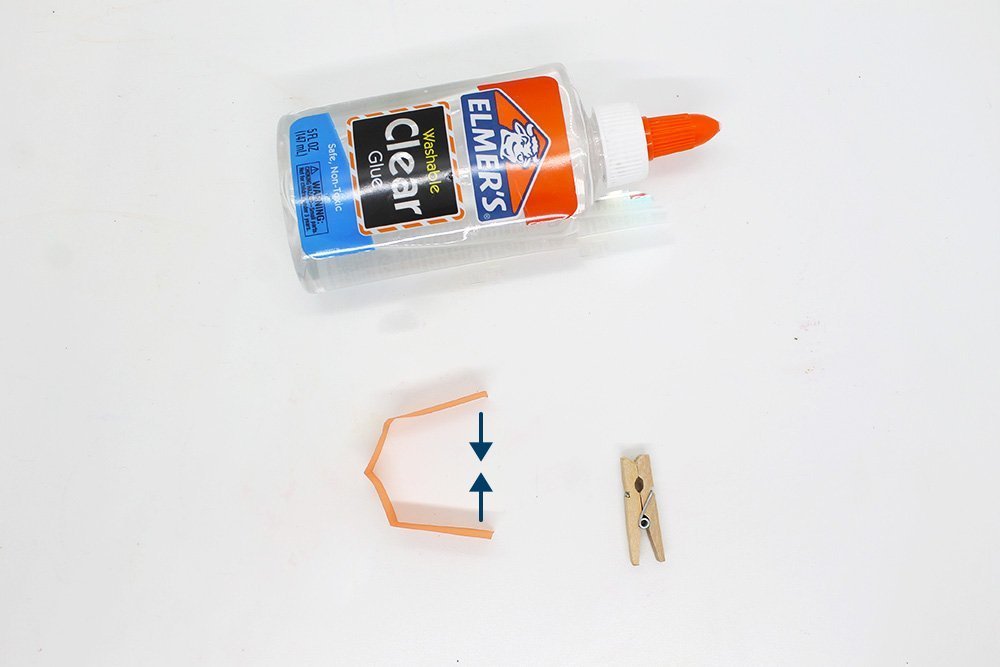
Once folded, a strip of paper should look like the image above. Now glue them together at the ends.
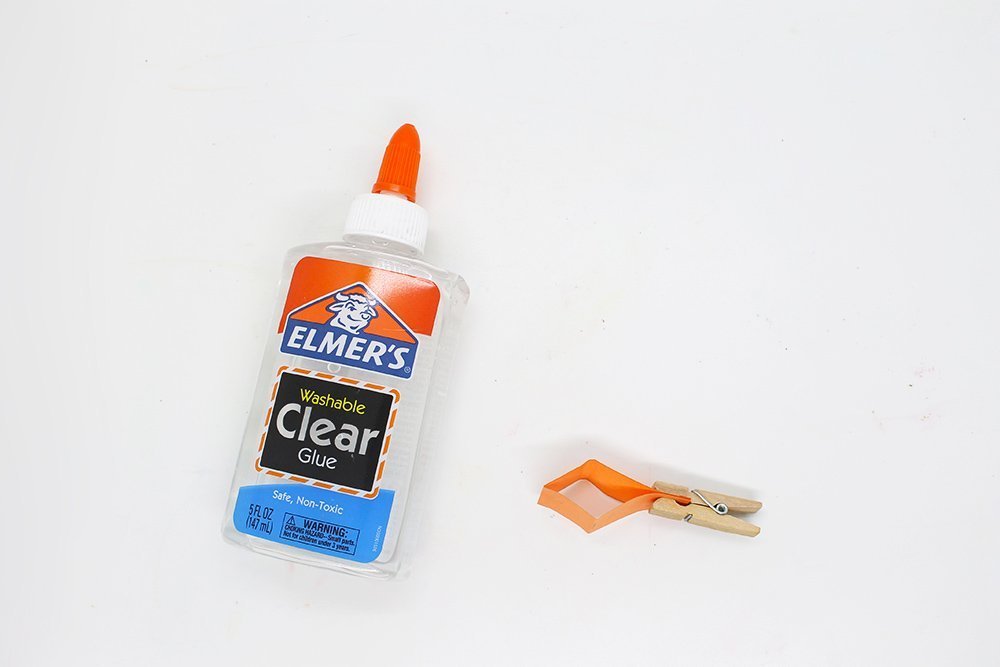
You have now made a segment of the star. To make sure that the ends of the segment in intact, clip them with a binder clip or clothespin.
Make 5 more of these so that you have 6 pieces.
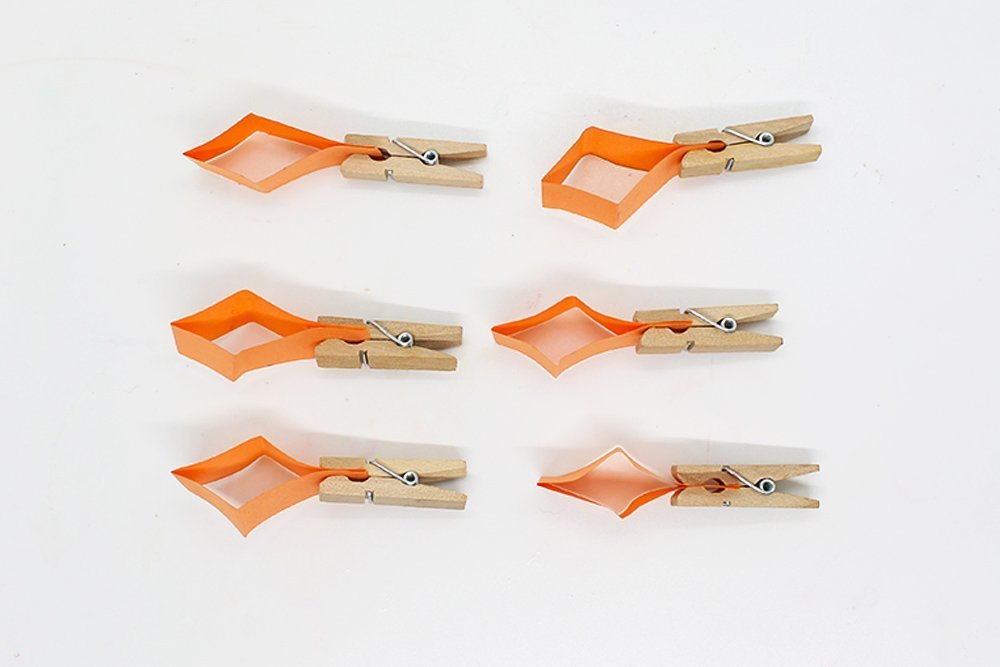
Let the ends of each segment set before proceeding to the next step.
Assemble the segments of the star
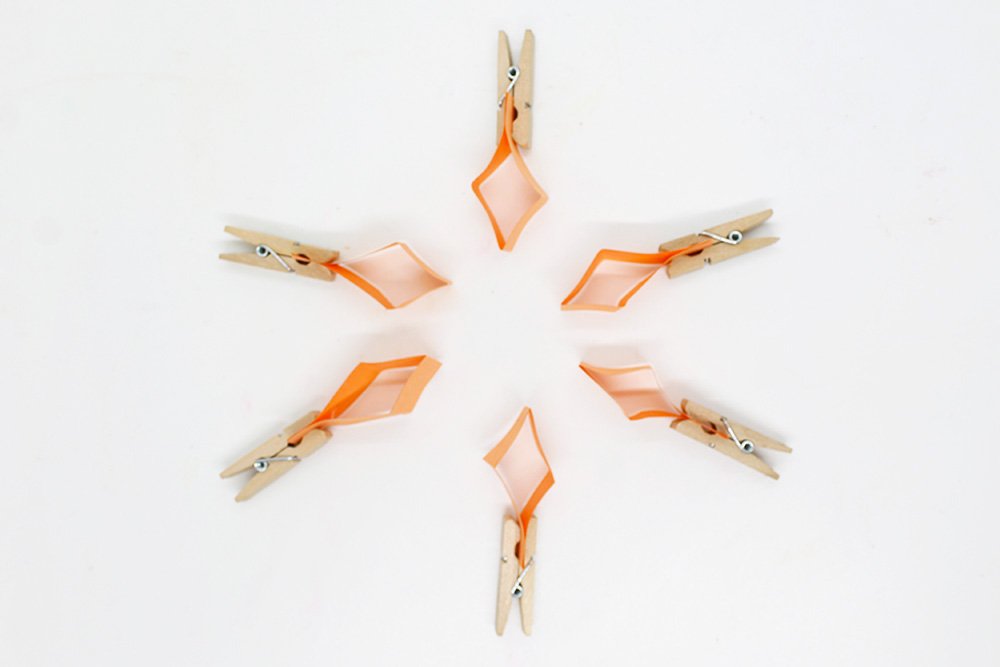
Position the segments of the star like the image above.
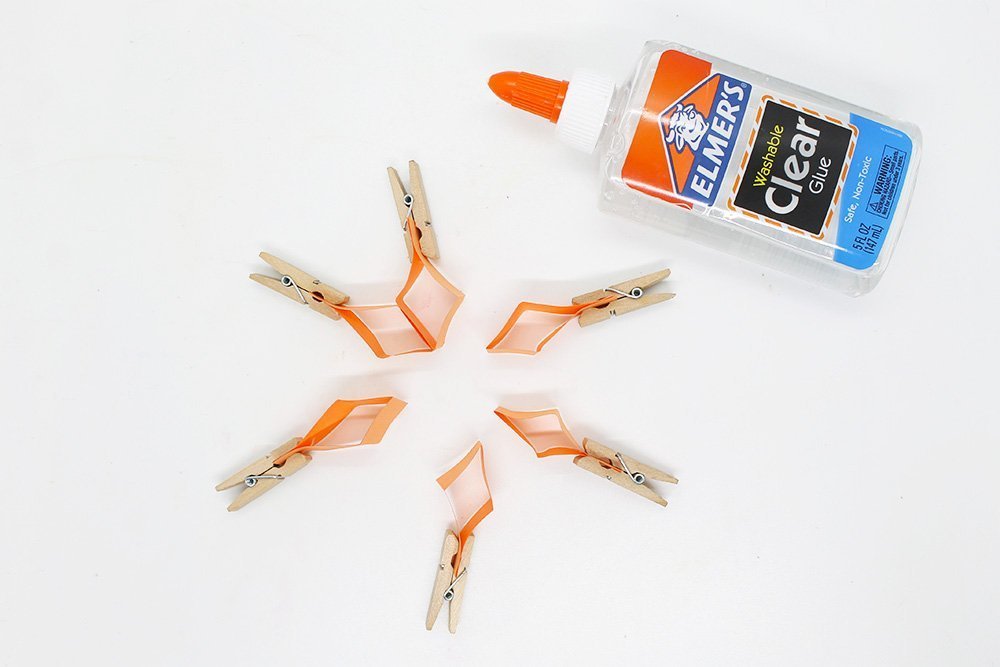
Now take the shorter sides of the respective segments and apply glue to them as well. Stick each segments to one another on the shorter side.

Do this on all sides to form the star. Make sure all shorter sides of each segment are stuck to each other.
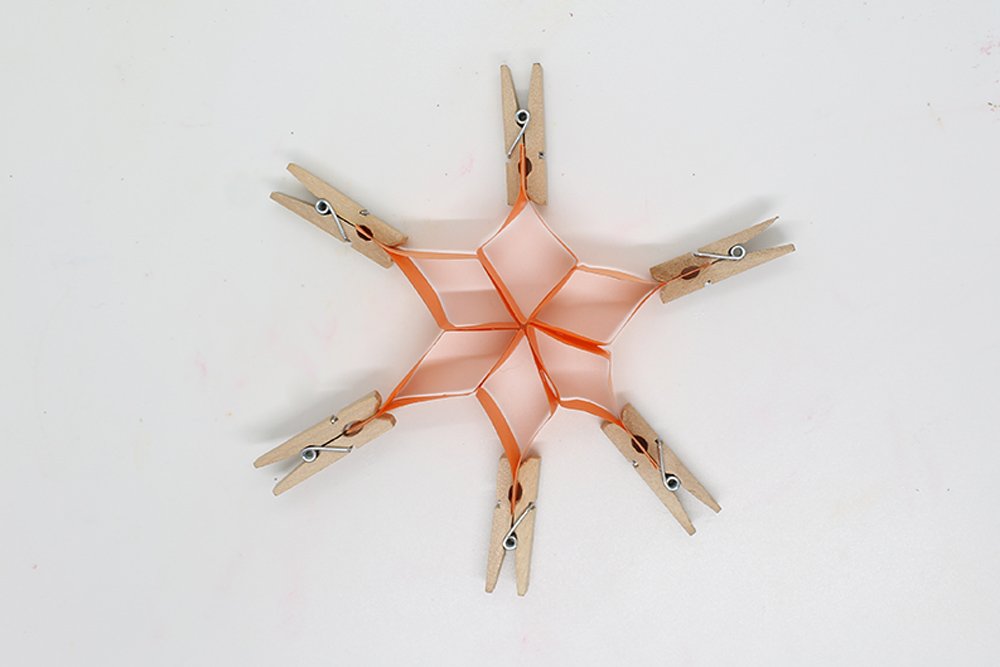
Let your star dry for a while before removing the clips.

Your star is done!
Extra Tips
- To hang this as decoration, get any string and loop it in one of the segments.


Great Ornament! Keep up the good work!
Now it’s easy to do step by step every single craft!💖
Just did this! My first origami. Bored in the house during this quarantine and am doing this
beautiful star, I wil, try this too
I don’t have clothes pins so I used paper clips instead 🙂