Introduction:
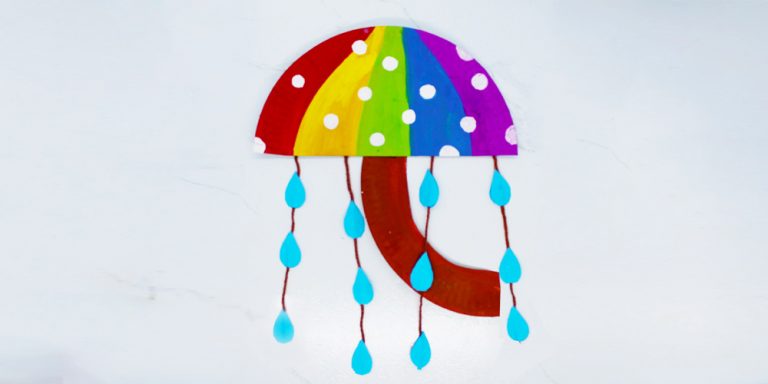
Learn how to build a paper plate umbrella using some yarn, a piece of blue paper, and coloring materials. There are so many ways you can create various rainy day crafts from a humble paper plate. One example is this easy-to-make umbrella fit for the rainy season. We decided to decorate the umbrella with the colors of the rainbow so that we can be reminded that”after the rain comes a rainbow.”

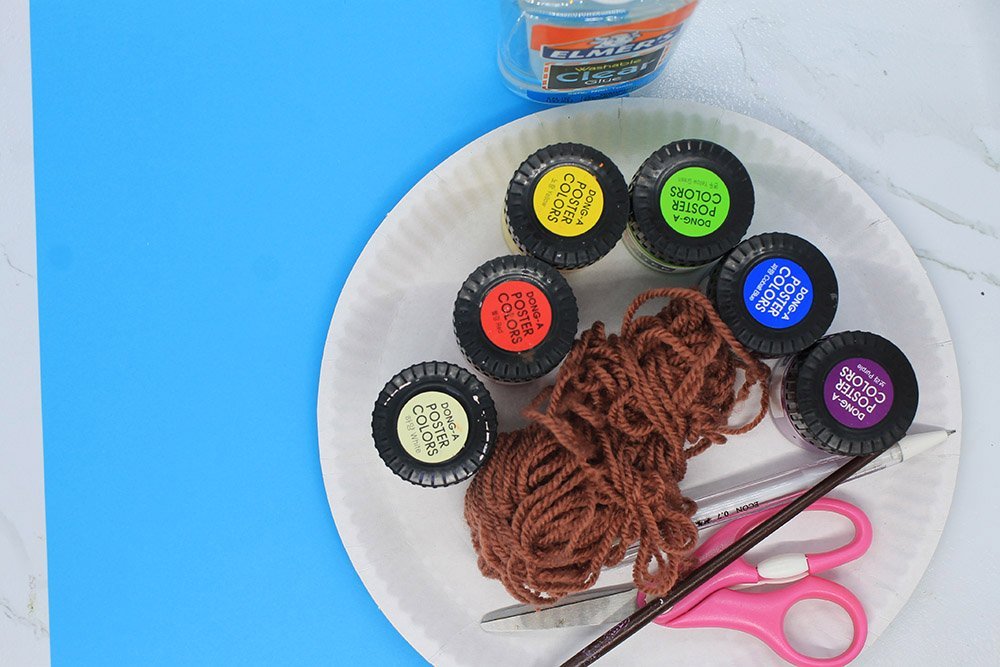
Tools
- Paintbrush
- Scissors
- Pencil
Supplies
- Paper Plate
- Poster Paints
- Glue
- Yarn
- Tape
- Blue Paper

Cut the base of the paper plate umbrella
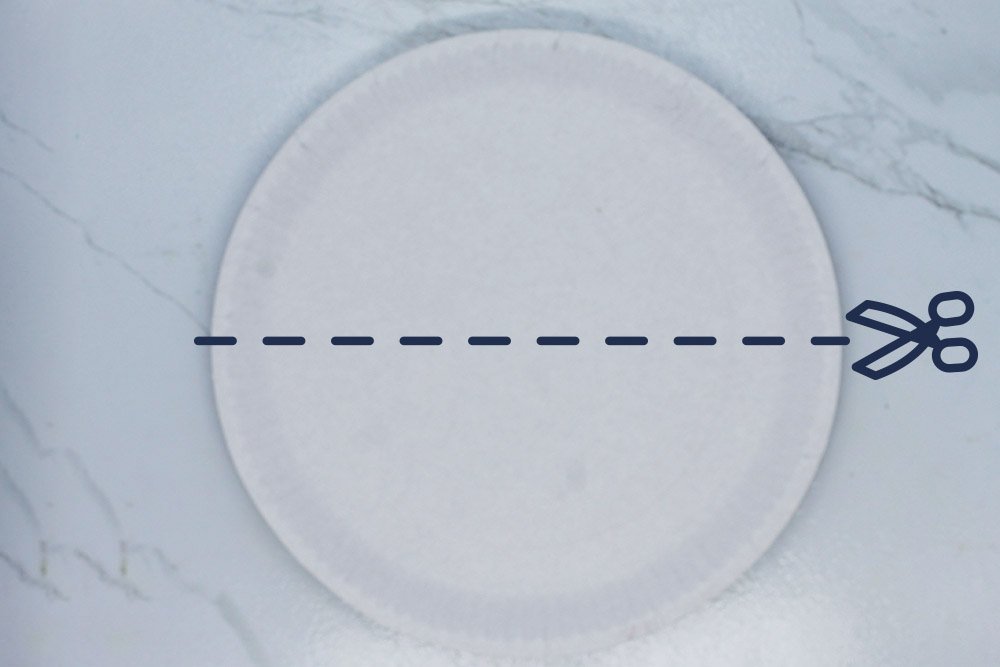
Grab a paper plate and cut it in half. To do so, fold and then unfold the paper in half and cut along the crease line.
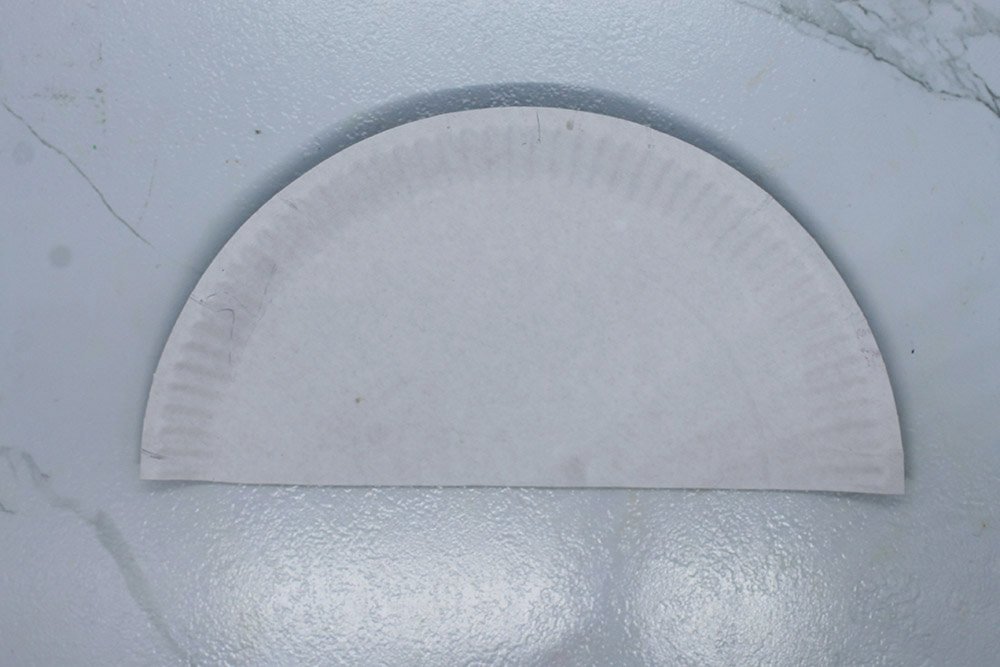
Set aside the other half for now, and let’s start decorating!
Decorate the paper plate umbrella
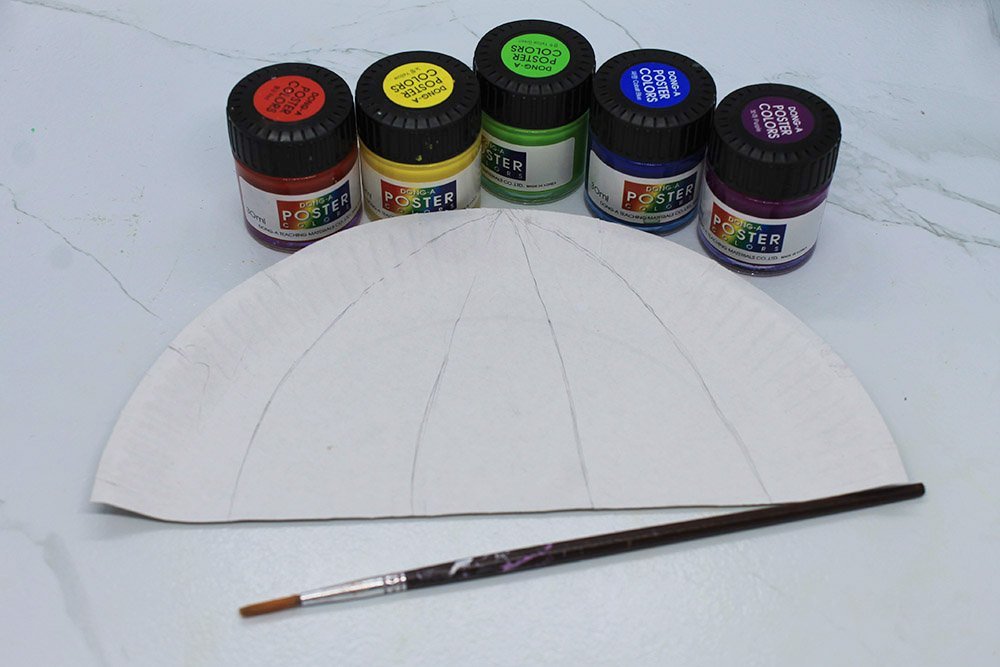
The rainbow is known for its seven colors — red, orange, yellow, green, blue, purple, and indigo. You may use all seven colors to paint the umbrella or follow how we painted this umbrella for this instruction. To make it simpler for small kids, we decided to use five colors for this project instead. Plus, it’s easier to divide the section into three to five parts.
Divide the paper plate into five sections (or more depending on the number of colors you’re going to use). Draw some vertical lines on the paper plate like the sample image above using a pencil.
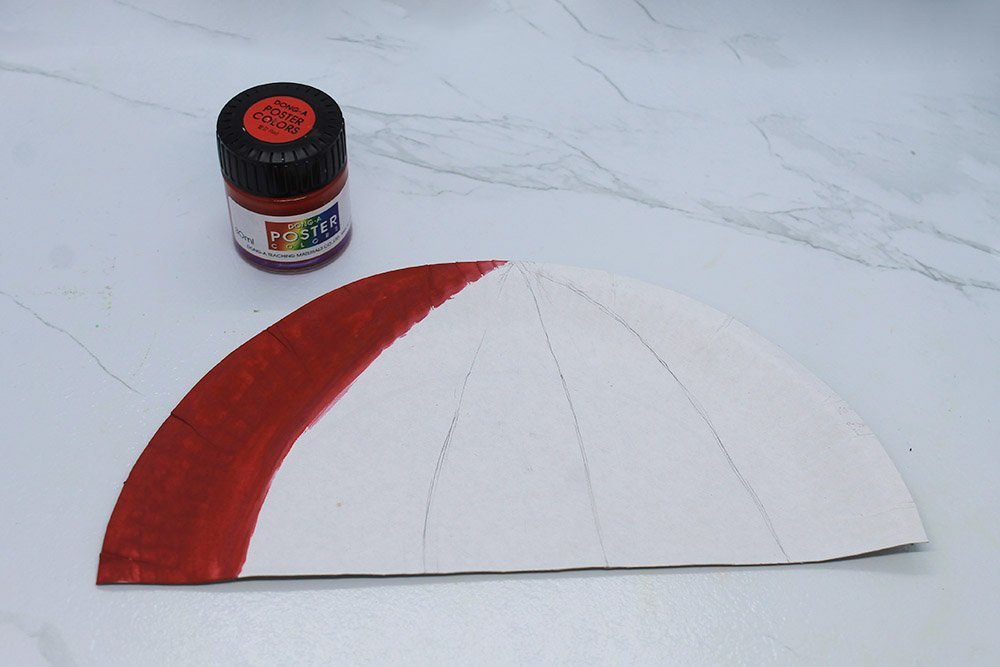
To fit the rainbow theme, follow the color sequence of the rainbow. Let’s color the leftmost part with red paint.
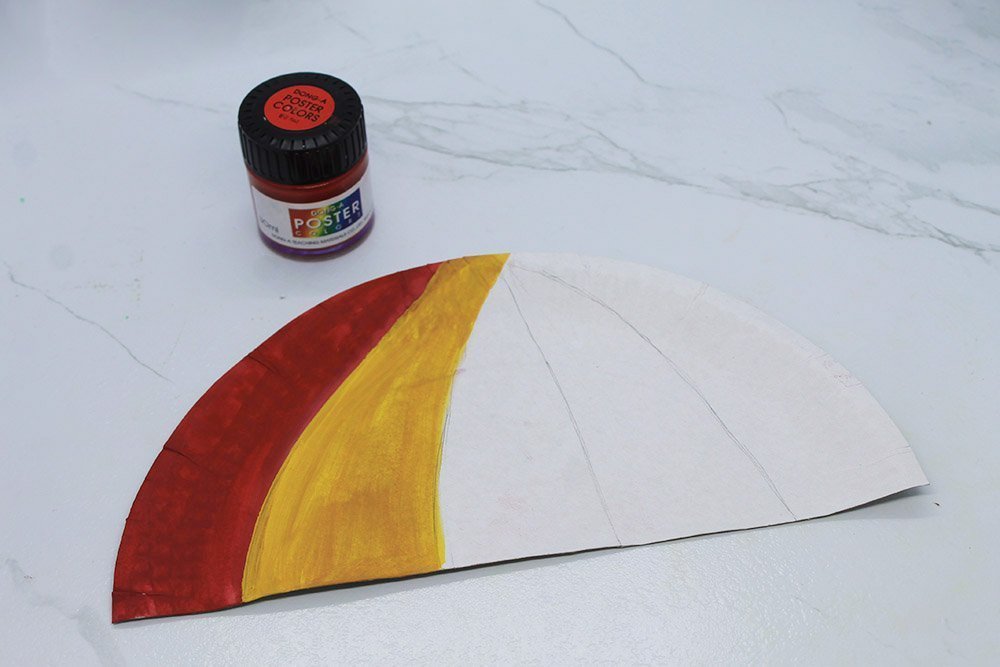
Next color with yellow paint.
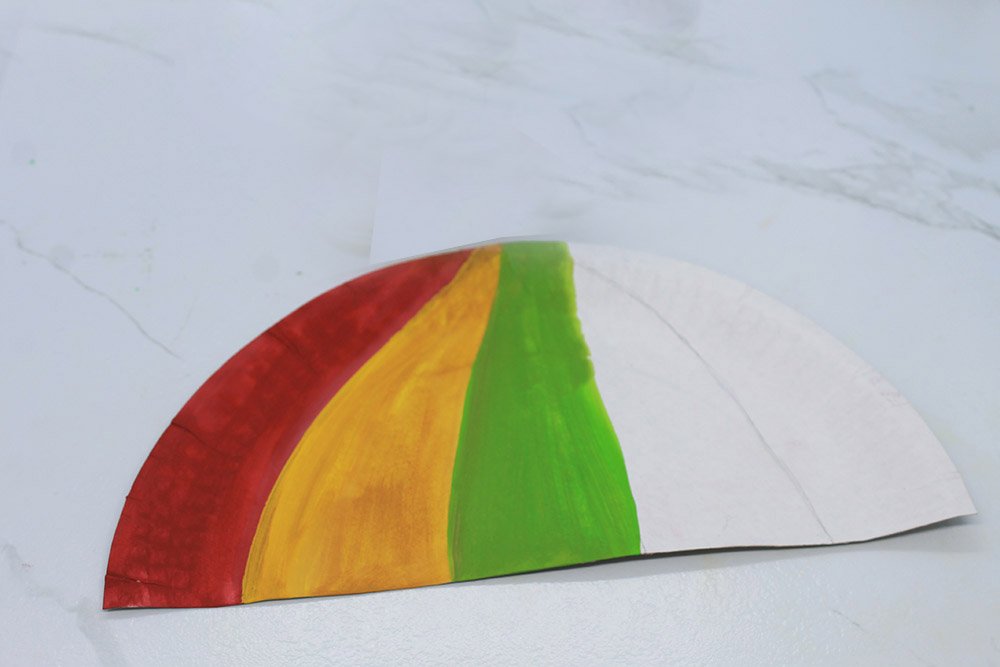
After yellow, paint the next section with green paint
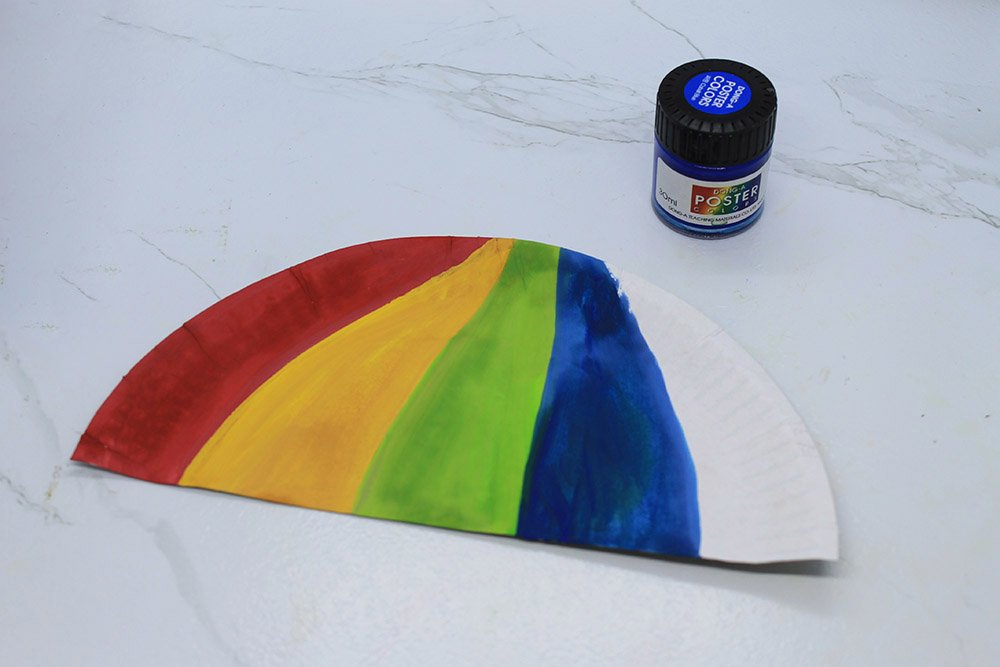
Color the next section with blue paint.
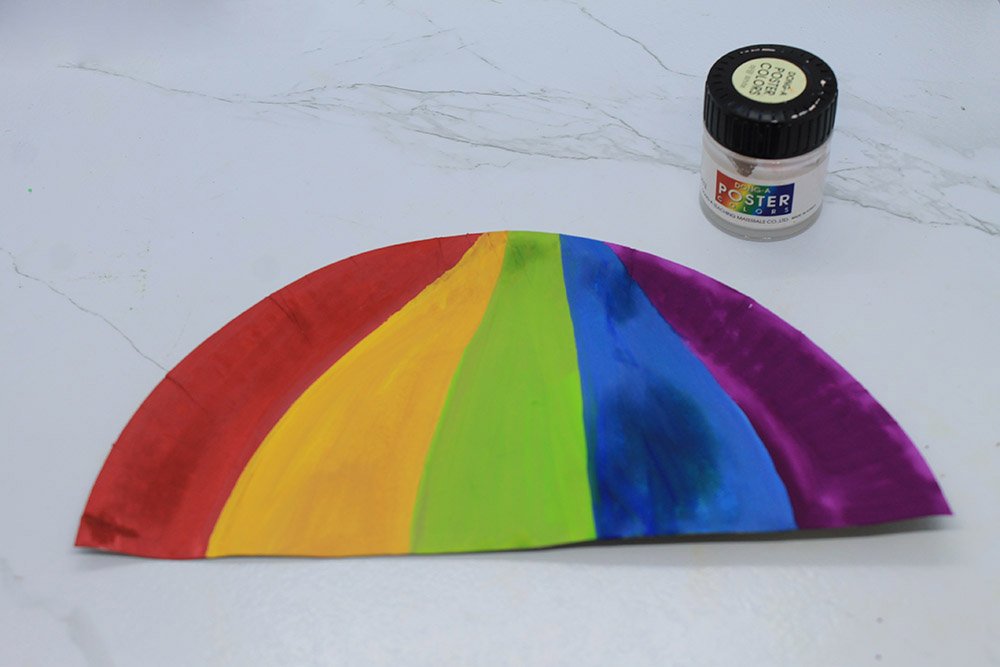
Lastly, color the last section with purple or violet paint. You now have a rainbow-themed umbrella!
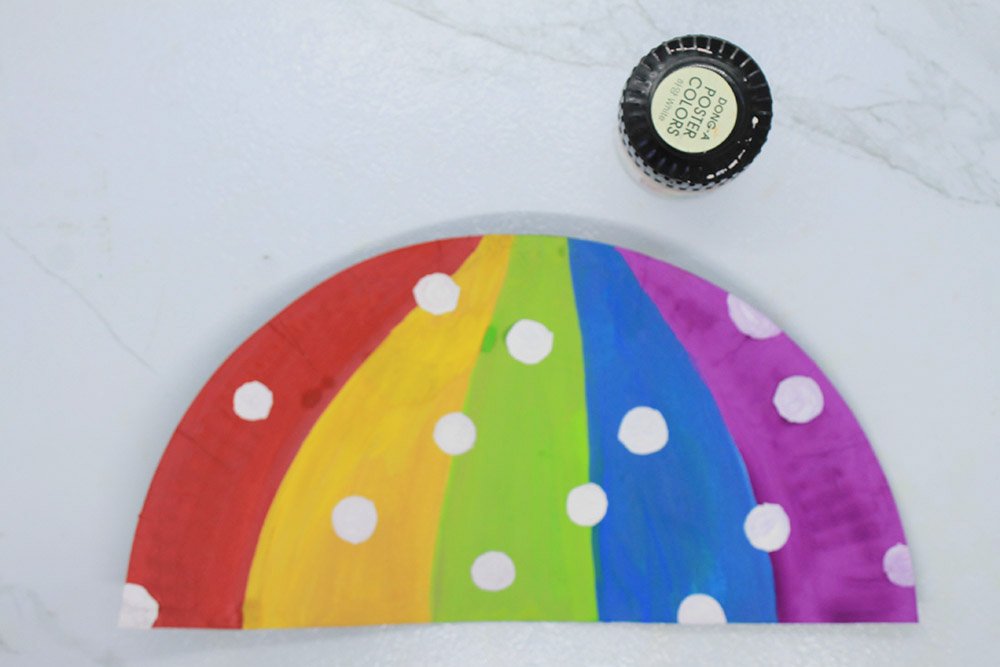
Optional: To make it even better, you may paint some patterns on the umbrella. For this project, we decided to add white polka dots.
Create the handle of the paper plate umbrella and the stencil for the raindrop
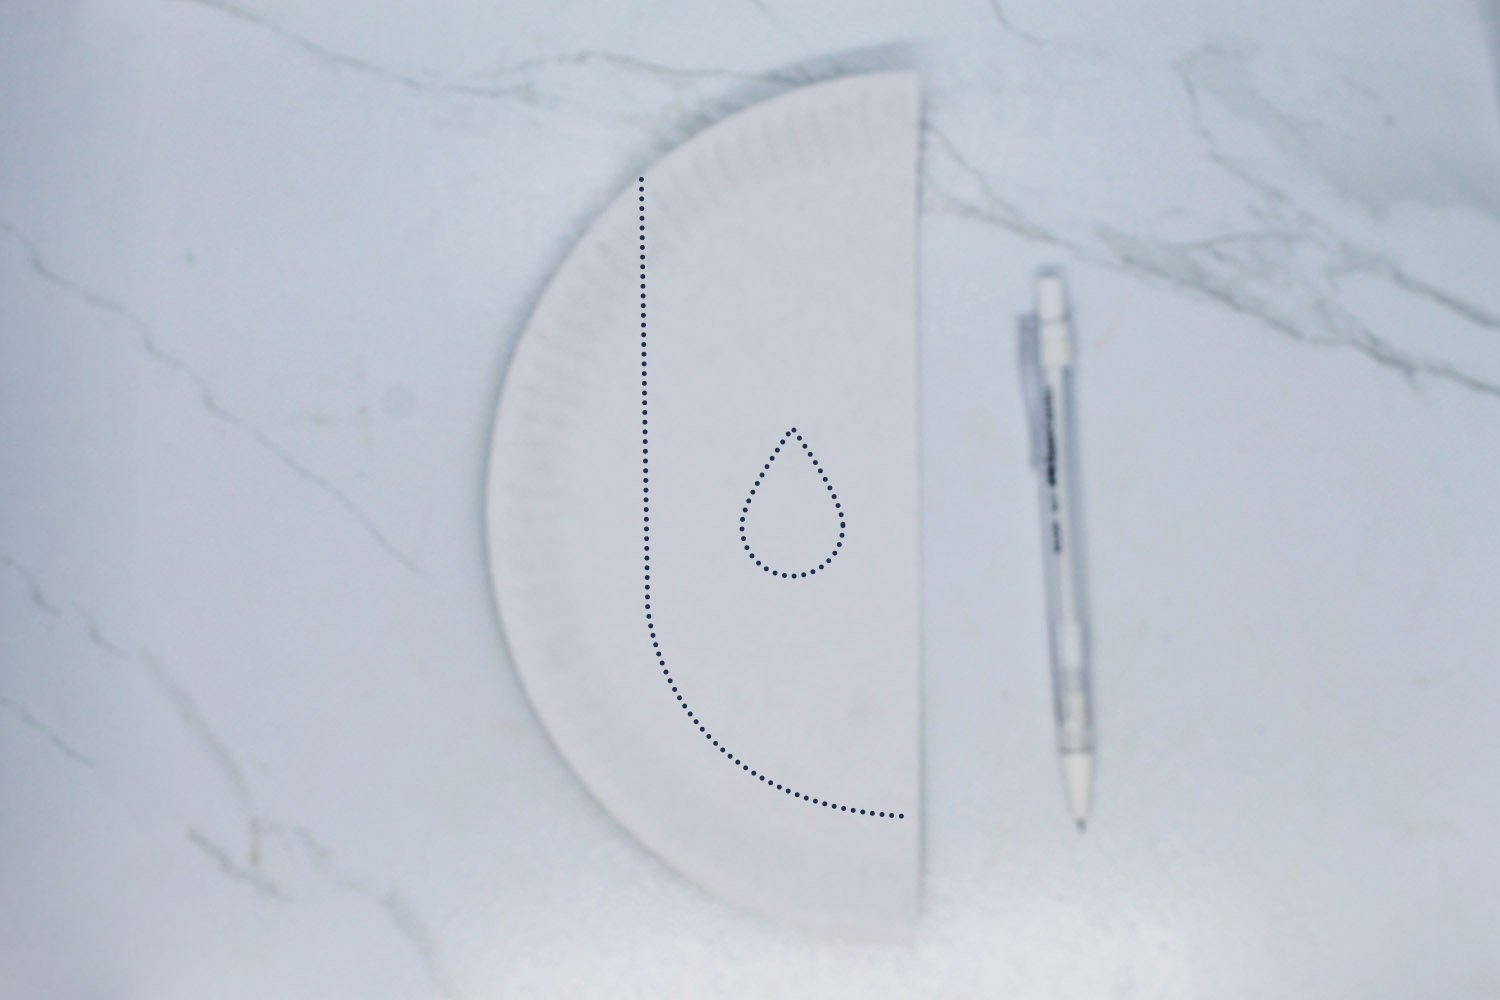
Grab the other half of the paper plate and draw a handle and teardrop on it using a paper plate. Follow along the dotted line above on how to illustrate the handle and the stencil.
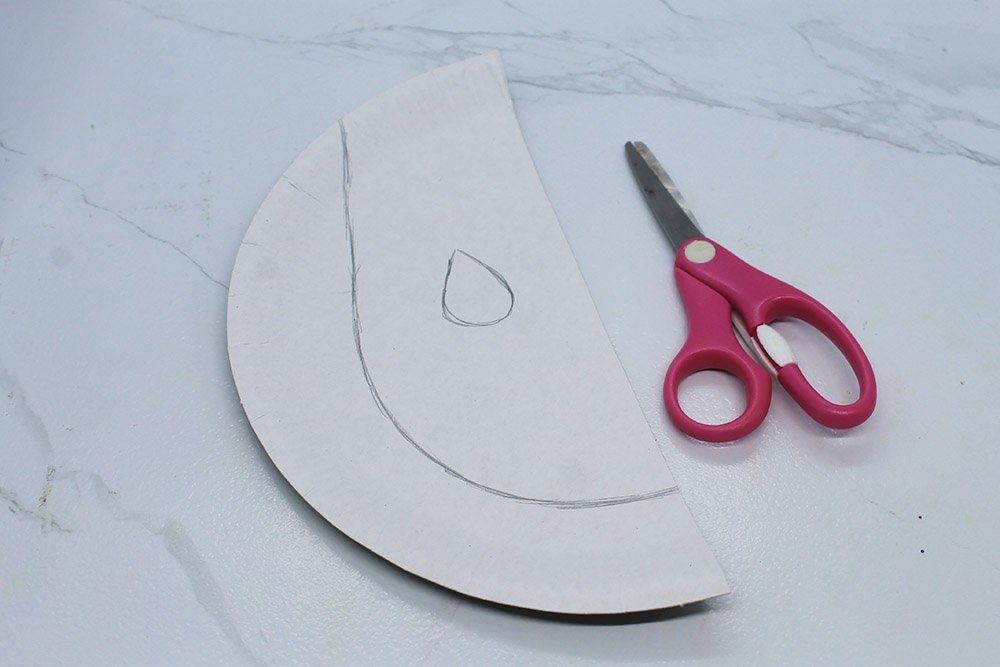
Cut along the outline made.
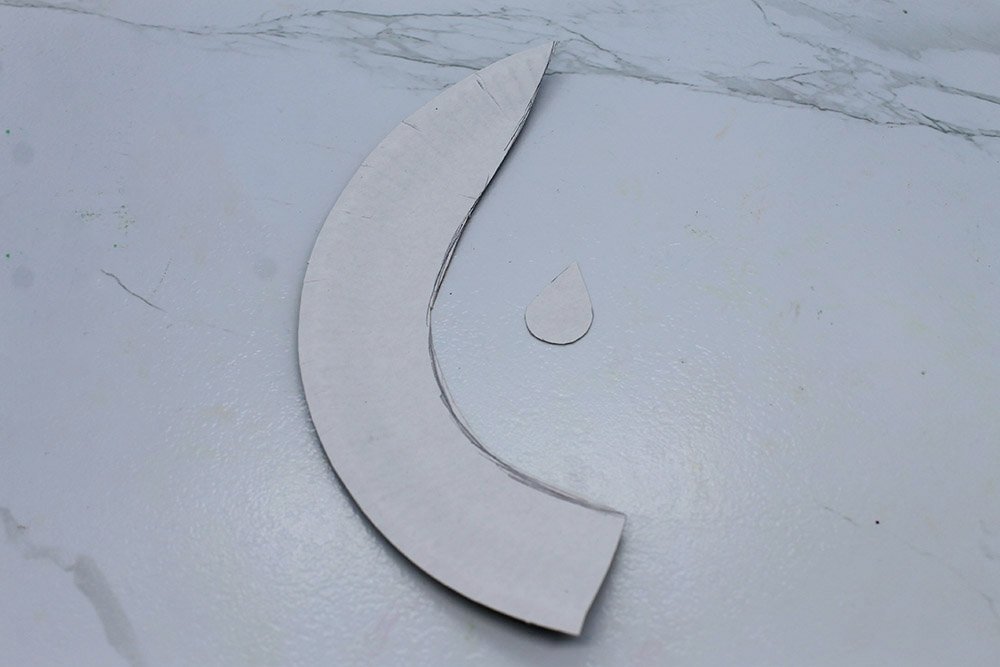
You now have two cutouts, a handle, and a stencil of a raindrop.

Color the handle with the color of your choice. Here we mixed red and green to make brown paint.
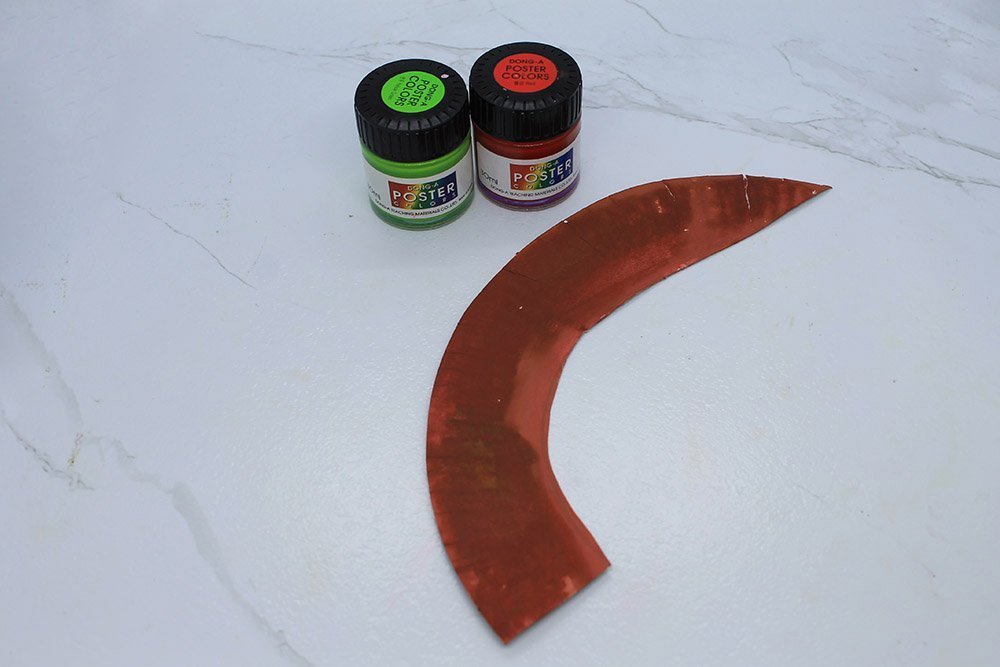
Let the painted handle dry for a bit before proceeding to the next step.
Assemble the top part and the handle of the paper plate umbrella
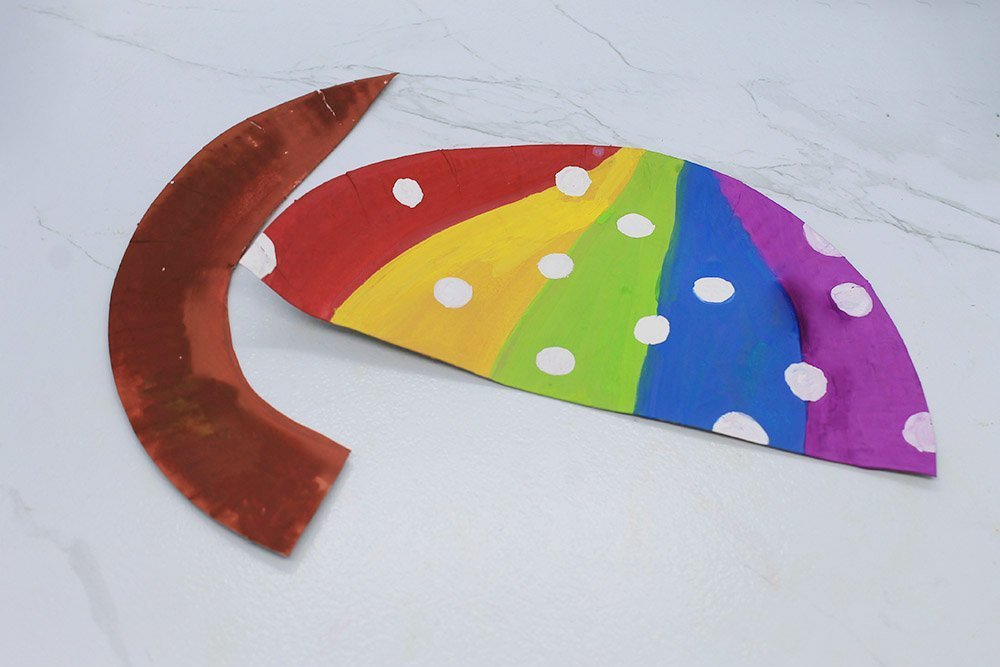
Stick the top pointy end of the handle to the back of the paper plate.

Once assembled the paper plate umbrella should look like this!
Create the raindrops
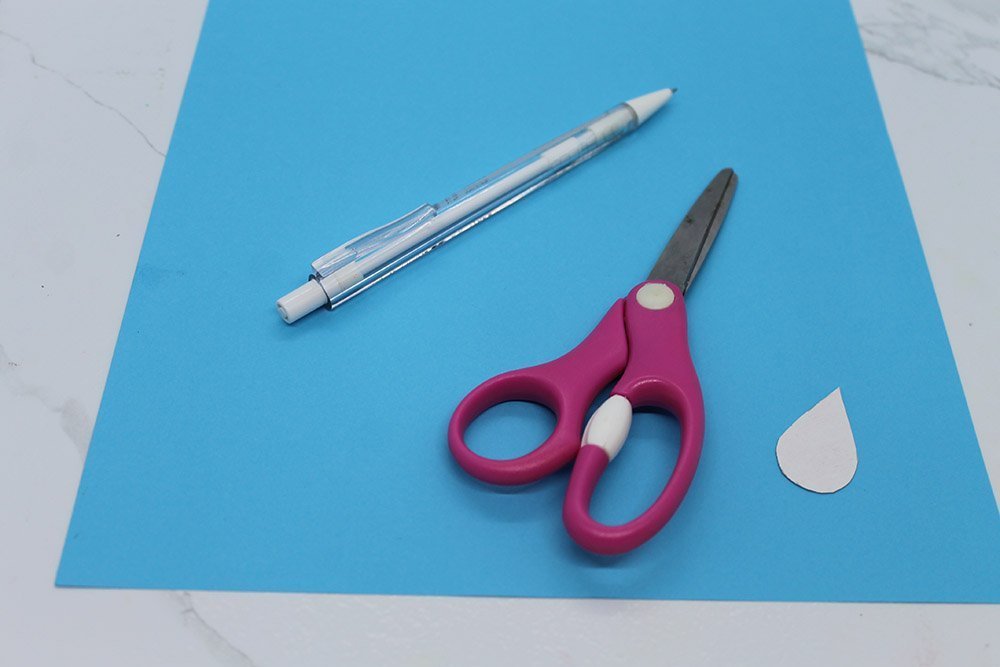
Grab a piece of blue construction paper, scissors, pencil and the raindrop stencil made beforehand.
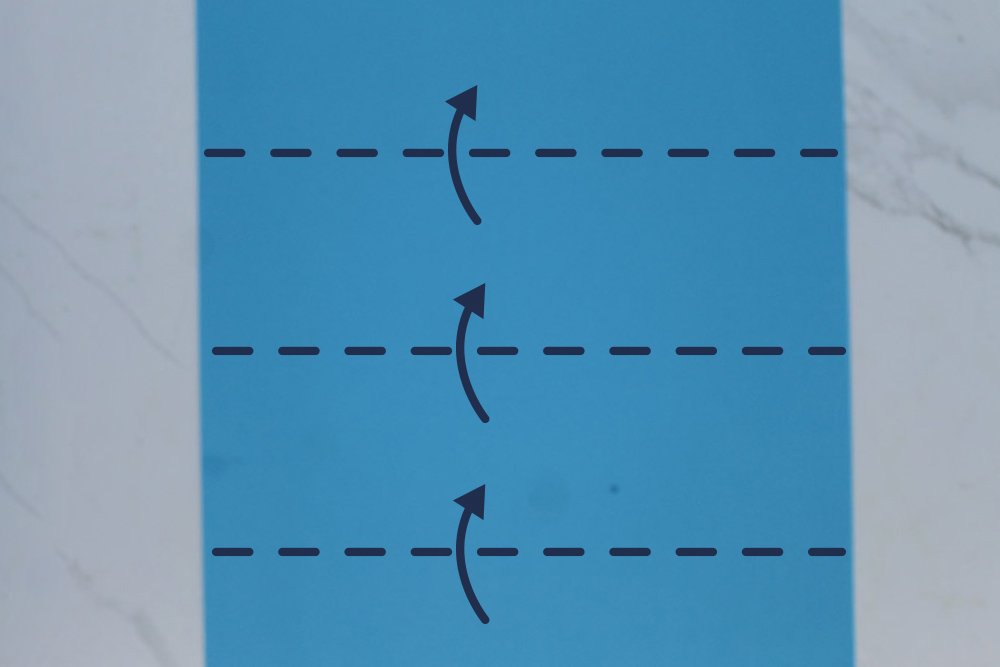
Fold the construction paper thrice
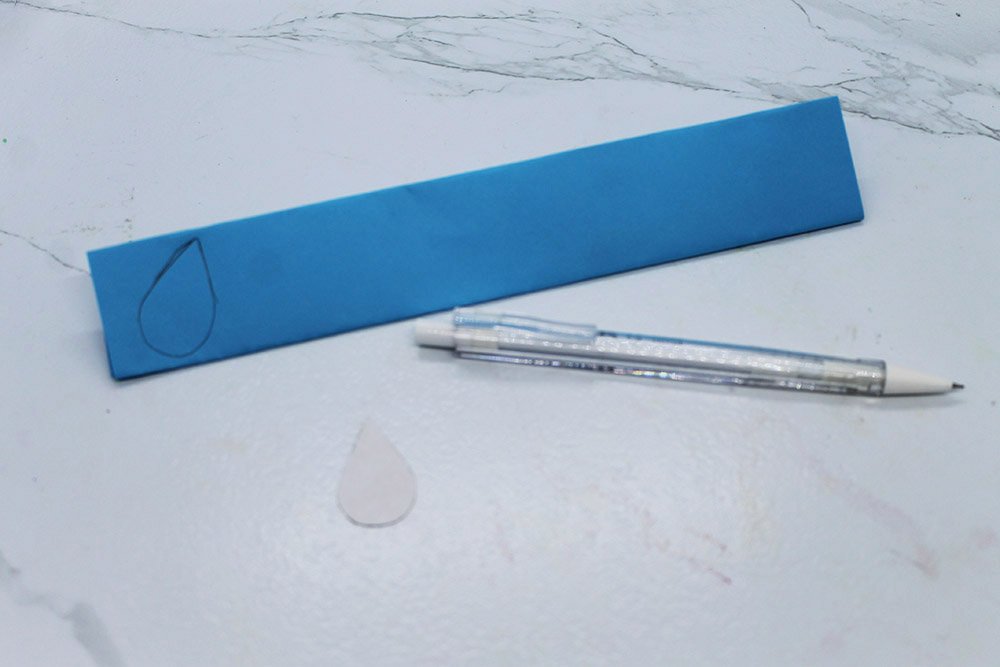
Make multiple drawings of raindrops by drawing the stencil on the folded paper.
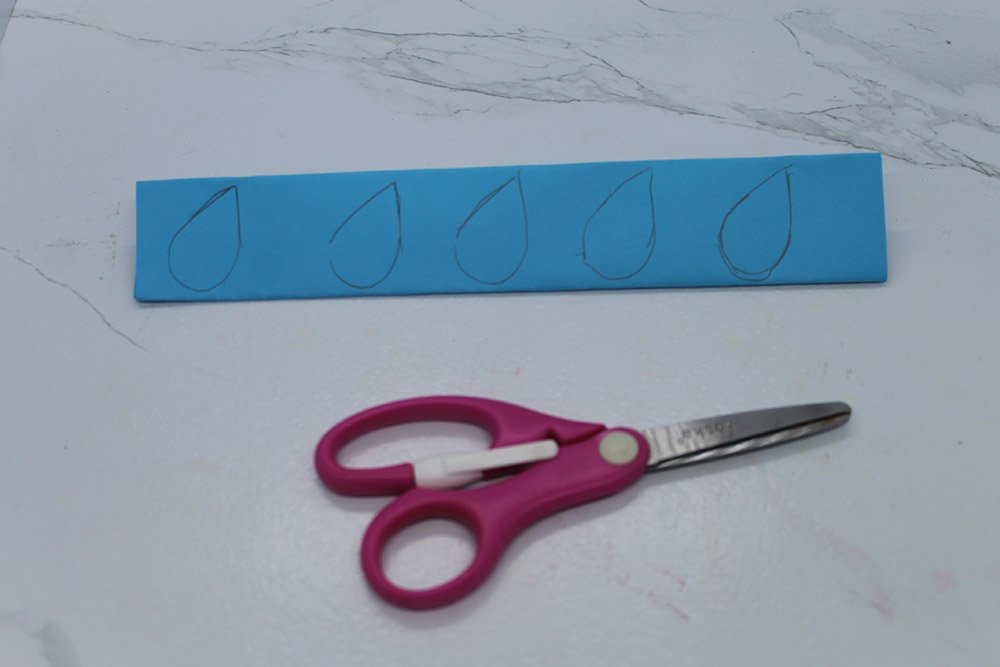
Cut each outline of the raindrops.
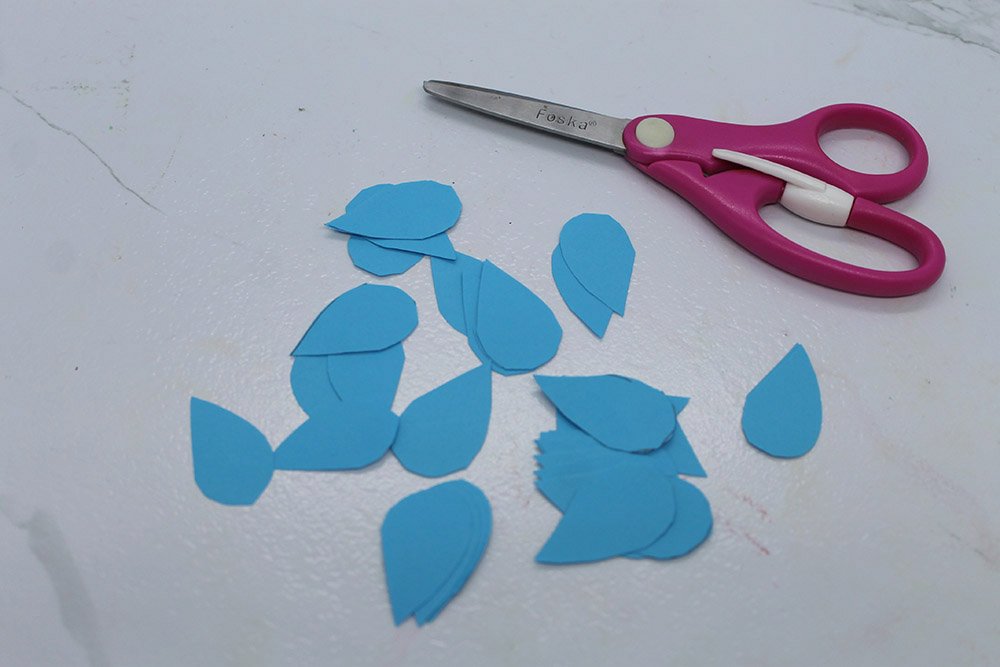
Time to attach these raindrops on a string.
Attach the raindrops to a string
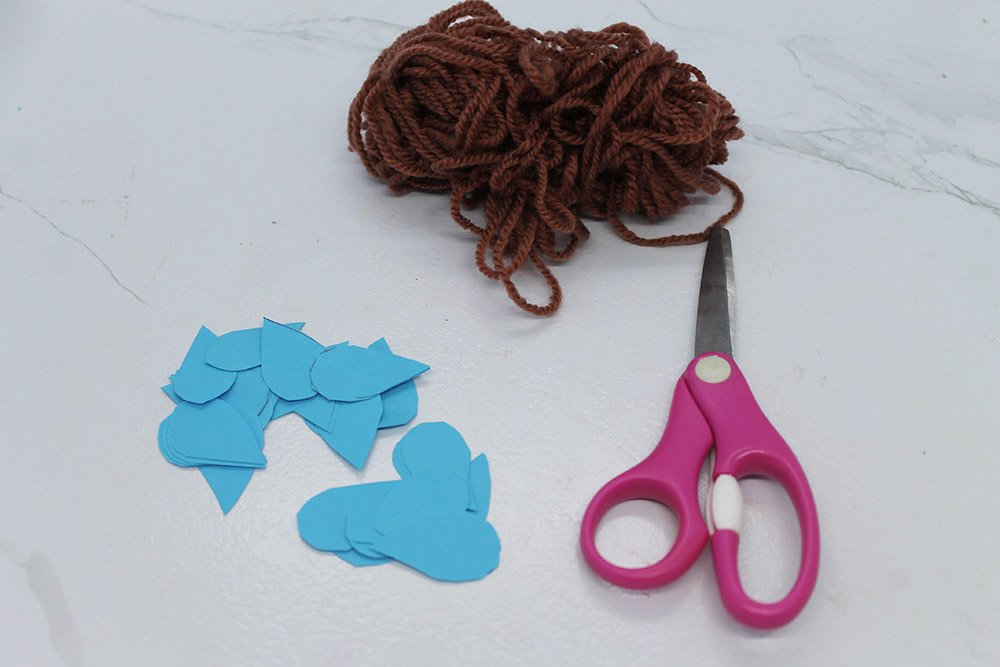
Cut a few pieces of string or yarn (here, we used four).
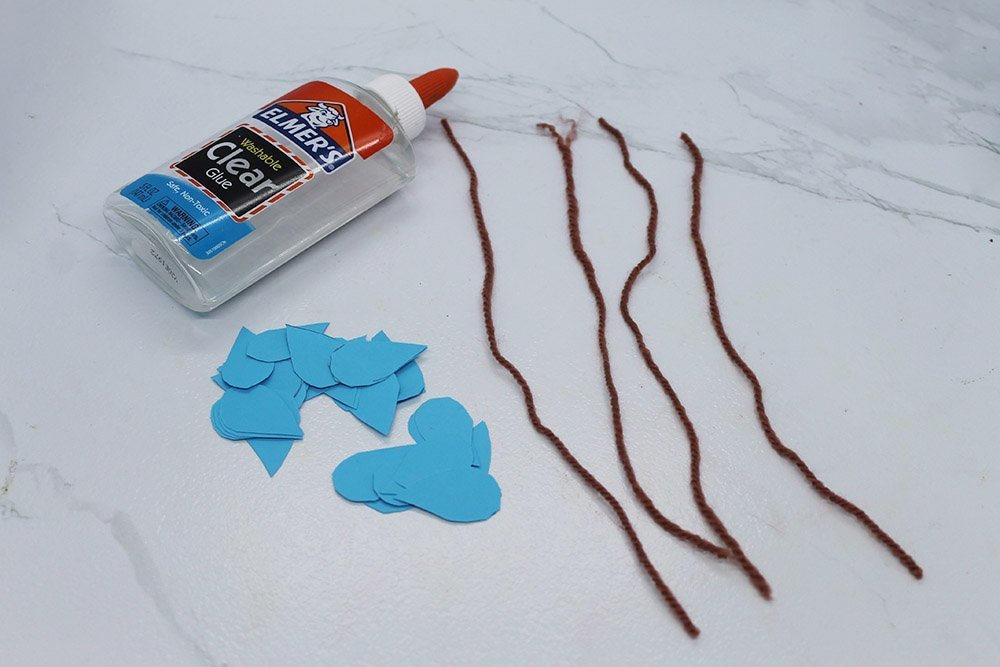
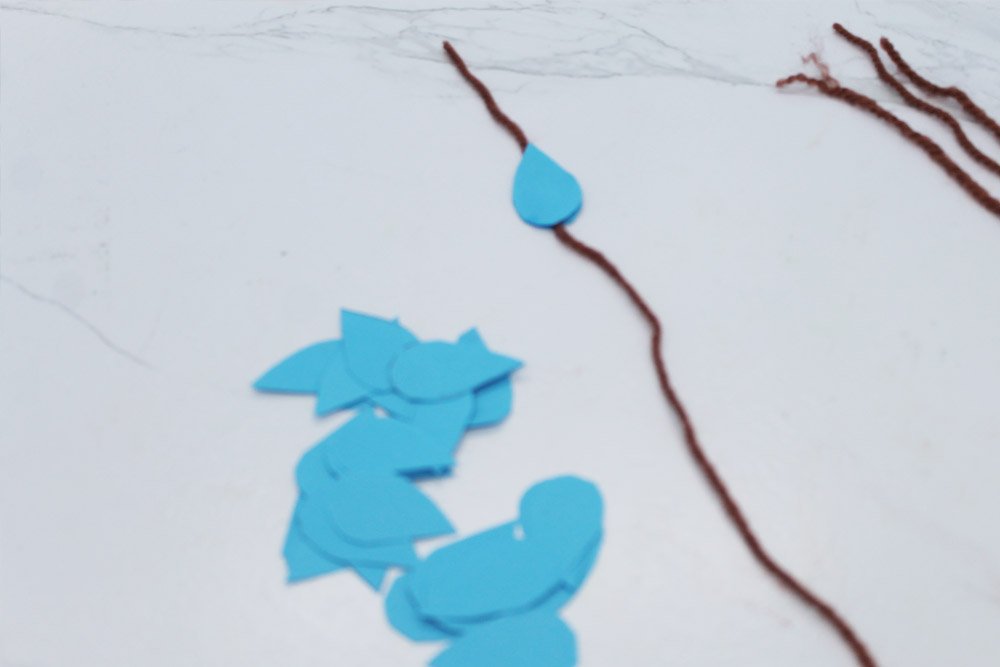
Stick two paper raindrops together. Place the string in between the paper raindrops.
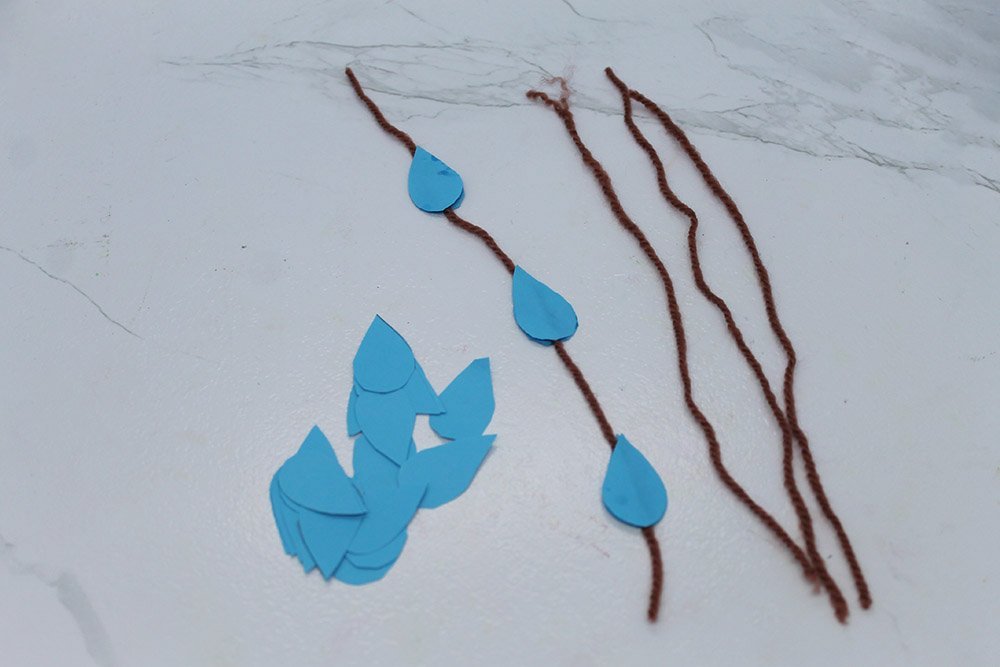
Stick together at least three raindrops per string. Do this on the other yarn as well.
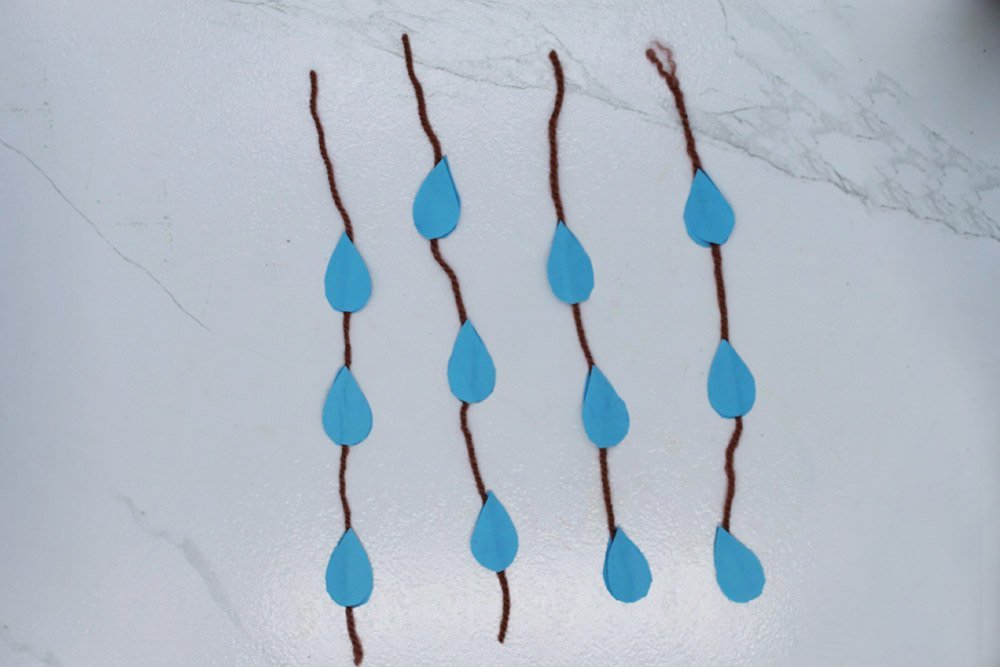
The raindrops are now ready to be attached to the umbrella.
Attach the raindrops to the umbrella
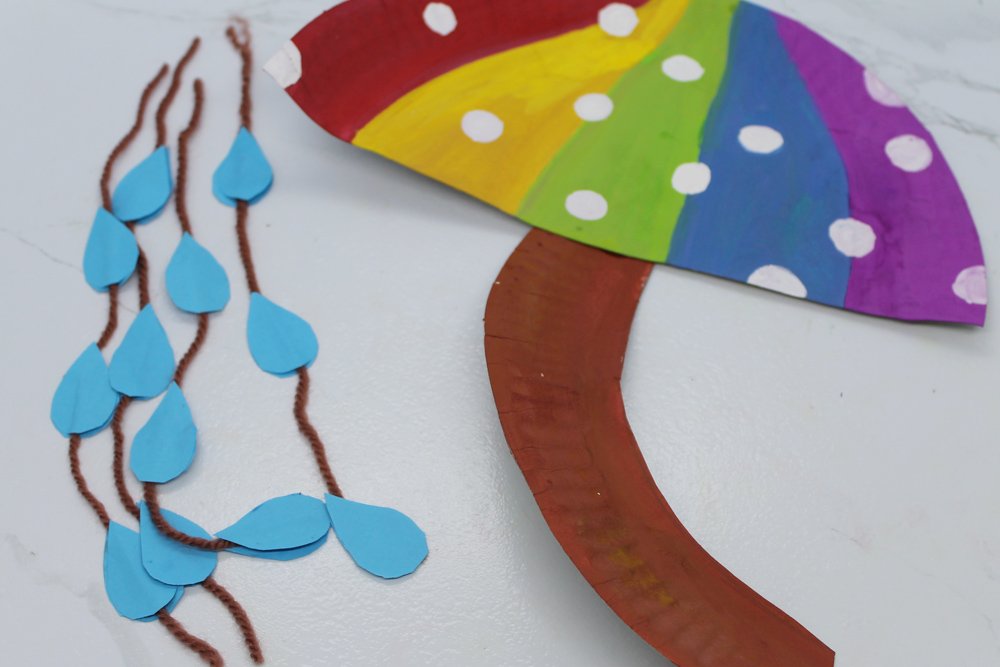
Grab the finished umbrella and flip it over.
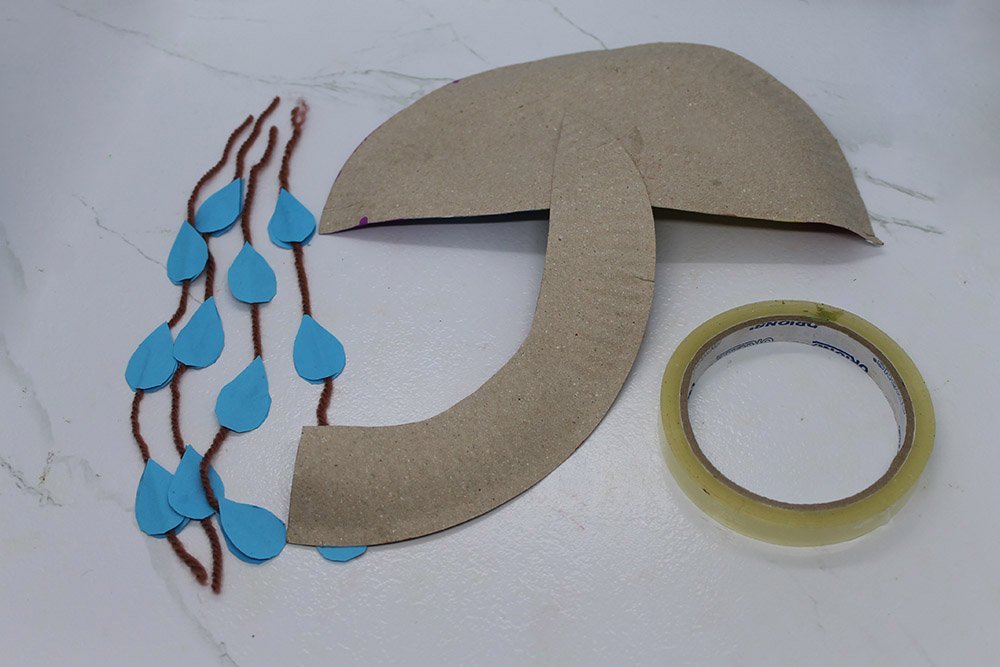
Tape the string of raindrops on the straight side of the paper plate.
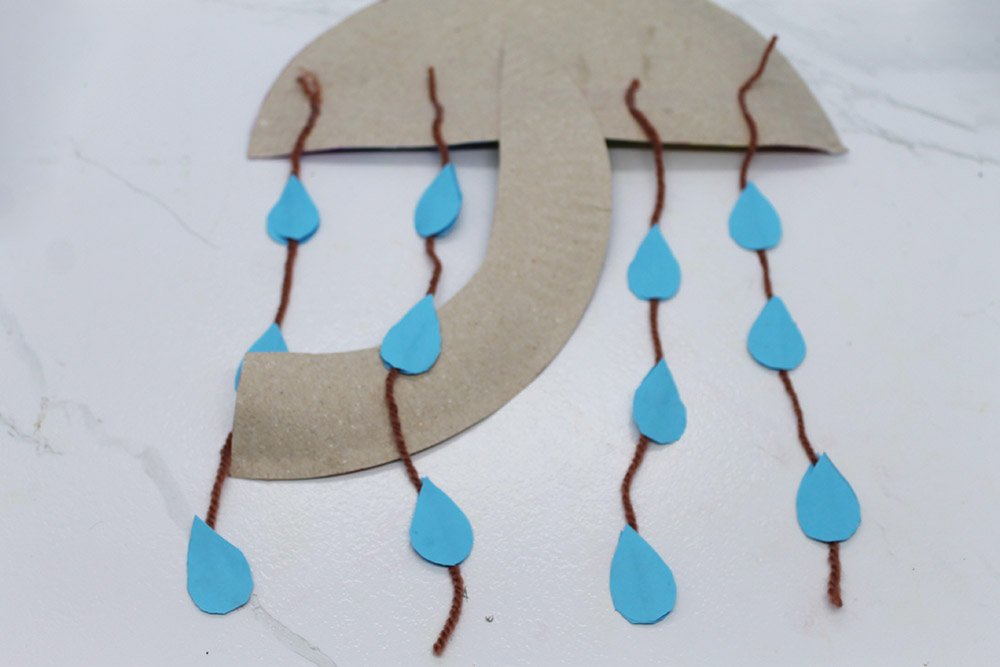
After taping, flip the umbrella.
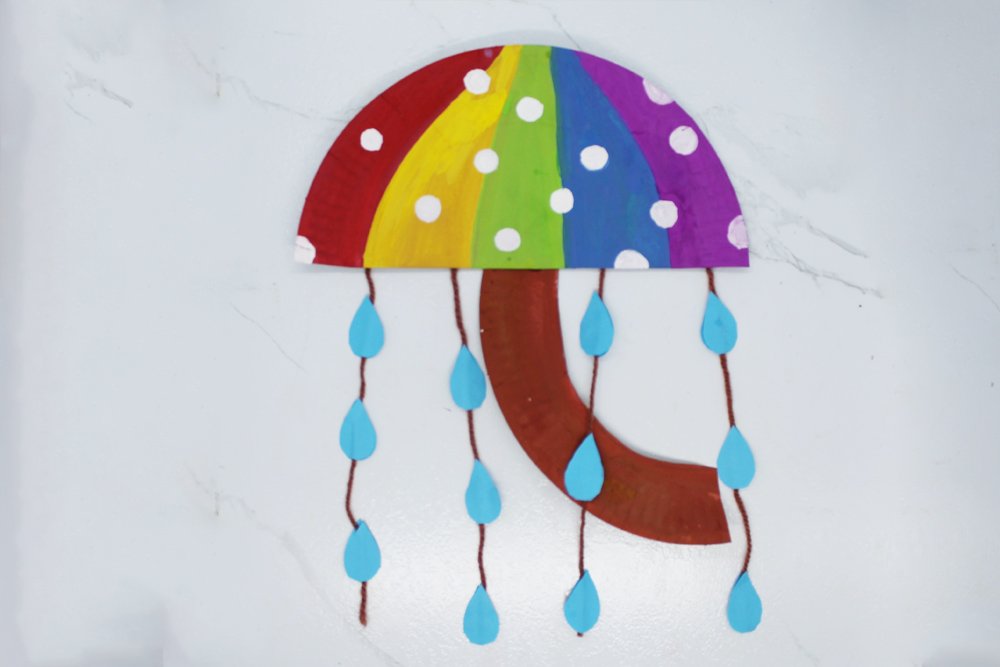
The paper plate is umbrella is done.


