Introduction
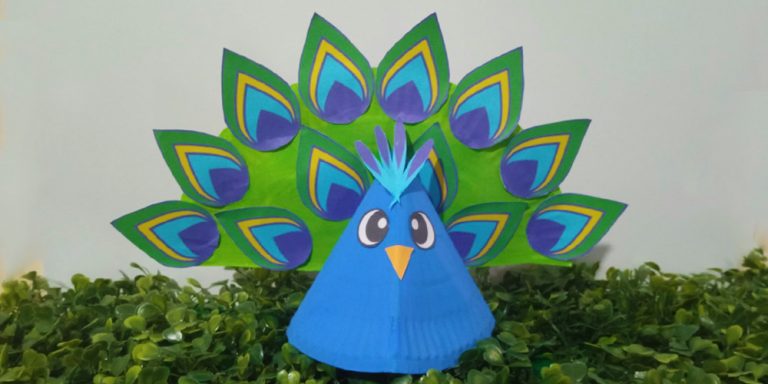
Did you think that making a paper plate peacock was going to be hard? In this article, we’ll take guide you through each step so that you’ll be able to create a beautiful peacock out of easy-to-find art materials in 20 minutes.
The first step is to create the base of our paper plate craft which is the body and face of the bird. Then we make the face and tail of the peacock. Finally we glue the tail to the body of the peacock.
Have fun making this wonderful DIY craft with your kids.

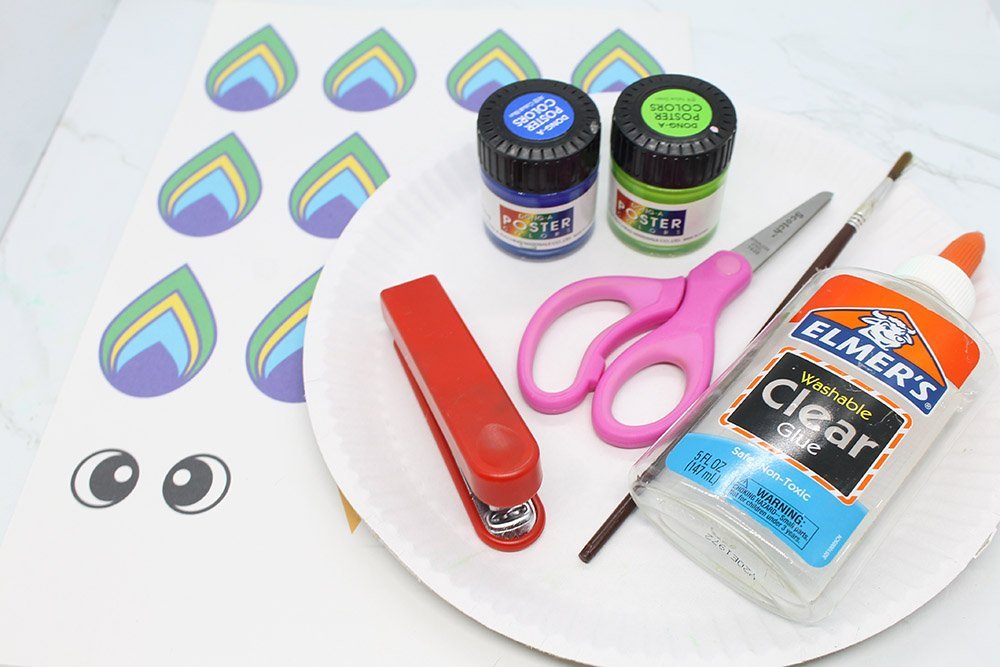
Tools
- Scissors
- Paint brush
- Stapler
Supplies
- Paper plate
- Free printable
- 2 Poster colors (Green, and Blue)
- Clear Glue

Download Area
Download TemplateMake the Body of the Paper Plate Peacock
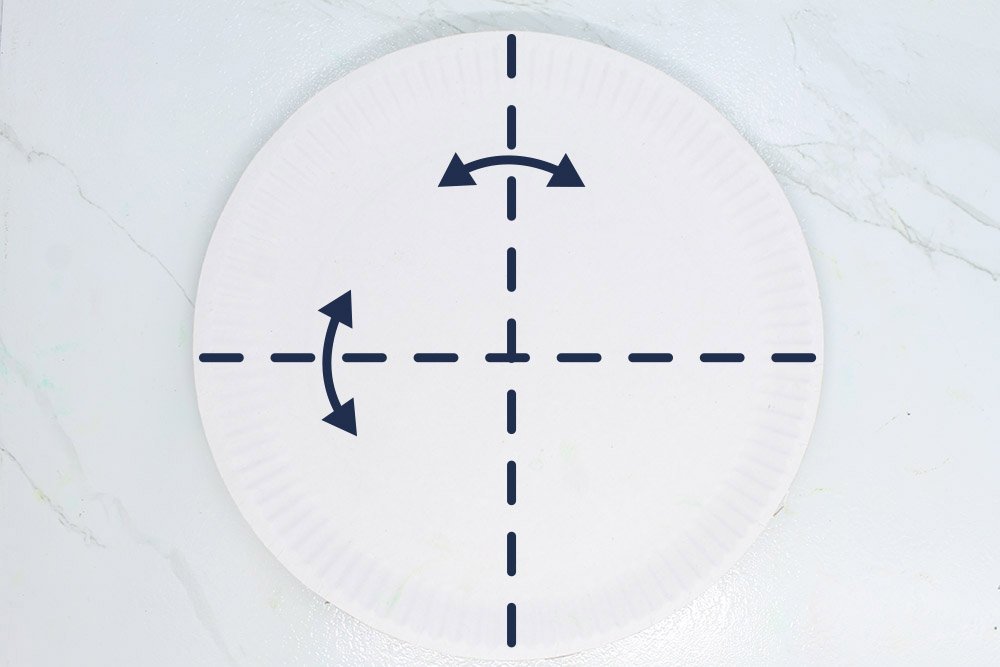
Place the paper plate in front of you.
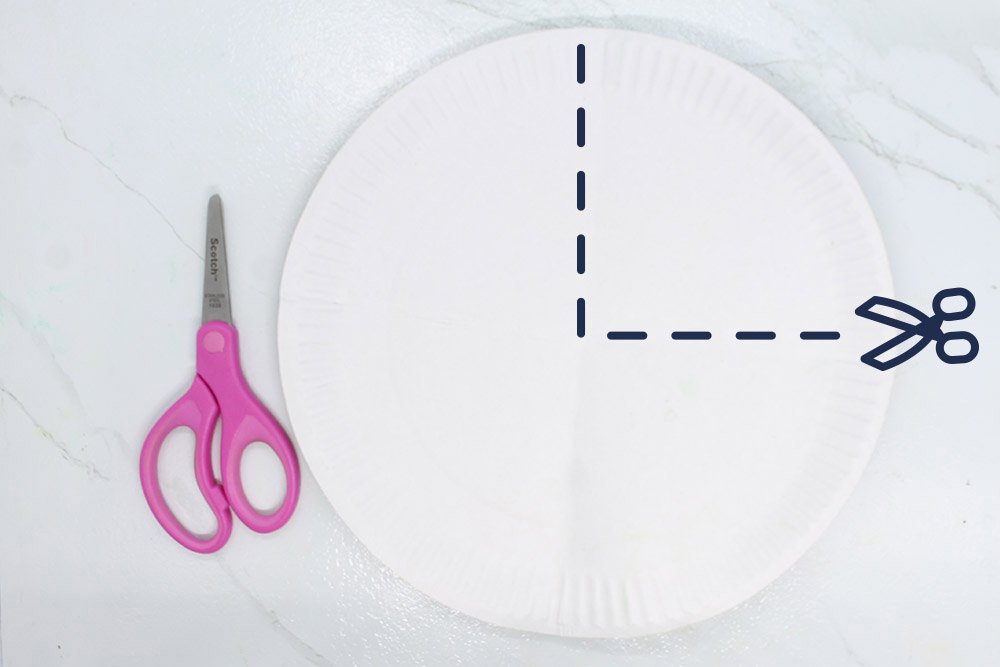
Cut away the top right part of the paper plate. You could make a line with a ruler first before cutting to make things easier.
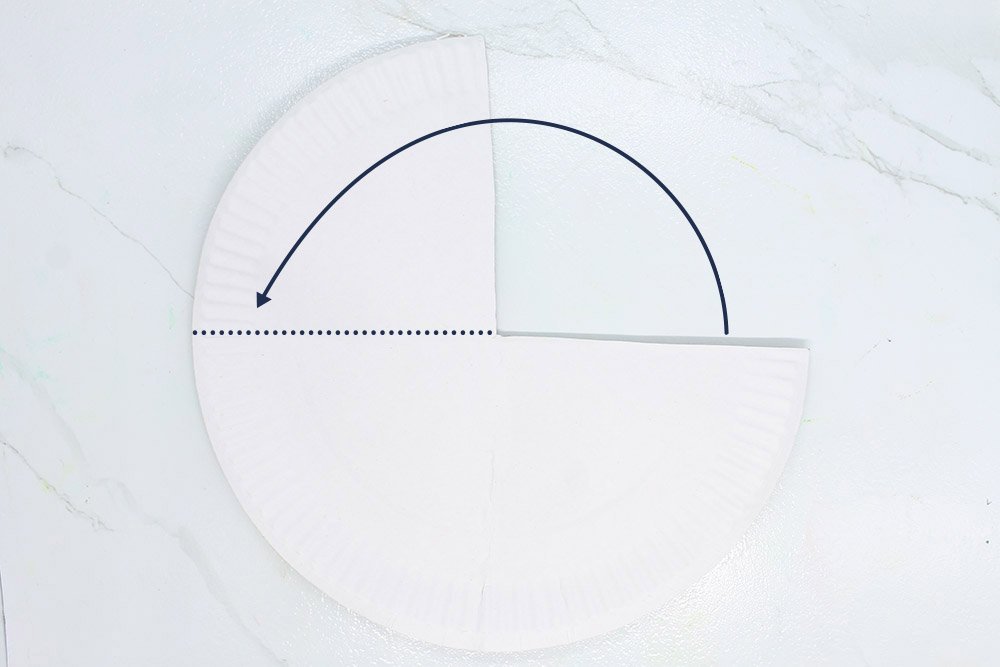
Fold the paper in half. Then fold the top left part of the paper plate downwards.
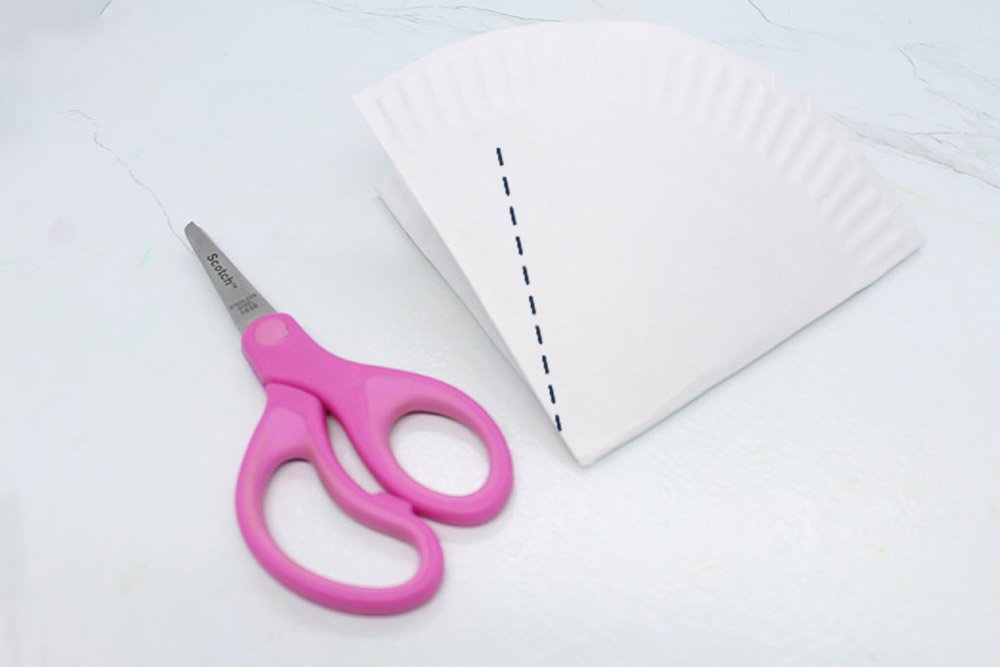
Your paper plate should look like the image above. You could then proceed to cut a diagonal line into the body of the paper plate peacock as shown by the dashed lines.
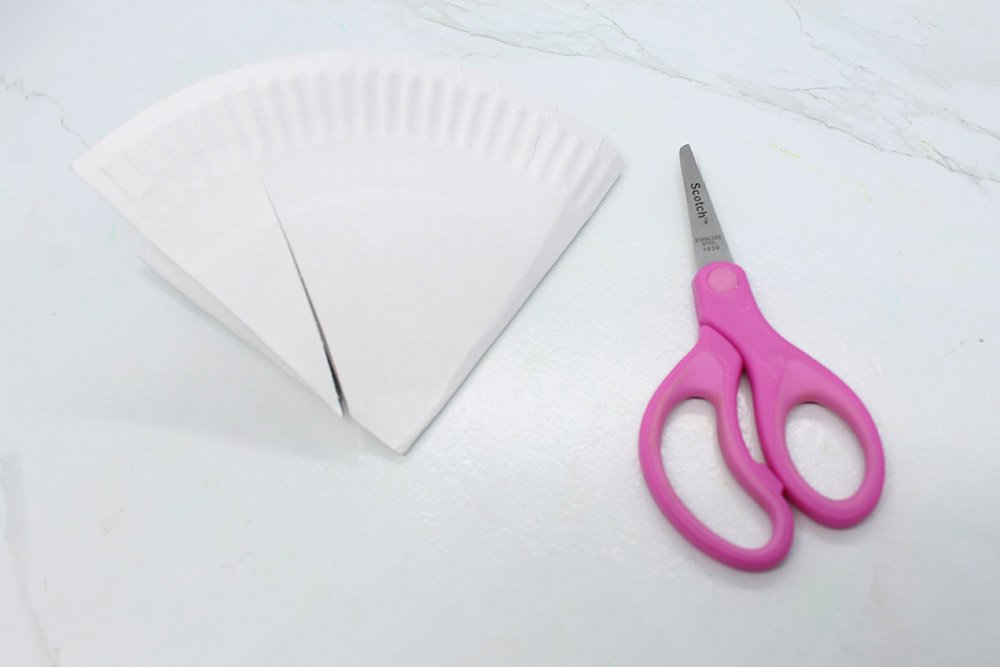
Form the paper plate so that it will have a wide base. You would want it to be shaped like a cone.

Use a stapler to fasten the paper plate so that it will form a cone.
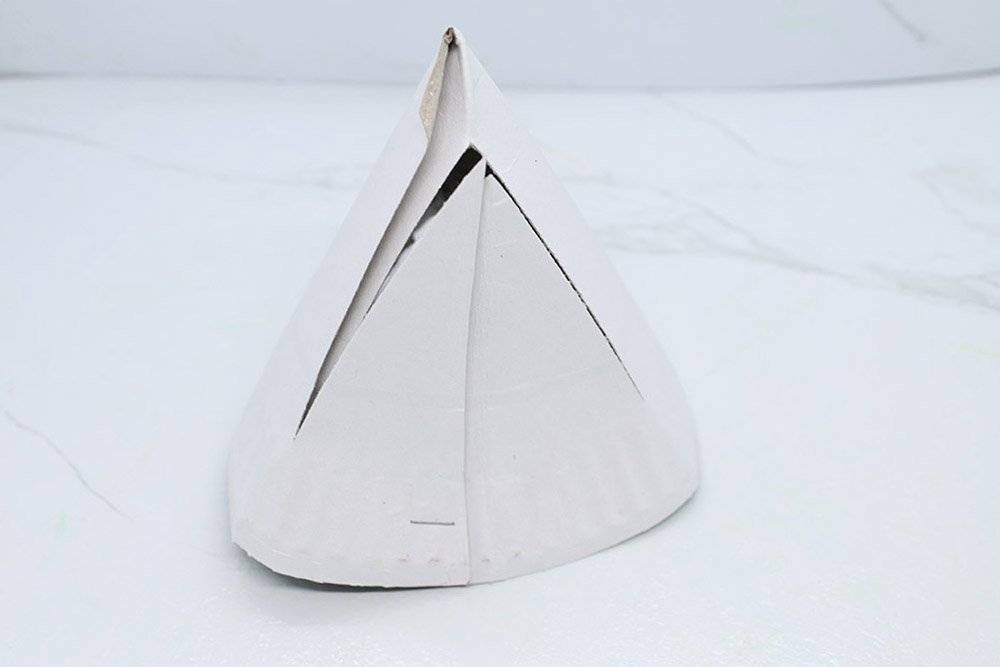
Great job! The body of the bird is ready to get painted.
Paint the Body and Tail of Peacock Paper Plate
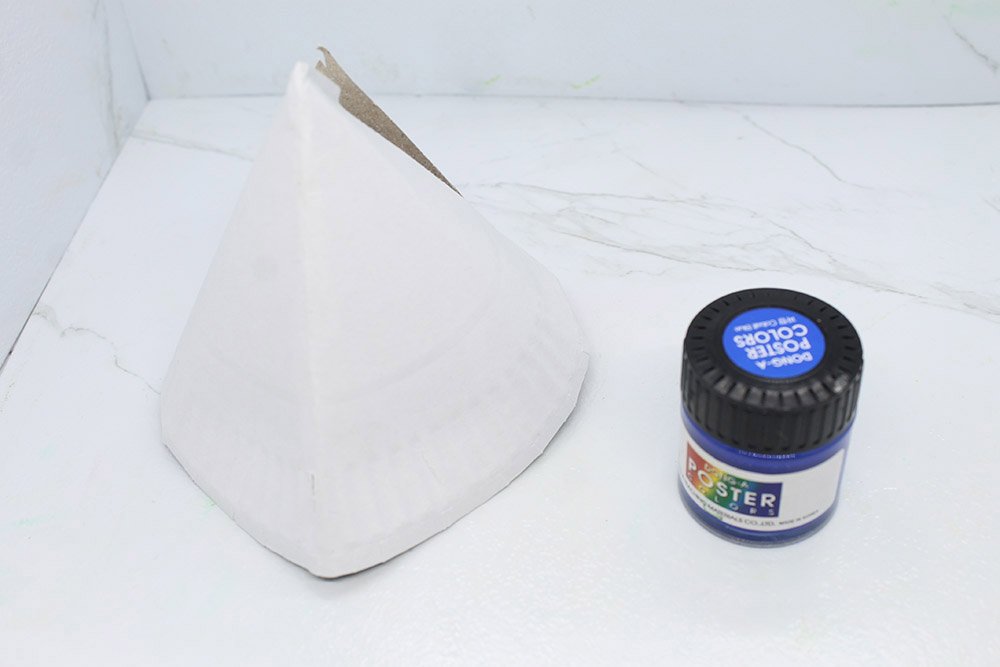
A peacock's body is typically blue and in this example I painted with blue. But your paper plate peacock can have any color you or your kid want. Choose the color that you feel is perfect for you.
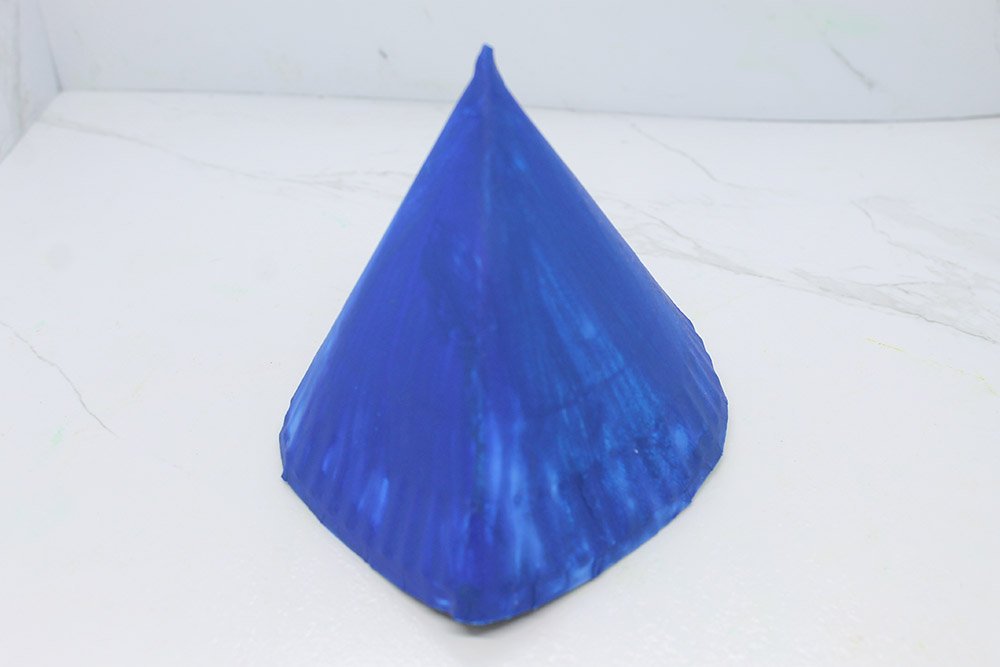
Now, after painting the body of the peacock it is time to make the tails by getting another paper plate.
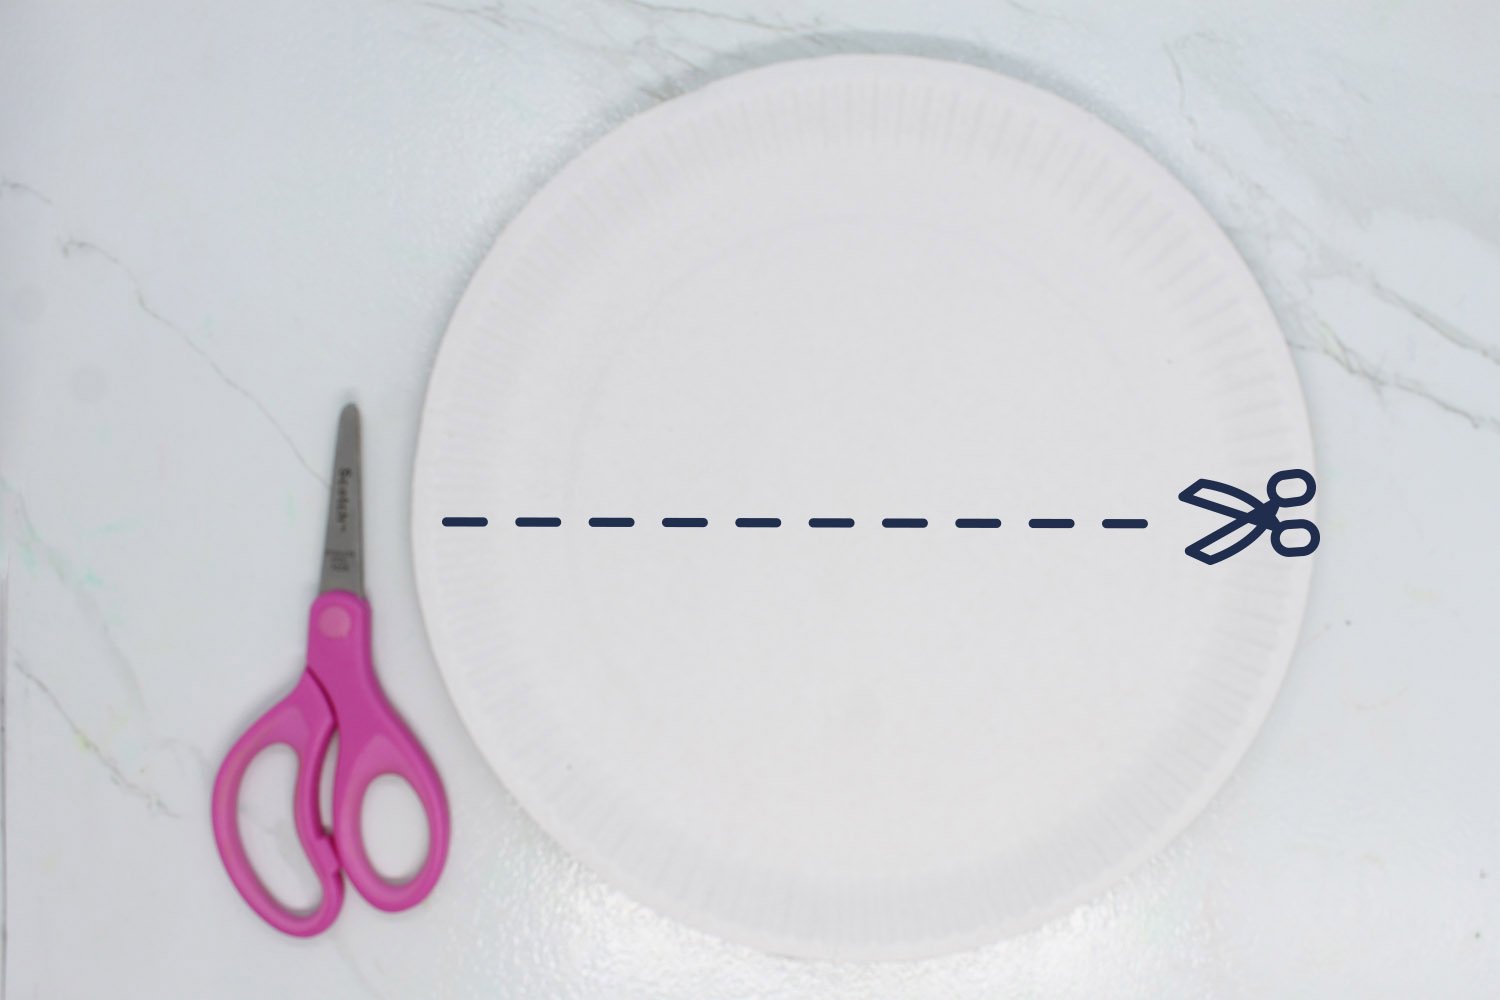
Next, cut the paper plate in half. You can make a nice horizontal line in the center as indicated by the dashed lines.
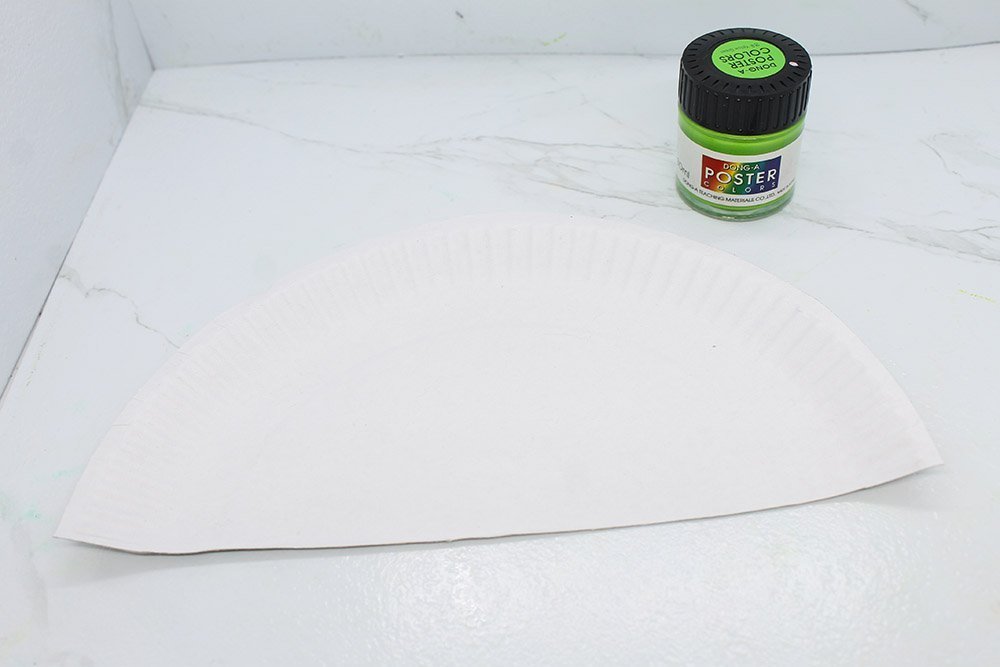
Set aside one half, and use the other. I painted mine green. Other color combinations are fantastic as well though. And you could go with the color of your choice for this step.
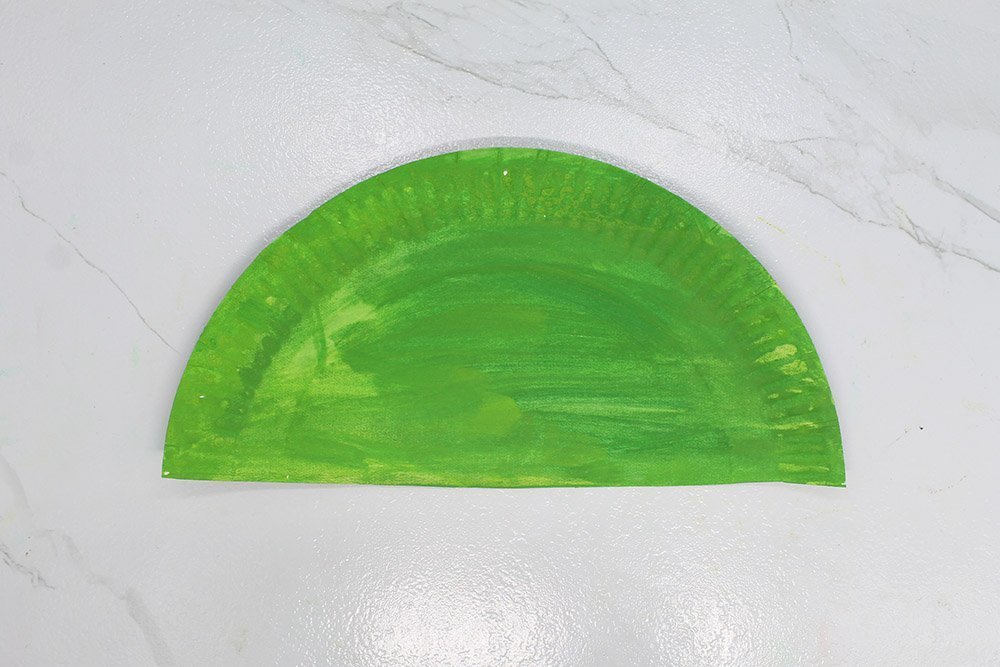
We are almost done with our paper plate peacock!
Print and Download the Peacock Paper Plate Free Template
Download the file at the beginning of this post if you haven't already. Then print it out.
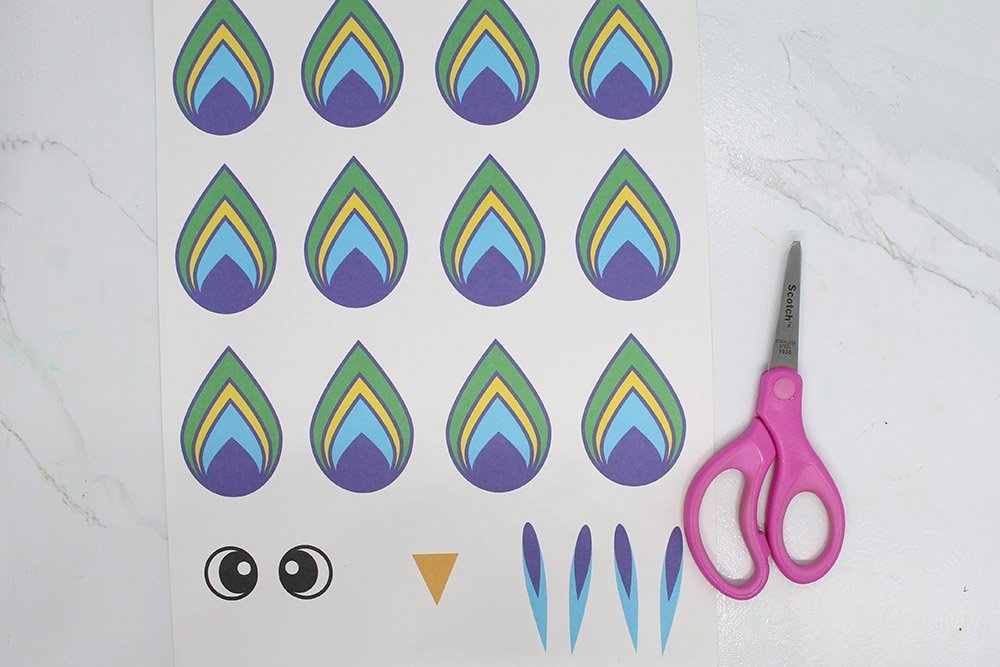
And cut all the individual pieces out from the paper. These pieces will give wonderful details to your paper plate peacock craft.
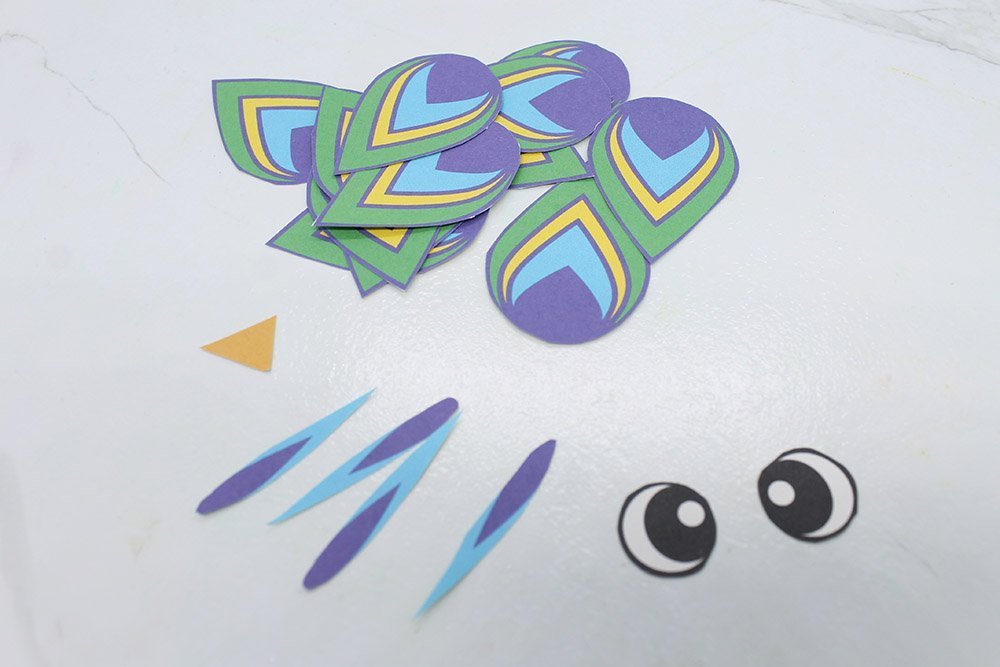
After cutting the pieces, you should now be ready for the final steps of our activity.
Paste the Cutouts into the Tail and Body of the Paper plate Peacock
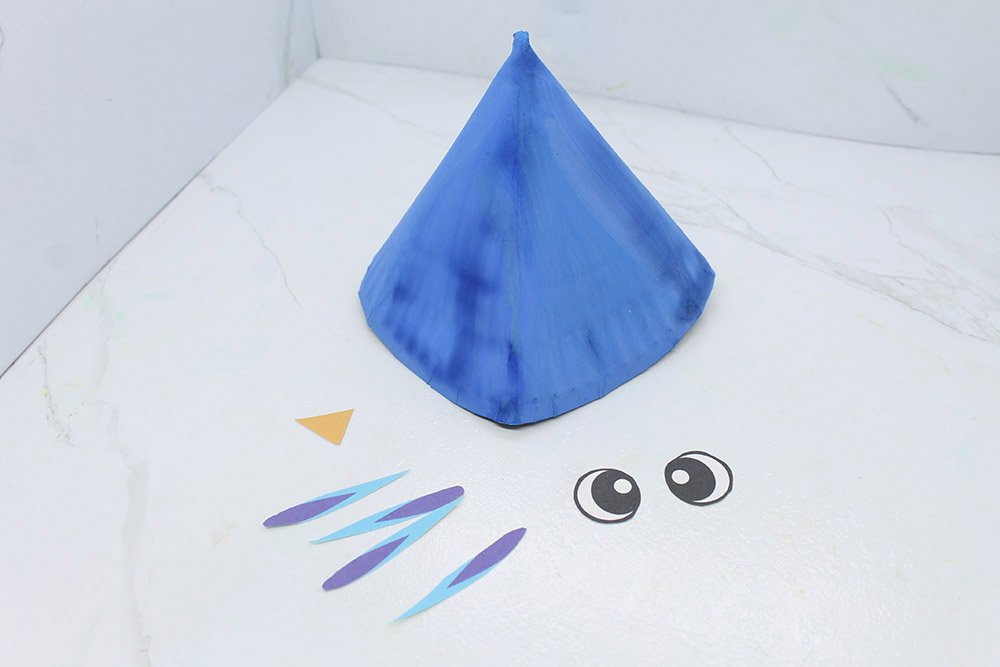
After getting the wattle, eyes, and beak of the peacock paste the eyes to the upper part of the body. In our paper plate peacock, the body and head are one part.
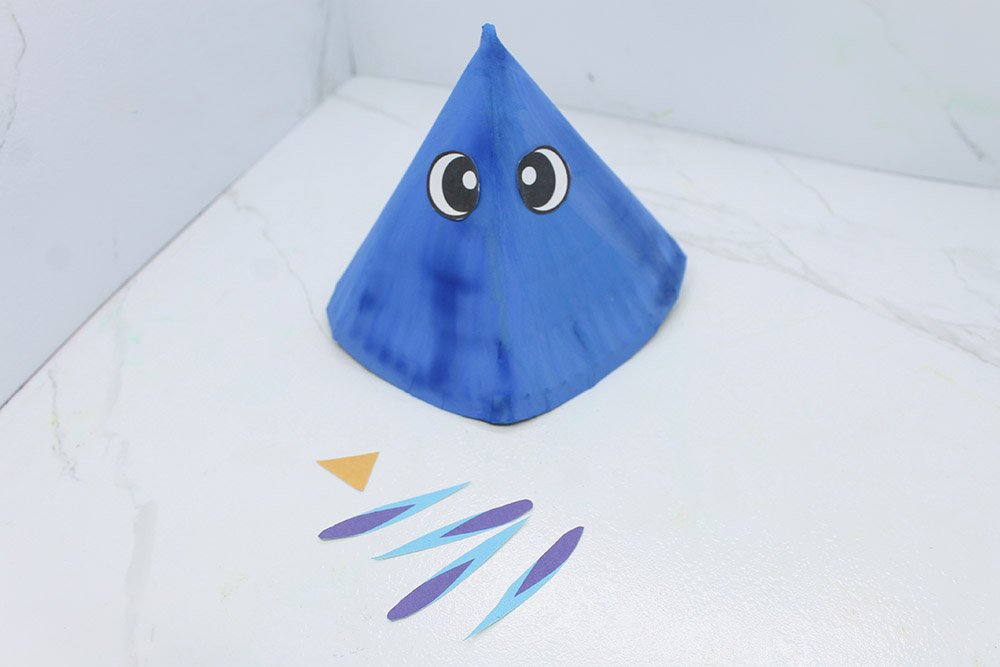
Then glue the beak with the tip pointing downwards.
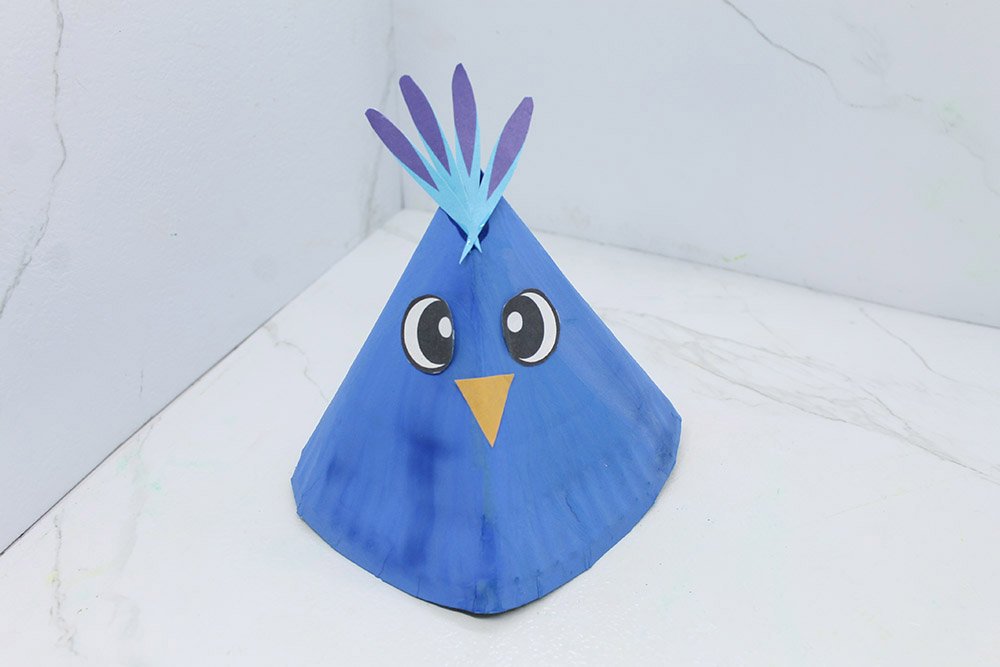
Gather the remaining the pieces. The face of the paper plate peacock is done but the tails still need some work.
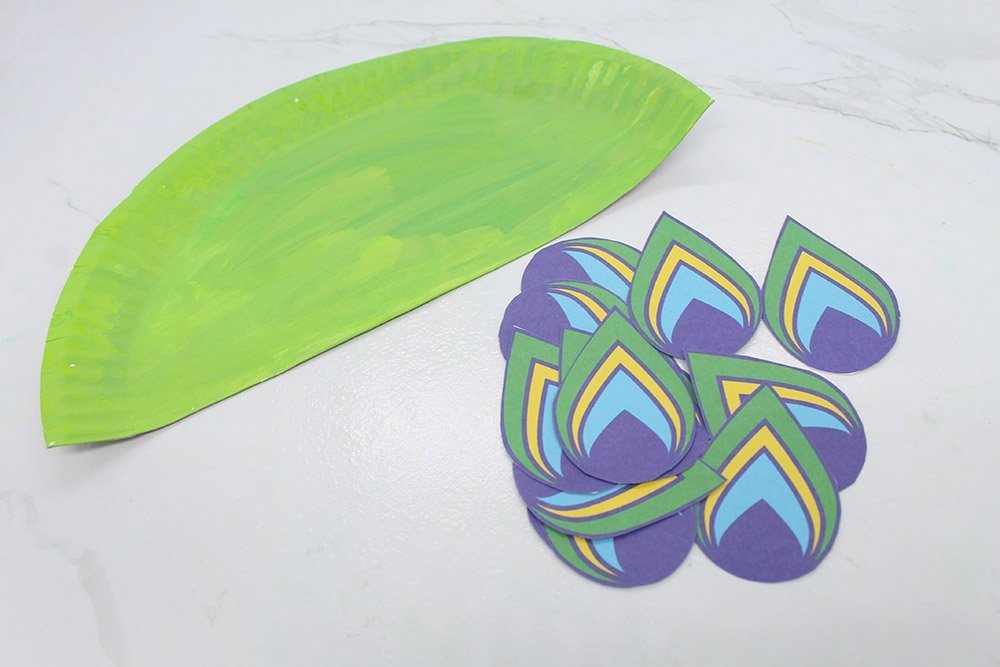
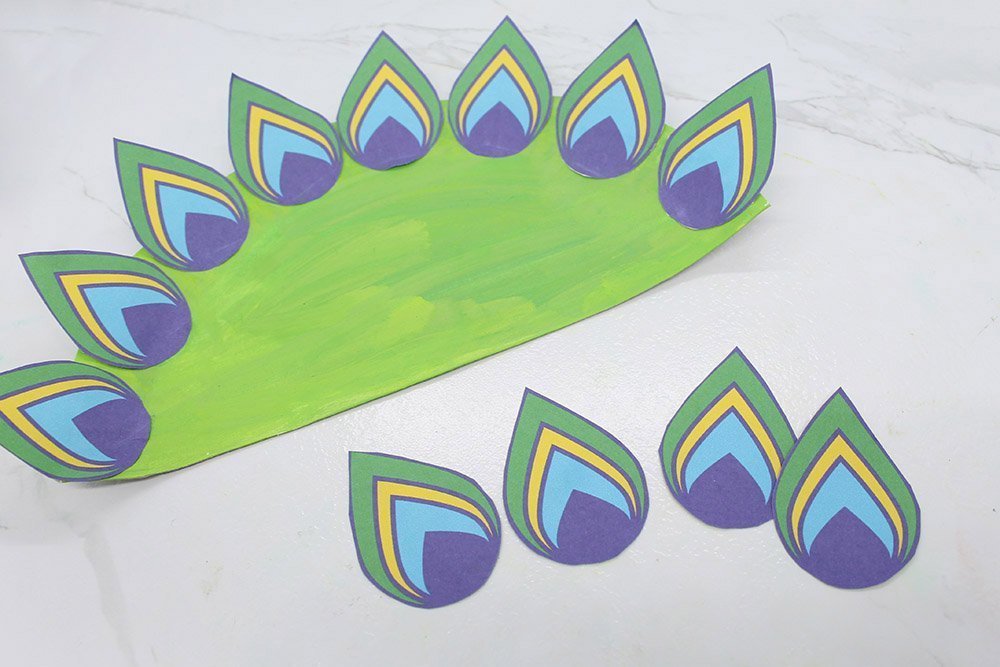
Then pick eight tail feathers and paste them into the curve part of the paper plate. The bottom half of the feathers should be glued into the plate while the top part should be above the plate.
Glue the remaining four tail feathers into the inner part of the paper plate.
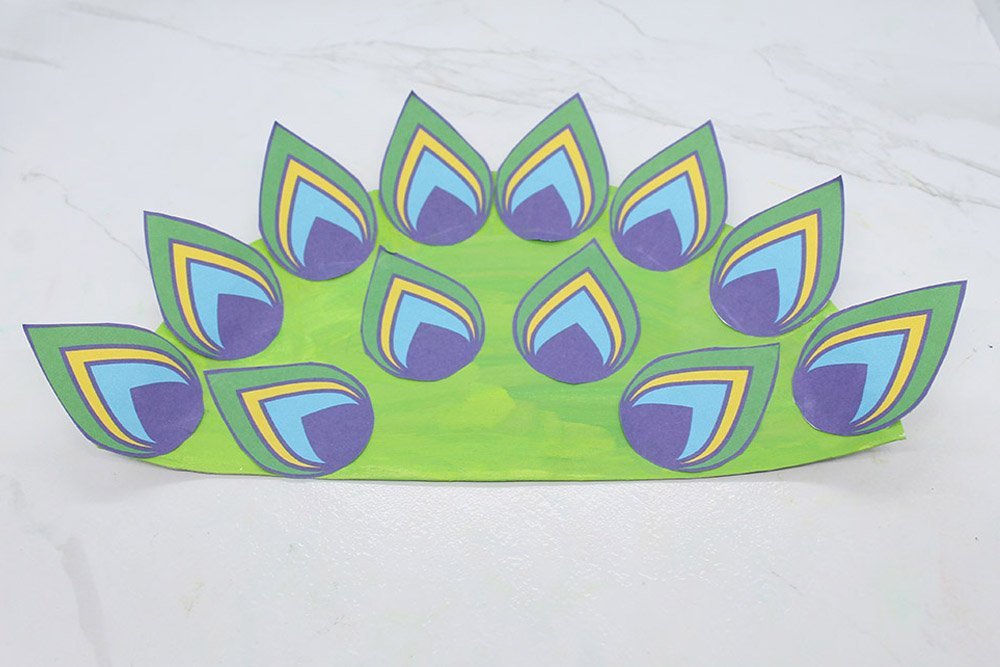
Good job! You are close to finishing the peacock paper plate.
Give the Peacock Paper Plate its Tail
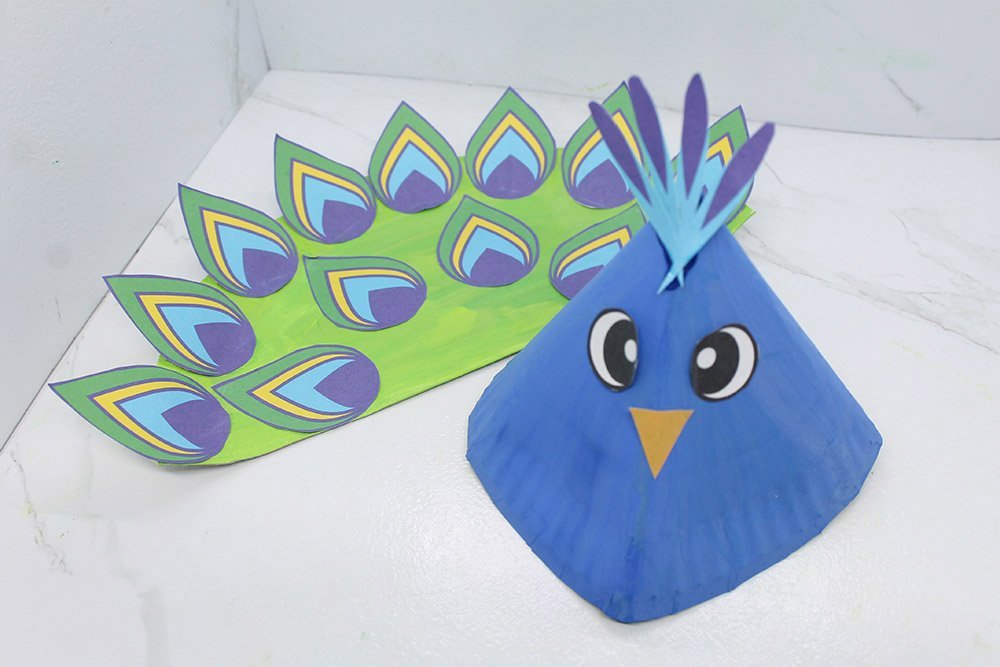
Glue the tail that you just made into the back part of the peacock. This is the last step the project!
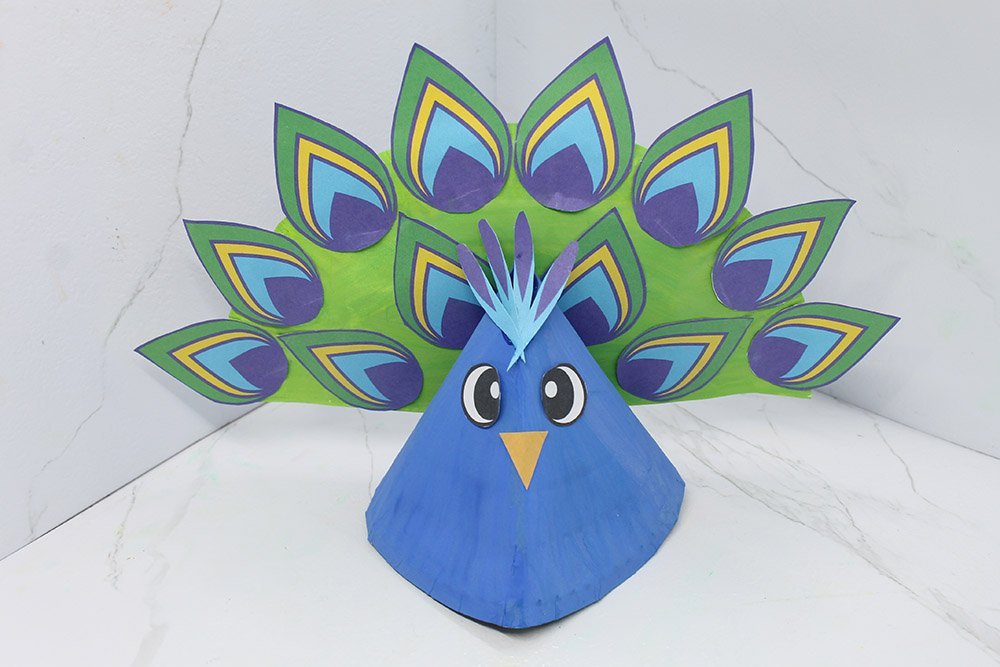
Congratulations. You have made a nice looking peacock paper plate.
Extra Tips
- Peacocks are visual gems in nature. Your paper plate peacock should be just as vibrant but unlike in nature, you pick the colors you want.
- If your kids ever ask what a wattle is for and you don't the answer, it's a piece of flesh that a lot of birds have. Birds don't sweat so this extra bit of skin can help them cool off more.


