Introduction:
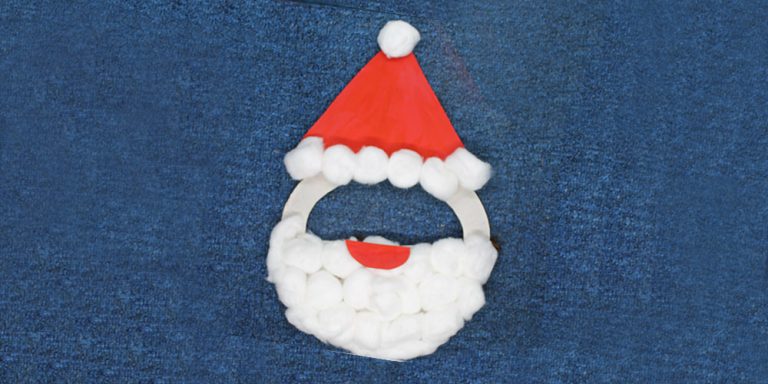
Have a merry fun Christmas with this Paper Plate Santa Mask! Let’s get festive with this Santa Clause mask that you can wear or decorate this Christmas. It is also a fun and simple activity that kids and parents can use using items usually found in the house!

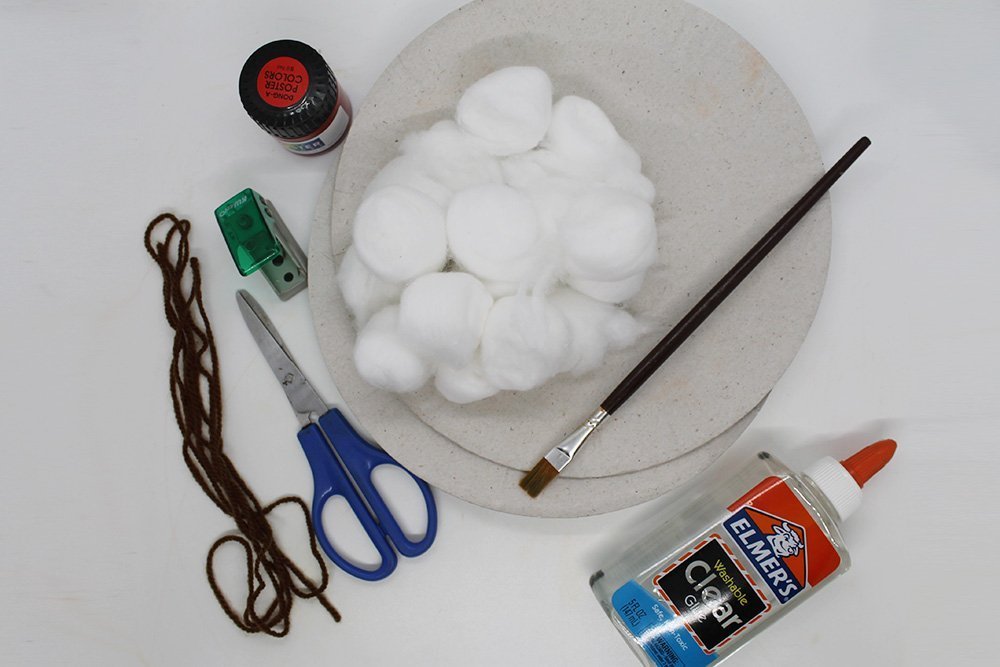
Tools
- paintbrush
- scissors
- puncher
Supplies
- 2 pieces of paper plates
- Cotton Balls
- Red poster paint
- Glue
- String/yarn

Make Santa’s Hat by Cutting a Paper Plate
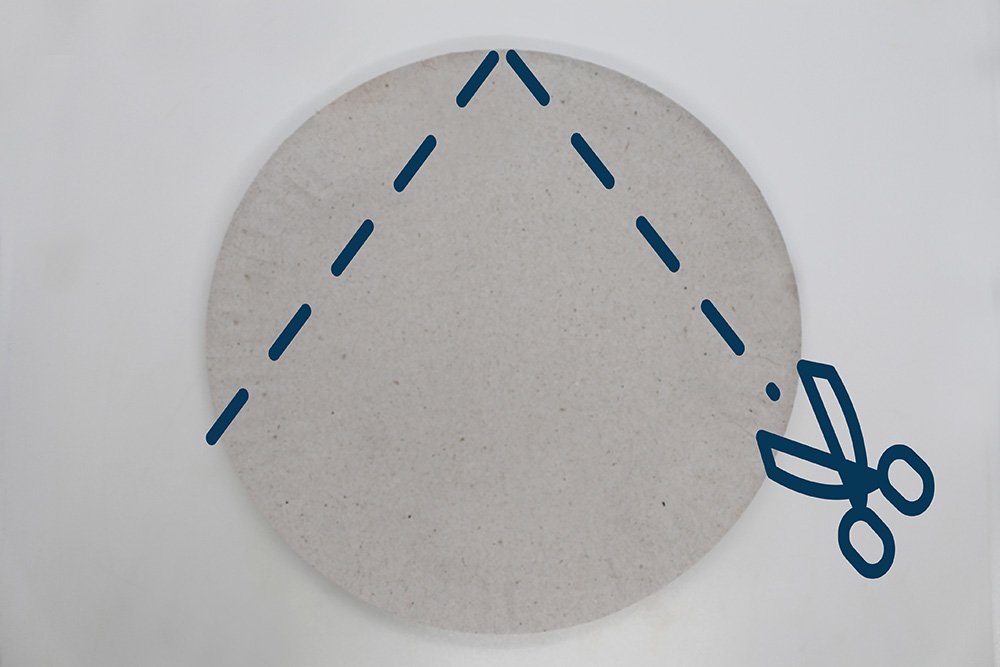
Get a piece of the paper plate. Cut along the dashed lines as shown.
It will be easier if you fold the plate diagonally along the dashed line, as illustrated above. Unfold the plate, then cut along the creases made.
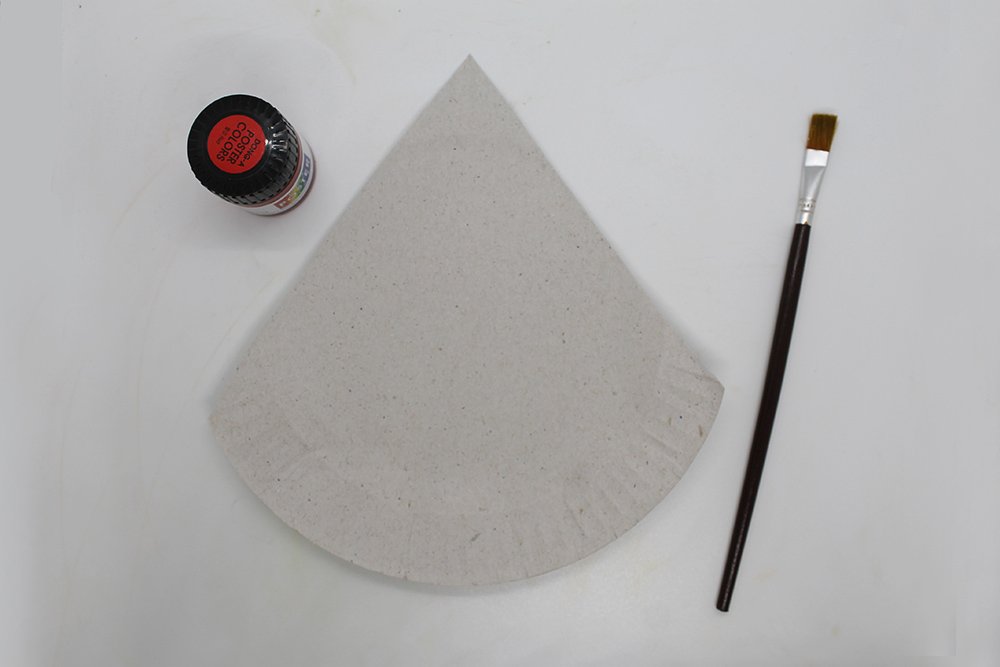
It should now look like this once it has been cut. Paint it with some red poster paint.
(The paper plate we have for this project has a glossy side, we used the backside so that the paint glides smoothly)
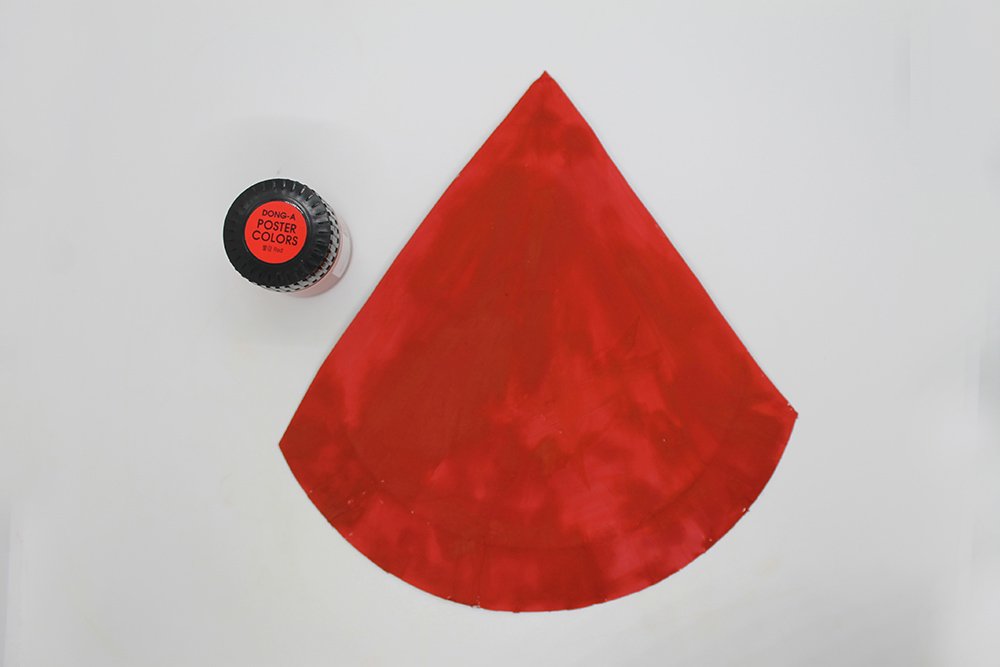
Once painted, the hat will look like this. Set it aside for now and allow the red paint to dry.
Create the base of the Santa mask
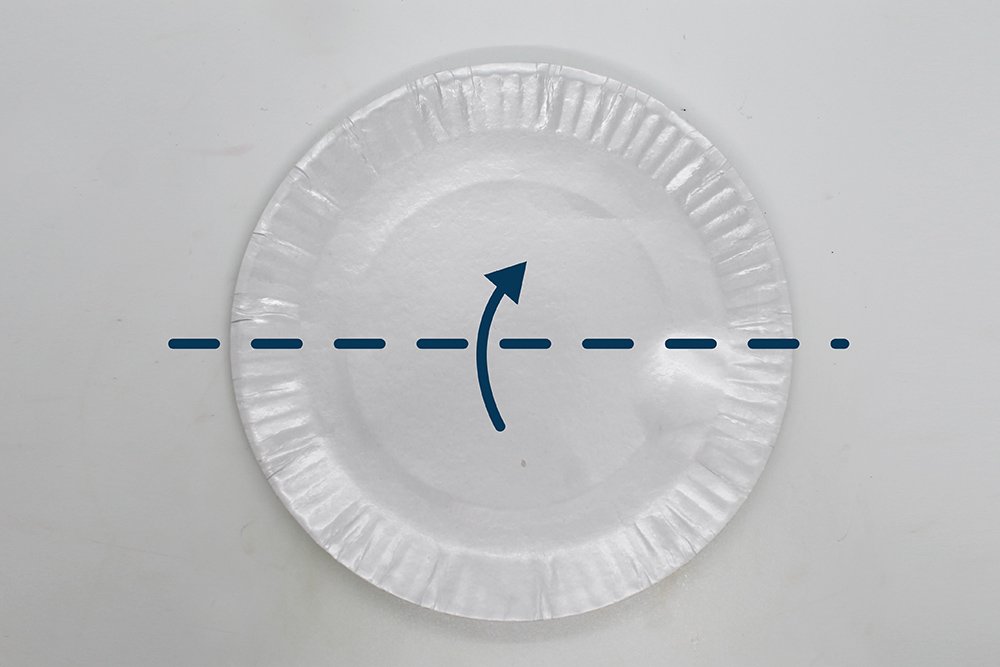
Get another paper plate and fold it in half.
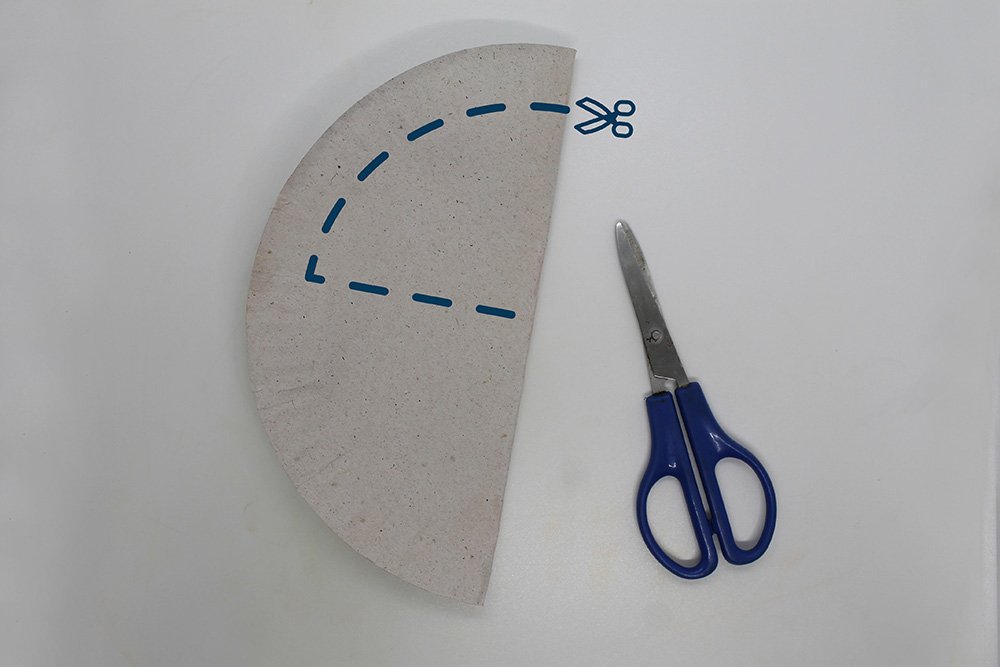
Cut along the dashed line as shown.
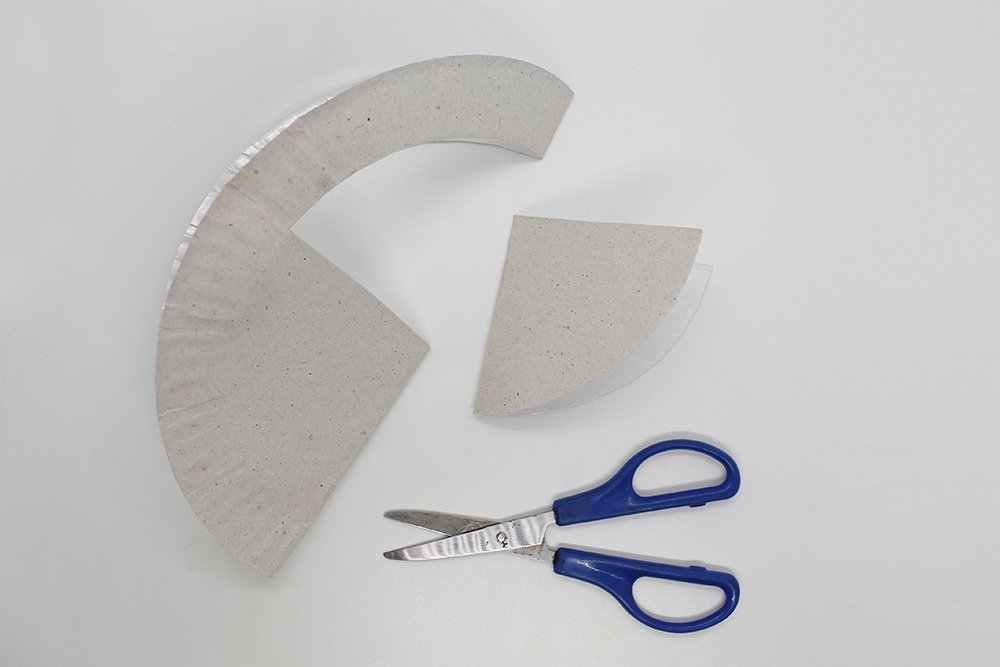
Now unfold it.
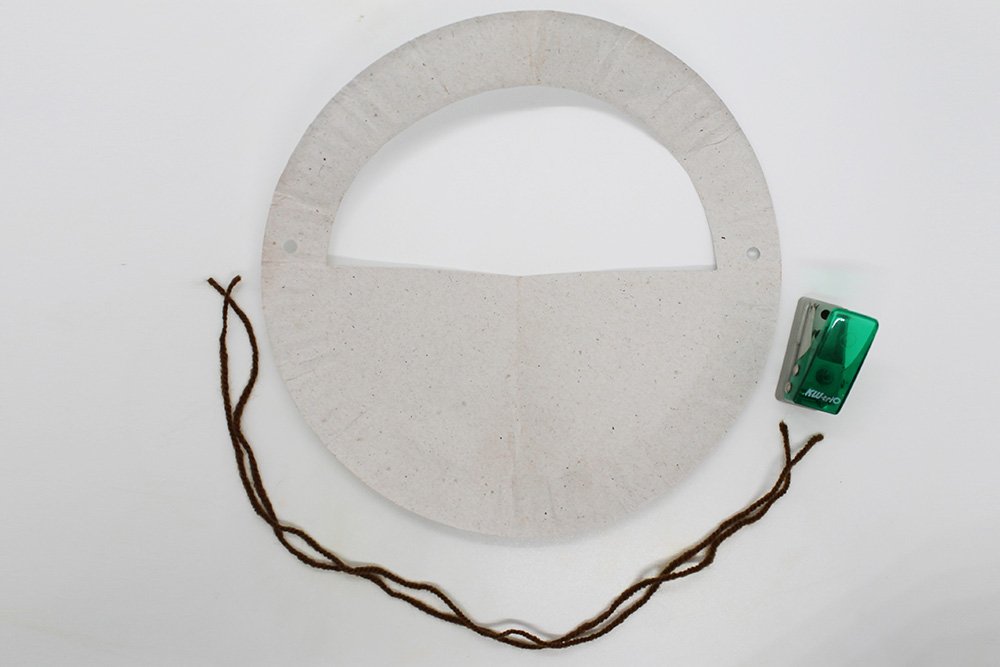
The paper plate should now look like this. The top part will be the “peephole” of the mask, and the bottom part will be Santa’s beard.
Now punch a hole on both sides of the paper plate as illustrated above.
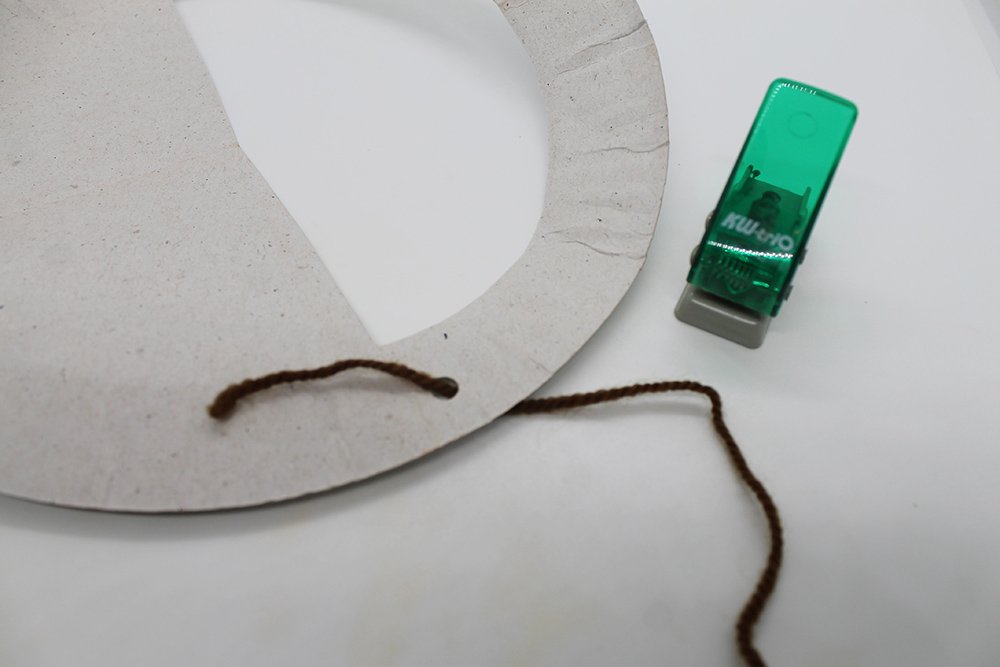
That way, the mask can be tied to the head, attach a string to both holes. Secure each string by tying a knot.
Your base mask is done. Time to decorate!
Give Santa a beard using cotton balls.
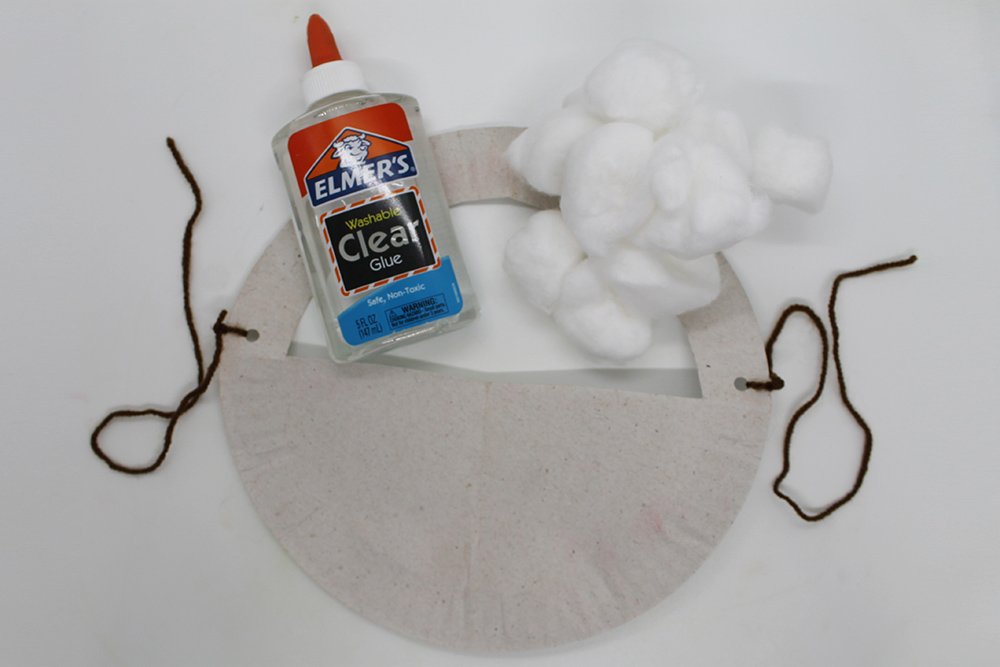
Using glue, stick a lot of cotton balls to the bottom part of your mask. Make sure the cotton balls are close to each other.
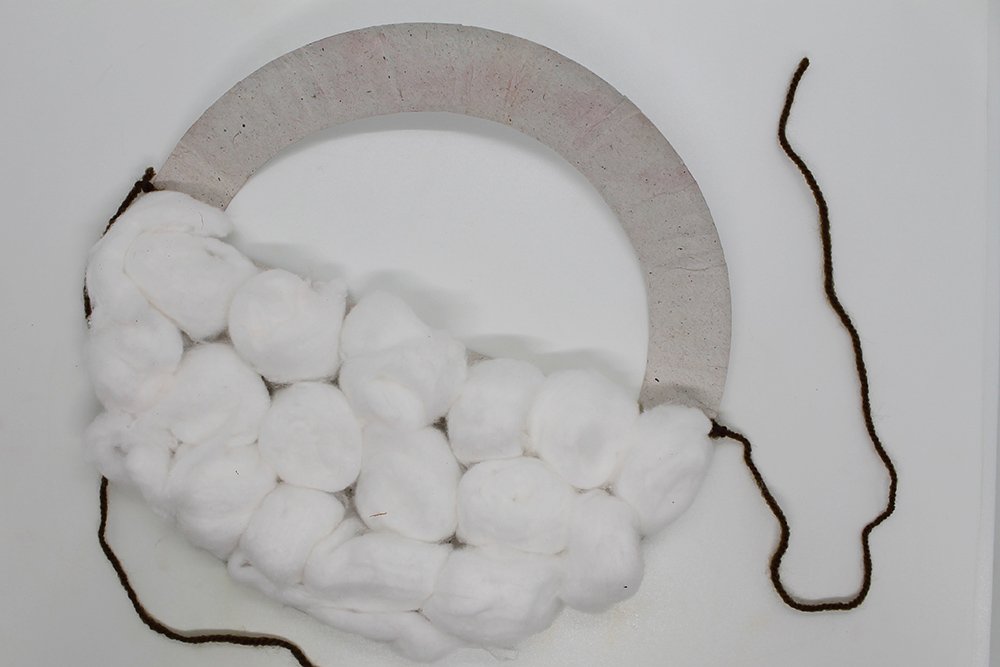
Santa’s distinct white beard is now done! Stick some mini cotton if there are still some empty spaces left,
Finish Santa’s hat
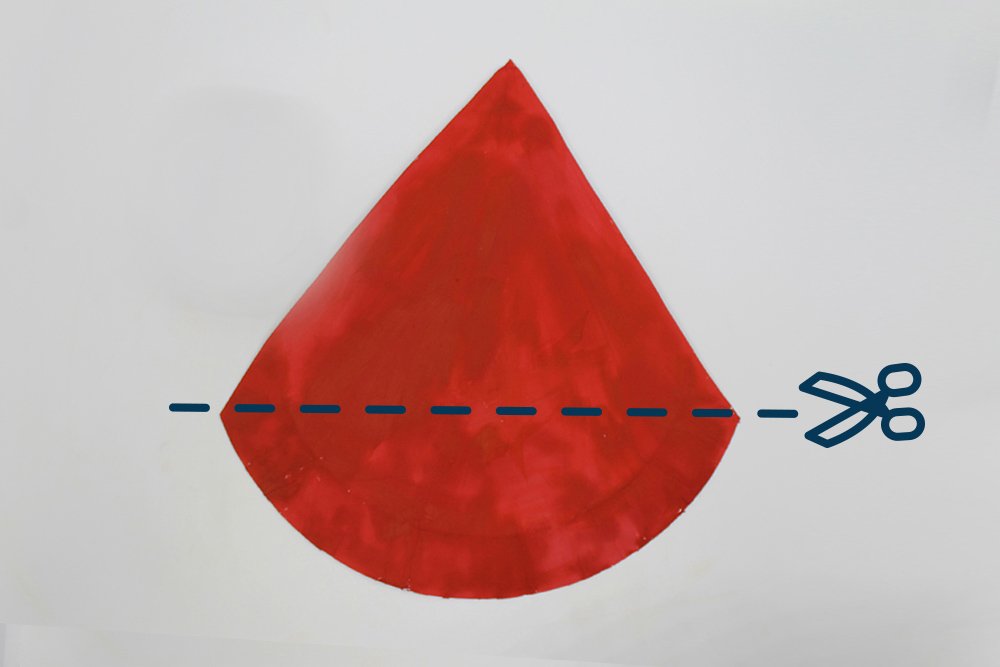
Grab your Santa hat and cut along the dashed line as illustrated above.
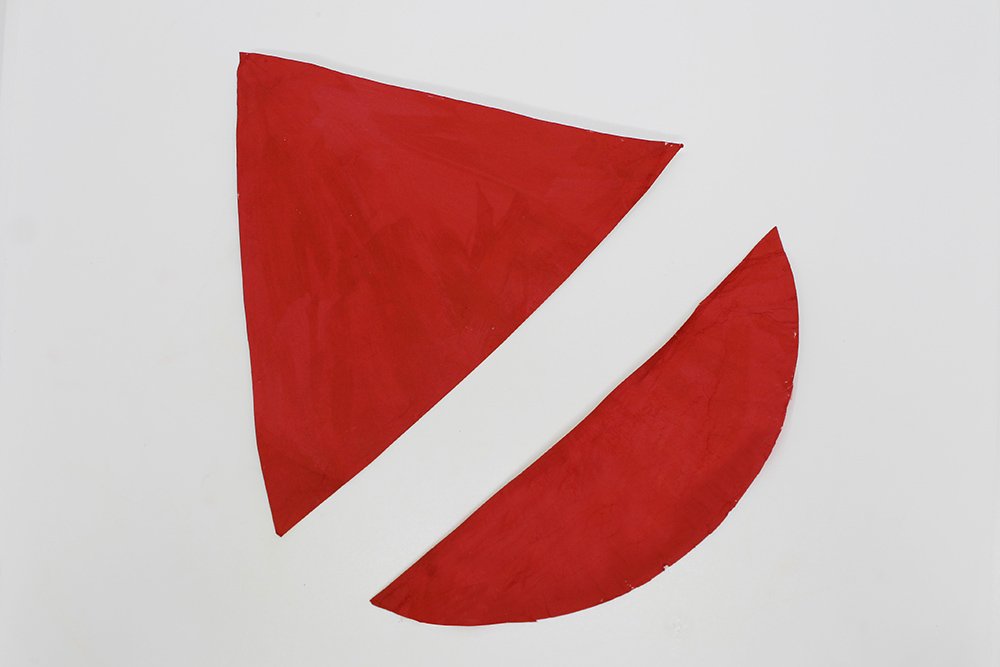
Now you have made the distinctive triangular shape of Santa’s hat. Do not throw the rest of the cut out yet. We will use this for Santa’s nose.
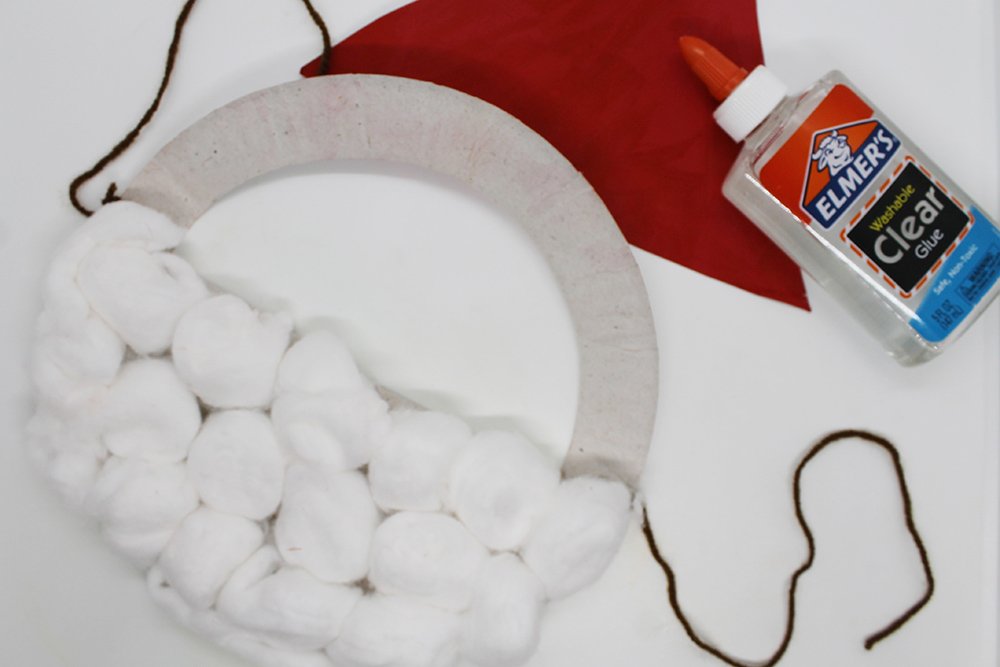
Time to assemble the mask and hat of Santa!
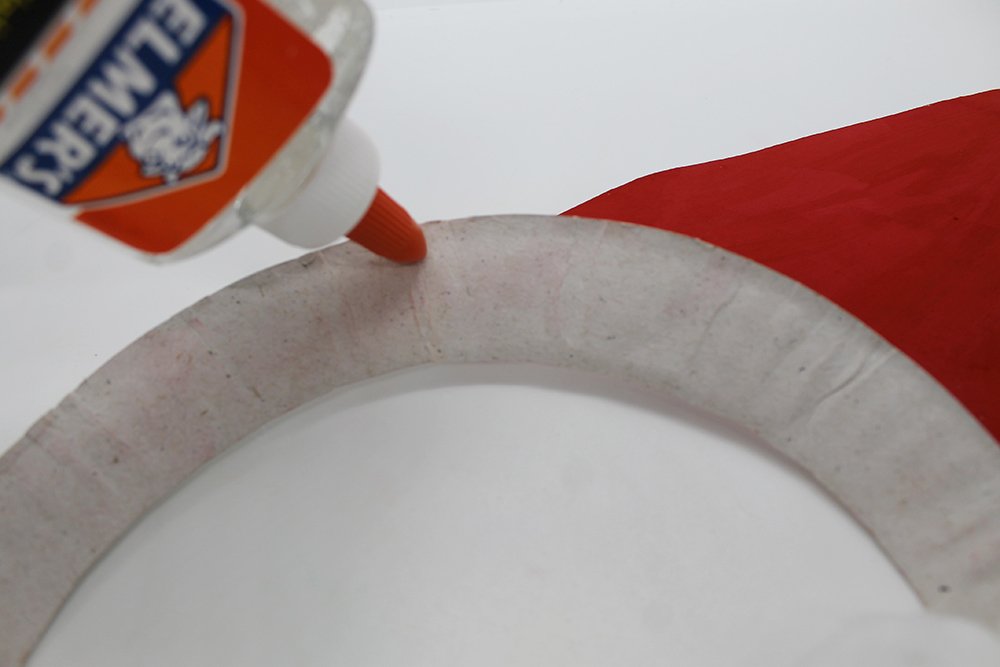
Stick some glue on the top side of the paper plate mask.
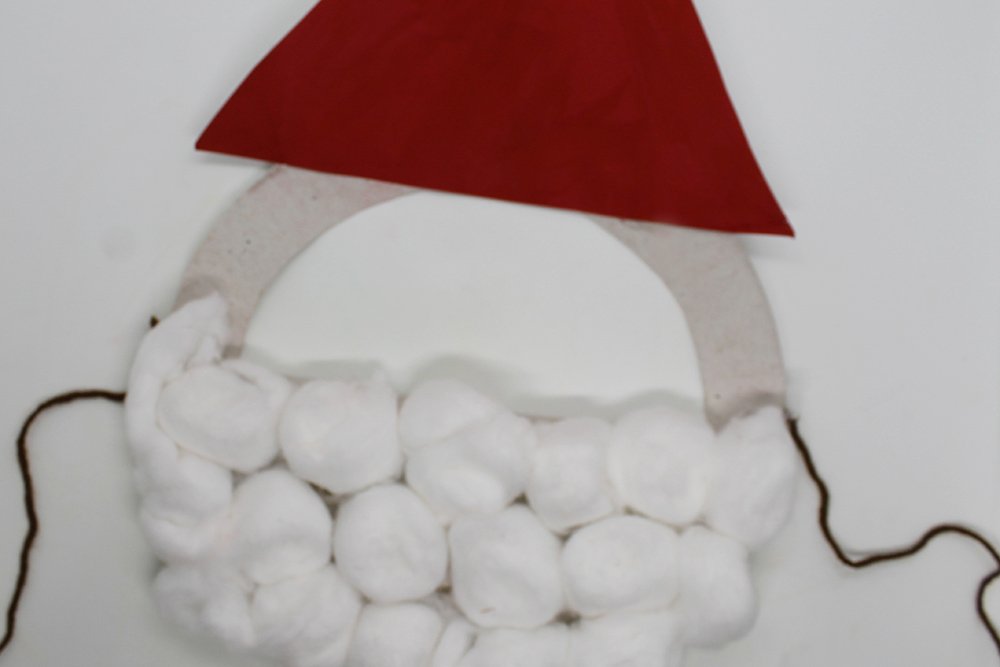
Place the hat of Santa on top of the mask. You have now assembled the mask and hat!
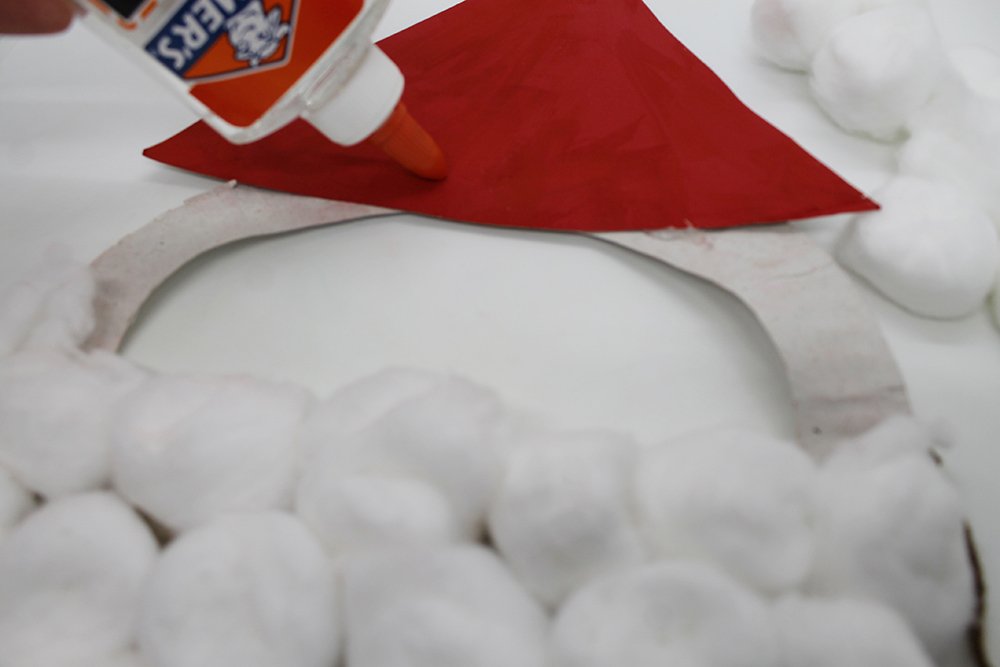
To finish the hat, stick some cotton balls on the bottom side. The cotton balls will be the “fur” trimming of the hat.
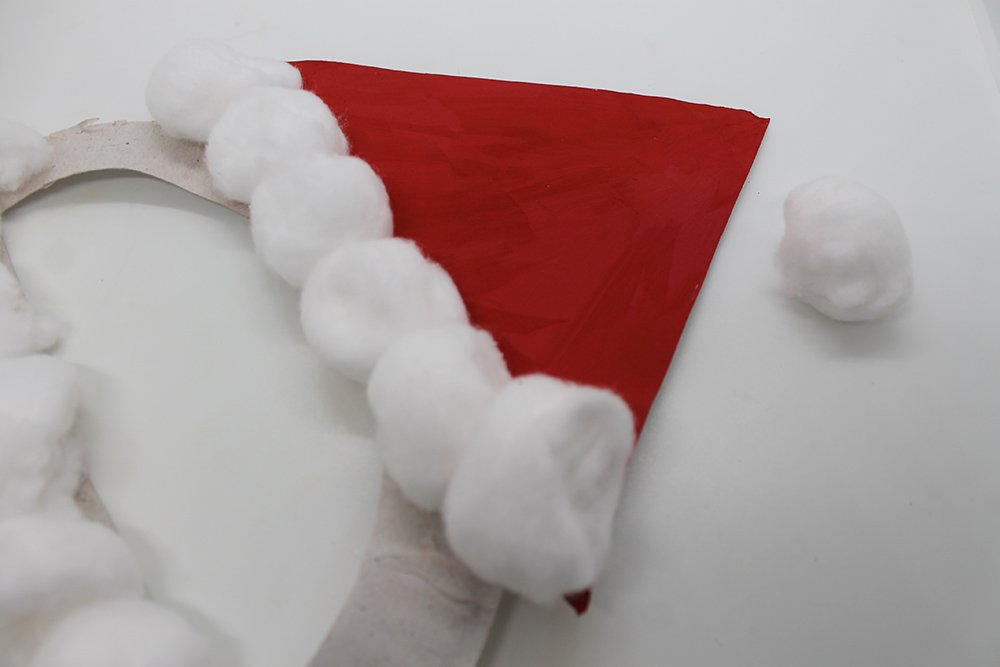
Also, stick one cotton ball on the top corner of the hat.
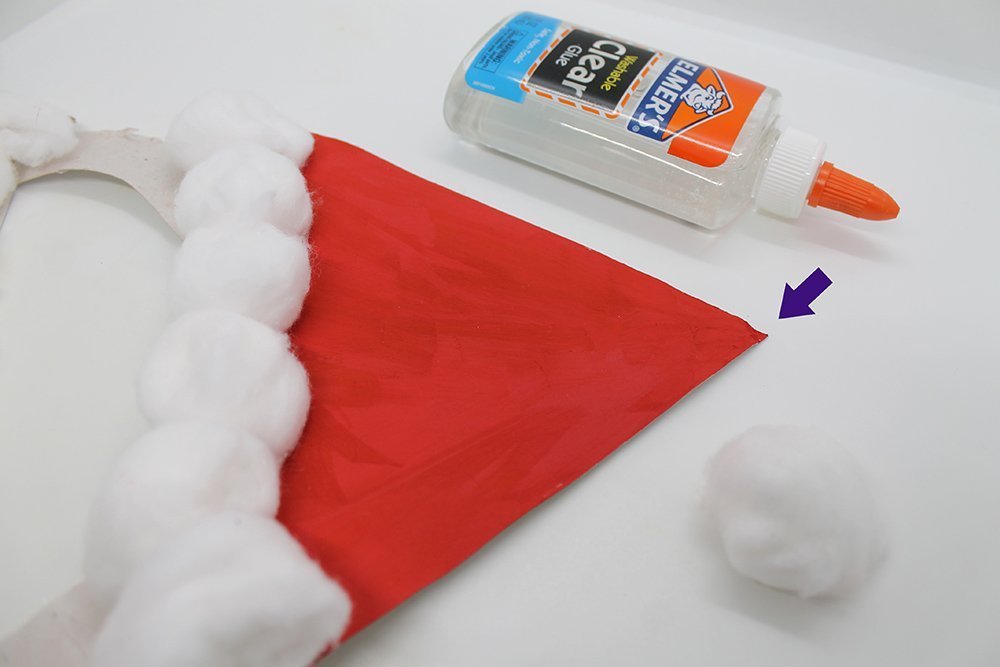
Add some glue here and stick the pompom.
Give your Santa a cute nose.
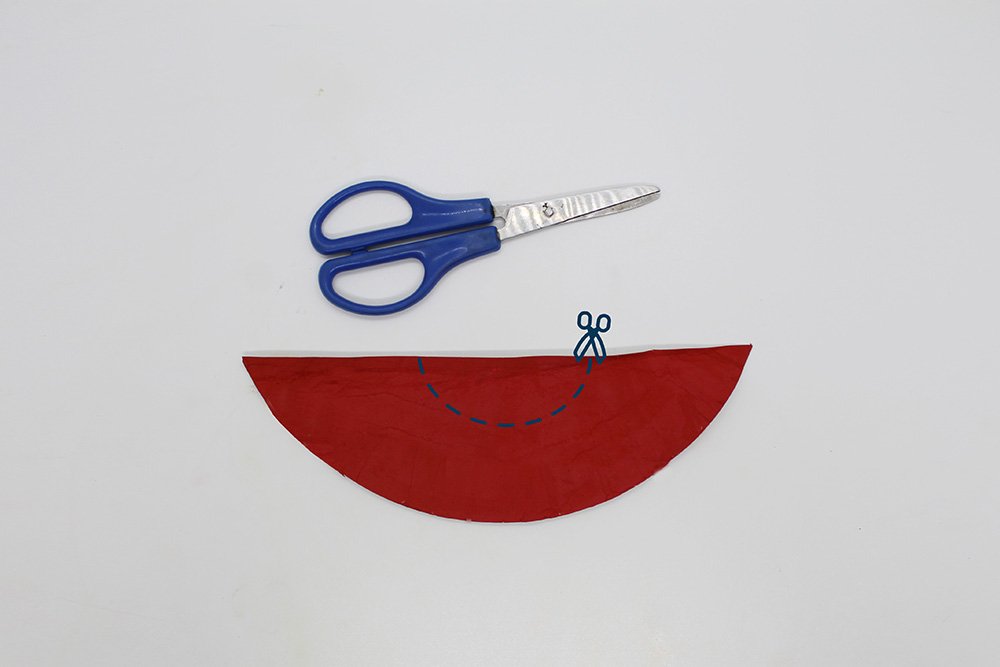
To make the nose cut a half-moon shape from the leftover cutout of the mask
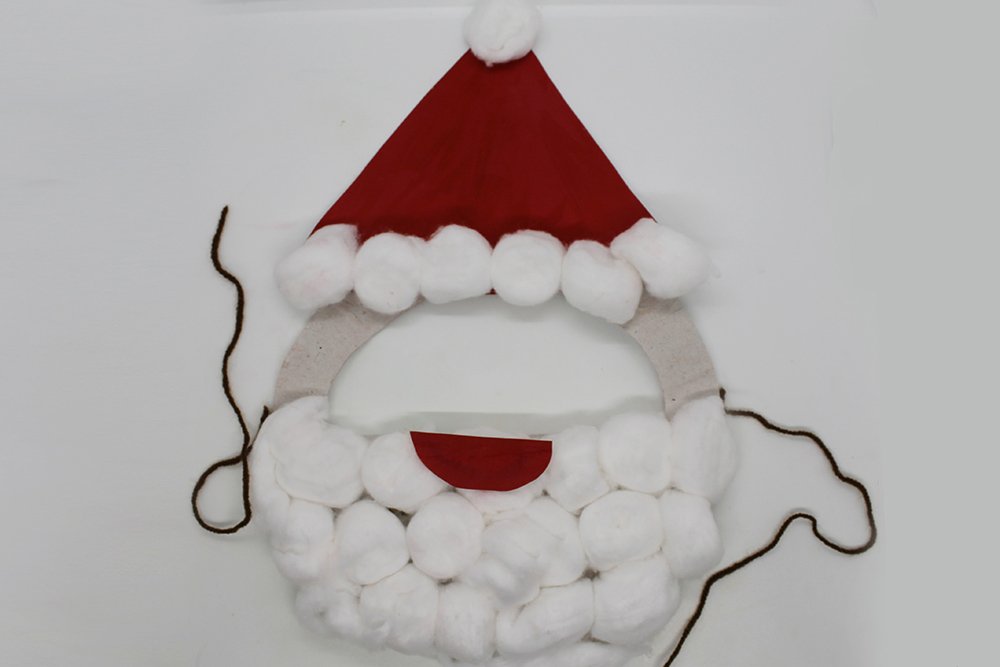
Using glue, stick it to the top middle of Santa’s beard, and you’re done!
Enjoy your paper plate Santa mask made from cotton balls and pieces of paper plates.
Extra Tips
- You can give your Santa mask some emotion by making him a mouth.
- If you don’t want to turn it into a mask, you can skip cutting the “peephole,” give your Santa a pair of eyes by drawing him a pair of eyes or sticking some googly eyes.
- There are many ways to make Christmas decorations! Try this craft to make an awesome paper plate snowman using cotton balls: here


