Introduction:
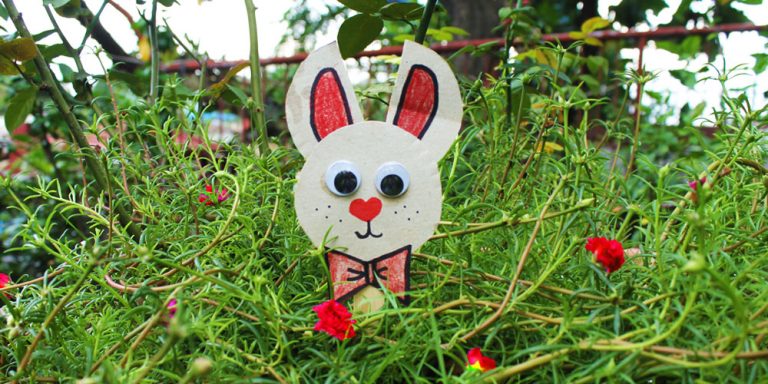
Create a paper plate bunny using just one piece of a plate. This bunny craft is a fun and easy project that kids can do with their family. Once finished, they have an option to stick it to a potted plant or hang it on a window!

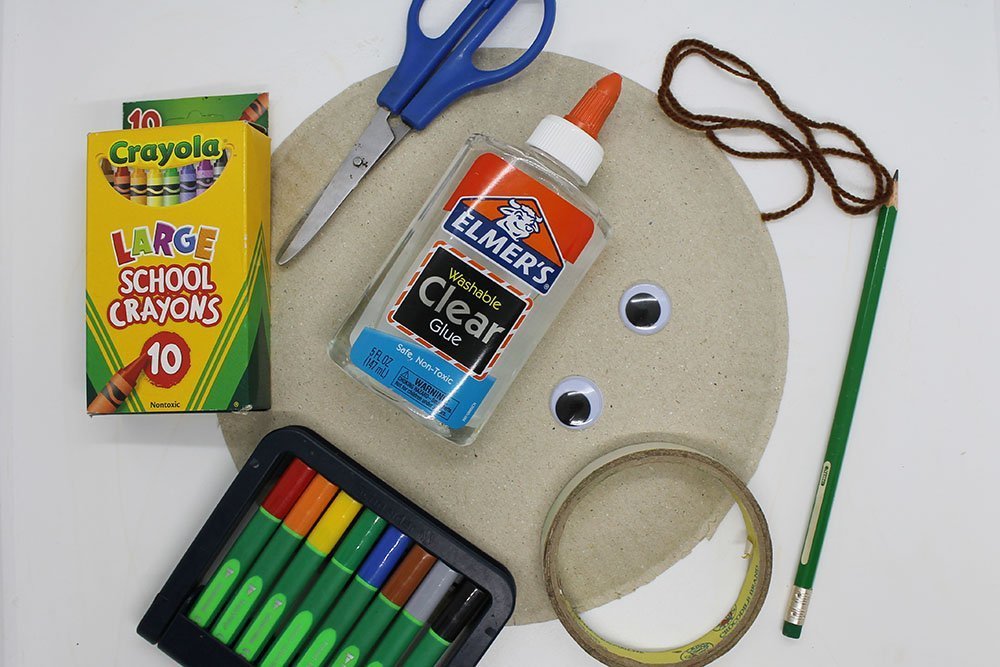
Tools
- Scissors
- Compass or a small cylindrical object ( I will use tape for this one)
- Pencil
- Puncher
Supplies
- 1 piece paper plate
- Glue
- Coloring materials (markers and/or crayons)
- Popsicle
- Googly eyes
- Yarn/string(Optional)

Cut out the bunny’s base
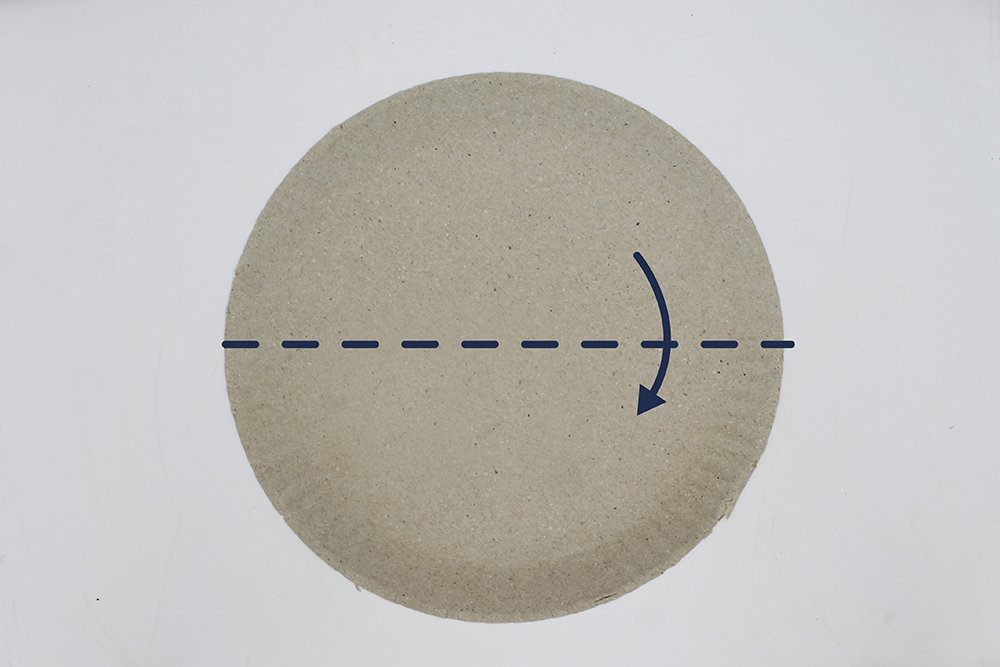
Fold the paper plate in half.
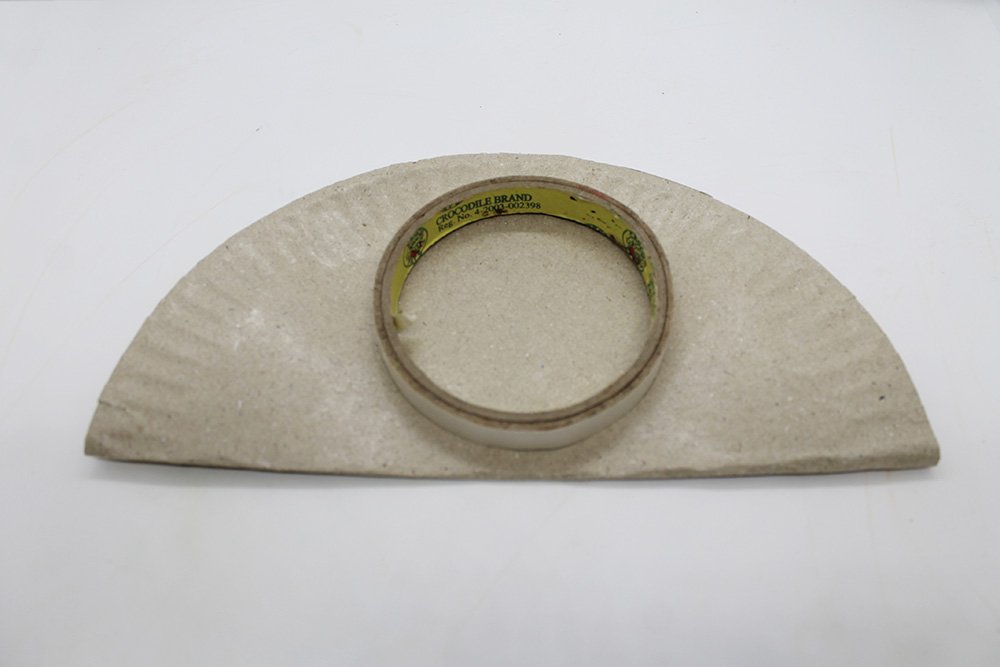
With a compass or a cylindrical object (I’m using tape), trace a circle of the top layer of the paper plate.
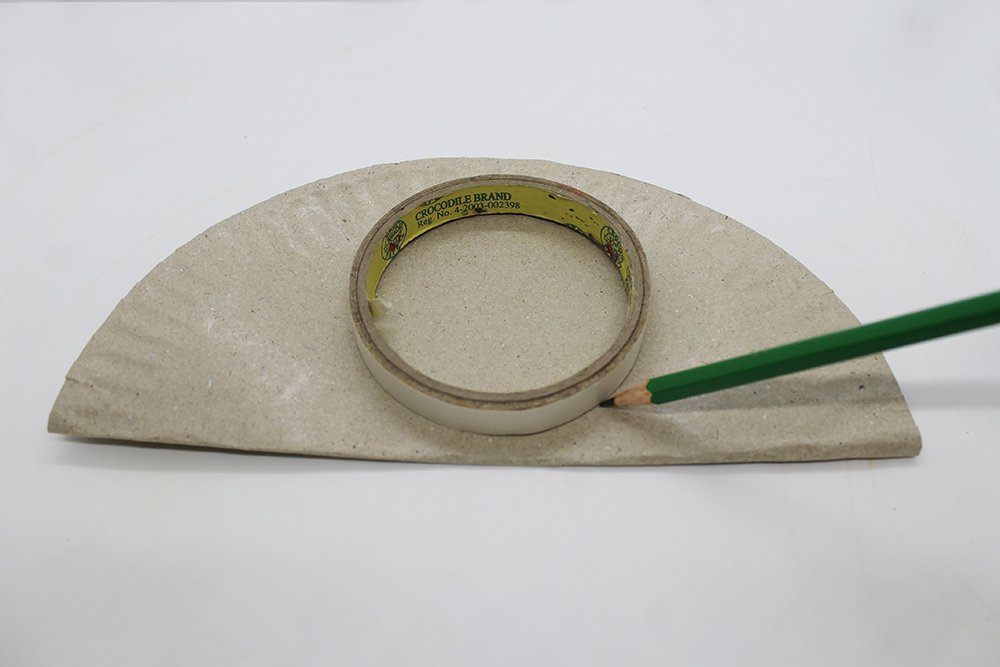
Make sure to maximize the space of the half-moon paper plate when drawing the circle.

Make a bow for the bunny by making a trapezoid shape, as illustrated in the picture above.
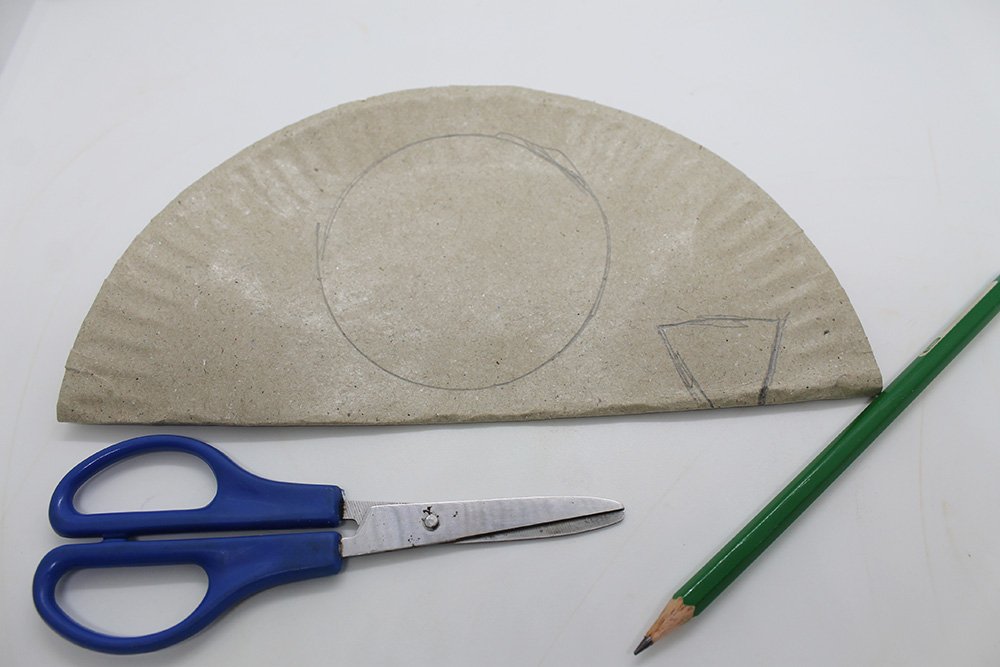
Now cut along the outline of the circle.
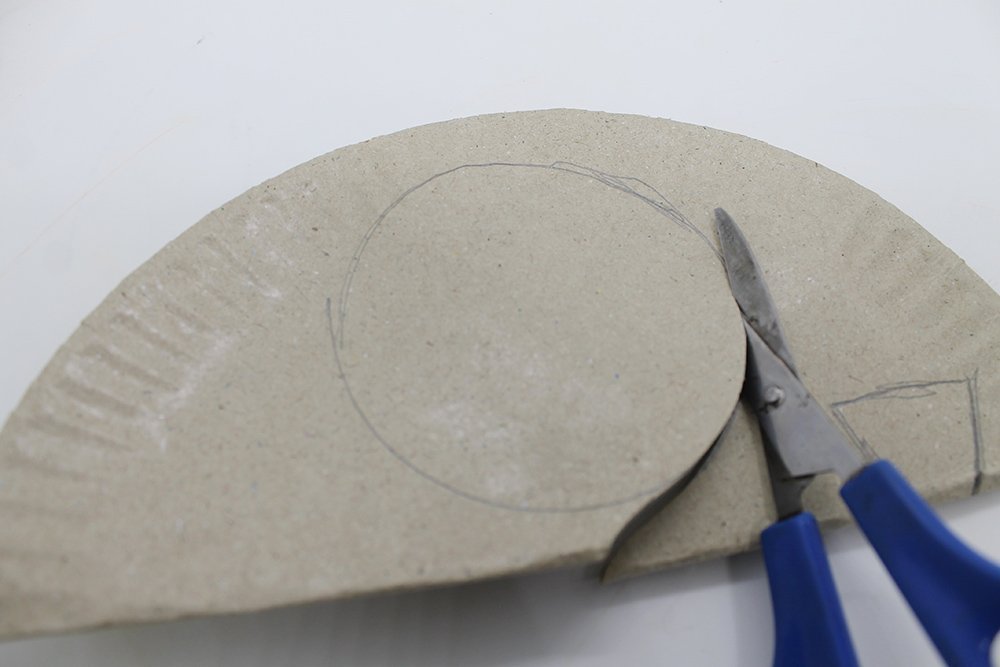
Make sure that the back layer of the paper plate is also cut.
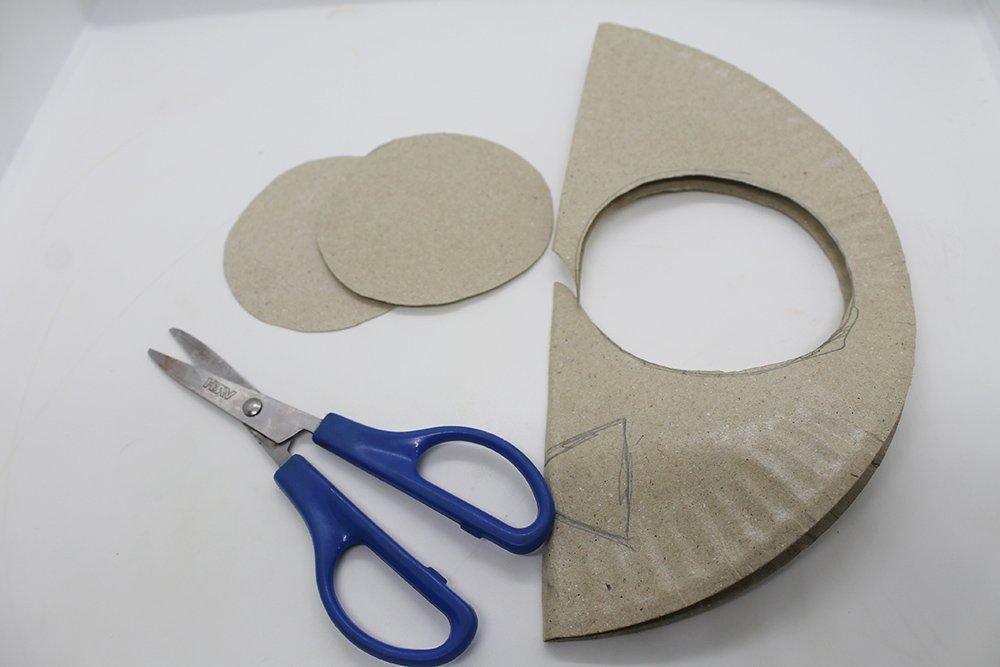
Now you have two pieces of a circle. One is the head, and the other circle is for the ears.
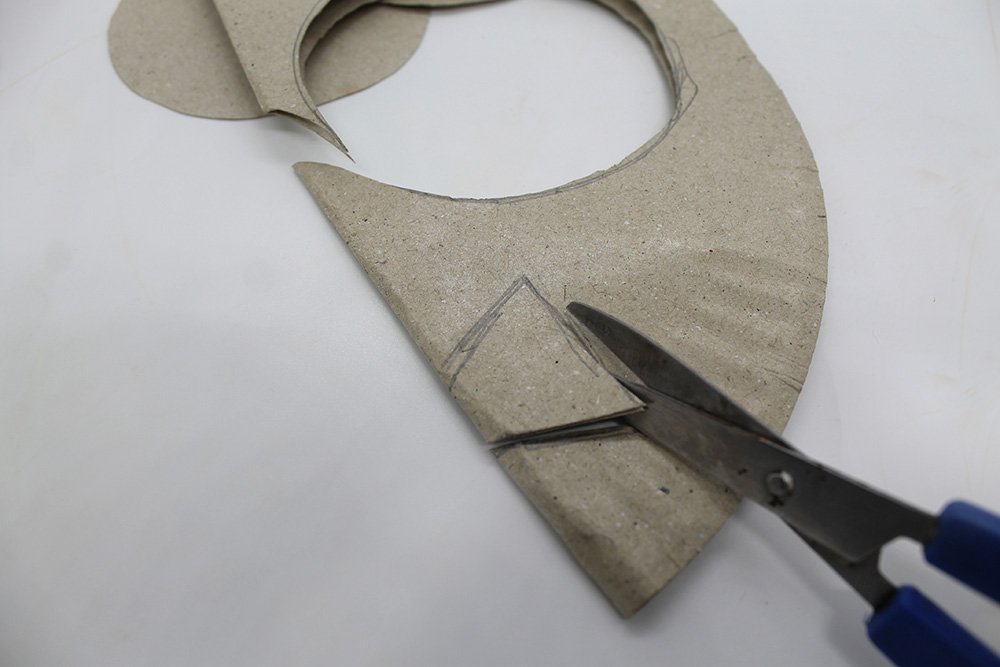
Cut also the trapezoid outline made. Make sure you cut ONLY along the pencil mark, or your bow will be cut in half.
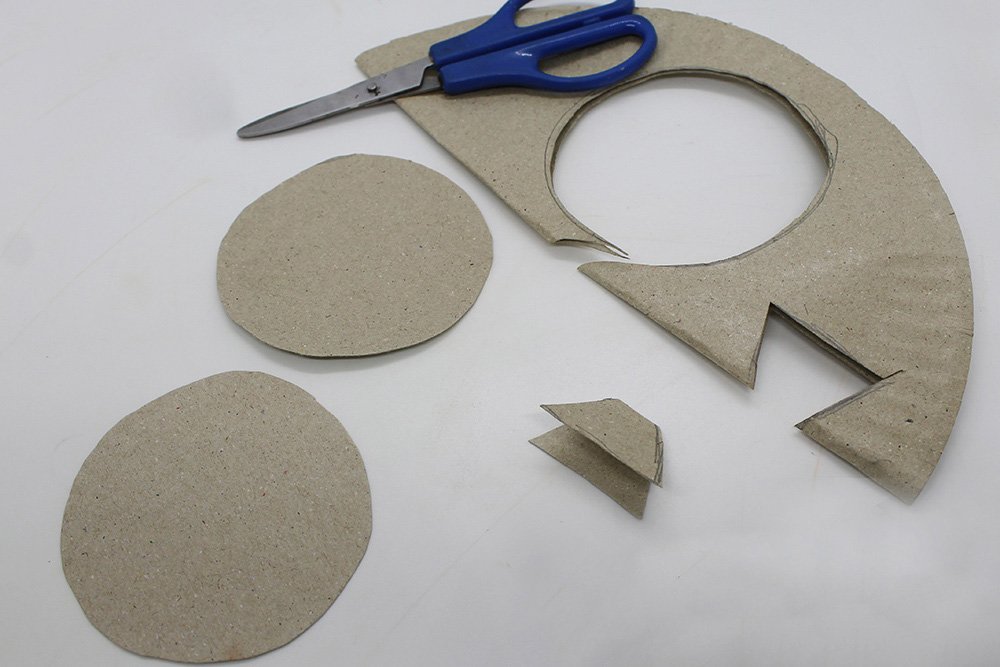
Using one piece of a paper plate, you have made the necessary paper cutouts to make the paper bunny.
Create the bunny ears
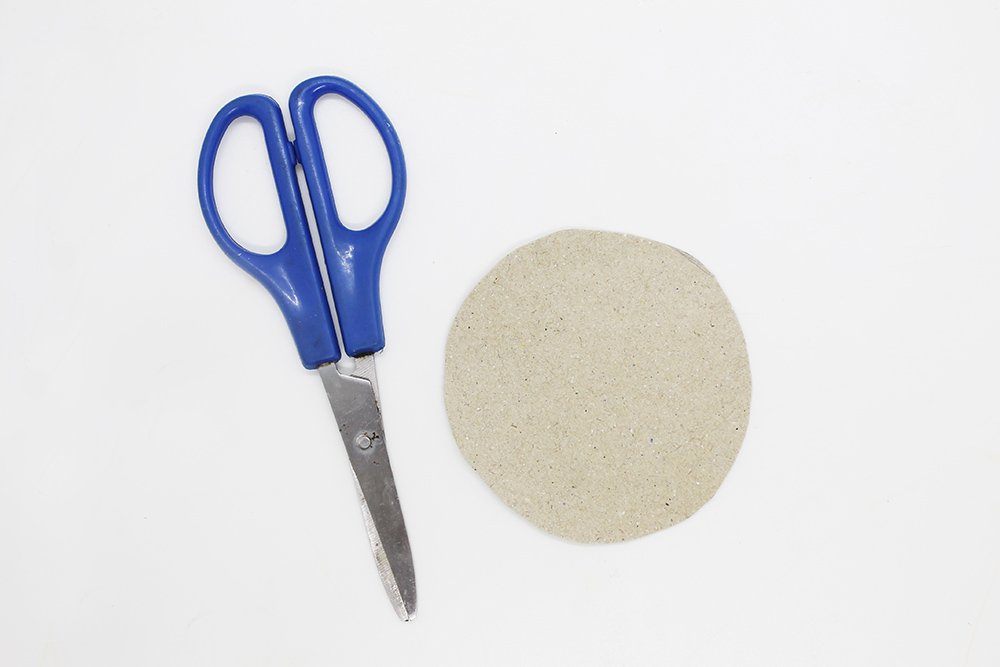
Get one of the circle cutouts made and cut it in half.
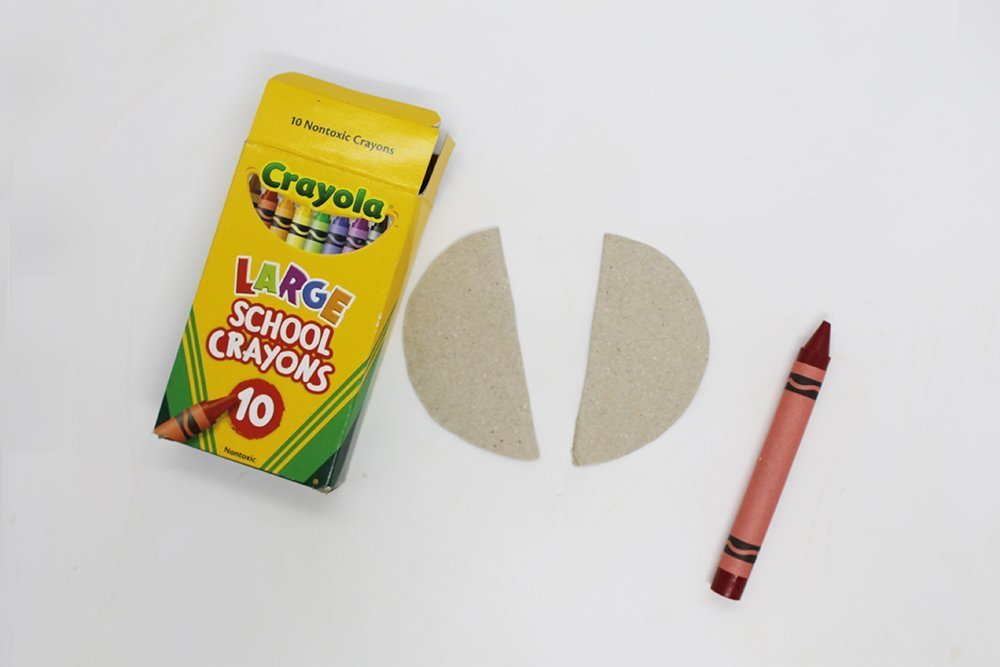
On each half-moon cutout, color the middle part red or pink. You may use a marker or crayon here!
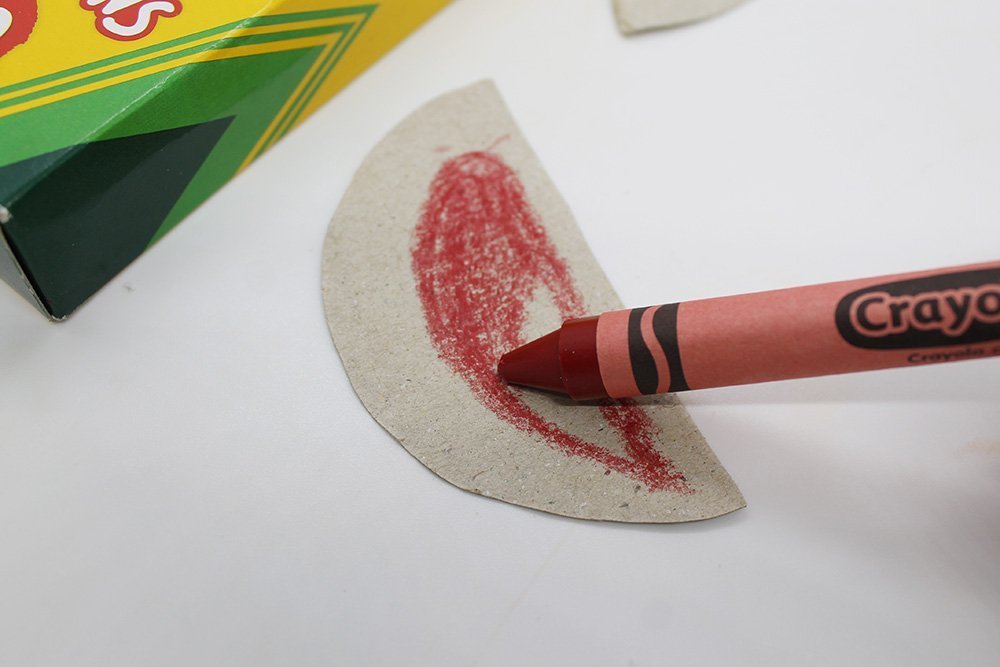
Color only the middle part. This will be the inner ear of your rabbit.
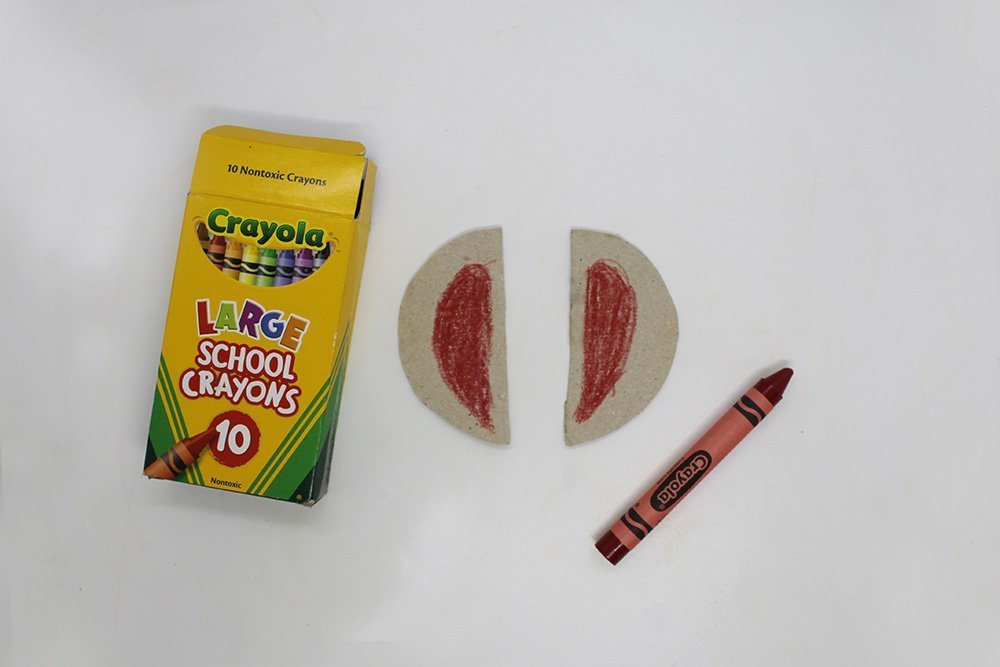
Your bunny ears are now done! Set it aside for now
Build your bunny a face
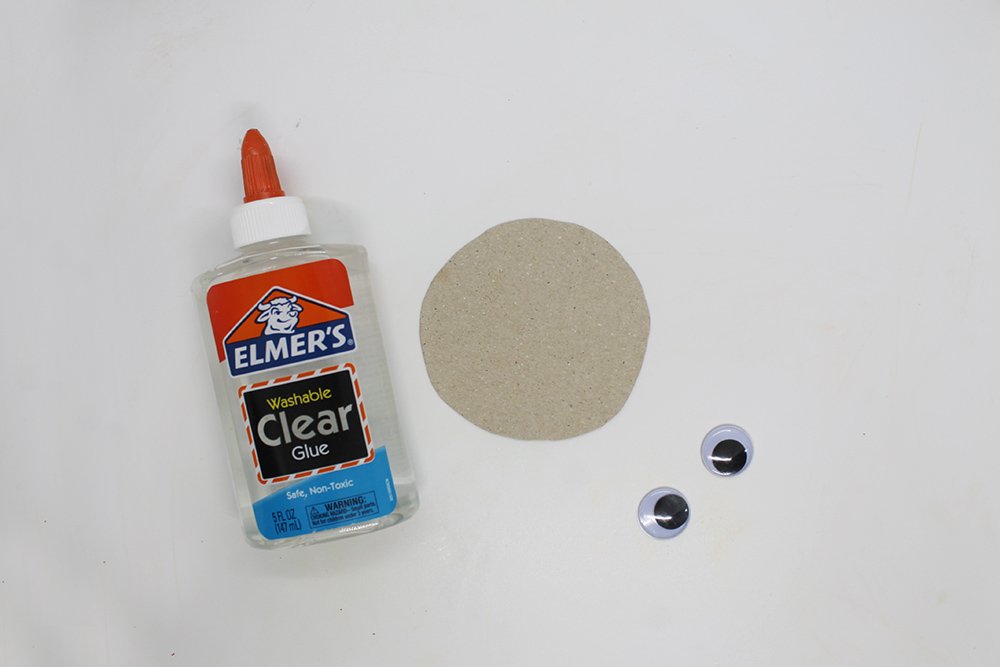
Let start with the eyes! Grab your other circle cutout, a pair of googly eyes, and some glue. Stick the googly eyes to the paper plate using glue.
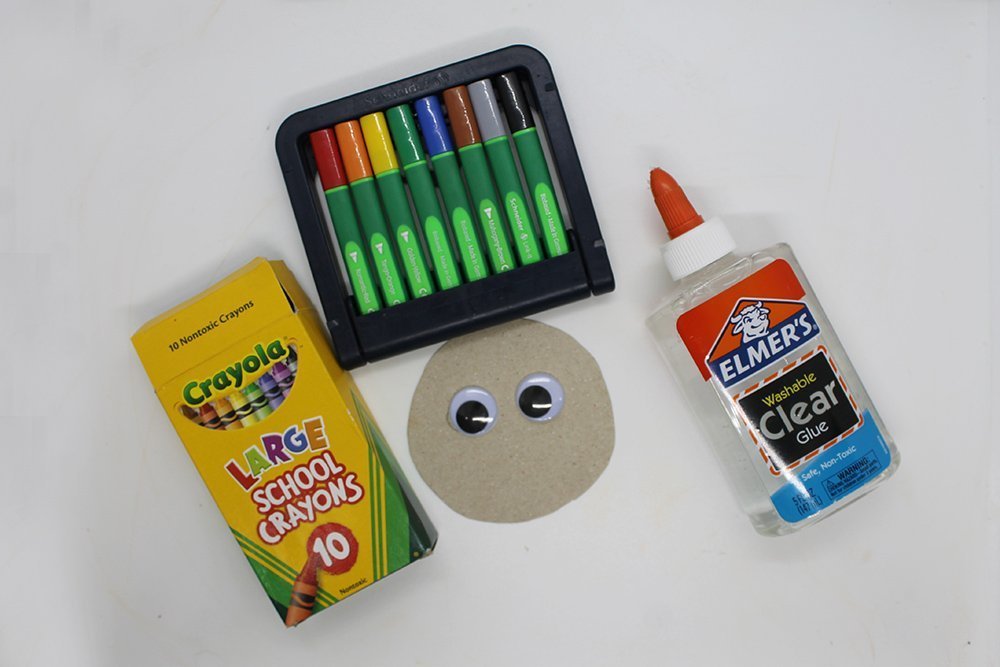
Make the mouth and the face using your coloring materials.
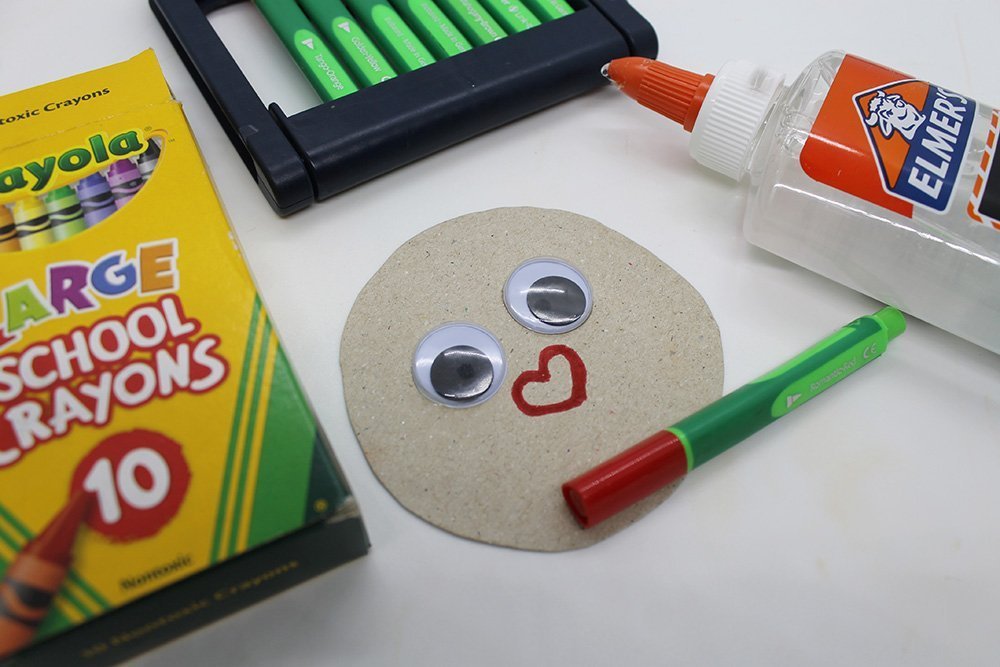
For this craft, I used a red marker to make the heart-shaped nose.
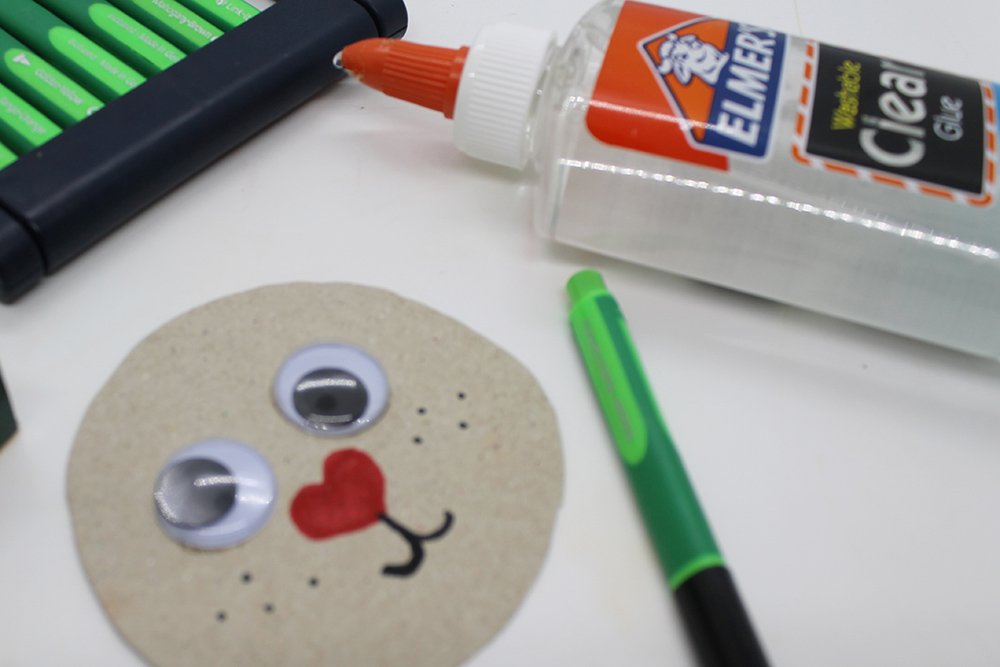
Then I used a black marker to draw the mouth and whiskers.
Make a bowtie for your rabbit
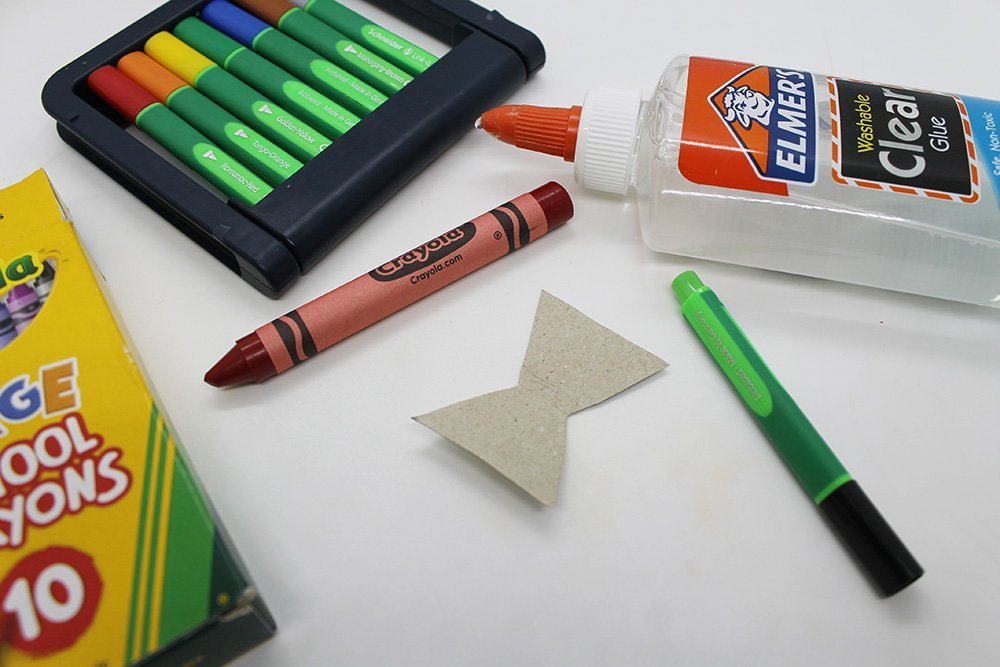
Color the bowtie cut out in any color you want. For this tutorial, I chose red.
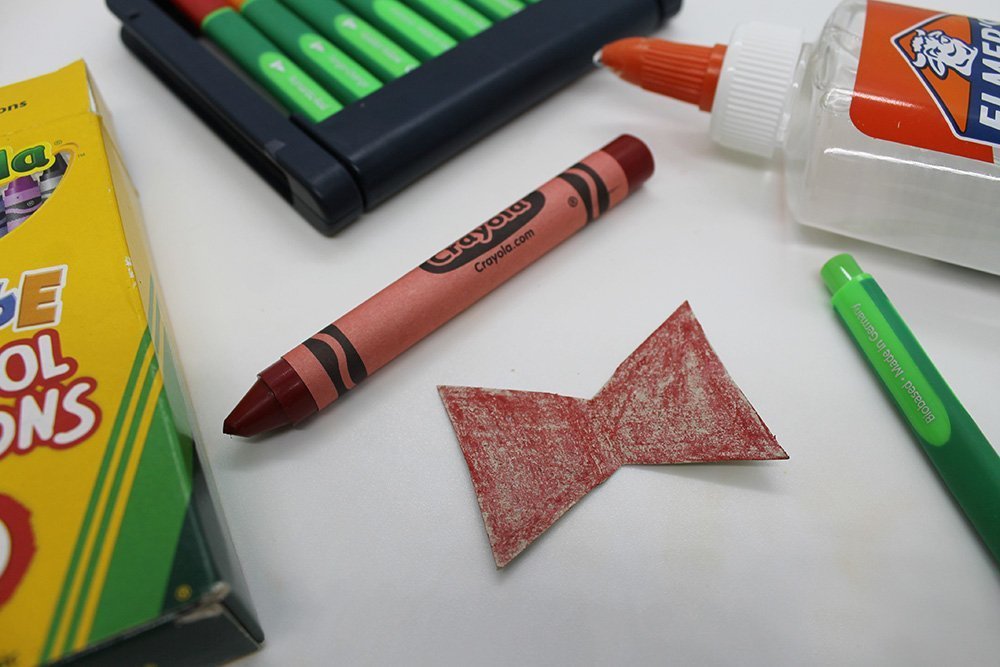
The bowtie kinda looks flat, so you can add some detail or outline the bowtie to make it look nicer.
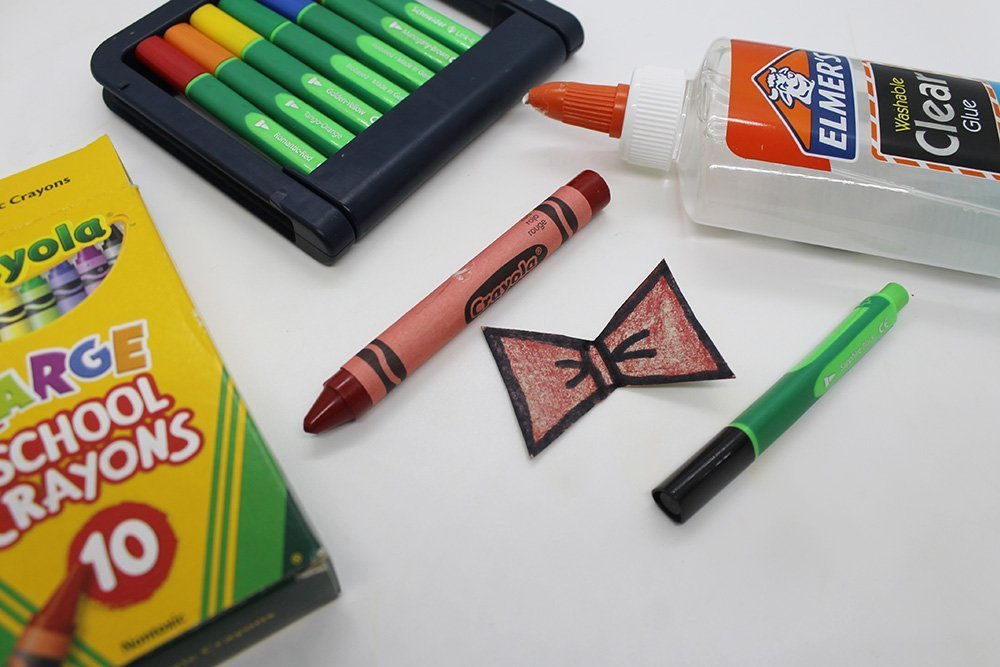
Your bowtie is done! Now your bunny is going to look dashing!
Add some final touches.
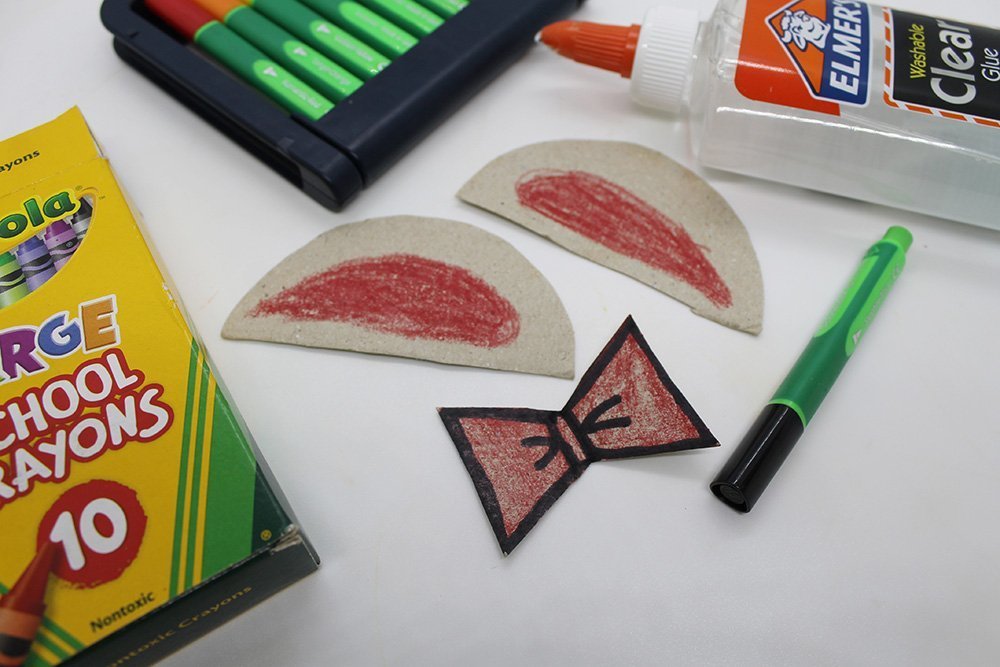
You can also add some final touches to your bunny using coloring materials.
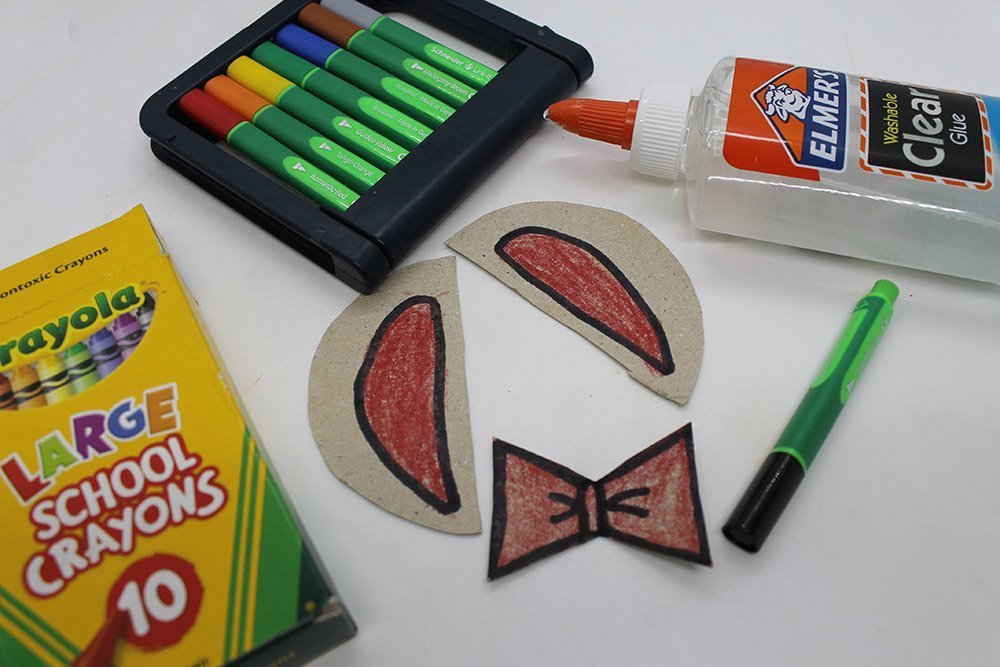
We think that it looks a lot nice for the bunny’s ears if it is outlined as well.
Assemble your bunny!
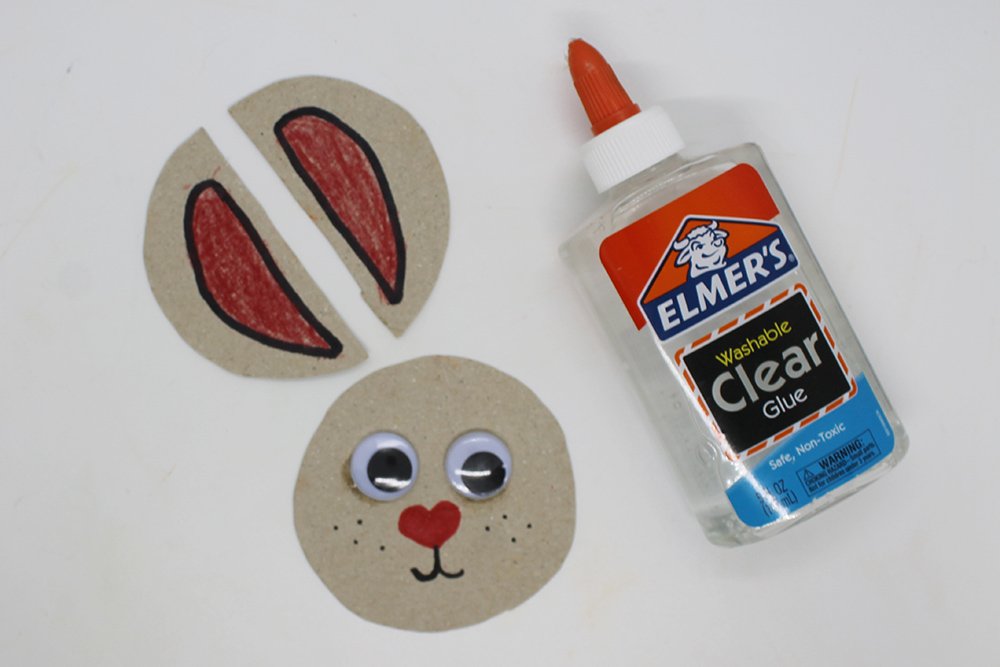
Attach ears to the back of the head using some glue.
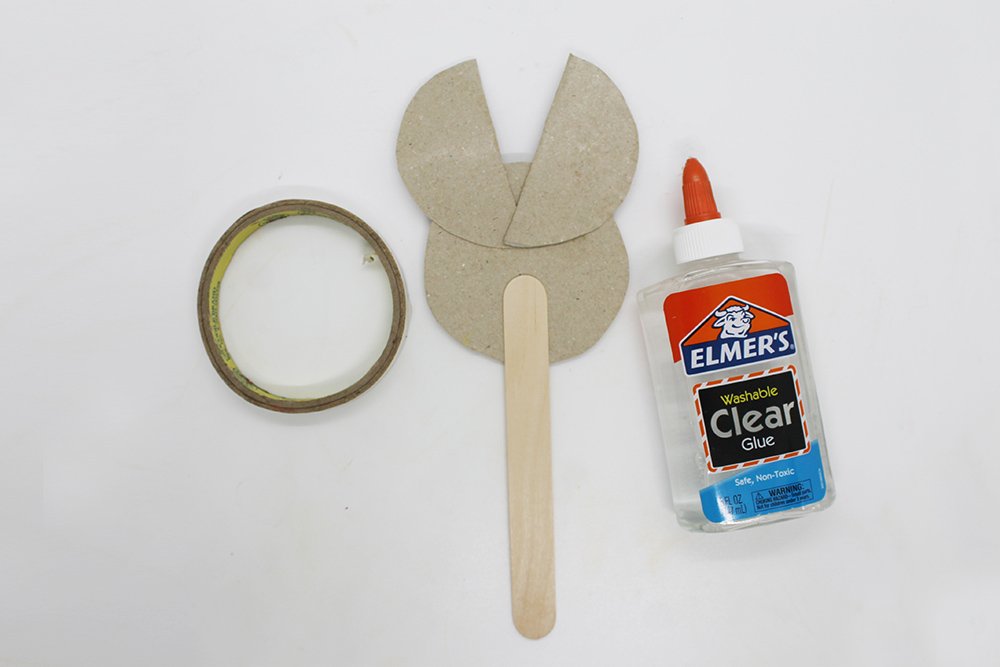
Use some tape to attach the popsicle.
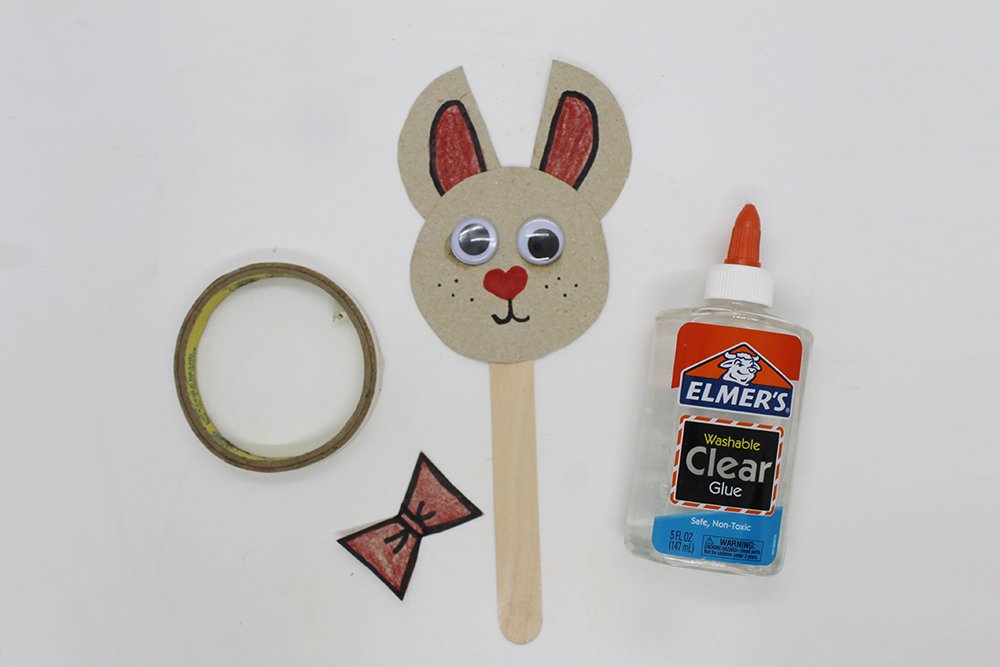
Now attach the bow to the popsicle stick with some glue!
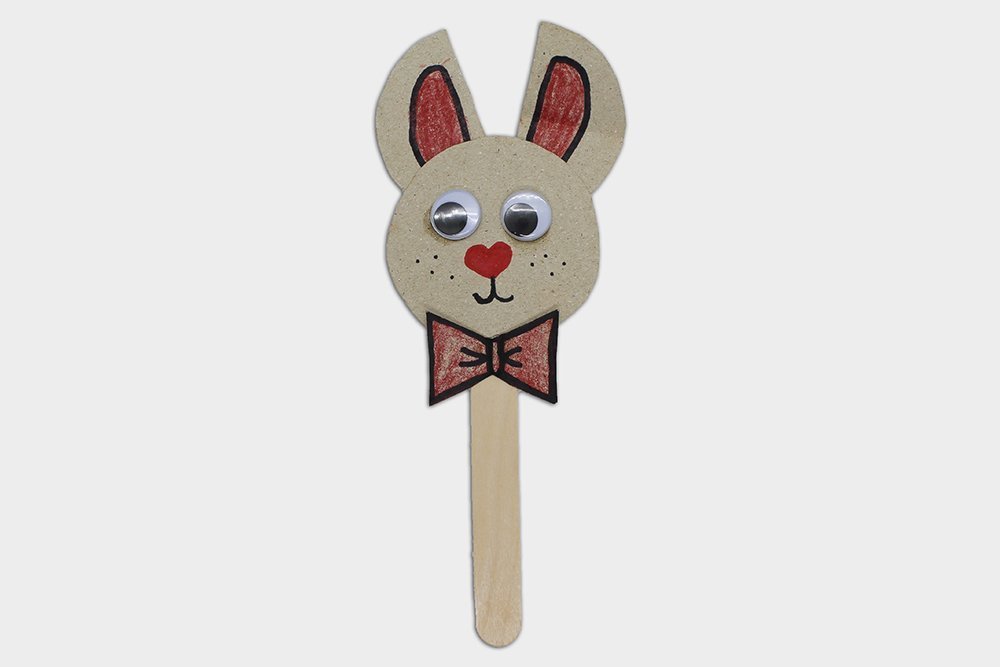
Your paper plate bunny is now done! Decorate your garden by sticking it to a potted plant.
Optional: Hang it with a use of a string
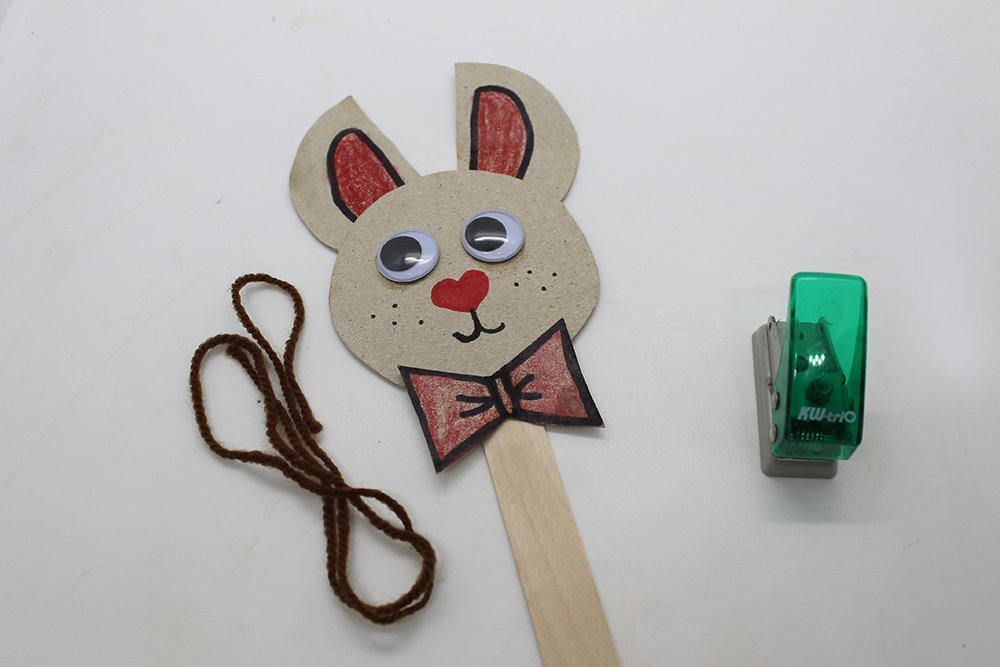
With a puncher and a string, you can hang this paper plate bunny!
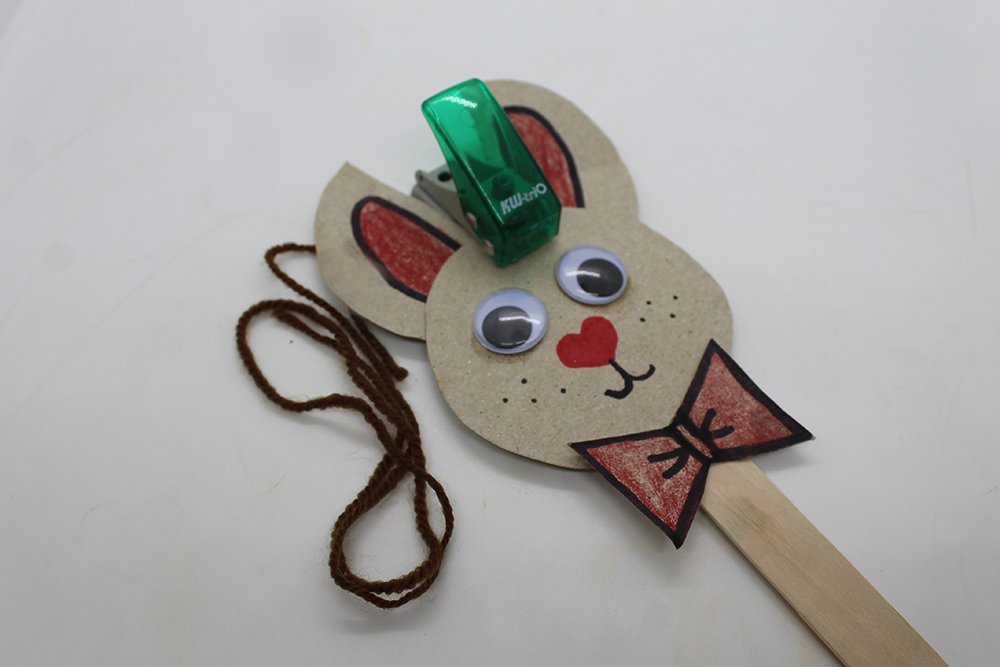
Punch a hole on the top part of the head of the bunny.
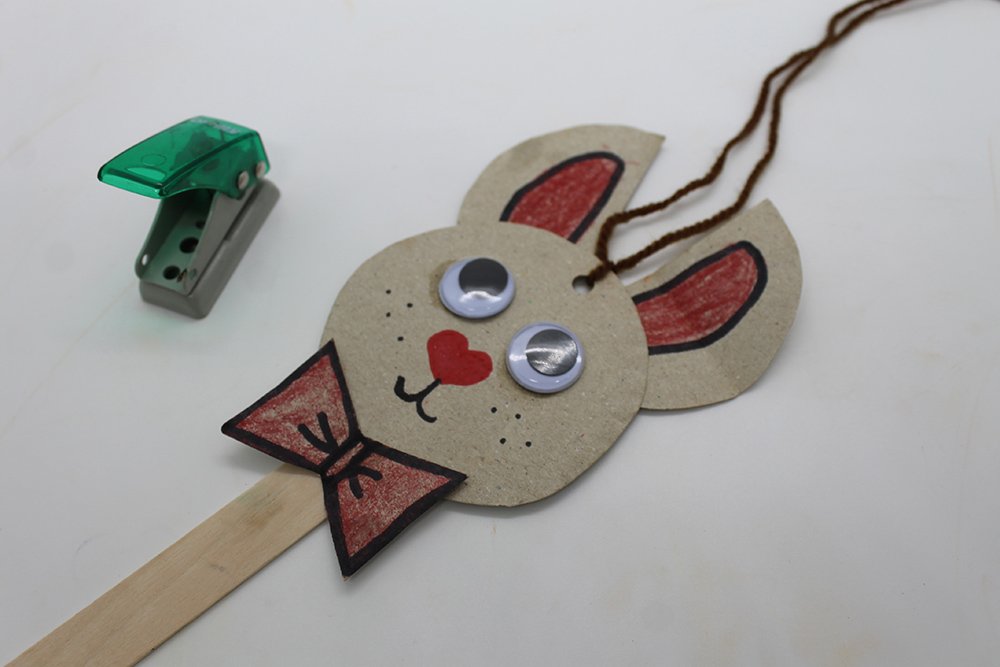
Loop a string around it and tie the ends with a knot.
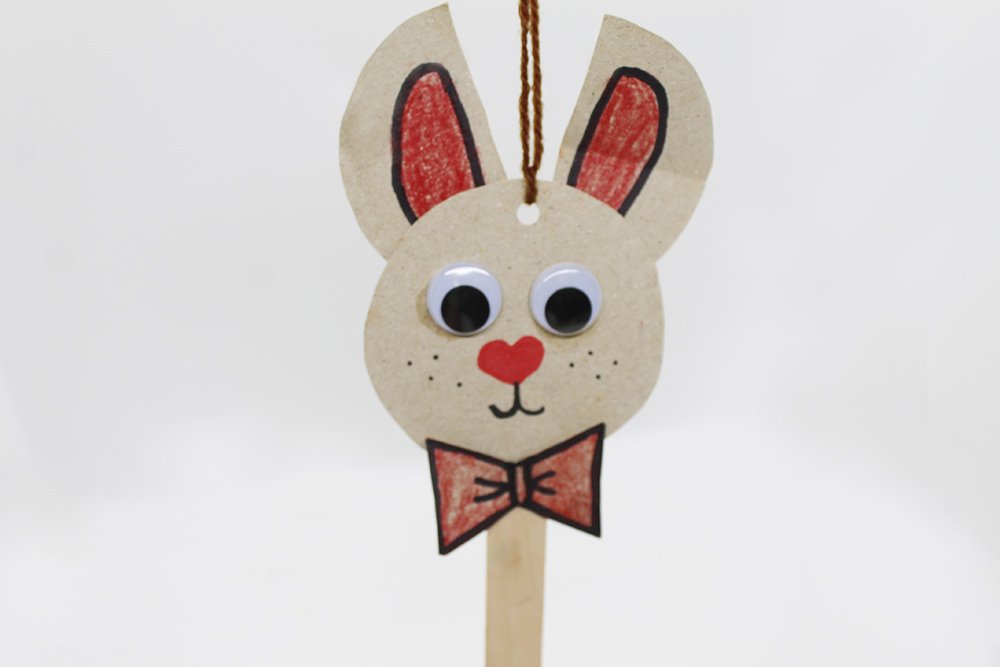
The string attached can now hang your bunny! Try hanging it in the window!
Extra Tips
- If you don’t have googly eyes, then you can draw the eyes with a marke
- Make a bigger version of this using 2 paper plates. Instead of a popsicle, use a thing long stick so that you can stick it to a potted plant.


