Introduction:
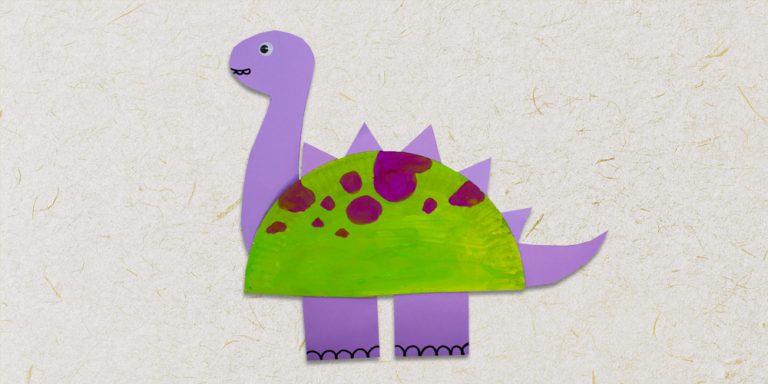
Creating a paper plate dinosaur can be super easy! By just following the instructions below, you and the kids can learn how to make this brontosaurus easily. What’s also great about this dinosaur craft tutorial is that it includes a free stencil printable that you can download for free. Now grab the materials listed below and let’s start crafting!

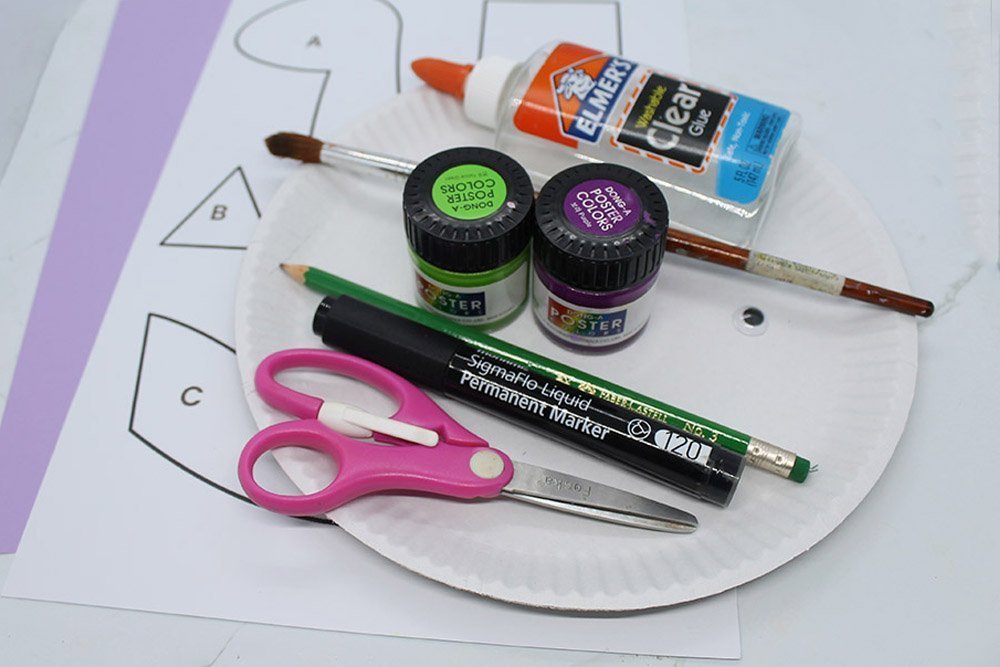
Tools
- Scissors
- Paintbrush
Supplies
- Paper Plate
- Glue
- Poster Paint, crayons, or markers for coloring the printable
- Construction Paper or any thick colored paper
- Googly Eyes or Marker
- Printable We recommend printing the printable in an A4 paper

Create the base of the dinosaur using a paper plate
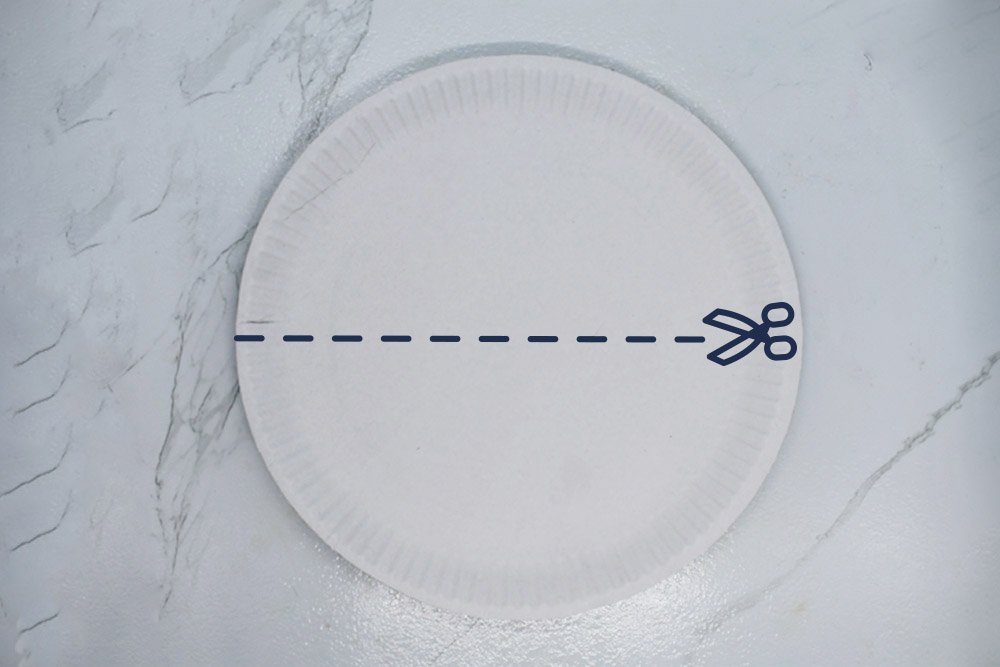
Grab a paper plate and cut it in half. We’re only going to use one-half of the paper plate.
You may use the other half of the paper plate for other paper plate crafts like this one: Create a Cut and Paste Paper Plate Horse
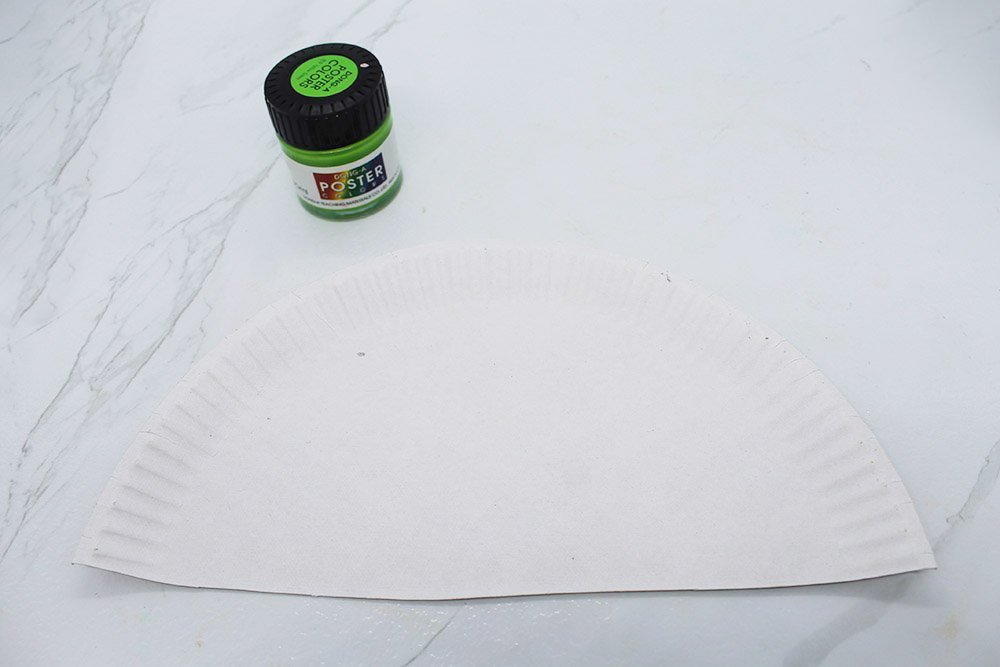
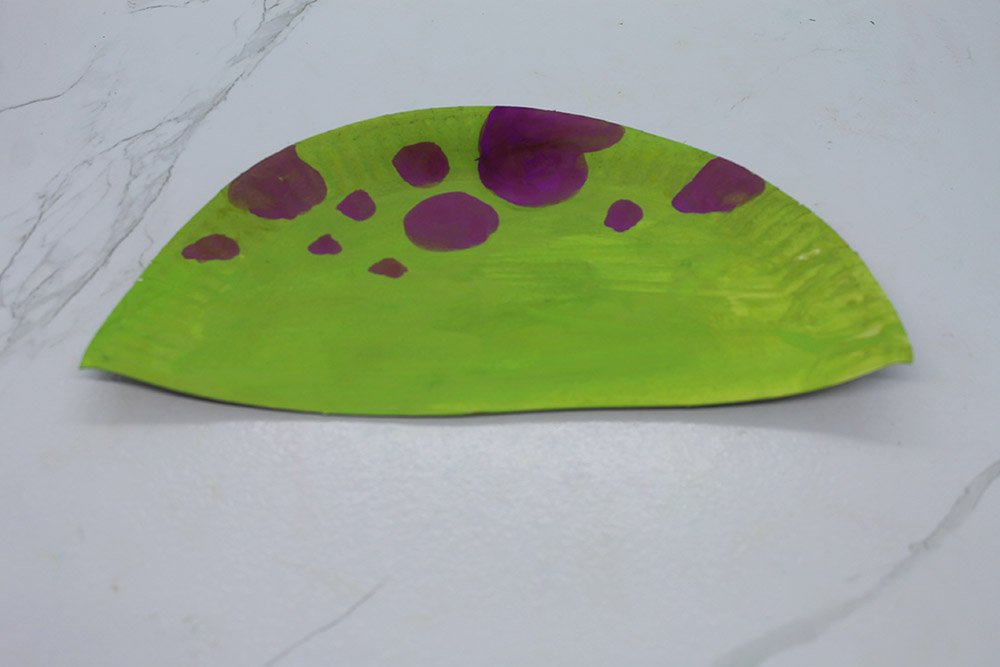
This is the body of the paper plate dinosaur. Paint the paper plate with the color of your choice. Here we use yellow-green paint to color the body.
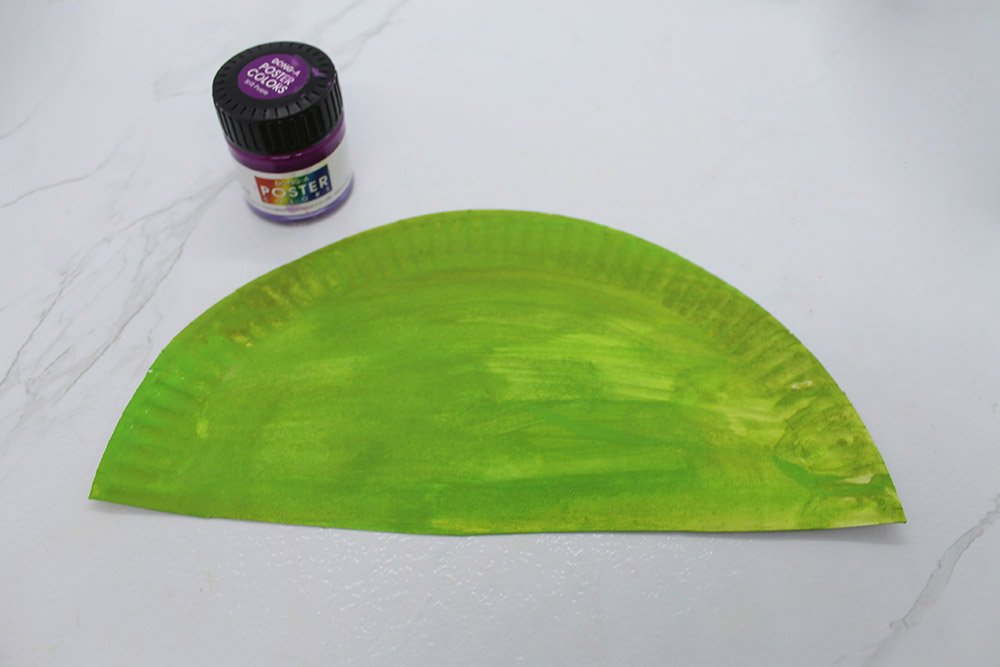
Next, decorate the paper however you like with the materials.
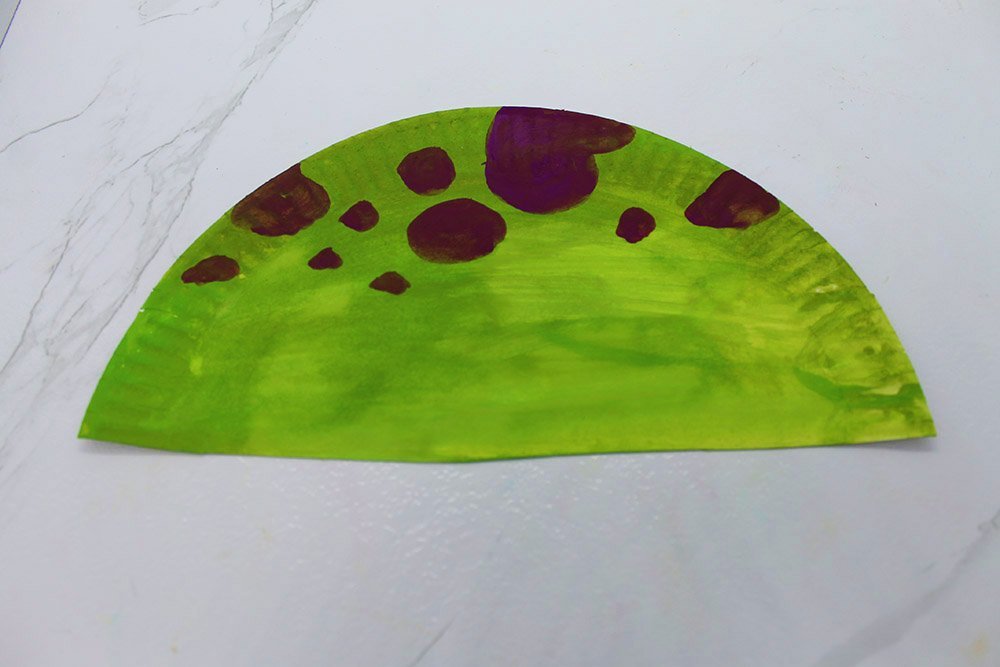
For this dinosaur craft, we decorated it with purple spots. You may follow how we decorated it or you and the kids can come up with your own.
Cut out the stencils to make the paper plate dinosaur
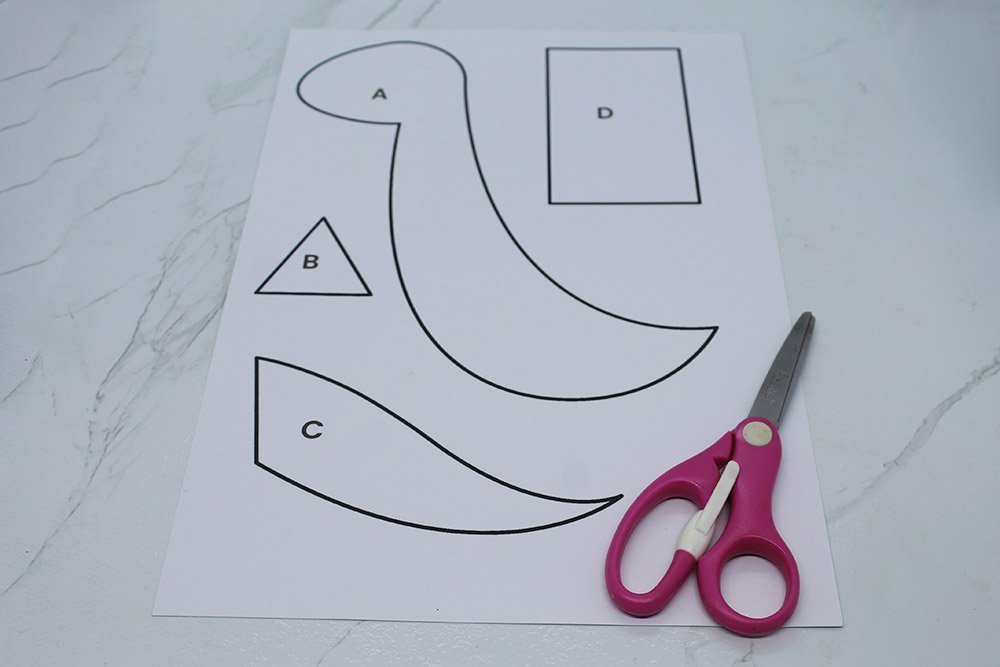
Download and print the printable by clicking the yellow button above. Cut along each outer outline to make the stencil.
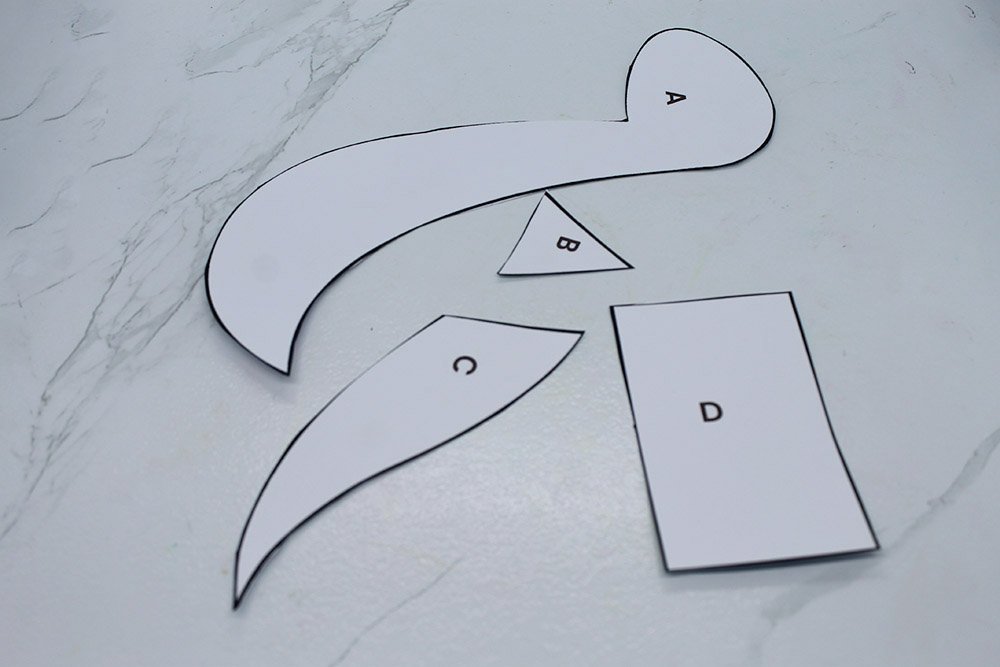
Once cut, you should have four stencils (A, B, C & D).
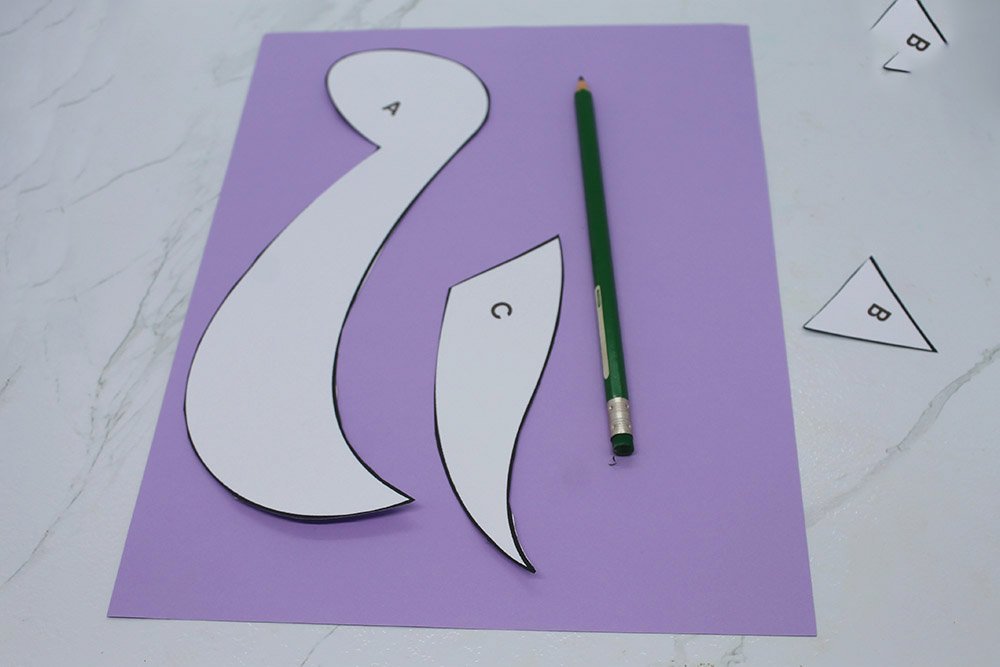
Trace stencil A and C on a piece of colored paper.
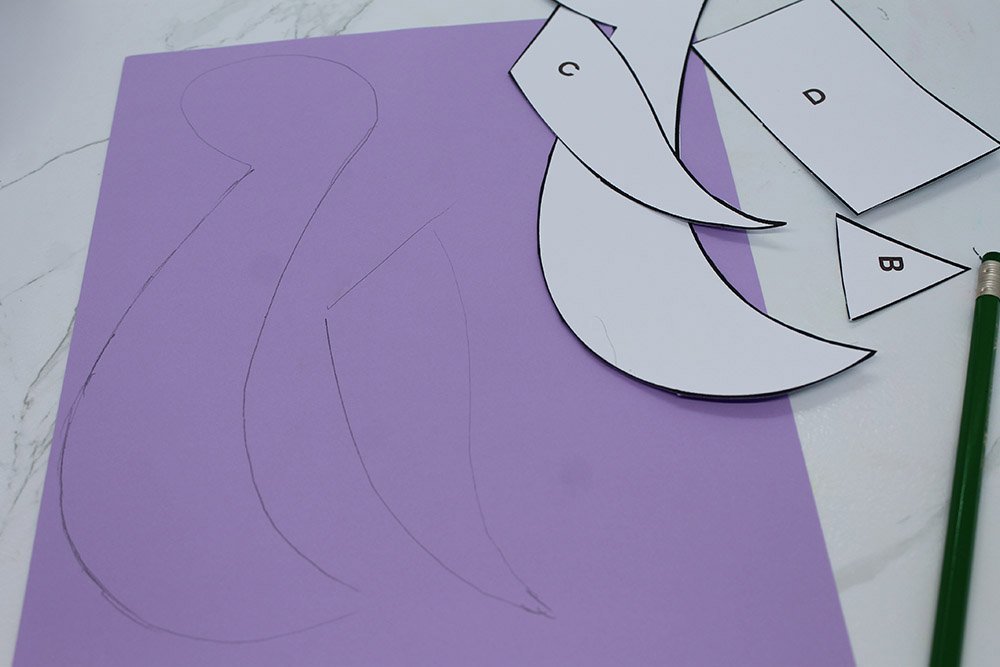
Once trace, it should look something like this.
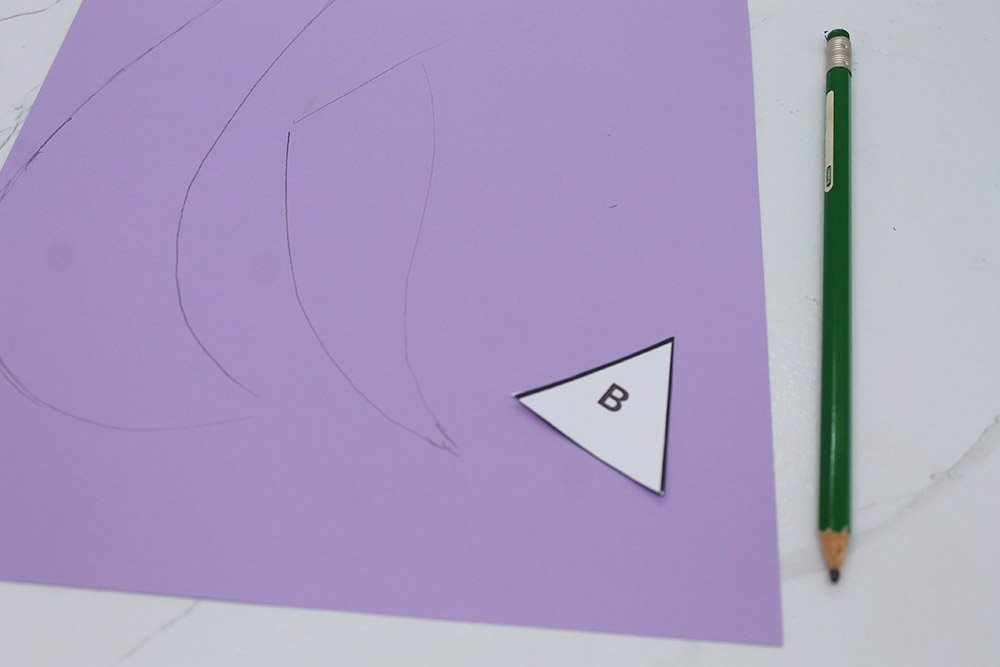
Trace the B stencil several times (around 4 to 8 depending on how many you want to use).
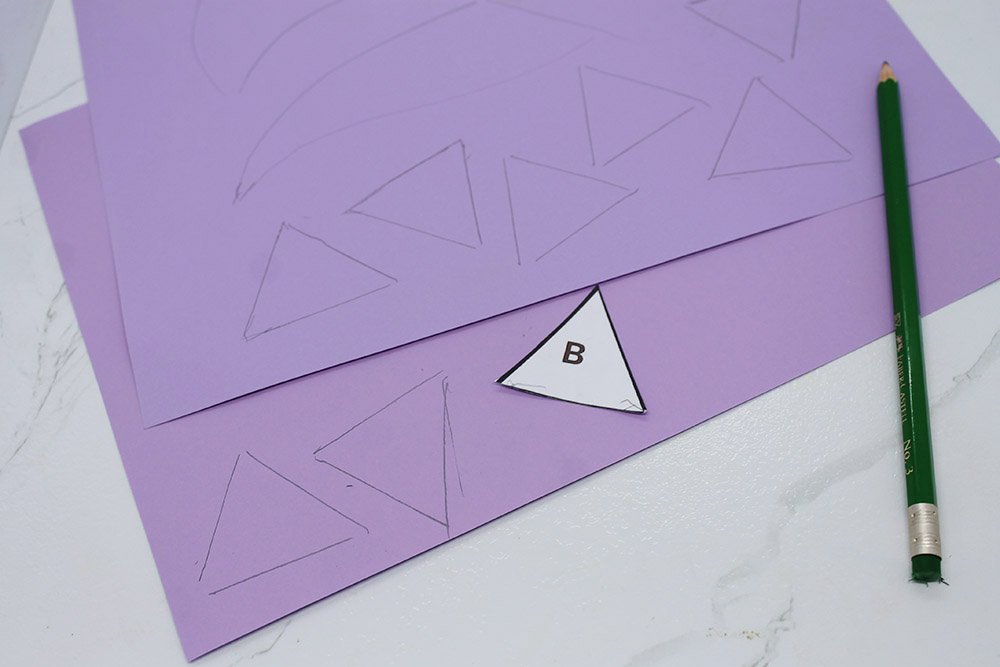
You may want to use another piece of paper if there is no more space.
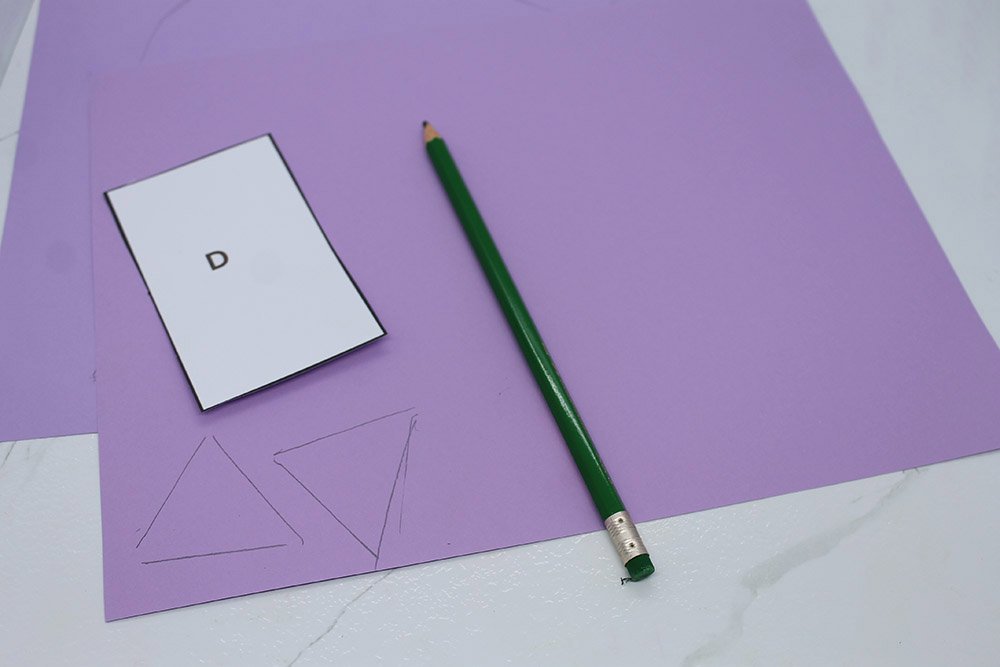
Trace the D stencil twice to make the legs.
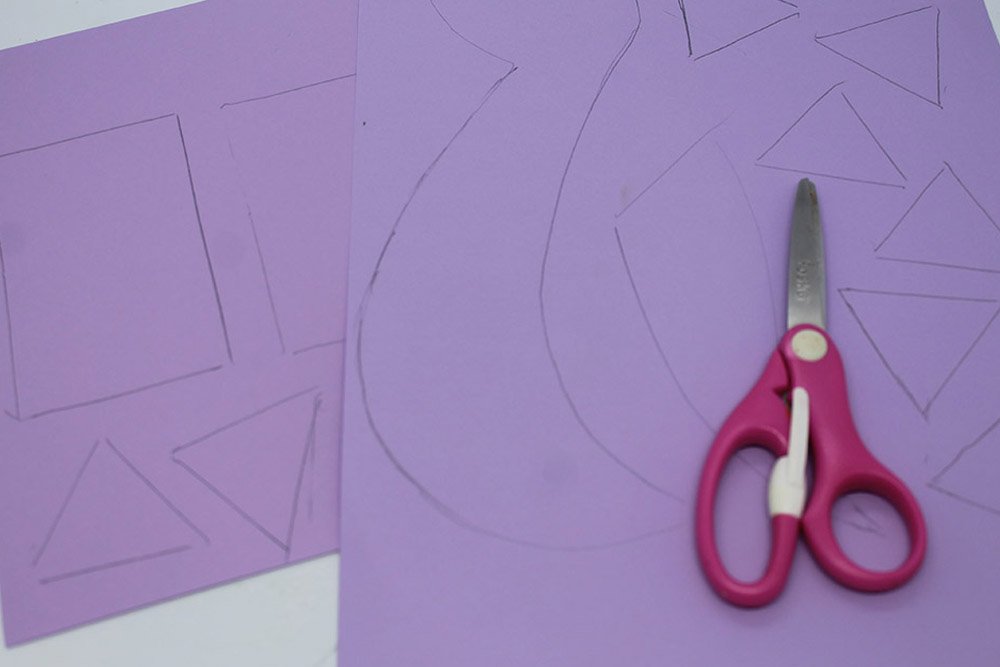
Cut out the outline made from the stencils.
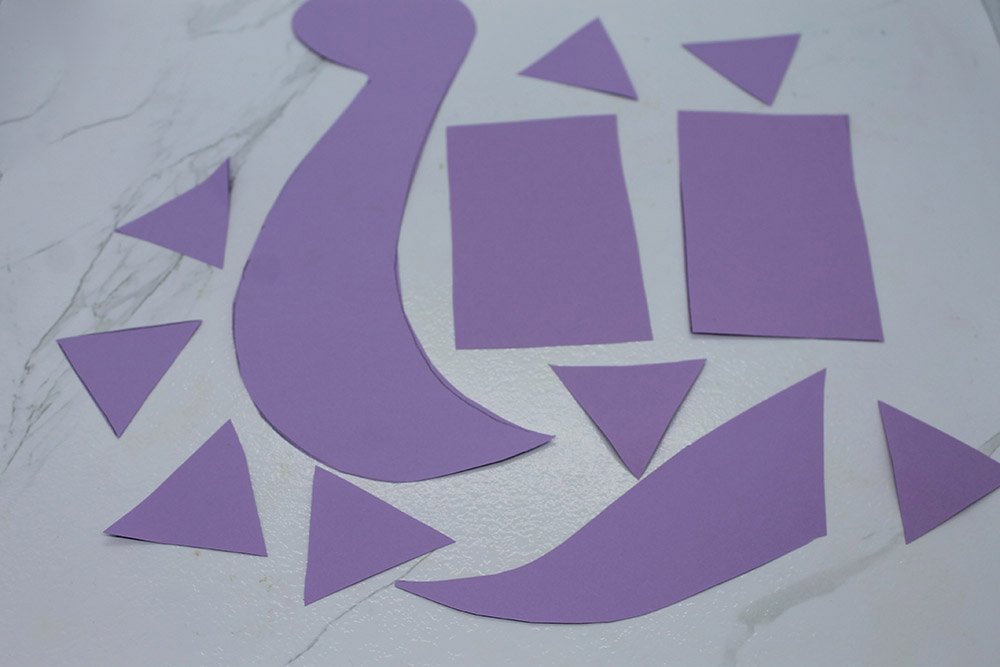
Once cut, we can now assemble the dinosaur.
Assemble the paper plate dinosaur
Grab the paper plate body made beforehand and flip it over.
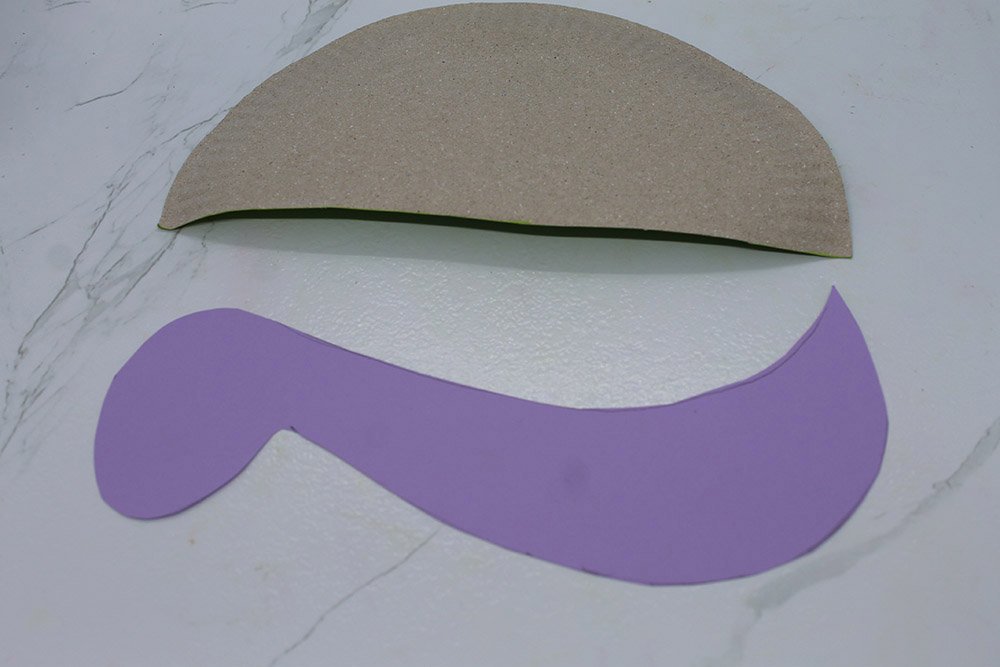
Attach cutout A at the left side. This will be the head of the dinosaur.
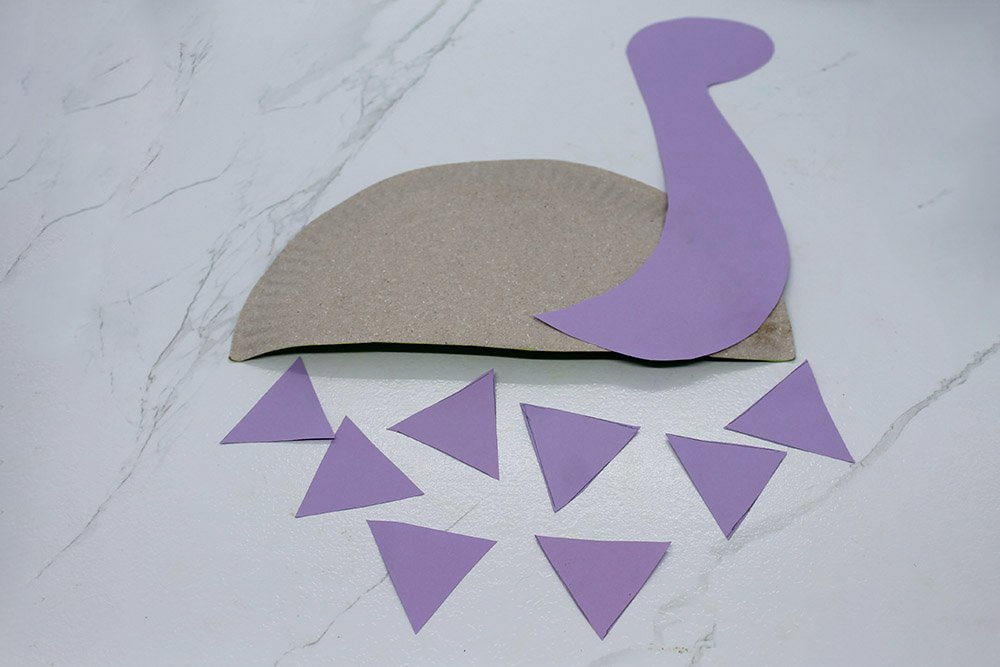
Attach the spikes made from stencil B at the upper curved edge of the paper plate.
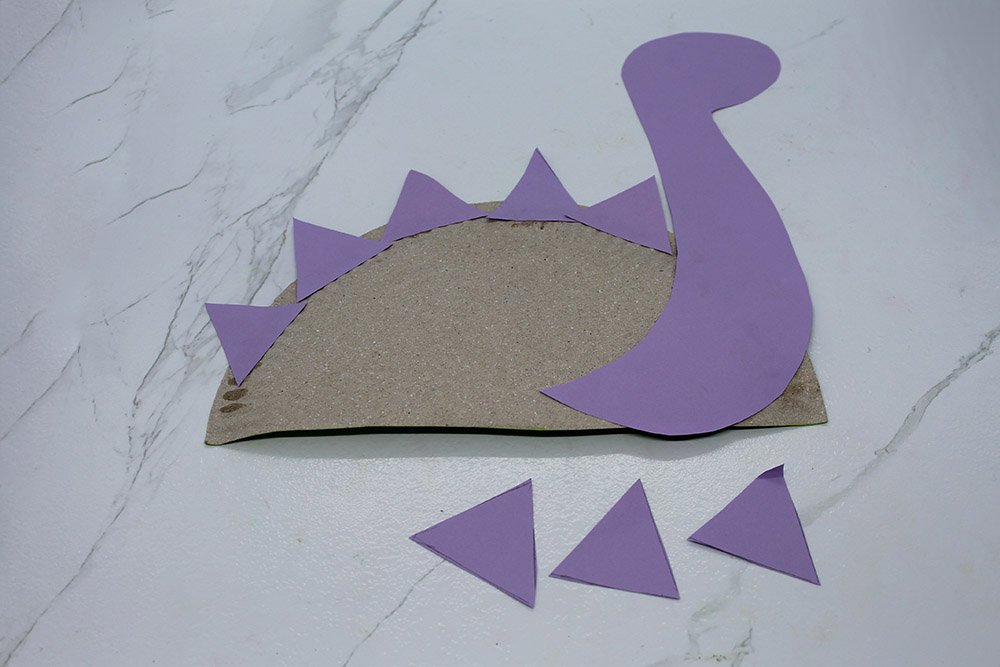
It’s up to you how many spikes you want for the dinosaur.
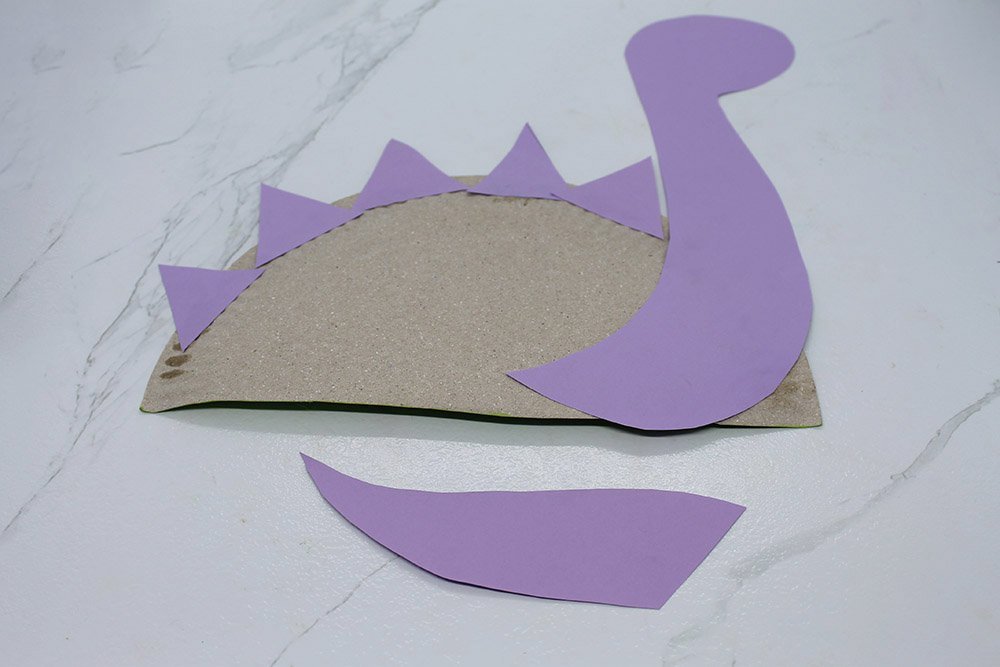
Attach the tail at the right side.
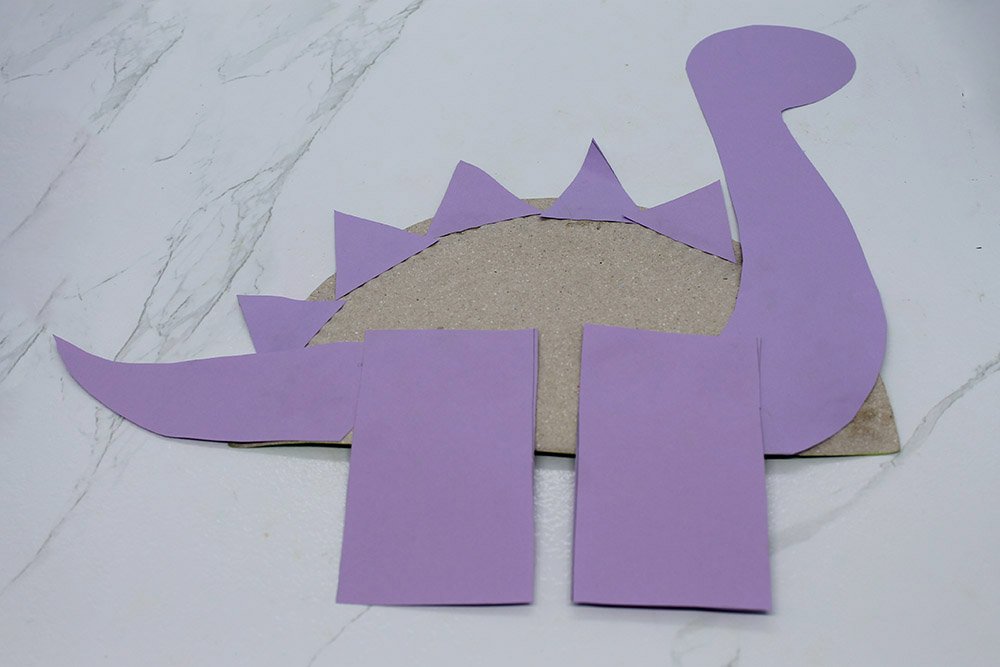
Stick the feet at the bottom straight edge and then flip the dinosaur over.
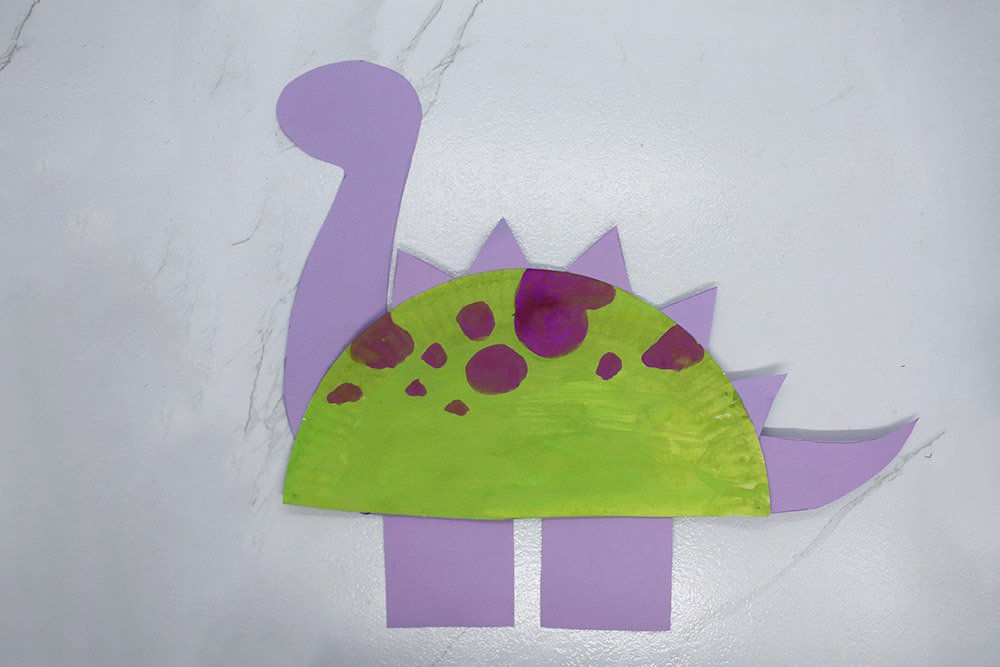
Almost done! Time to decorate!
Decorate the paper plate dinosaur
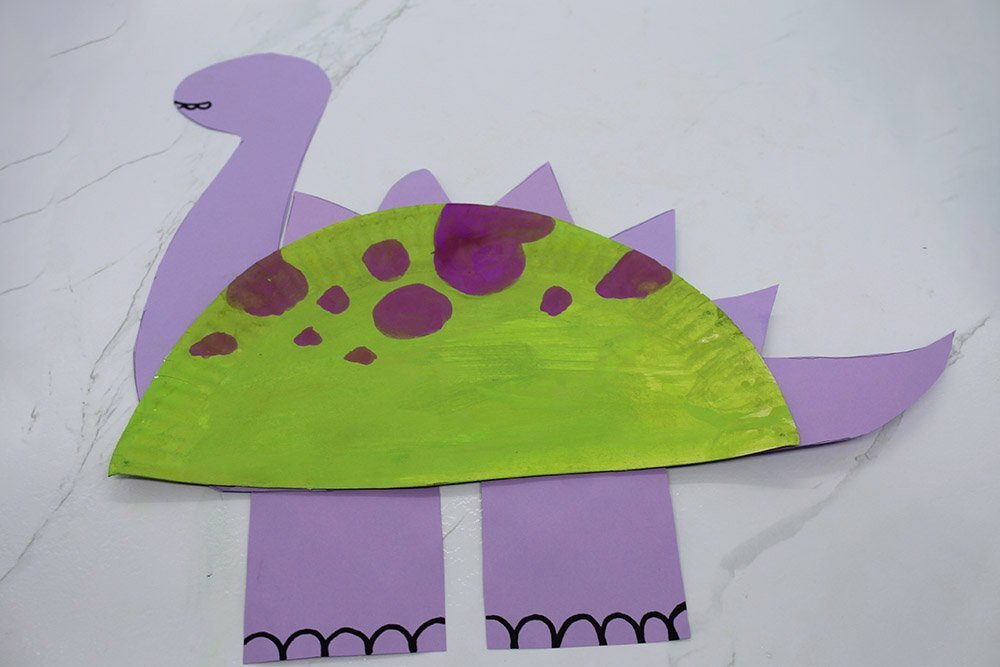
Using black paint or marker, draw some details on the dinosaur craft such as the mouth and some nails.
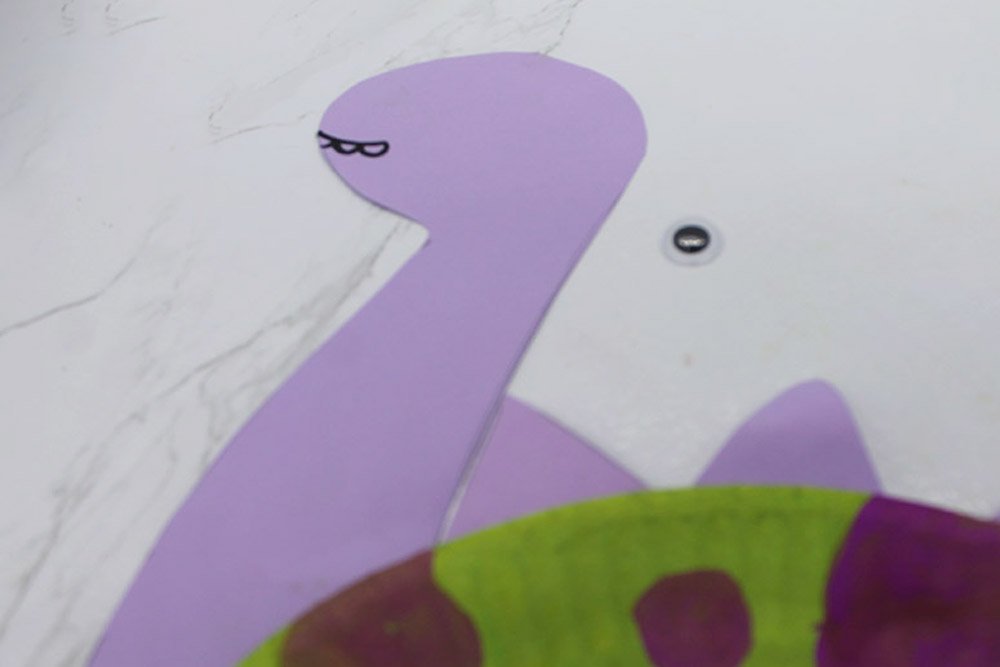
Stick a googly eye at the head of the dinosaur, If you don’t have googly eyes, draw the eye using a marker.
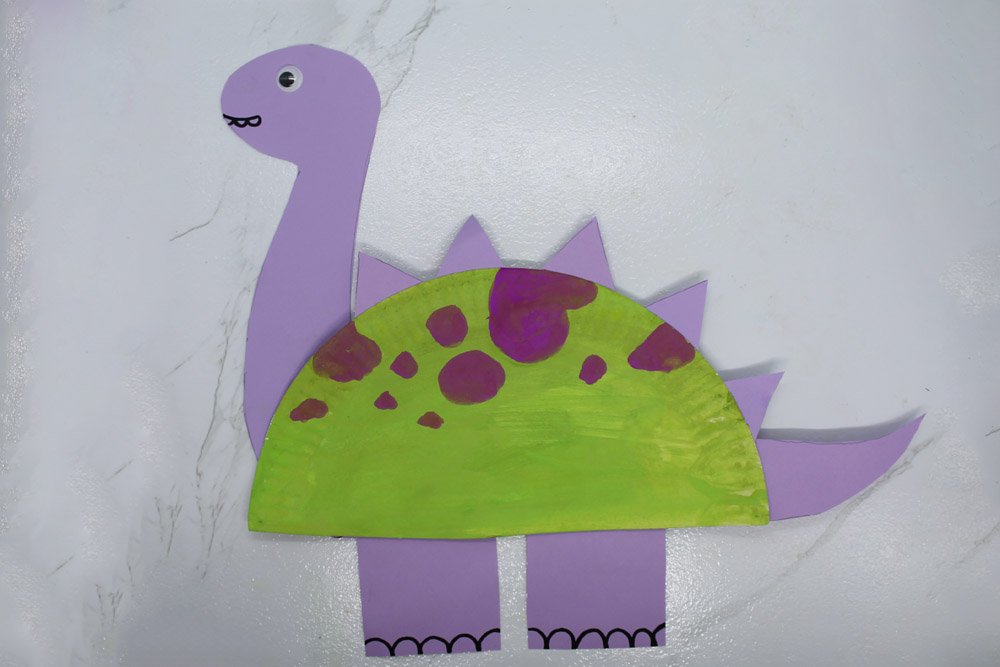
The paper plate dinosaur is done! Use it to decorate your home or attach a stick to turn it into a puppet!


