Introduction:
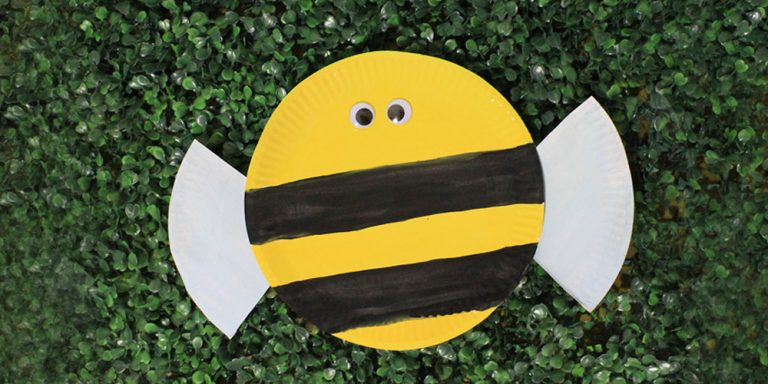
Making a paper plate bee can be super easy with the help of our step-by-step tutorials. A great activity for preschoolers and toddlers, this activity is easy for kids to make at home with minimal parent/guardian supervision. All your need is to gather a few materials and follow the instructions down below.

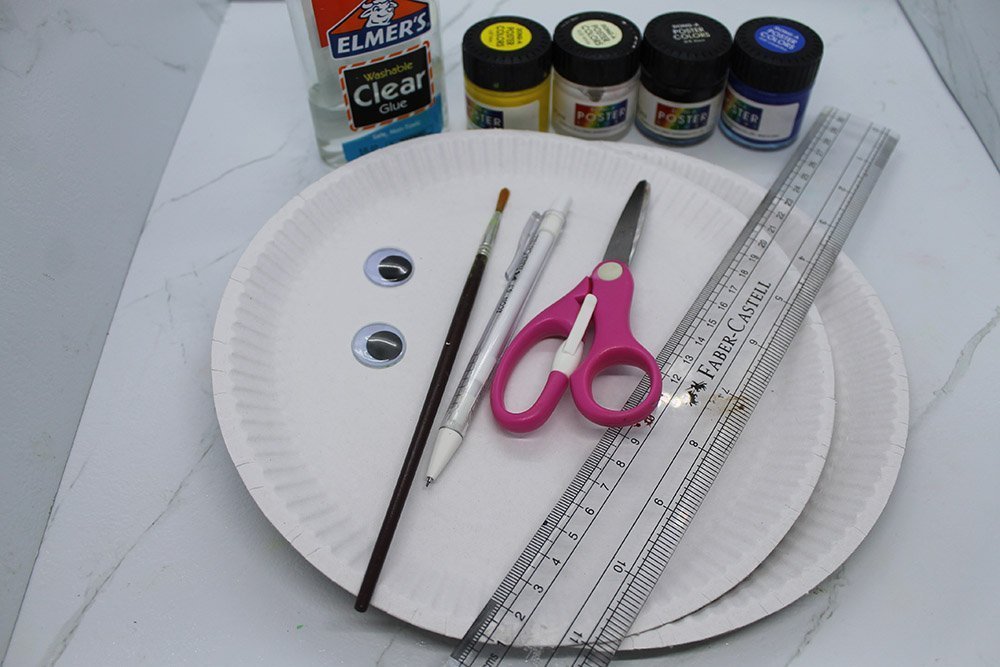
Tools
- Pencil
- Paintbrush
- Ruler
Supplies
- 2 pieces paper plate
- Yellow, blue, black, and white poster paint
- Glue
- Googly eyes

Cut out the wing from a paper plate
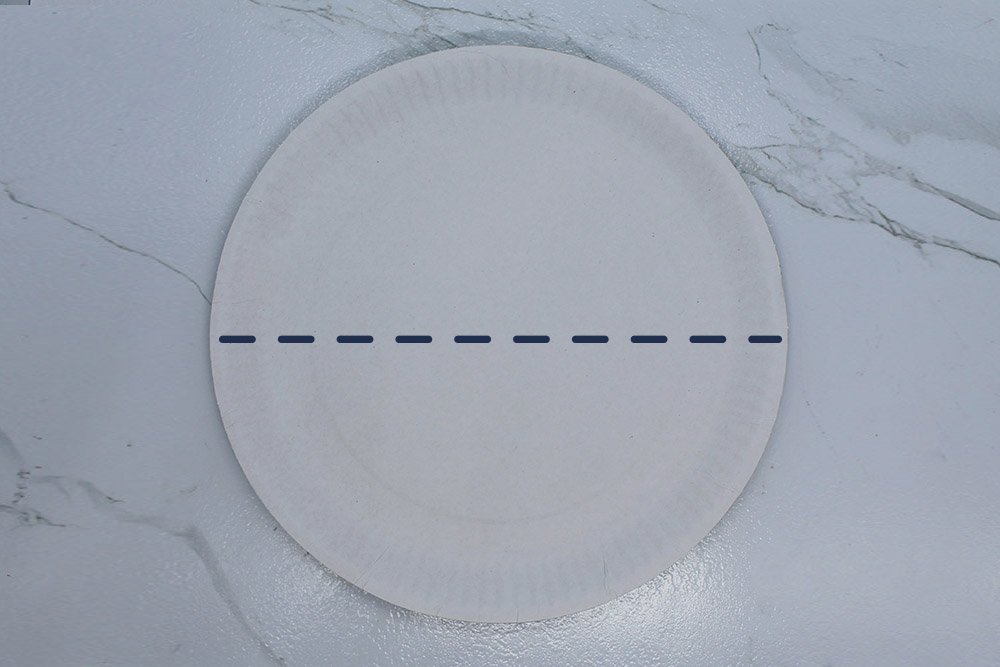
Grab a paper plate and cut it in half using a pair of scissors
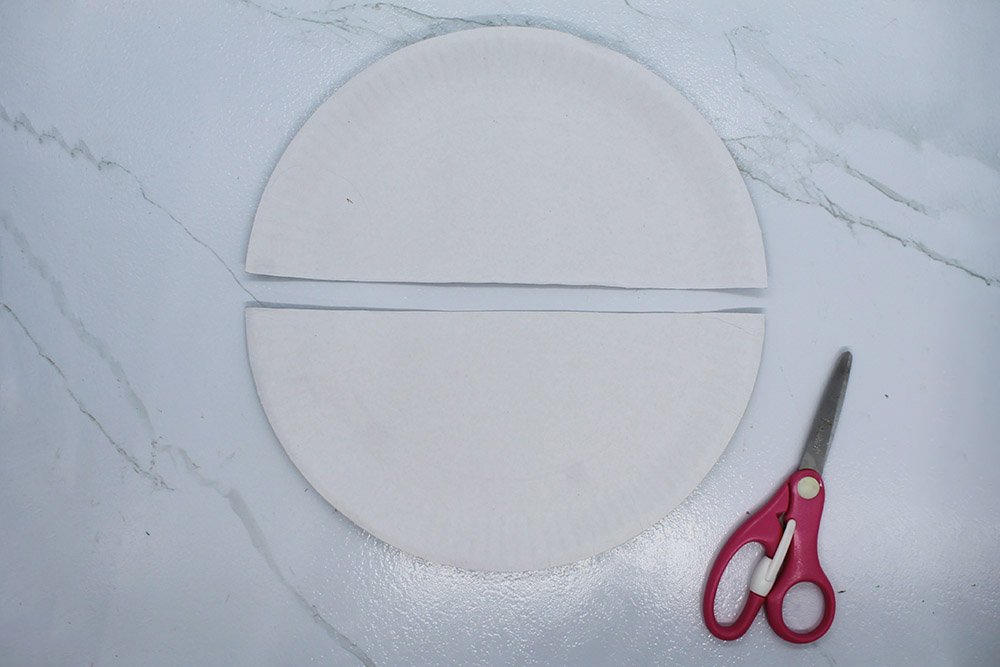
For the wings, we’re only going to use one-half of the paper plate. Set aside the other half, or you may use it on another paper plate craft.
Paint the wings of the paper plate bee
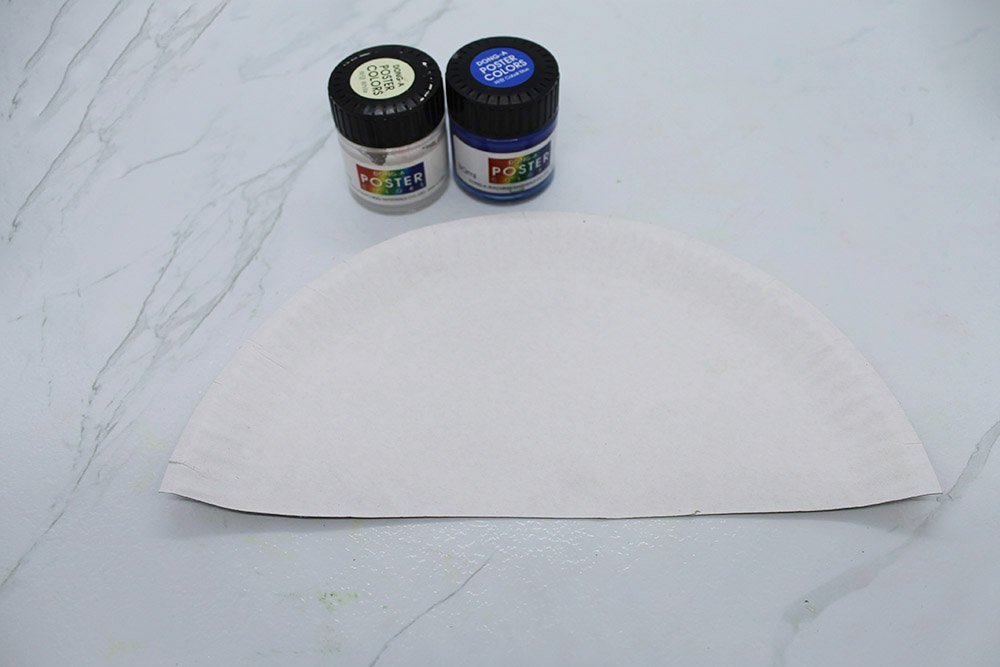
Paint the wings with light blue paint by mixing blue and white colors.
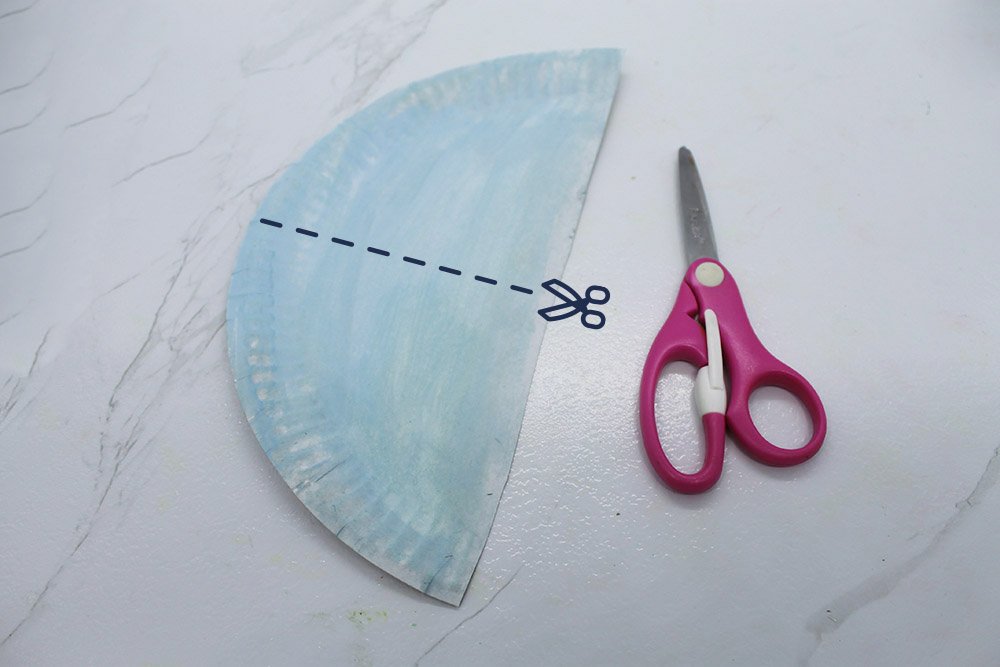
Let it dry and cut it in half by following the dashed line illustrated above.
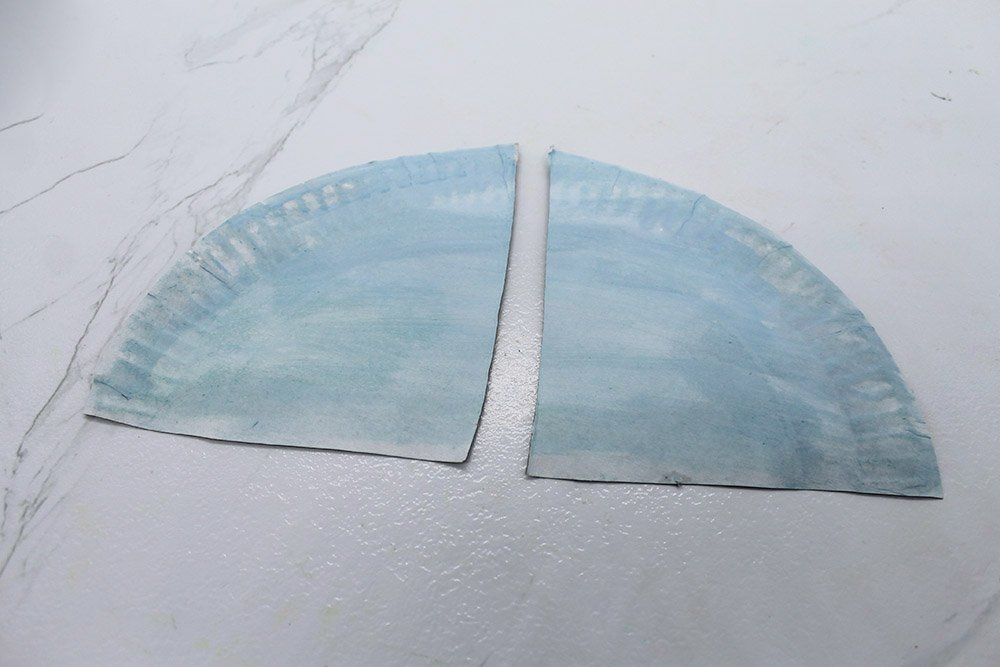
We now have a pair of wings for the paper plate bee.
Draw outlines to make the stripes of the body of the bee
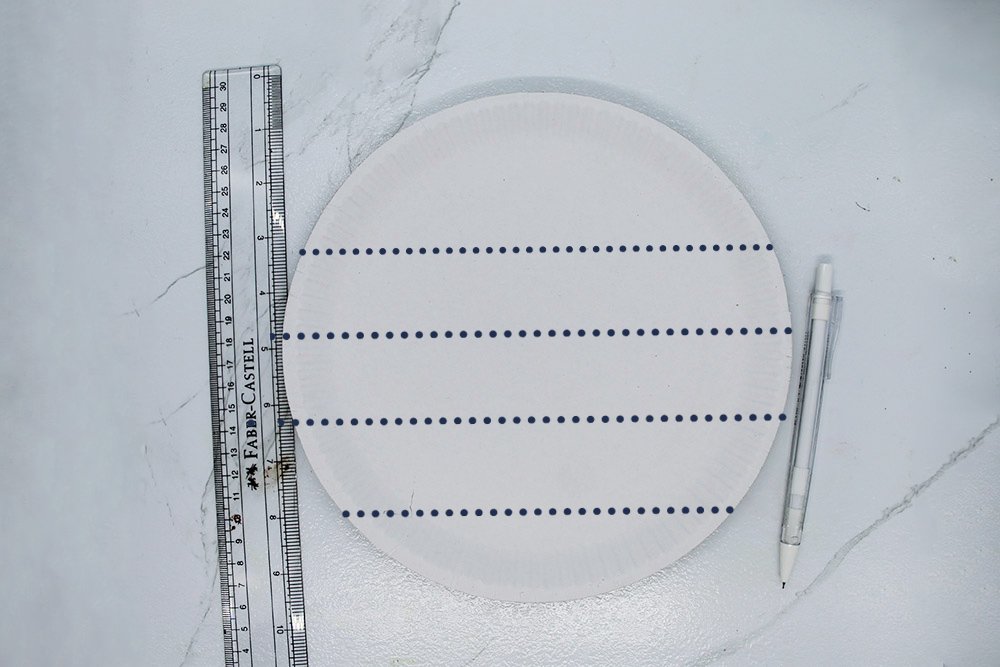
Grab another paper plate and draw straight horizontals lines on it using a pencil and a ruler. Use the dotted lines as a guide on where to draw the stripes.
Paint the body of the bee
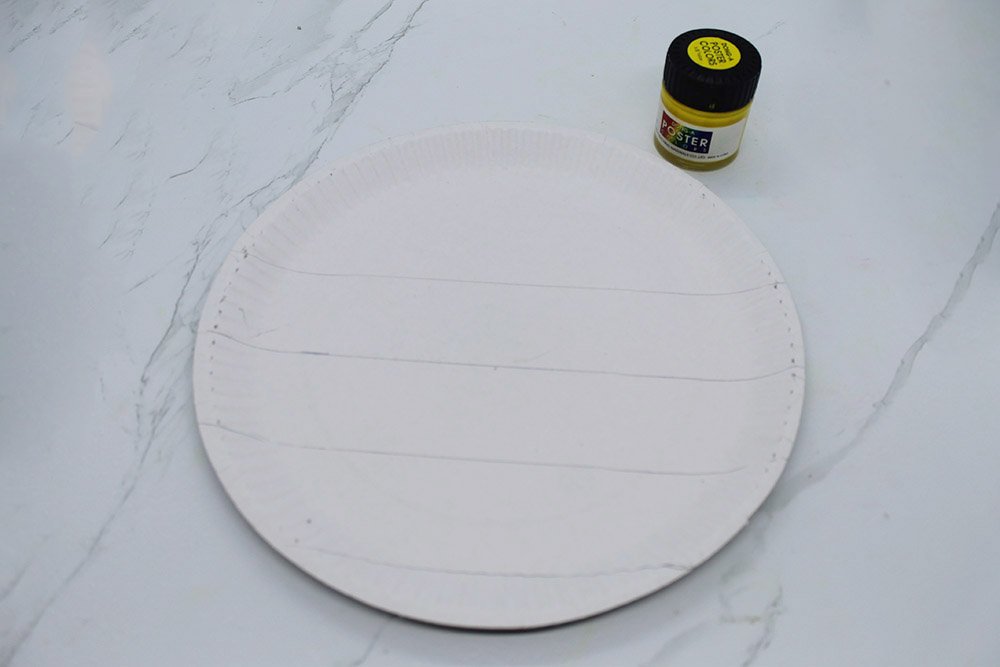
Now that the paper plate is divided into five parts, paint the bee with black and yellow paint. Paint the top, middle, and bottom with yellow color.
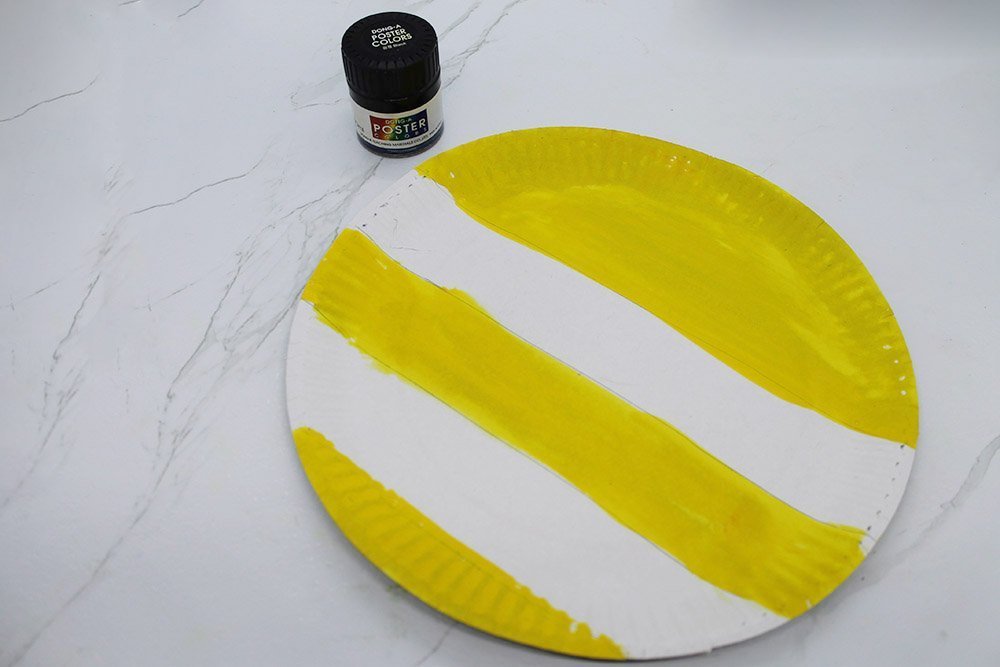
Now paint the stripes with black paint.
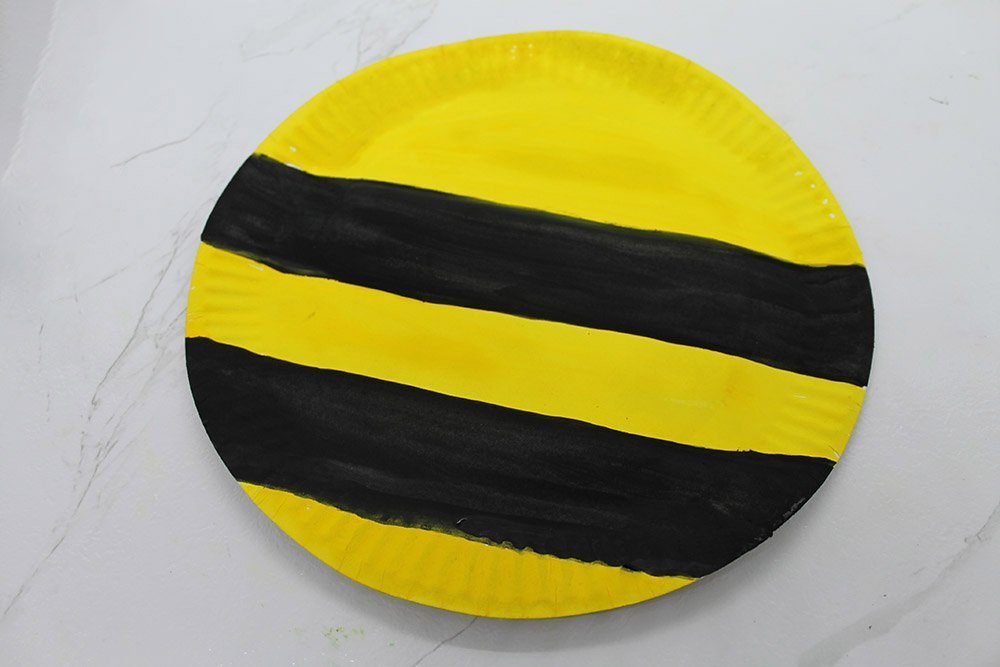
The base of the paper plate is done!
Give the bee some eyes
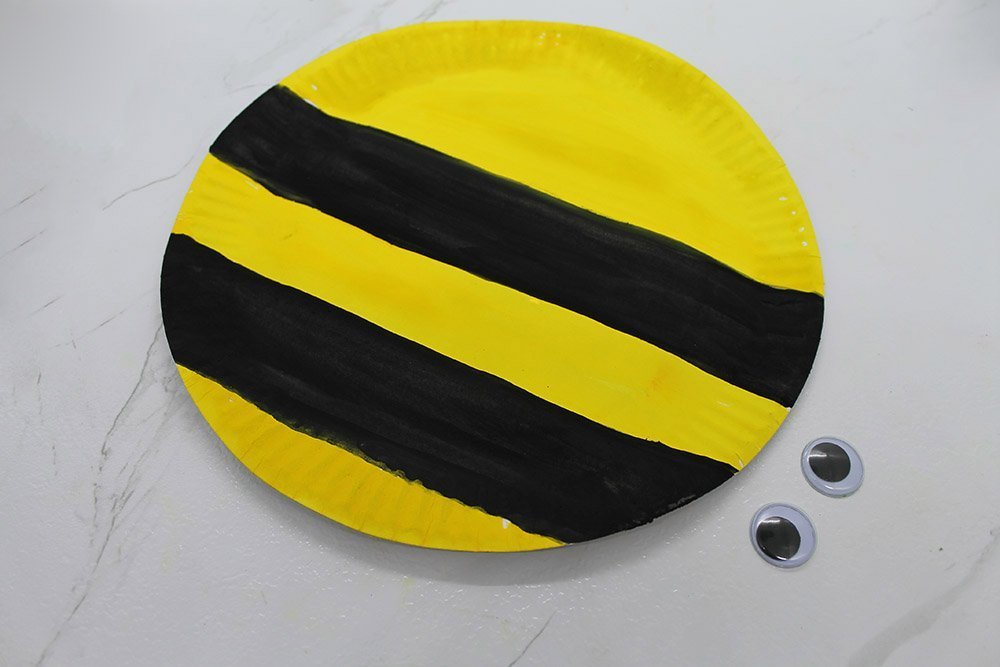
Glue the googly eyes to the bee’s head.
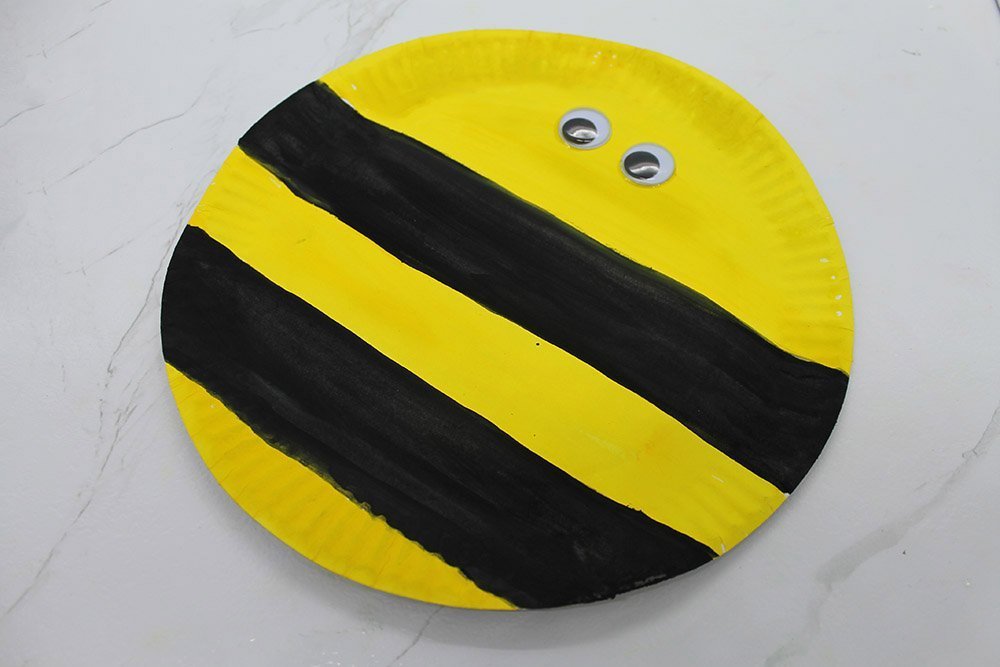
If you don’t have googly eyes, use white and black paints and paint the eyes.
Attach the wings of the paper plate bee
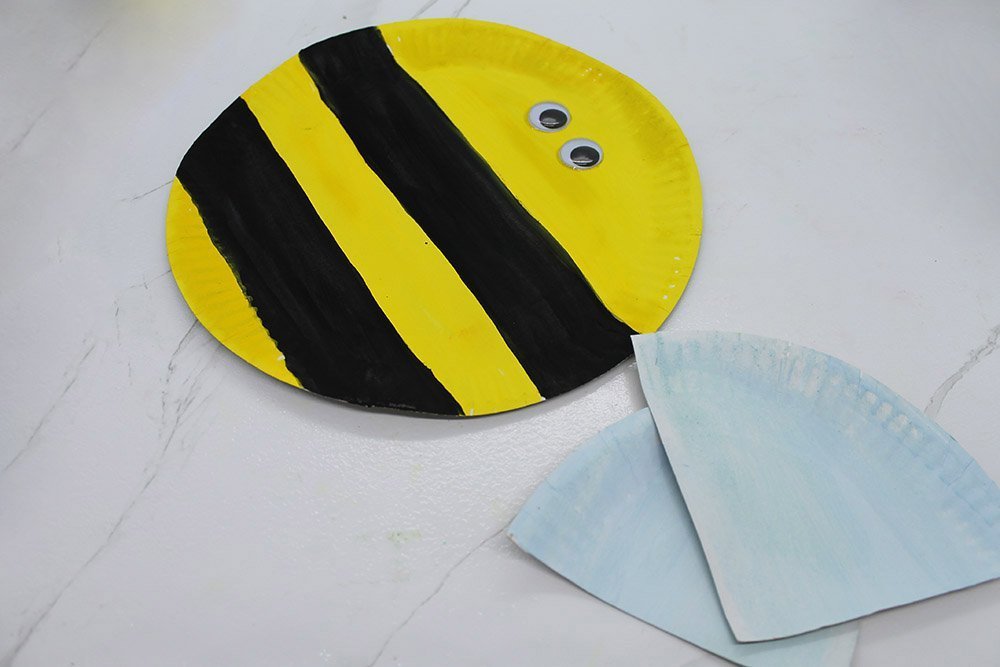
Stick the wing at the middle back part of the bee.
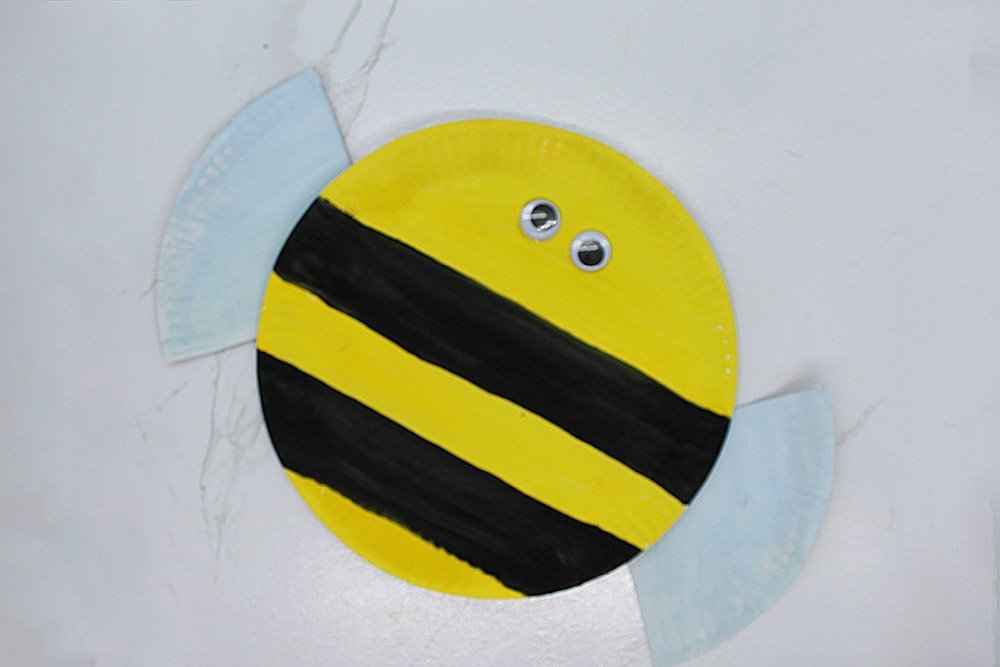
The paper plate bee is now finished!


