Introduction:
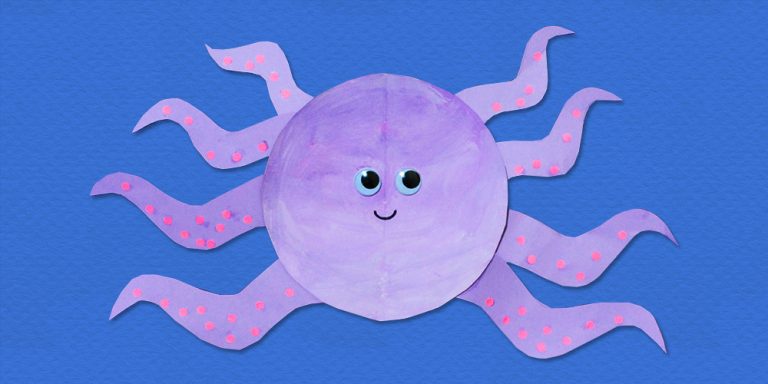
Making a paper plate octopus can be super easy with the help of our step-by-step instructions. We included a downloadable printable for this arts and crafts project to make things easier for you and the kids to make this adorable octopus. All you need to do is to gather the necessary materials below and follow the complete instruction below. Happy crafting!

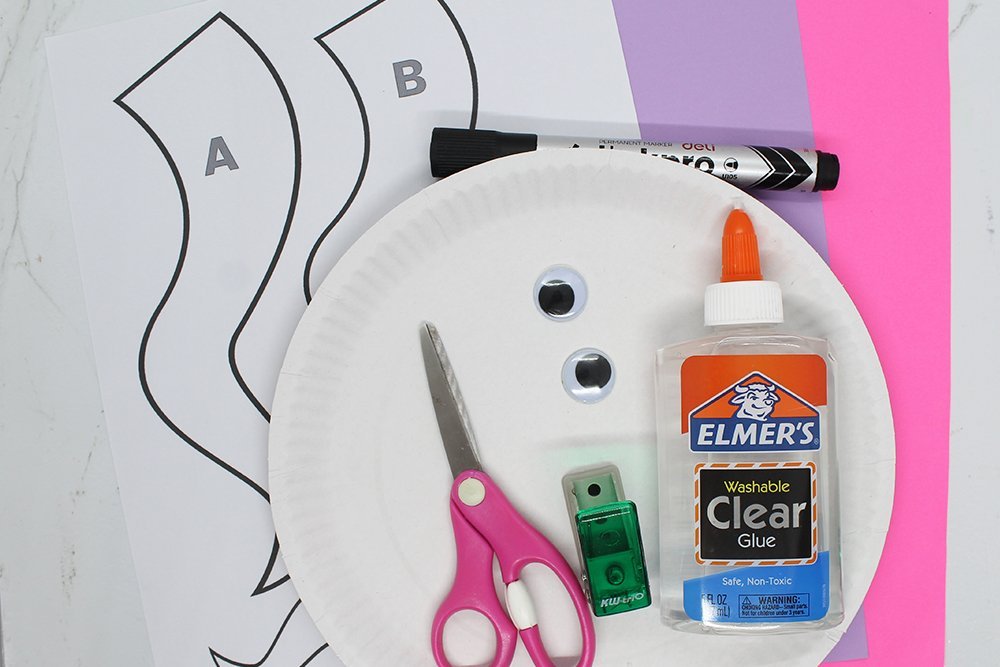
Tools
- Scissors
- Puncher
- Paintbrush
- Black Marker
Supplies
- Paper Plate
- Googly Eyes
- Glue
- Colored Paper
- Poster Paint
- 3-4 Pieces of Construction Paper (one color of your choice only)
- Pink Colored Paper
- Printable

Download Area
Download TemplateCreate the base head of the paper plate octopus
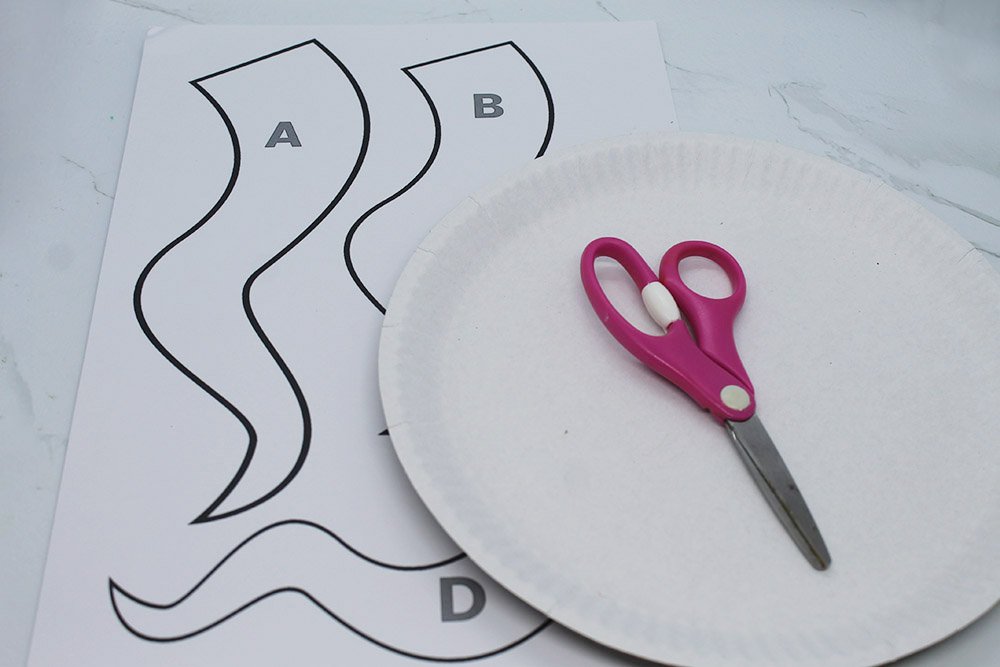
The paper plate should be proportional to the printable. Do so by trimming the edge a bit.
We’re using a 9-inch paper plate. If the paper plate you’re using for this project is smaller, there is no need to trim the edge.
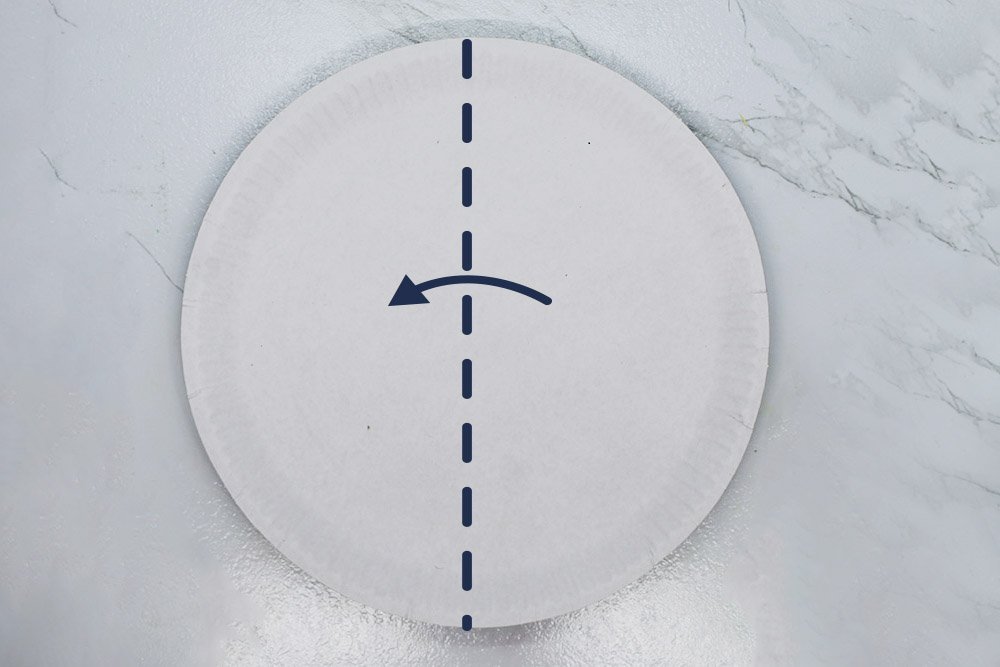
Fold the paper plate in half.
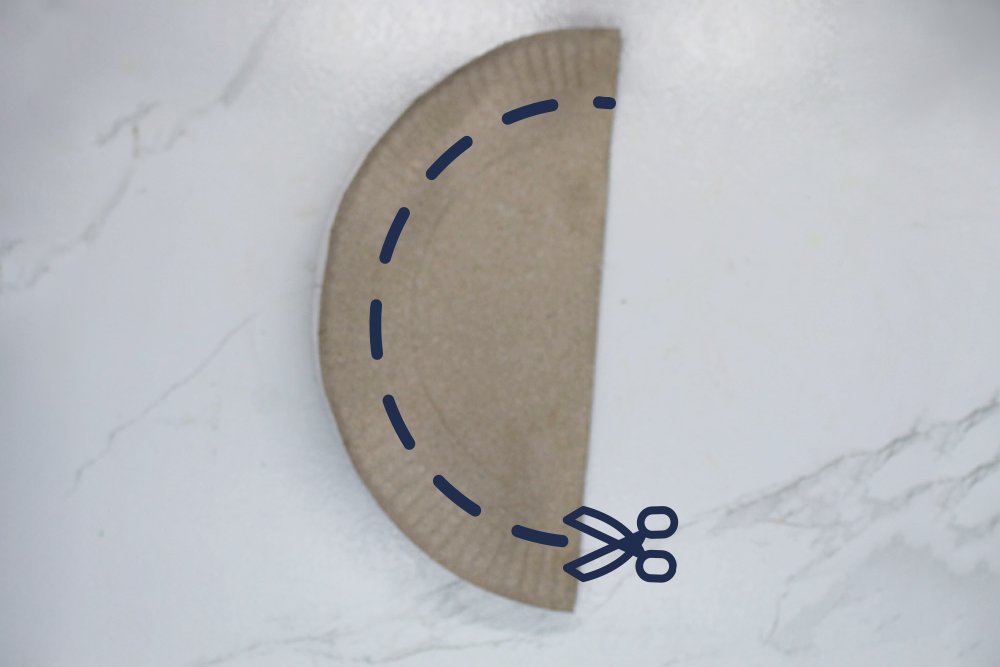
Once folded, trim the edges by cutting along the dashed line as illustrated above.
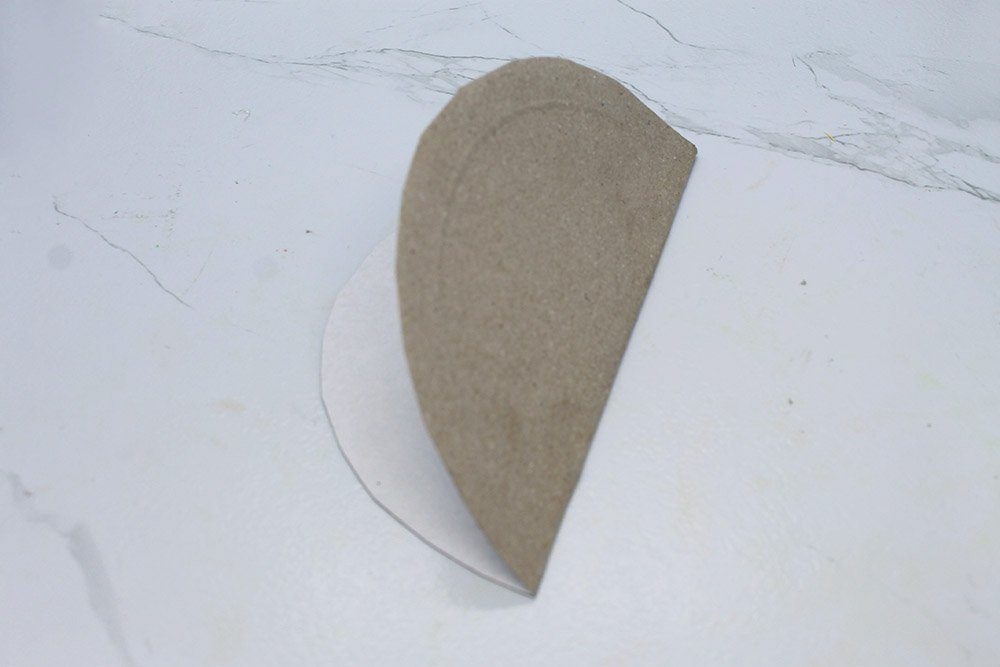
Unfold the paper plate.
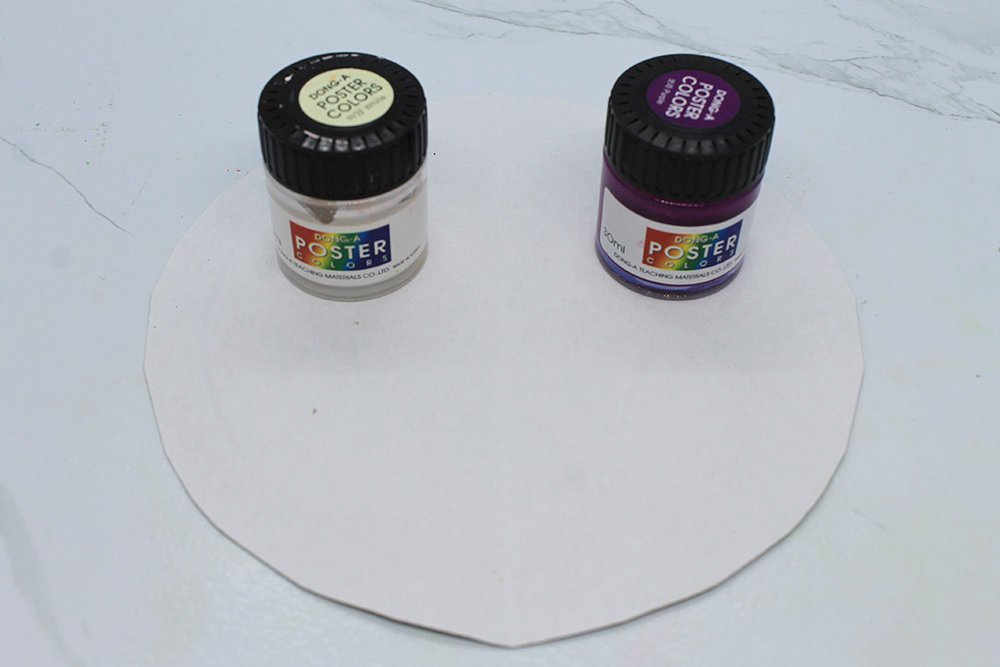
Color the paper plate with the same color of construction paper you will be using to make the tentacles. For this project, we decided to color the paper plate octopus with a light purple shade to match the construction paper we will use to make the tentacles.
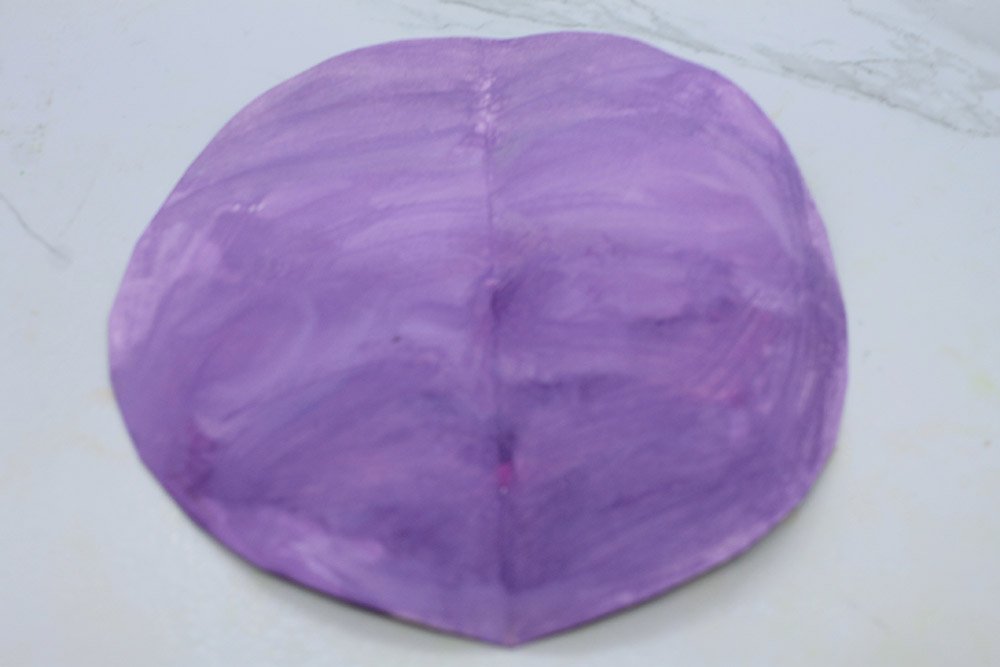
After painting, set it aside to dry.
Make the tentacles of the paper plate octopus
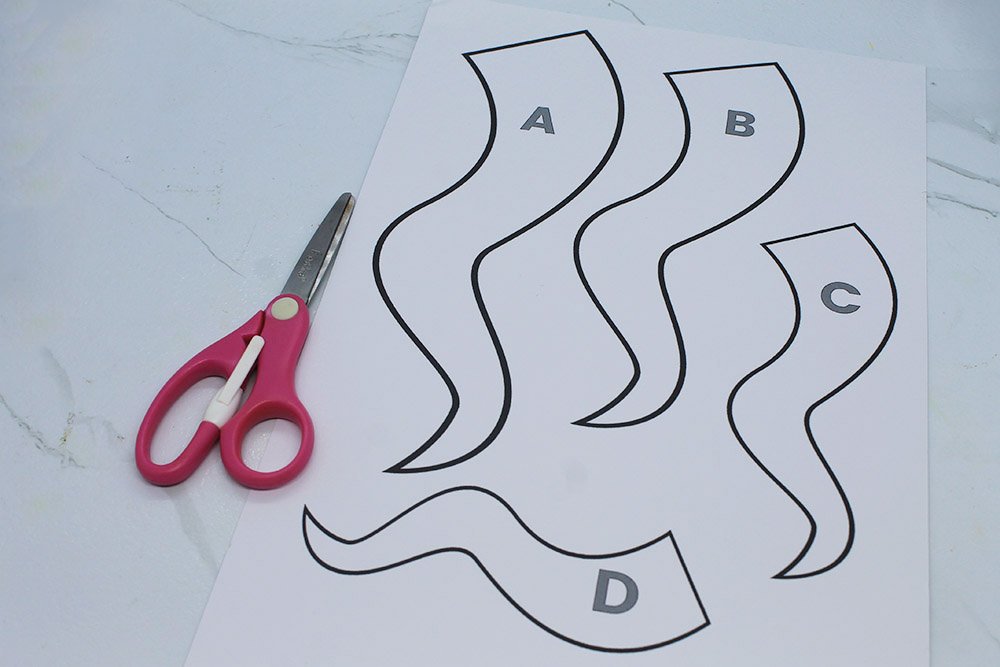
Grab the printable and cut each outline with a pair of scissors.
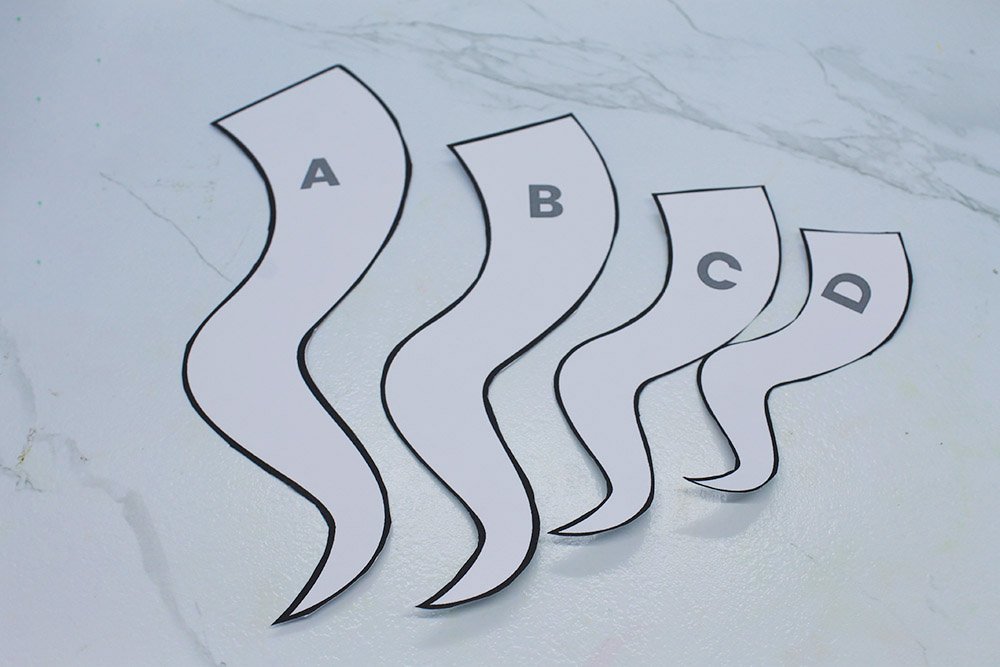
Once cut, you should have four tentacle-shaped stencils.
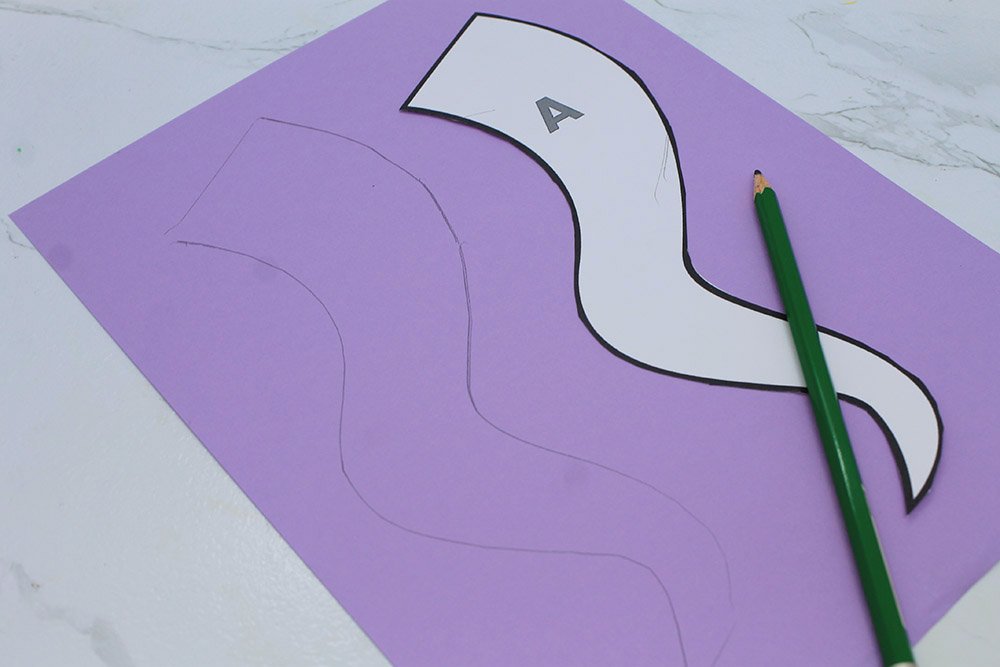
Get stencil A and trace it on the colored paper TWICE.
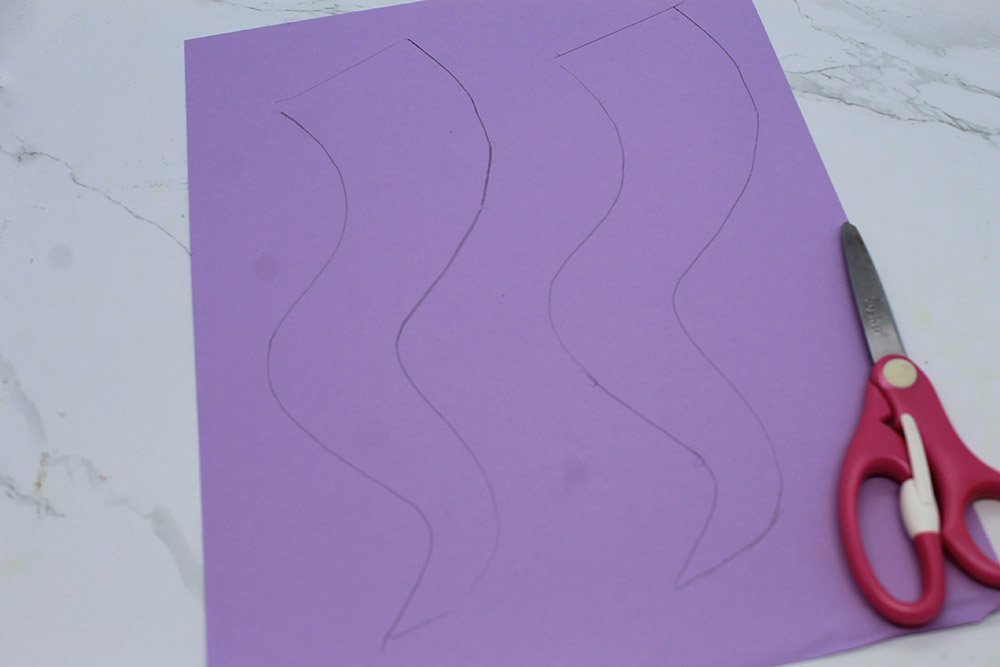
Cut the outlines made using stencil A.
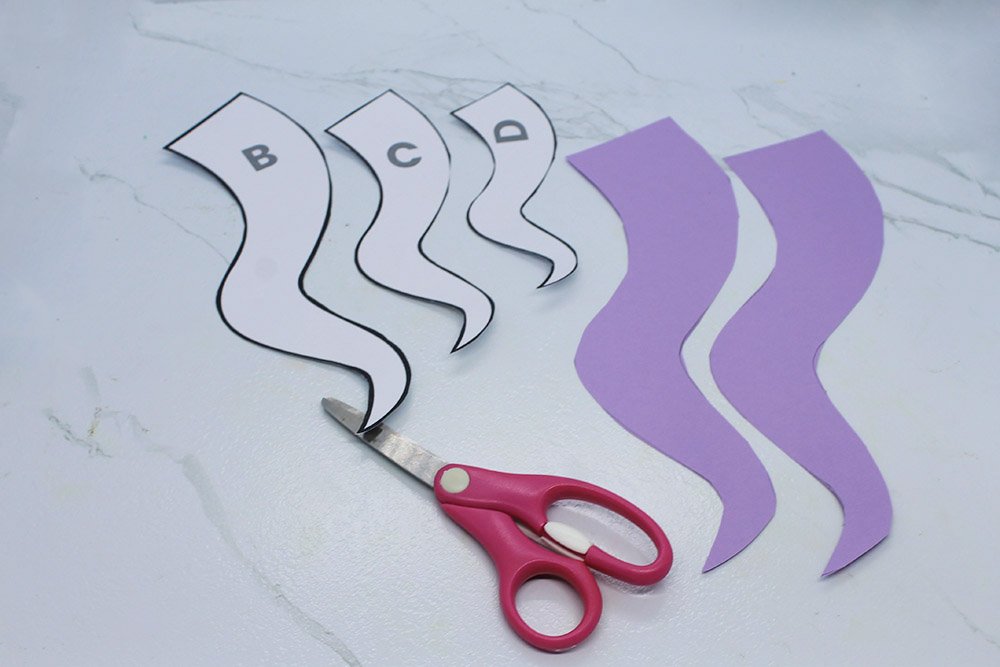
You should now have 2 XL tentacles from stencil A. Repeat the process TWICE on each of the three stencils (B, C, and D).
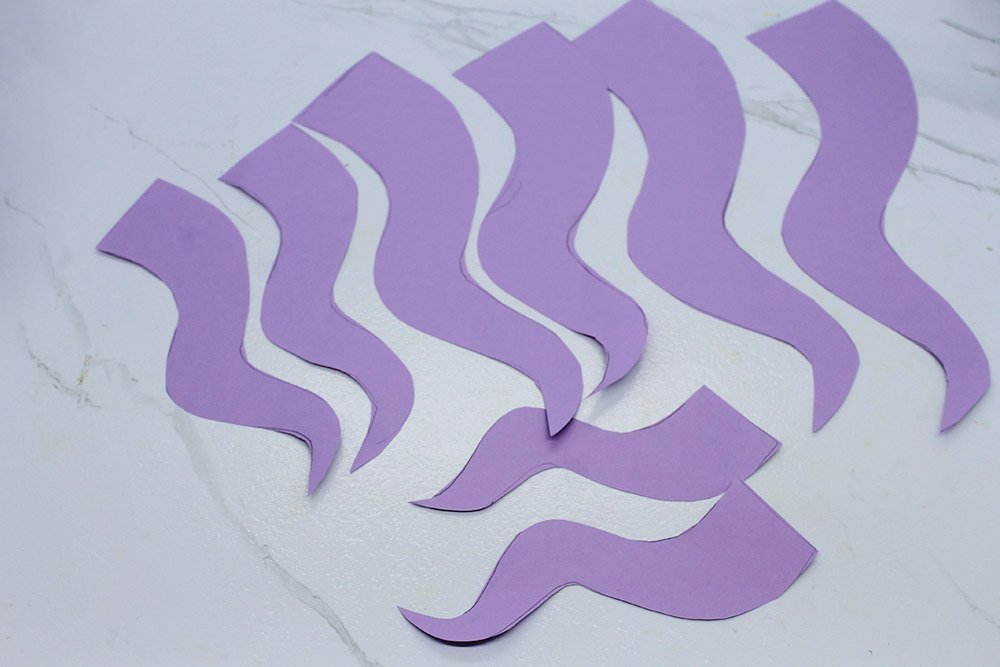
Once you have traced and cut each of the four stencils twice, you should now have eight tentacles.
Attach the tentacles to the paper plate head

Grab the head and the paper tentacles.
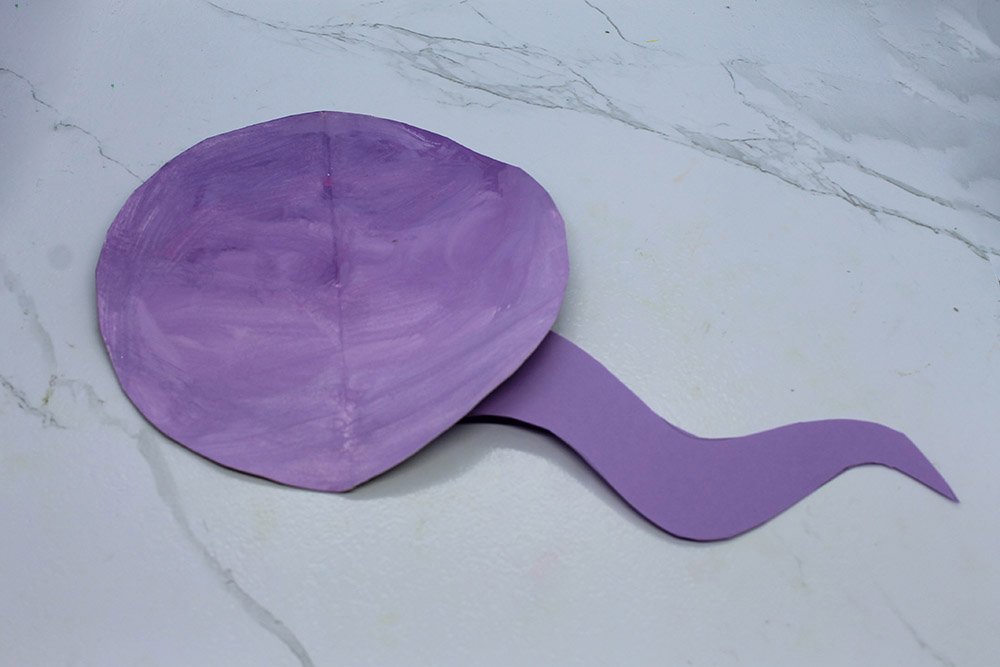
Let’s start with the right side first. Attach each tentacle beginning from the biggest (A).
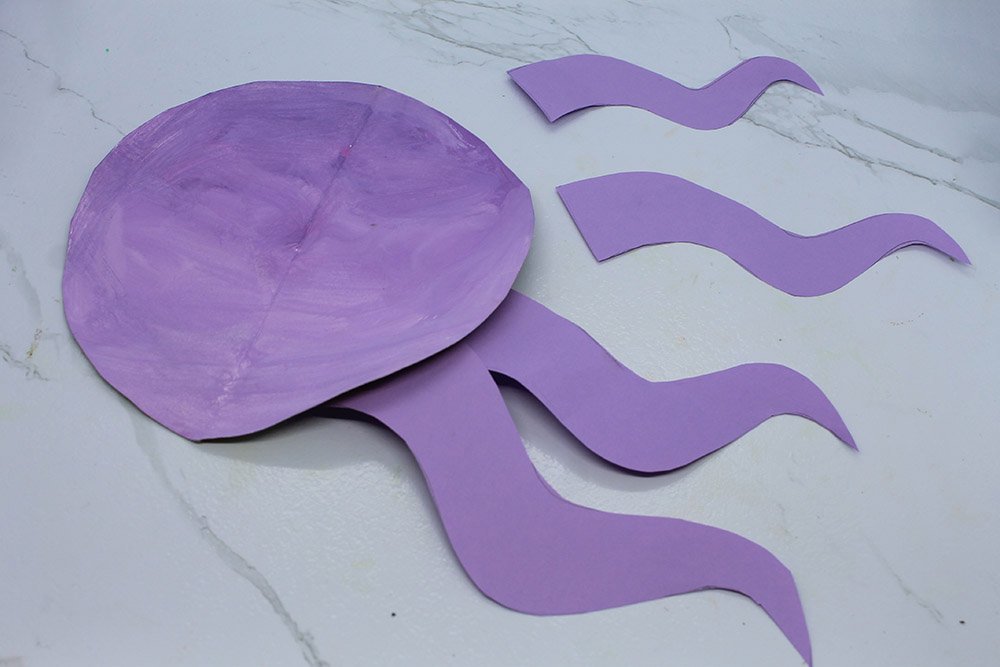
The biggest paper tentacle (A) should be from the lower front, and the smallest (D) should be the last paper tentacle to be attached on one side (A>B>C>D).

Once you have attached all four tentacles on one side, it should look like the sample picture above. Do the same on the other side.
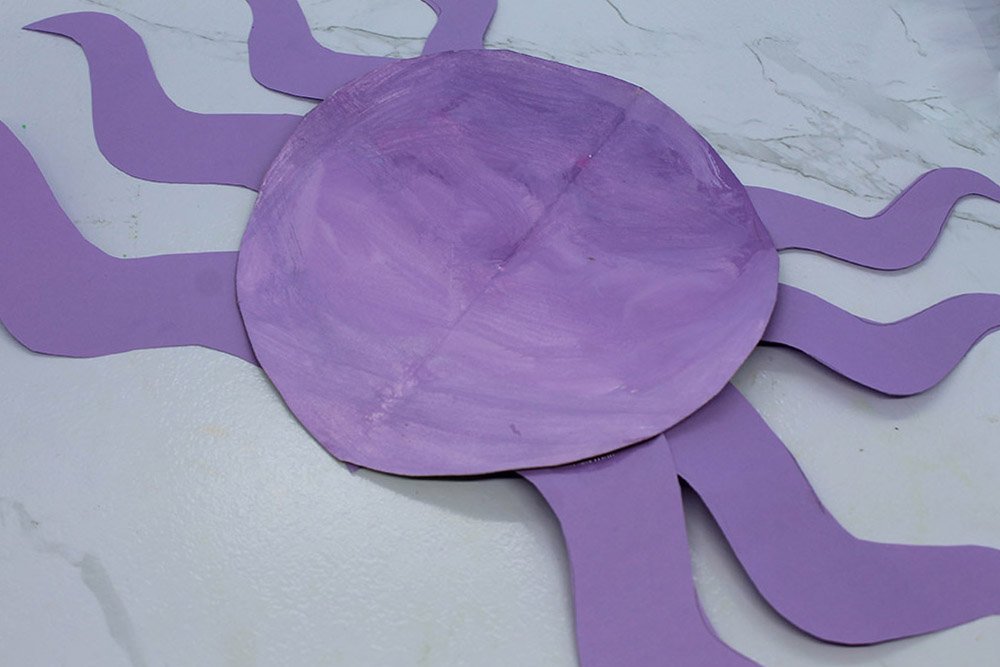
You have now made the base of the paper plate octopus. Time to decorate!
Make the suction cups of the paper template

Punch some holes on a pink paper plate using a puncher.
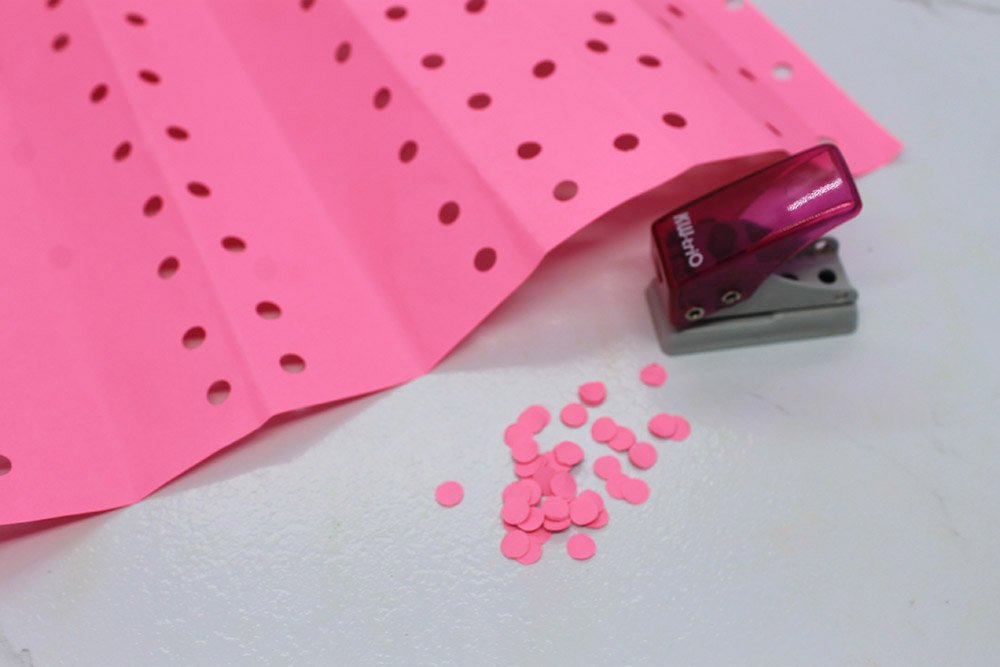
These tiny pink circles will be suction cups of the paper tentacle.
The sample puncher we have can only make small circle cutouts. It would be better to use a puncher with a bigger hole so that small kids won’t have difficulty sticking them to the tentacle. You may also cut small circles using scissors instead if you don’t have a puncher.
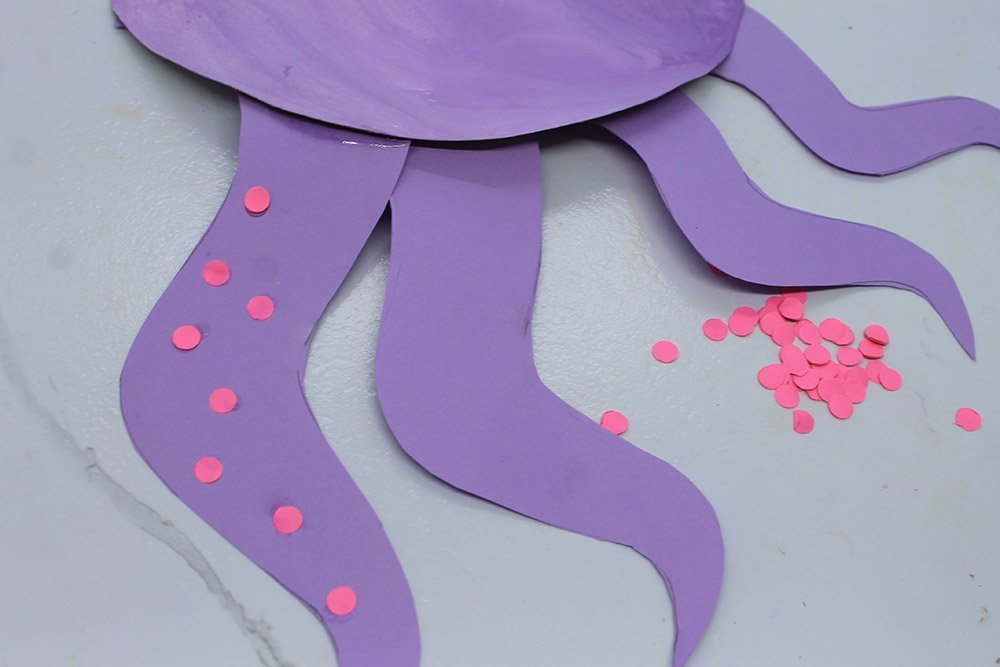
Stick these small pink circles on the bottom part of each of the eight paper tentacles.
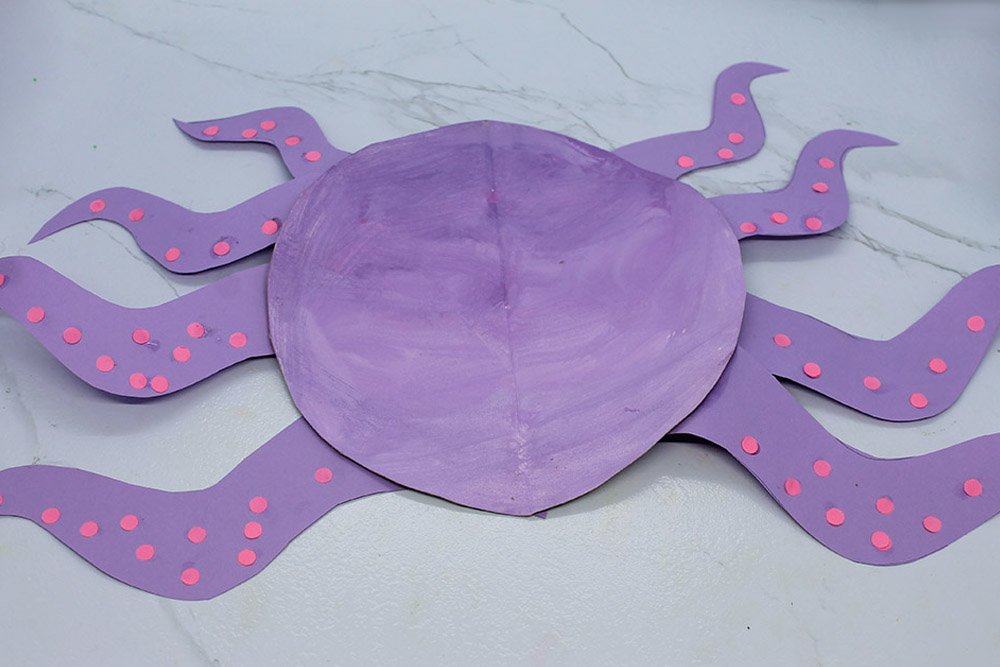
The paper tentacles are finished!
Make the face of the paper plate octopus
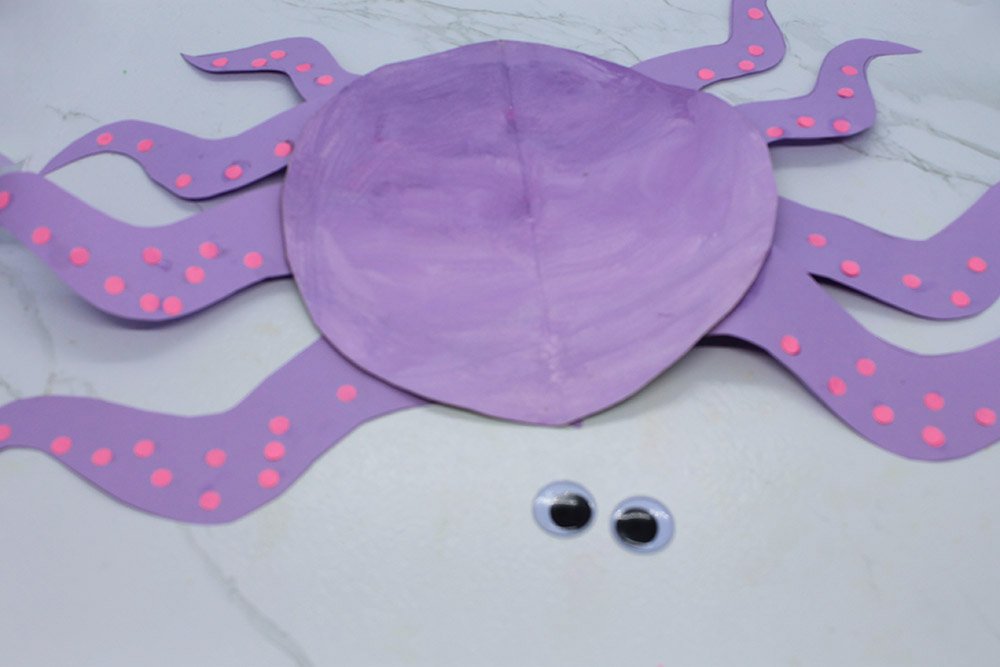
Stick some googly eyes on the paper plate octopus. You may also draw some eyes instead if you don\t have googly eyes.
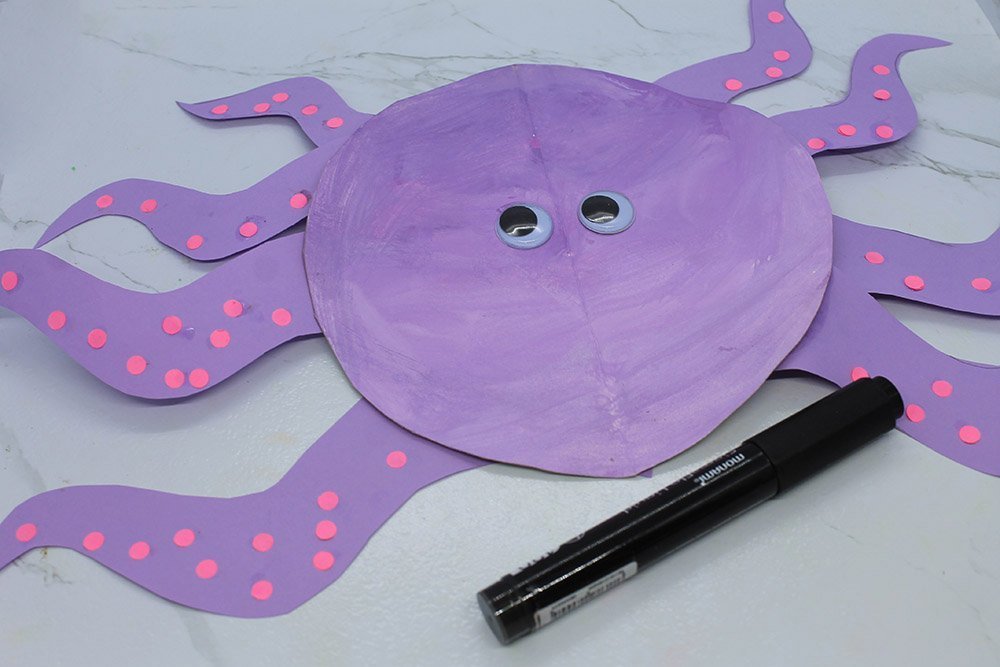
Give our little friend a smile by drawing a curved line using a marker.
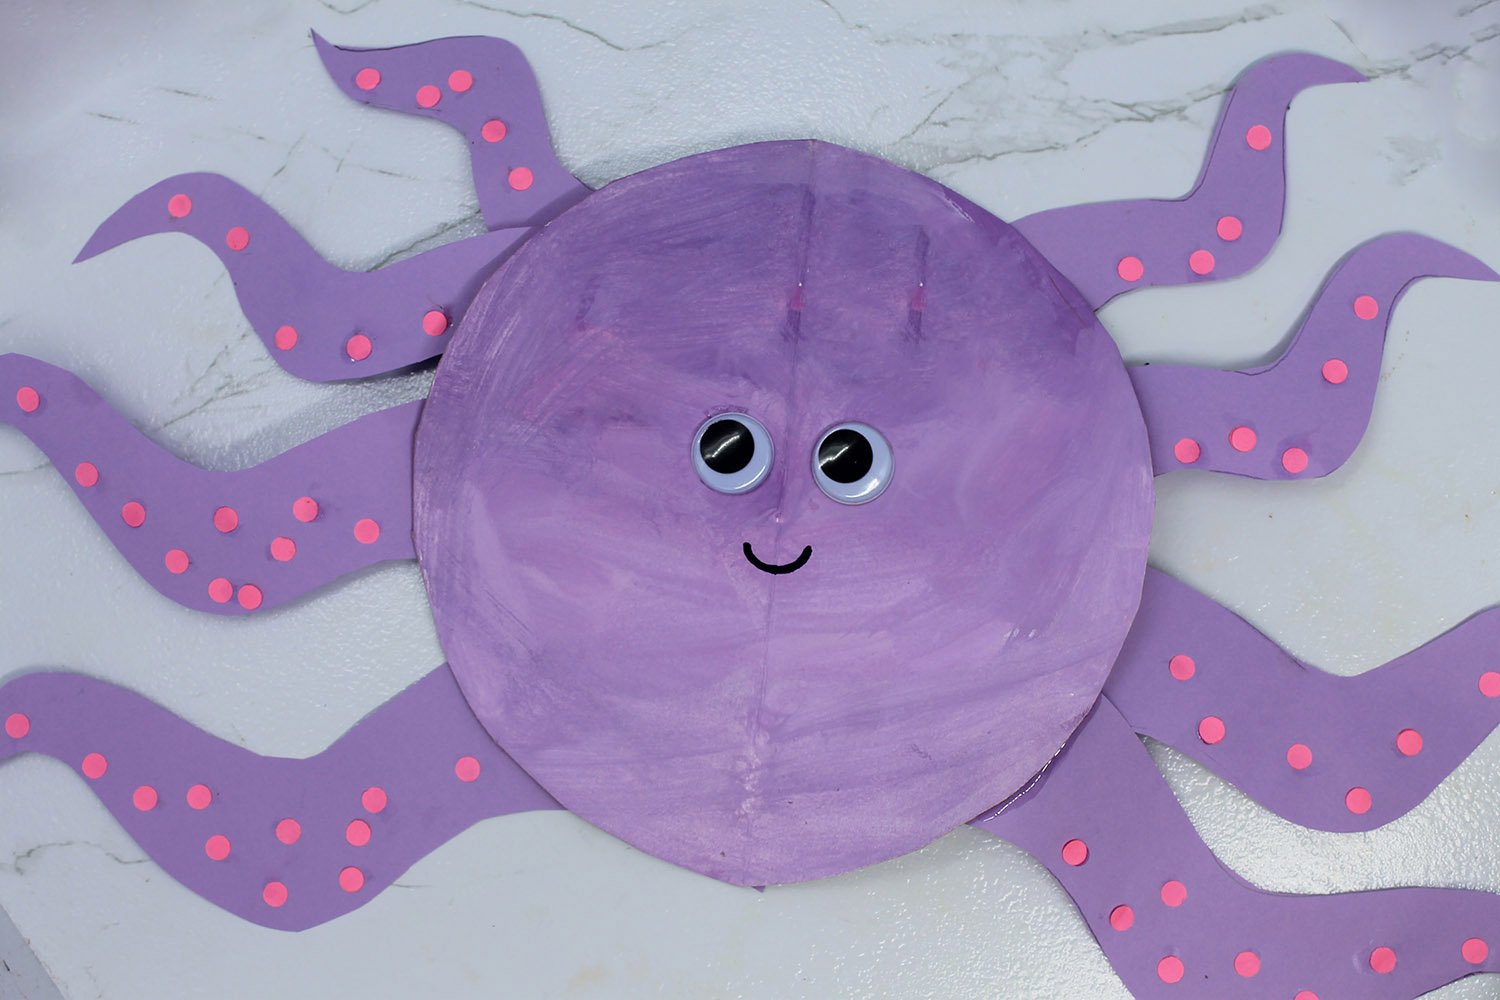
The paper plate octopus is now done!


