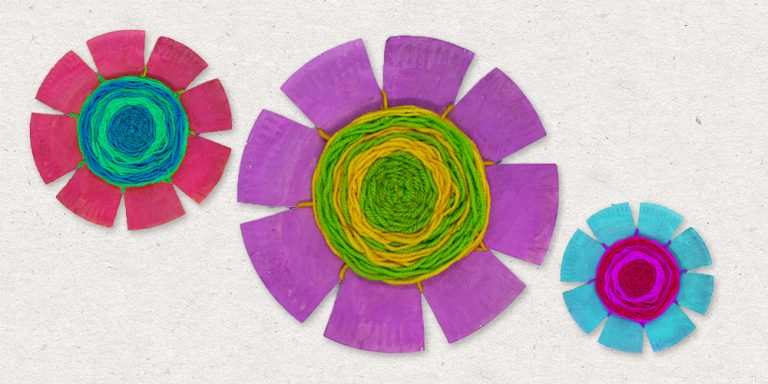
Introduction:
Teach your kids the basics of weaving with the help of this flower paper plate weave. Not only will this craft teach your kids how to weave, but it will also teach your kids the value of patience. What’s also fantastic about this activity is that this flower craft can be displayed as a beautiful decoration around the house.

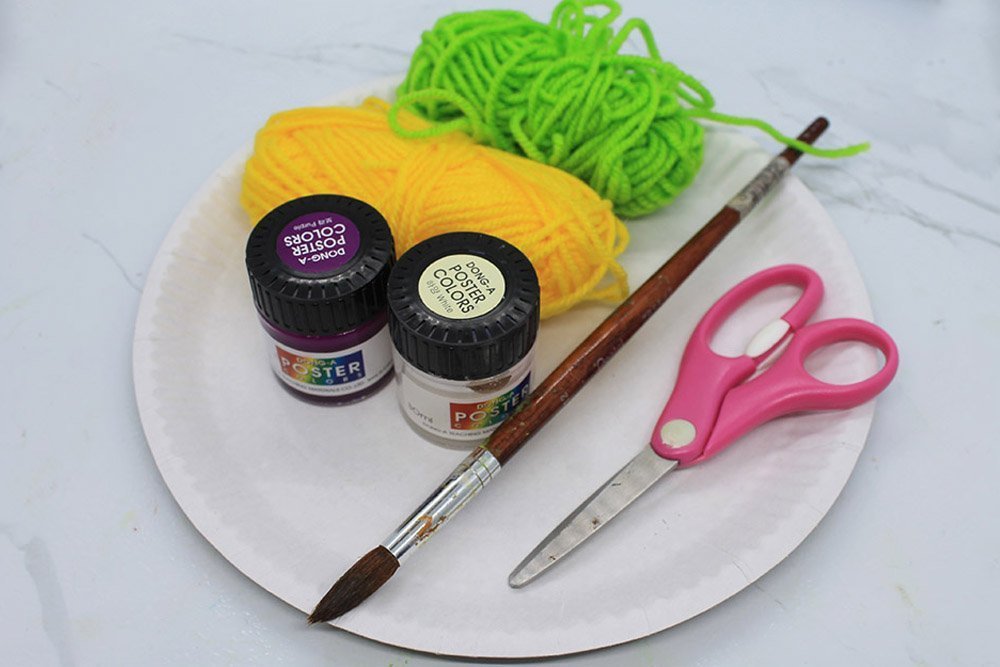
Tools
- Scissors
- A crochet stick or anything slim and long like a pen
- Pen or pencil
- Paintbrush
Supplies
- Paper Plate
- Colored Yarn/s
- Poster Paints

Make a paper plate flower

The flower will be the base of the paper plate weave. Grab a paper plate and color the whole paper plate with the color of your choice. Let the paint dry before proceeding to the next step.

Puncture the center of the paper plate with a sharp object like a pen.
To find the center, you may fold and unfold the paper plate in half to see where the creases intersect or use a ruler.
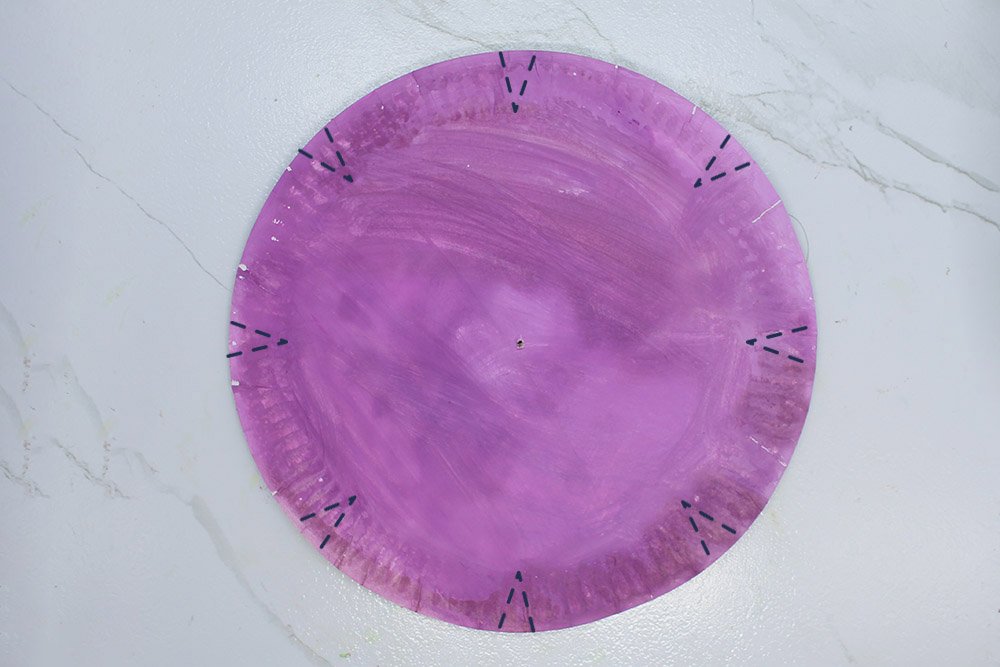
Shape the plate into a flower by snipping along the dashed lines. Follow the dashed line as illustrated in the image above.
You can make this simpler for small kids by making fewer petals.
Prep the paper weaving
Wh highly recommend that an adult should prep this step for small kids. Hopefully, older kids can manage to prep the flower base for weaving by following this instruction.
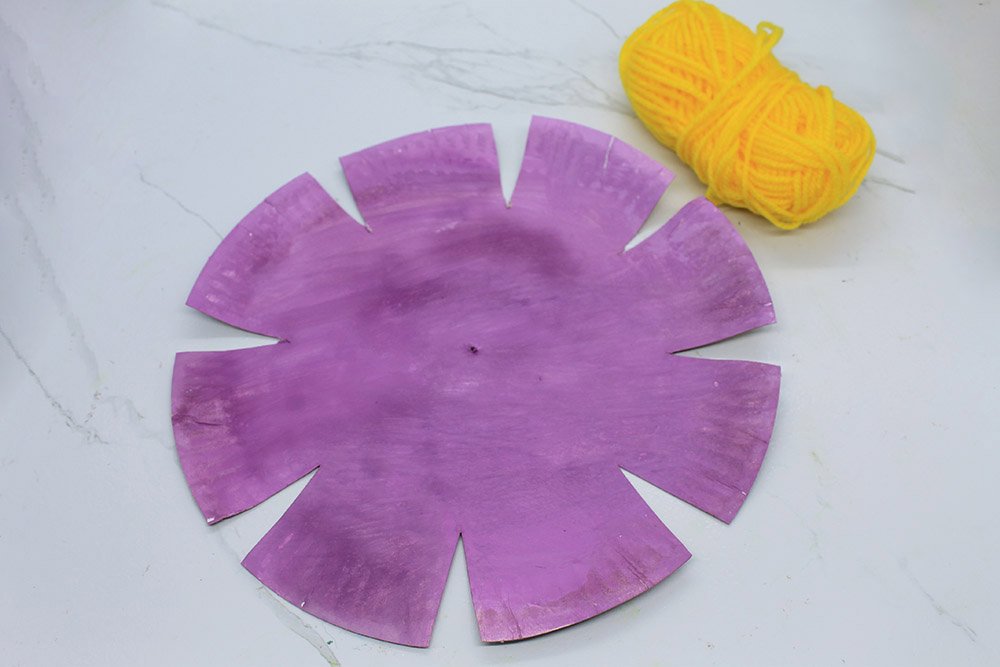
Grab some yarn.
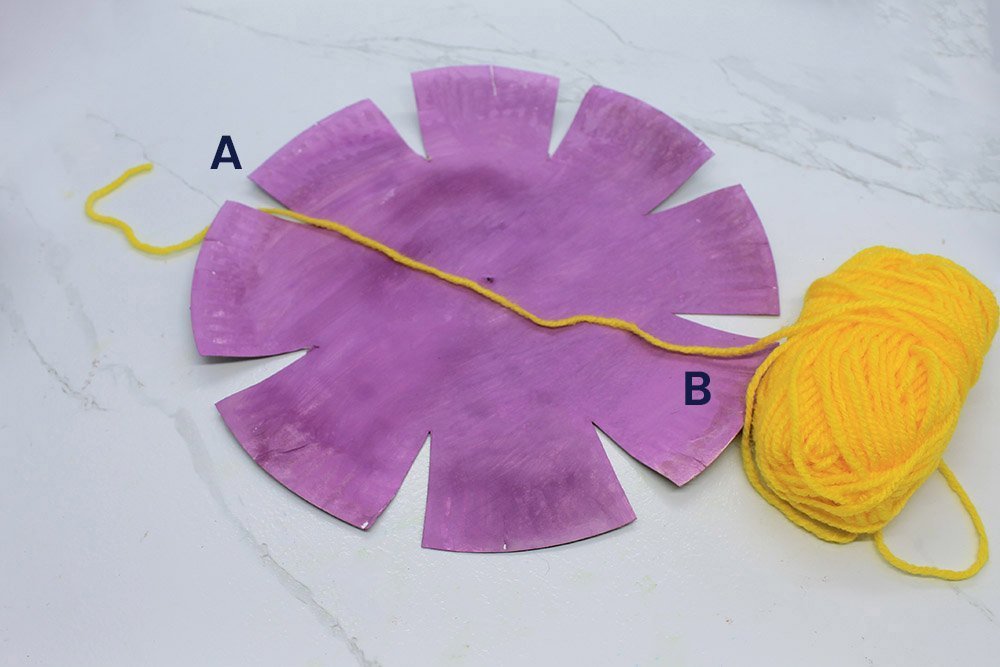
Place one end of the yarn (A) in between the petals.
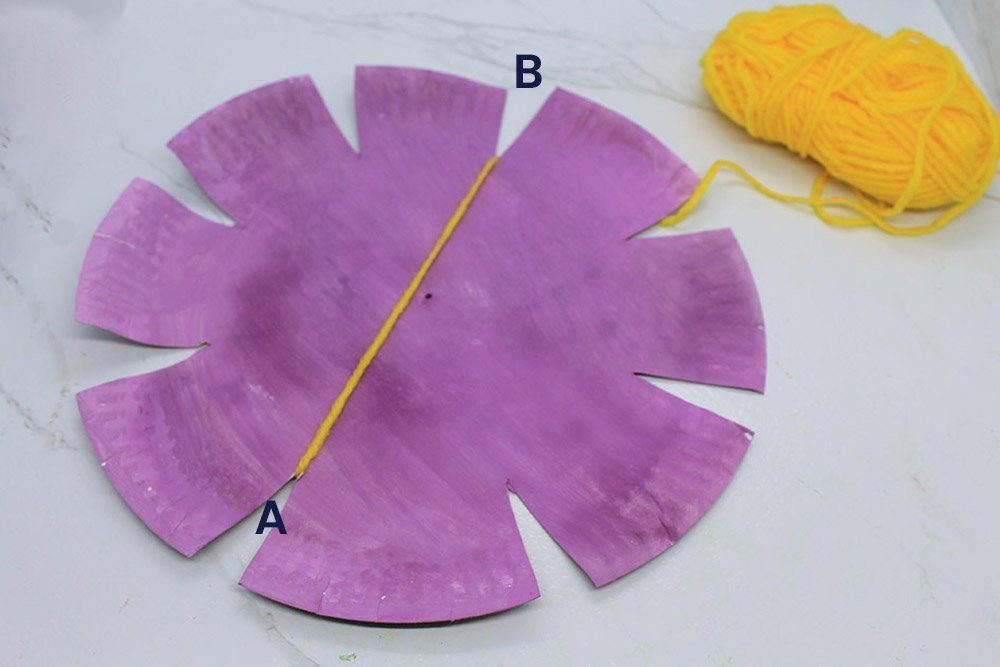
Bring the other end (B) of the yarn across the other side in between the petal.
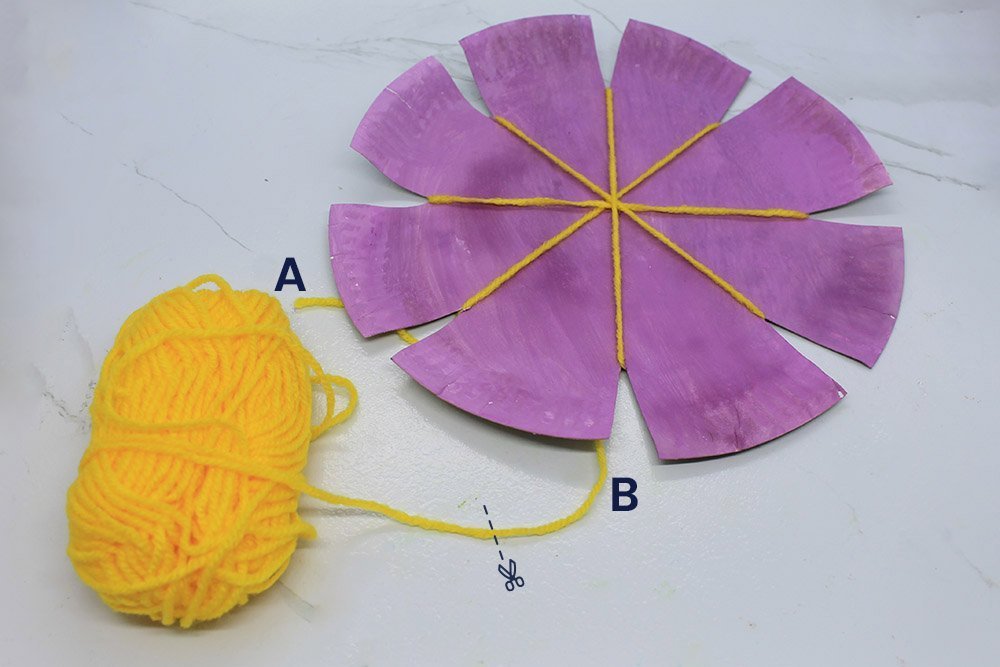
Keep stringing it across until each slit of the petals has a thread wrapped across. See the sample image above for guidance on how it should look like.
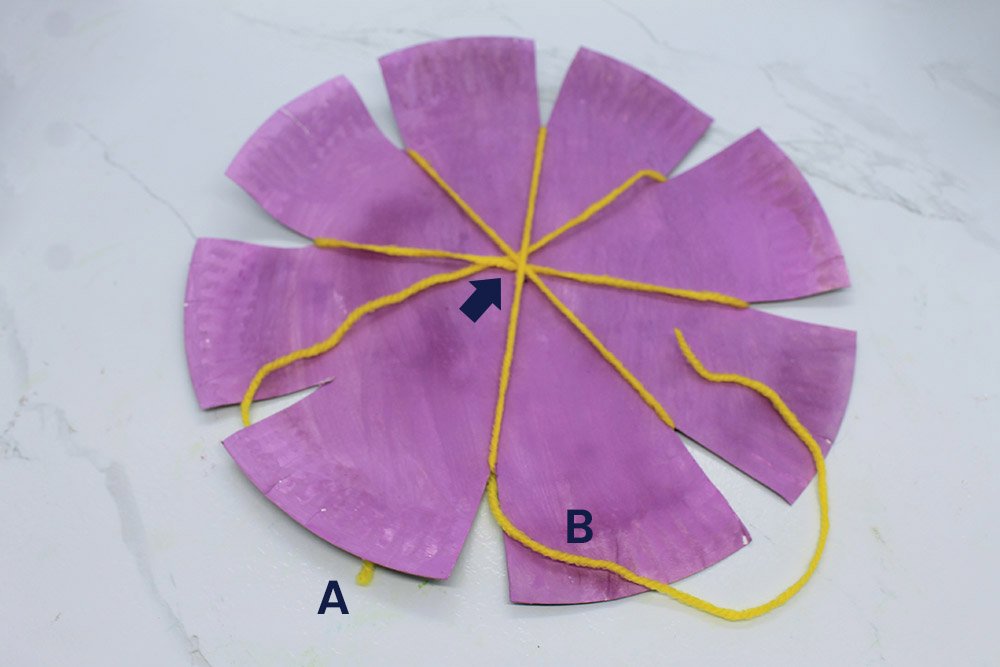
Secure the placement yarn by tying the end (B) of the yarn to the center.
Take note that the other end (A) of the yarn should be in the back.
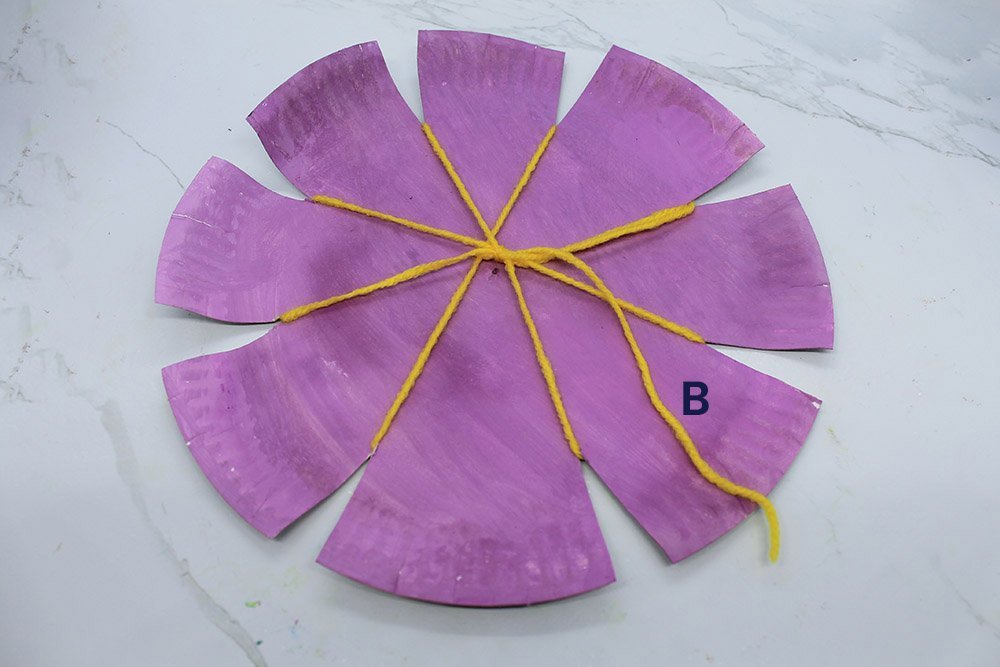
Once you have secured the position of yarn, insert the end (B) to the puncture hole made from the previous step.
You may use a crochet needle or a pin to insert the yarn through the small hole.
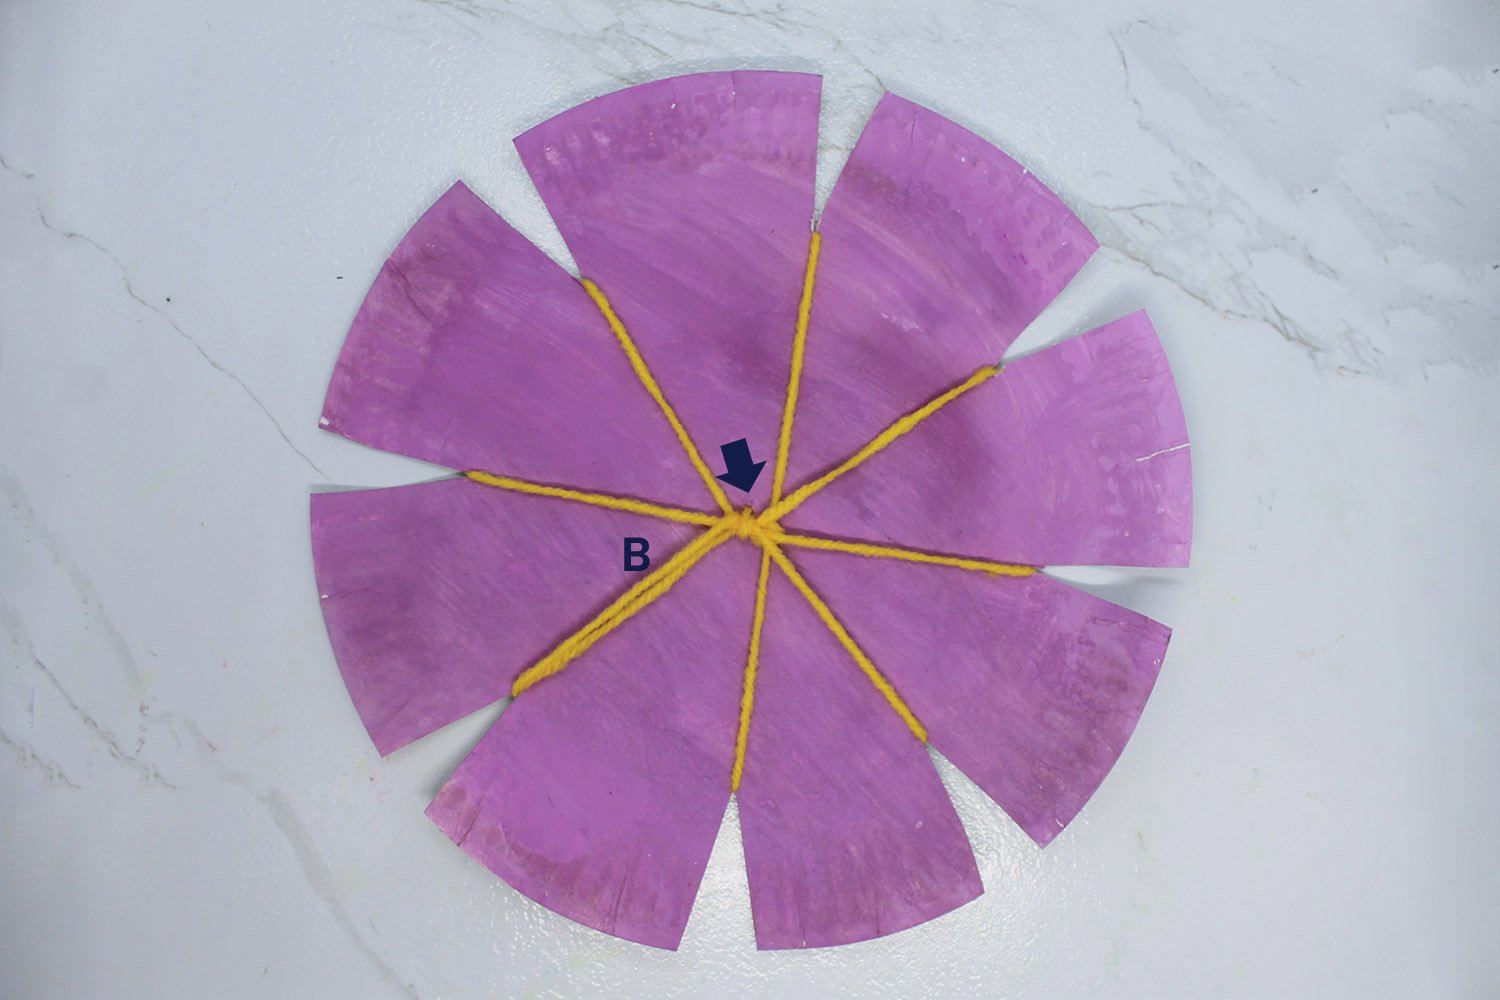
Once you have inserted the yarn through the hole flip it over.
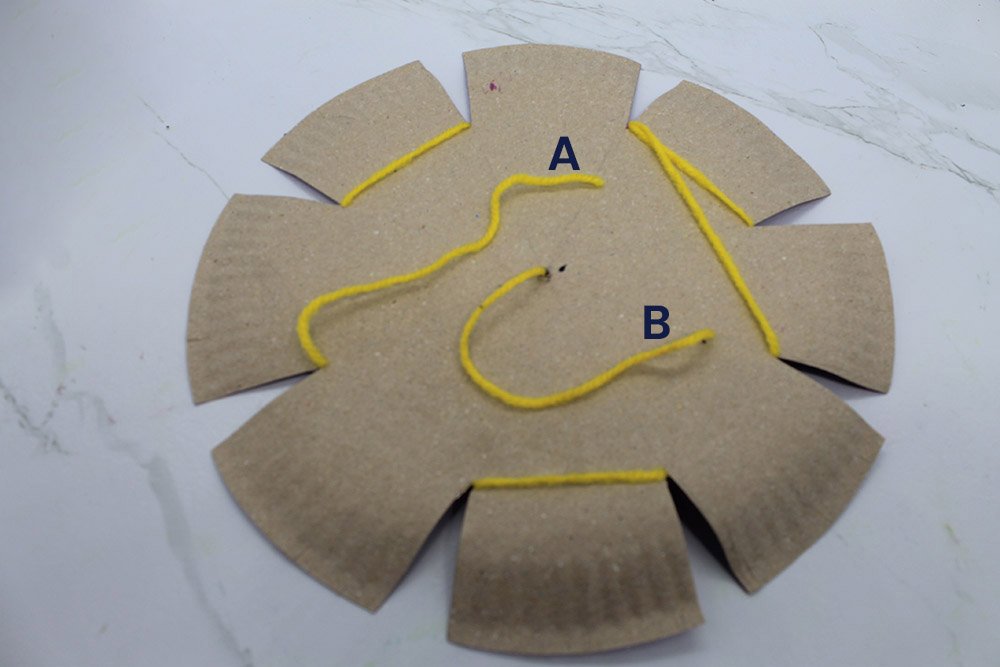
Secure the weave base by tying end A and end B.
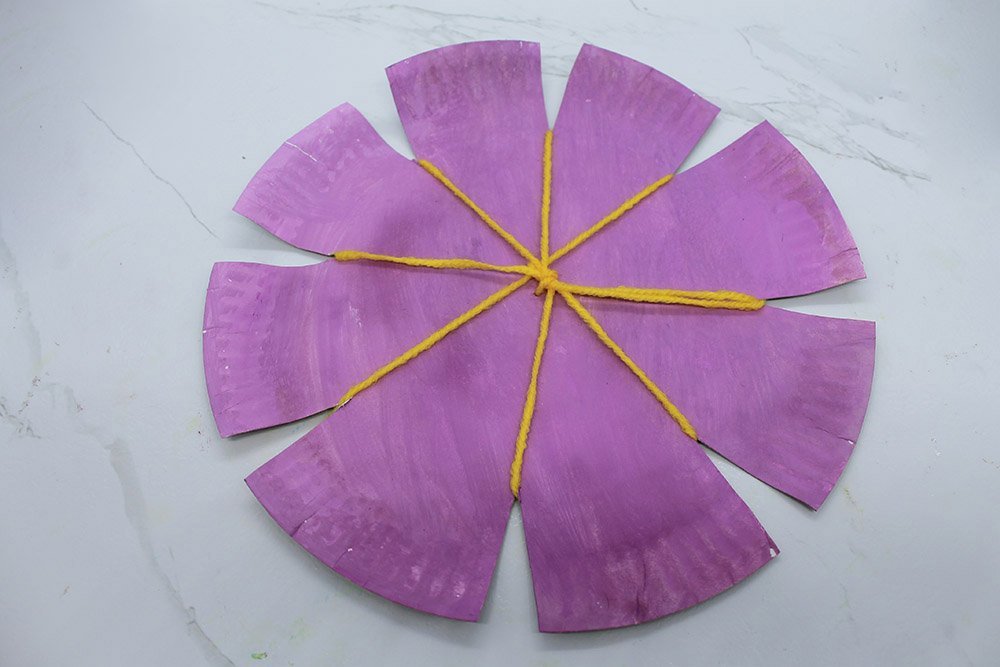
The paper plate is now ready for weaving!
Time to make a paper plate weave
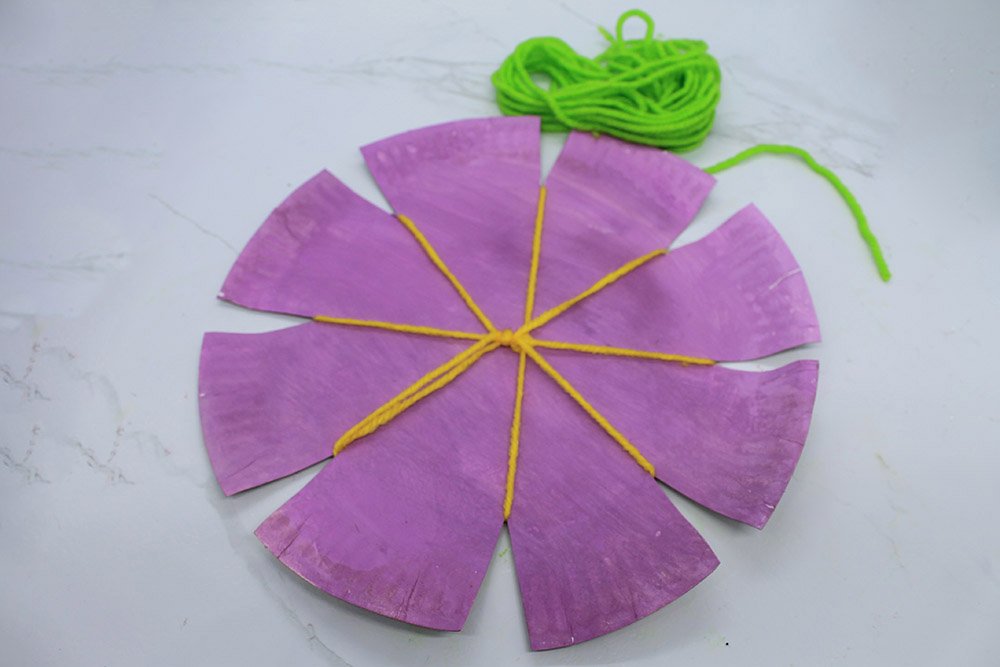
Grab some new yarn (here we used green).
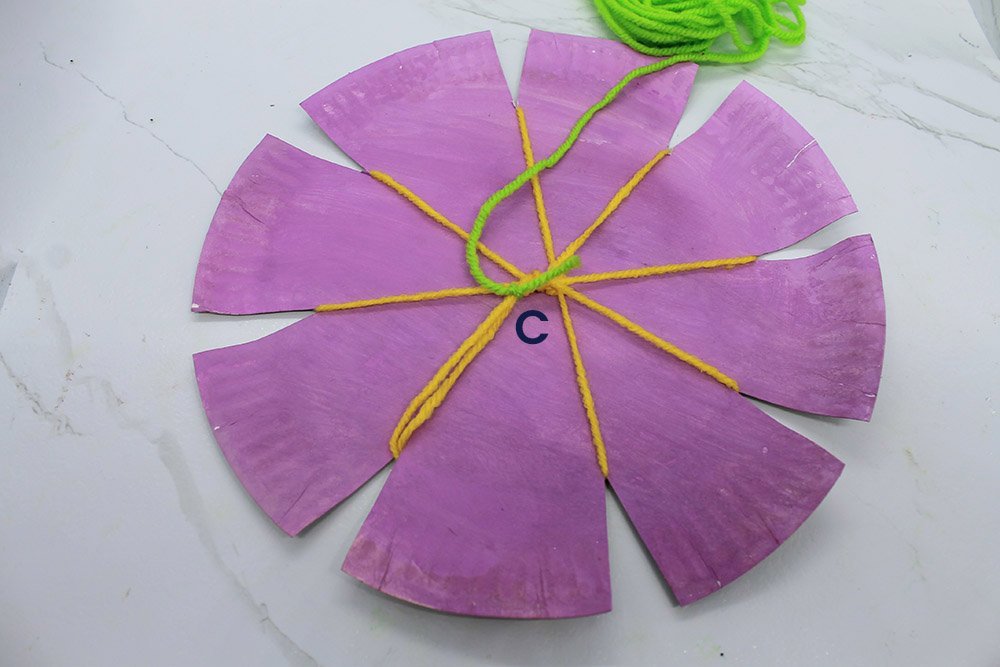
Tie the end (C) of the green yarn to the center of the yellow yarn.
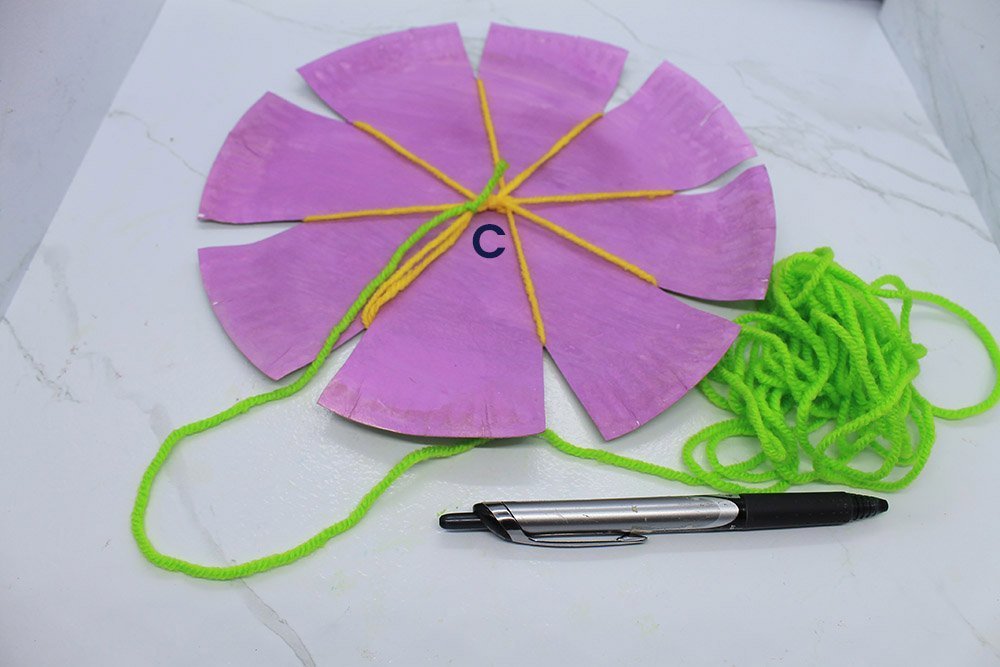
We can now weave!
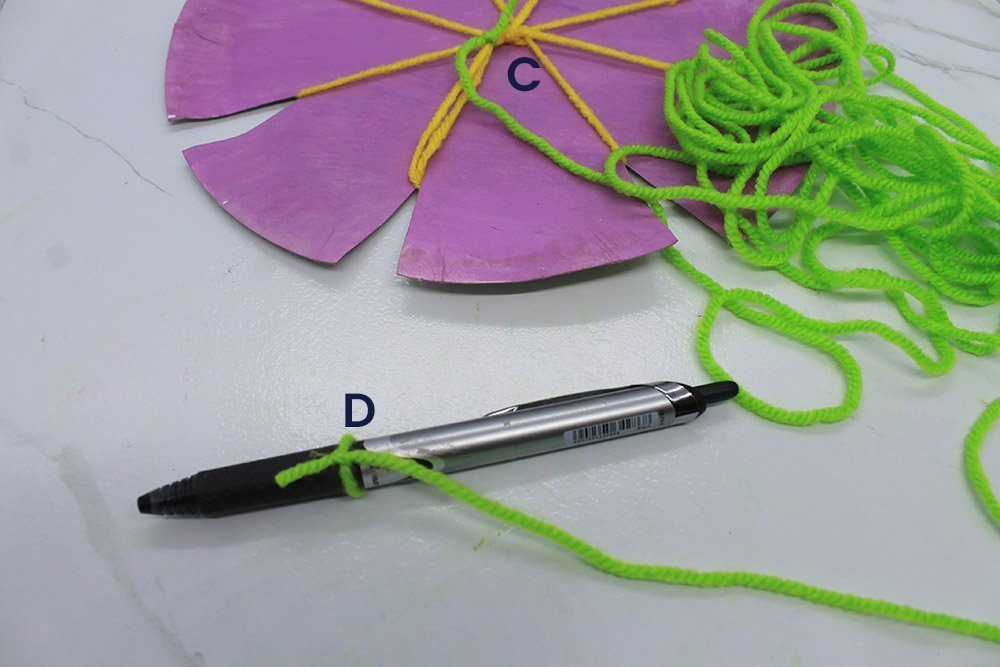
Before that, use a crochet hook to wind the yarn on it. You can also use a pen or something similar to the pen I used. This will make weaving easier.
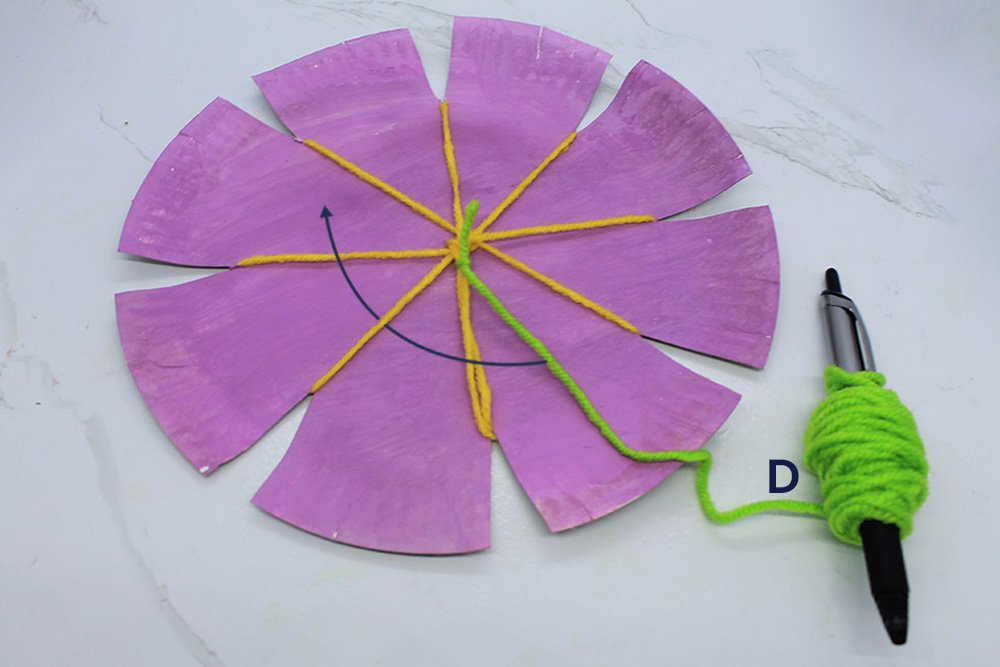
Weaving is simple! Bring the green yarn (D) over the yellow yarn.
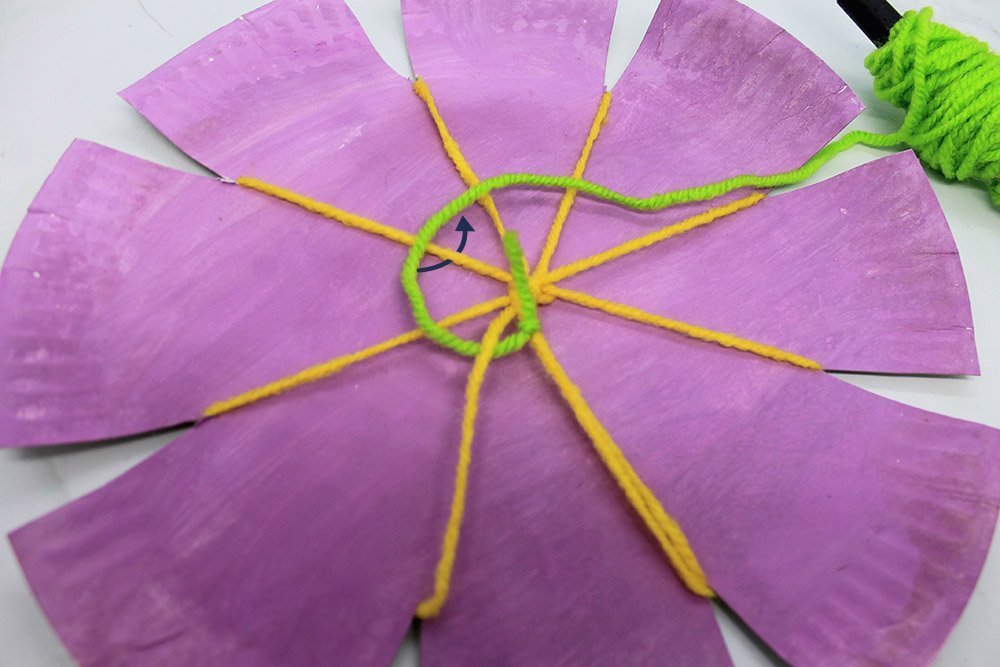
Then bring it over and then under.

Keep going under and then over the yellow yarn until you complete a full circle.
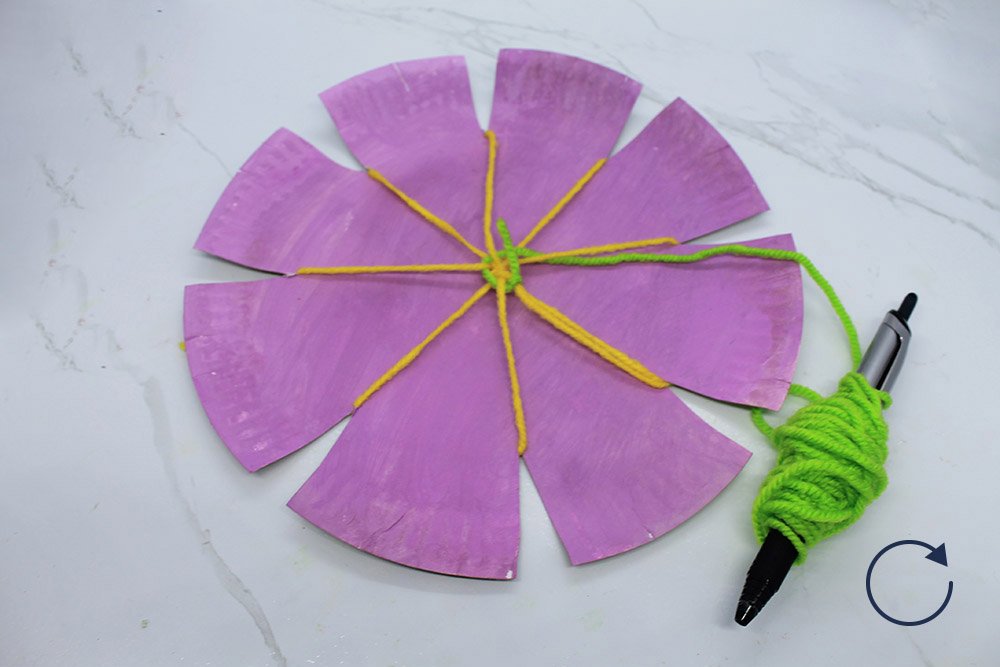
Do it again. Go over and under each (yellow) string.
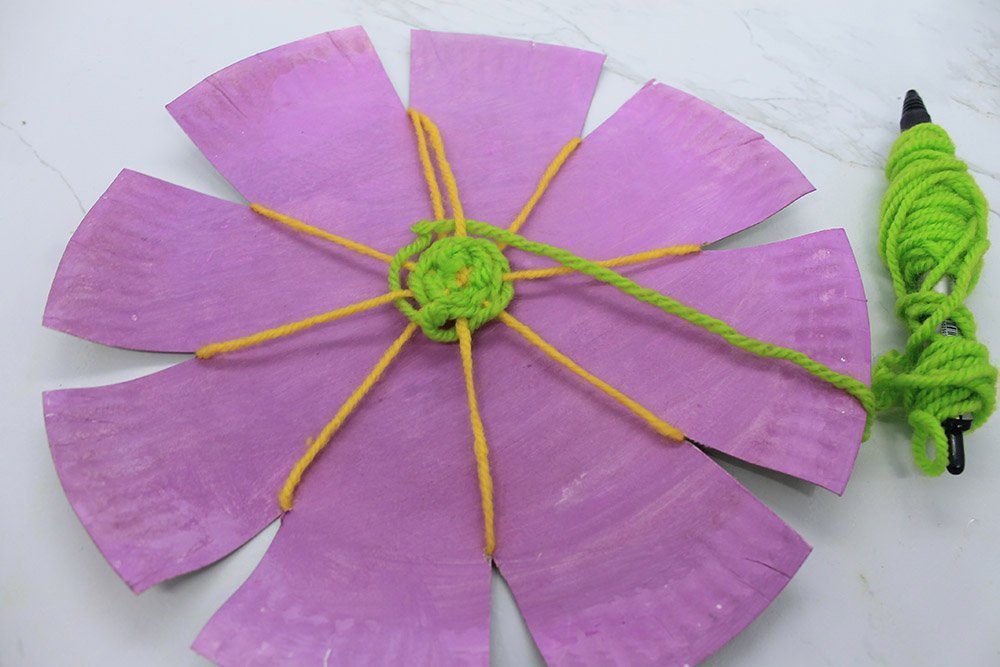
Keep going around over and under to make a circle.
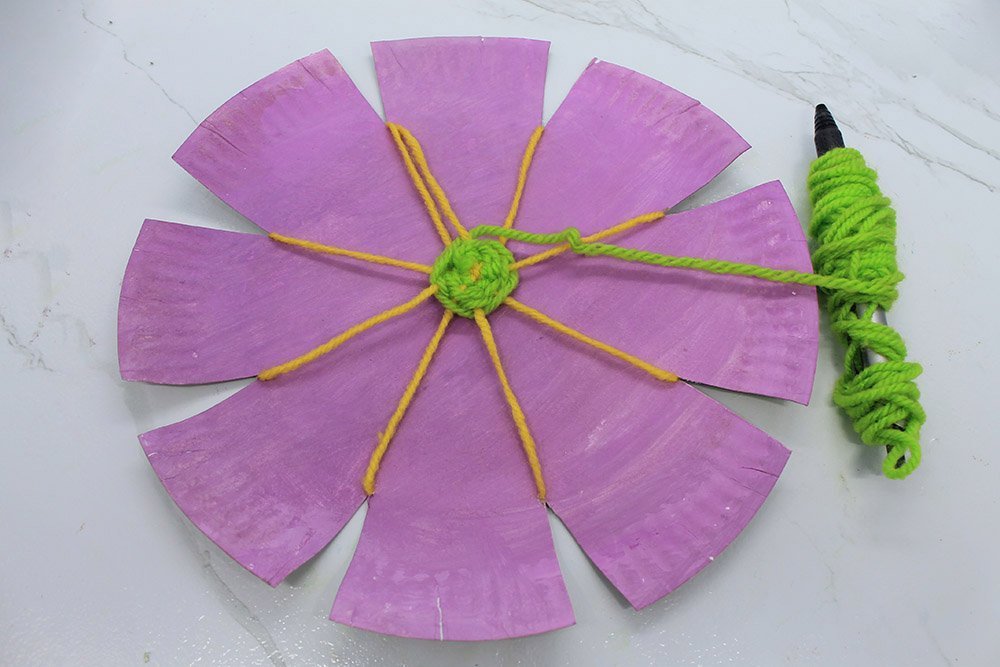
Make sure to keep the yarn closely knit to each other.
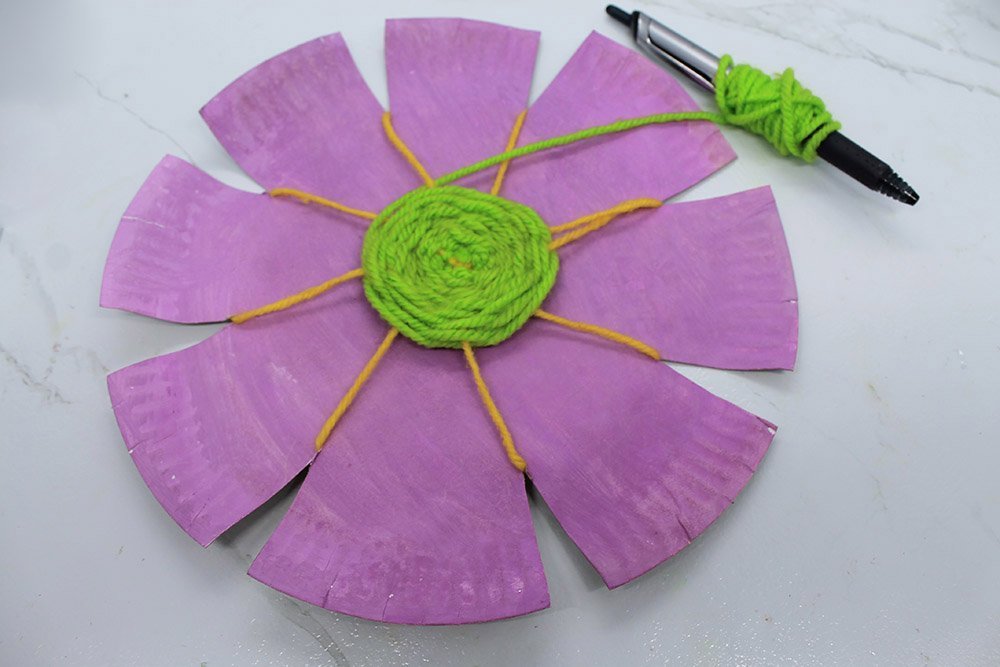
As you keep going under and over each string it should form into a circle like what’s shown above.
Optional: How to attach another wool for the paper plate weave
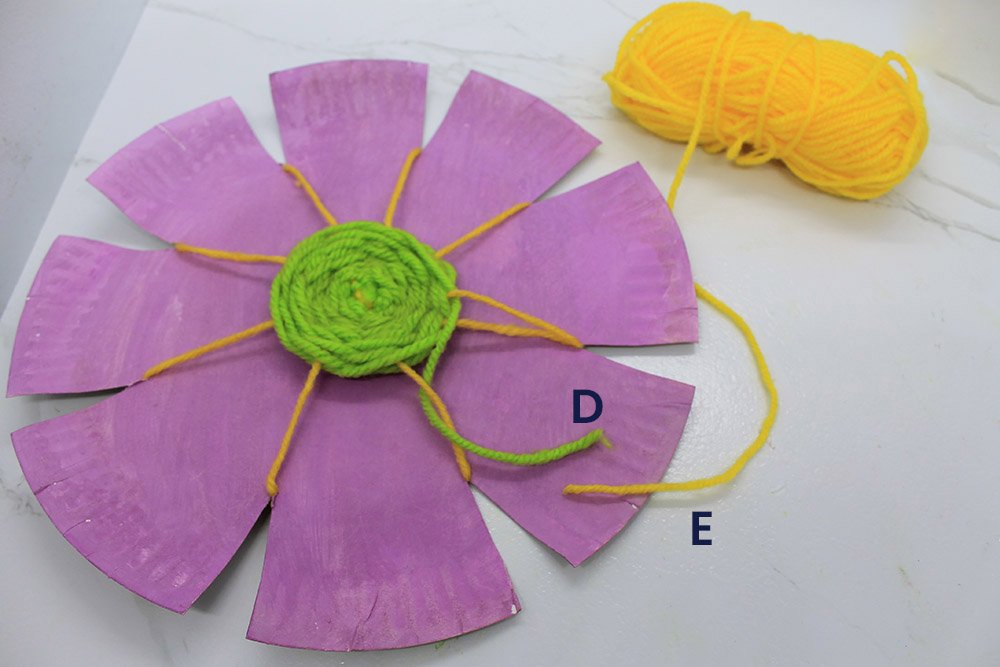
If you run out of wool or you want to transition to a different color of string, tie the end of the green yarn (D) to another end (E) of the new yarn.

Tie a double knot to secure it.
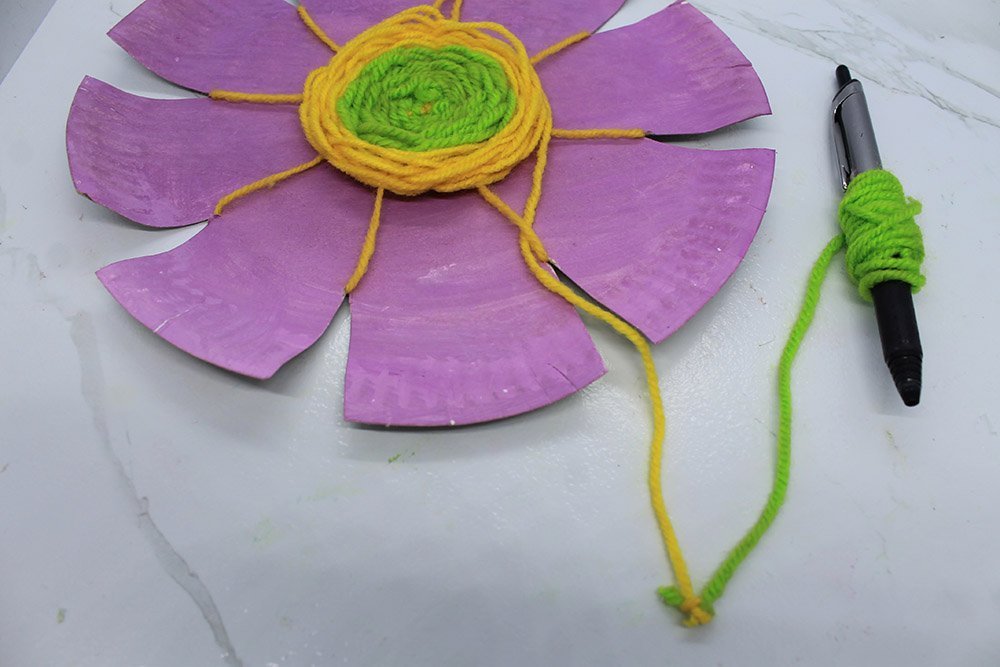
You may now continue weaving once you have attached a new string!
Again, keep going around over and under to make a circle. Just tie a new string if you want a different color or if you run out.
Secure the paper plate weave.
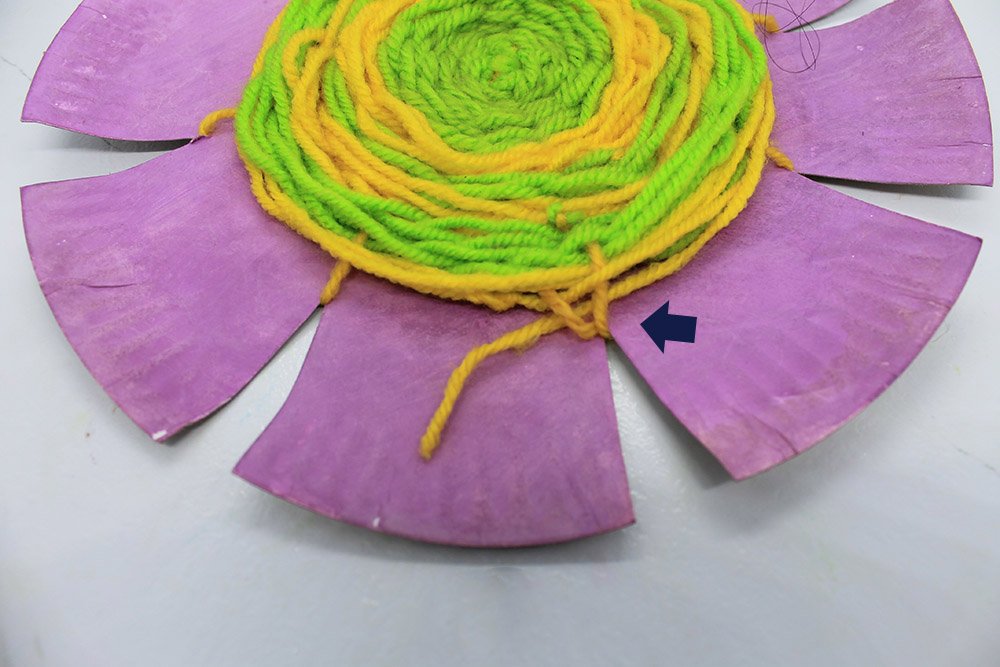
Once you have completed a full circle tie the last end to the yarn base of the flower paper plate.
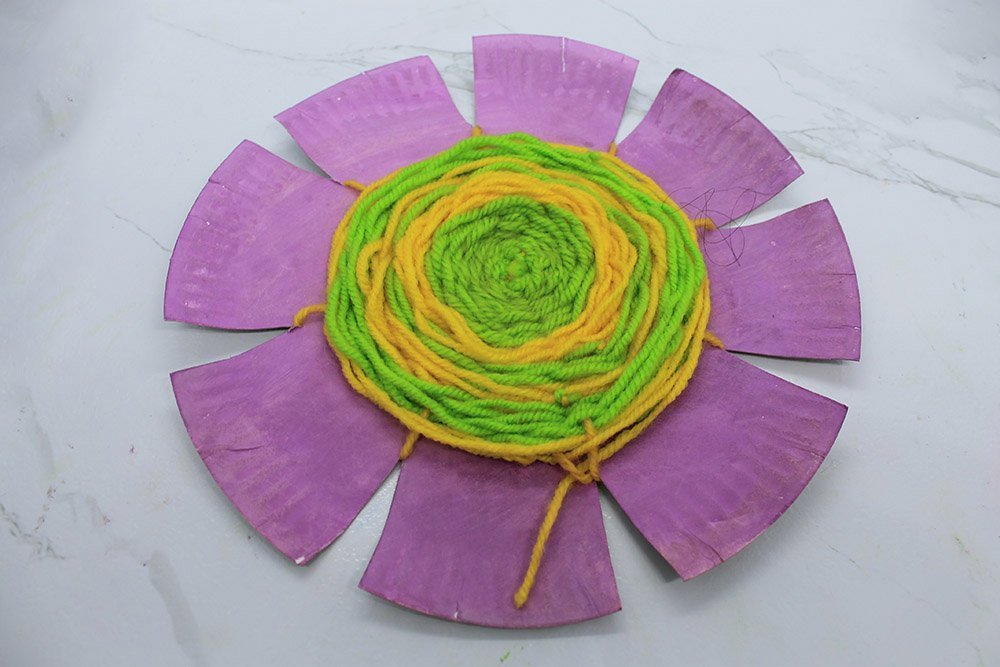
Secure it nicely with a double knot.
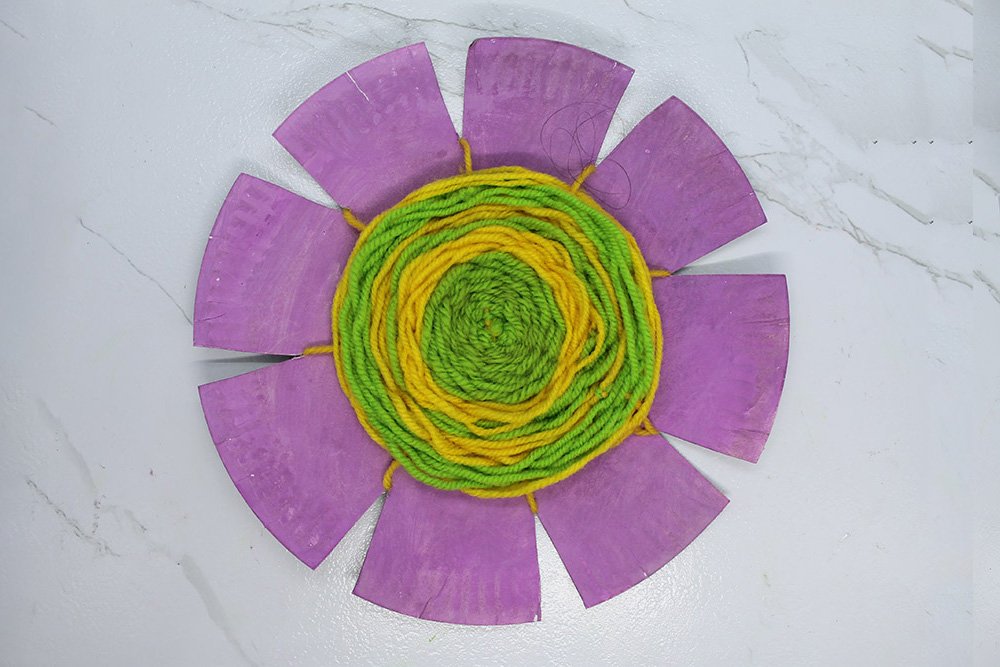
The flower paper plate weave is done!


