Learn How to Make a Wolf Paper Plate | Halloween Crafts for Kids
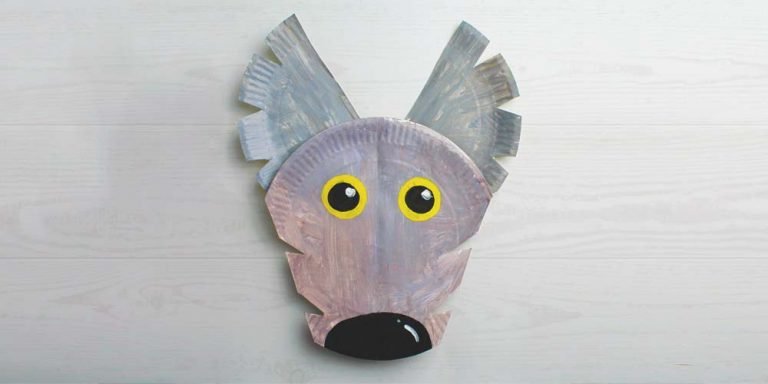
Introduction:
Create a wolf paper plate easily with the help of our step-by-step instructions! In this guide, we will show you how to create a spooky-looking paper plate wolf with this quick and simple instruction. These descendants of dogs are such majestic animals, and since they are often found in the zoo or the wild, this would be a perfect craft to make after visiting the zoo or from an outdoor vacation this summer with your kids. This would also make an awesome Halloween craft that kids will surely love! You can’t beat how easy it is to make too! Begin using a paper plate and paint, then add some finishing touches using various art materials.

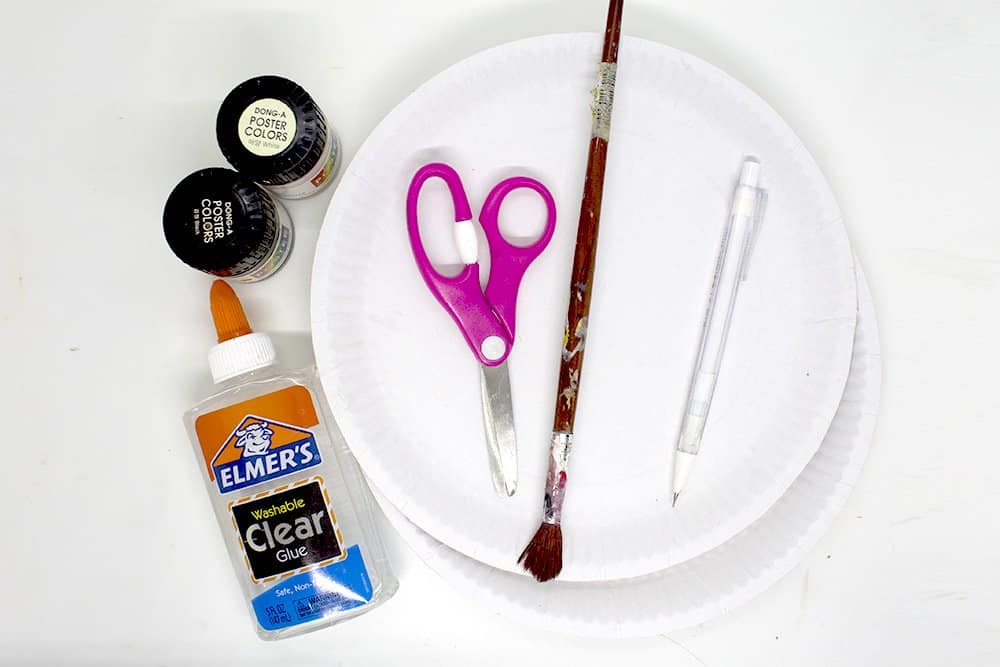
Tools
- Scissors
- Brush
- Glue
- Pencil
Supplies
- 2 Pieces of Paper Plate
- Poster Paint

Cut out the head of the paper plate wolf
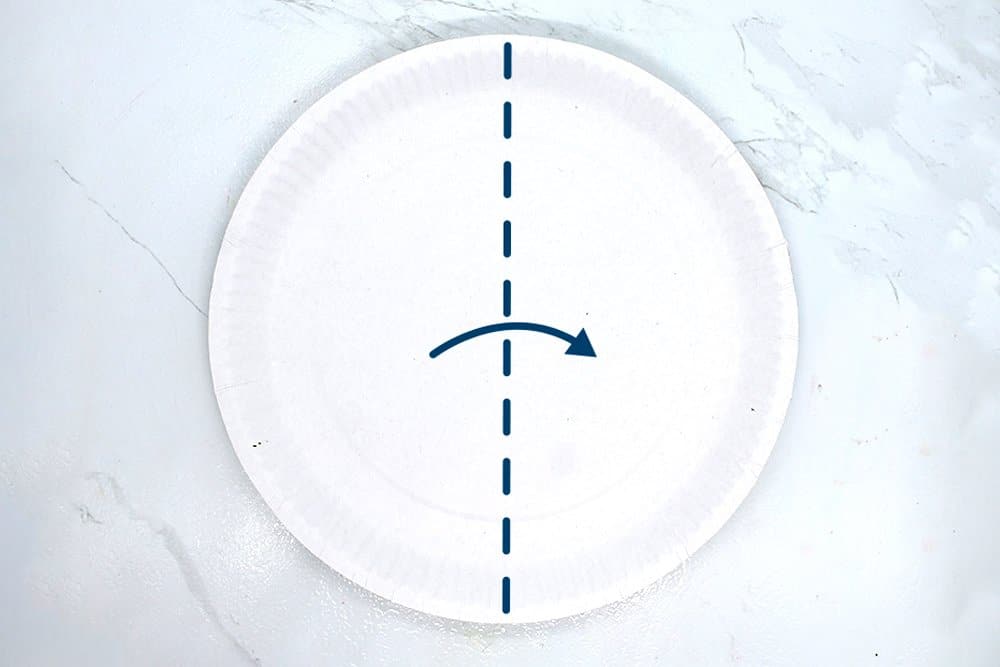
Let's shape the head of the wolf craft first! Grab a piece of paper plate and fold it in half.
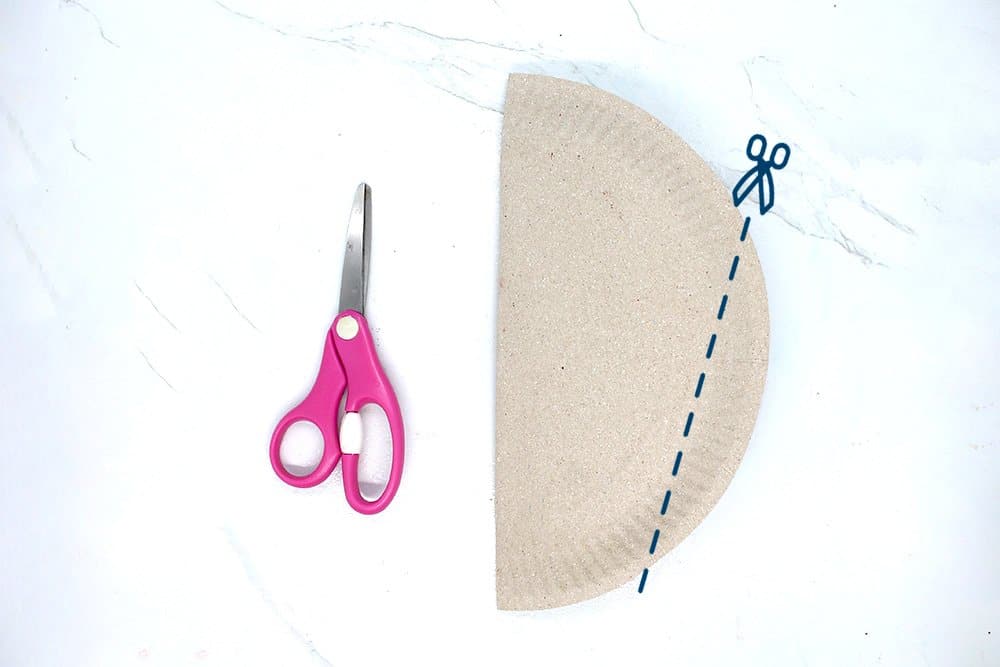
Shape the chin of the paper plate wolf by trimming the edge in a diagonal motion. Follow along the dashed line as illustrated above.
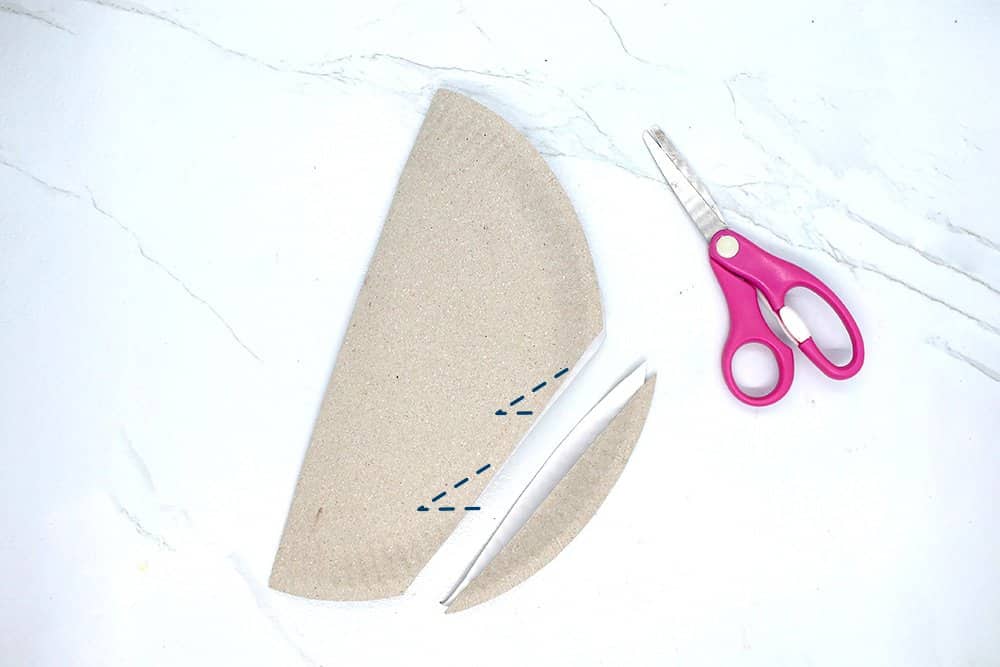
Mimic fur by cutting small triangles on the edge.
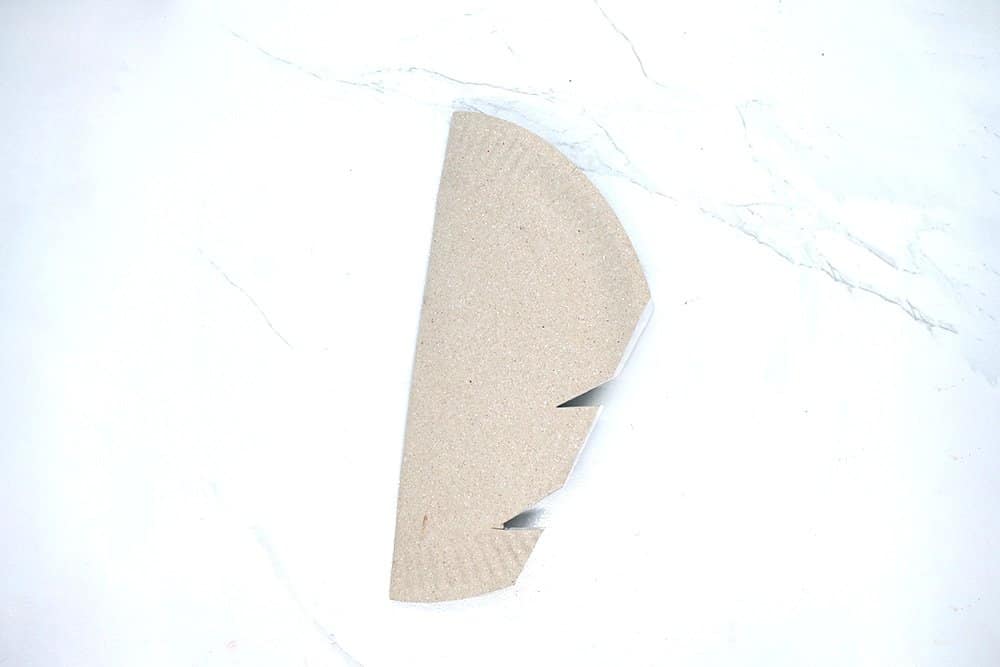
The paper plate should now look something like this. You may follow along the dashed line as shown or you may cut the fur however you like.
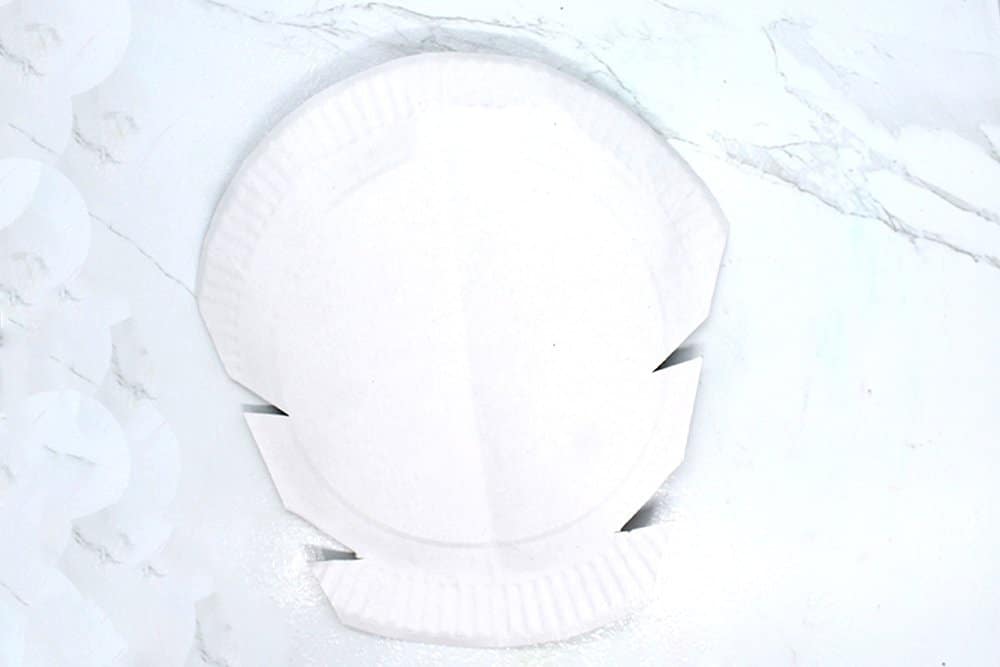
Unfold the paper plate and the head of the would look something like this! Time to decorate!
Paint the face of the paper plate wolf
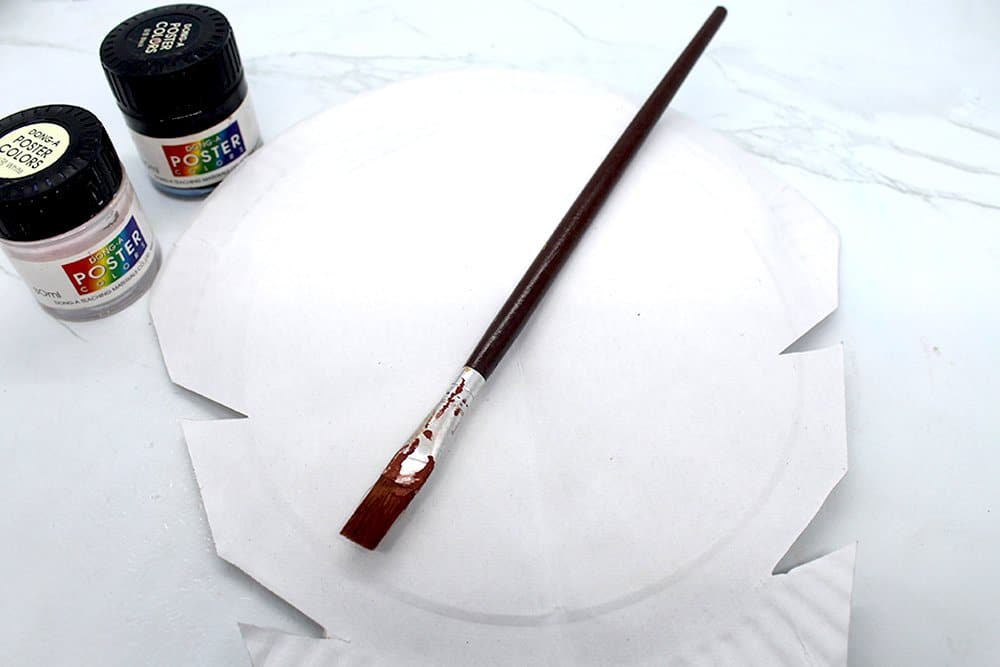
Let's paint the base color of the wolf. Grab some grey paint and a paintbrush.
If you don't have grey paint, mix black and white to make that color.
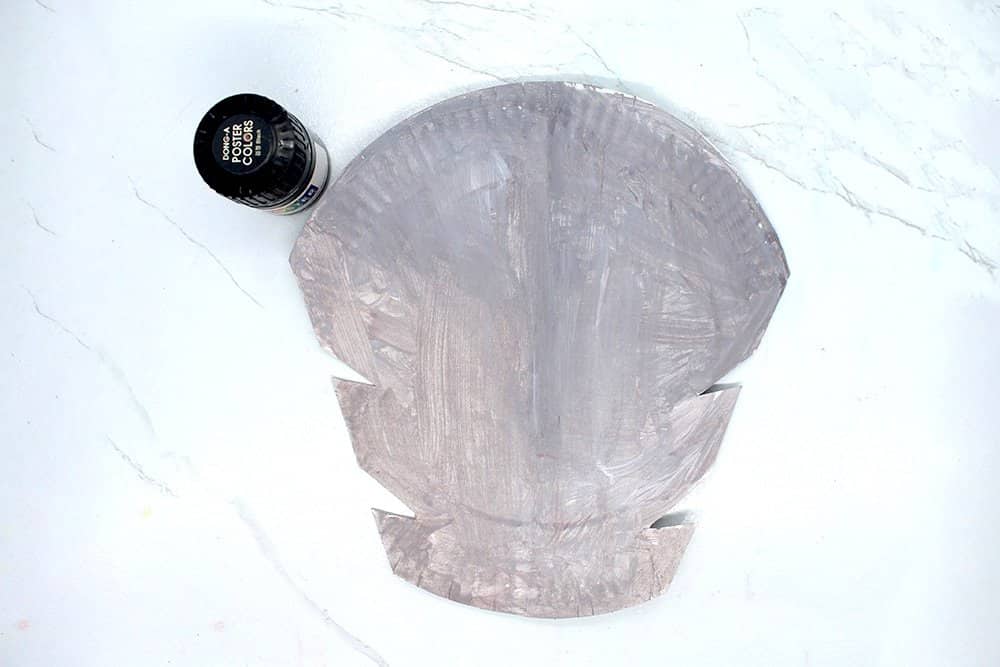
Paint the paper plate with grey paint. Cover all of the top surface with paint. Let it dry and grab some black paint.
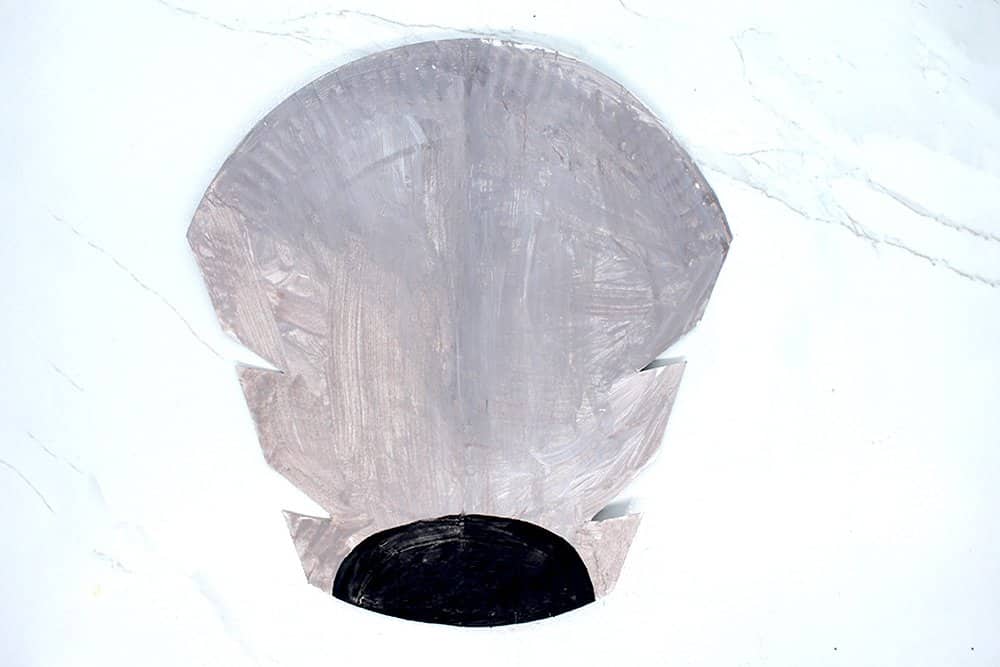
Make the nose of the paper plate wolf by painting the bottom tip with black paint. It's up to you how you want to shape the wolf's nose. For this project, we gave the wolf a big round nose.
Paint the eyes of the wolf
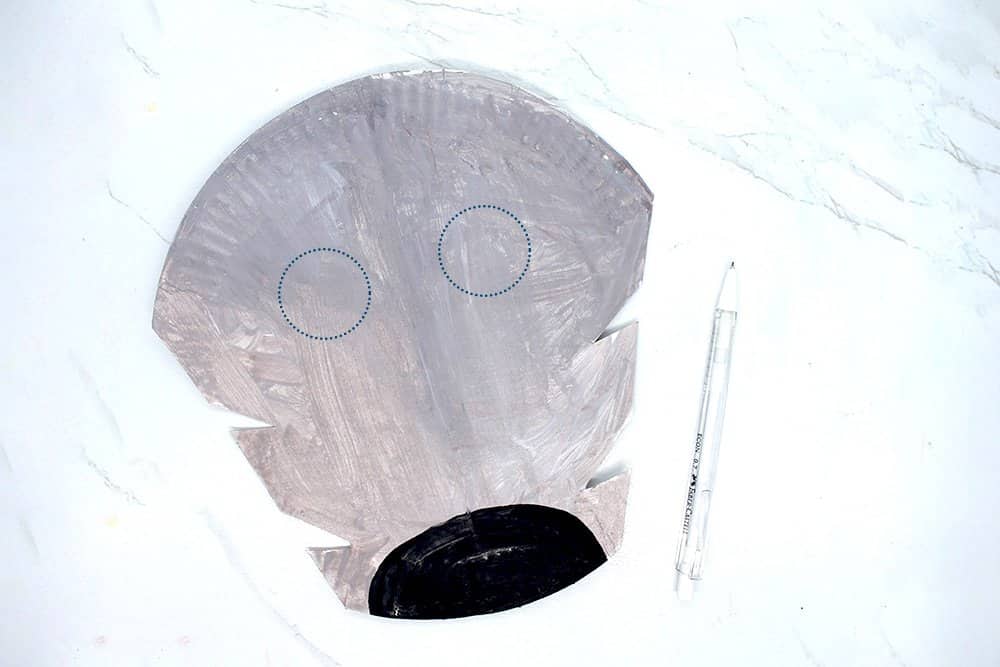
Time to paint the eyes! Get a pencil and draw two circles on the paper plate to make the eyes!
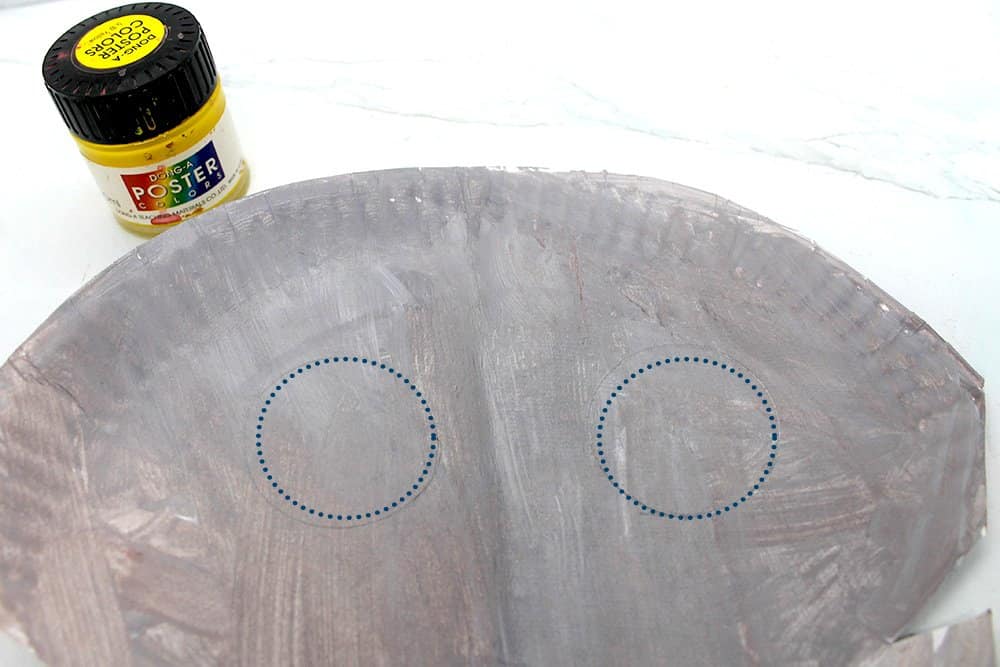
Grab your preferred choice of paint for the eyes! Choose what color you want for the iris. We decided to go for a yellow paint to make it extra spooky for Halloween!
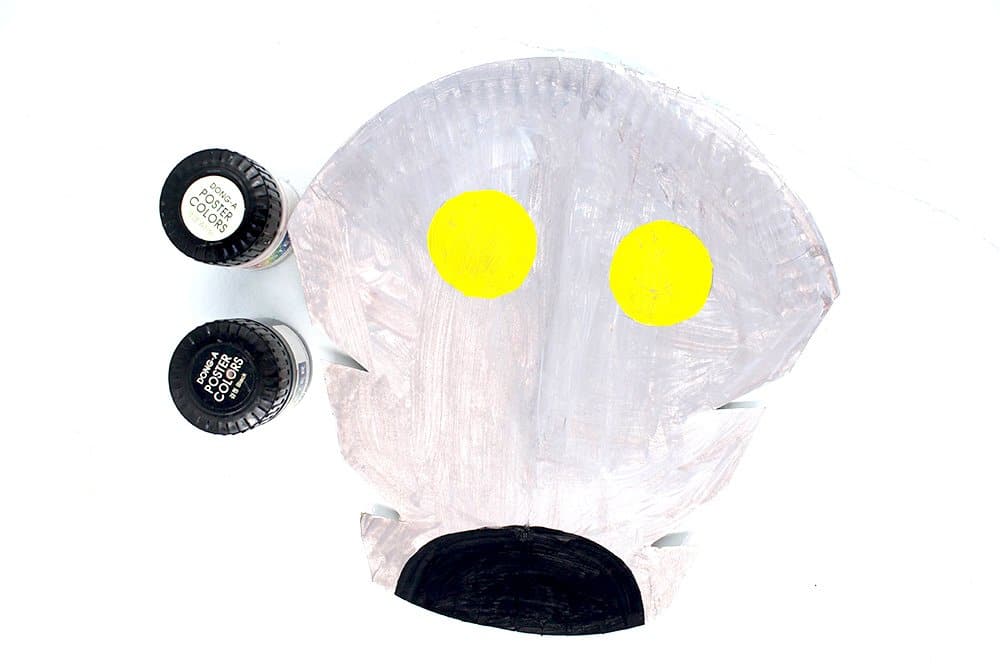
Make the wolf come to life by giving it, pupils! Grab some black and white paint!
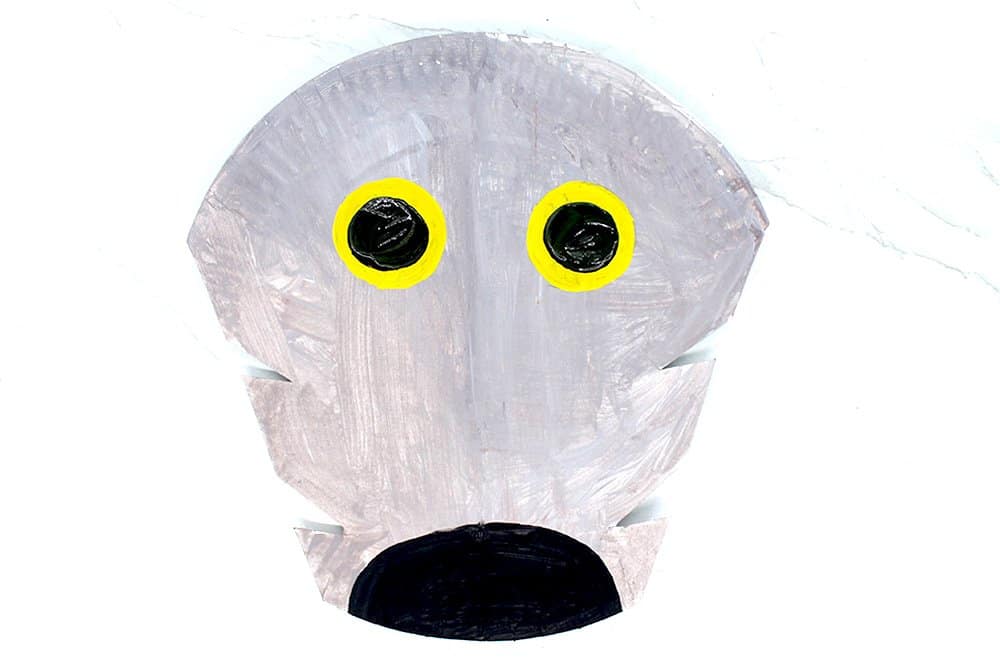
Paint black circles on each iris. It's up to you how big or small you want the iris to be.
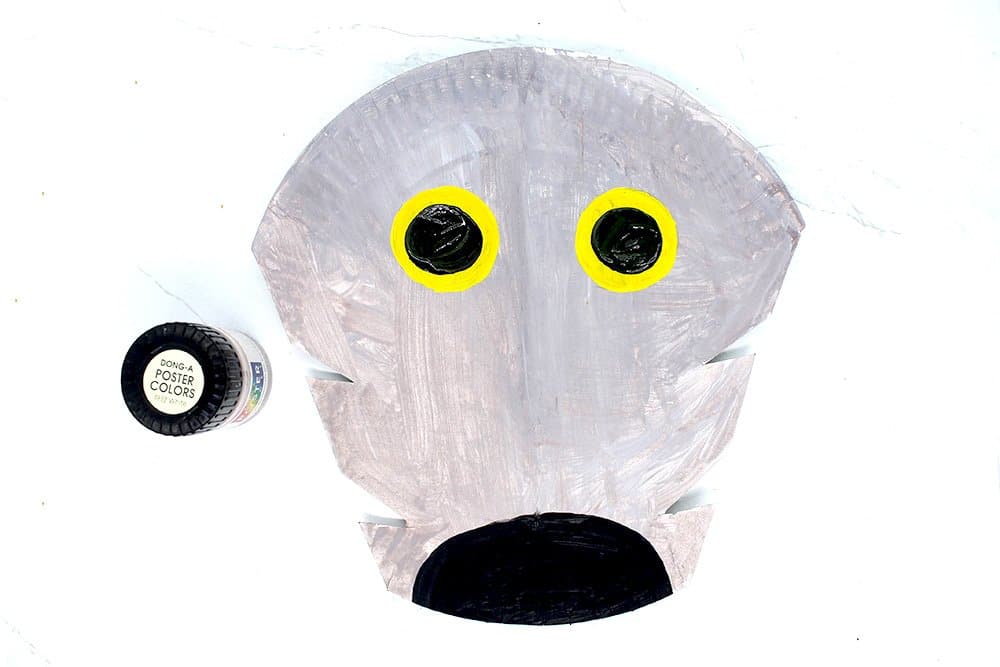
Give the iris some shine by painting white dots on each eye. Let the black paint dry first before putting the eye sparkle.

The face of the paper plate is done. Set it aside for now and let's proceed making the ears for our friend!
Create the ears of the wolf using paper plate
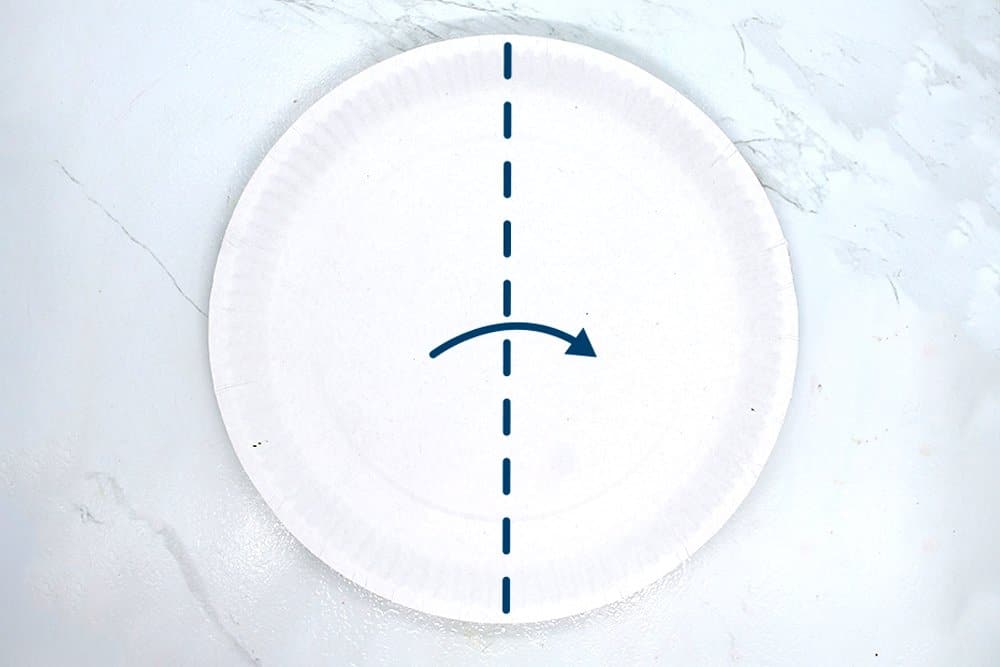
To make the ears, grab another piece of paper plate. Fold it vertically in half.
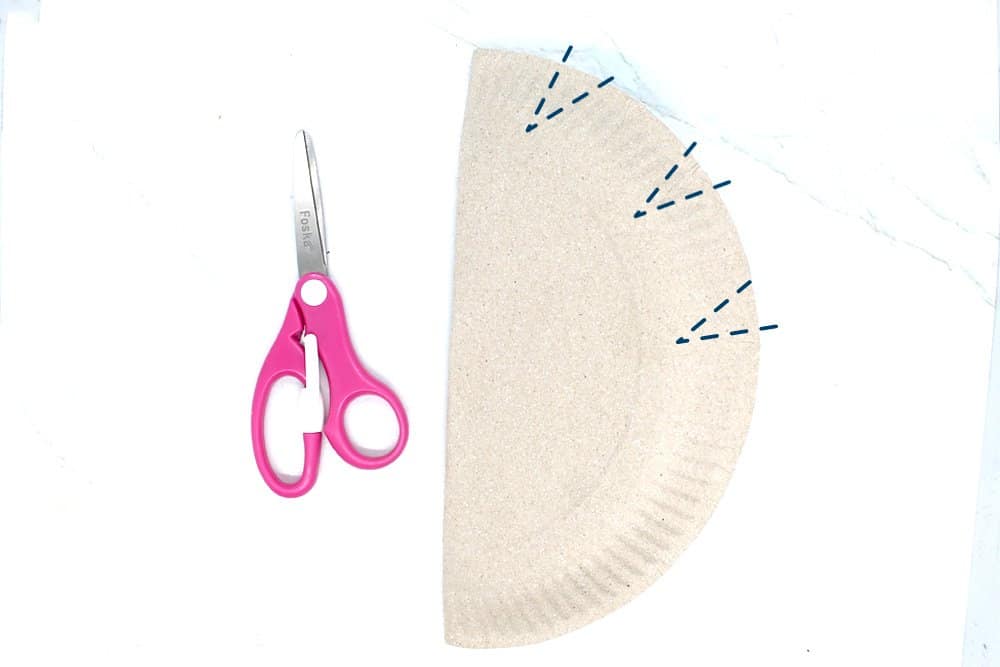
Mimic fur by cutting small triangles on the edge. Do this on the top side only.
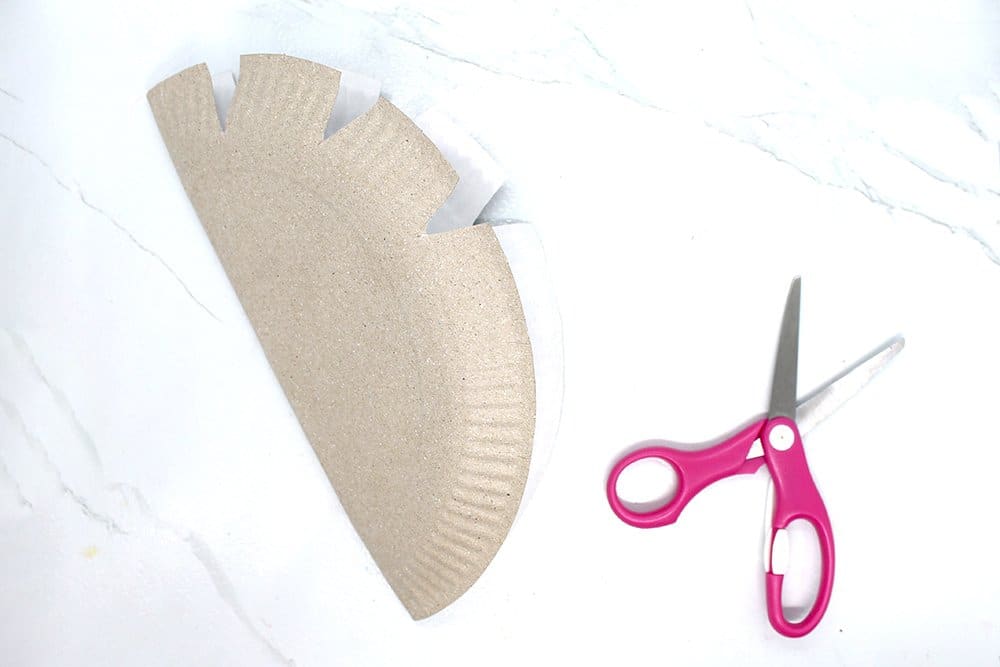
The paper plate should now look something like this. Again, you may follow along the dashed line as shown or you may cut the fur however you like.
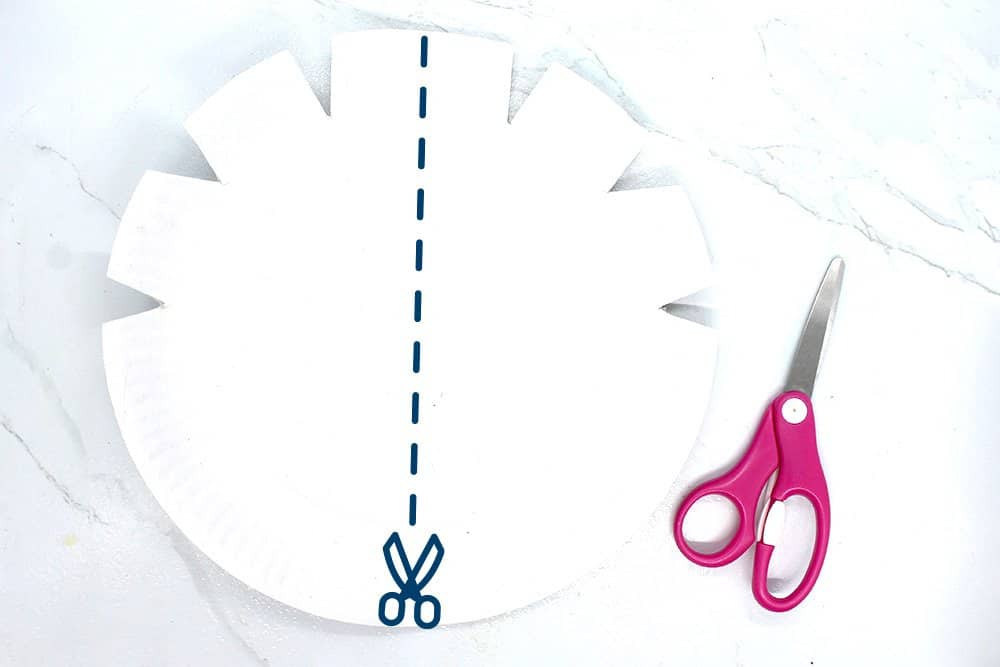
Unfold the paper plate and cut it in half.
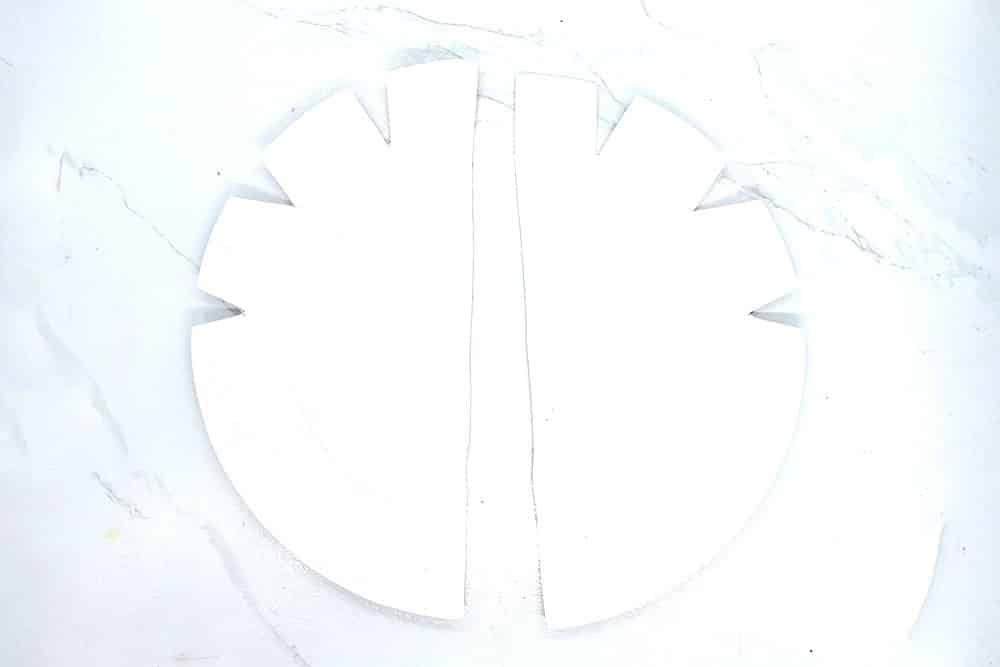
Now we have a pair of wolf's ears made from a single paper plate.
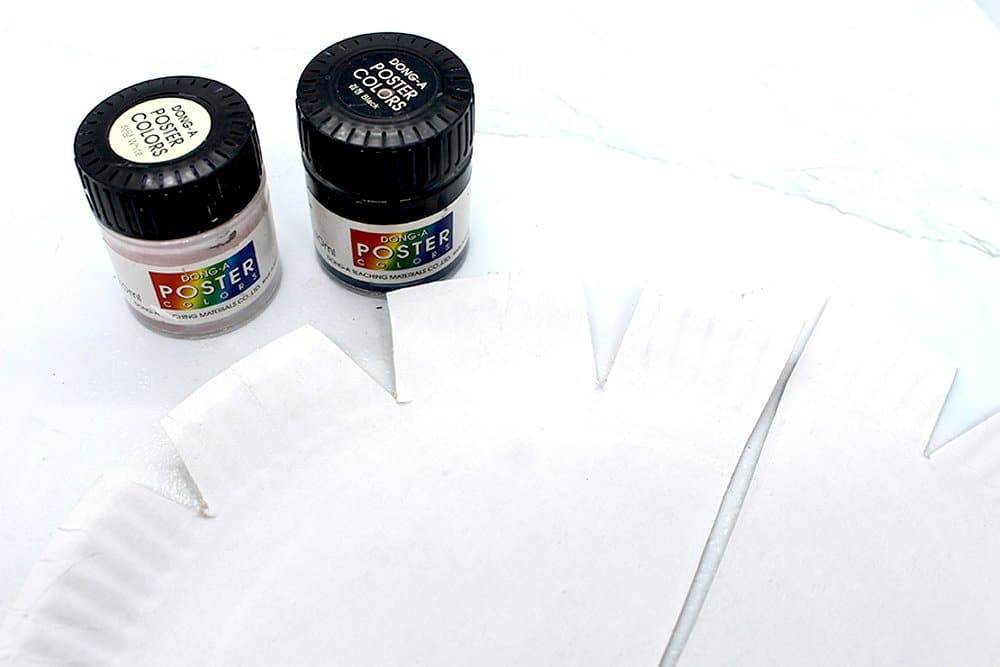
Grab the same color of paint used to make the base color of the wolf's head.
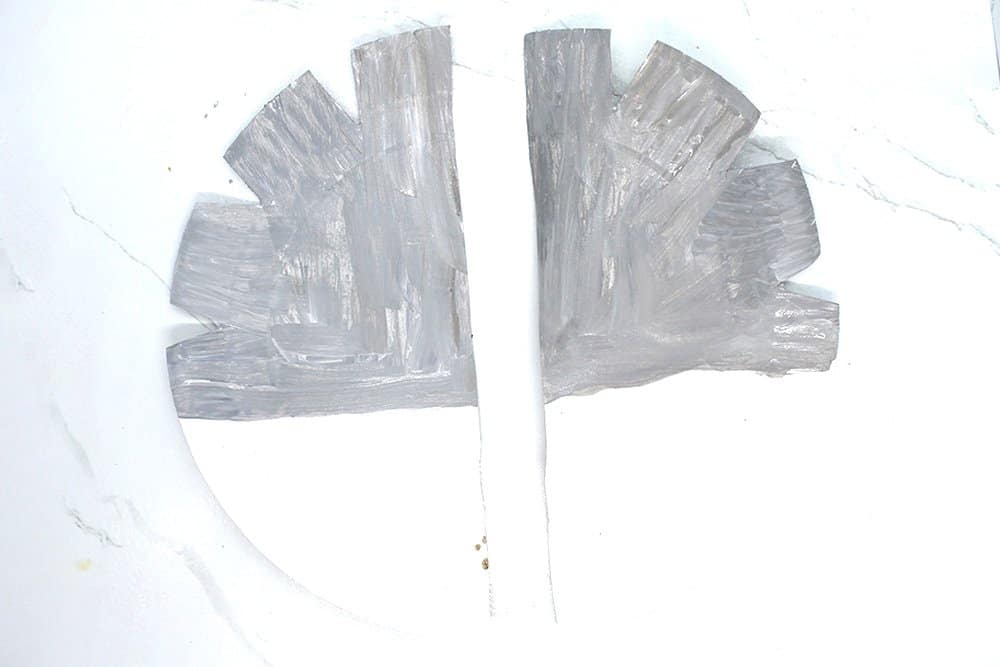
Paint the top half only. It is not necessary to paint the bottom half because we will use the bottom half to attach the ears to the head.
Attach the head and ears of the wolf paper plate

Grab some glue and attach the bottom half of the ears to the back of the wolf's head.
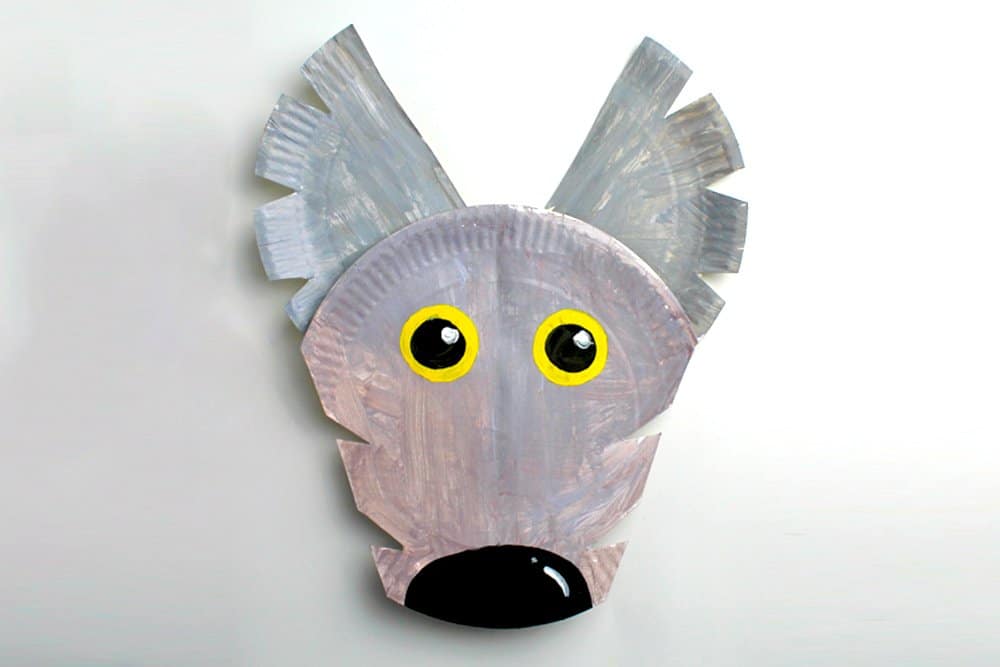
The wolf paper plate is done!
Extra Tips
- Wolves come in various colors. Paint the fur of the wolf paper plate however you like!
- Instead of drawing and painting some eyes, you may stick some googly eyes if you prefer.
- Looking for a Halloween costume, turn it into a mask! Cut 2 peep holes on where th eye is positioned and you now have a paper plate mask!



cute wolf not scary hehe!
agree haha! but the yes make it syuitable for Halloween! and it’s not super scary for little kids!!!
amazing craft for Halloween!
my paint is too opaque cant get the yes right =-=
amazing job my friend!!!