Introduction:
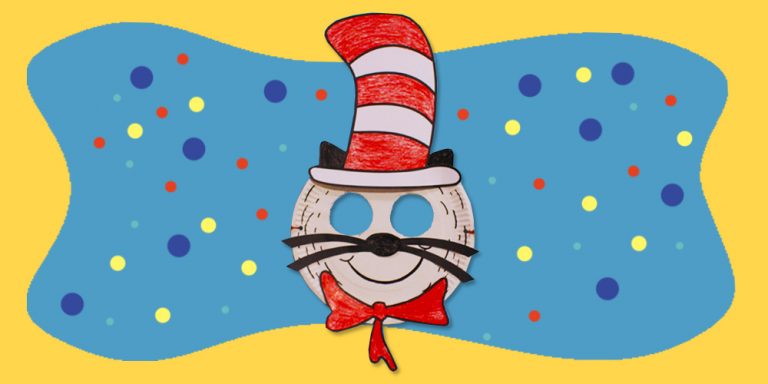
Create a paper plate cat wearing a hat with the help of our downloadable printable below. Inspired by the famous fictional character, the cat in the hat, this mask would make a great costume if needed for Halloween or a costume party. All you need to do is download the printable below and prepare a few materials listed above to make this cool little creature.

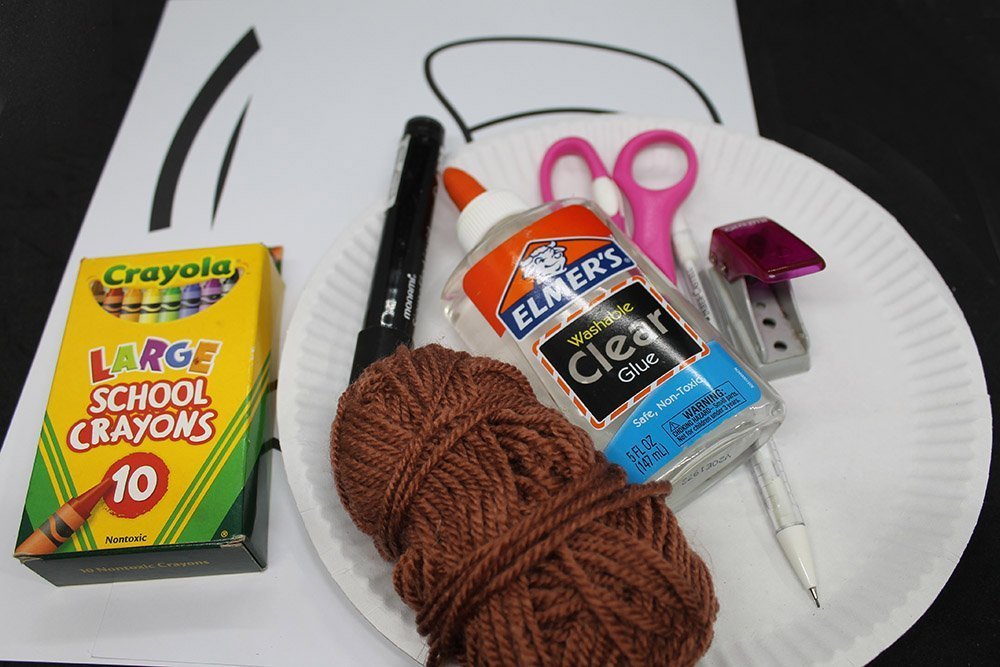
Tools
- Crayons
- Scissors or Cutter (use with adult supervision)
- Puncher
- Black Marker
- A paper cup or something circular to trace the peephole for the mask
Supplies
- Paper plate
- Glue
- Yarn or string
- Printable We recommend printing the printable in an A4 thick vellum board (at least 200 gsm) so that the hat will not bend when worn.

Download Area
Download TemplatePrint, Color and Cut the paper plate cat printable
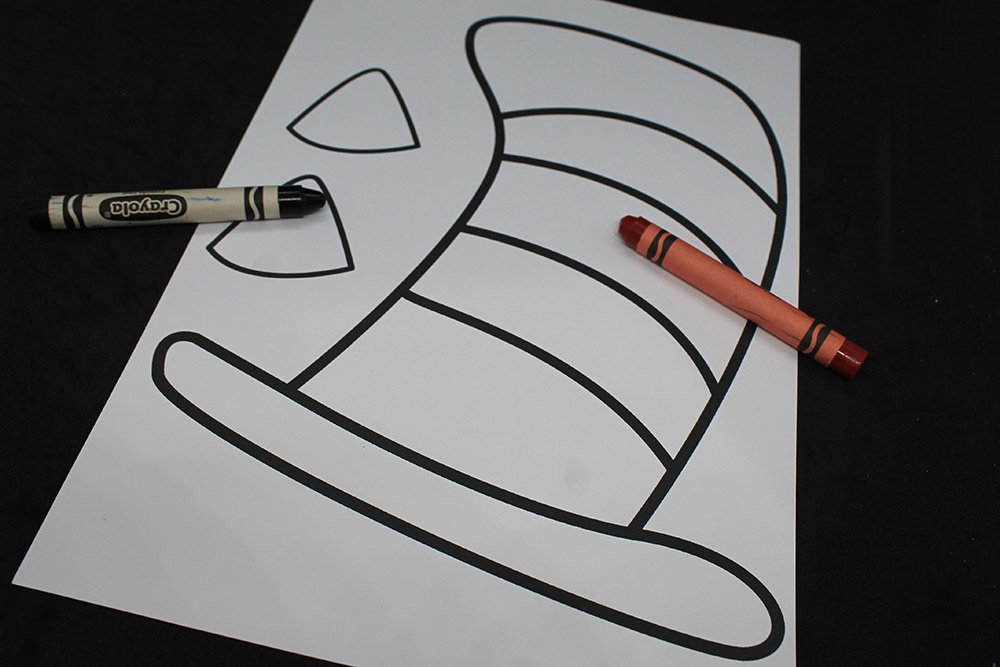
Print the printable on a thick A4 sheet of paper. Grab the first page and then color the hat with red crayon and the 2 triangle pieces (ears) with black.
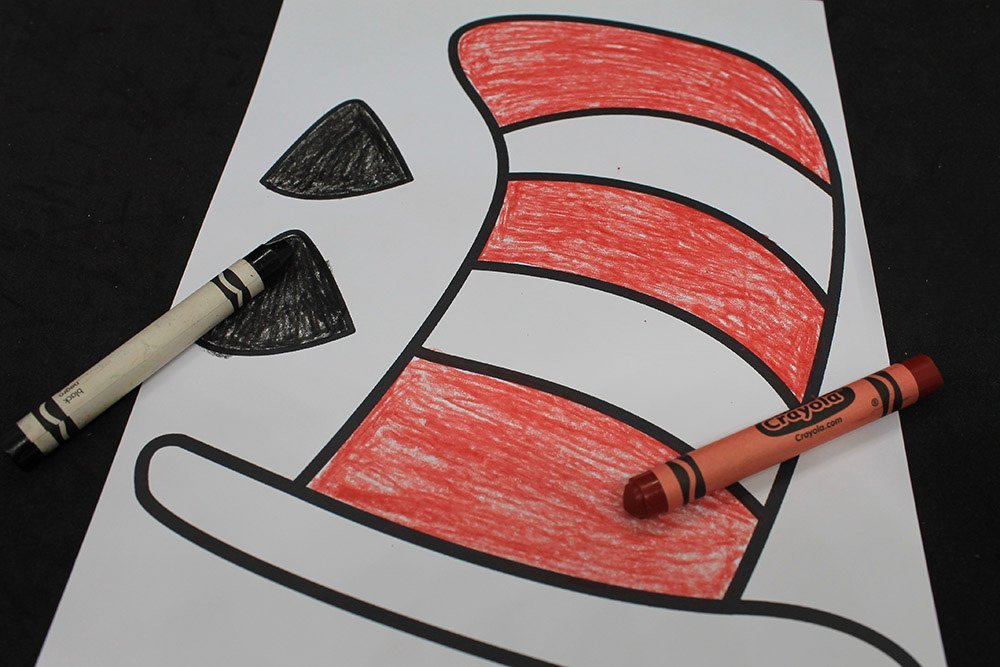
It should look like the sample image above after being colored. If you don’t want to use crayons, you may use paint or markers.
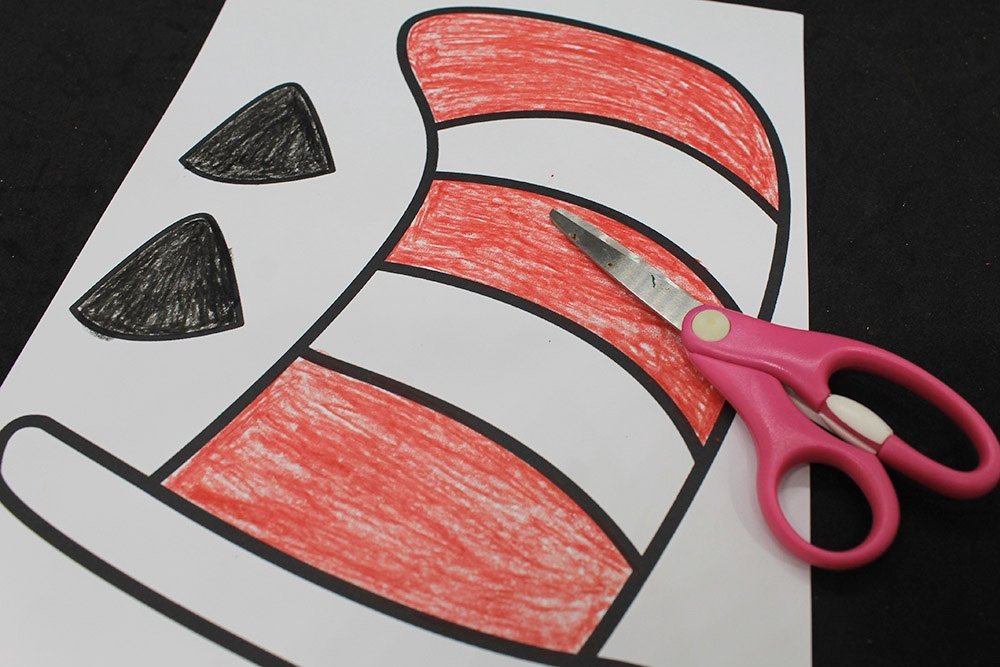
Once colored, cut along the outer outline of the hat and the pair of ears.
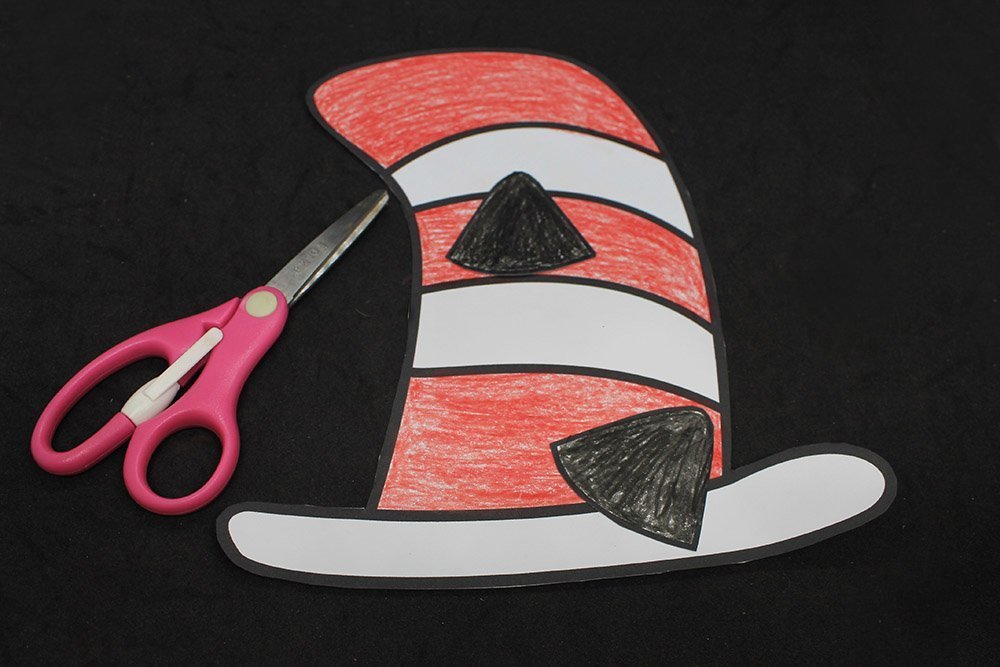
Set this aside for now and let start making the bow, nose, and whiskers.
Color and cut the second page of the printable as well
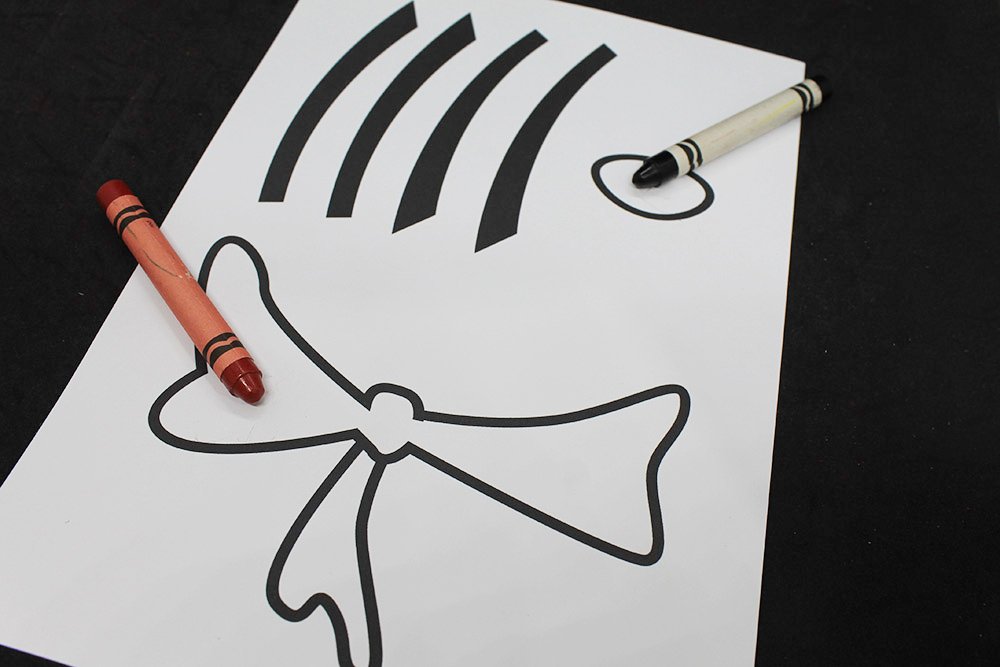
Color and cut the second page of the printable as well
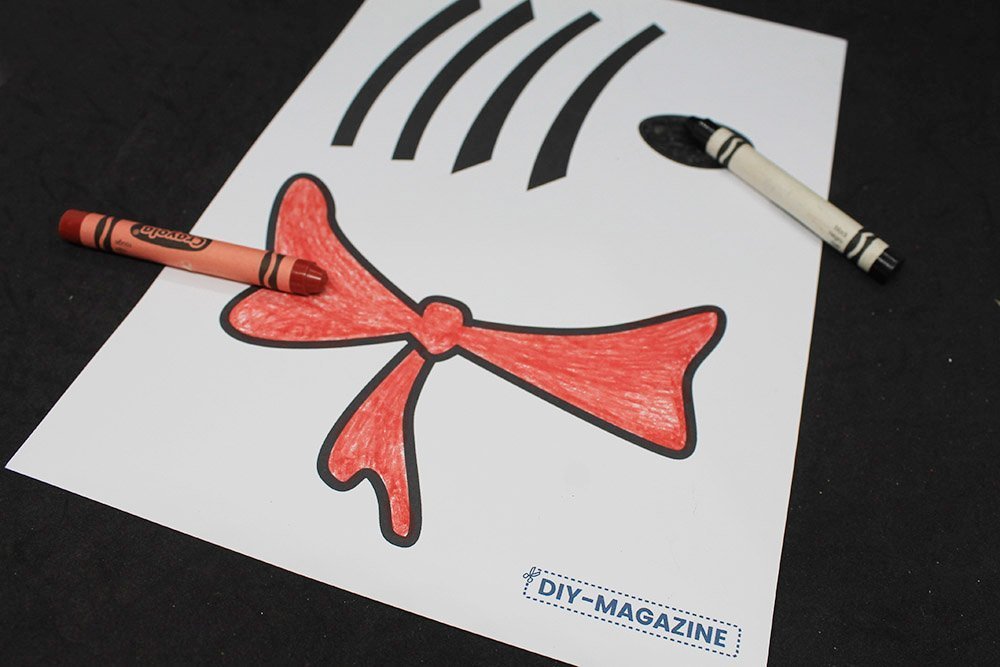
Next, color the ribbon with a red crayon and then color the oblong outline (nose) with black. The four white stripes are the whiskers of the cat. Once colored, cut along the outer outline of the hat and the pair of ears.
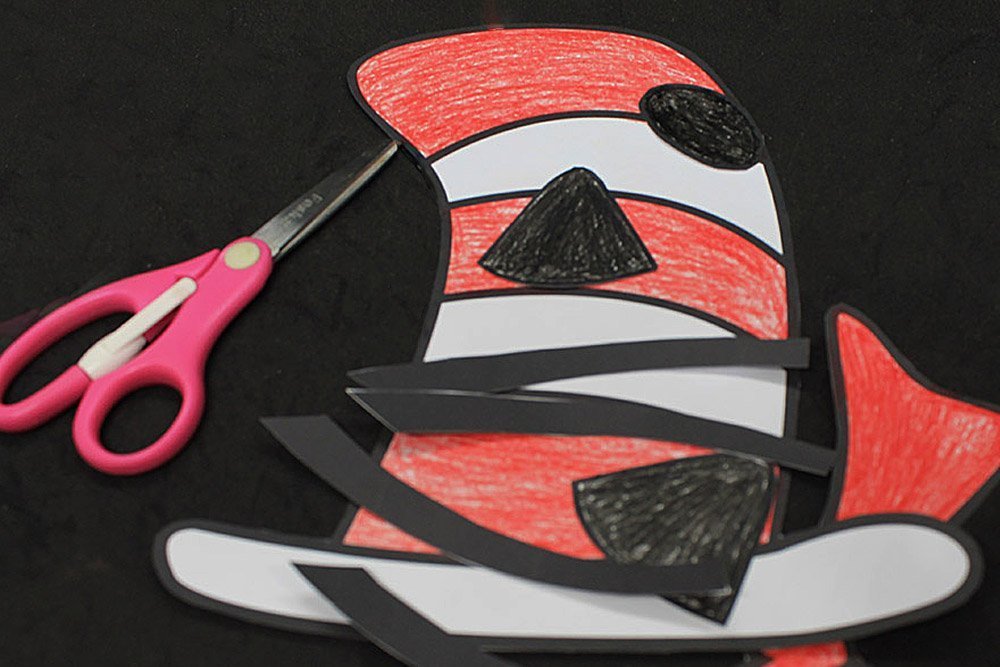
Once cut, you should have the following cutouts for the paper plate mask: the hat, a pair of ears, a ribbon bowtie, 4 pieces of whiskers, and a nose.
Make a cat mask out of a paper plate mask
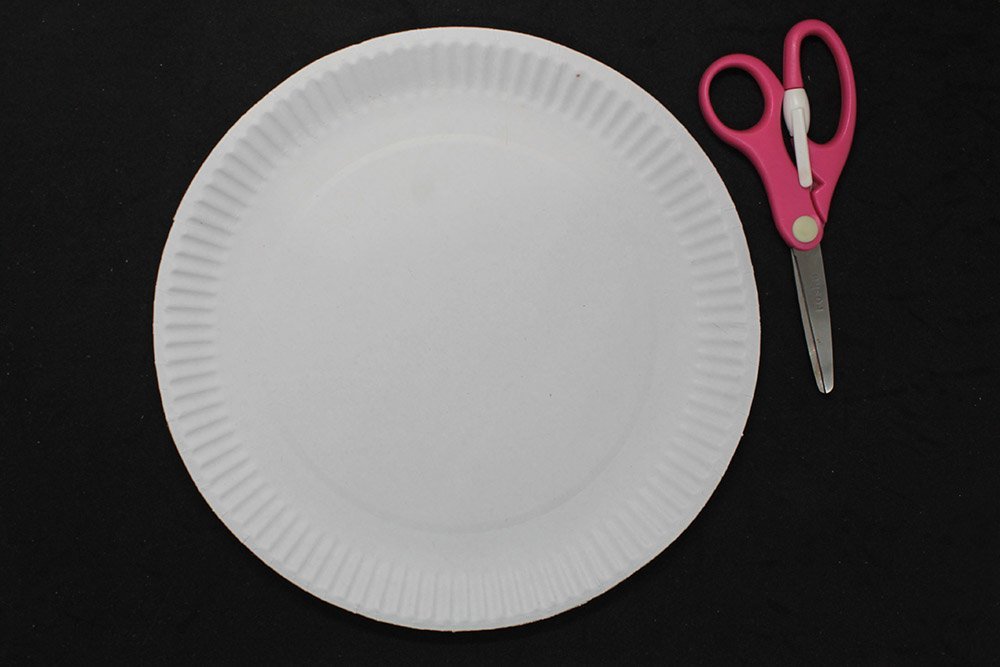
For the cat mask, we will be using a white piece of a paper plate.
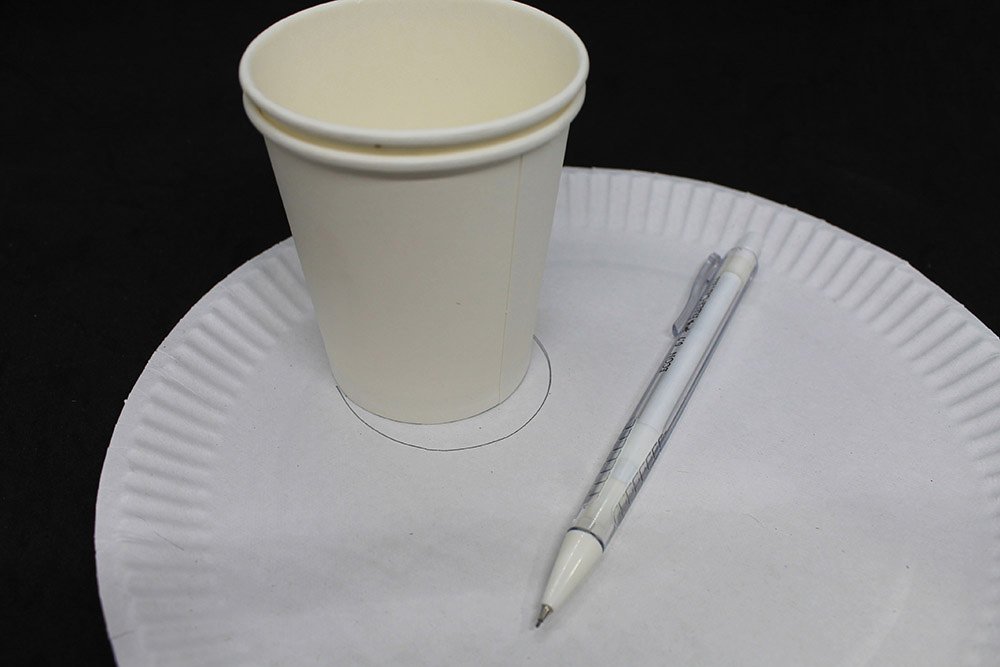
Get a paper cup (or anything small and circular) and trace it twice on the paper plate. Follow the next picture as a guide.
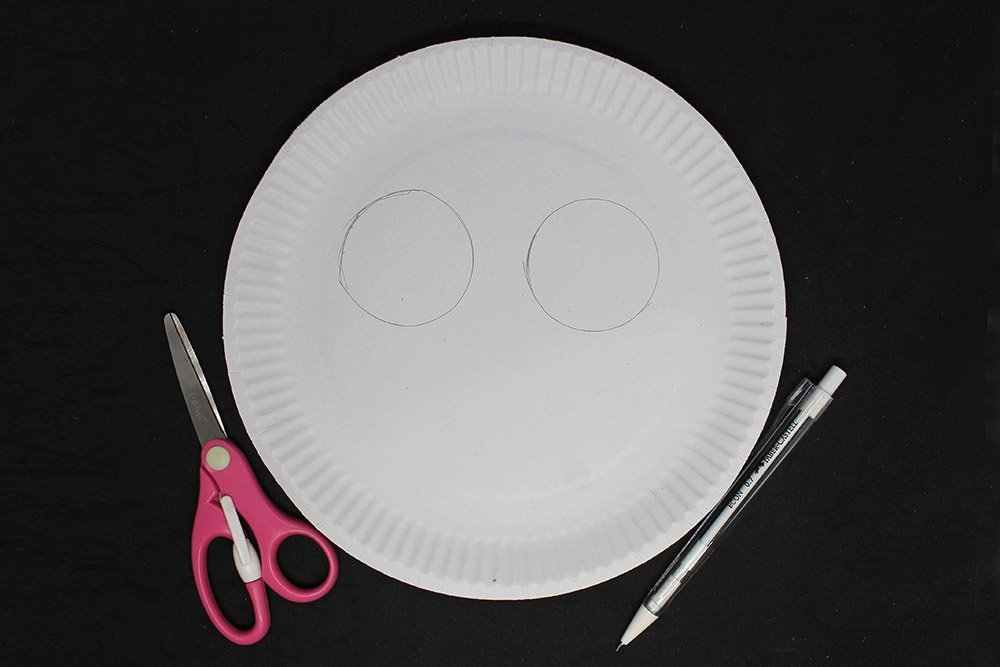
Once traced, it should look like something like the sample image above. Now with a pair of scissors, cut along the outline to make the peephole of the mask.
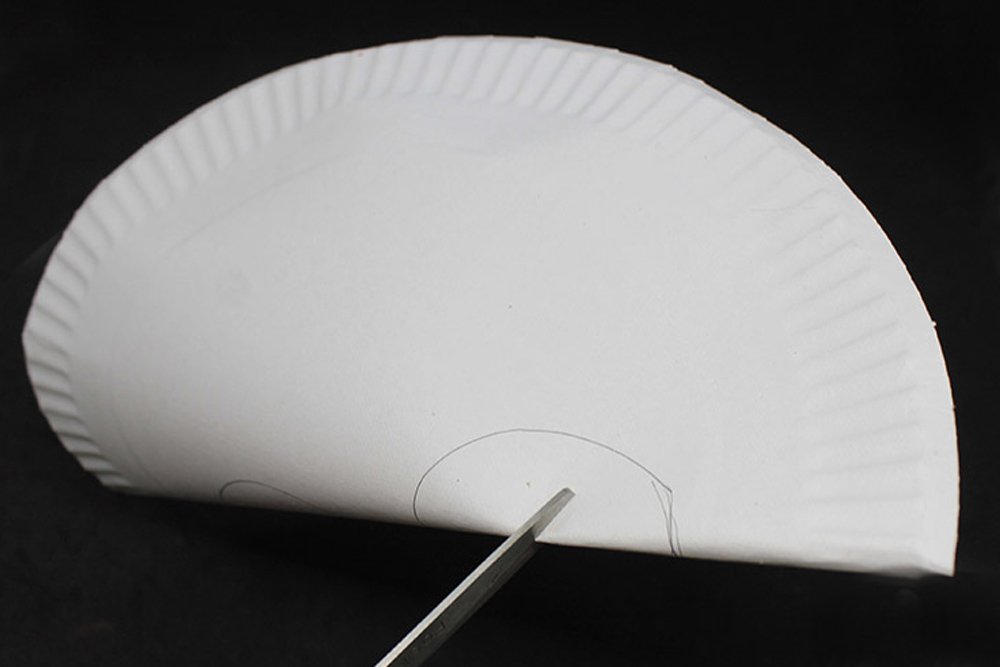
Here’s a tip: Cut a small slit at the center to make it easier to cut.
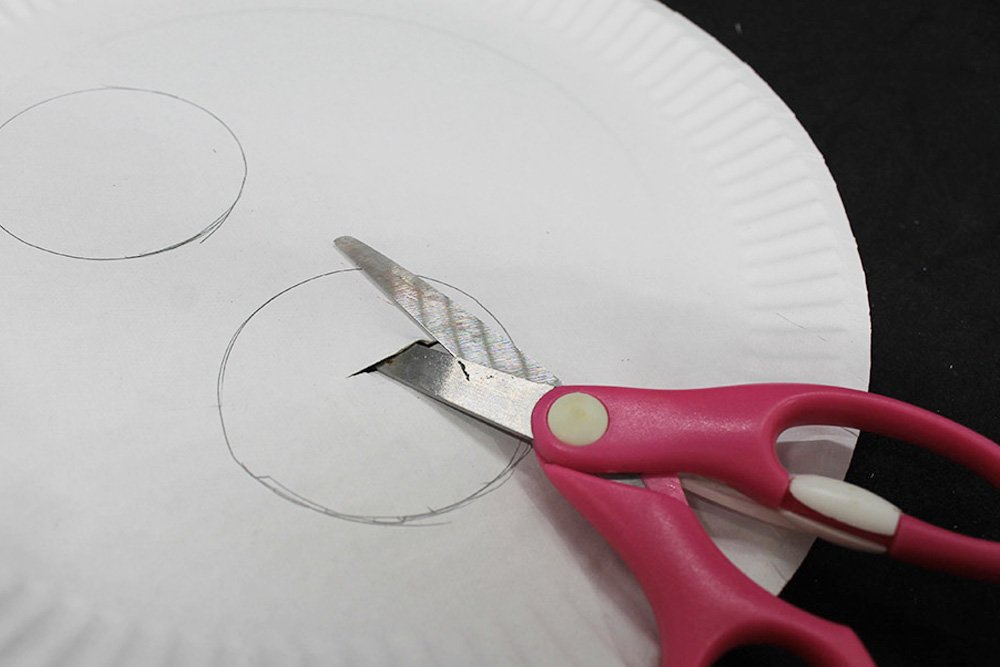
Insert the scissors on the slit, then start cutting along the outline.
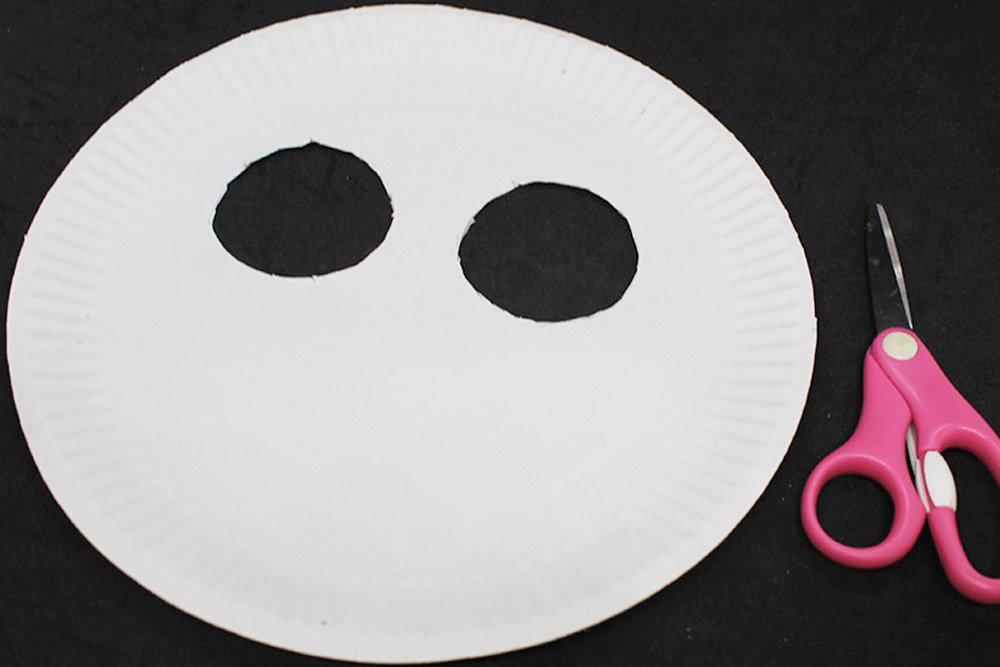
Once cut, it should look something similar to the picture above.
A cutter may be used to cut the outline, just make sure that the cutter is used with adult supervision.
Draw some fur on the cat’s face
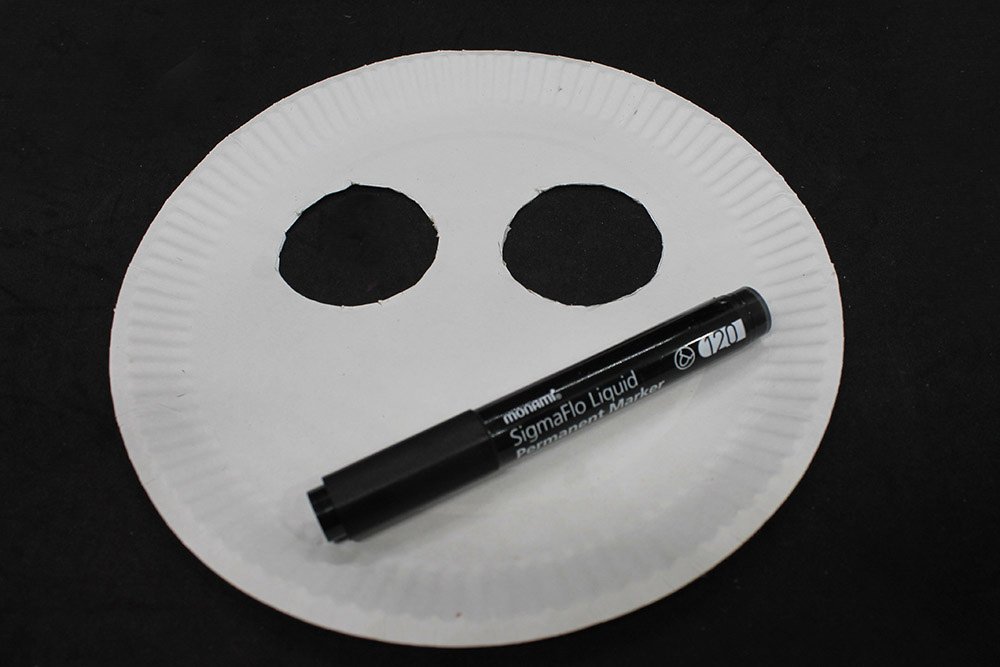
Using a black marker, draw some fur lines on the mask.
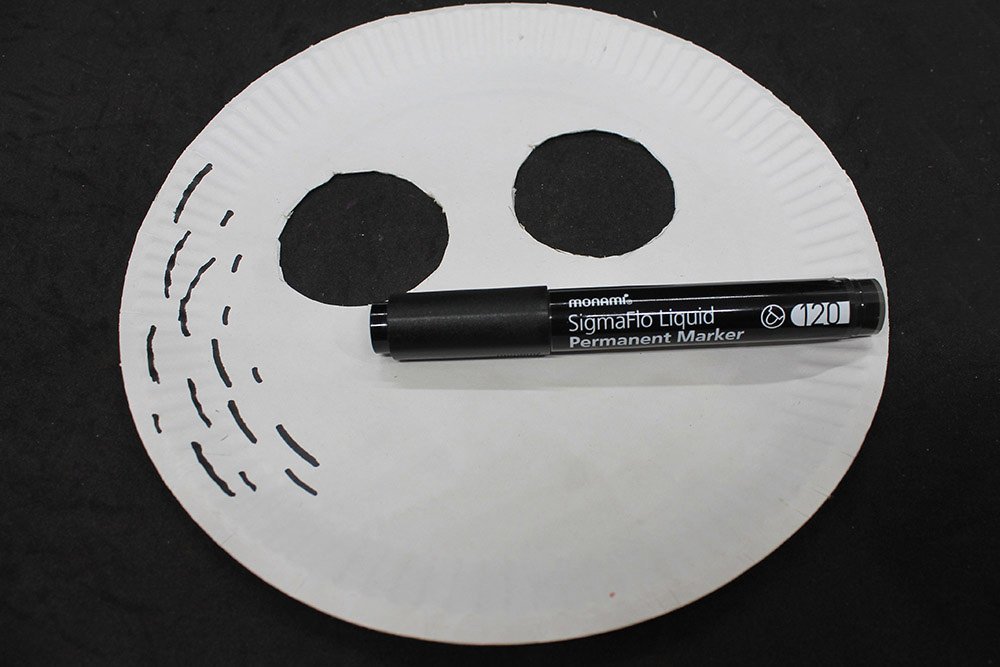
Make some slightly curved lines around the sides of the cat mask.
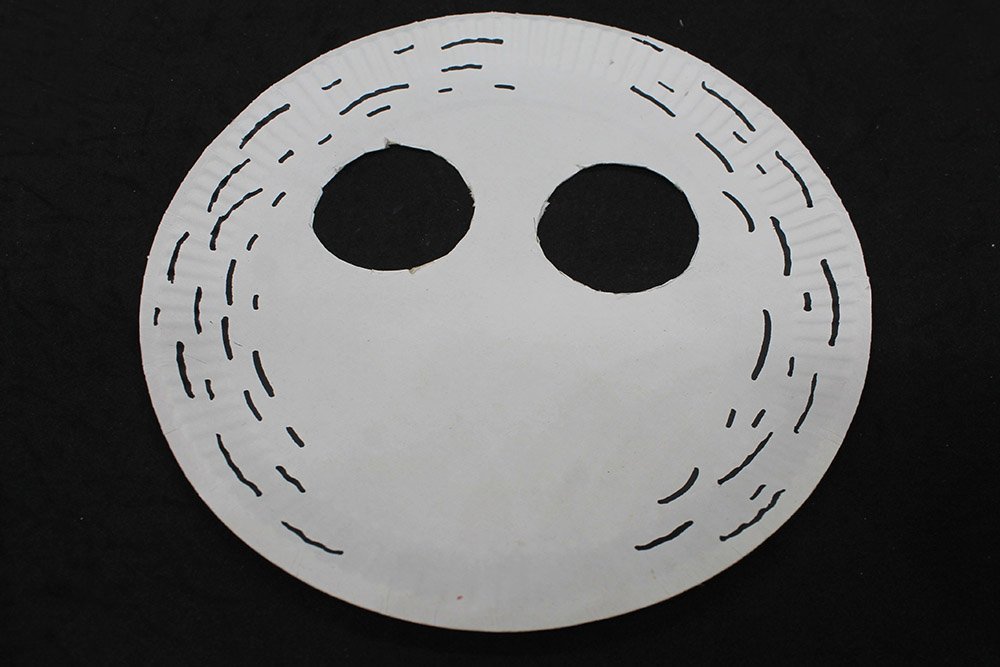
Use the sample image above as a guide on how to draw the fur lines. Draw a smile for the cat as well using a black marker.
Once finished, grab the cutouts made beforehand and glue.
Assemble the paper plate cat
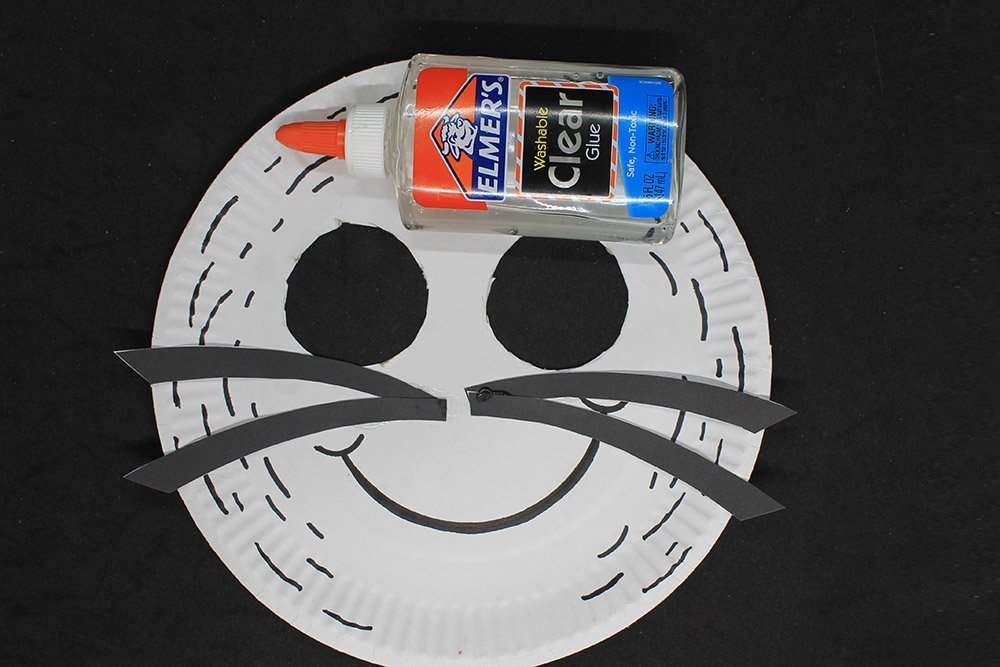
Position the whiskers as shown in the picture above. Stick it to the paper plate using glue.
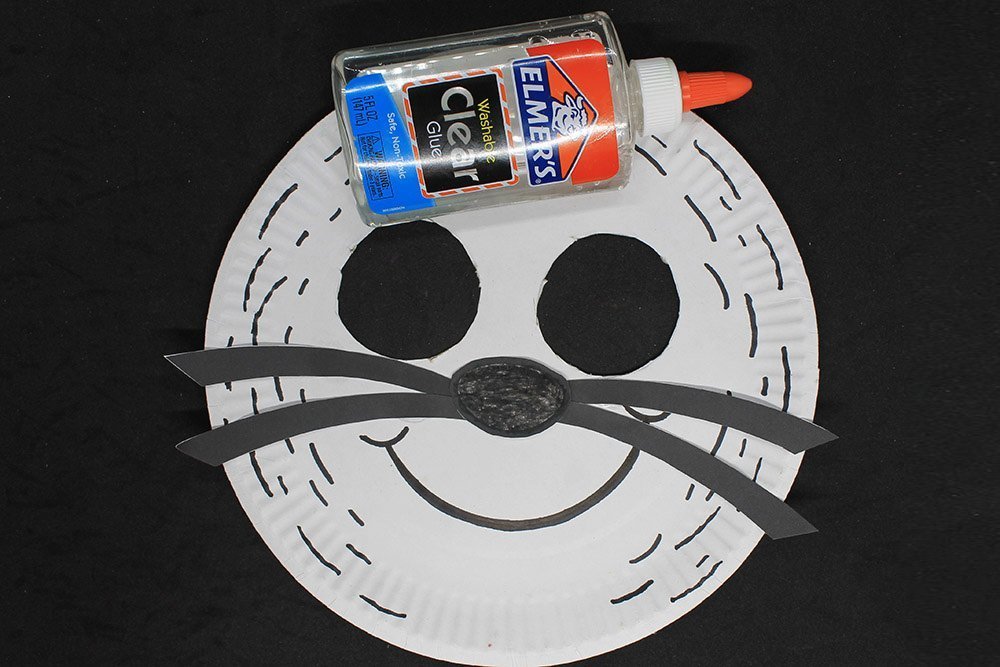
Do the same for the nose area. Paste it on the center of the paper plate mask.
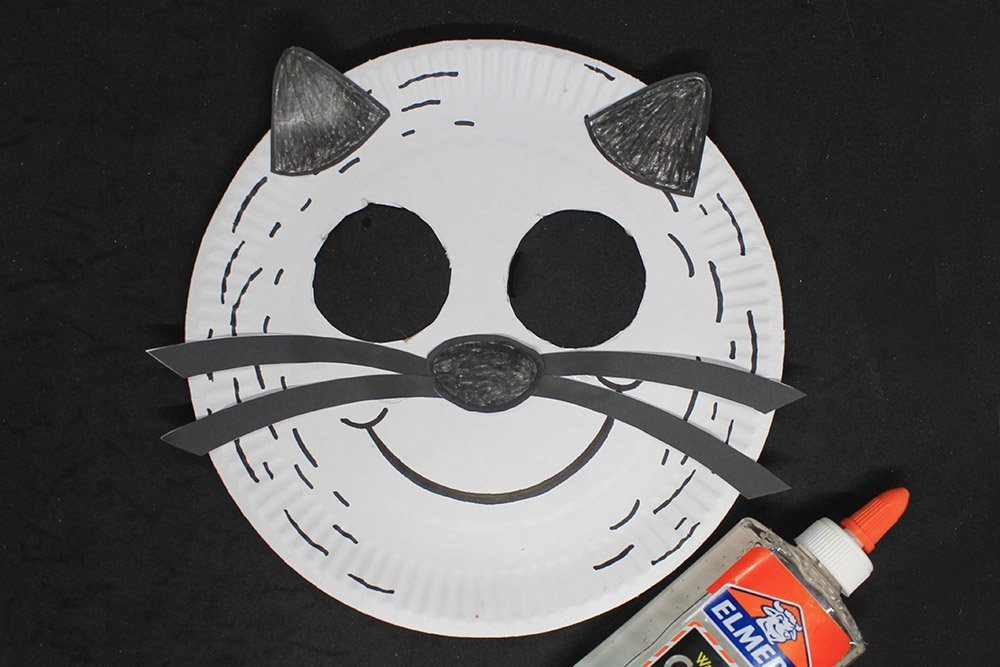
Stick the ears on the top part of the paper plate cat mask.
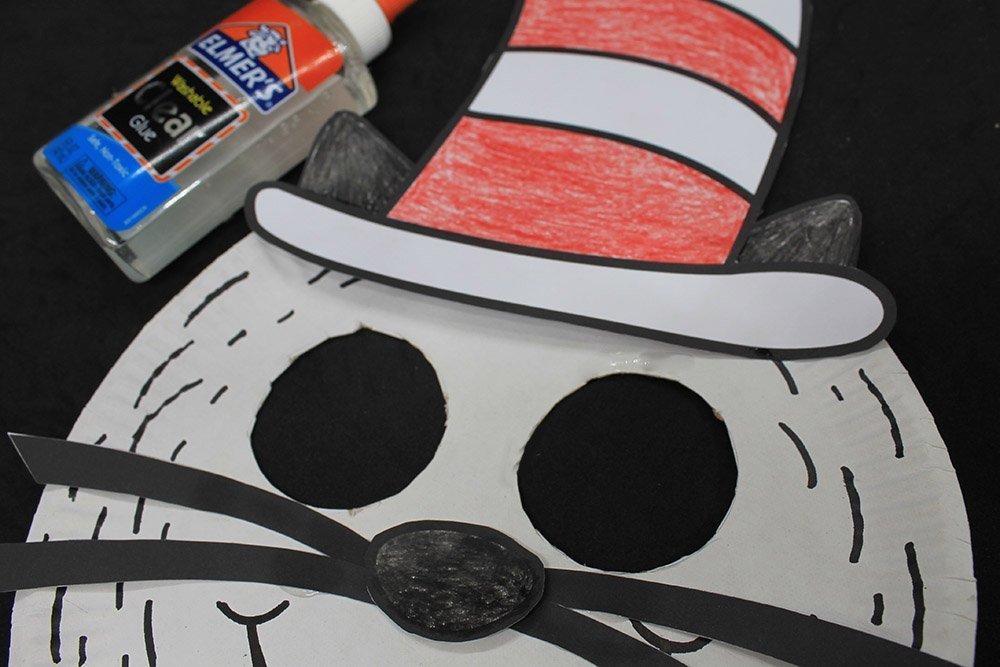
Lastly, stick the hat on the top side as well. Make sure the ears are still visible.
Attach the strings to the mask
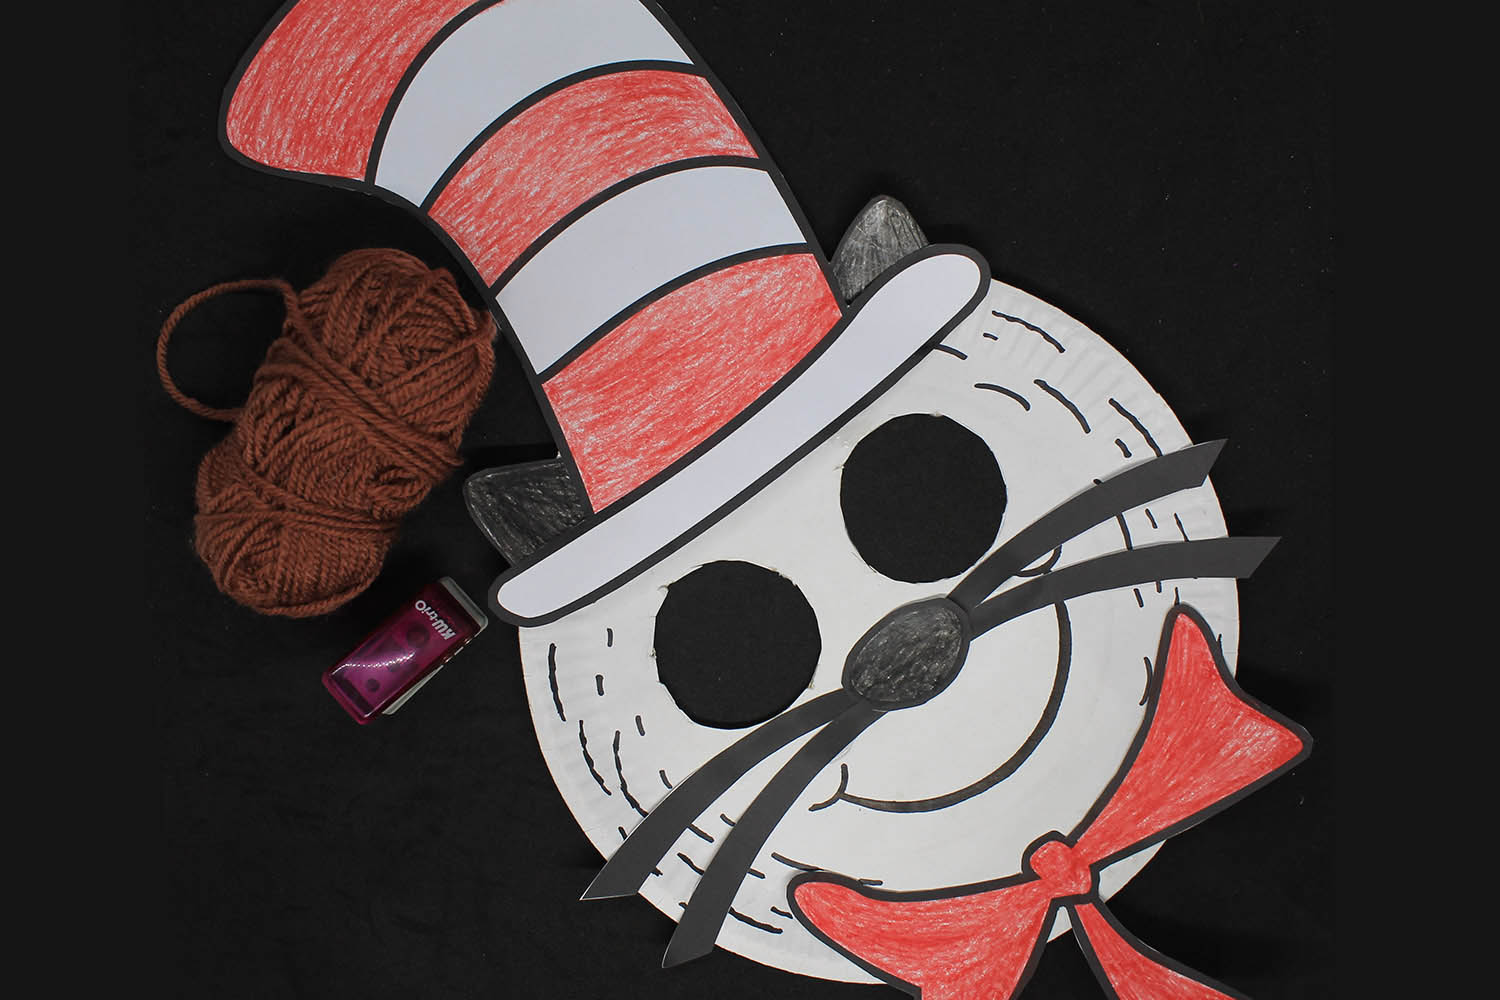
Almost done! To wear the mask securely, strings are needed to be attached on both sides to tie on the head.
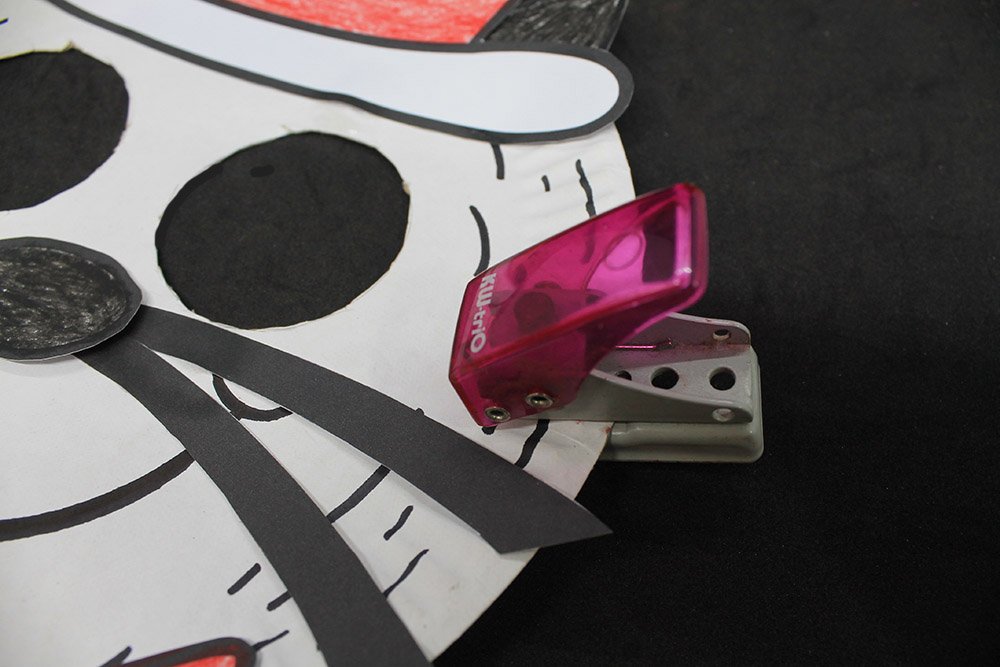
Punch a hole on the right edge of the paper plate cat mask. Punch it around the eye level.
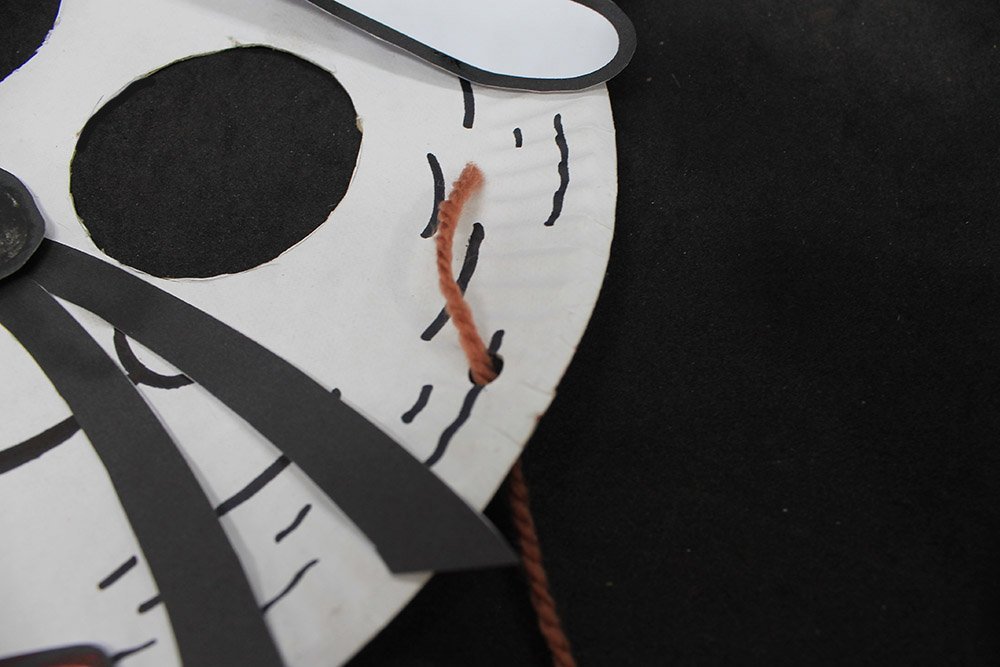
Get a foot of yarn or string and tie it around the hole twice.
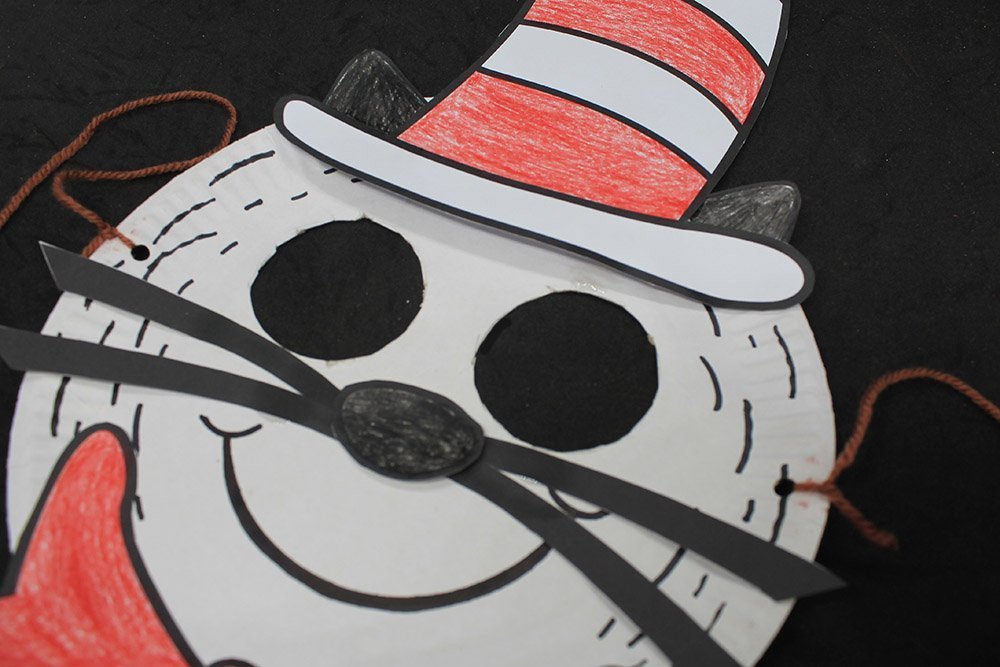
Attach a string on the left side by repeating the previous steps.
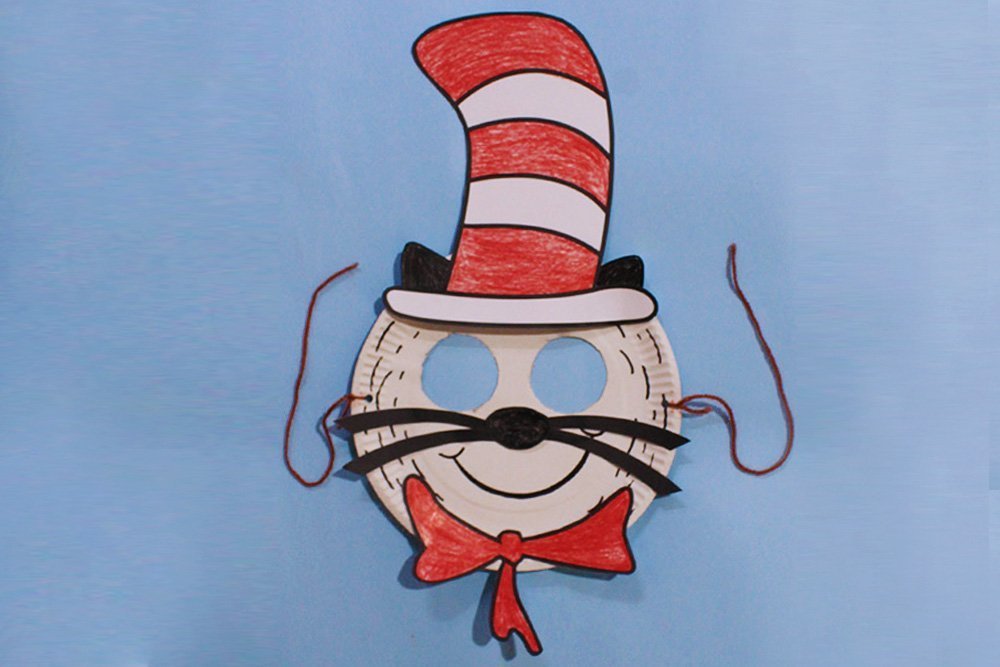
The paper plate cat mask is done!


