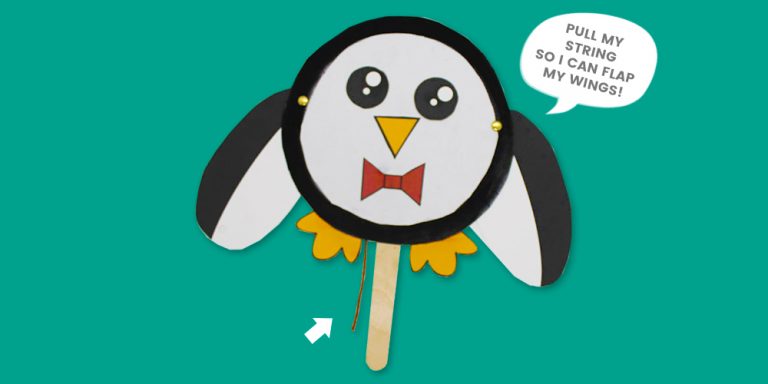
Introduction:
Create this super adorable paper plate penguin using our downloadable printable sheet. What’s super amazing about this paper plate crafts is that the penguin’s wings move when you pull the attached string. Learn how to make this kawaii penguin by following the instruction below. Happy Crafting!

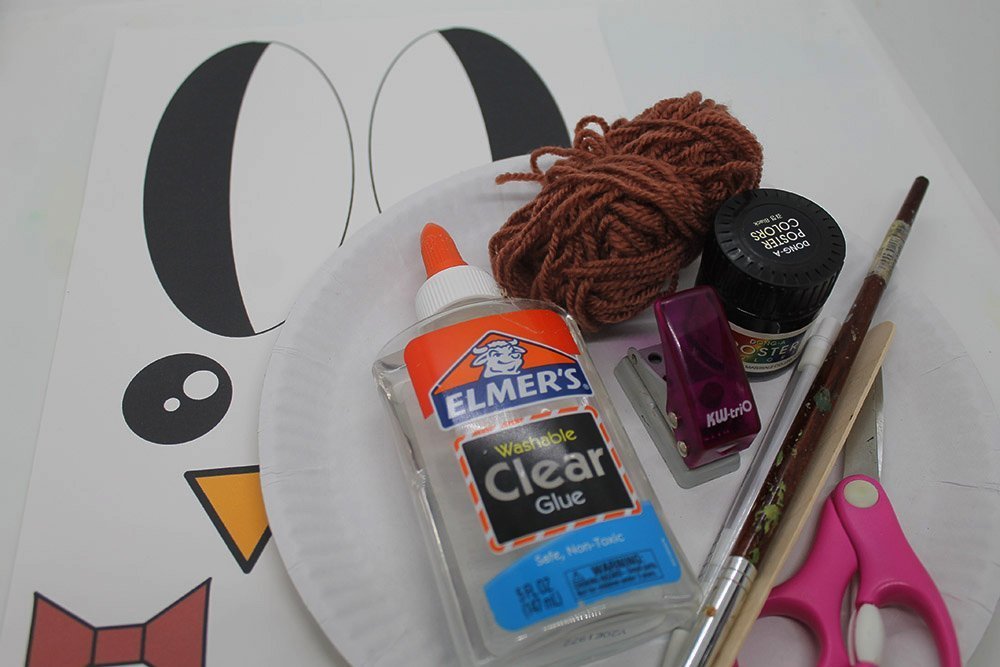
Tools
- Scissors
- Paintbrush
- Puncher
Supplies
- Paper Plate
- Glue
- Black Poster Paint or Black Marker
- String/Yarn
- Split Pins / Split Rivets
- Printable Penguin printed on thick/cardboard paper. Best to print on an a4 Vellum board

Download Area
Download TemplateTrim the paper plate
You may skip this step if you’re using a small paper plate.
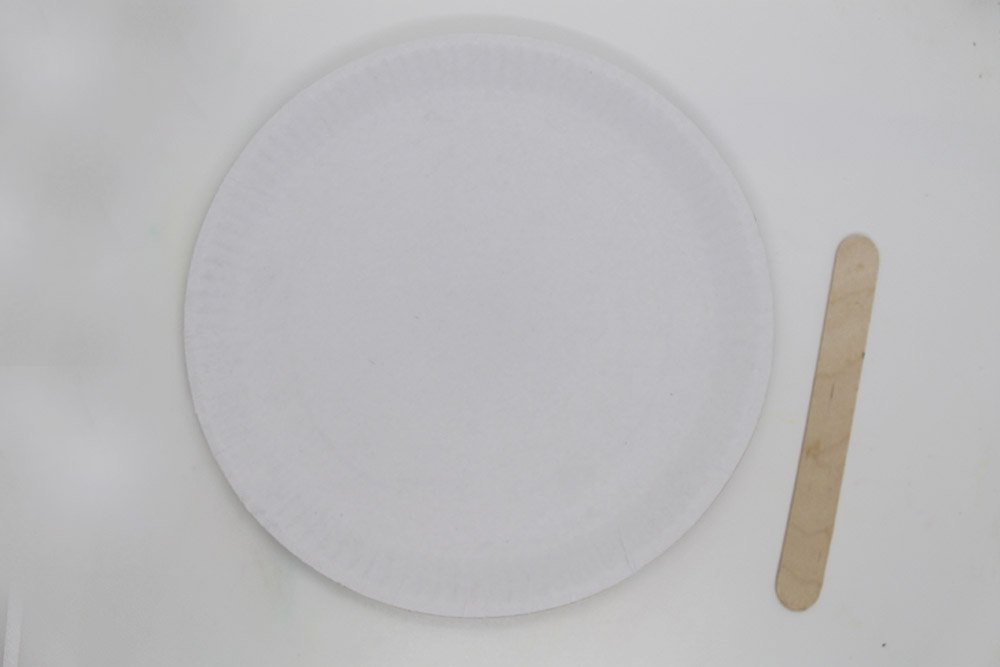
If your paper plate is too big (we used a 9-inch paper plate), you may trim the edges off to create a smaller circle. The popsicle should be able to support the whole paper plate like a lollipop.
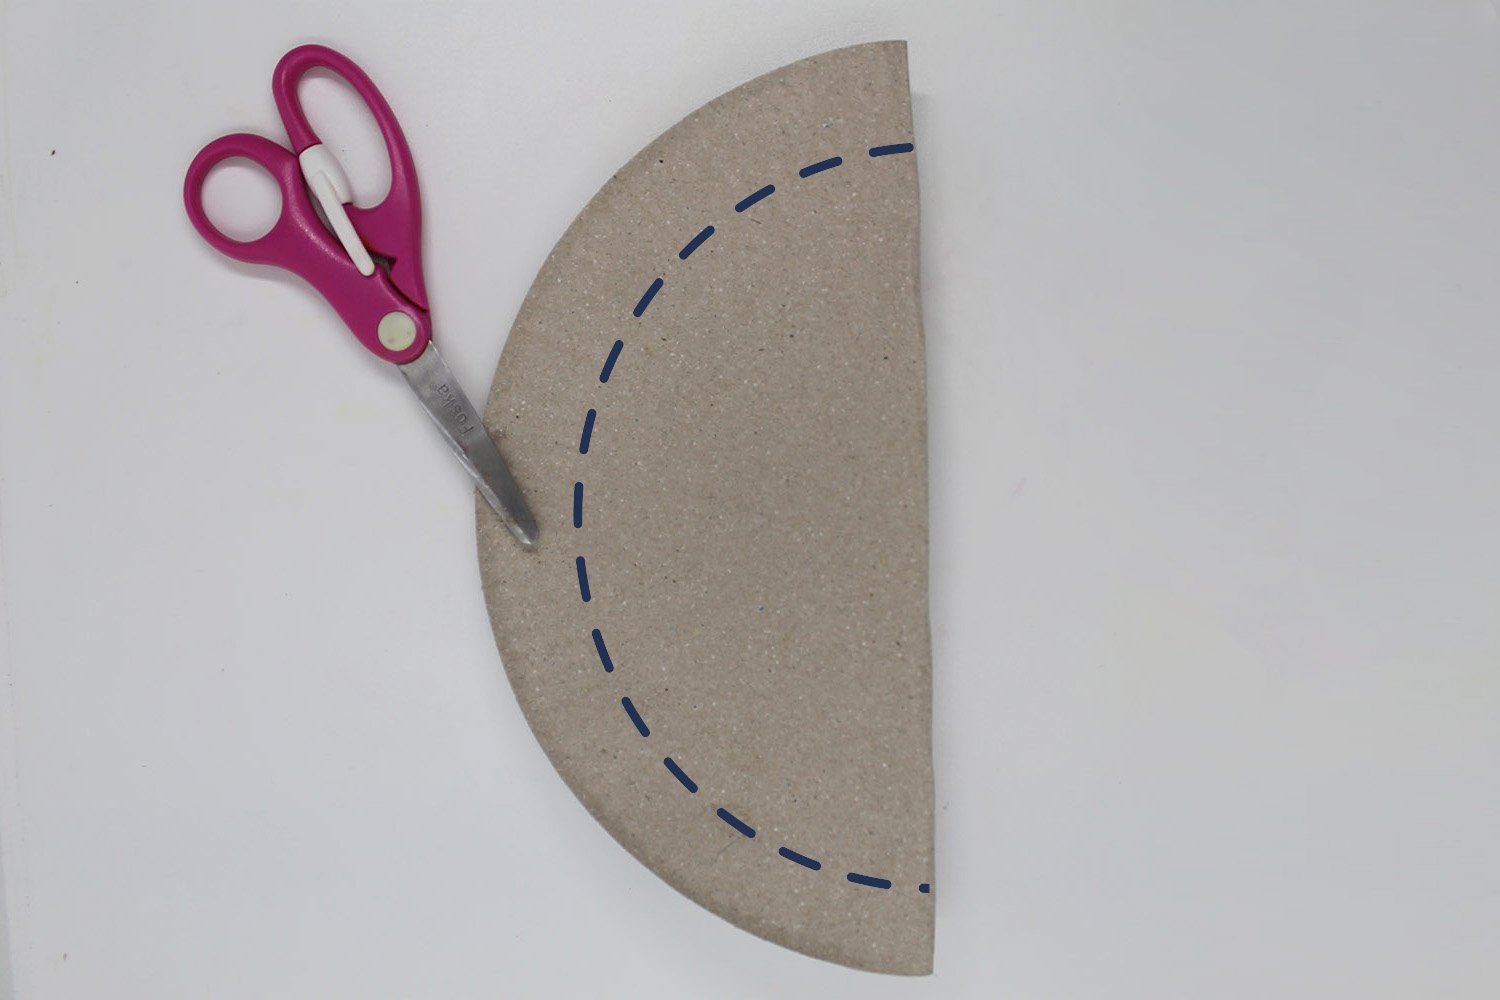
One simple way to trim the paper plate is to fold it in half and cut a half-moon shape
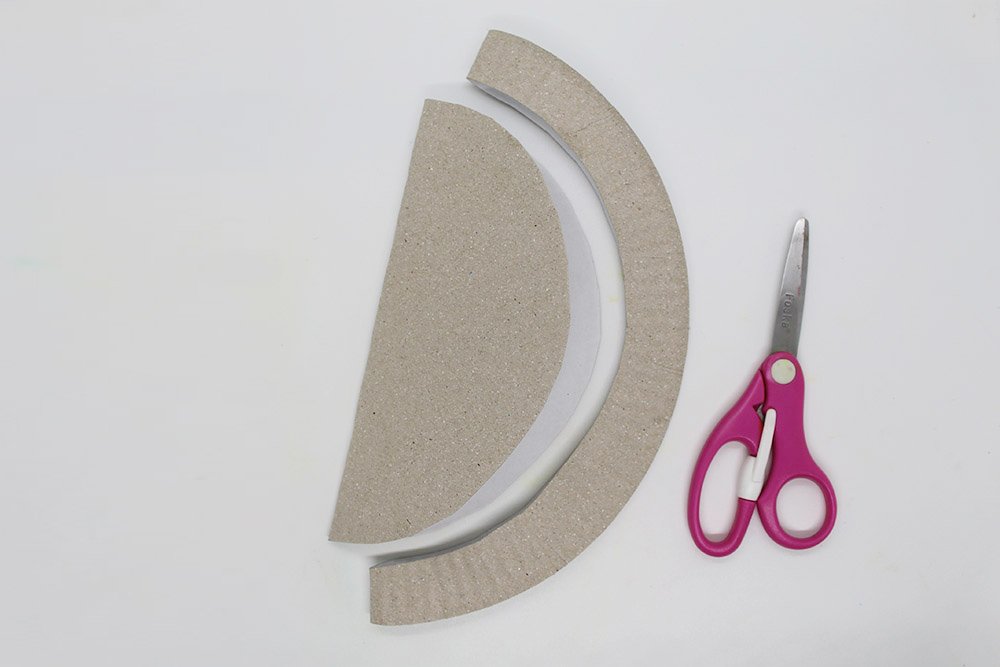
Once cut, unfold it
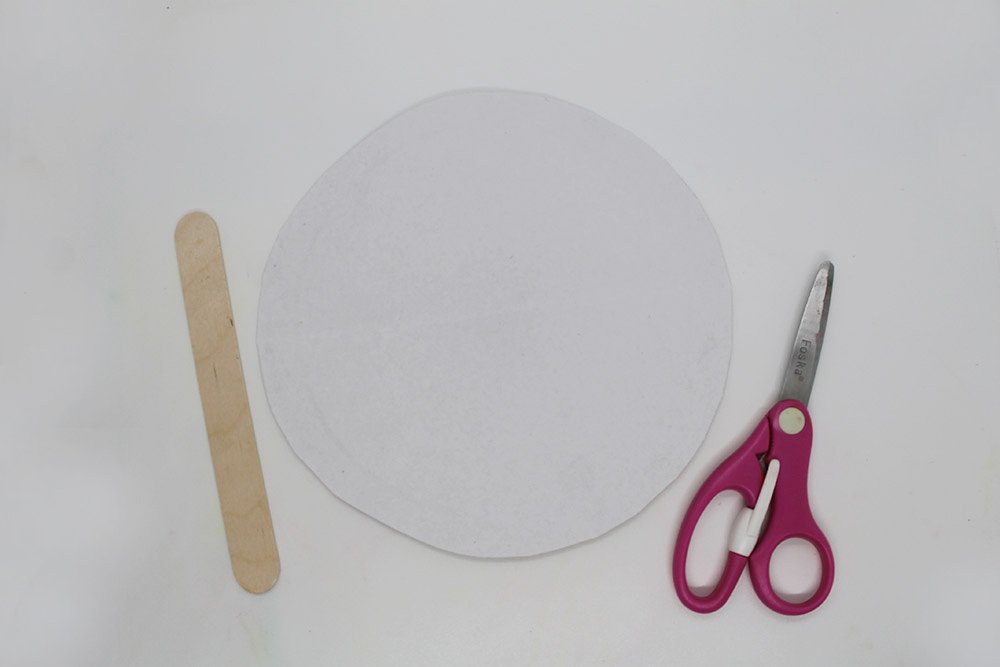
The popsicle stick can now support the small paper plate.
Paint the edge of the paper plate penguin
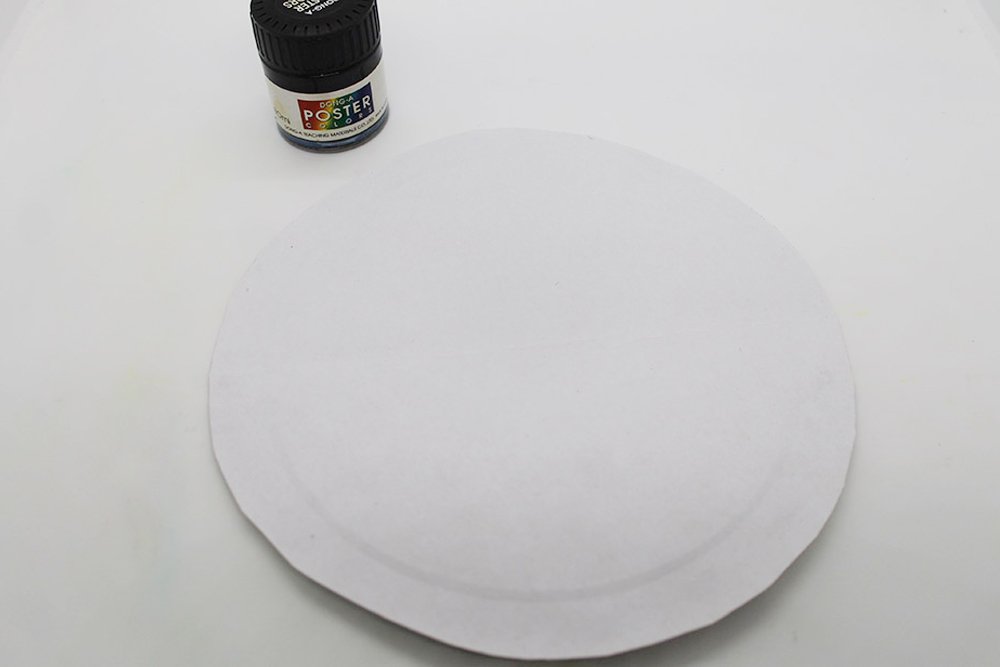
To make the body of the penguin, paint the edge with black paint.
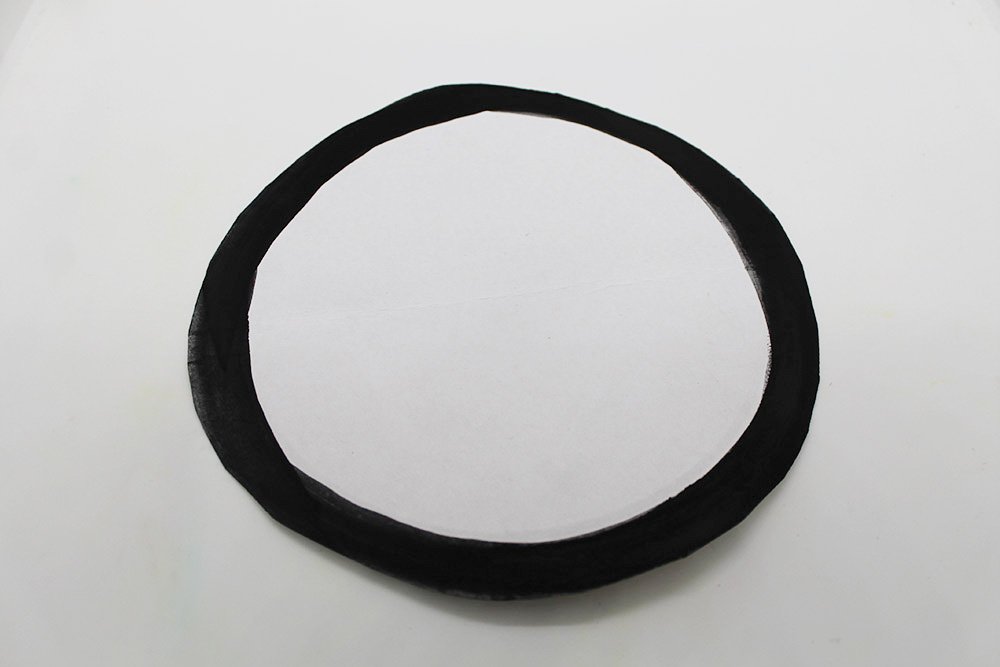
It should look something like this!
You may use a black marker.
Prepare the penguin printable.
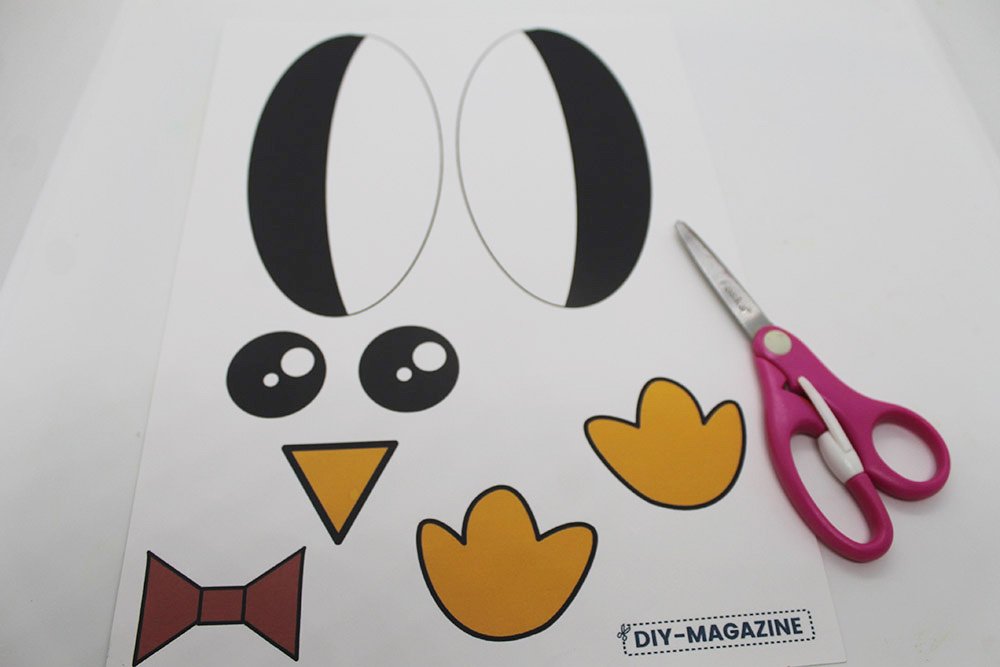
To make the eyes, wings, nose, legs, and bowtie; print and cut the printable which you can download above. It’s best to print this on a thick piece of paper.
The wings need to be durable enough to withstand being pulled.
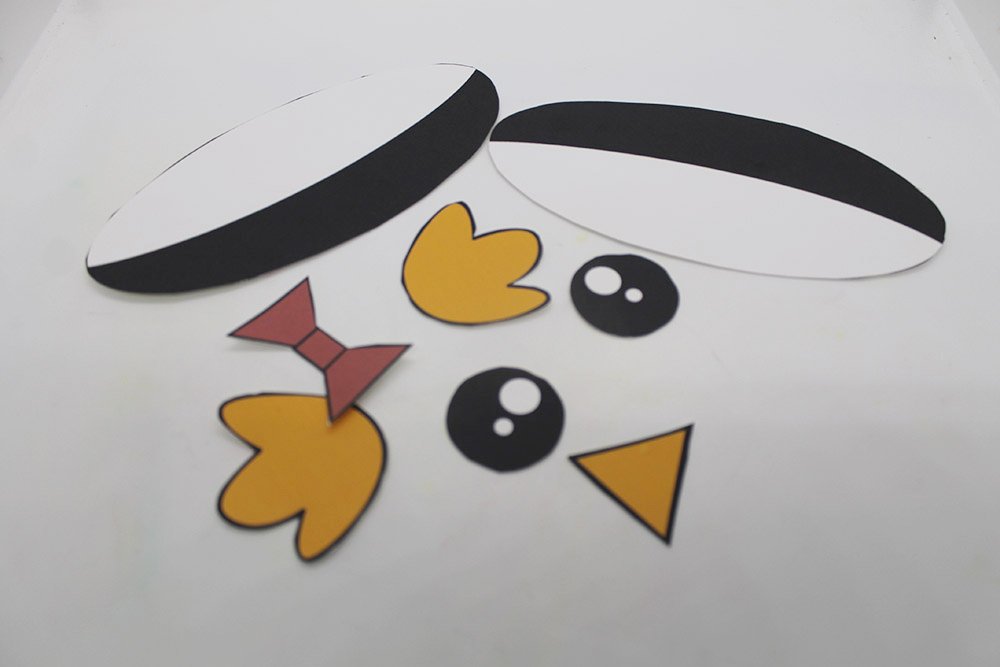
Once cut, it should look something like this.
Assemble the pieces of the paper plate penguin
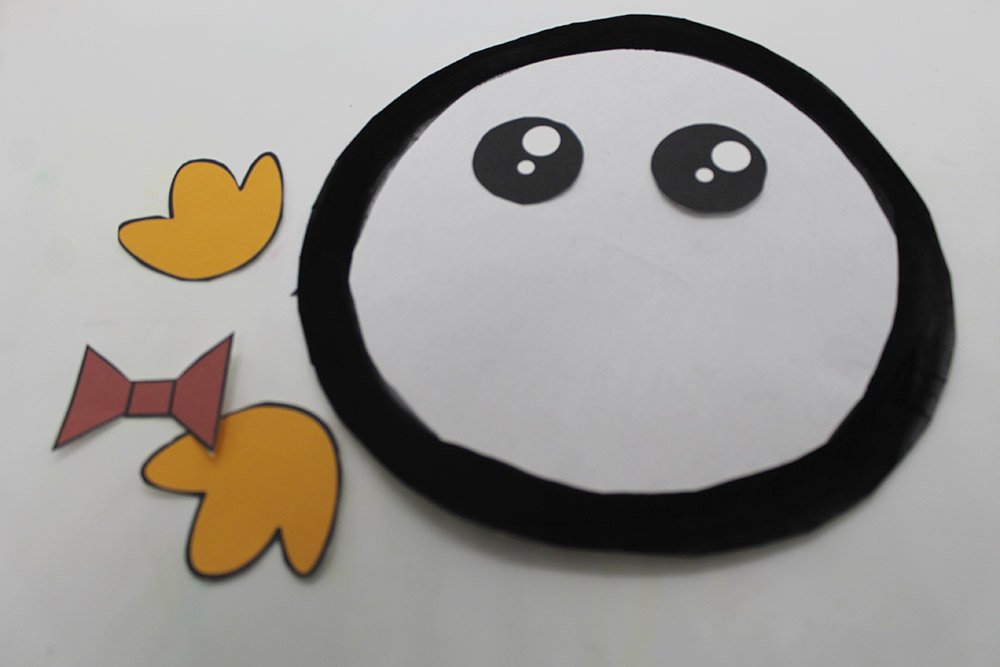
Stick the eyes at the top part of the paper plate.
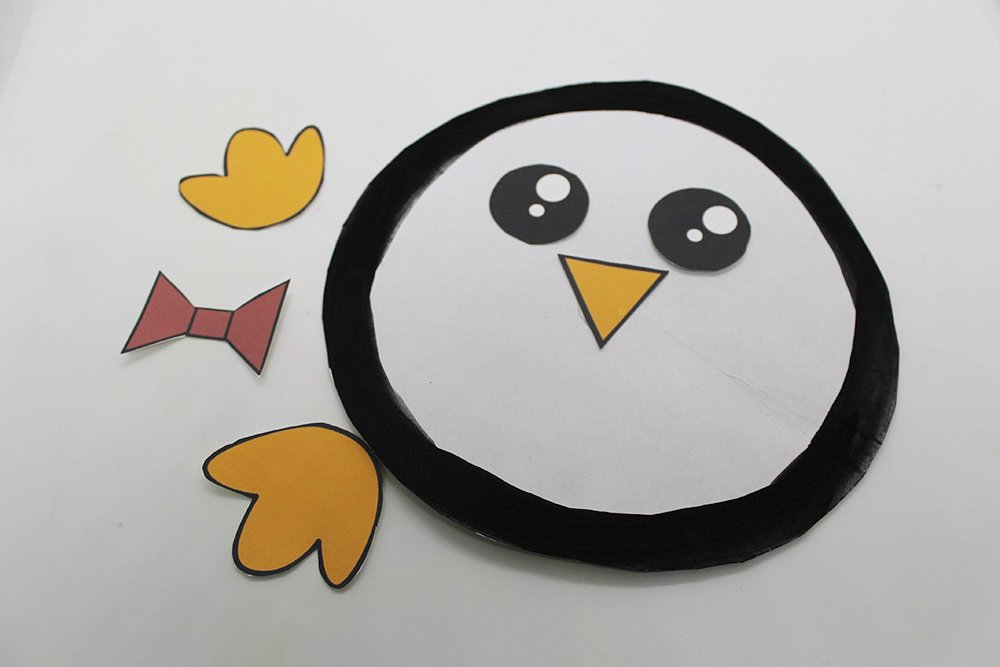
Paste the yellow triangle in the center. It will be the beak.
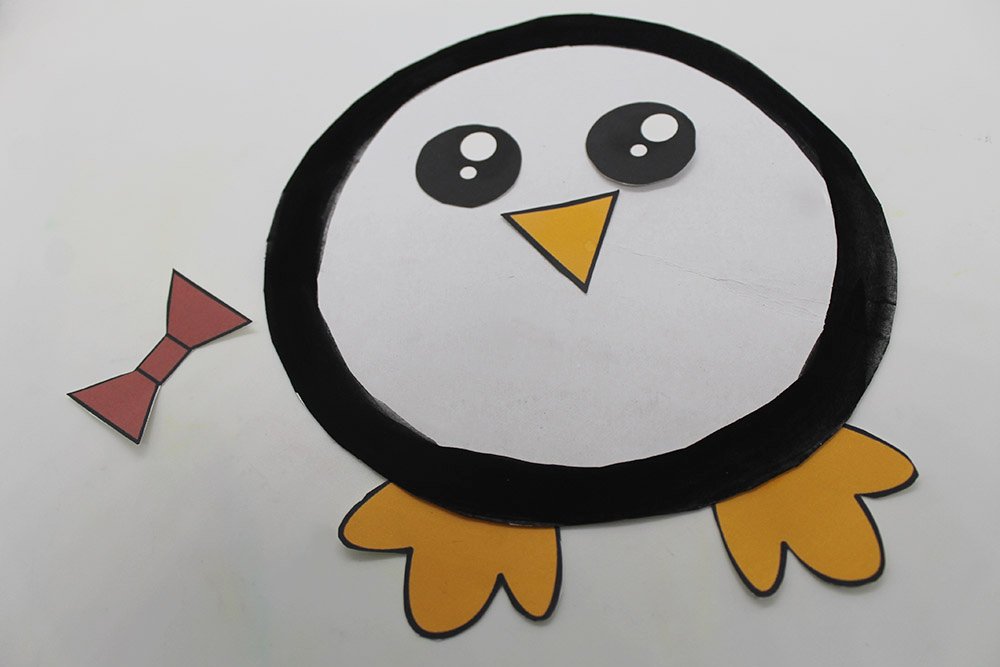
Attach the arms at the back of the paper plate.
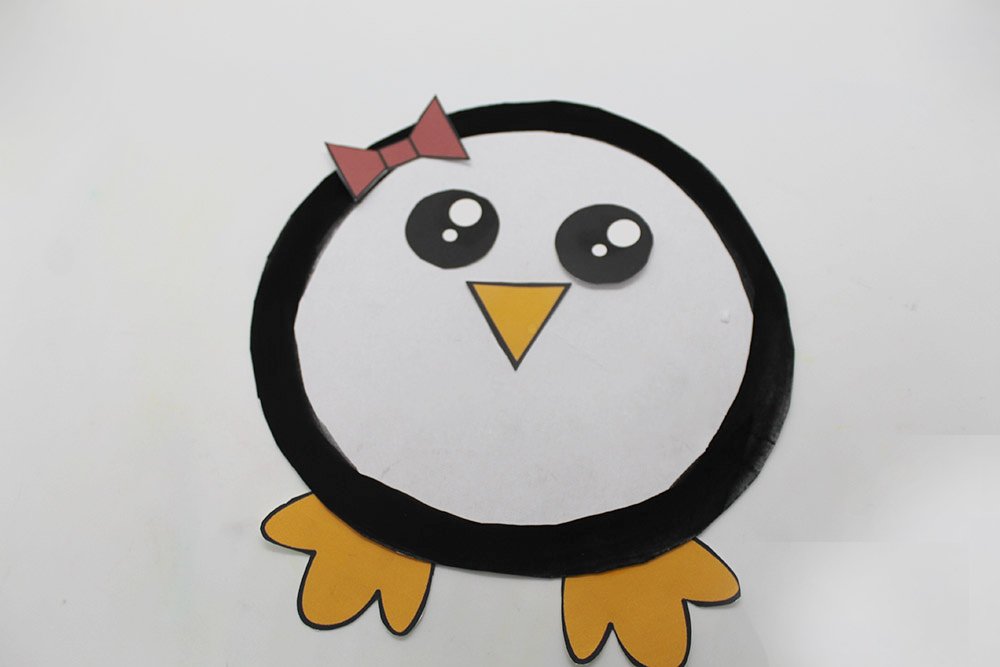
The ribbon can be placed in different positions. Place it upward to make it into a cute hair bow.
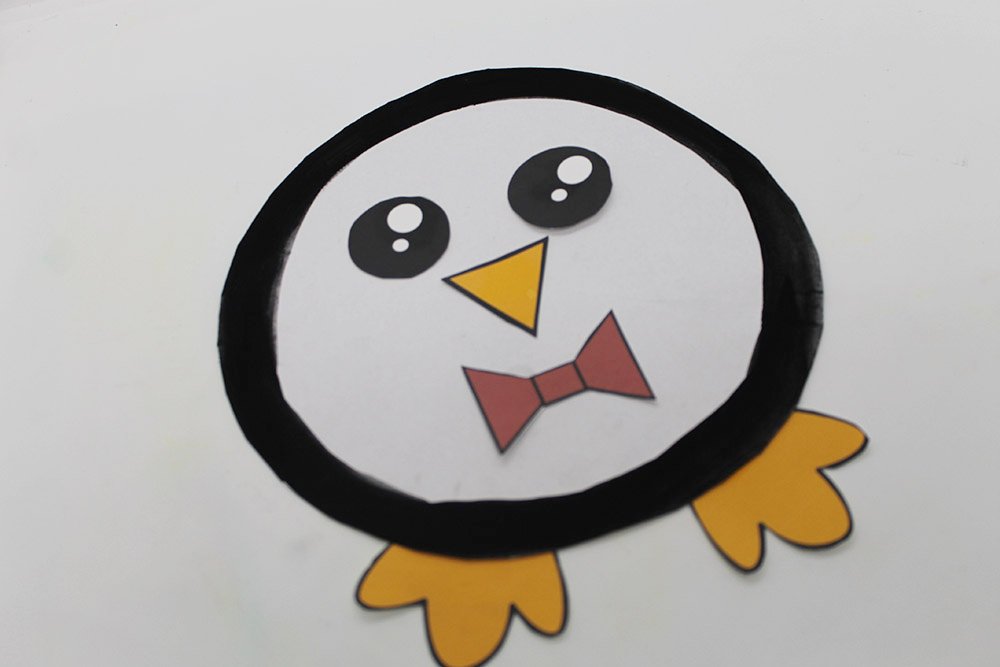
Or glue it below the beak area so that our penguin friend is wearing a snazzy bowtie.
Stick the popsicle to the paper plate penguin
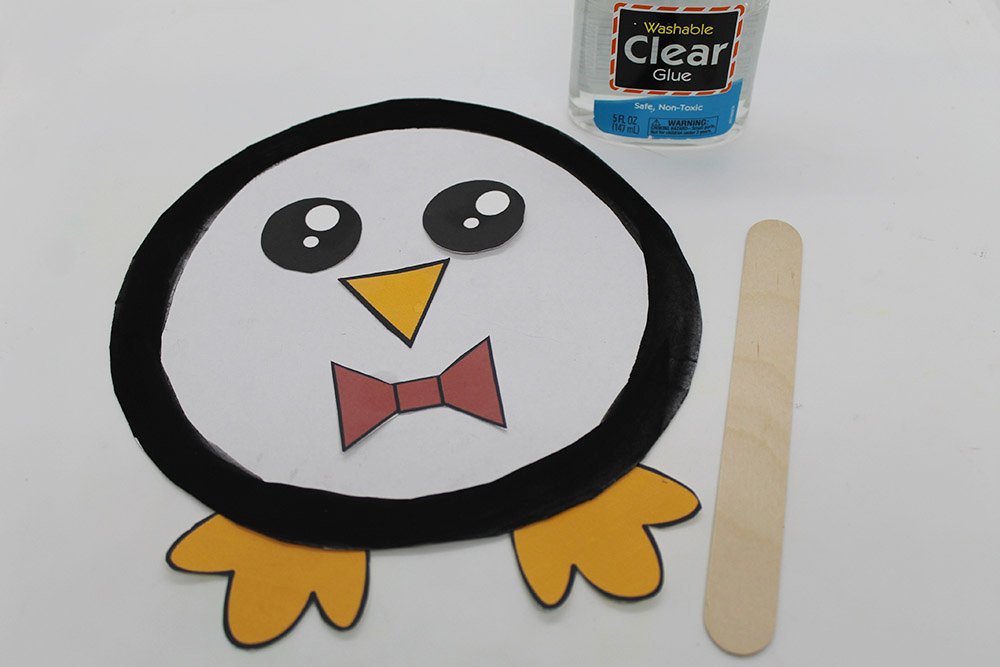
To attach a handle for the penguin, stick a popsicle stick at the back.
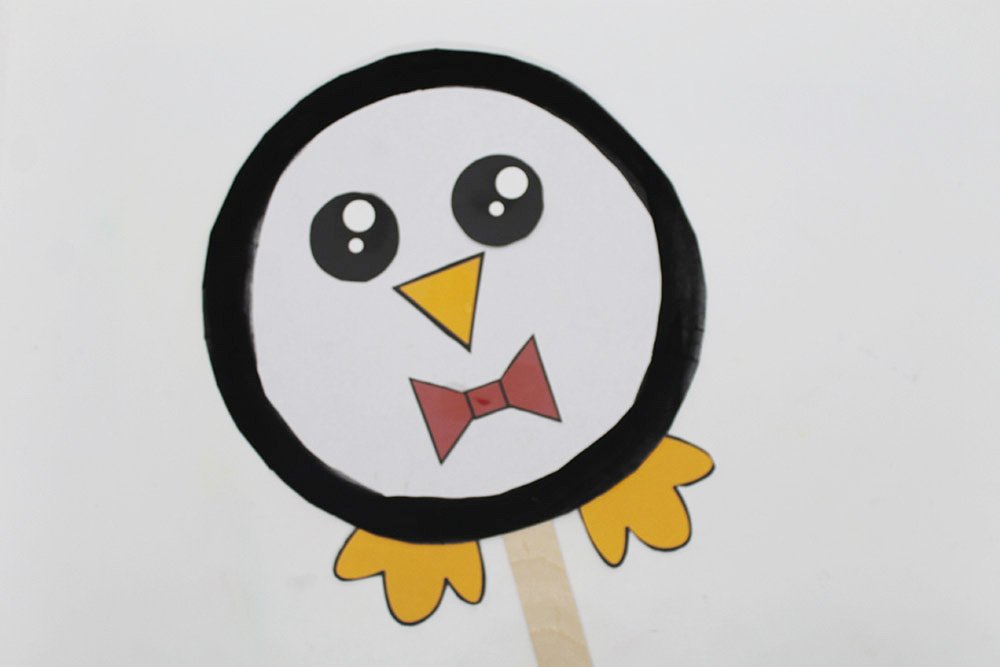
Now we can hold this little creature!
Attach the wings of the paper plate penguin
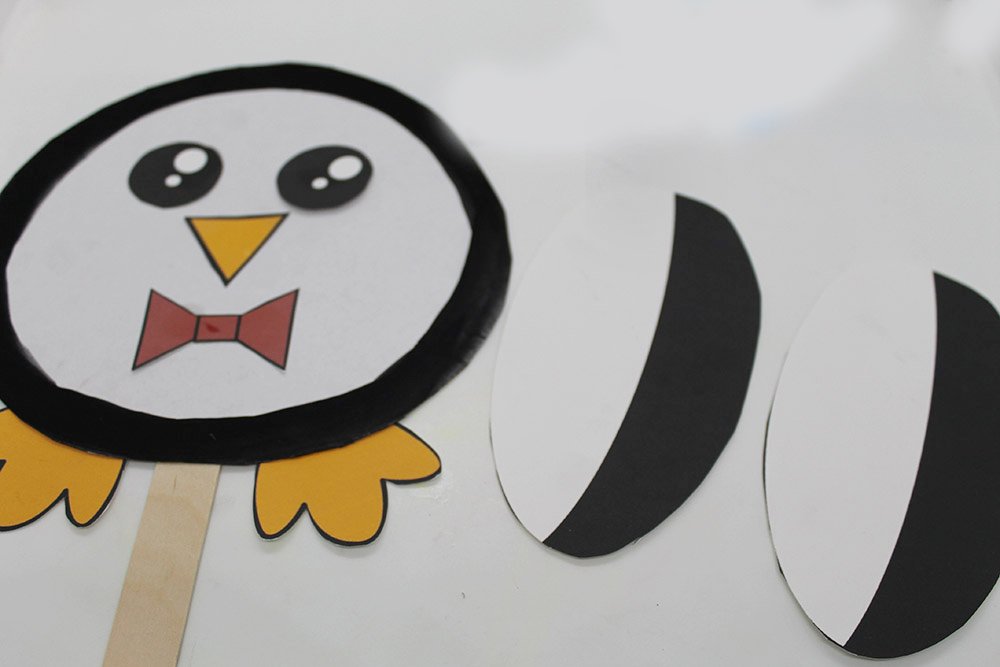
Grab the wing cutouts and a puncher.
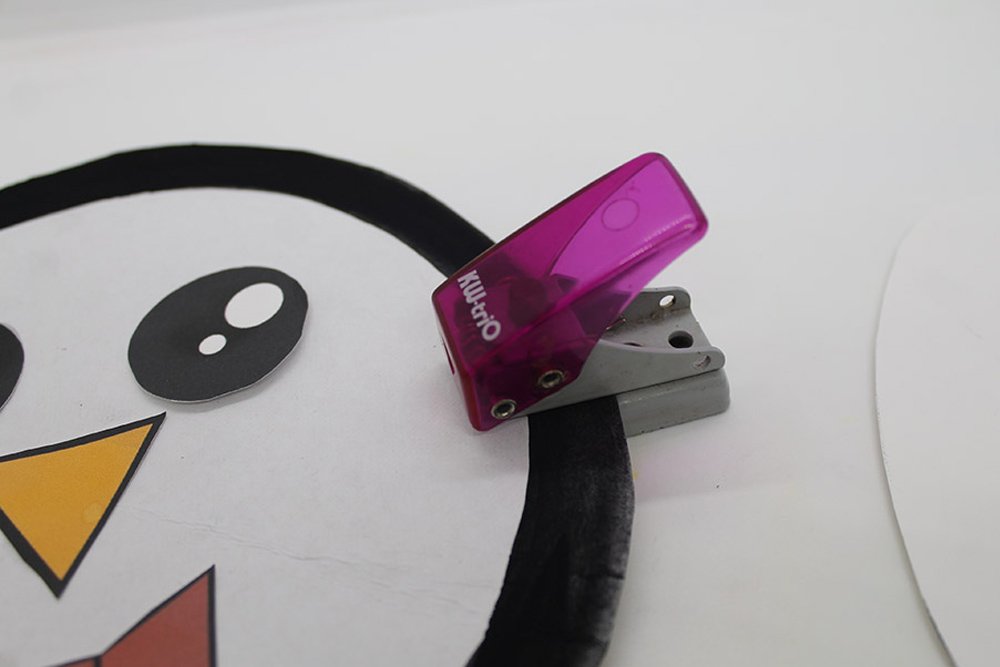
Punch a hole on one side of the paper plate.
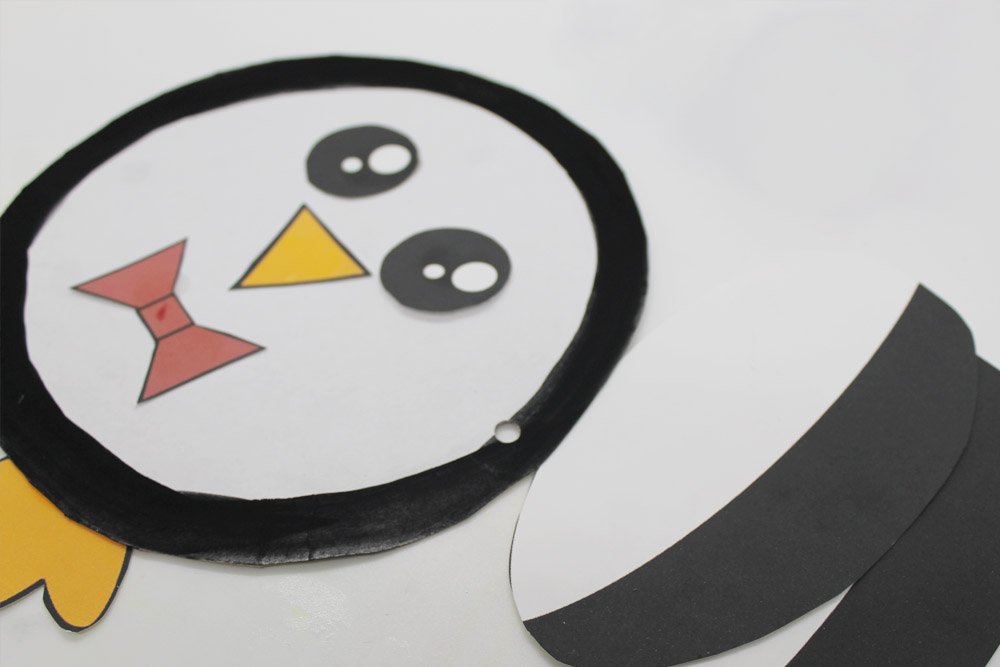
Do the same on the other side.
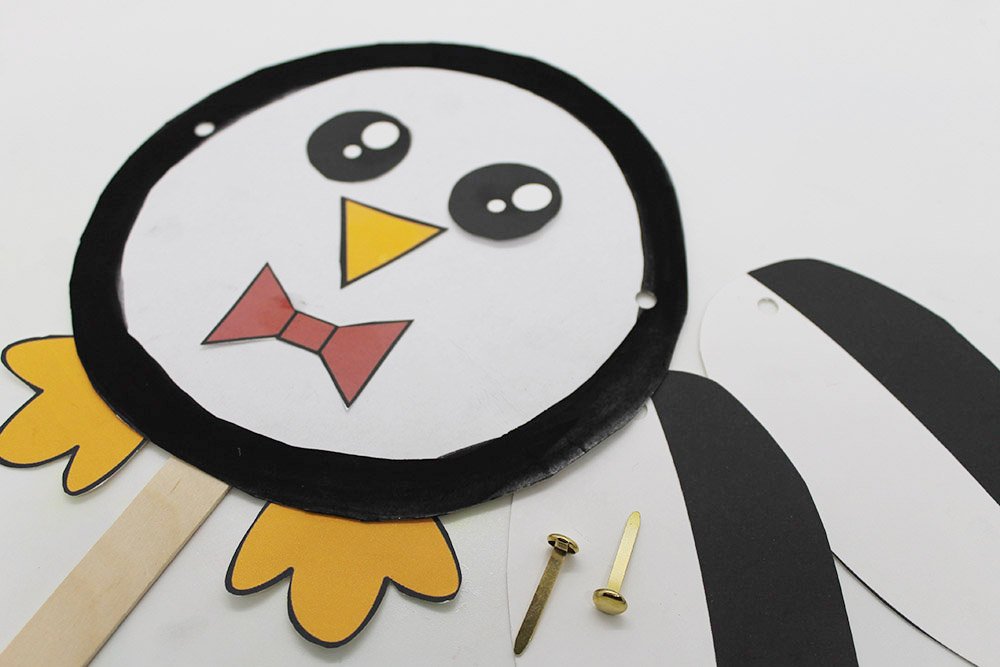
Punch a hole on one end of each of the wings.
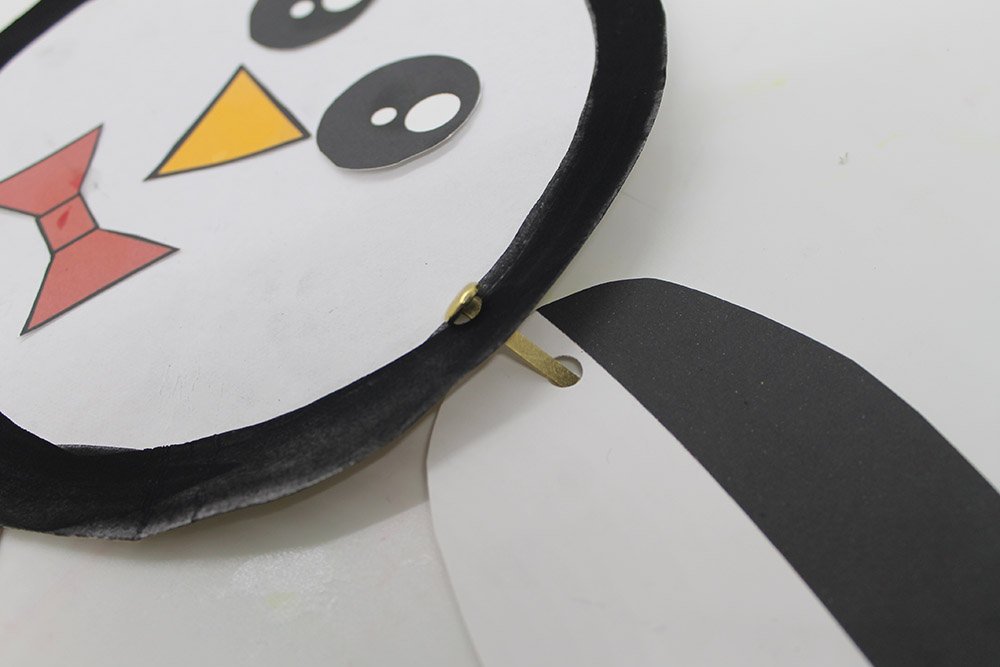
Attach the wing to the body using a split pin. Flip it over after.
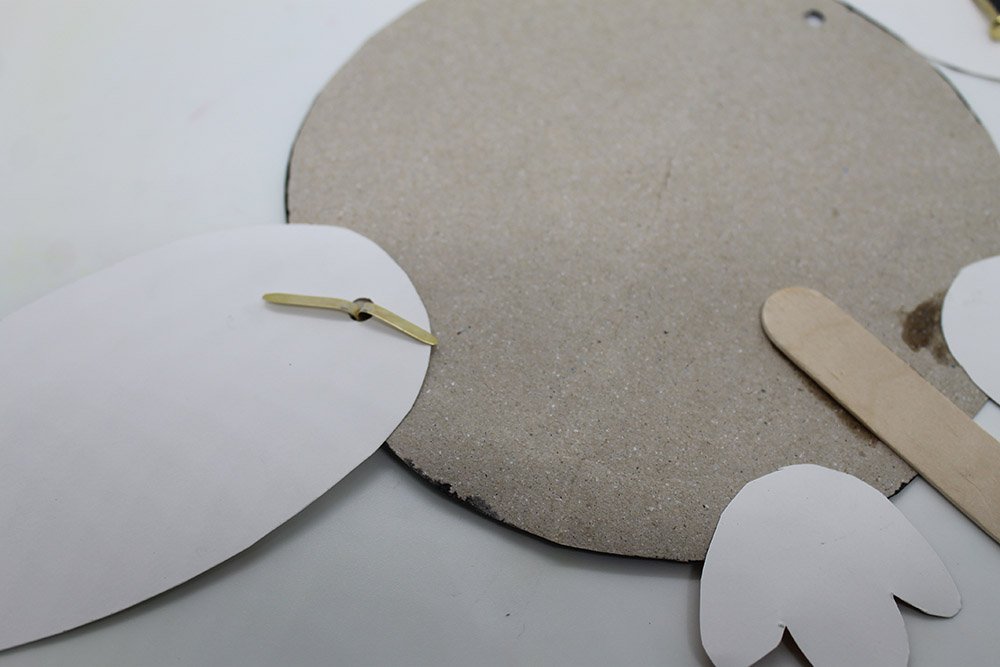
Split the legs of the pin to secure it in place.
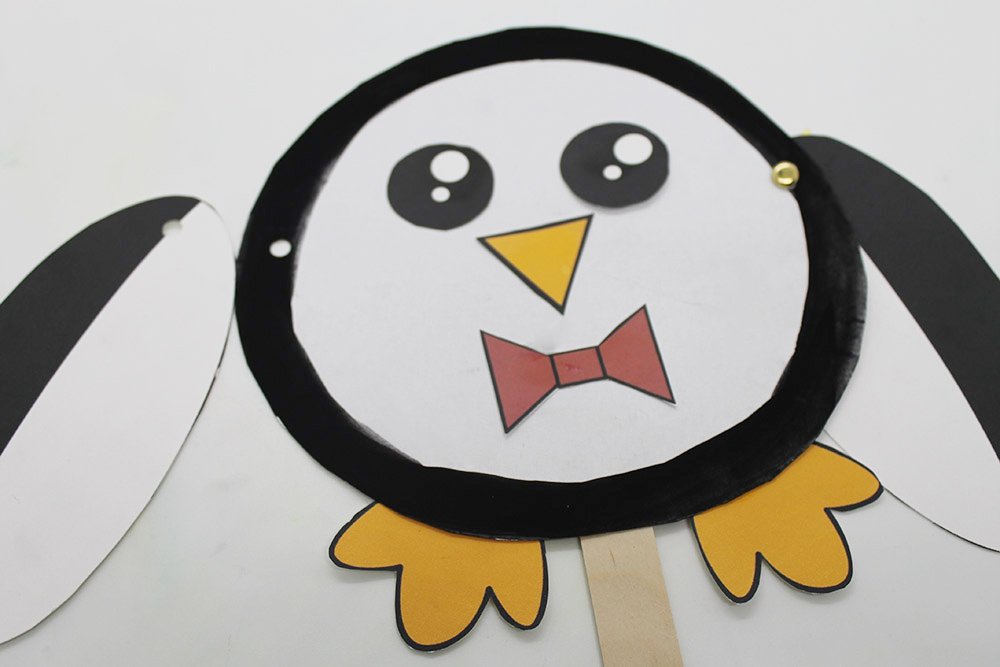
Attach the other wing as well using a split pin.
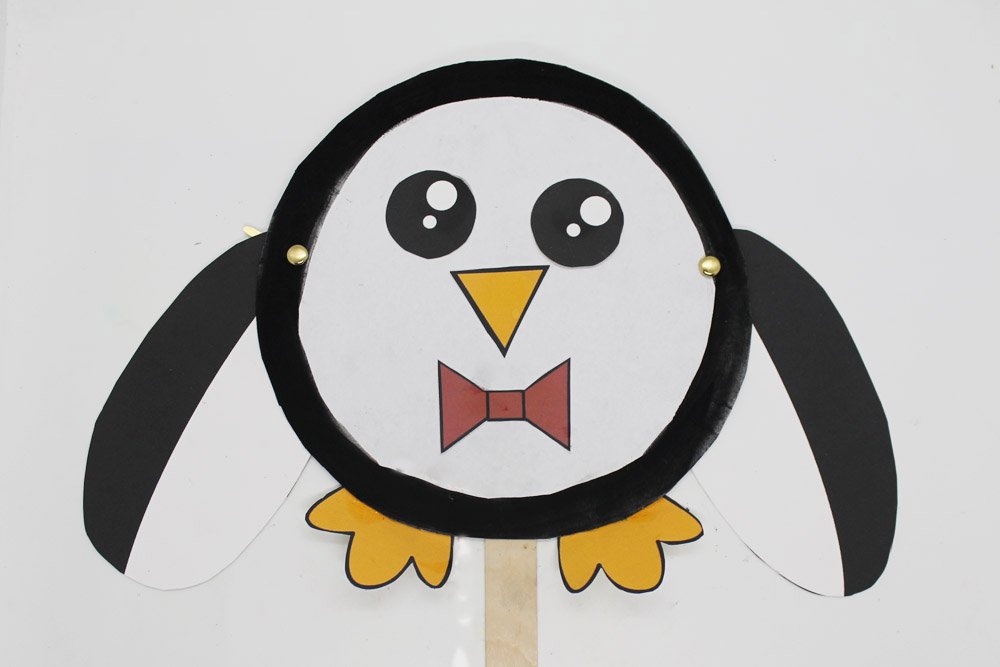
Almost done! To make it flap, we need to attach some strings to the wings.
Attach the strings of the puppet
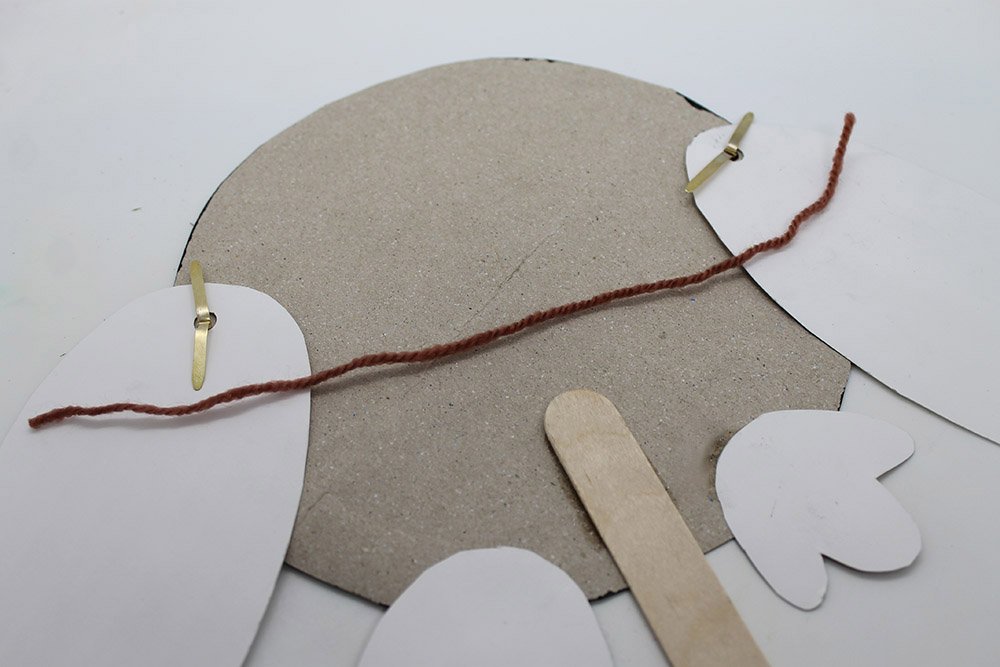
Grab a string or yarn. We will use a string to make wings flap.
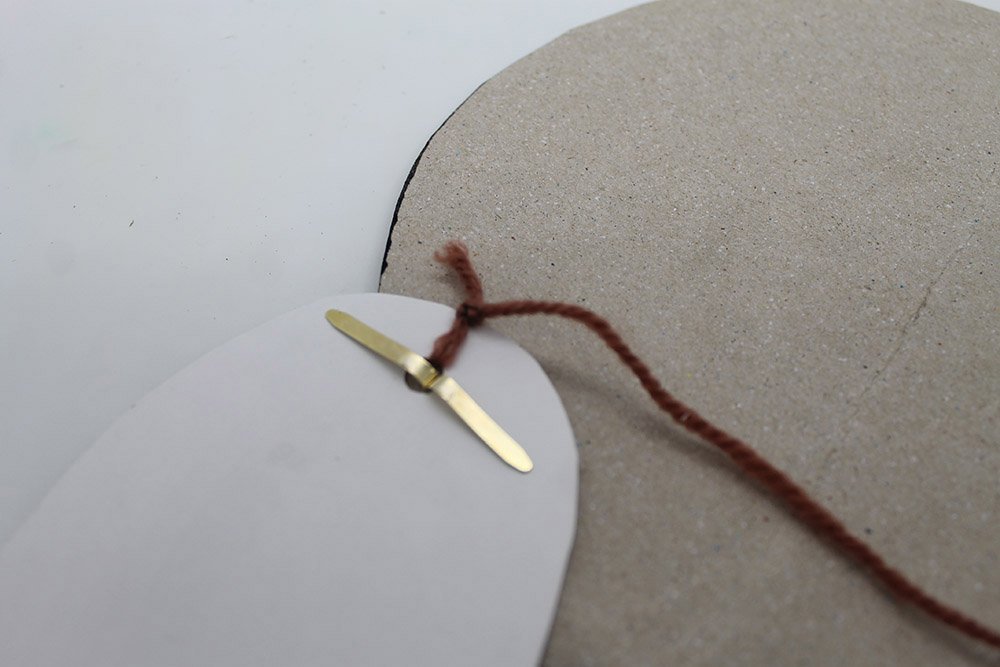
Insert and then tie the end of the string to the wing ONLY. Do not let it pass through the paper plate base.
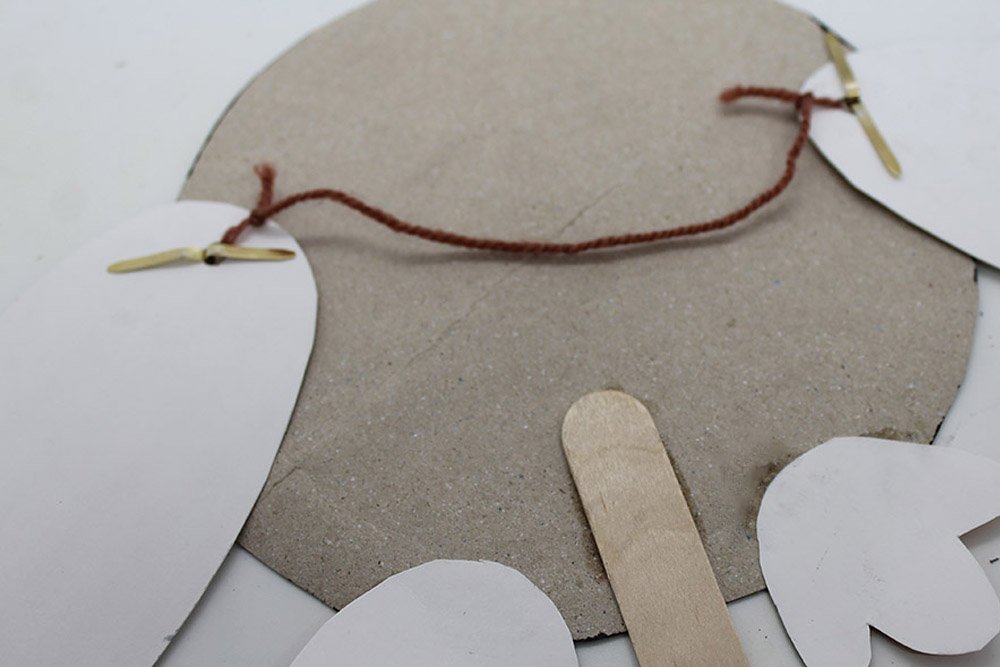
Tie the other end of the string to the other wing. Make sure that you do not let it pass through the base.
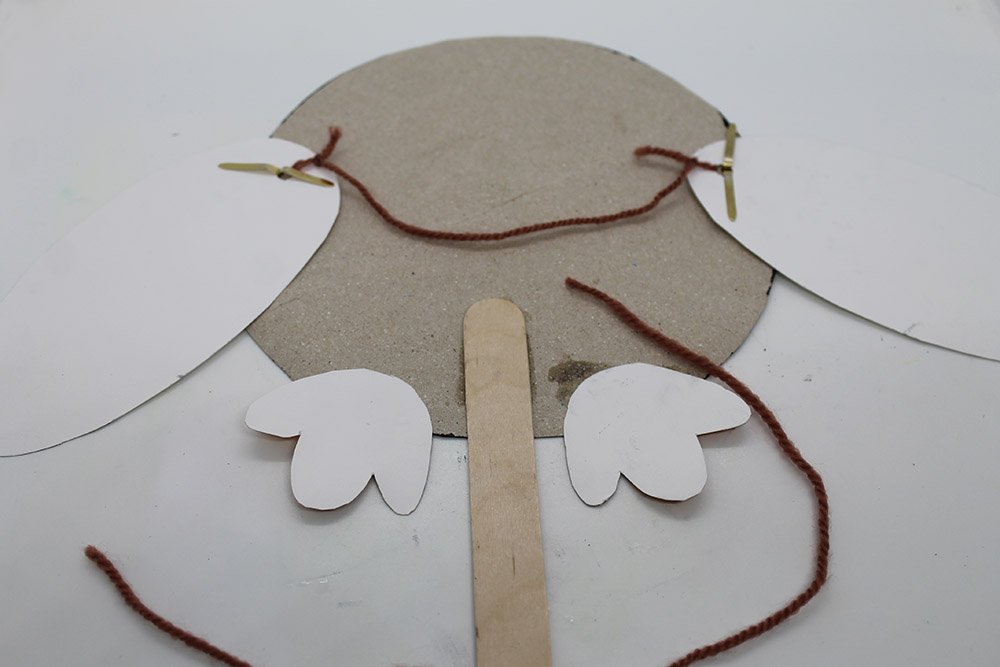
Keep the string loose connecting both wings, or else the wings will not move.
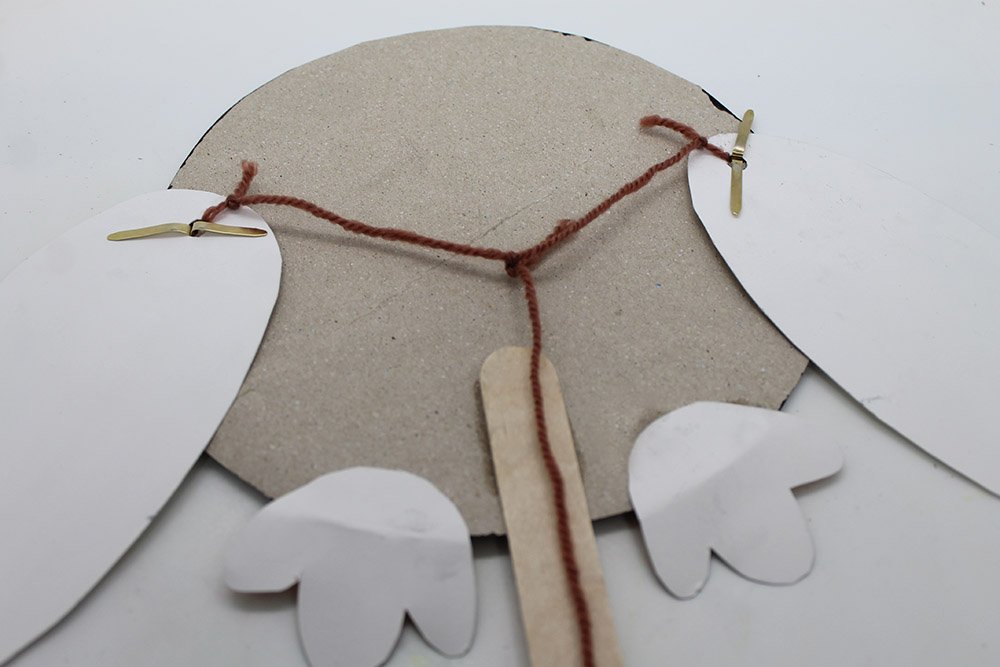
Tie another string on the string attached to the wings.
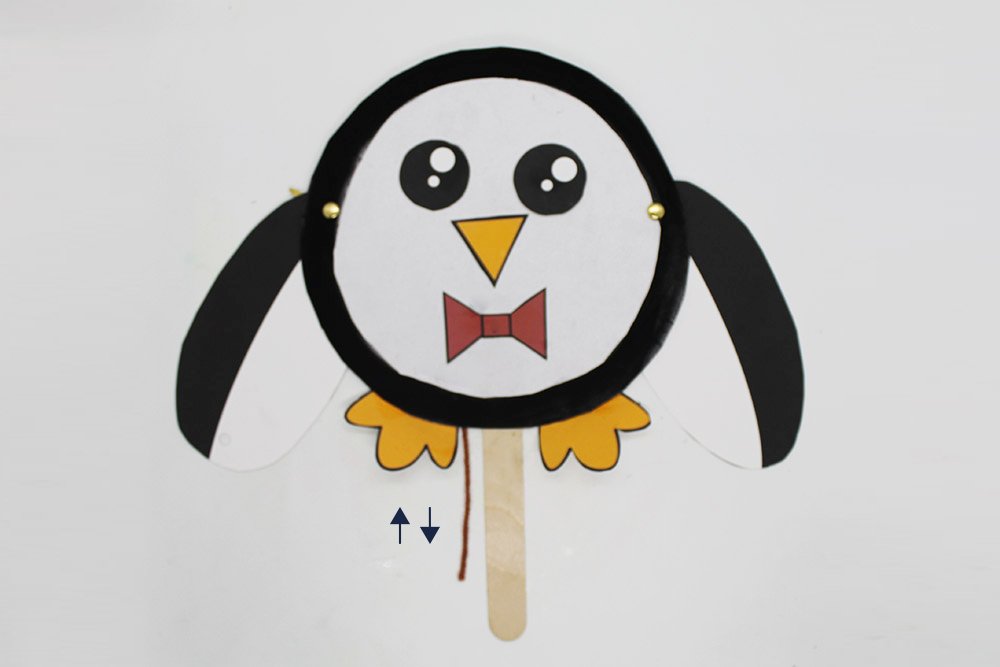
The paper plate penguin is now done. When you hold the penguin upwards, the wings will flap if you pull the string!


