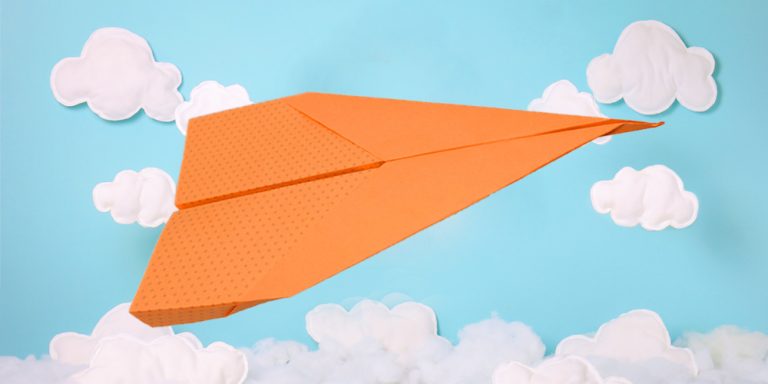
Introduction:
Following this tutorial below, you’ll learn how to fold this simple paper plane. A plane suited for kids and beginners, this tried and tested glider is very easy to fold. It boasts a stable straight flight at a long-range path. Now let’s get folding!
Make a Triangle on the Top Edge
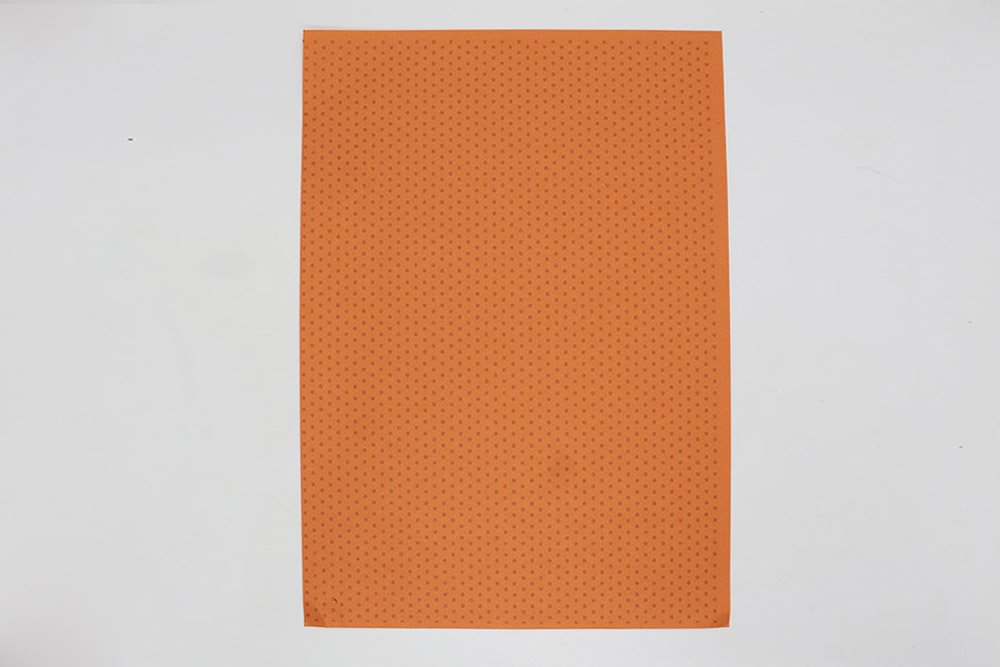
Put the paper (A4) upright in front of you.
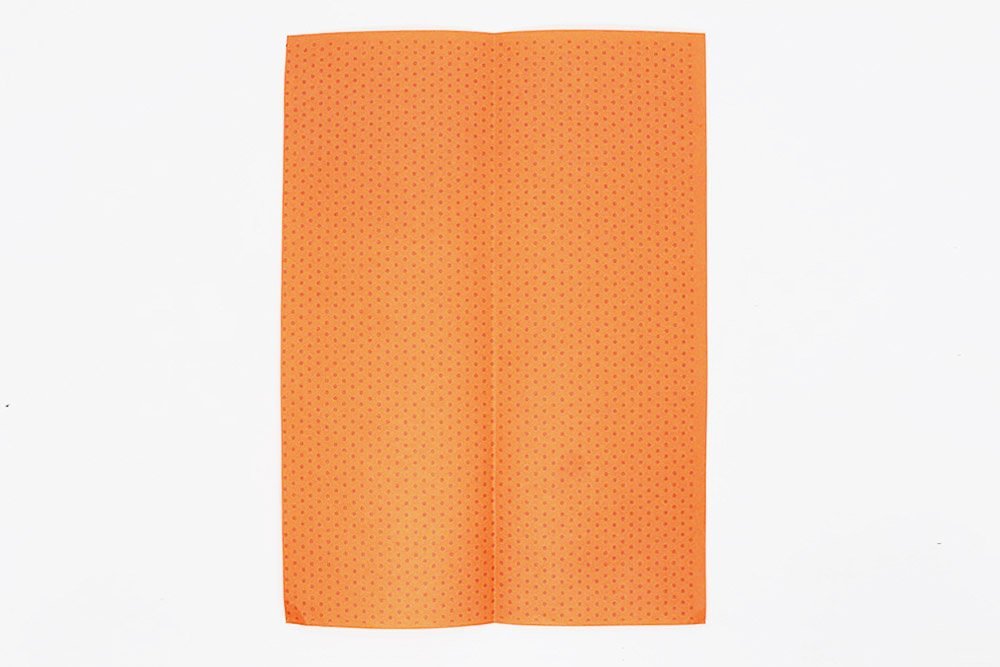
Fold it lengthwise in half. Crease the paper well and then unfold.
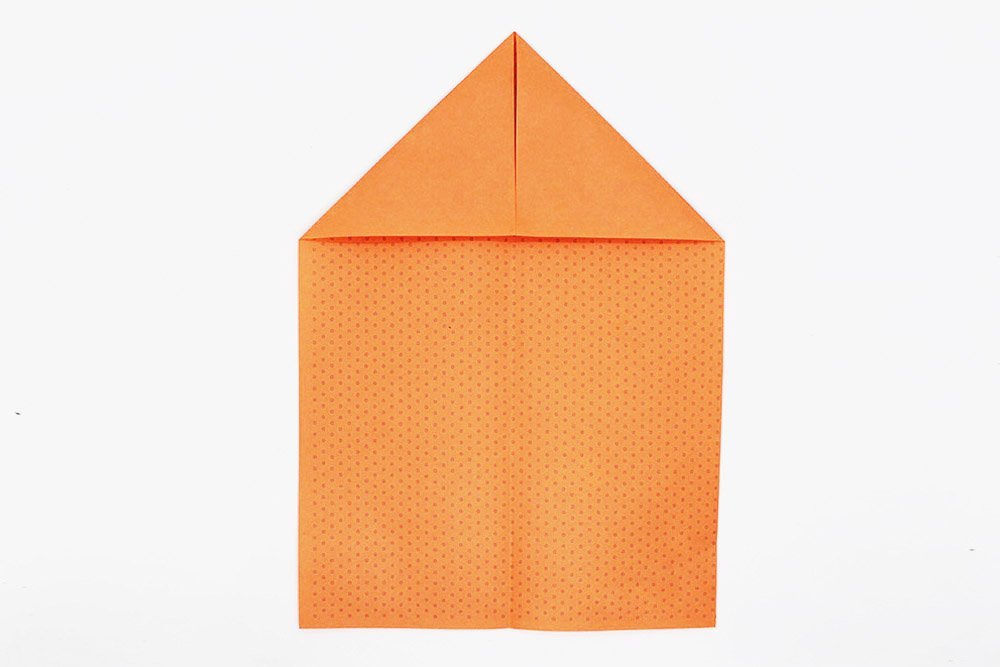
The second step is to bring the left and right corners of the top part to the middle crease.
Create the Body of the Plane
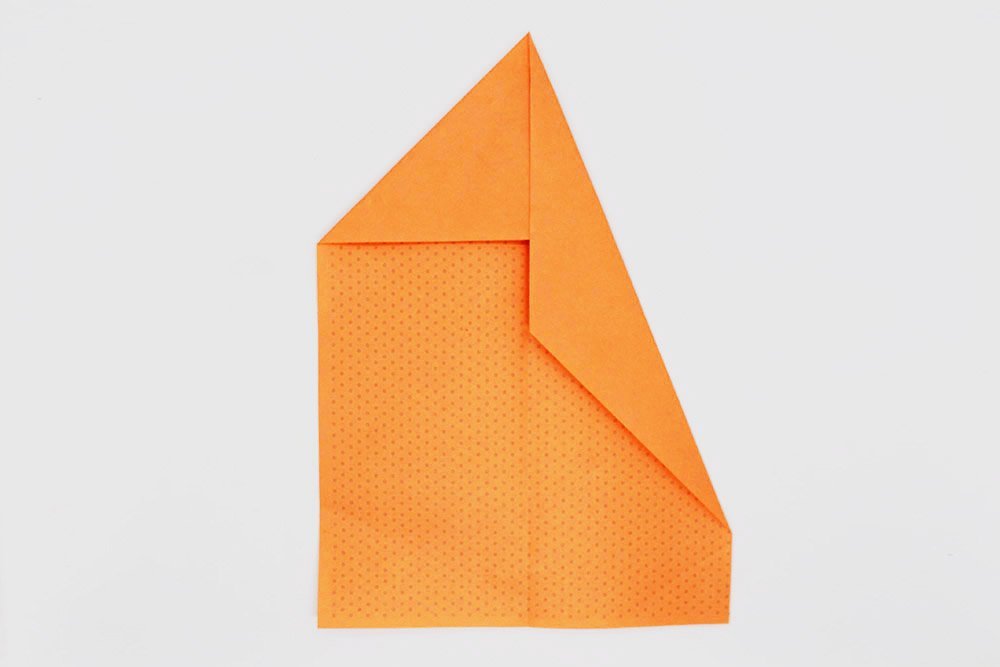
Bring the right top corner to the middle crease line.
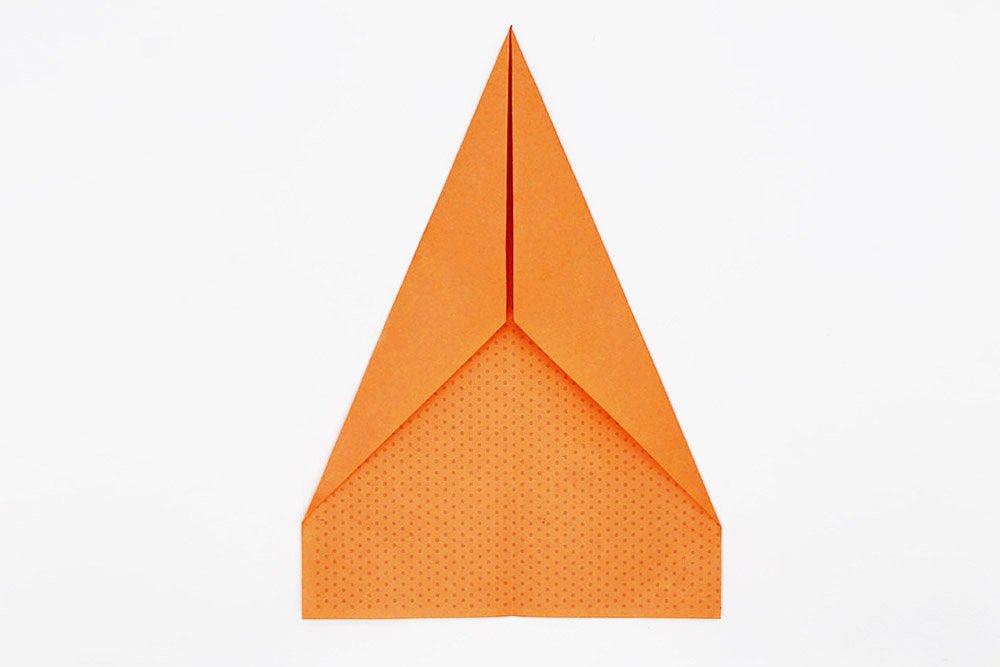
Repeat the previous step on the top left corner.
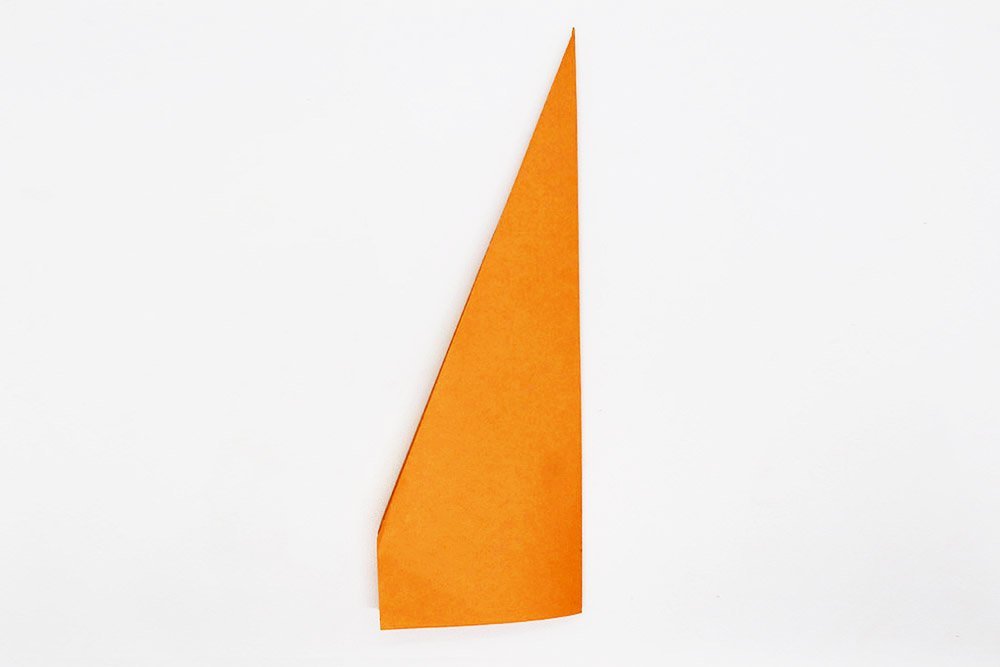
Fold it in half by bringing the right edge to the left edge.
Make the Wings and Winglets
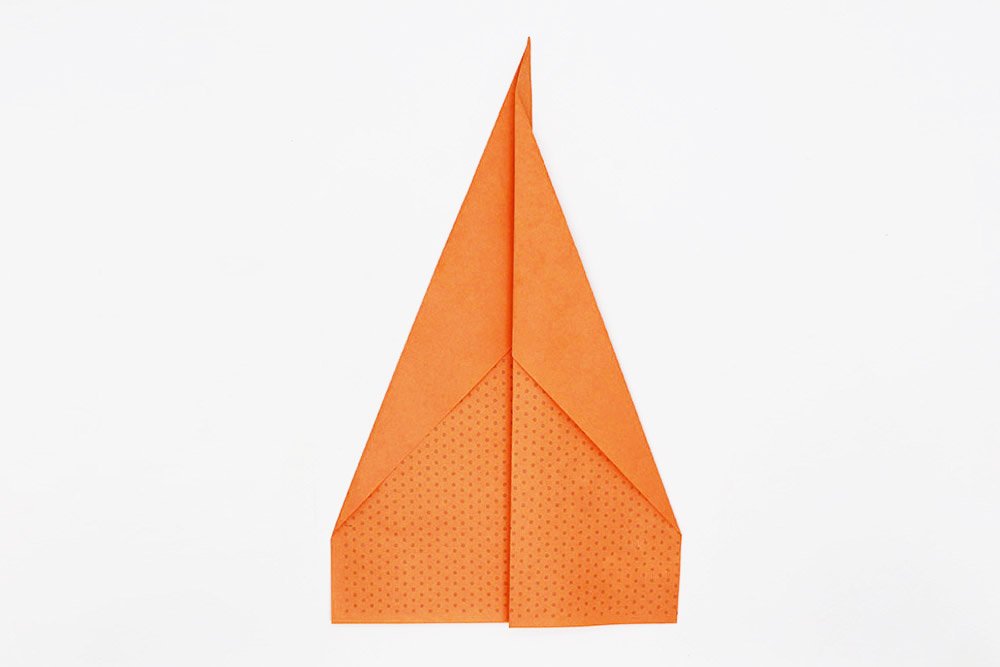
Valley fold a big portion of the top layer to the right.
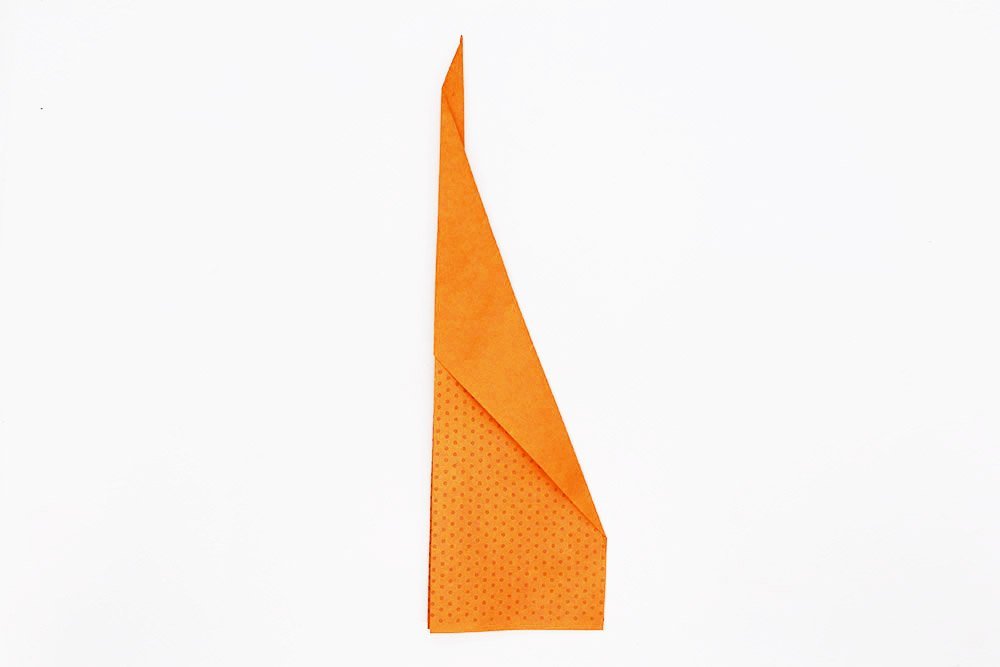
Mountain fold a big portion of the bottom layer. This and the previous step will make the wings of the paper plane.
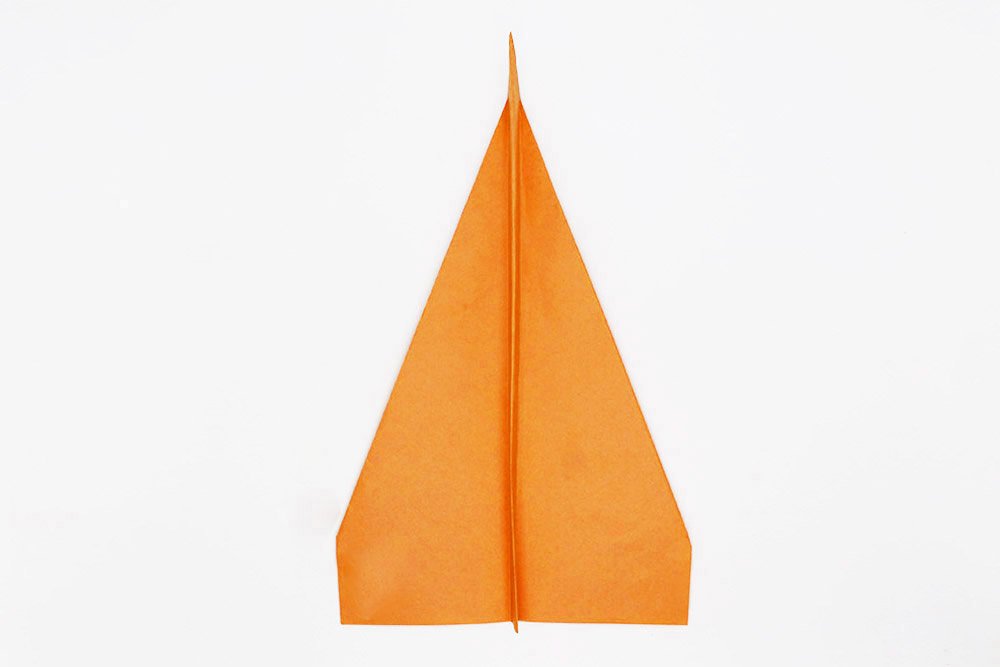
Flare out the wings at a 90-degree angle.
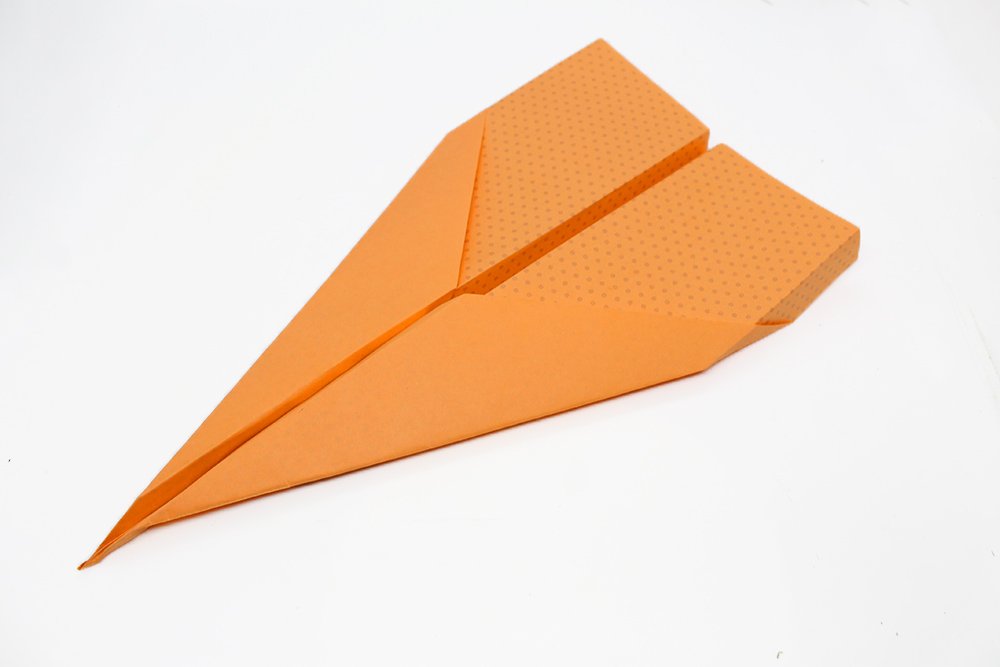
Fold the outer wing sides upwards (about 1-1.5 centimeters ) at a right angle .
Good job- you have successfully completed the activity. Have fun flying your paper plane!
Extra Tips
- Use a long strip of scotch tape and stick it under the fuselage of the paper airplane.
- Paint your plane with cool details like stars on the wings, a flight number plate, and a cockpit.
- If you want your paper airplane to fly even better, use another strip of scotch tape. Connect both wings with the strip so that they stay together in flight. If the wings stop falling apart, the air resistance is lower, and the arrow flies faster through the air.


