
Introduction:
In this post, We’ll show you a very simple way to fold a long-range glider. This paper plane has extremely large wings and a fairly small center body. Thanks to its structure, this paper airplane glides slowly and far through the air. The extra-large winglets give this plane even more stability for a smooth and straight flight.
Make a Triangle at the Left Edge
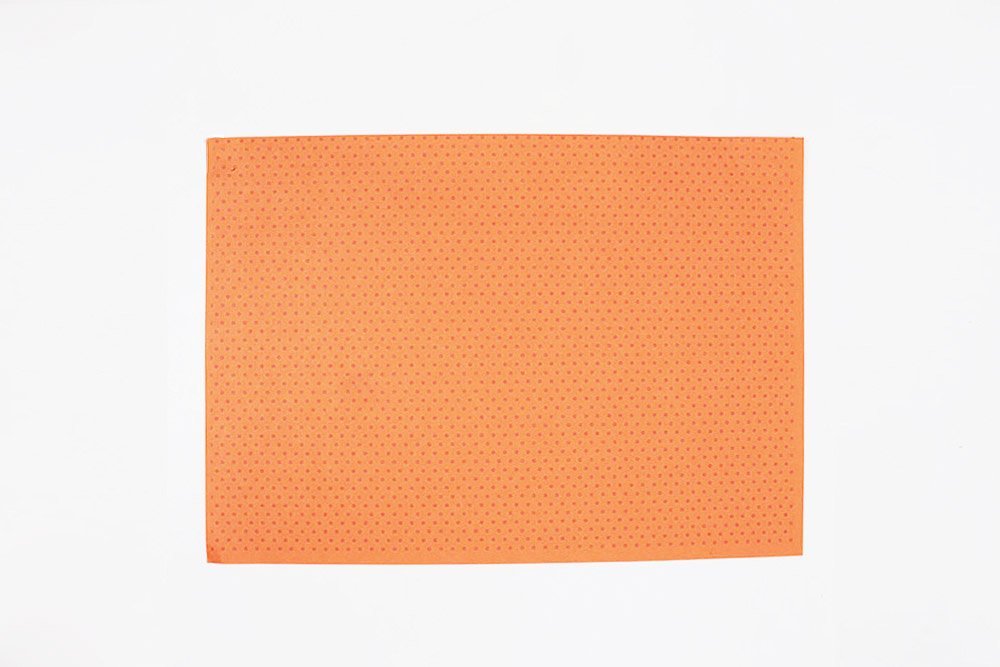
Place the paper in a landscape format
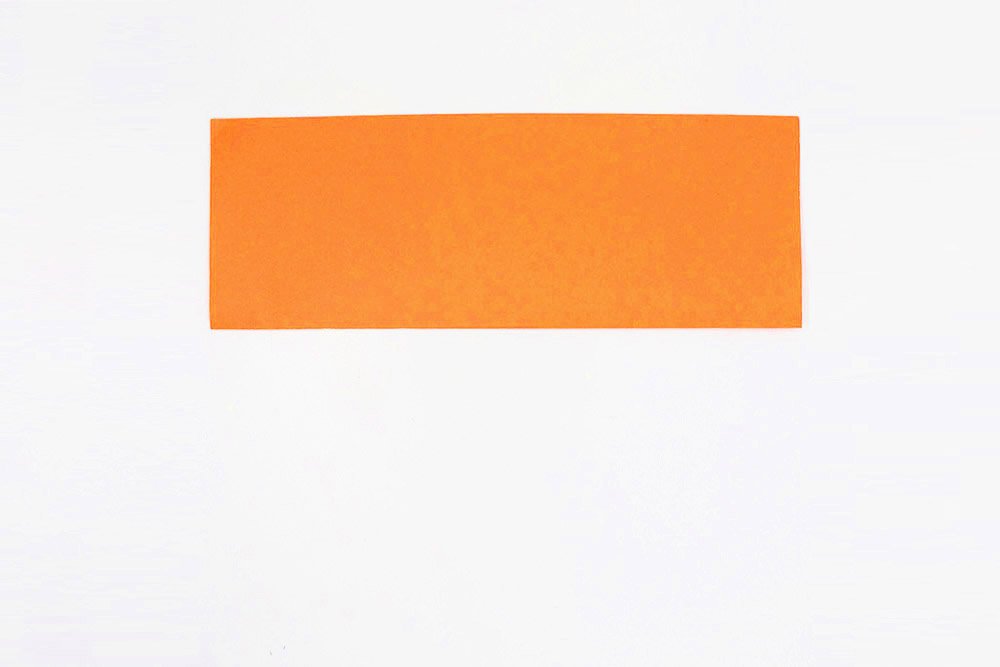
Fold in crosswise in half.
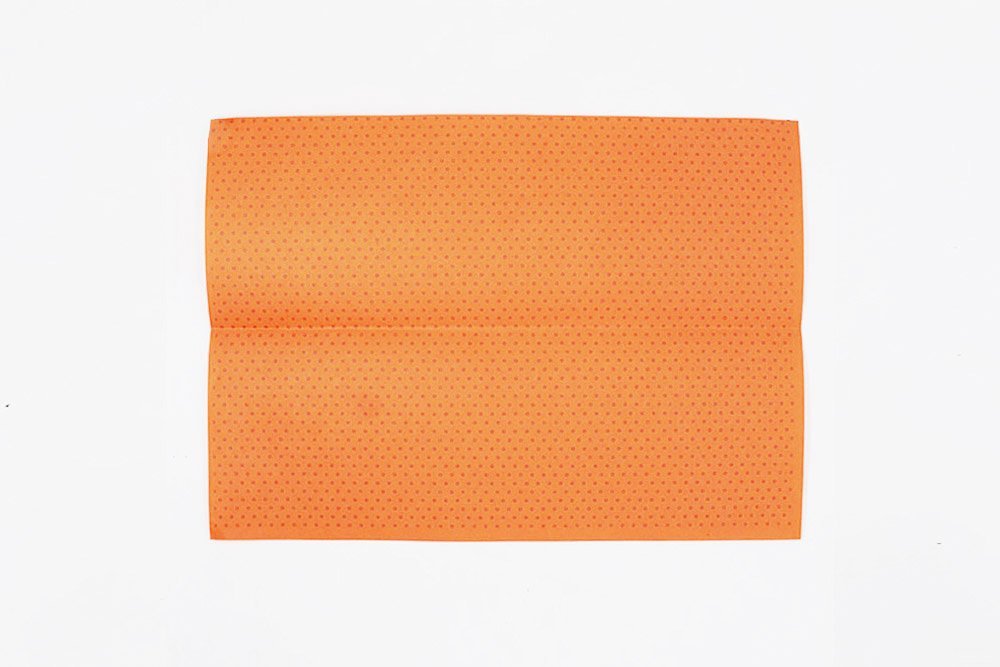
Unfold the paper. You would then have a nice crease mark in the middle.
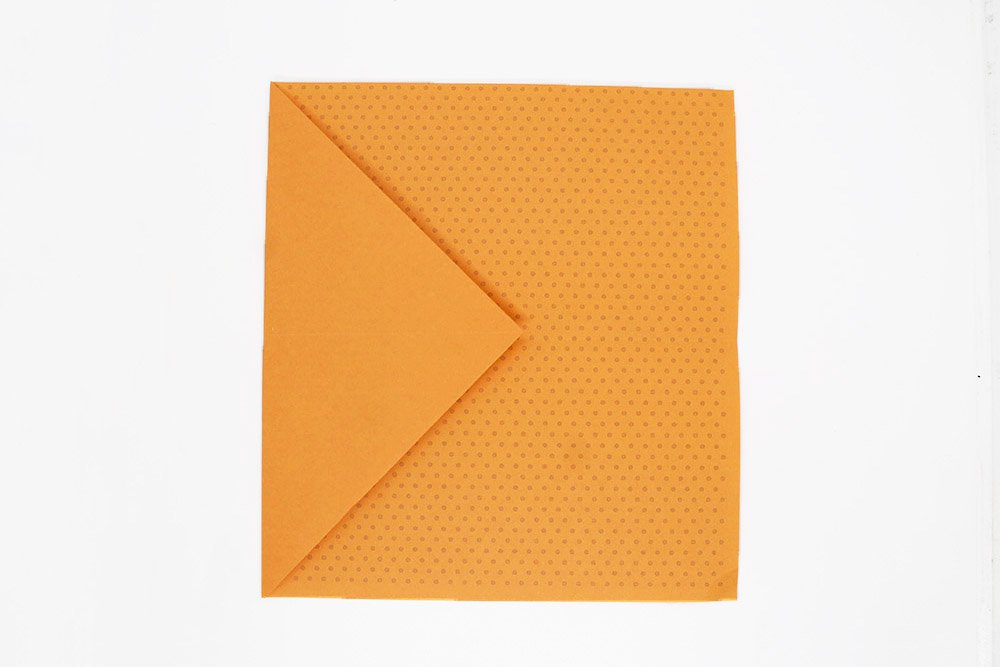
Bring the left corner to the right.
Create the Body of the Best Glider
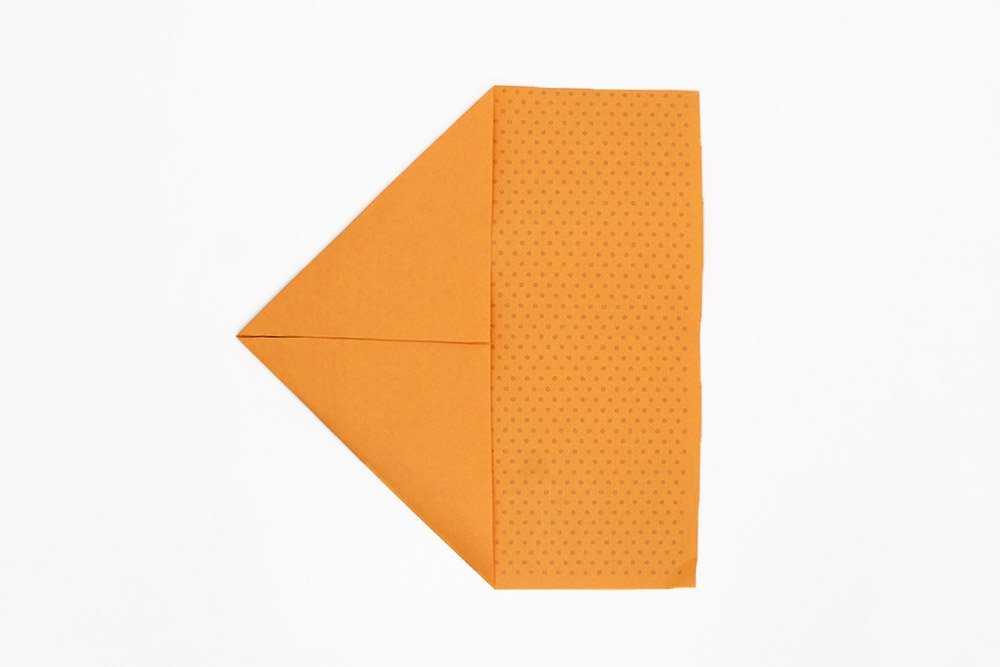
Diagonally fold the top and bottom corner of the left side to the middle.
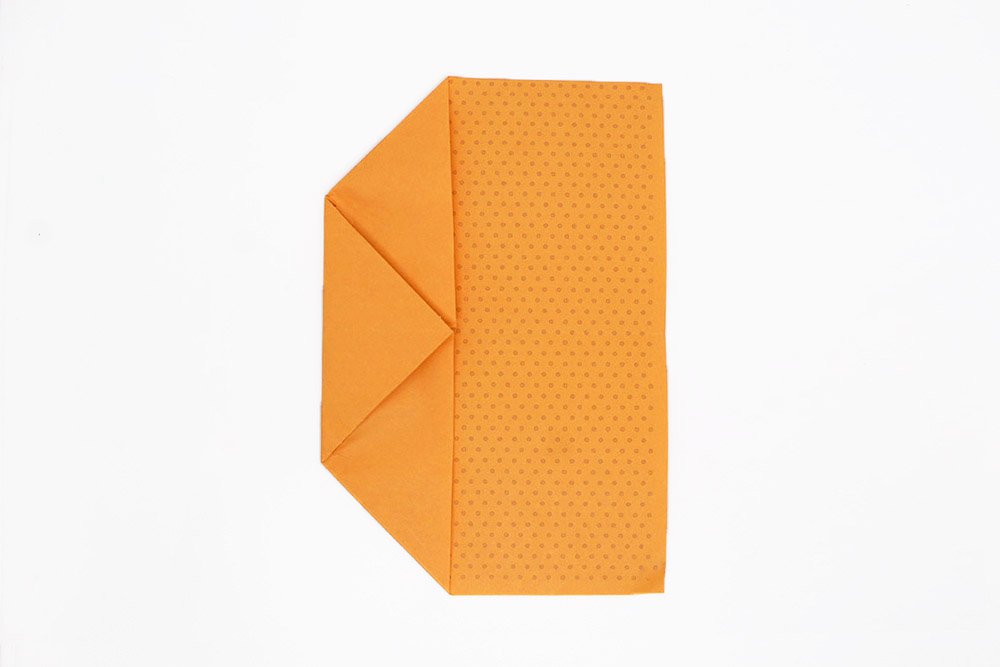
Bring the left corner to the right,
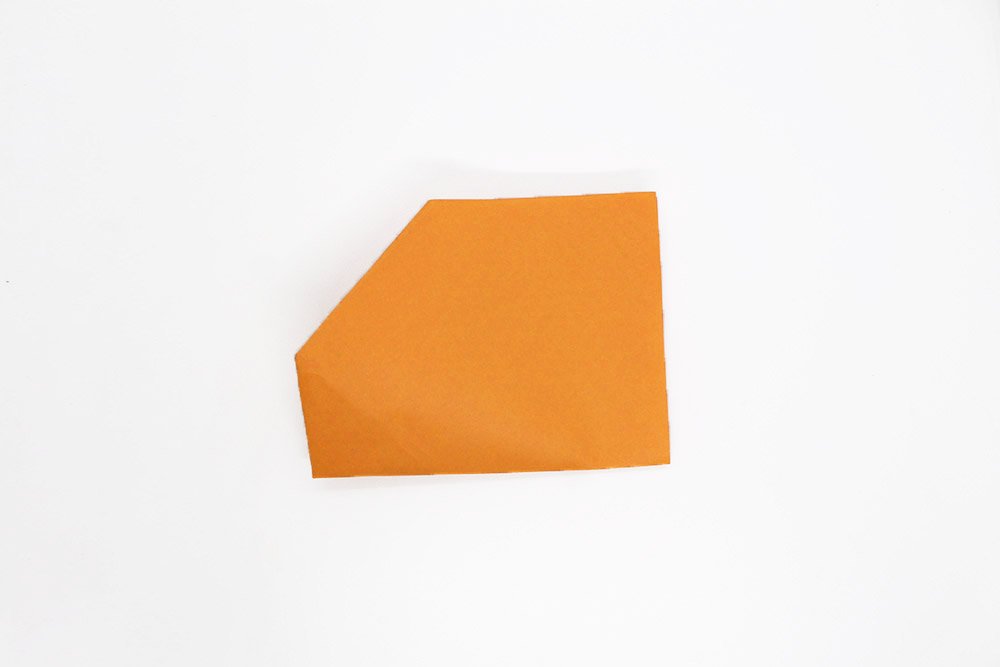
Fold the paper crosswise in half by folding the bottom edge to the top edge.
Make the Wings and Winglets
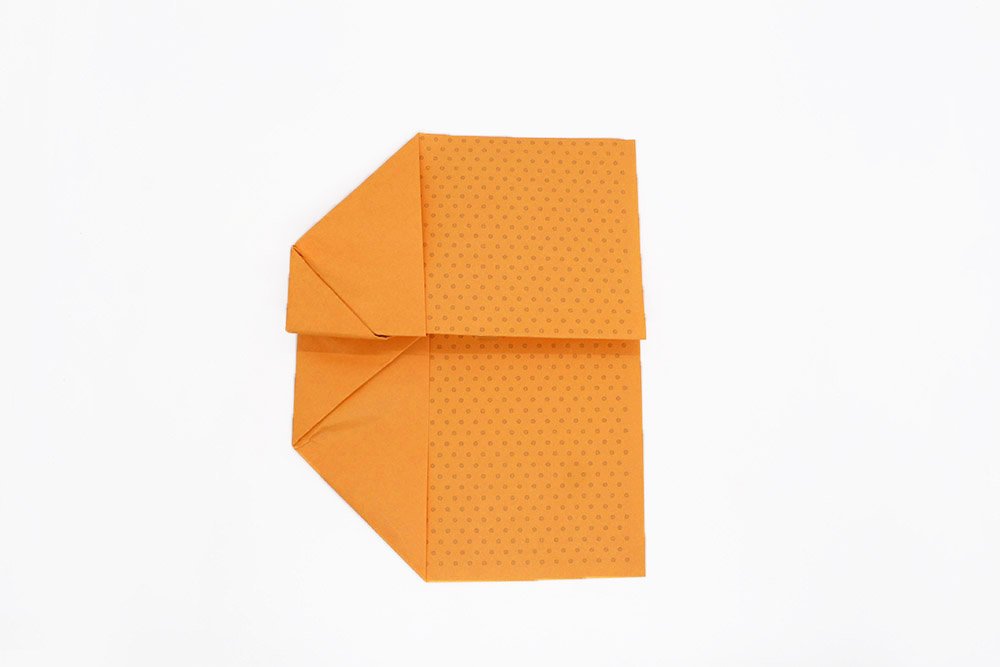
Valley fold a big portion of the top layer upwards. This will be one of the wings of this paper glider.
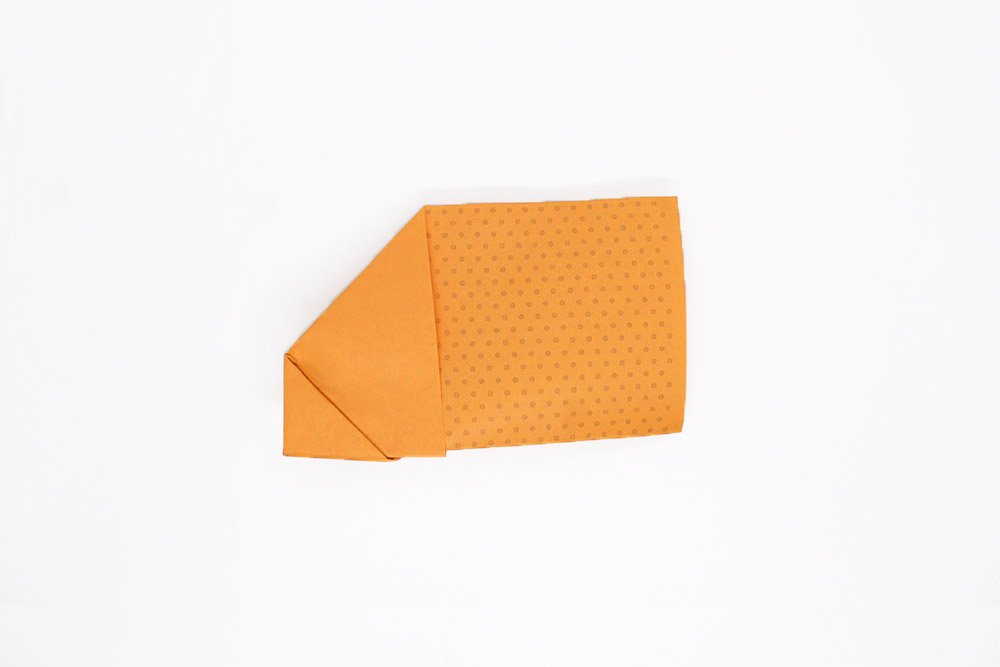
Make another wing by folding a big portion of the bottom layer of the paper to the back.
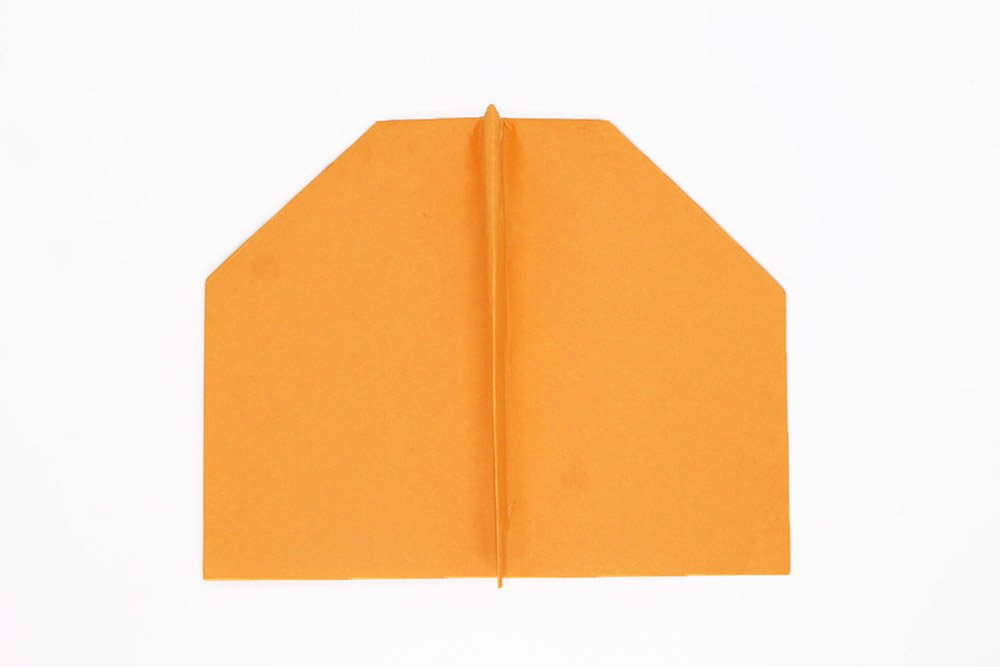
Unfold the paper airplane, and lay in front of you in portrait position.
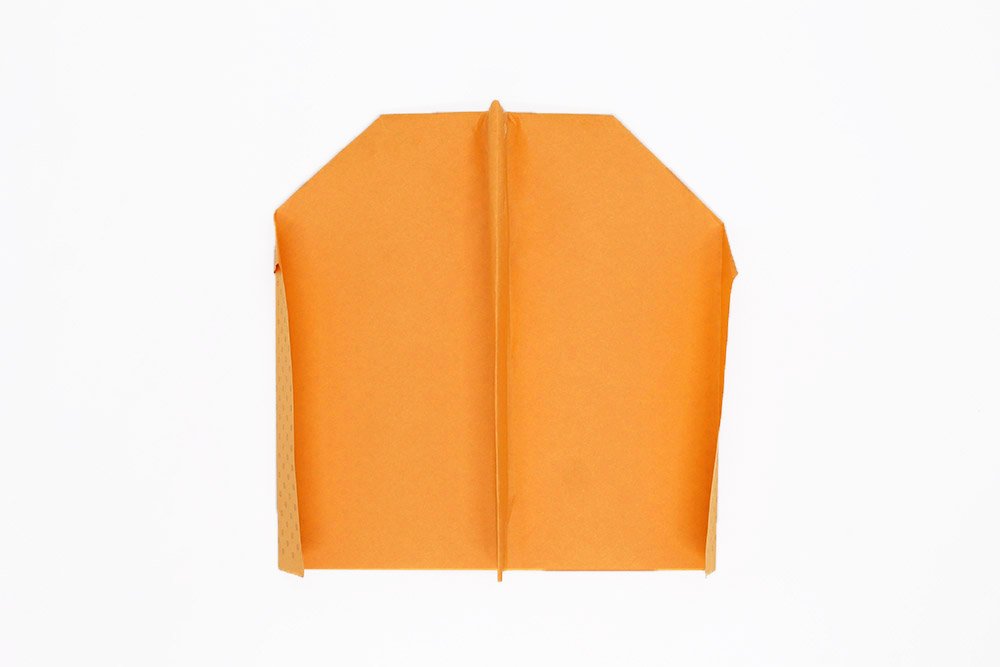
The paper plane is almost done. The winglets of the long-distance glider are still missing. Fold outwards each of the wings at around an inch.
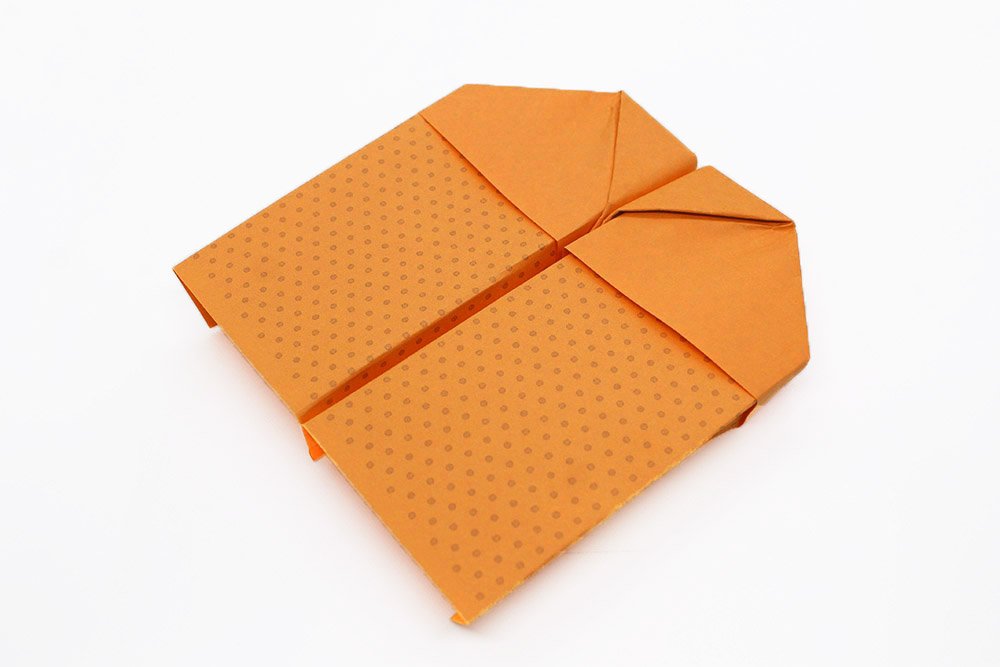
If both sides are now bent over, your plane is ready to take off. It is important that the winglets stick out at a 90-degree angle to the wing.
Your paper plane is done!
Extra Tips
- Take a pair of scissors and cut two small cuts in the center of each wing, two inches apart. You have now given your glider a pair of oars. If you fold the flaps up, your paper plane will now also fly upwards. If you fold the flaps down, the plane will sink.
- It gets even cooler if you fold one flap up and the other flap down. Your plane then starts spinning in the air and rolls.
- Have fun trying out the tips and tricks and have fun flying. Under the category “paper planes” you will find various kinds of paper planes that you may like.


