
Introduction:
Make a basic dart airplane with an easy-to-follow tutorial below. What’s great about this paper dart airplane is that it’s extremely fast thanks to its sleek shape. The large central body of the aircraft gives the paper plane more stability in flight. This makes the paper plane fly very far in a straight line even at a high speed. Now let’s start folding.
Create the tip of the Basic Dart
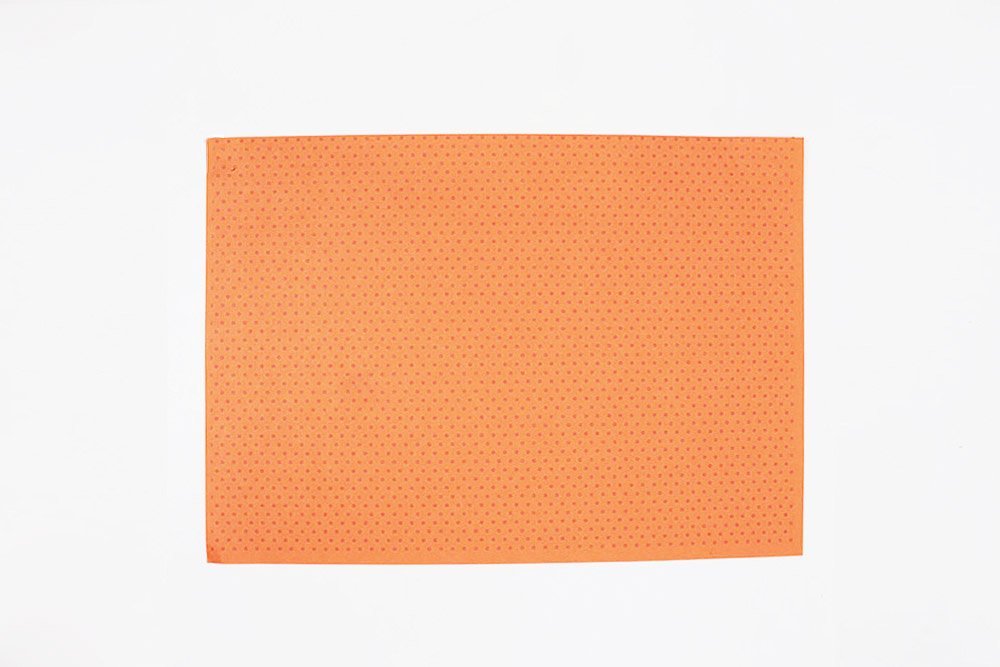
You need a DIN A4 paper to make this paper plane (you can also use another paper size in DIN format).

Make a crosswise crease line exactly in the middle of the paper by folding the paper in half.
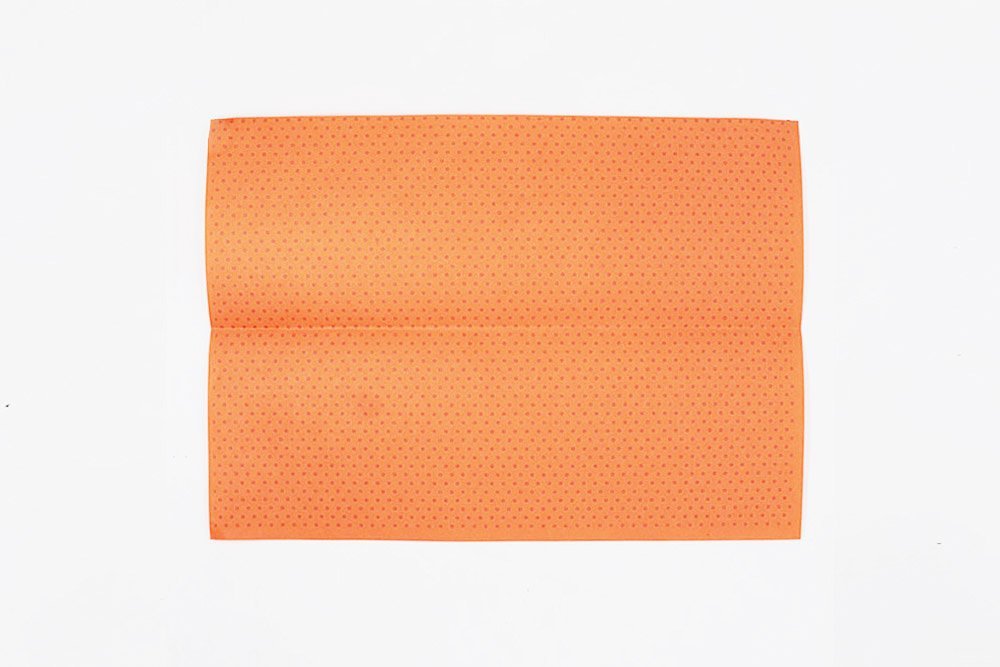
Unfold the paper.
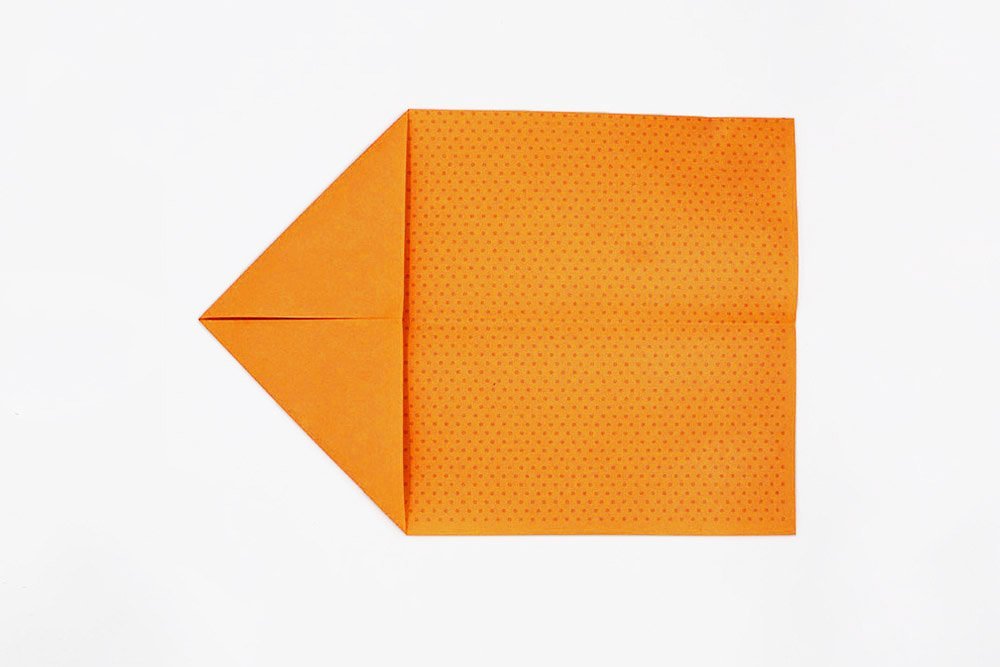
Next, fold the top and bottom corners of the left side to the middle crease.
Make the Tip of the Basic Dart
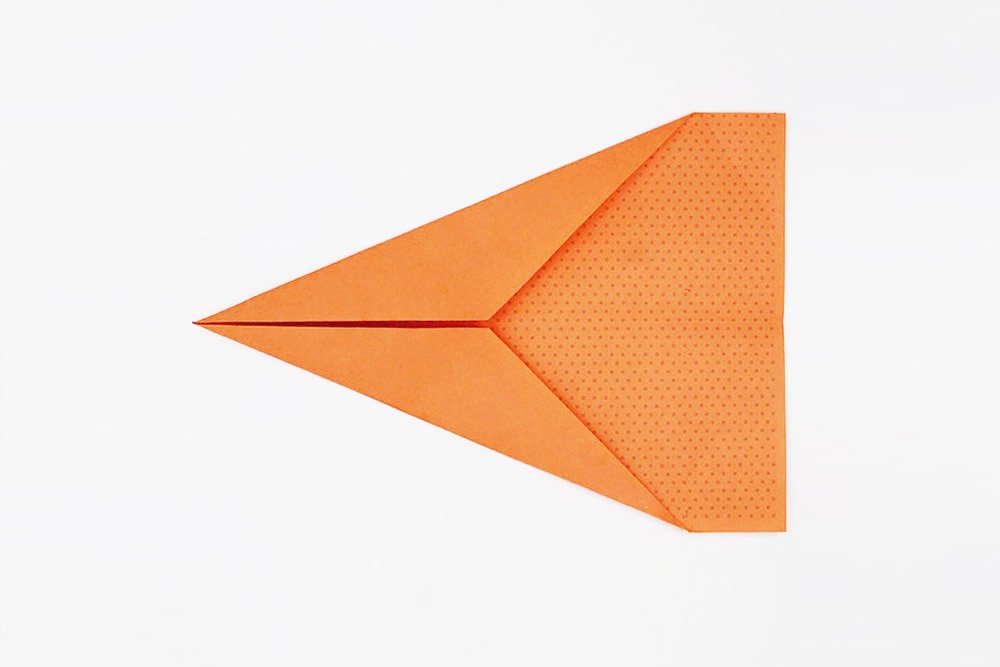
Fold the top and bottom edge of the left part of the paper.
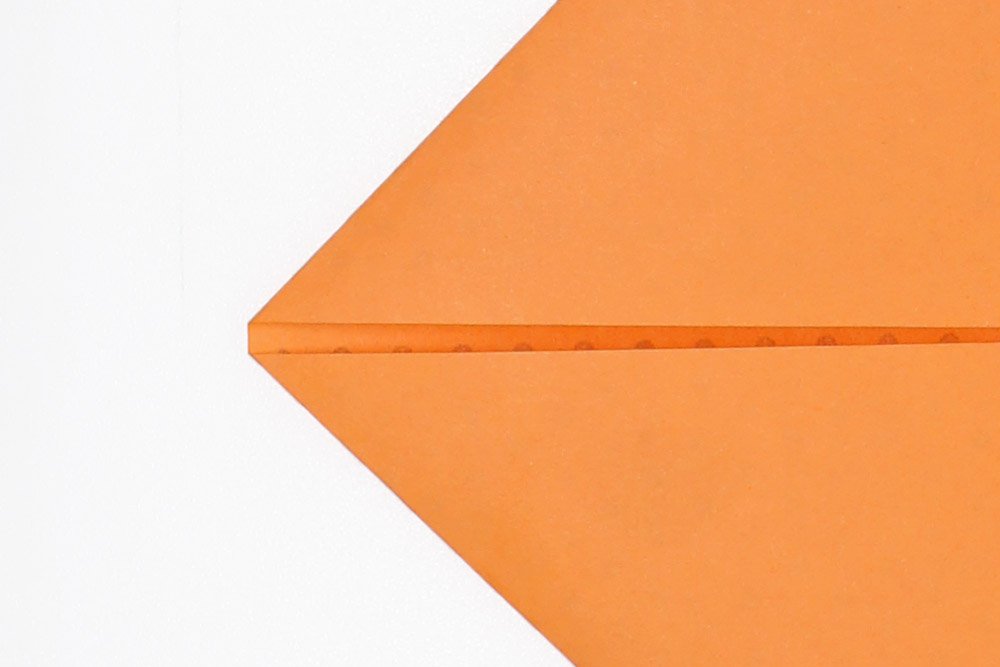
Here’s a Tip!: When creating the left corner of the paper airplane, be careful not to fold both sides exactly at the crease line. It’s better to leave a small area between the edges. This way, you can fold the paper airplane easier for the upcoming steps.
Make the Wings and Body
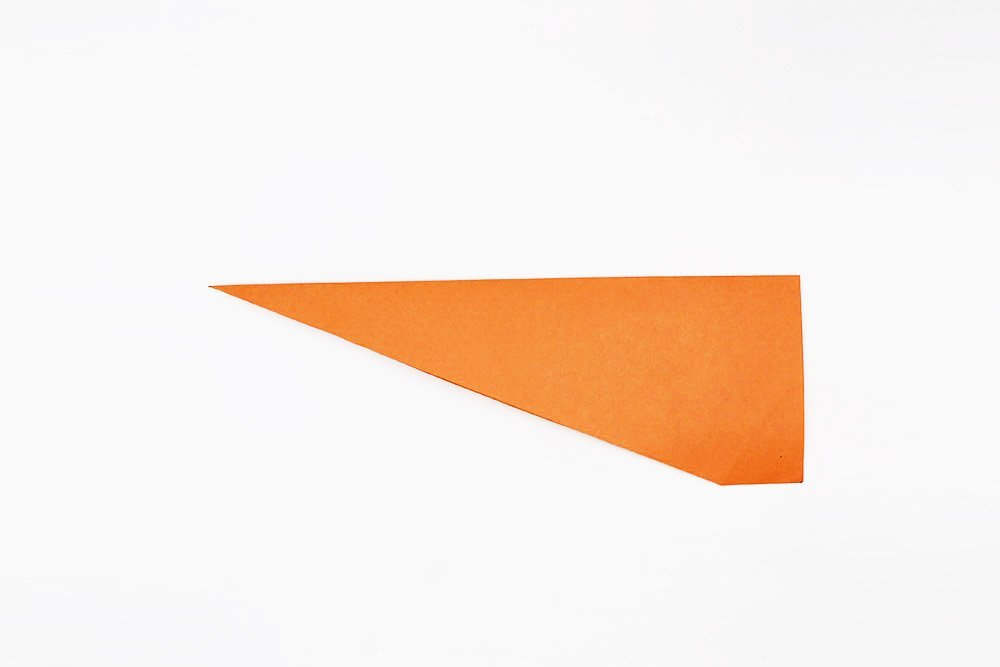
Fold the paper plane crosswise in half.
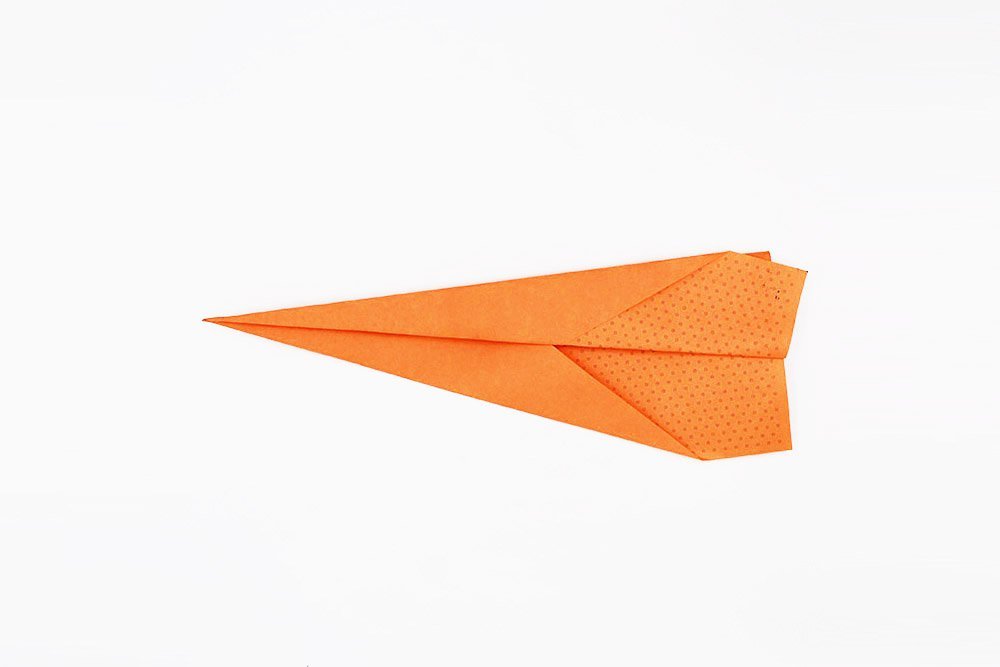
Now only the wings of the paper airplane are missing. Fold a big portion of the bottom edge of the top layer of the paper plane upwards.
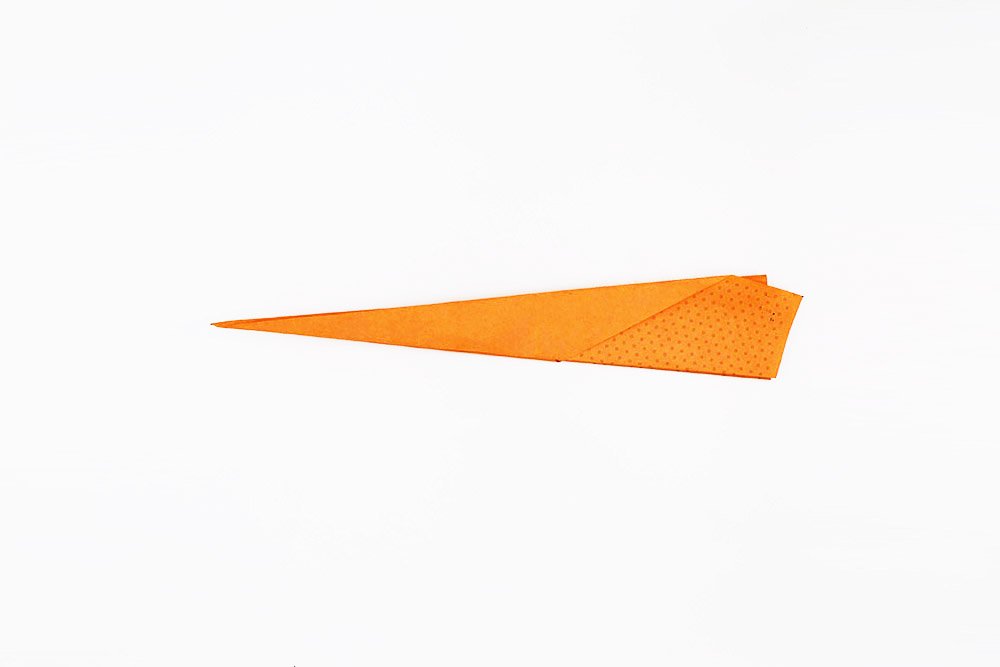
Flip the paper plane to the other side and repeat the previous step.
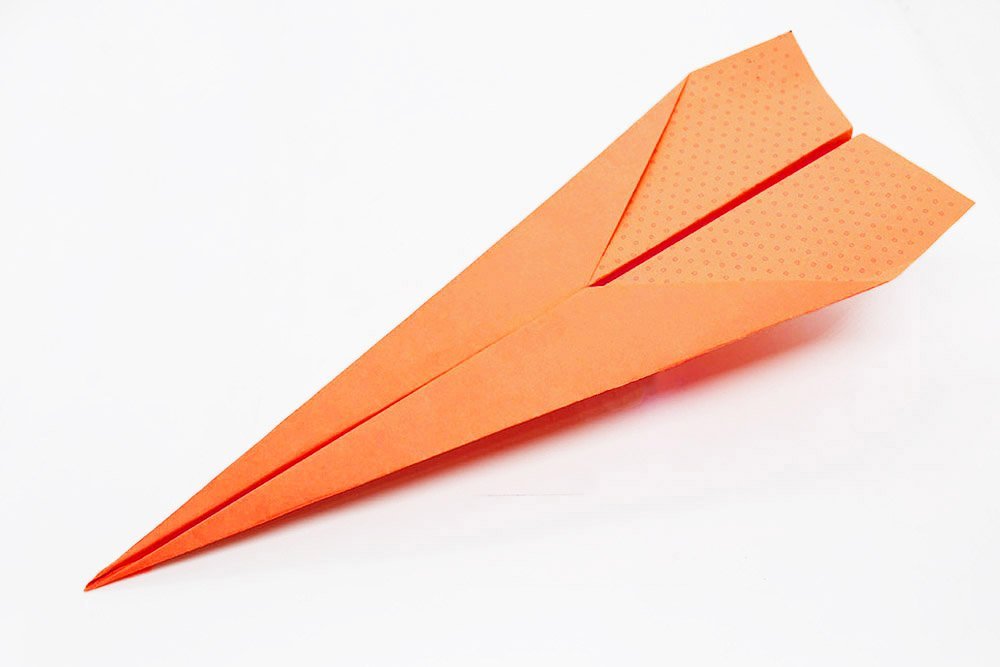
Once you have made the wings of the plane, let the wings stick out at a 90-degree angle to the fuselage.
After the last step, your plane is now ready to take off! Have fun with your Basic Dart Plane and check out more ways to make a plane from a piece of paper.
Extra Tips
- Use a long strip of scotch tape and stick it under the fuselage of the paper airplane.
- Paint your plane with cool details like stars on the wings, a flight number plate, and a cockpit.
- If you want your paper airplane to fly even better, use another strip of scotch tape. Connect both wings with the strip so that they stay together in flight. If the wings stop falling apart, the air resistance is lower, and the arrow flies faster through the air.


