Introduction:
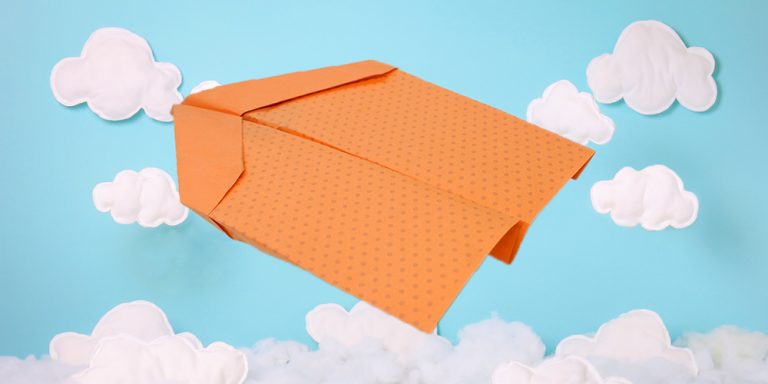
True to its name, the Bigwing is known for its large wings. This plane consists of only the wing enabling it to fly at a larger range. The wings of the Bigwing also ensures a slow yet stable flight in a straight line. The folding technique for this paper plane is very simple. Everyone can make this paper plane through the tutorial below.
Make Creases
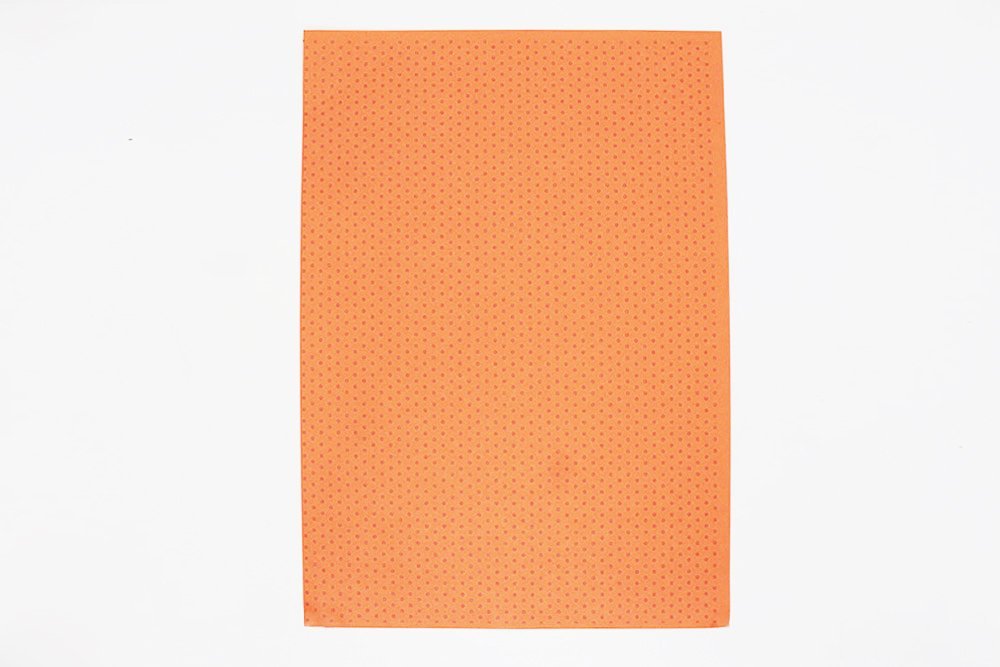
Put the paper upright in front of you. It’s best to use an A4 paper for this paper plane.
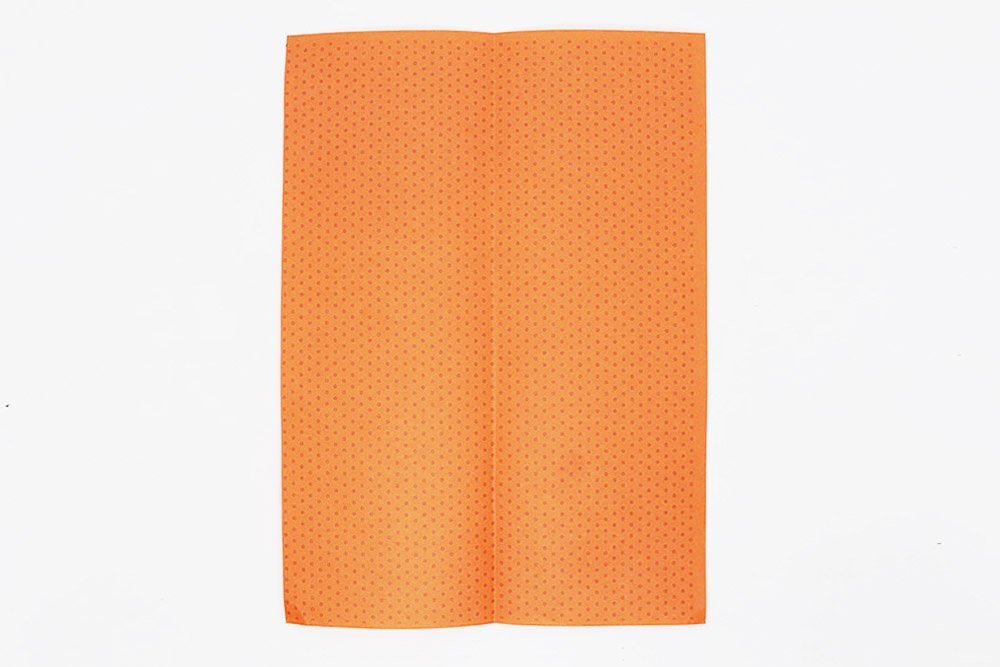
The first step is to fold the paper in half vertically then unfold it.
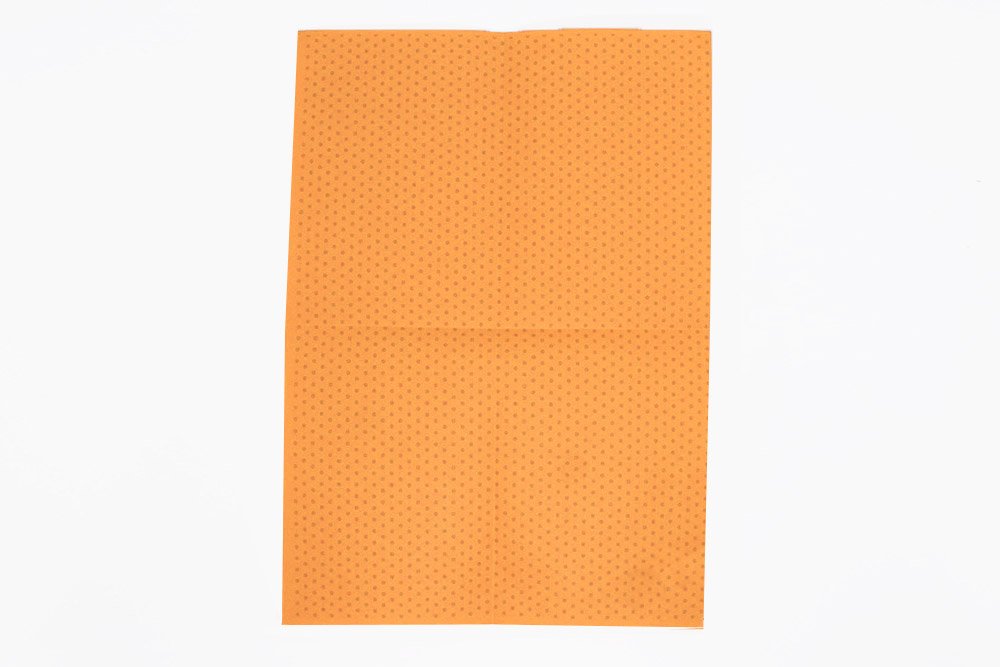
Next, do a horizontal fold then unfold. The goal is to make crease marks. You should now have the same crease mark as the image above.
Prepare to Fold the Airplane Symetrically
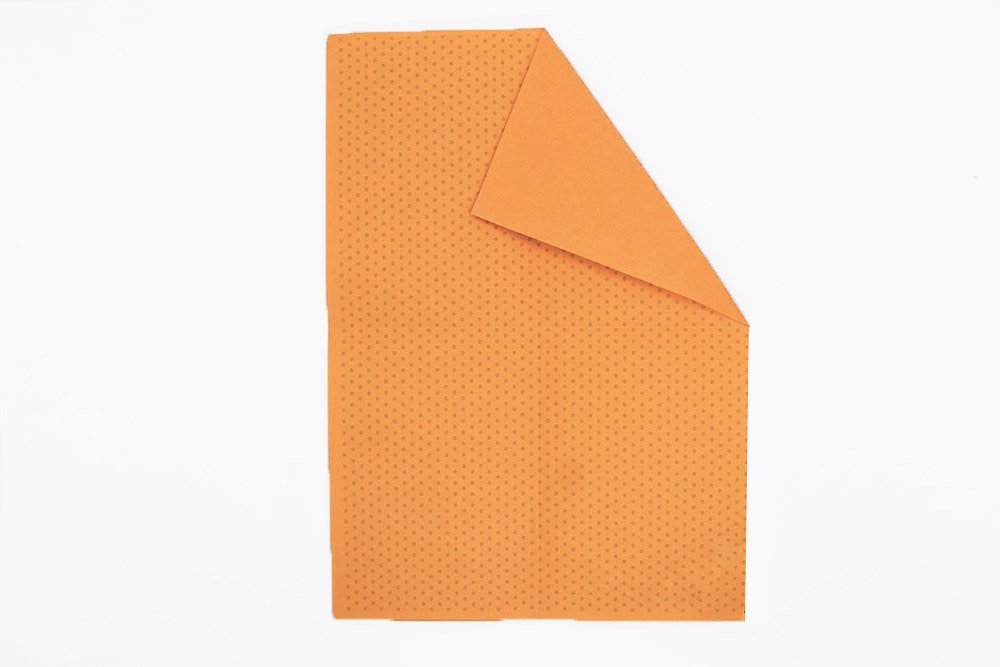
Now fold the right top corner diagonally. The diagonal line should start from the horizontal crease.
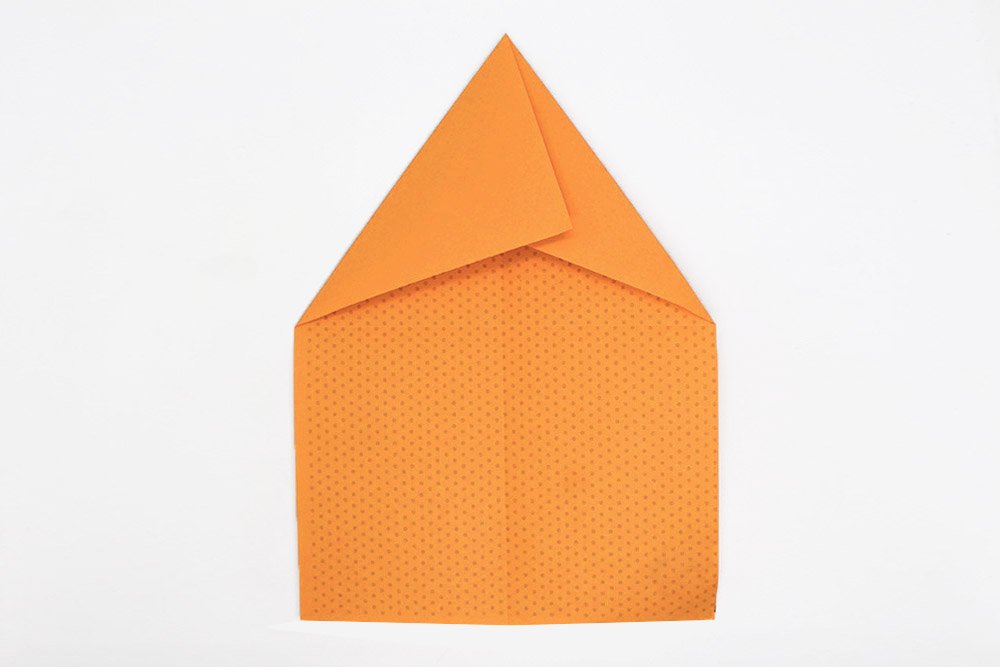
Now do the same for the top left corner. The left side will overlap the right one.
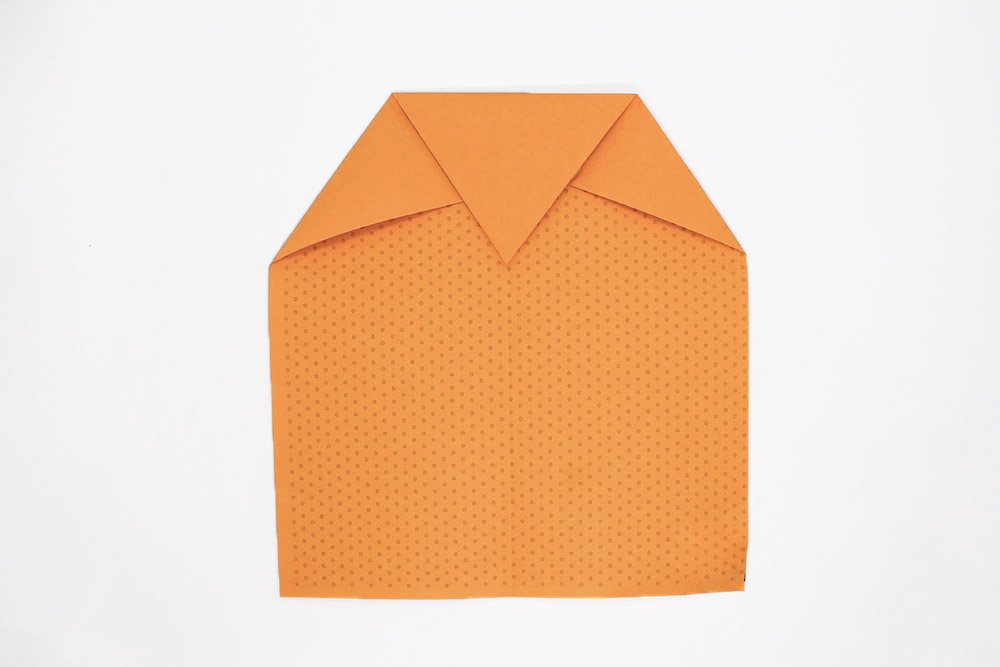
Bring the top corner downwards. The diagonal line should start from the horizontal crease line.
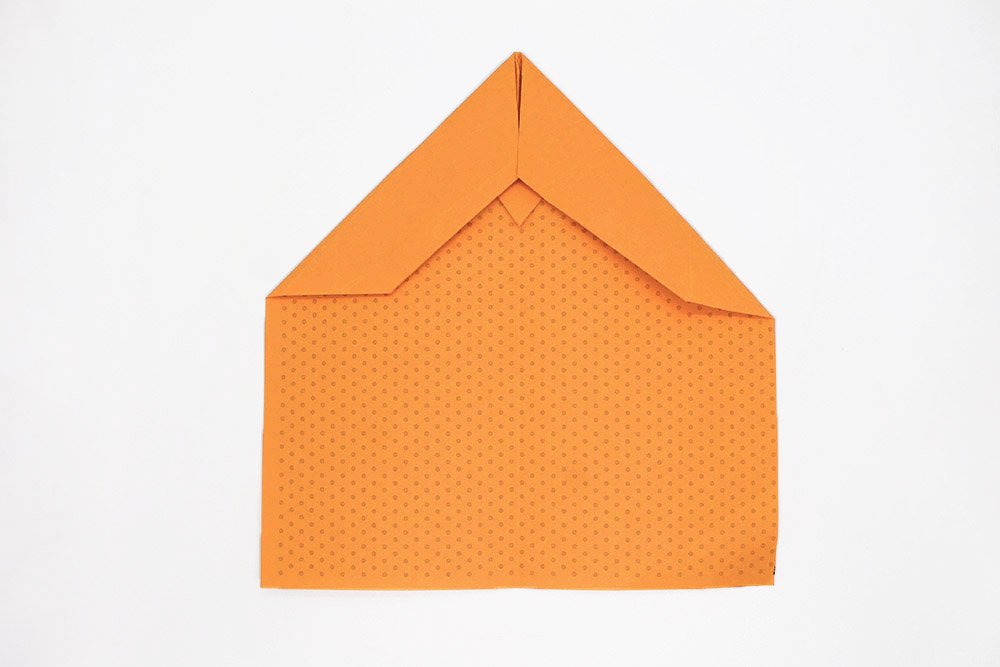
Now fold the left and right edges of the top part to the middle.
Make the Wings and Body
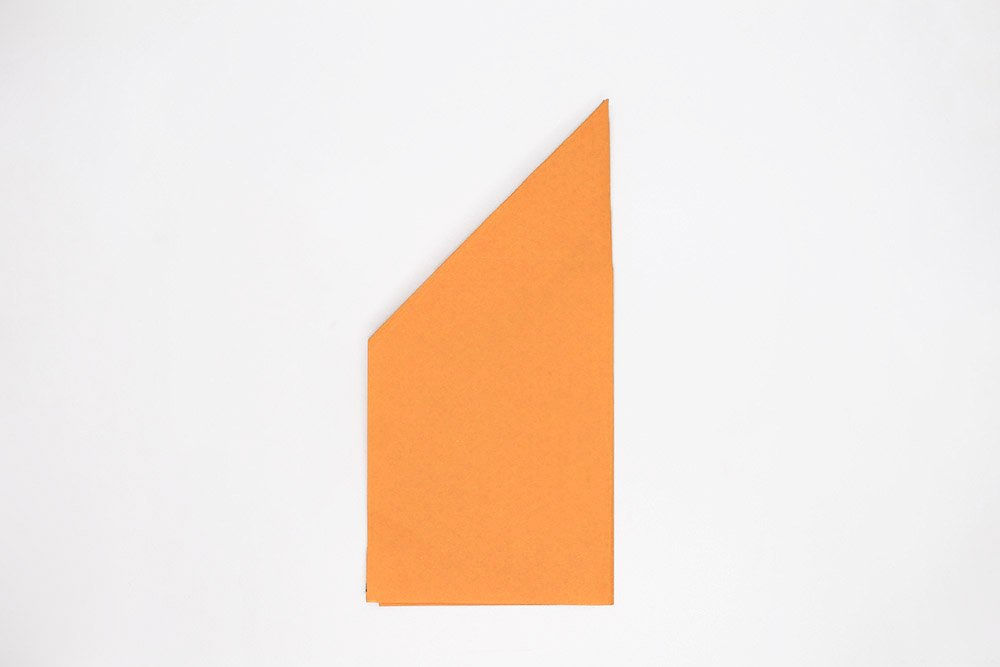
Then fold the paper plane in half along the existing vertical crease mark.
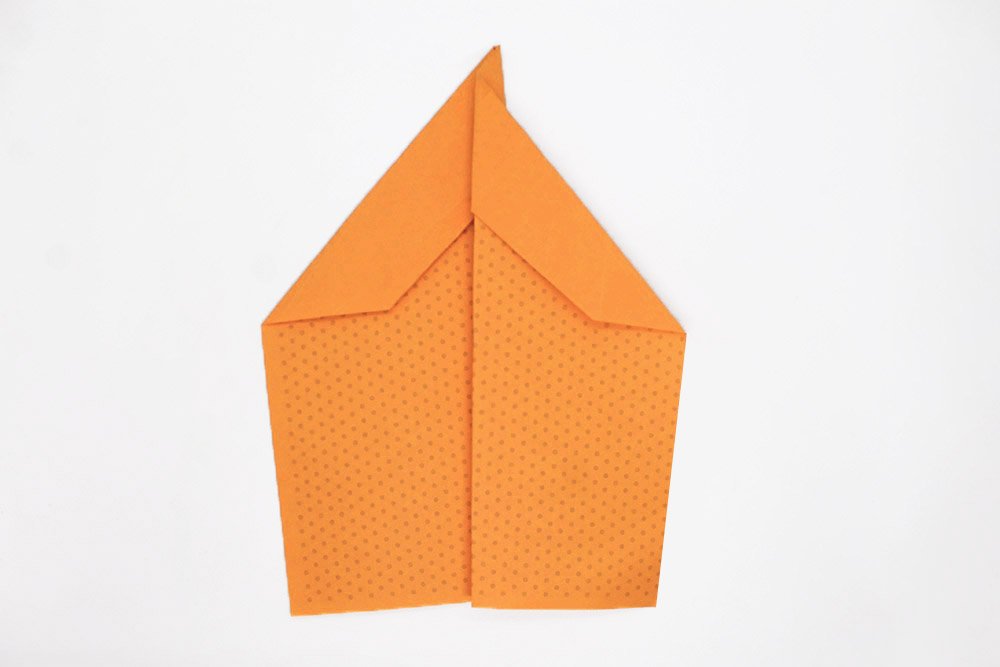
In the next step, make the wings. Fold a big section of the top layer to the right. Leave some space in the left part (around 1-1.5 centimeters).
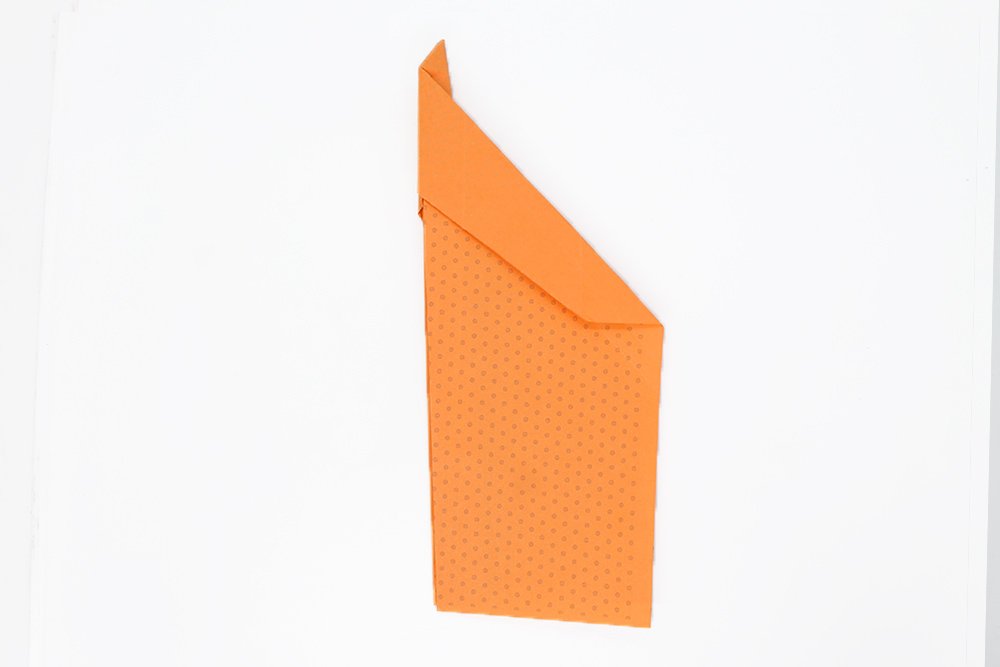
Make the other wing by repeating the previous step. Mountain fold a big section of the bottom layer to the back.
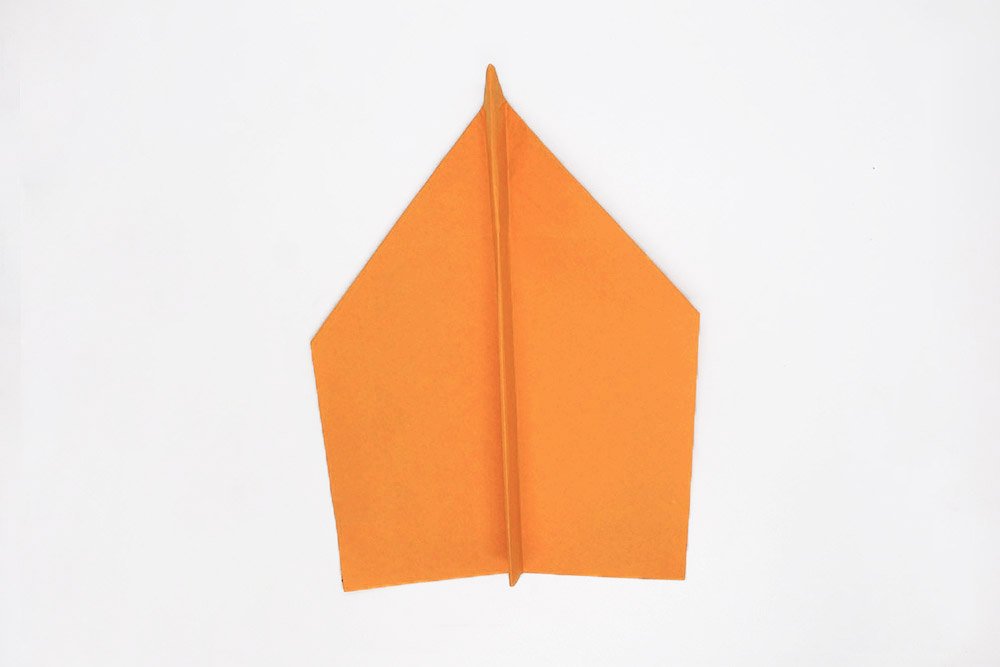
Unfold the paper plane. Now all that is missing is the stabilizers of the plane.
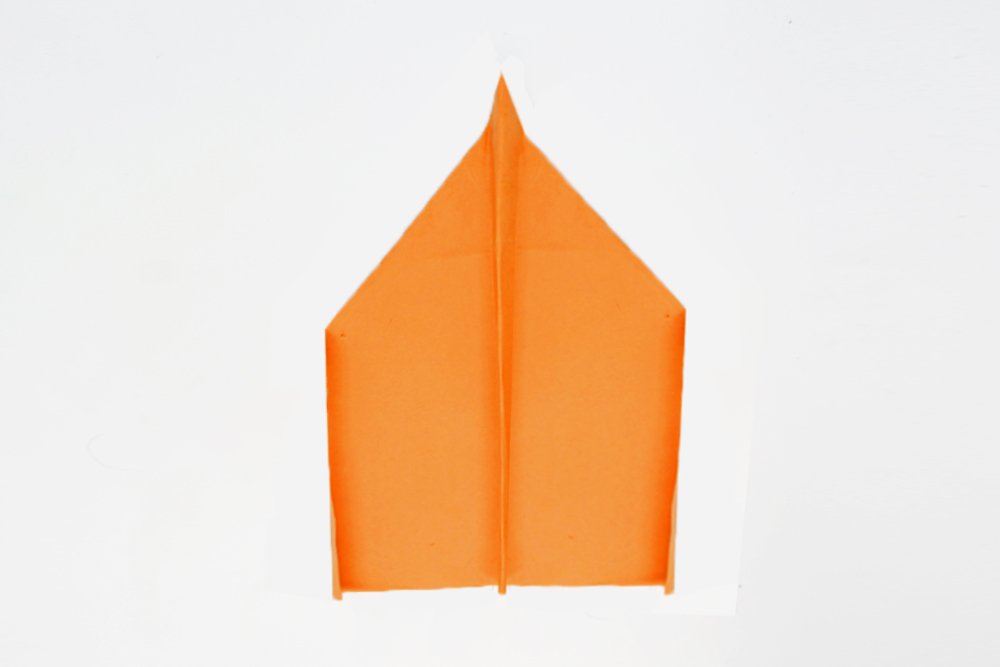
The stabilizers of the paper plane are about one centimeter high.
So fold the wings about a centimeter from the outer edge like the sample image above.
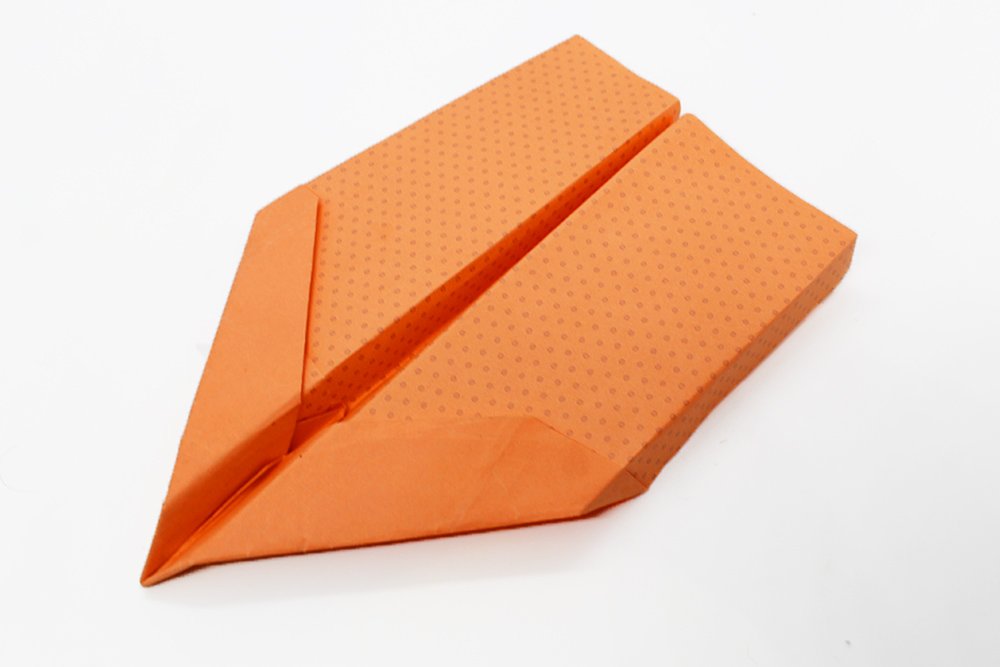
The bigwing is now finished! It is best to throw the paper plane upwards at a slightly inclined angle to fly as far as possible. The Bigwing is a slow flyer; therefore, it does not have to be thrown with too much force.
Extra Tips
- Use a long strip of scotch tape and stick it under the fuselage of the paper airplane.
- Paint your plane with cool details like stars on the wings, a flight number plate, and a cockpit.
- If you want your paper airplane to fly even better, use another strip of scotch tape. Connect both wings with the strip so that they stay together in flight. If the wings stop falling apart, the air resistance is lower, and the arrow flies faster through the air.


