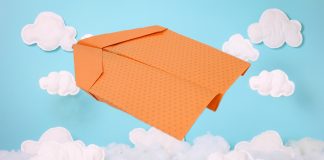
Introduction:
The hawk is a paper airplane with a very distinctive snout. Thanks to this snout, the plane resembles a hawk. This tutorial will teach you how to fold this plane with this easy-to-follow instructions. Now grab a DIN format paper and let’s start folding!
Make an X-Mark Before Making a Triangle
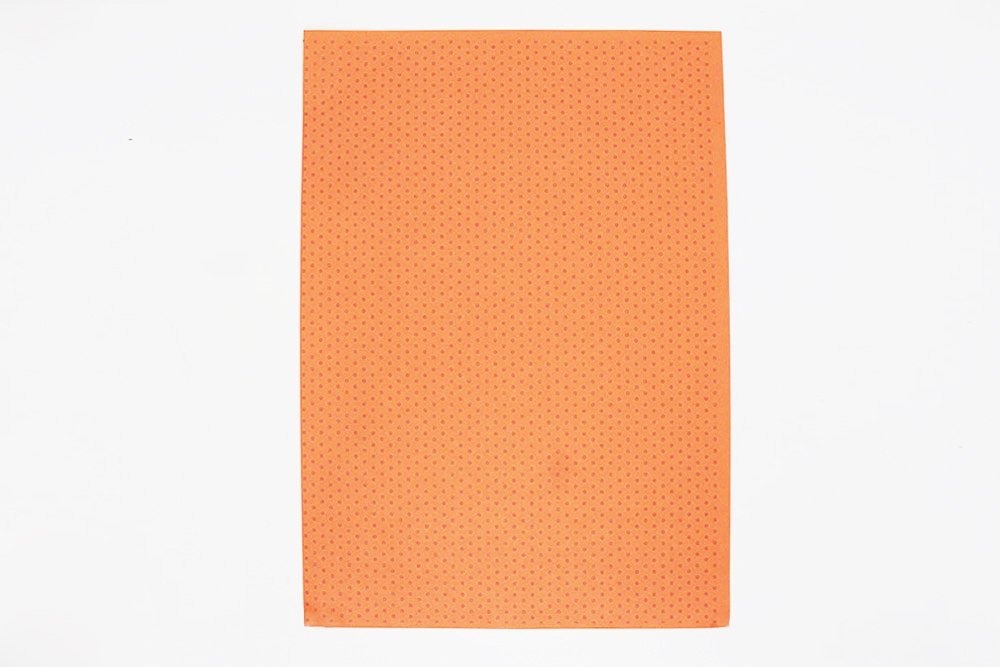
Get an A4 size paper and lay it in front of you in an upright position.
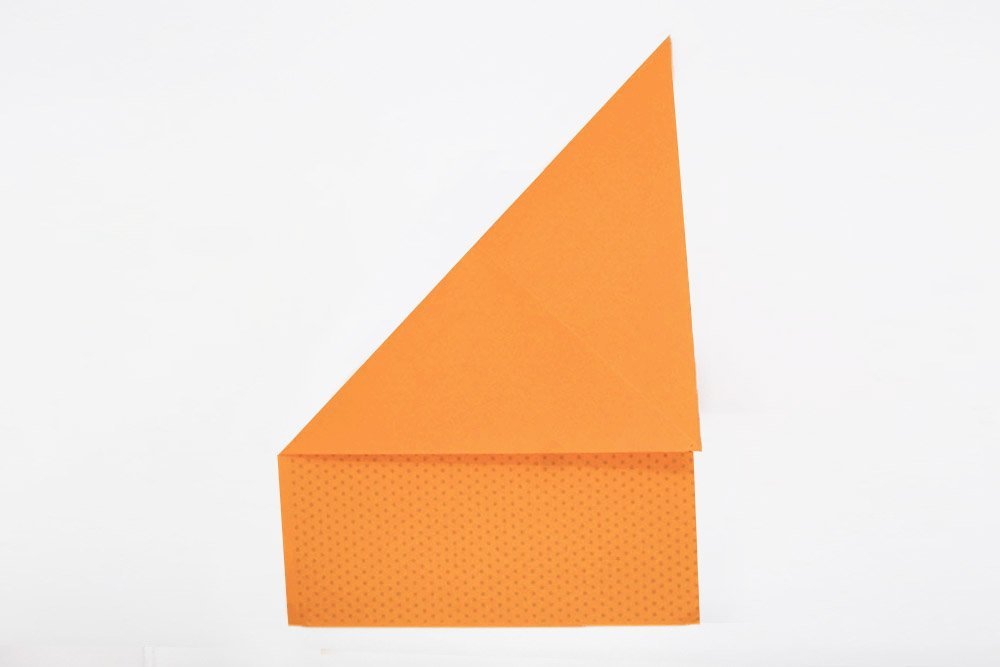
Do a diagonal fold on the top left corner of the paper.
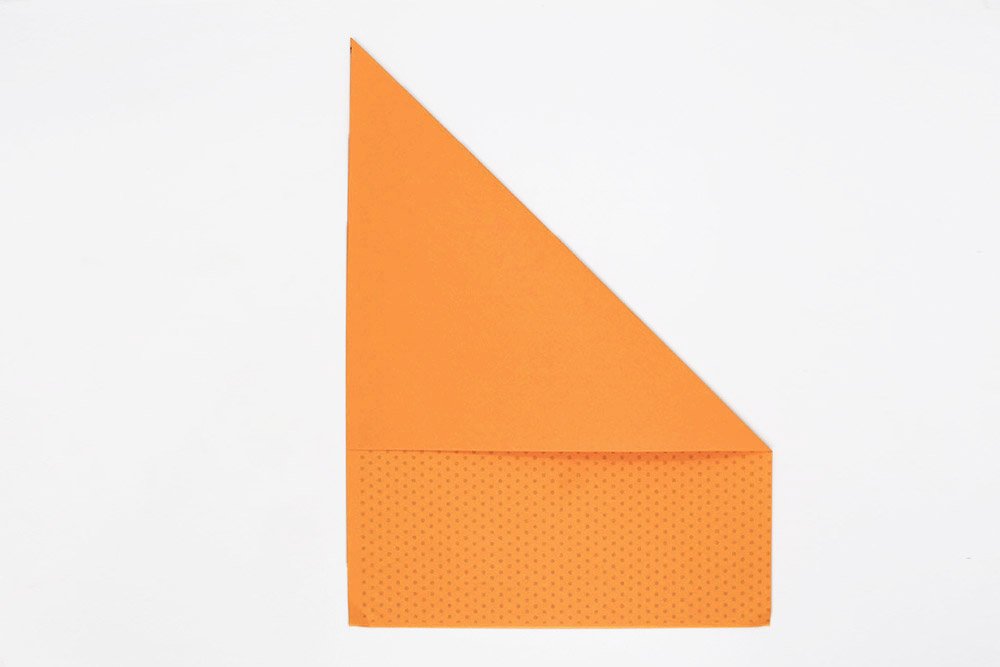
And unfold the triangle. Then do a diagonal fold on the top right corner and unfold the paper.
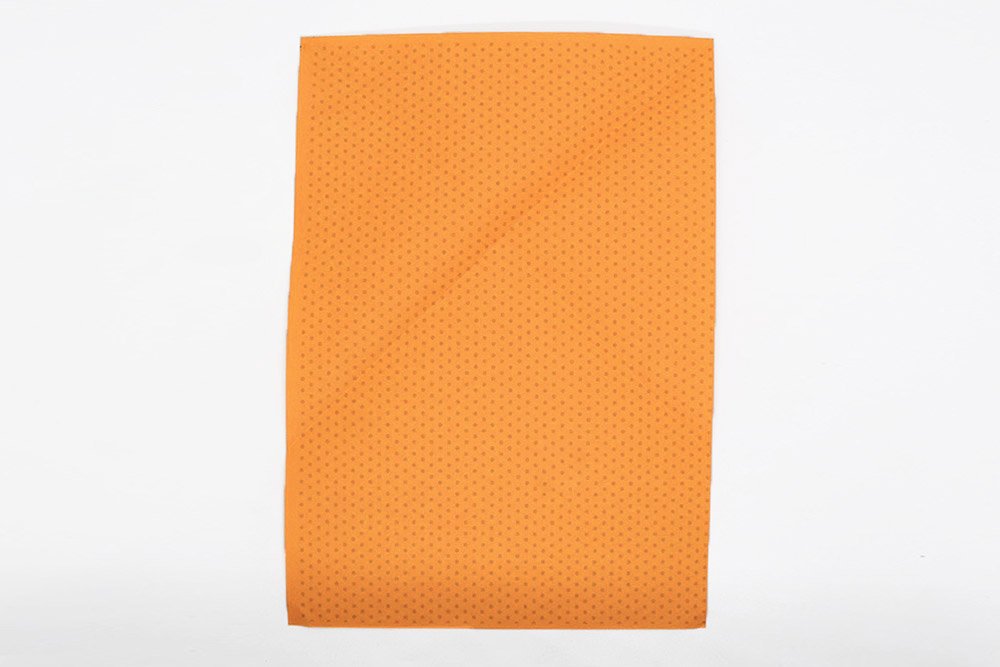
As you can see, there is an X crease mark on the paper once it has been unfolded.
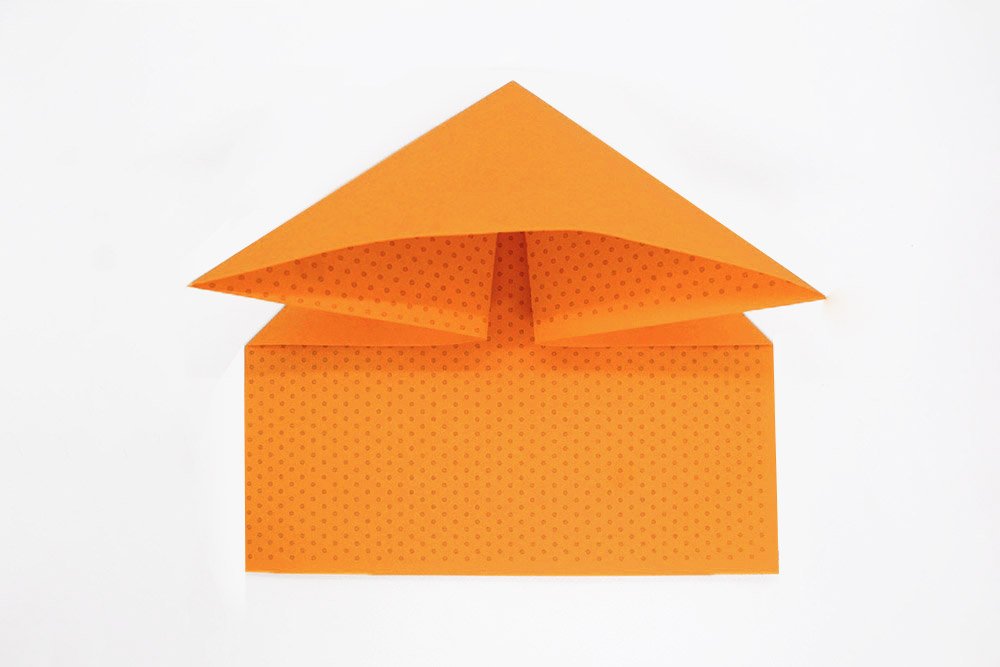
As you fold the left edge to the right, it will naturally fold into a triangle because of the crease X crease mark.
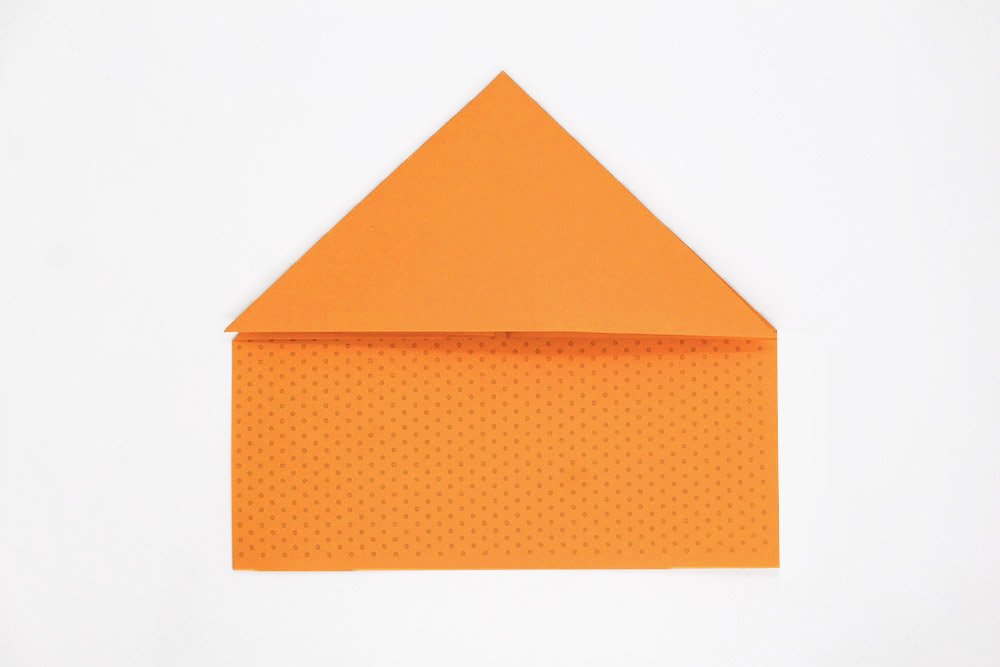
Fold downwards along the the point made by the X crease mark.
Work On the Upper Part of the Hawk
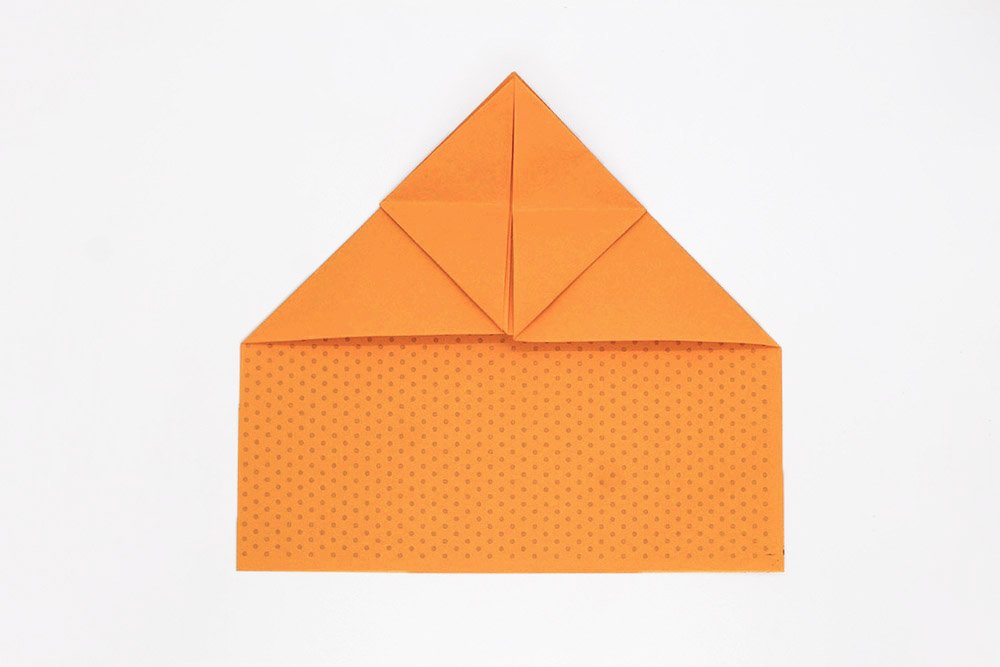
Fold the bottom corners of the triangle top flap to the top corner.
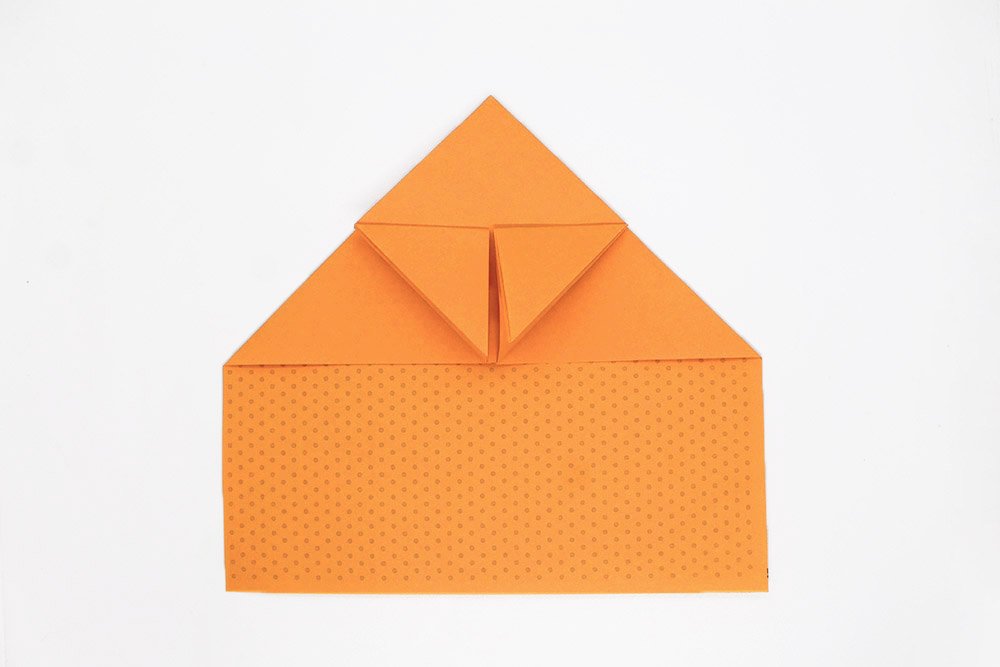
Fold the corners of the top two flap downwards in half.
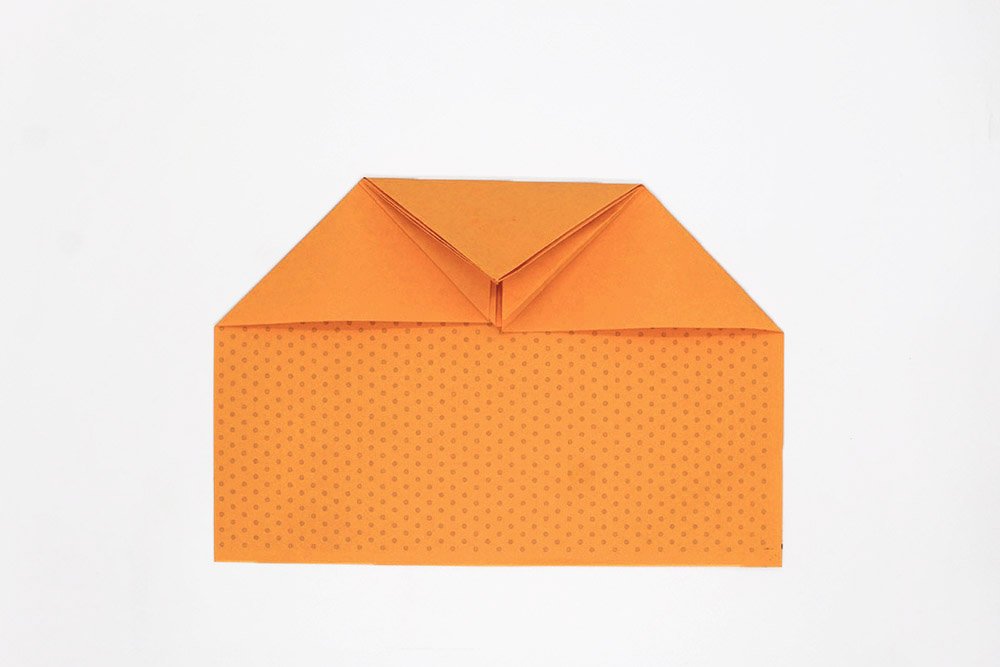
Bring the top corners downward as well.
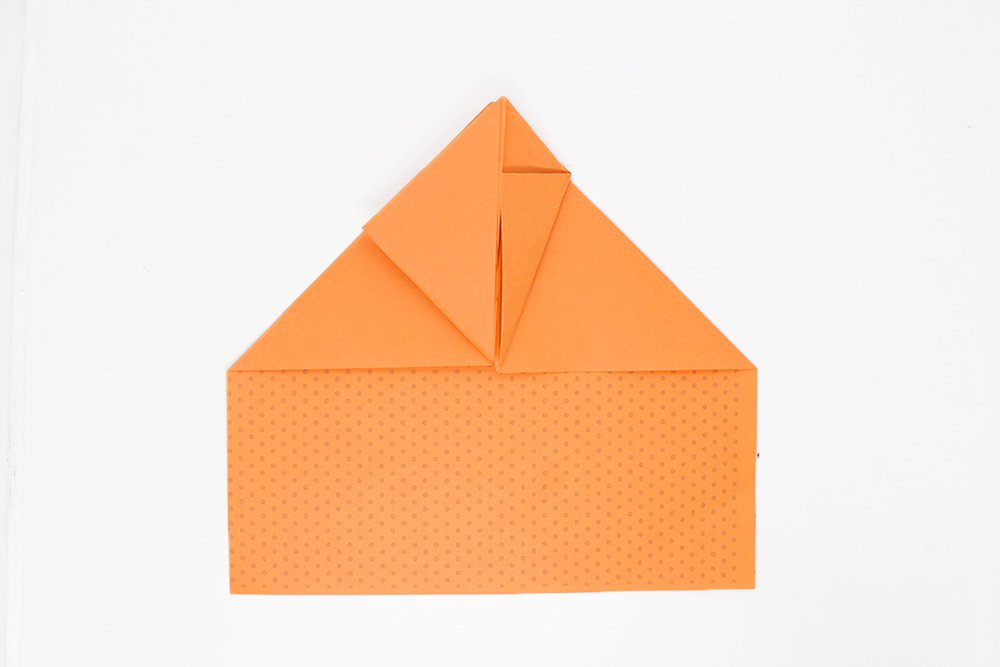
In this step, fold back the corners and the tip. Fold the right corner of the top layer to the middle.
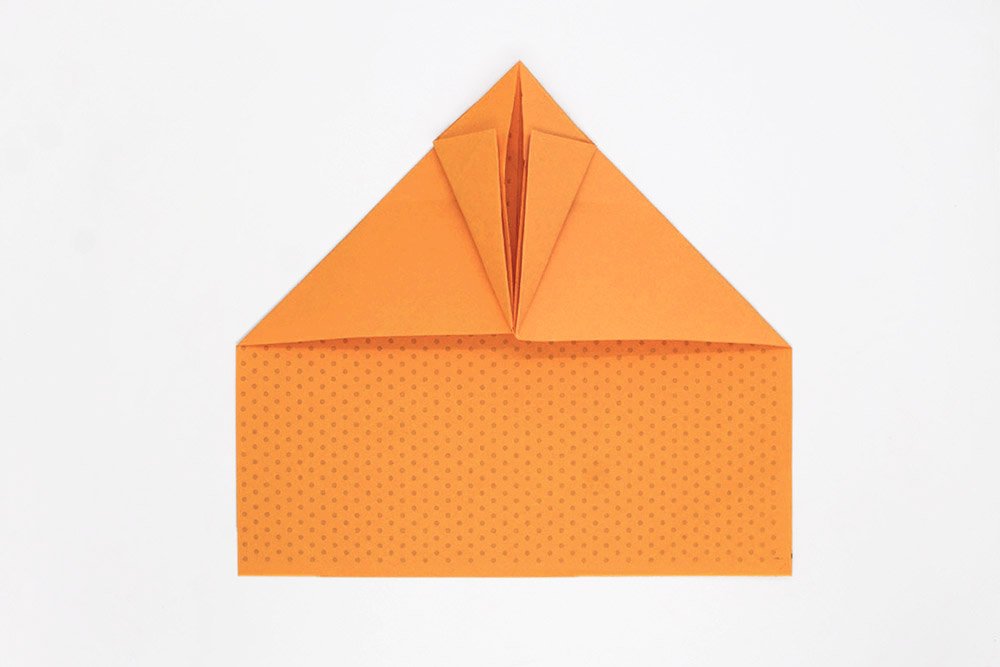
Now repeat the previous step on the bottom left edge. In other words, fold the left corner of the top layer to the middle.
Here you can see how the bottom edges are folded towards the middle.
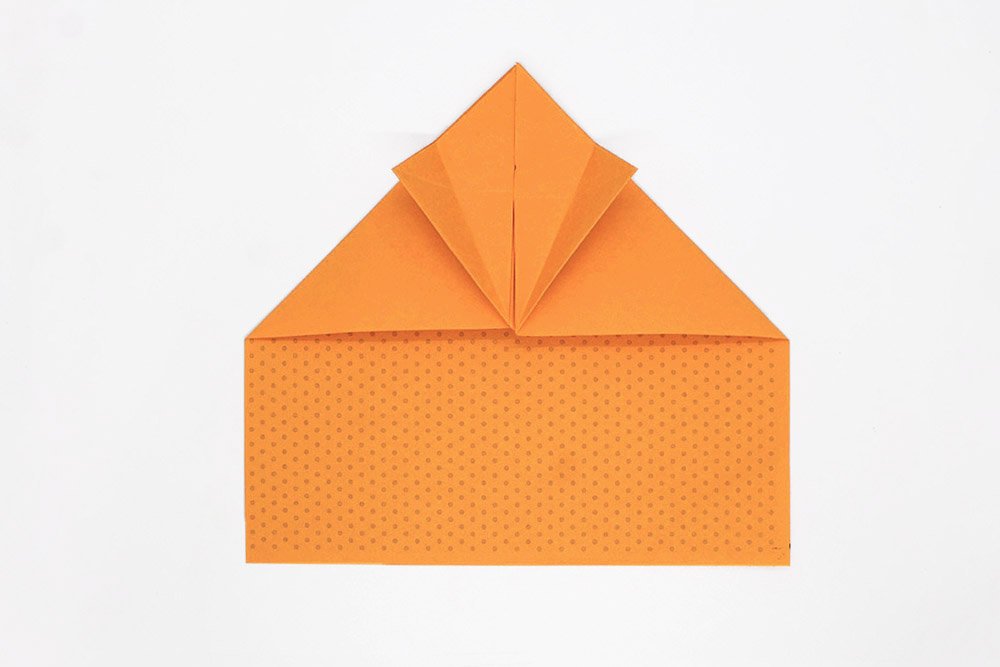
Unfold the top and right bottom edges that you have just folded.
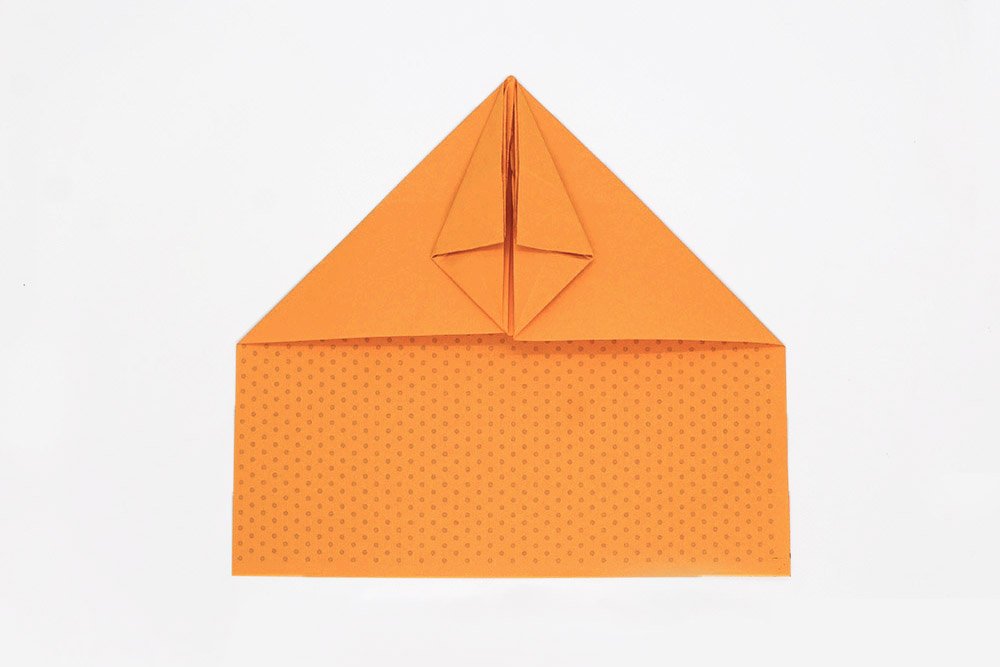
Then do the same on the upper edges. To put it differently, fold the corners just like the way you did last time but the edges should be folded upwards.
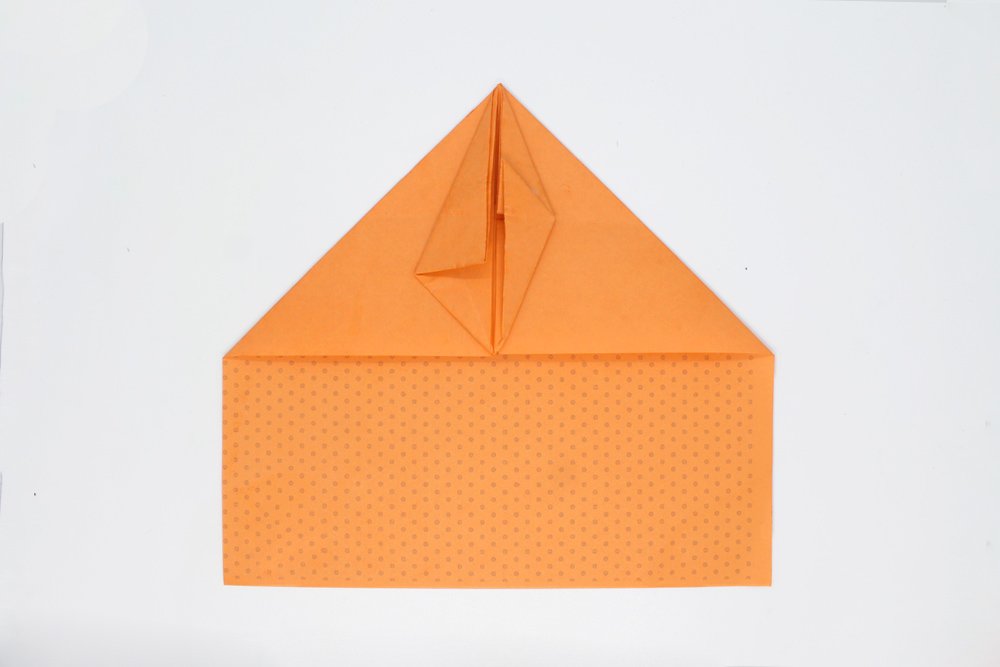
Unfold the right flap and Flatten it upwards .
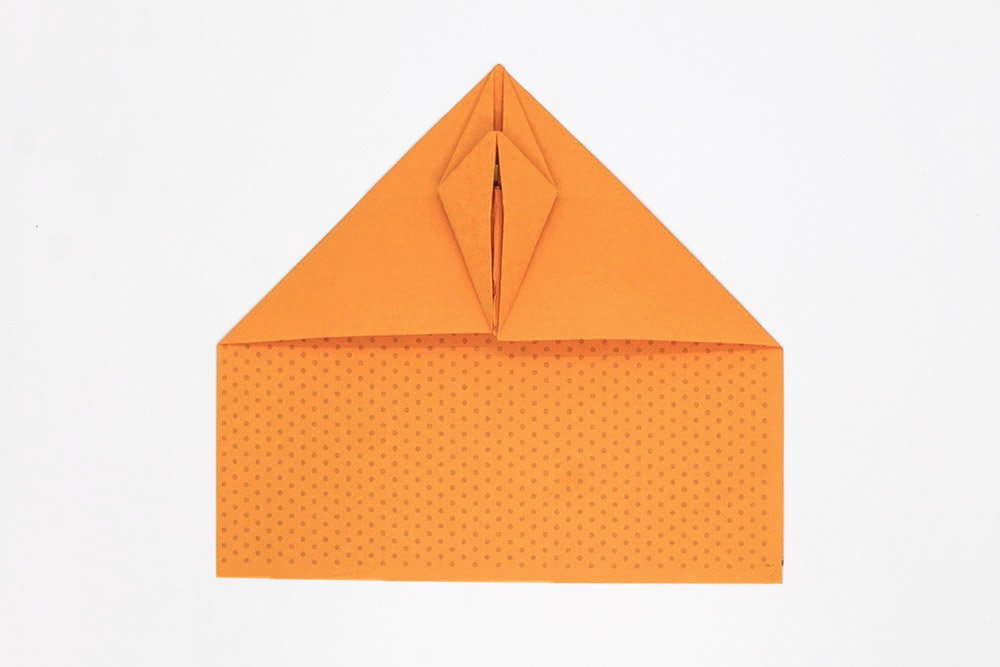
Then repeat the process on the left side. It should now look like this as illustrated above.
Make the Body and Wings of the Hawk
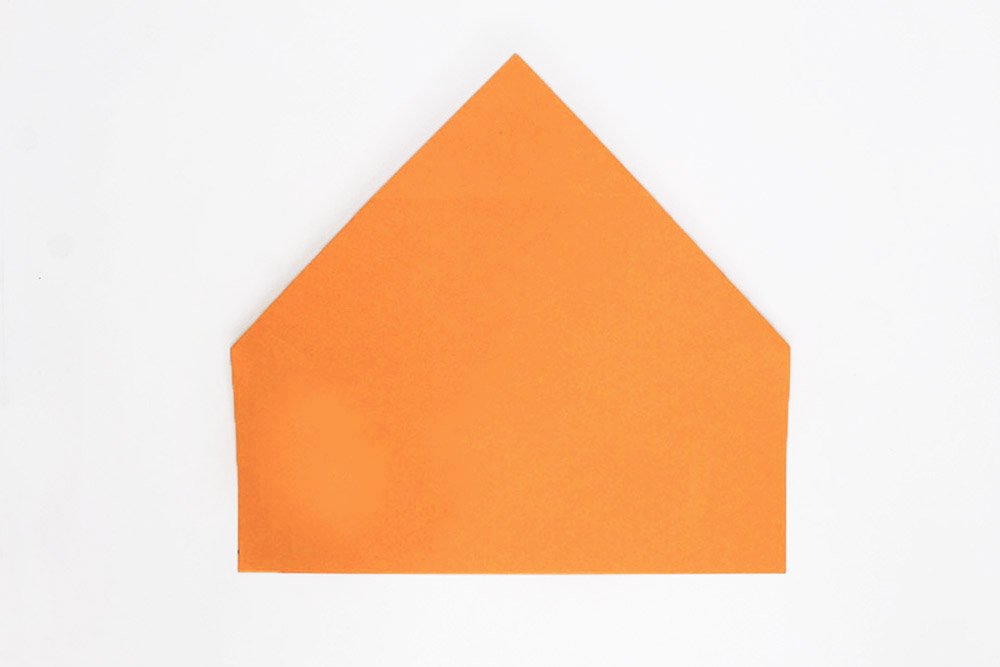
Turn the paper plane over to the other side.
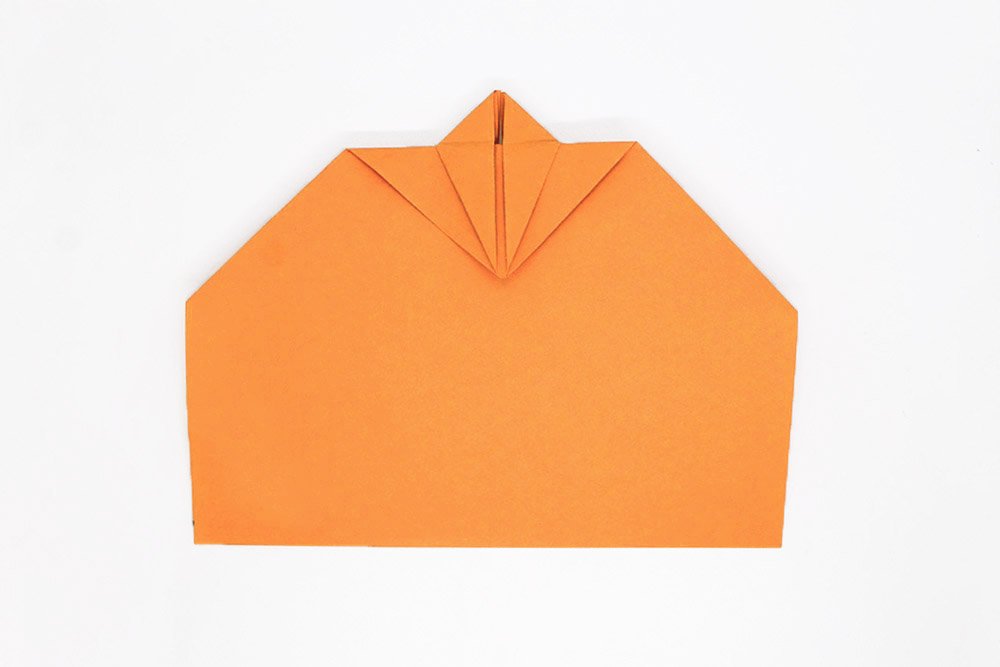
Bring down the top corner.
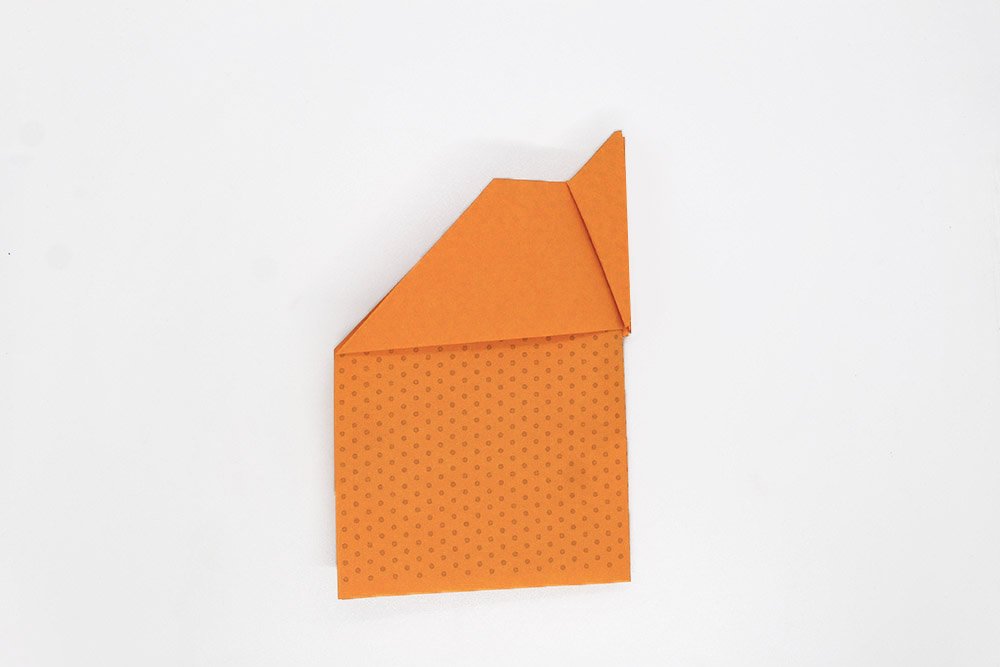
Fold the paper plane in half.
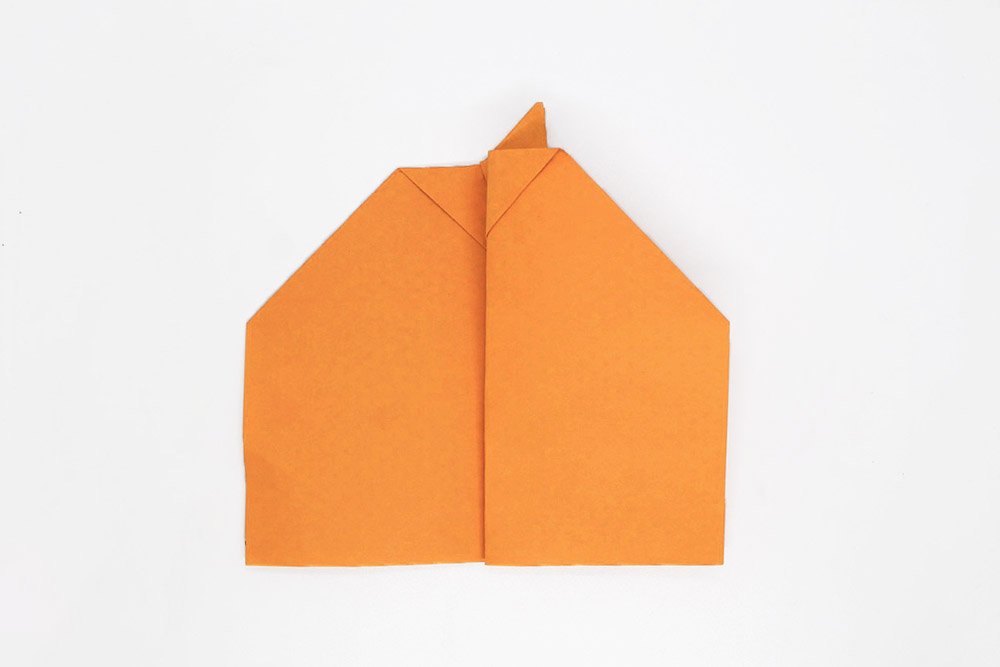
Make a wing by folding a portion of the top layer to the right.
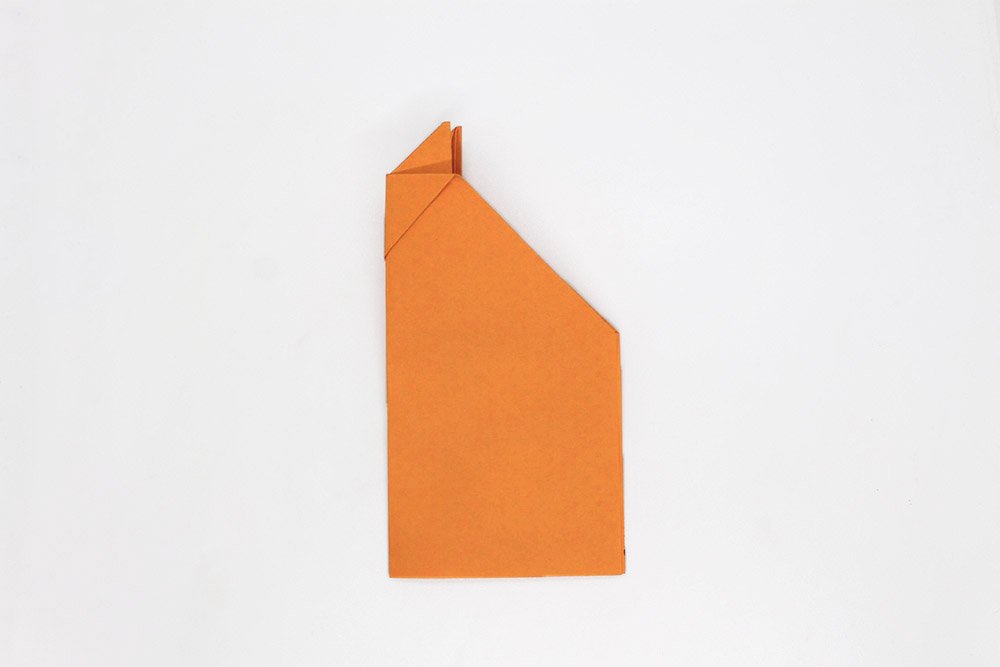
Next, flip the paper over and then make the other wing by folding a portion of the top layer downwards.
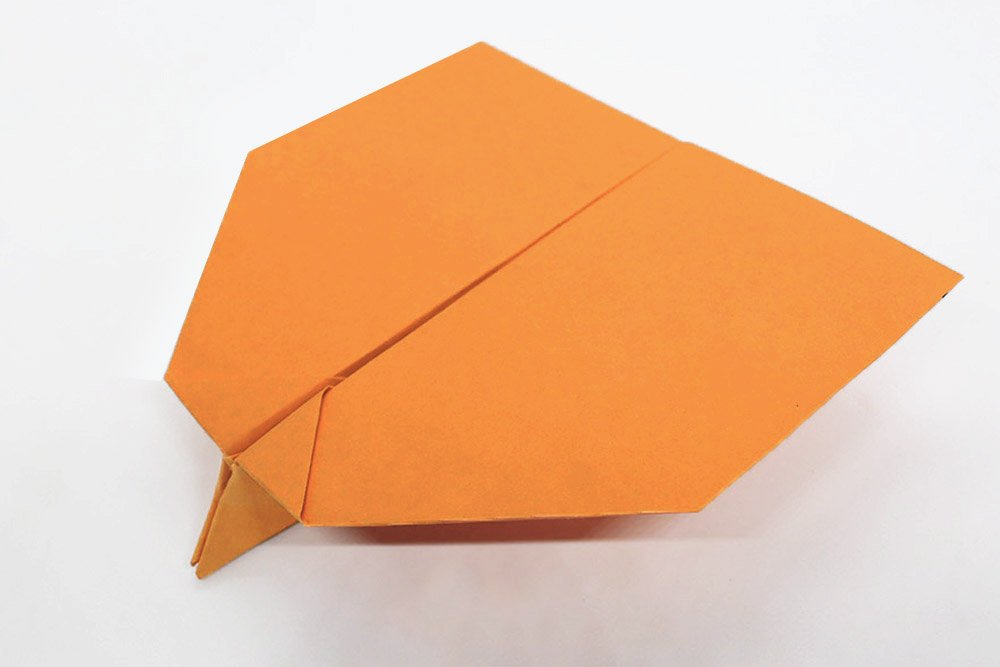
Flare out the wings in a 90-degree angle.
Congratulations! Have fun flying the hawk! Comment down below on how far your paper airplane has flown!
Extra Tips
- The wings of the hawk may fall apart in flight. To prevent this, take a strip of scotch tape and glue both wings together. The wings should no longer slope downwards. This is one of the ways on how you can improve the smooth flight of your paper plane.
- The next trick will improve the durability of your paper plane. Take a long strip of scotch tape and tape it to the bottom edge of the fuselage. This will protect the aircraft against hard landings and moisture.
- Fold the corners of the wings in about an inch. These protruding edges (winglets) will give you more stability in flight.
- Have fun implementing the tips and tricks. Be sure to check out the other guides on ‘How to make a paper airplane.


