Introduction:
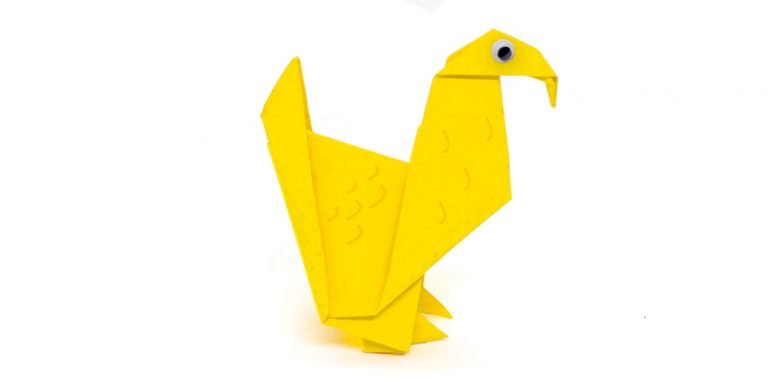
A turkey origami is a great activity for kids and adults as it is fairly easy to make and requires less complicated folds. With adult supervision, kids can make this into a festive project suitable for the fall and Thanksgiving seasons. When you’re done, you and the kids can use and customize it however you like. You may embellish it to give the turkey some character. Draw some eyes or attach some feather. You may also use it as a Fall décor or attach it to a Thanksgiving greeting card.
Fold the paper Into a triangle

To make this turkey, you need to use a square piece of origami paper. I recommend using a paper with different sides so that you can easily follow these step-by-step instructions.

Face the colored side down, then fold it lengthwise in half.

Crease the paper well and unfold.
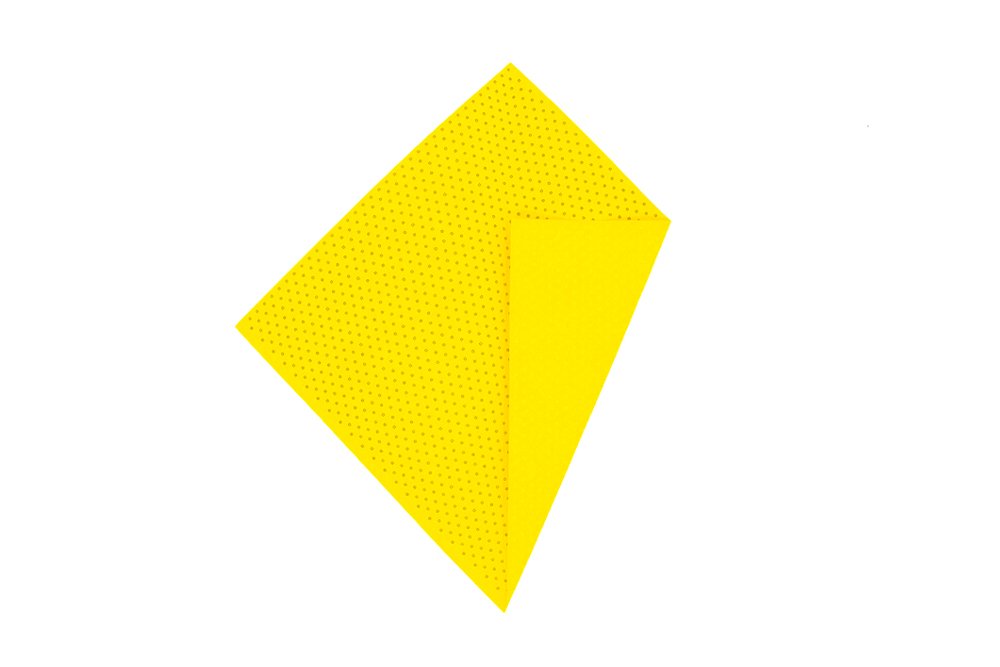
Fold the right corner towards the middle crease line.
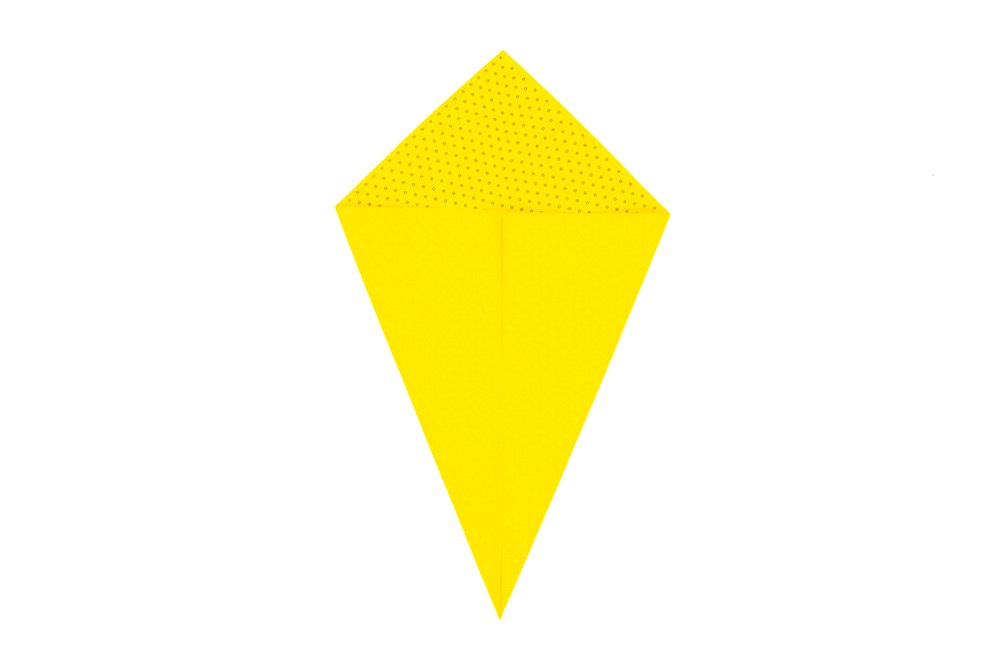
Do the same for the left corner.
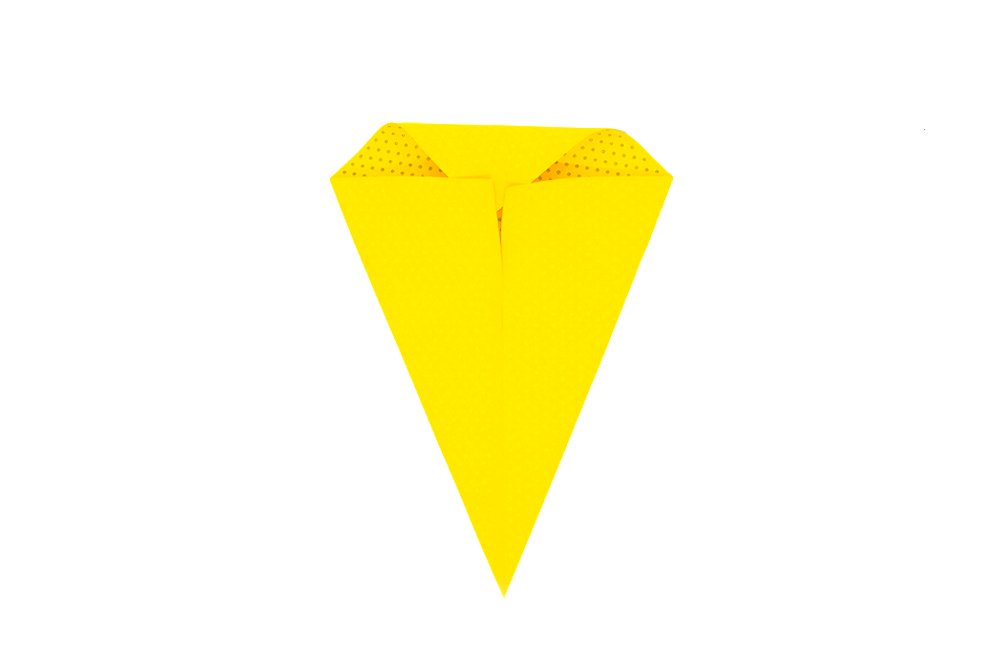
Notice the top tip of your origami paper, you must insert that tip inside the pockets you have made.
Fold the feet of the origami turkey

Continue to insert and then squash it down. Time for the next steps after. This is what your origami paper should look once you have inserted it.
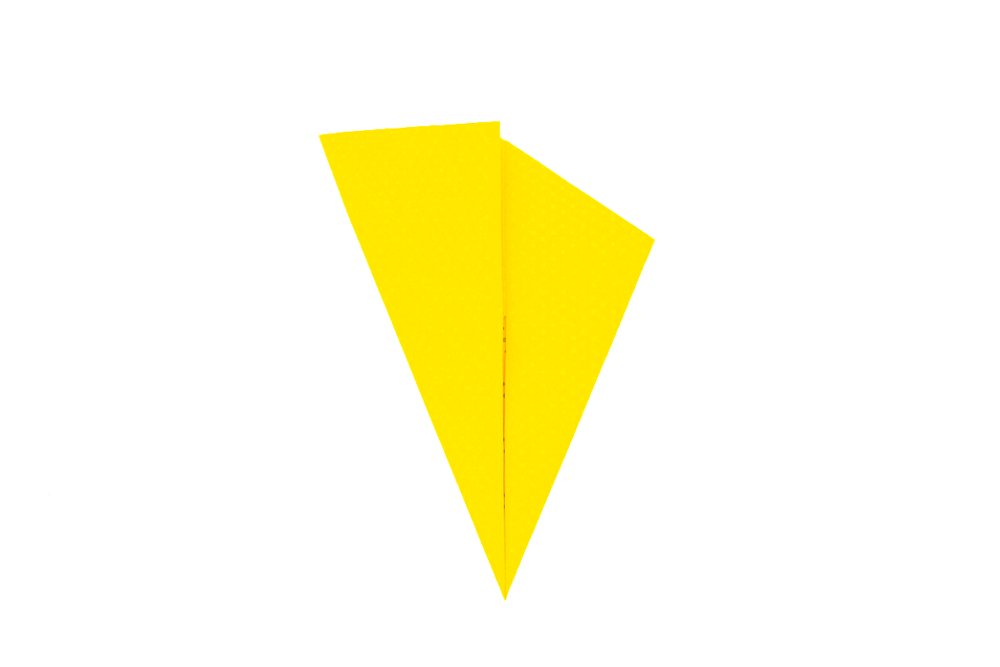
Diagonally fold the right corner downwards. Crease it well and then unfold.

Fold the left corner downwards as well. Unfold the flap to make another crease line.
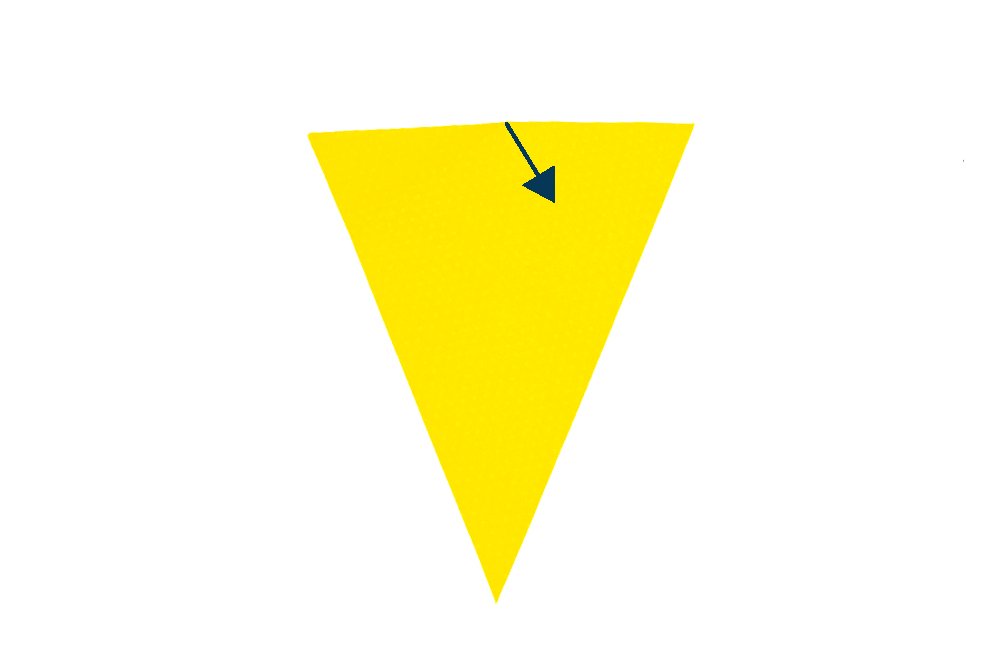
You will see that the diagram has two triangular flaps (left and right). We will make a “squash fold” on the right triangle first.
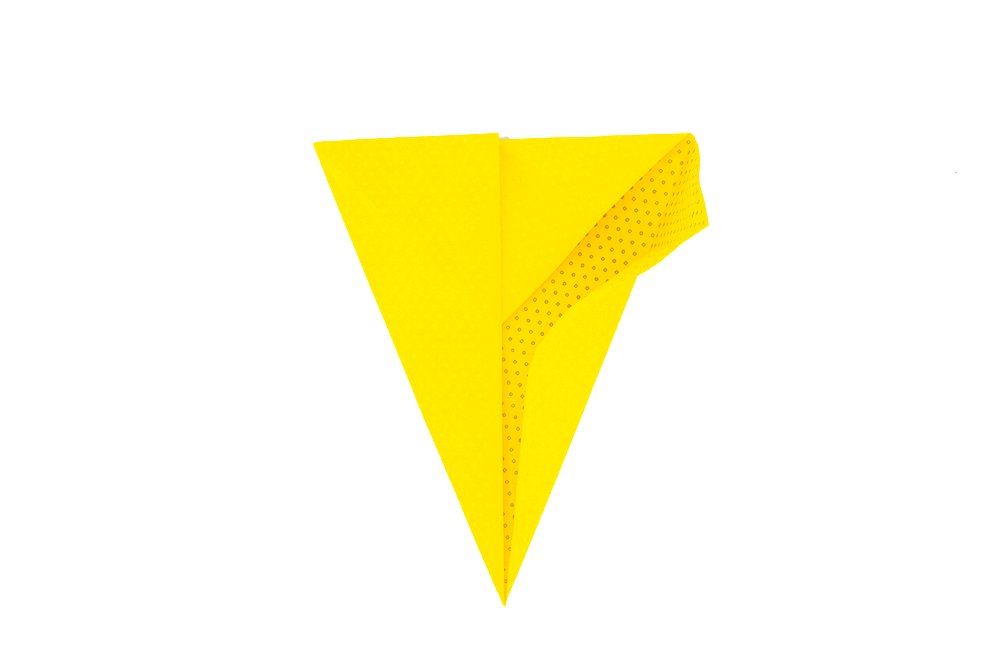
Pull down the inner corner of the triangle to the right.
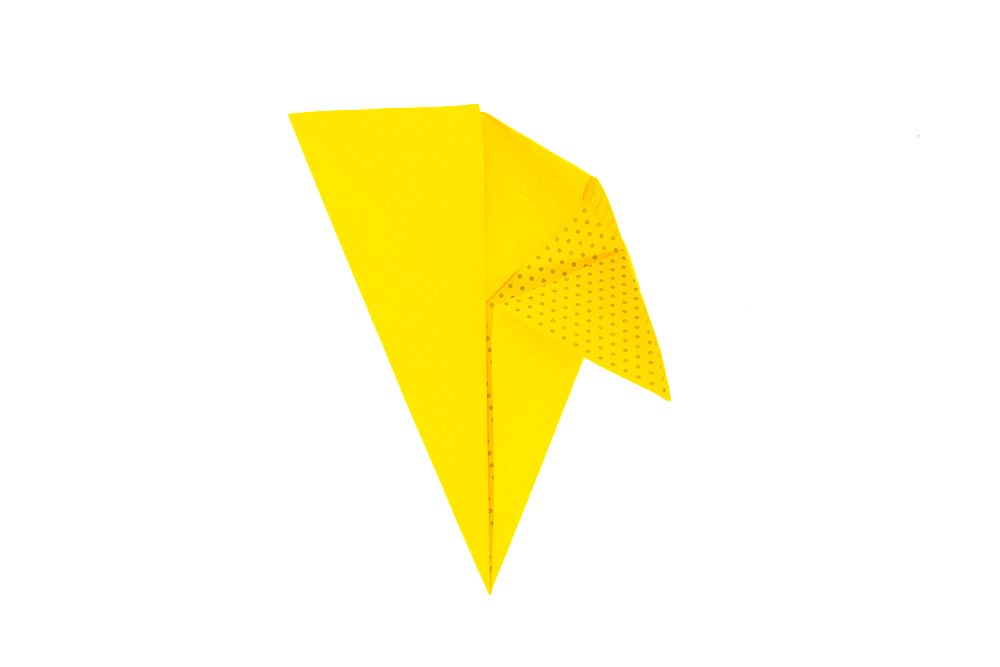
Once you are unable to pull it down further, squash it down and flatten. You have just made a squash fold.
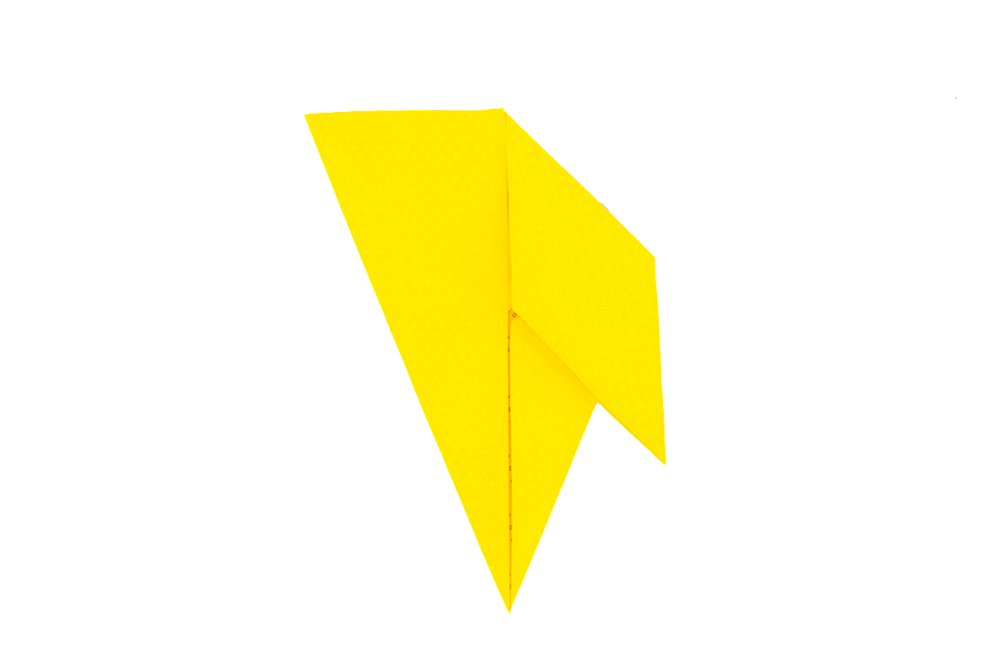
You have just made a squash fold.
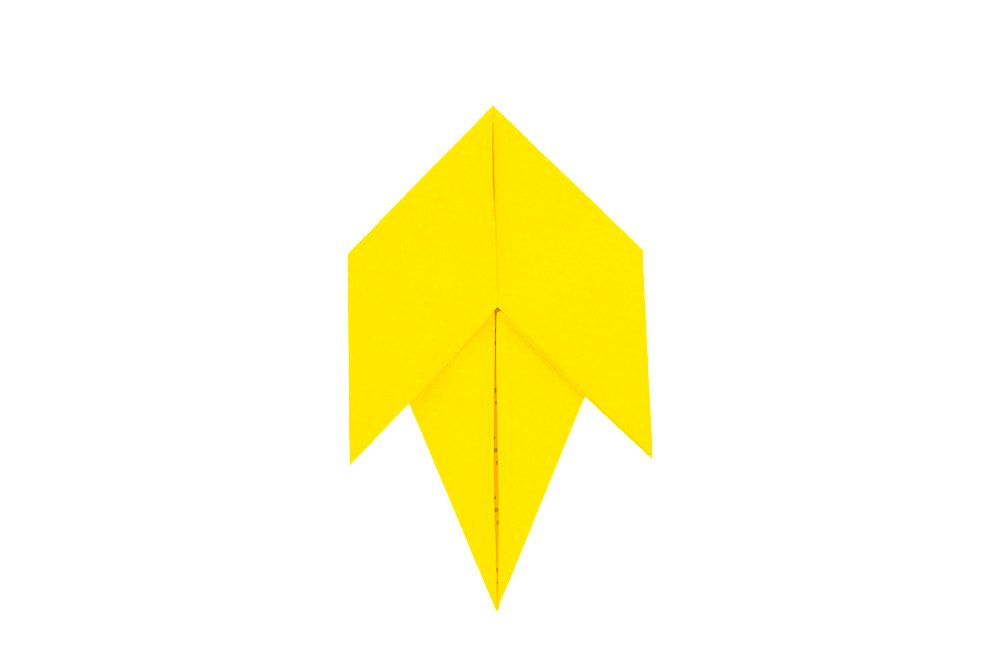
Now do the same for the left side such that the two sides will become symmetrical
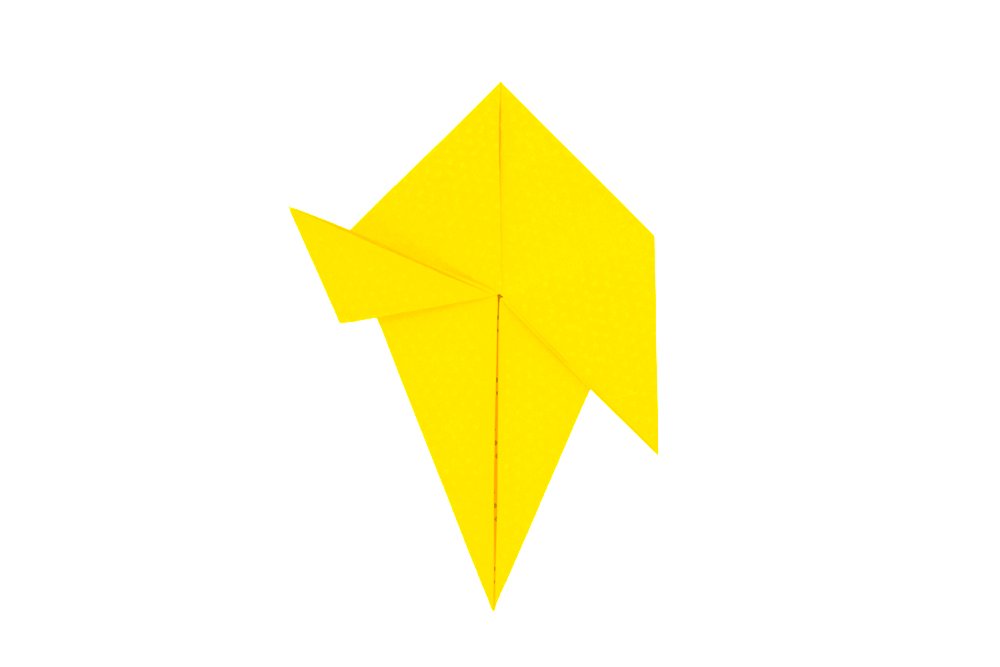
To make the origami turkey’s left feet diagonally fold the top layer.
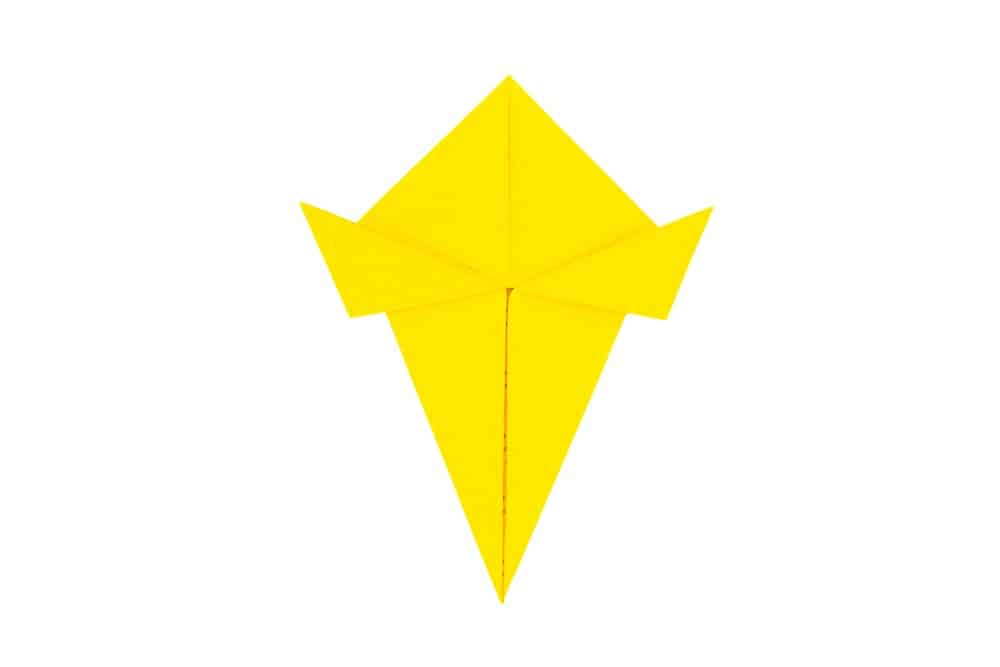
Do the same on the right side.
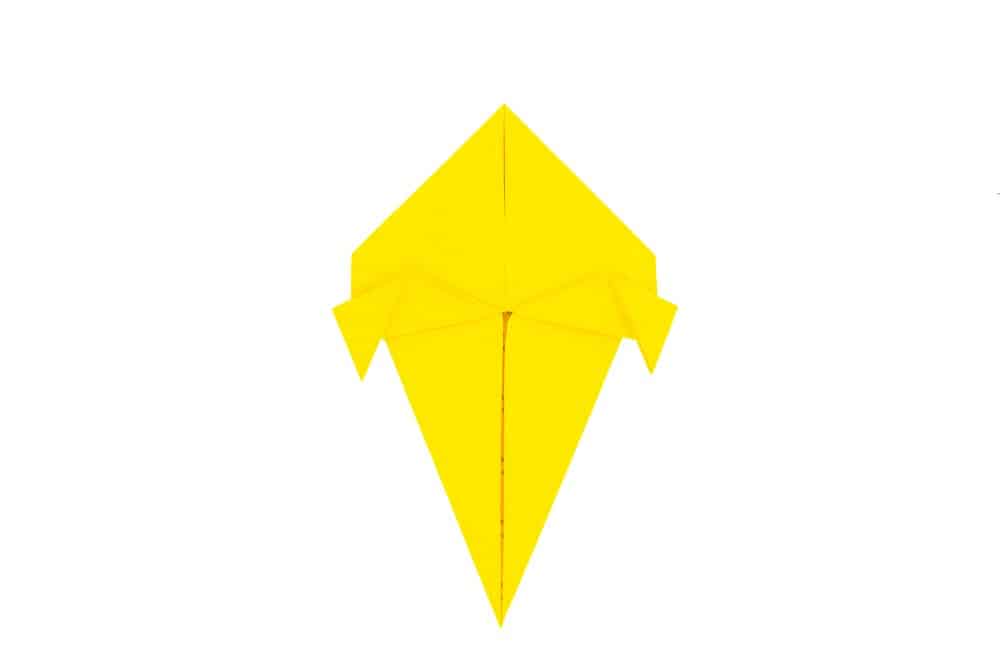
Fold the top corner of the turkey’s feet downward.
Great job, this is what your paper should look like now. Time to complete this origami, You have to fold the origami lengthwise in half.
Create the head and tail of the origami turkey

This is what your paper should look like now. Then, rotate the origami 90 degrees counterclockwise.
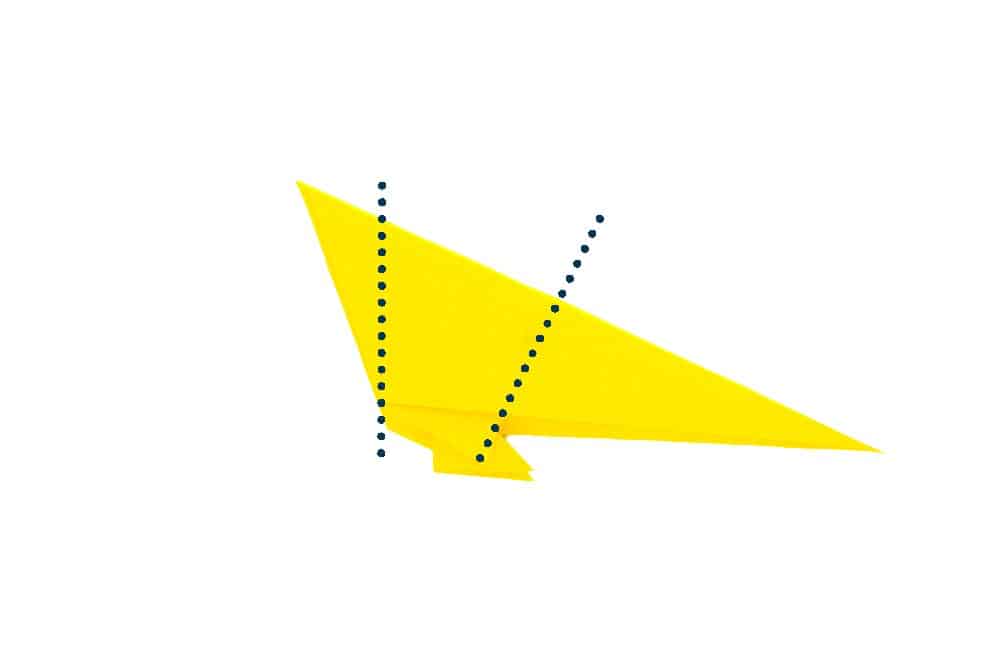
To form the turkey’s neck and tail, make two (2) outside reverse folds along the lines. To create these outside reverse fold, crease along the dotted lines, then fold each tip backward by making valley folds on each side. Along the lines shown, to form the neck and tail of the turkey. To create these outside reverse fold, crease along the dotted lines, then fold each tip backward by making a valley fold on both sides.
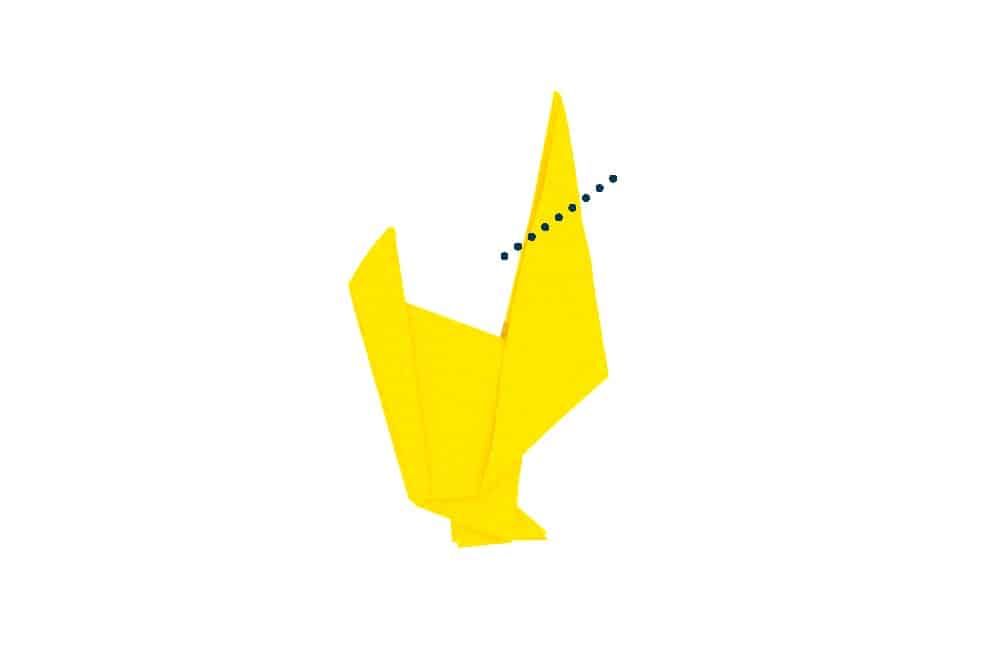
Next, make the head of the turkey bird. Make one (1) more outside reverse fold to form the turkey’s head.
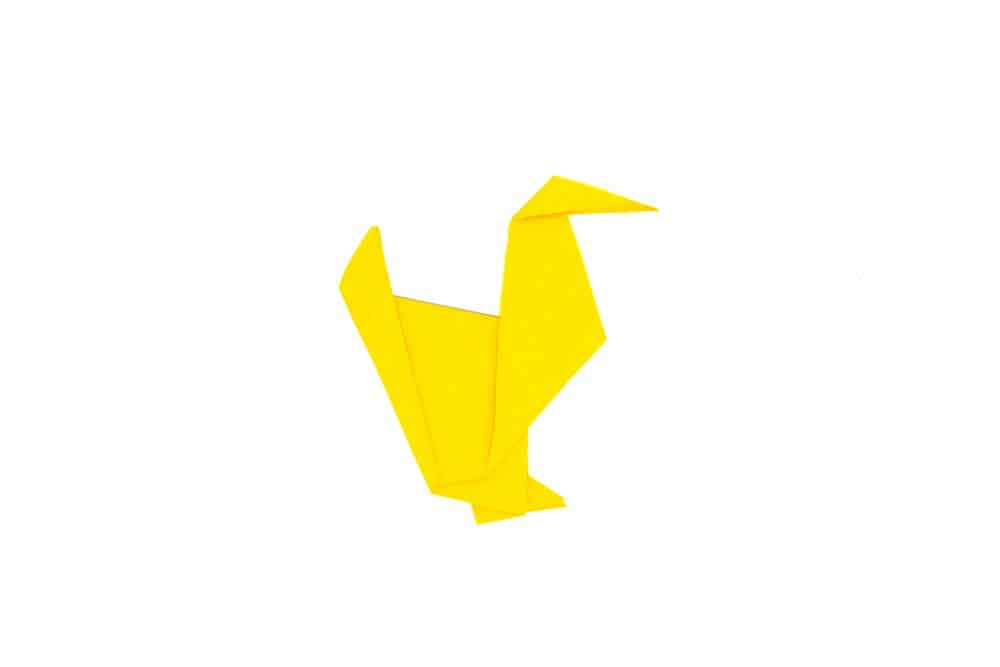
Lastly, fold the tip of the head back.
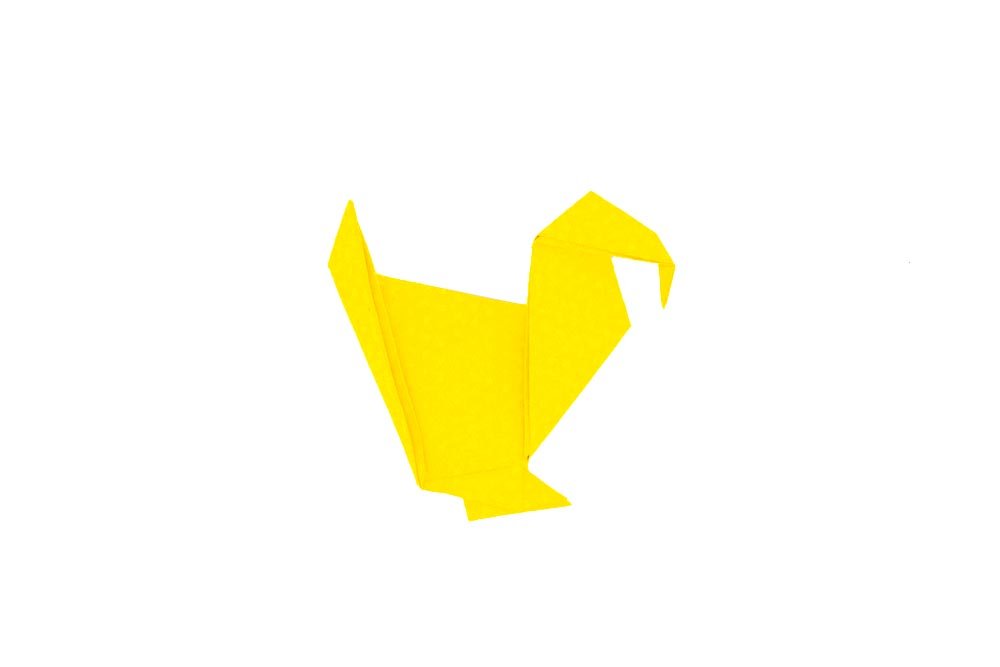
You’re done! You have made an awesome origami of a turkey! A fun and festive origami suited for the Fall season and Thanksgiving.
Explore other festive crafts that we have onsite!
Extra Tips
- What can you do to make your origami chicken even more special? Try to add some details to it! Get creative and have fun.
- Fold straight and apply enough pressure. If you make mistakes and need another piece of paper, get another piece of paper. It simply won't look good if there are unnecessary crease lines.
- Be sure to check some of our other origami guides. It's load of fun.

