
Introduction:
For this instruction, let’s learn how to make an origami goldfish! Fish origami is one of the popular subjects in the art of Japanese paper folding. The fish is a symbolic image of strength and persistence. This is why they are given importance in Japanese culture.
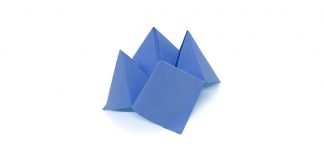
Here we’ll teach you how to make your own lovely origami fish and decorate it however you like. It’s easy and fun to make this traditional origami model, and it only takes a couple of minutes. You can create a whole school of goldfish in various colors or make a pretty scene to display in your home. It’s made from an origami windmill base (shown) and has been decorated with colored paper.
This fish origami may be a bit tricky to do, but this 15-step instruction will help you create your paper goldfish. Look at the photos, then follow this tutorial step by step and make your own cute origami fish.
Make Creases to make the base of the origami fish
We need to make some creases to the origami paper first to make the paper gold fish.
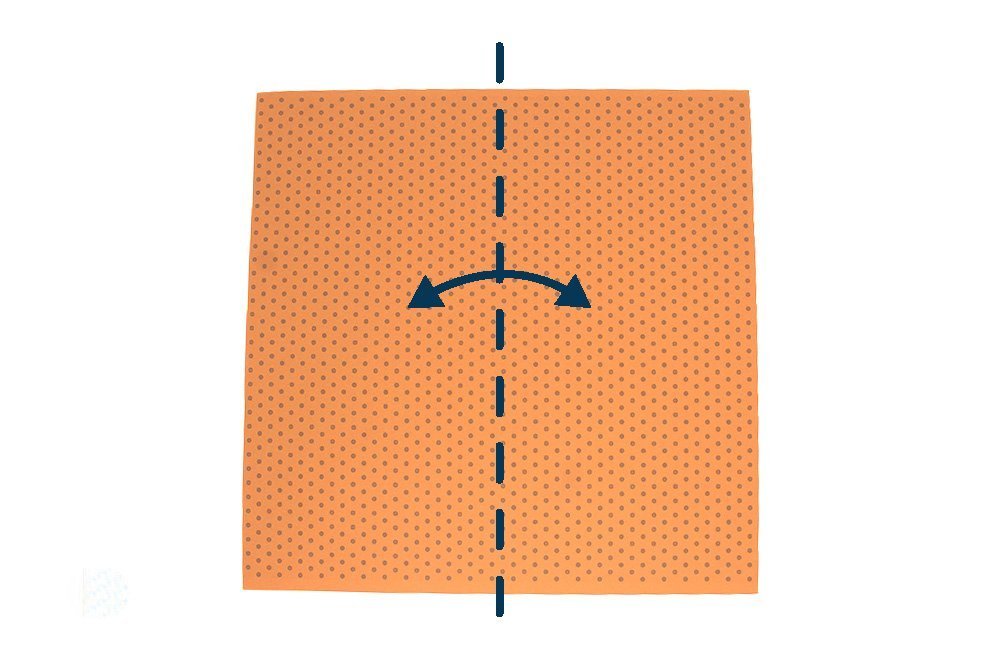
Lay an origami paper in front of you. Then fold it in half vertically. Unfold.
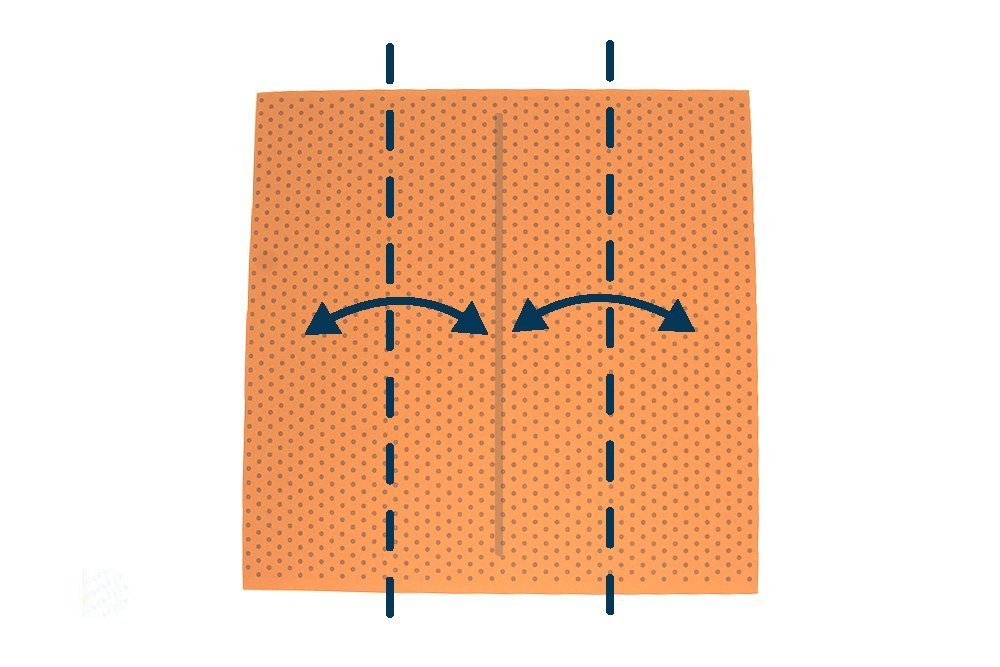
After making a nice vertical crease line in the middle, fold the left and right edges towards the middle crease line. Unfold once done.
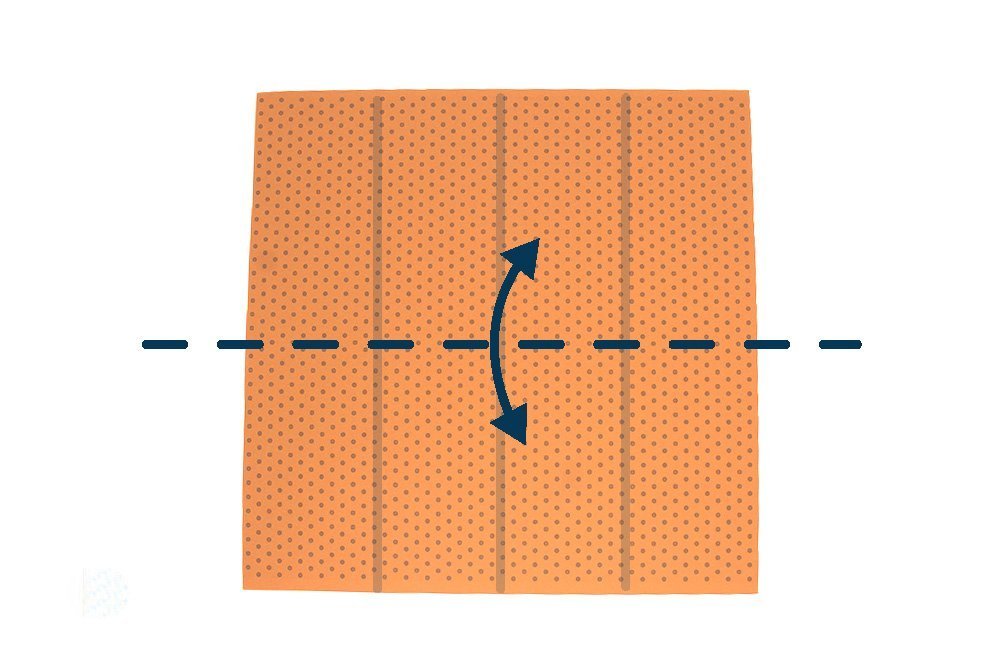
Fold the paper in half horizontally and unfold.
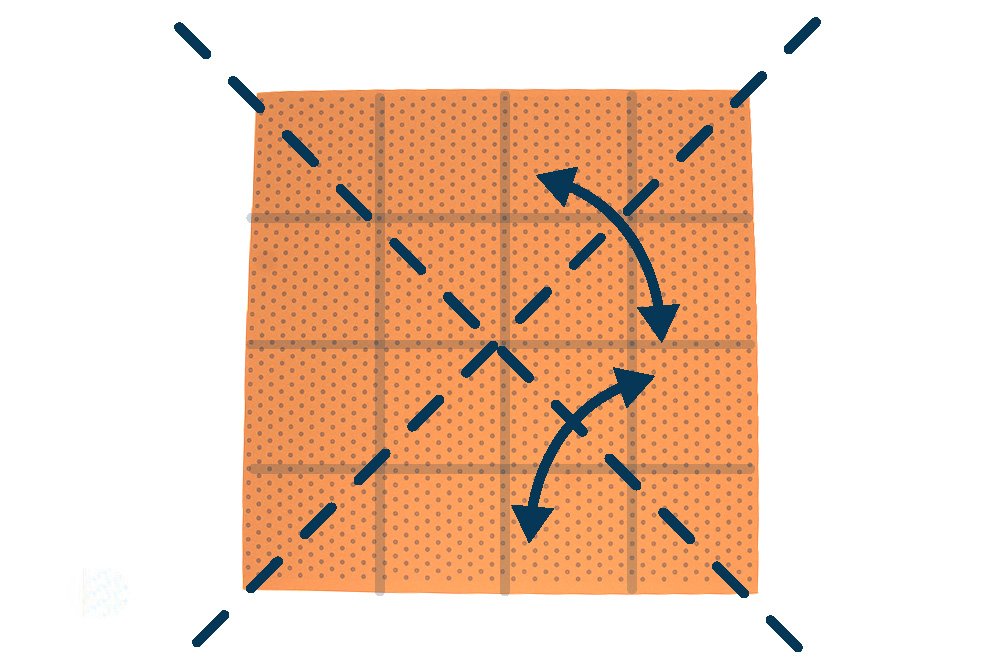
Next, diagonally fold the paper twice. Fold the top right corner towards the left bottom corner. Unfold, then fold top left corner towards the bottom right corner.
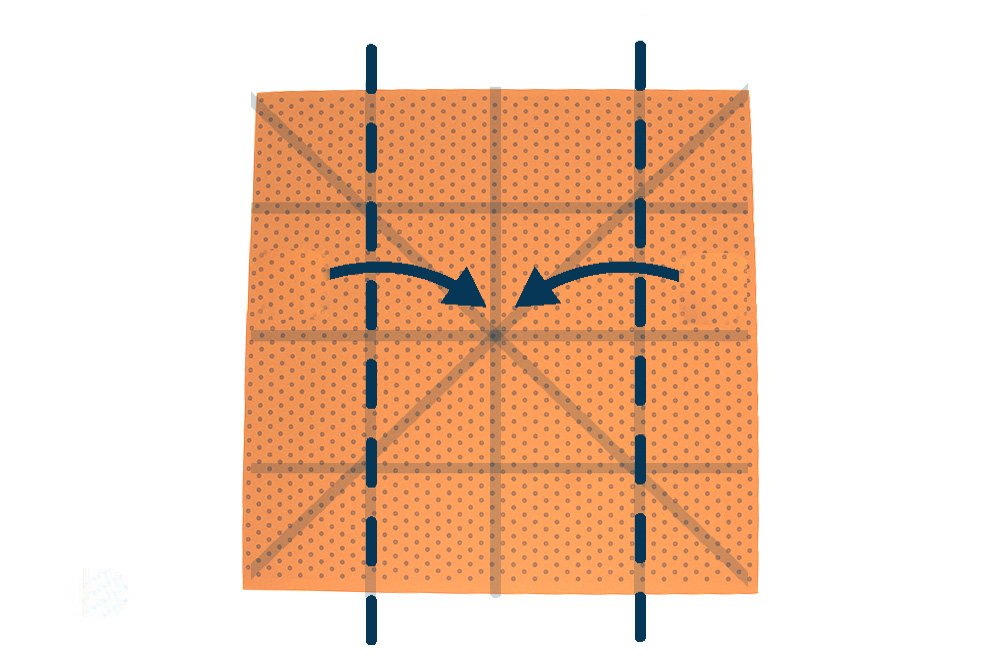
Then fold the right and left edges to the center crease line.
Now that the creases are established, we can now fold the origami paper into a hexagon square base.
Form the hexagon base of the origami fish
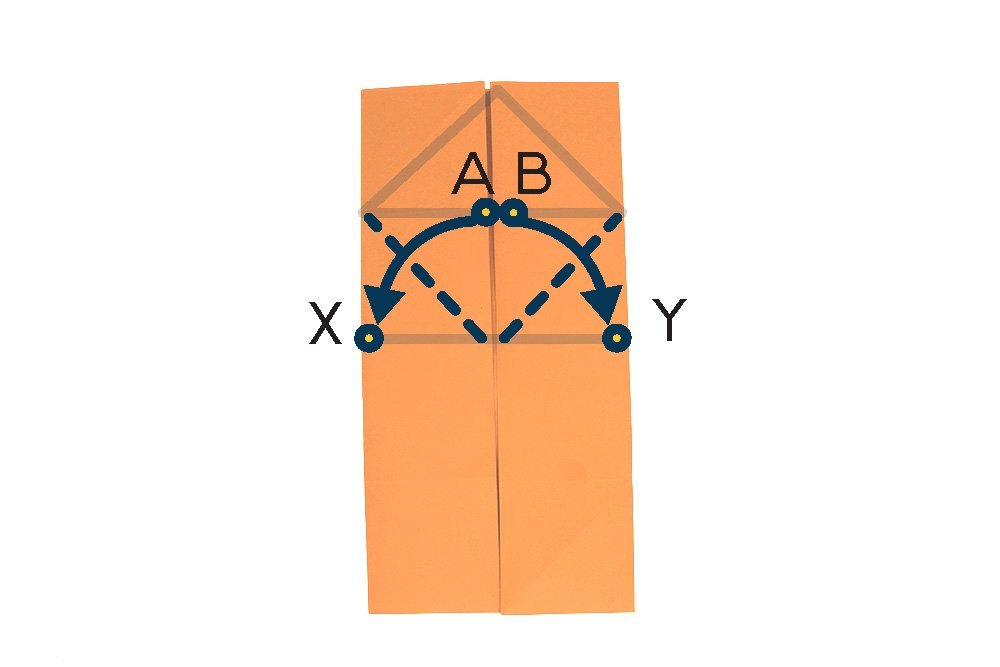
Then move the dots in the middle towards the dots at the bottom.
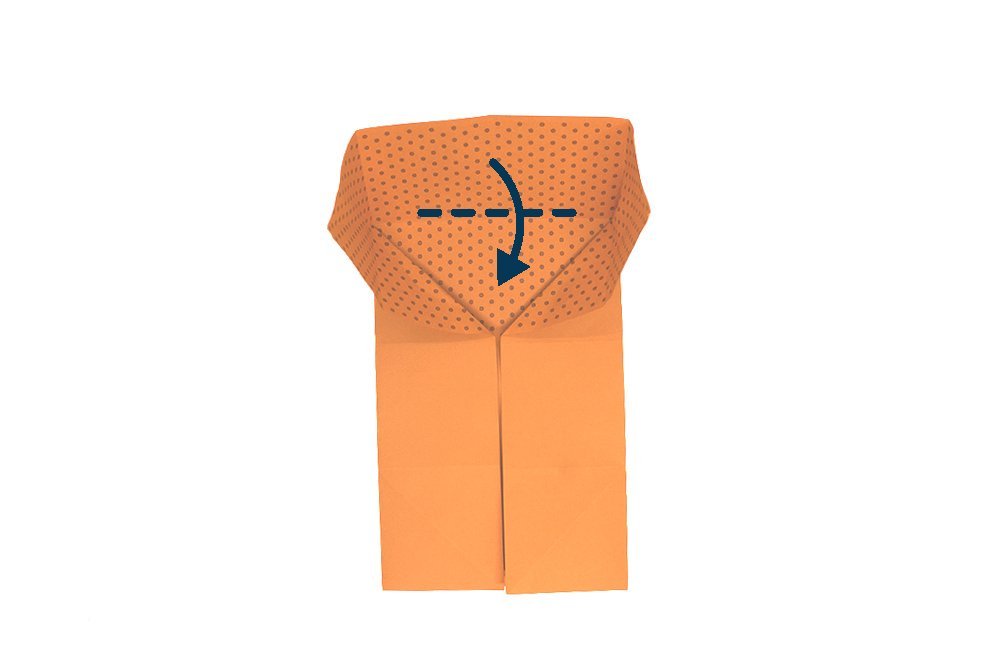
This is what your origami paper should look like. Then bring the top edge towards the bottom.

This is what your origami should look like now. Then do the same for the bottom edge.

Flatten the bottom part as well like what we did to the top part,
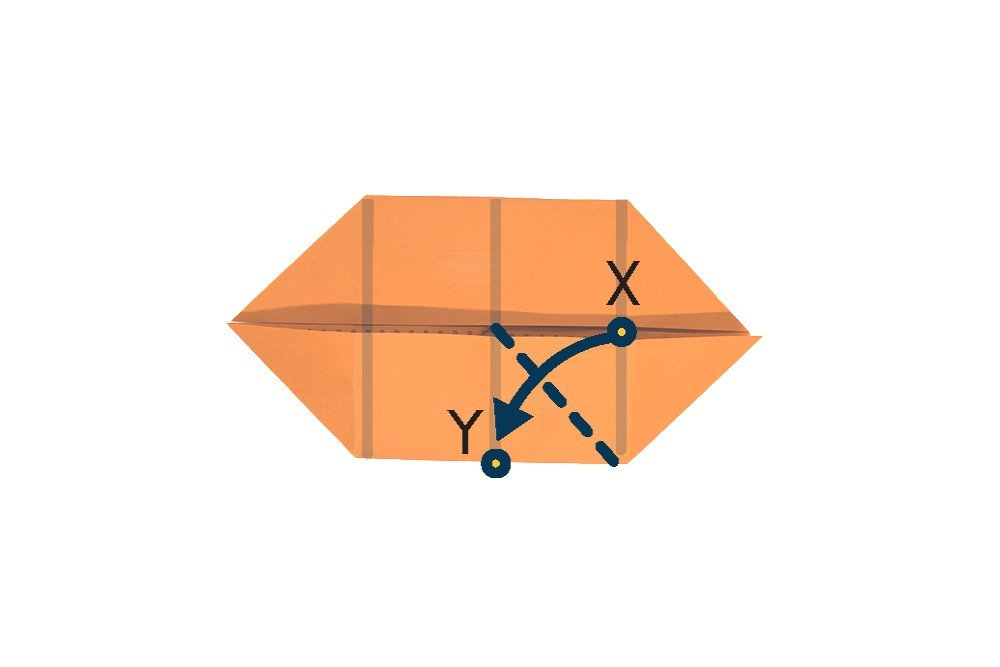
Great, this is what your paper should look like now. We will turn one of the sides into a windmill base flap to create the fins of the goldfish.
Start by diagonally folding the bottom right part towards the bottom as shown in the dashed lines above. Bring the x-dot towards the y-dot basically.
Create the fins of the origami goldfish
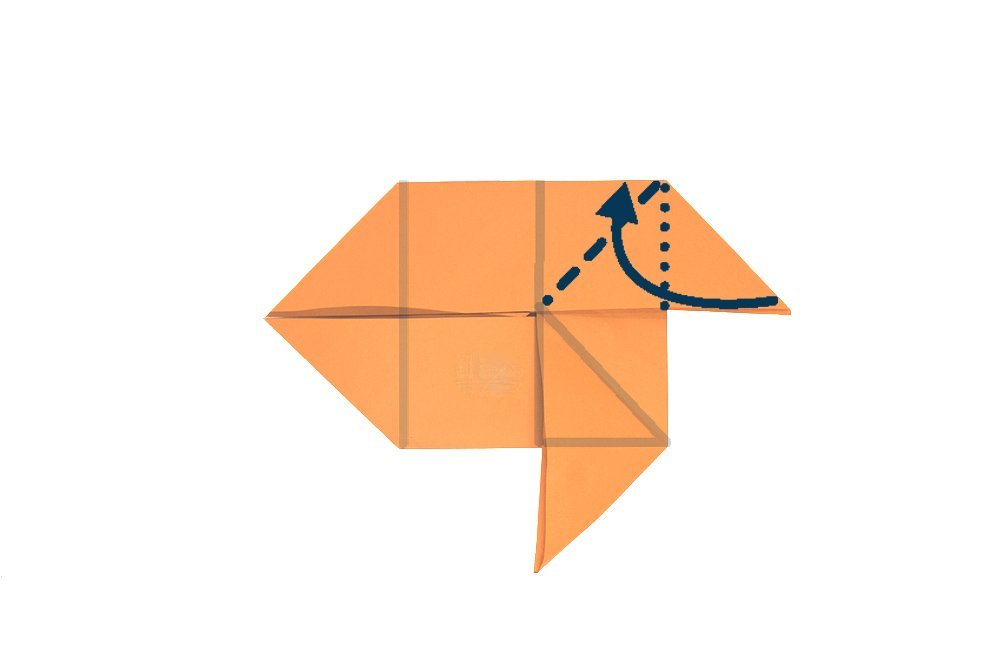
Then make the right top corner stand. Bring it over along the dash line in the picture above.
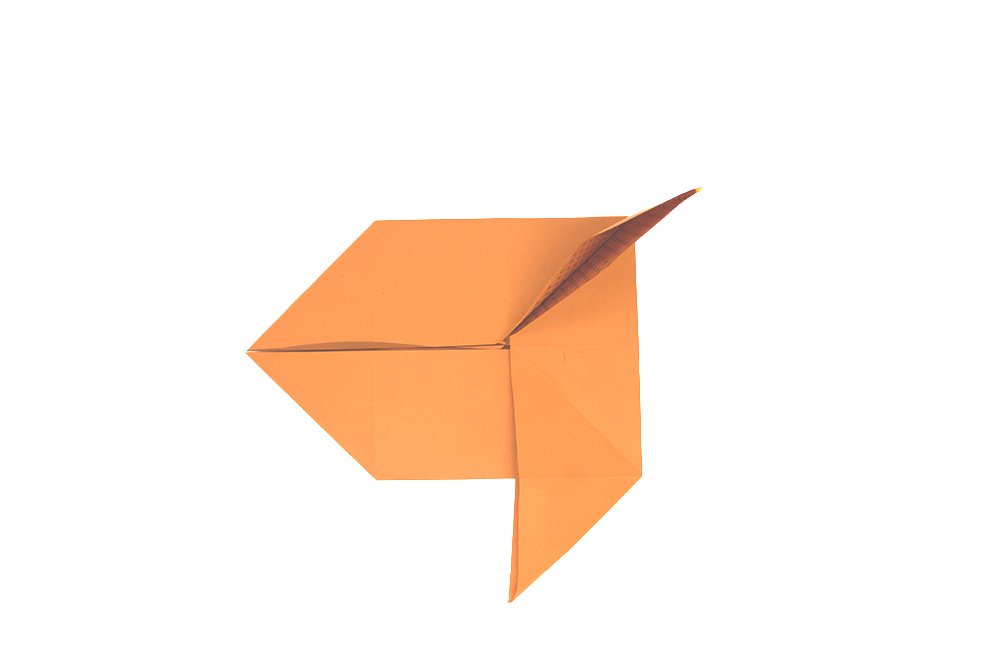
Then begin flatting the top right part.
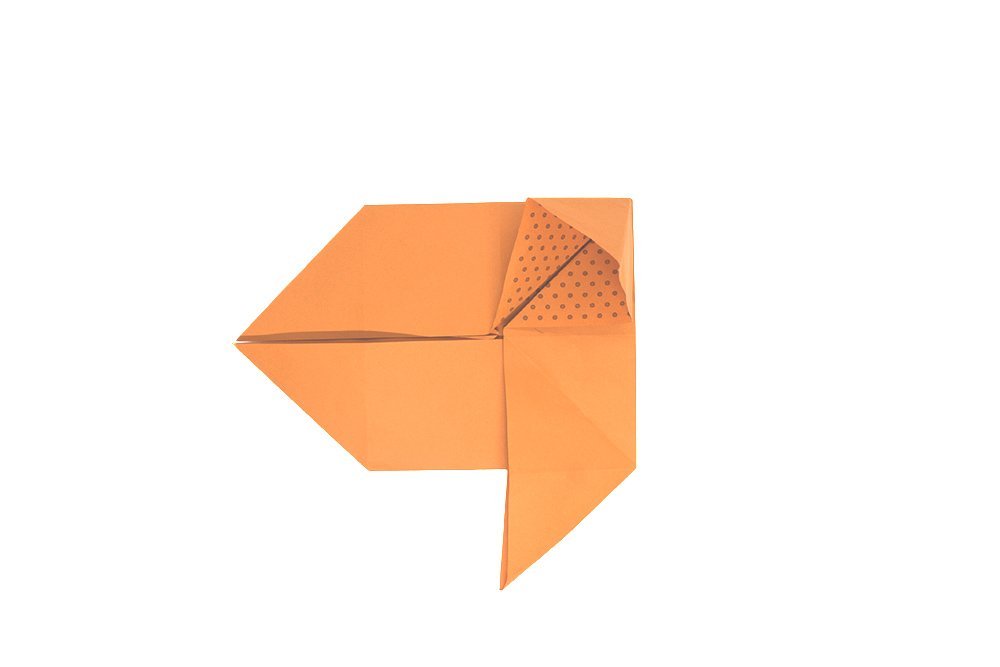
This is what it should look like halfway when you are flattening it. Squash it and this would make the head of the paper fish.
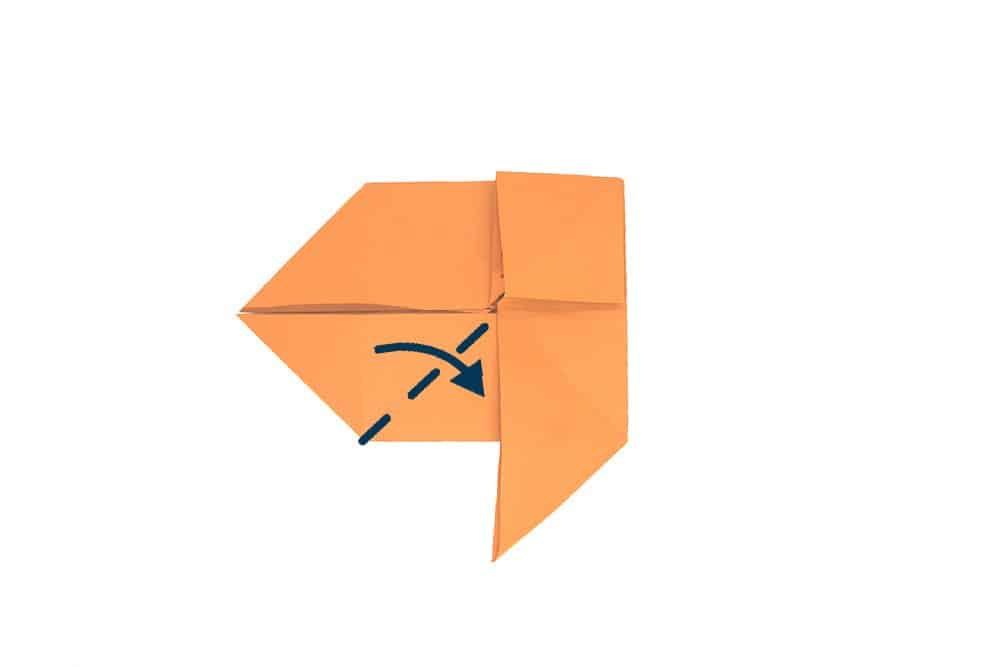
Diagonally fold. Follow the dashed lines. This would make the tail.
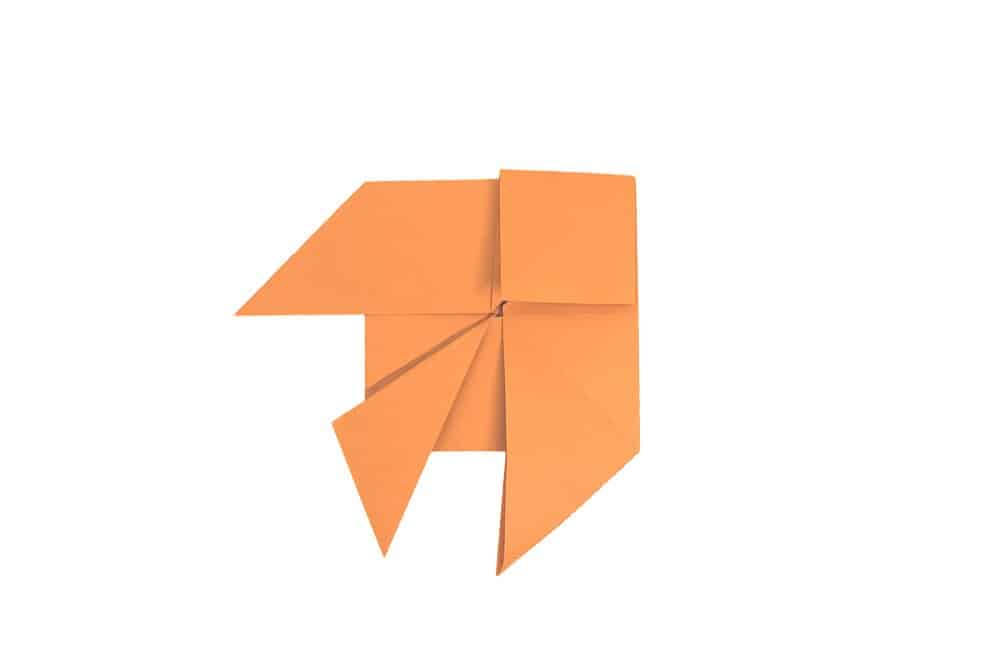
Your origami paper now has a silhouette of a fish! Rotate it 90-degrees clockwise then flip it over.
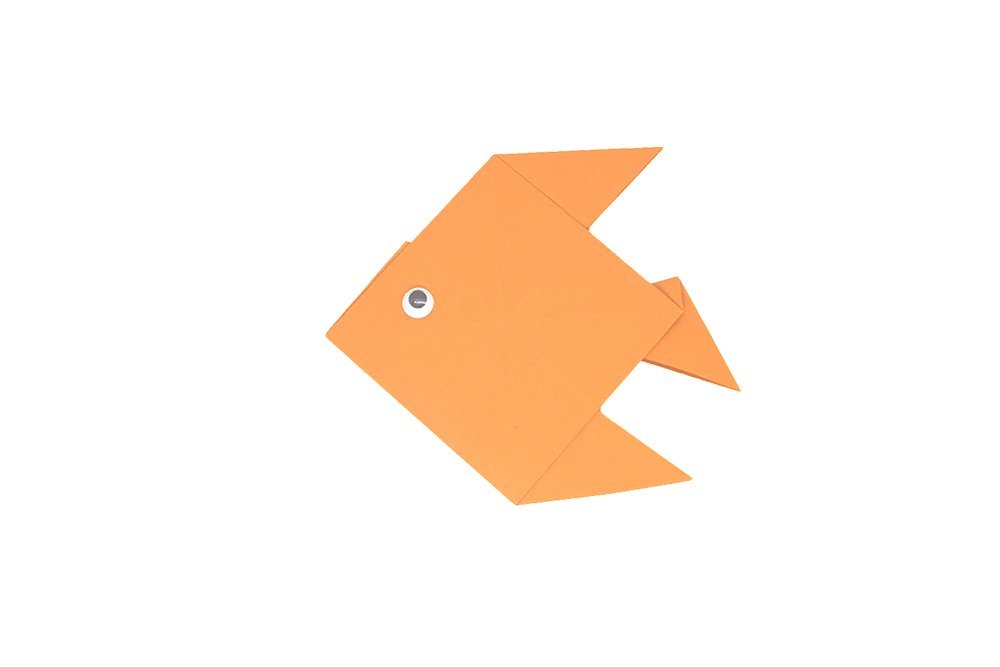
Your origami goldfish is finished!
Extra Tips
- If you’re looking for an easier version of this fish origami, try making other fishes and sea animals which you can learn here.
- Add some scales to your origami fish to make it come to life. Use a marker to draw some scales or cut half circles and stick them to the paper fish!
- You can draw and add googly eyes to your origami goldfish to make it look better.


Material Info
To make this origami fish, a piece of square paper and your hands is all you need! We recommend using a 15cm-by-15cm sized form with a 60 to 63 gsm thickness to be durable enough to withstand folding, bending, and creasing. This paper is called “kami” in Japanese, and you can find these types of paper in your local bookstore or Japanese specialty store.
If you don’t have square paper on hand, you may use any paper like bond paper or construction paper and cut it into a square. You may also be resourceful by using old newspapers, gift wrappers, and magazine pages to make this origami. Not only are you being creative, but you are also taking the initiative to be environmentally friendly.
Goldfish as Gifts
Did you know that goldfish were once seen as valuable presents for loved ones? Long ago, it is customary for couples to give fish as gifts to their spouse to symbolize prosperity. There are a lot of factors to consider when giving someone a “live” pet , but it won’t hurt to give someone special a paper goldfish to wish them abundance. Try it out yourself!
Creative ideas you can do with an origami paper goldfish
-
- Puppets: Stick a popsicle stick or straw and turn it into cute little fish puppets that kids can play and interact
- DIY Hanging Mobile Origami Goldfish : Create a hanging mobile using sticks and hang the little fishes with strings. To give you some idea how to make this, check out how we made a DIY mobile crane.