Explore How to Make an Origami Dinosaur
Introduction:
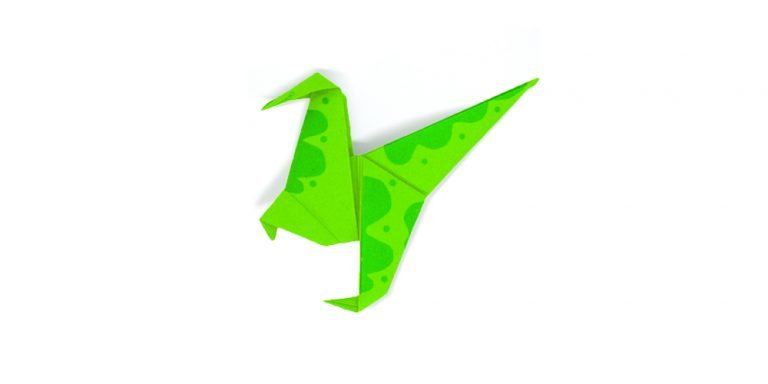
Making this origami dinosaur may look like a difficult task, but it’s actually quite easy, especially if you’re familiar with making a traditional paper crane. For this instruction, we will be using the bird base method. After all, birds are actually dinosaurs. It is this folding base method that is commonly used in various bird origamis such as the crane. It could be a Velociraptor, Pelorosaurus, Anchisaurus, or any dinosaur you may think it looks like for what type of dinosaur this origami may be.
Form the square base
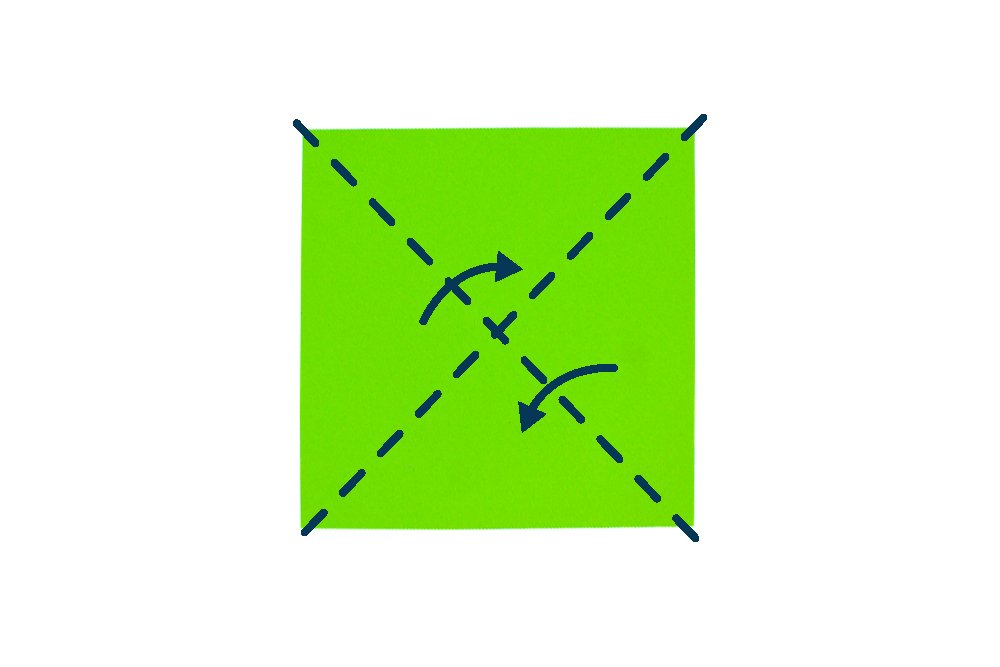
You will need a square piece of paper to make this origami dinosaur. The first step is to make a bird base which is a common origami fold to make various origami birds.
Make a square base by folding the paper diagonally to the left and the right. Then, crease the paper well and unfold it.
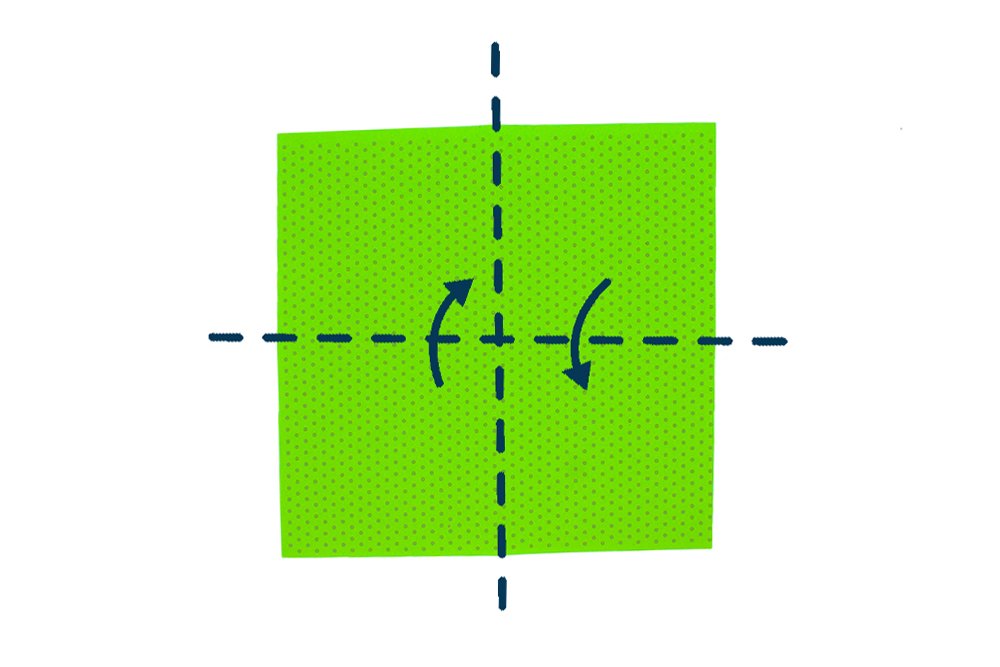
The next step is to make crease marks horizontally and vertically. Mountain fold the paper crosswise and lengthwise in half. Crease well and unfold.
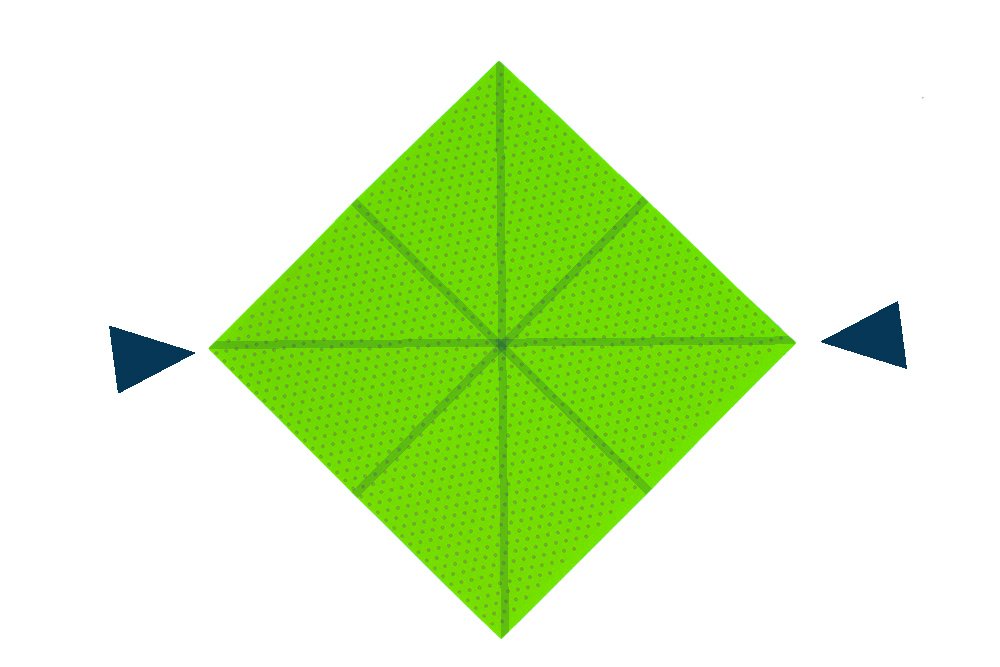
Collapse the paper along the crease marks made. It will also help if you bring the top left and bottom right corners together. This will form a square base. Now rotate it into a diamond.
Create a petal fold
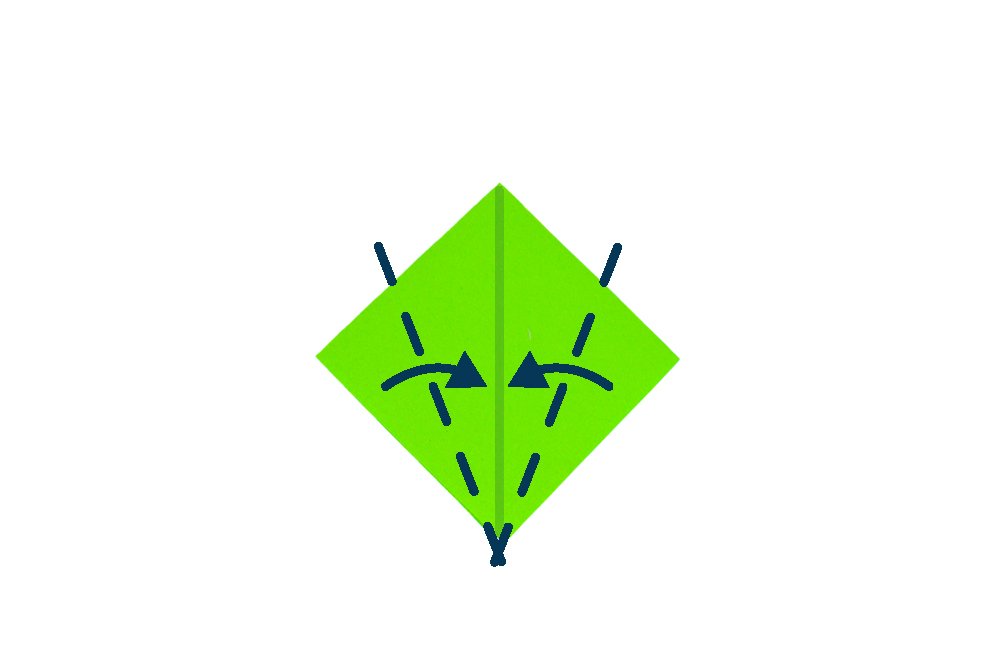
You have now made the square base of the bird fold! To create the bird base, we need to make a petal fold.
Fold the left and right corners to the center. Fold the top layer ONLY.
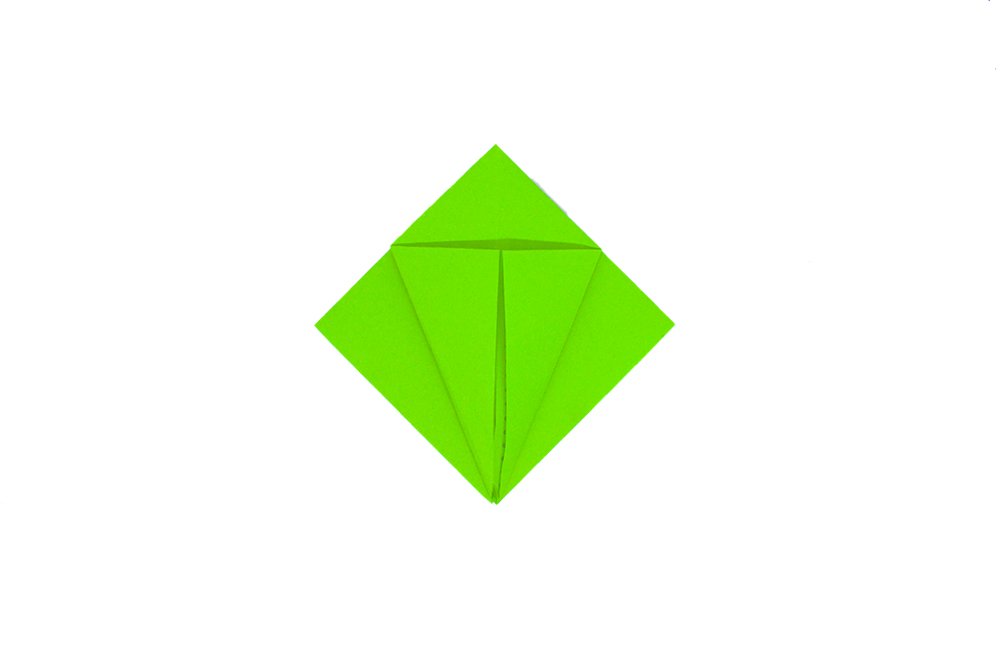
Unfold the two flaps made.
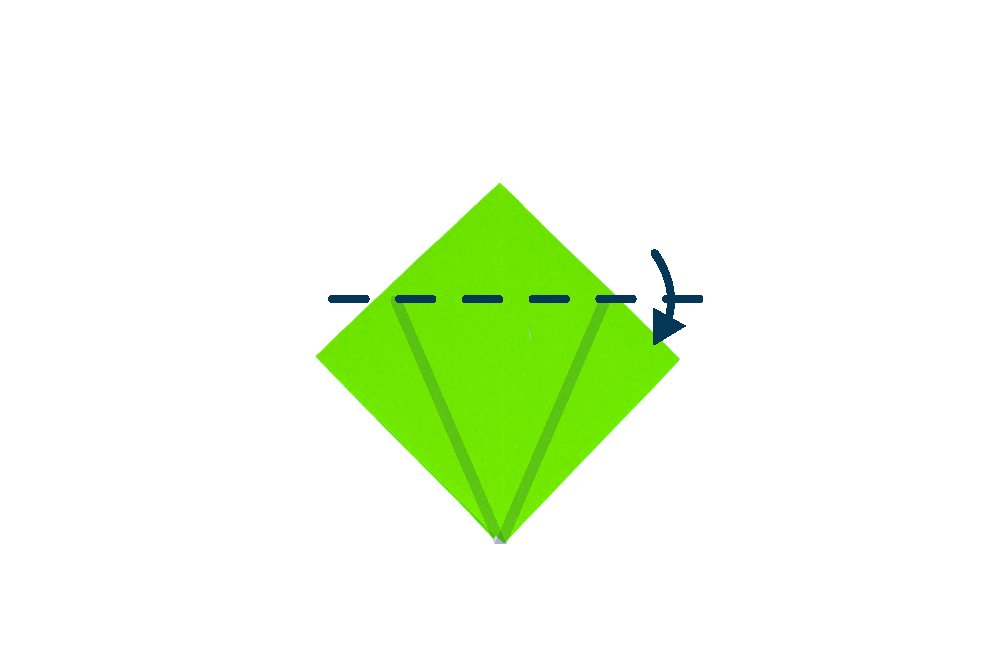
Fold the top corner down to the center.
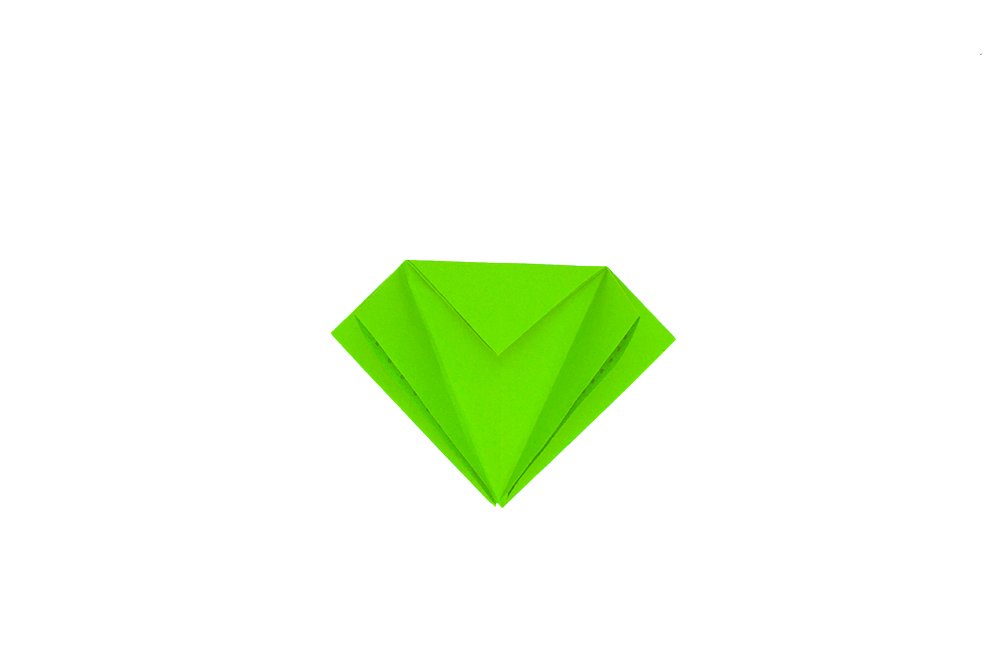
Unfold the previous made.
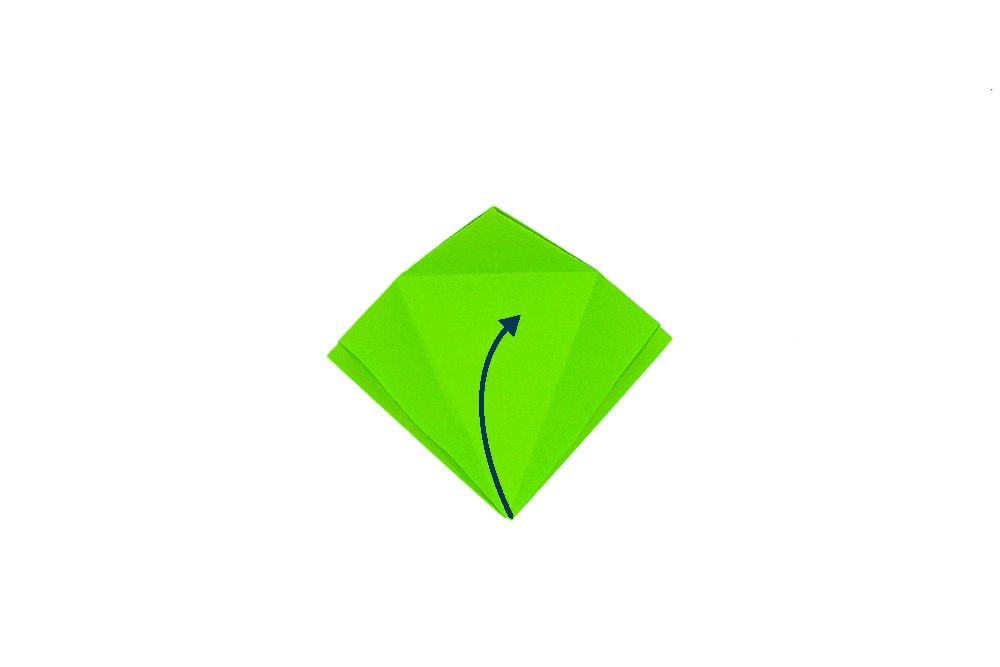
Gently lift the bottom corner of the top layer ONLY.
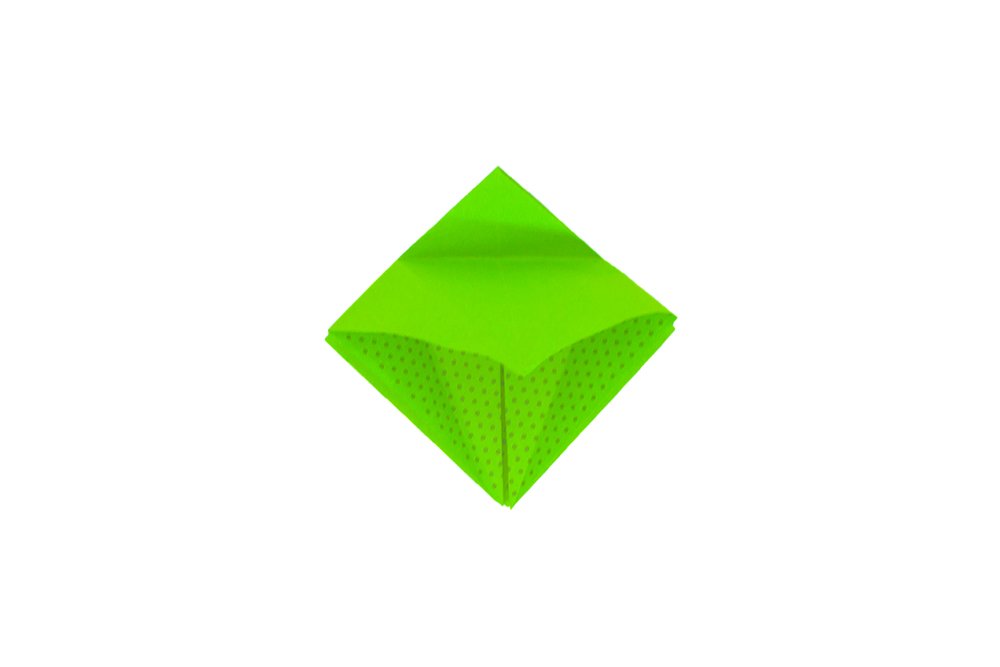
Keep pulling it gently.
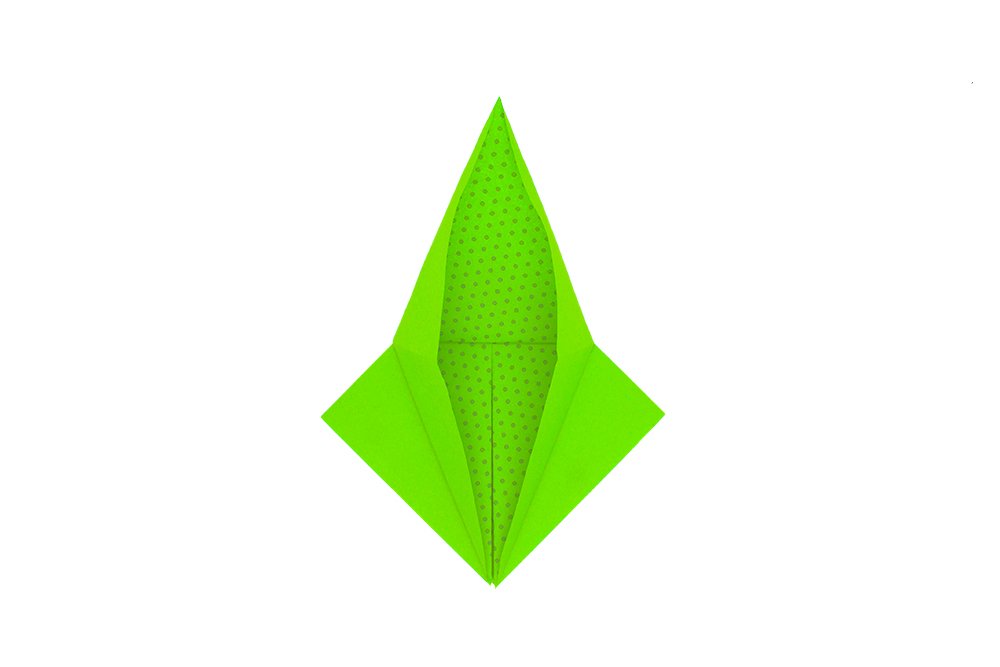
Keep pulling it to the top.
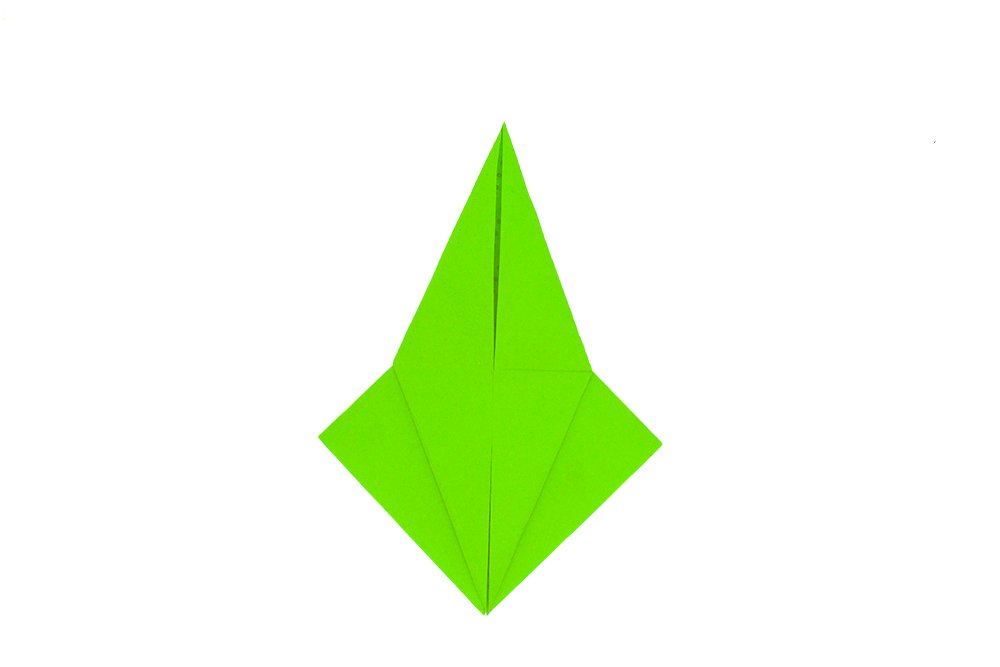
You have now made a petal fold. Repeat it on the other side as well.
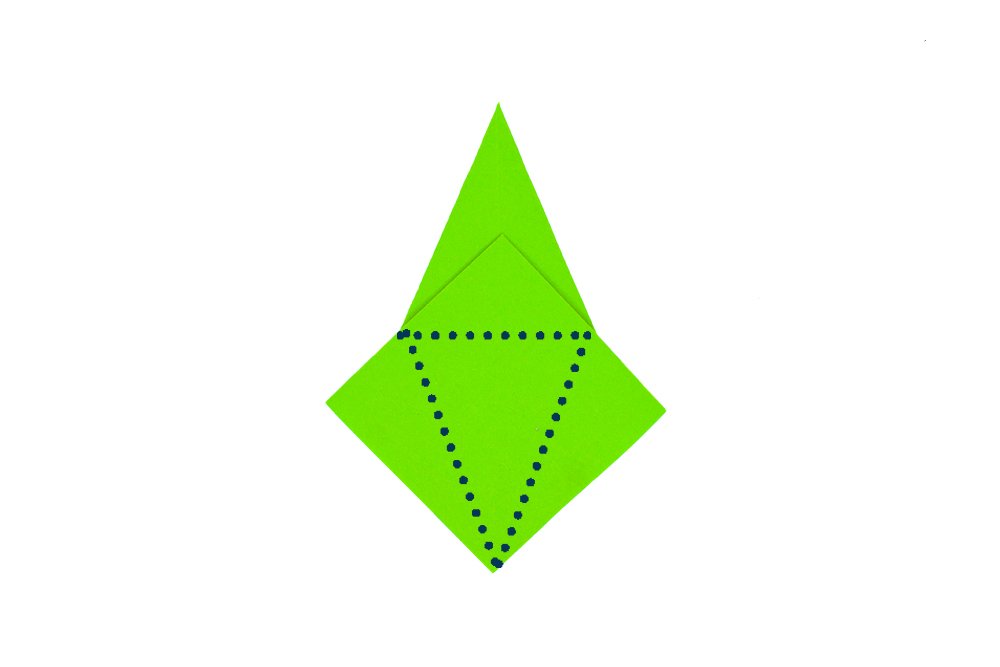
Make creases along the dotted lines by folding the top and side corners inward then unfolding it.
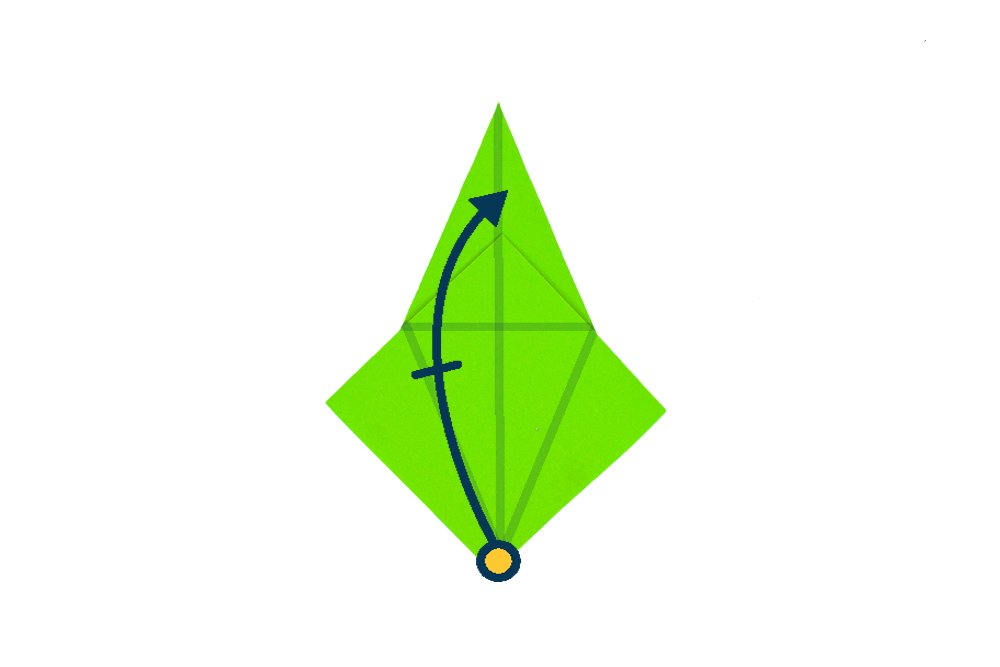
Gently lift the bottom corner of the top layer ONLY to the top.
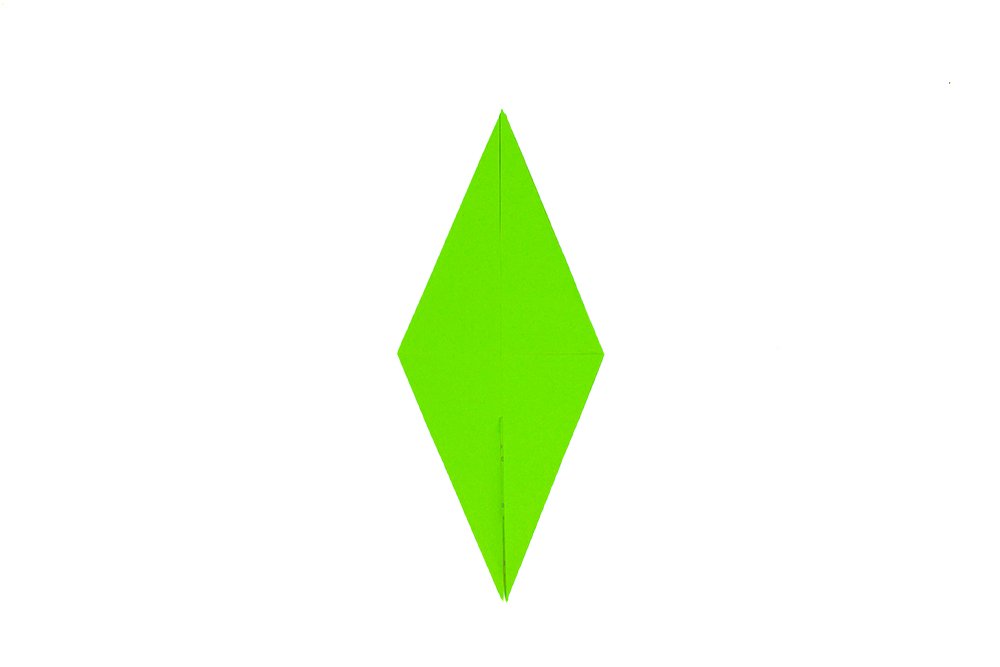
Now you have completed the petal fold, you have also made the bird base of the paper dinosaur!
Build the torso of the origami dinosaur
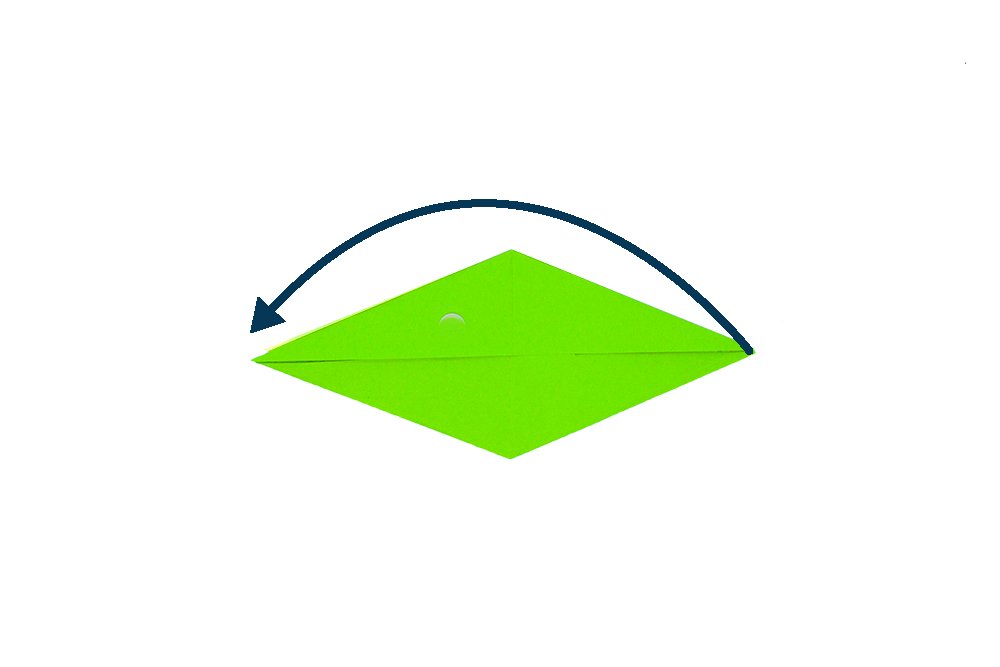
Turn the origami paper 90 degrees to the right as shown in the image above.
Bring the right corner to the left.
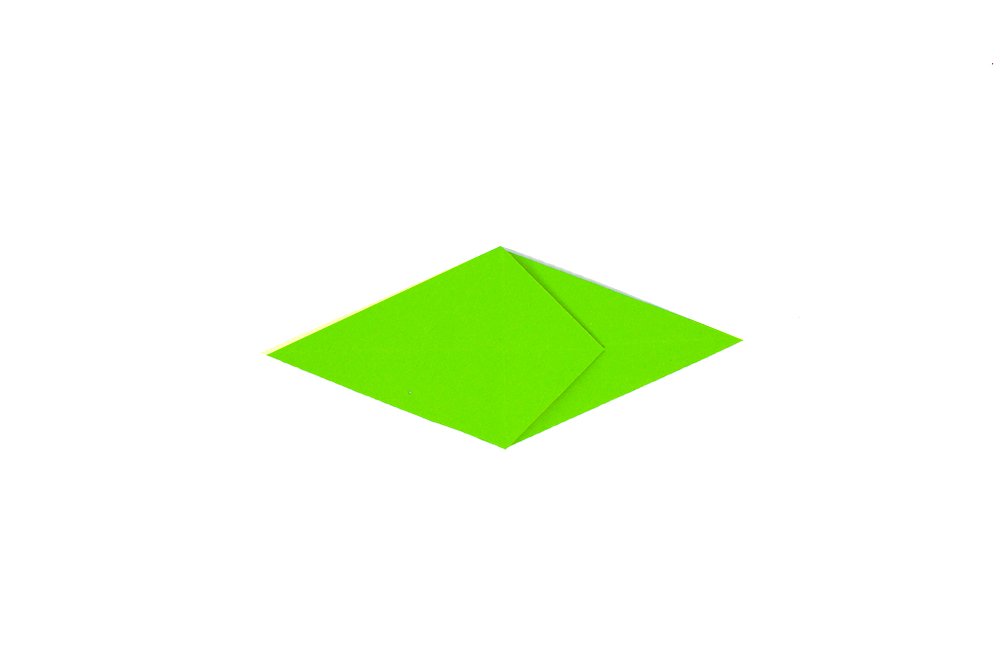
Horizontally fold the origami in half.
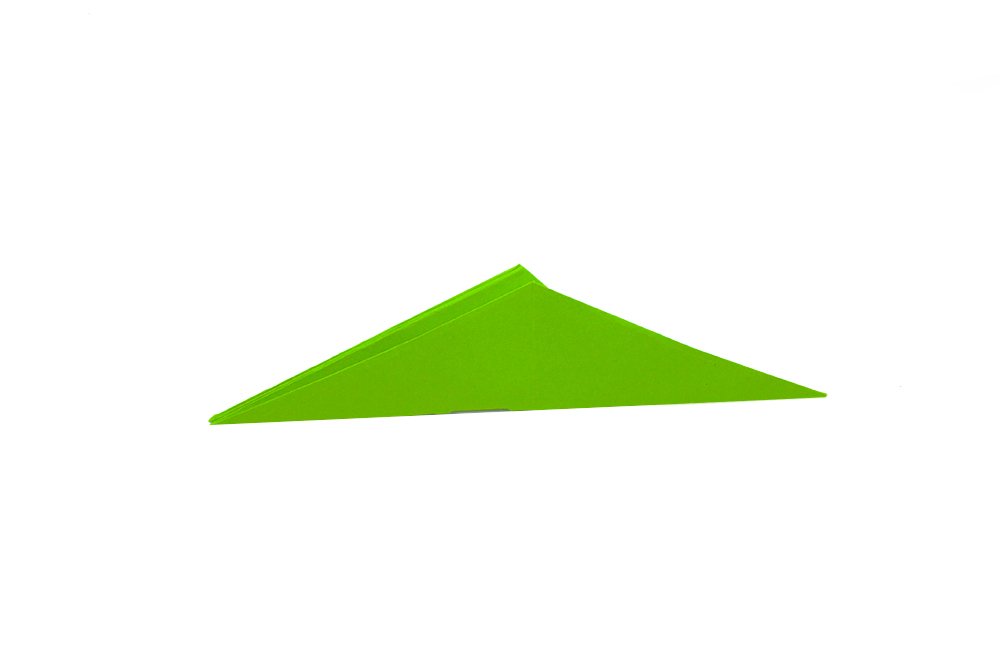
Then rotate the origami piece 180 degrees counter-clockwise. Once done this will be the torso of the dinosaur.
Make the dinosaurs head and limbs
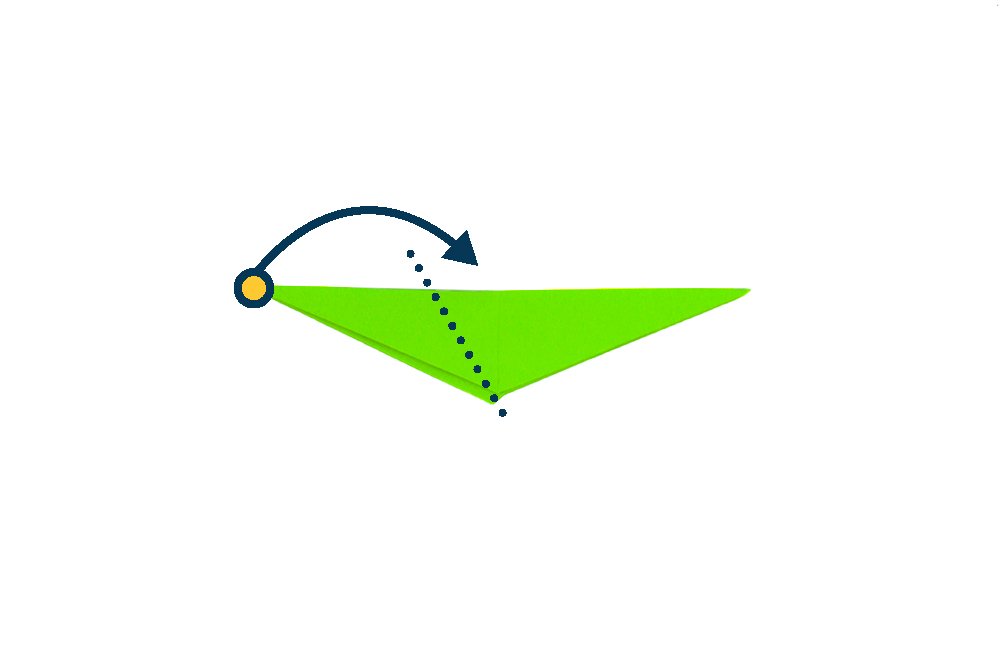
Reverse outside fold along the dotted line. To do this type of fold, you must pry open the two layers of paper and flip it inside out. This will be the neck.

To start forming the dinosaur’s head, make an outside reverse fold by prying open the two layers of paper and flipping it inside out.
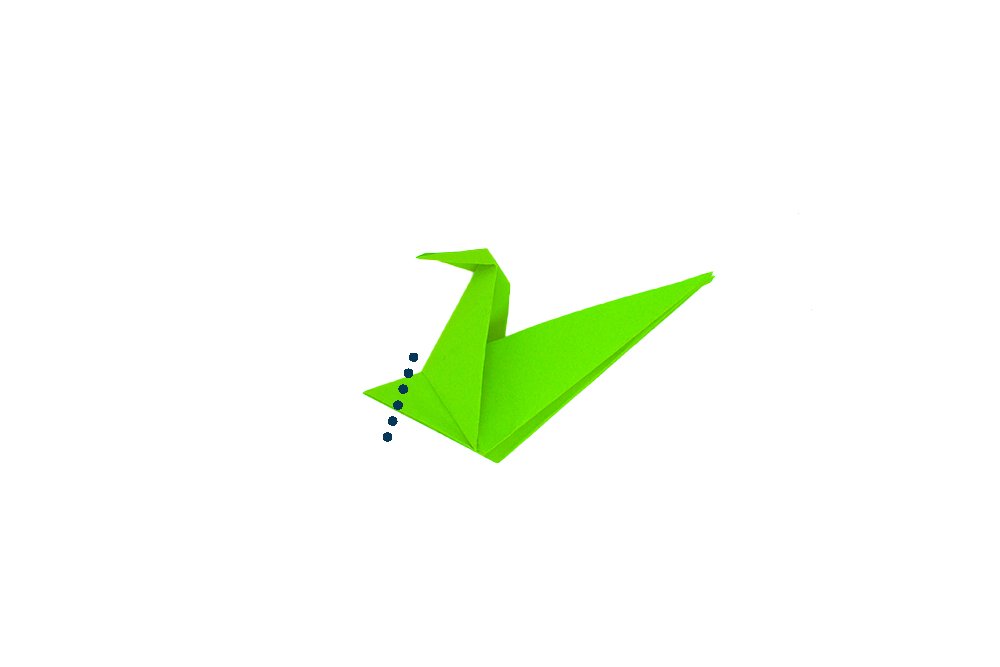
Make an inside front fold to form the dinosaur’s front legs. Pry open the top tip. Then, push it down inwards to the center, flatten.

Fold the top right corner to form one of the rear legs. Use the dotted line as guidance. Don't forget to do the same on the other side.
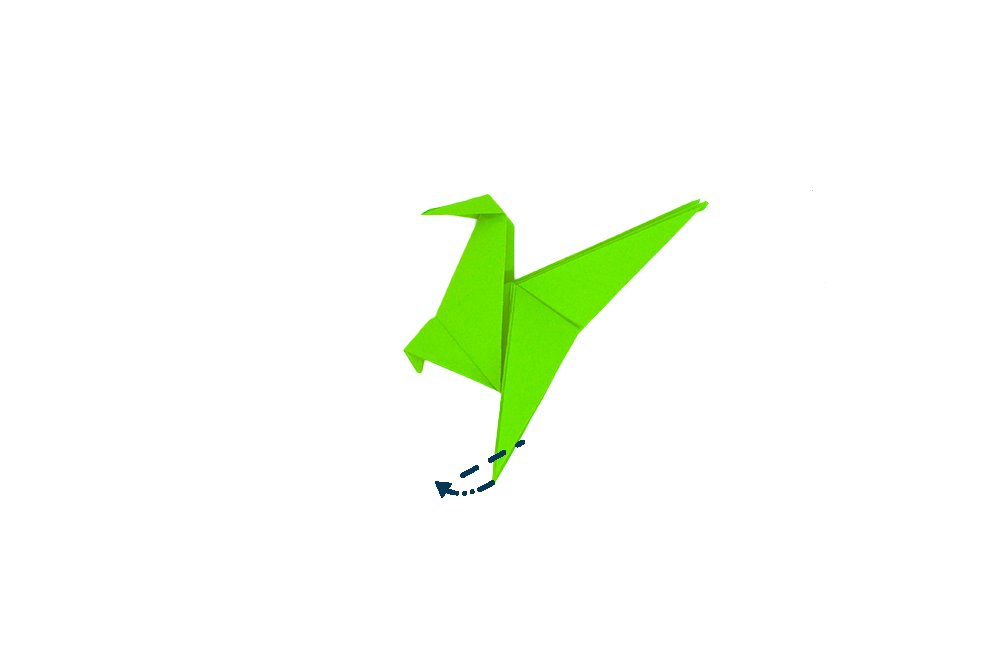
Make the dinosaur's feet by folding the bottom tip of both rear legs behind. Follow the dashed line as shown..
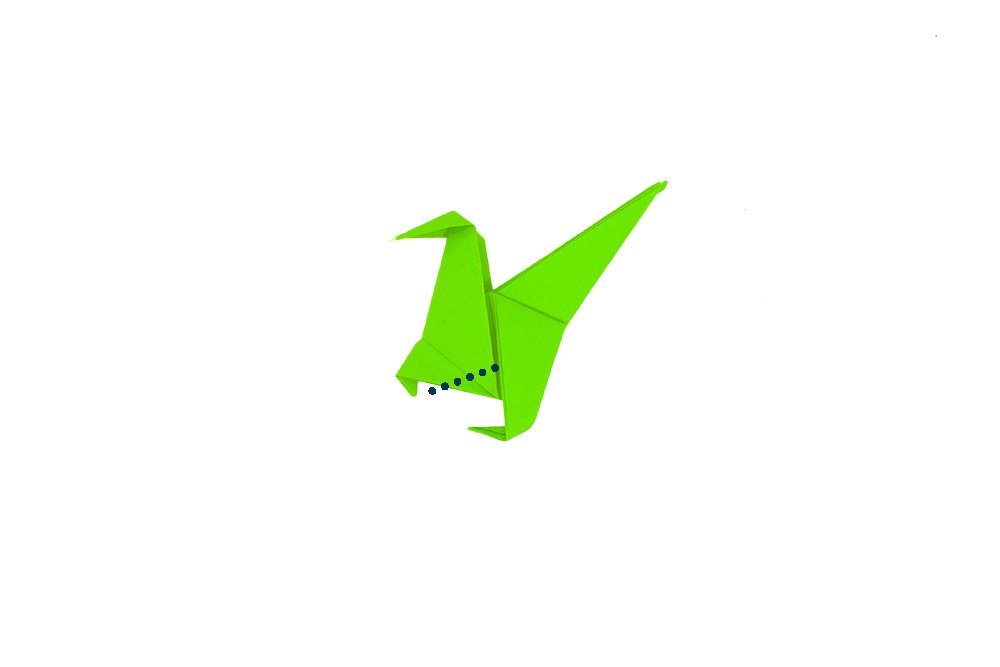
Lastly, fold the lower part of the body inside to slim the dinosaur down a bit. Use the dotted line as a guide.
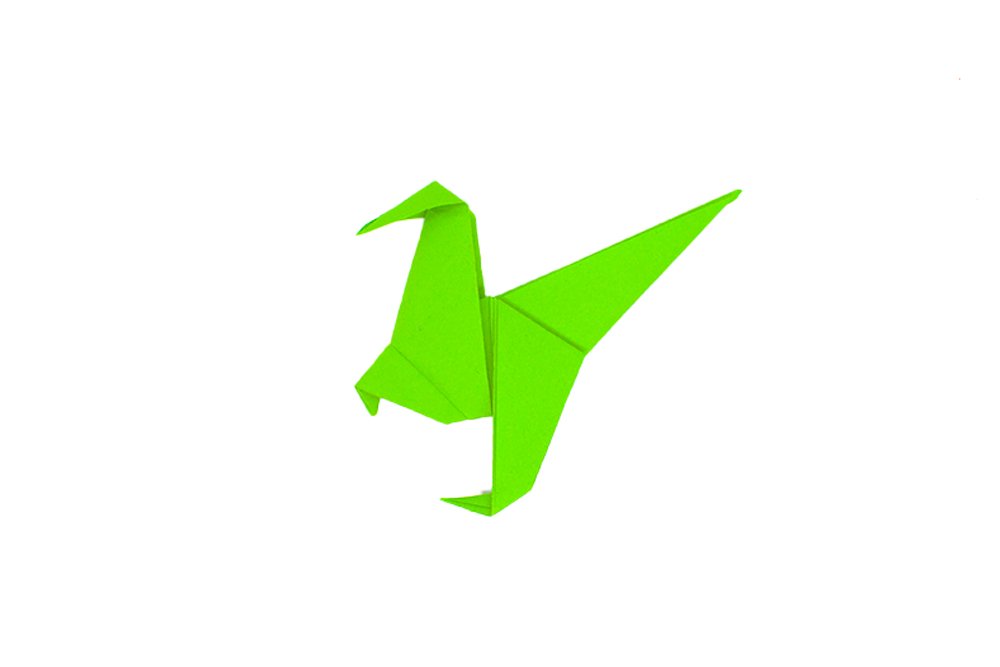
Roar! Your origami dinosaur is finished.
Extra Tips
- Draw some eyes and teeth for your paper dino friend.
- Use different kinds of paper to make variety of dinosaurs. Experiment on color, textures and various materials!


Great job using a paper that has different sides.
Easy to follow <3
After making it, it cannot stand and falls on its face. help!
Carefully position the feet facing up or down to shift the balance.
I gave one to my nieces and nephews. after making it 4 times, I was able to memorize it!