How to Make An Easy Origami Cat That Kids Can Make on Their Own

Introduction:
If you’re a big cat lover, then this origami is great for you! This cat origami is an easy activity for kids and beginners. The instructions for this paper origami are quite long, but the folds are mostly simple to do.
For this paper activity, you will be making the head and the cat origami body separately with two pieces of paper. Just follow the instructions below, and you can have your feline friend ready to go. Clear pictures accompany every step so that’s a plus for you.
So, read on and have fun!
Form the head base of the origami cat
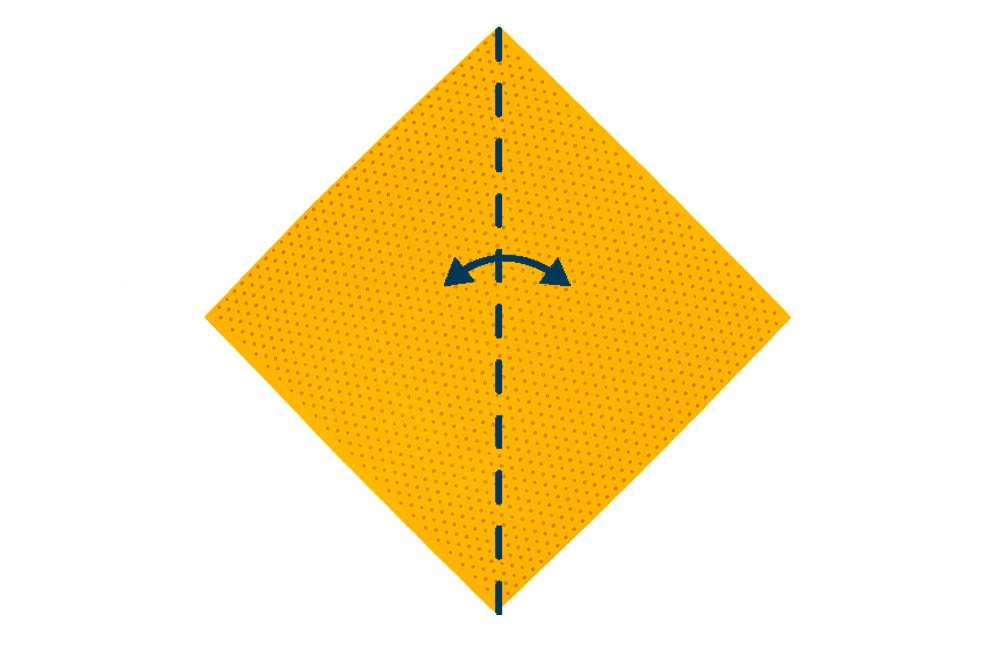
First, you will need to make the head of the cat origami. Could you get a piece of square origami paper? It is better to use a form that has different sides from one another. Turn the paper into a diamond then fold the left corner to the right corner. Crease the paper well and unfold.
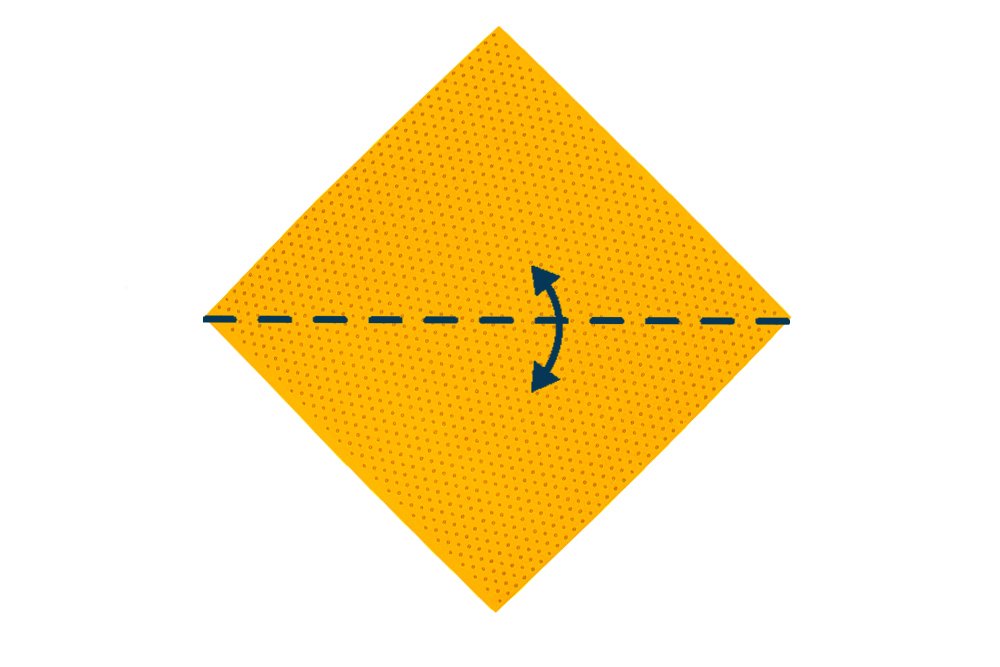
The origami paper should now have a crease line in the middle from previous step. Bring the top corner to the bottom corner. Crease the paper well and unfold.
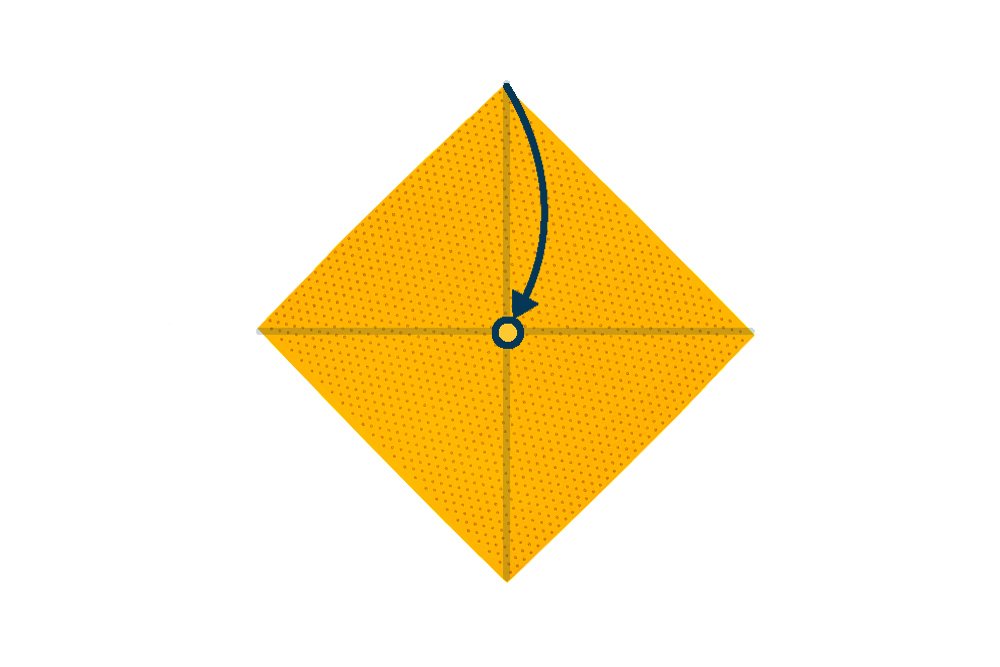
Bring the top corner to the center of the paper (yellow dot). The center is the intersection of the crease lines made from the previous two steps.
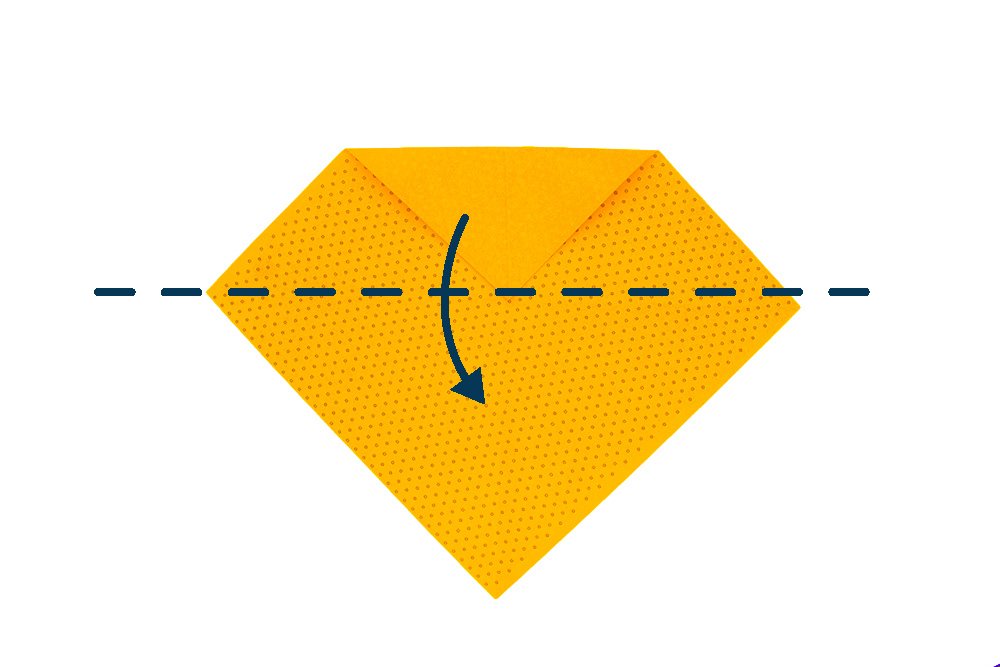
Fold the top part of the origami paper downwards along the center crease line.
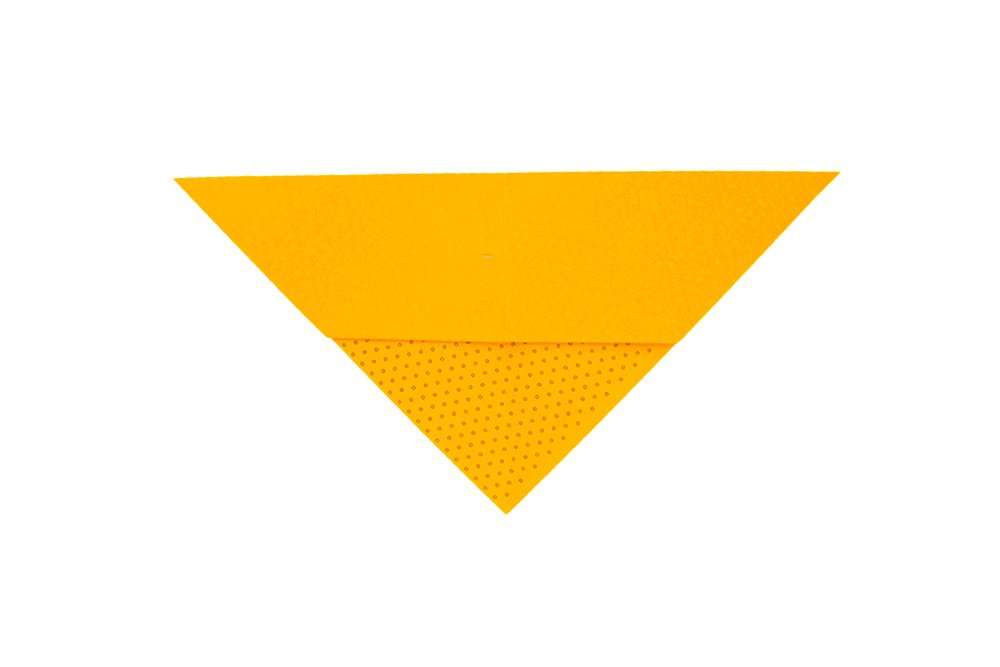
This is how your paper should look like. Now that you've made the creases and folded it twice, it's time for the next set of steps.
Fold the right and left corner to the bottom corner of the origami paper.
Shape the paper cat's face
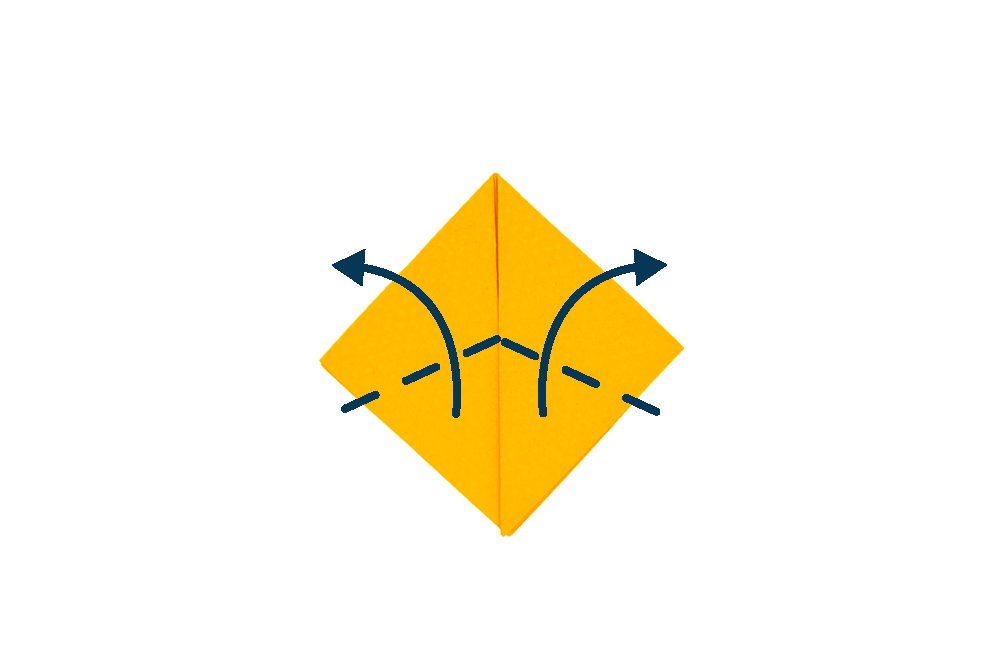
Fold each triangular flap upwards at an angle (dashed lines) to form the ears of the cat. Make sure to fold the top layer ONLY.
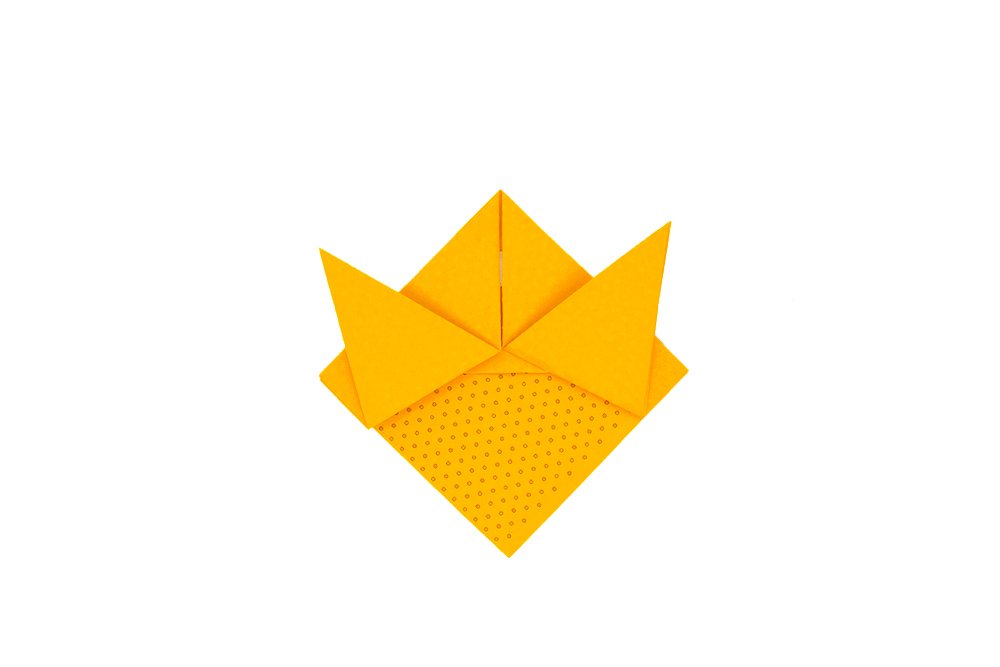
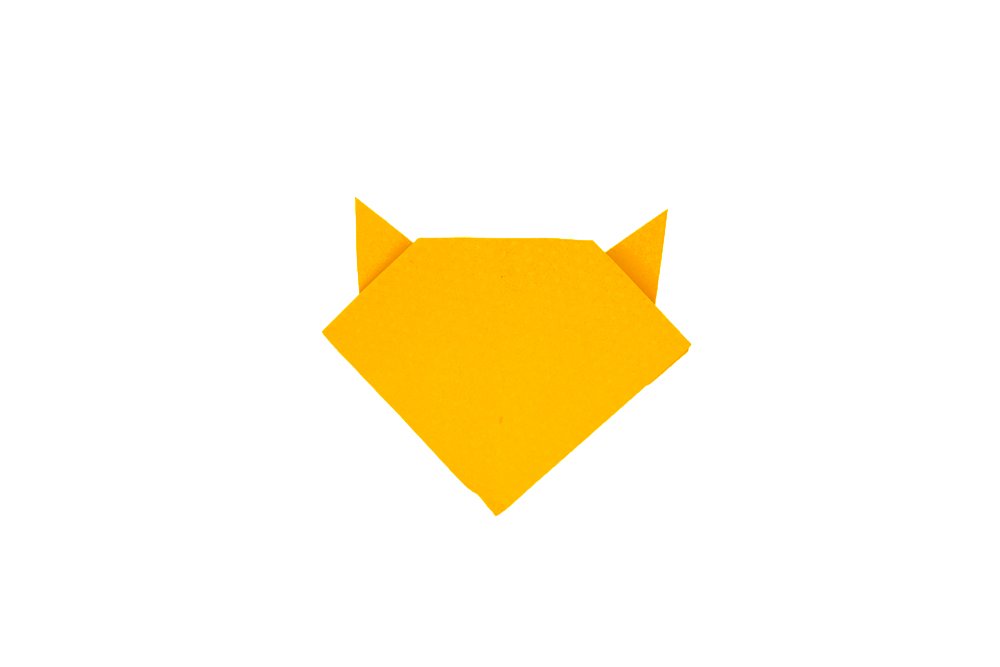
This is what your origami should look like now. Then, shape the head of the cat origami by folding the top corner downwards along the dashed line.
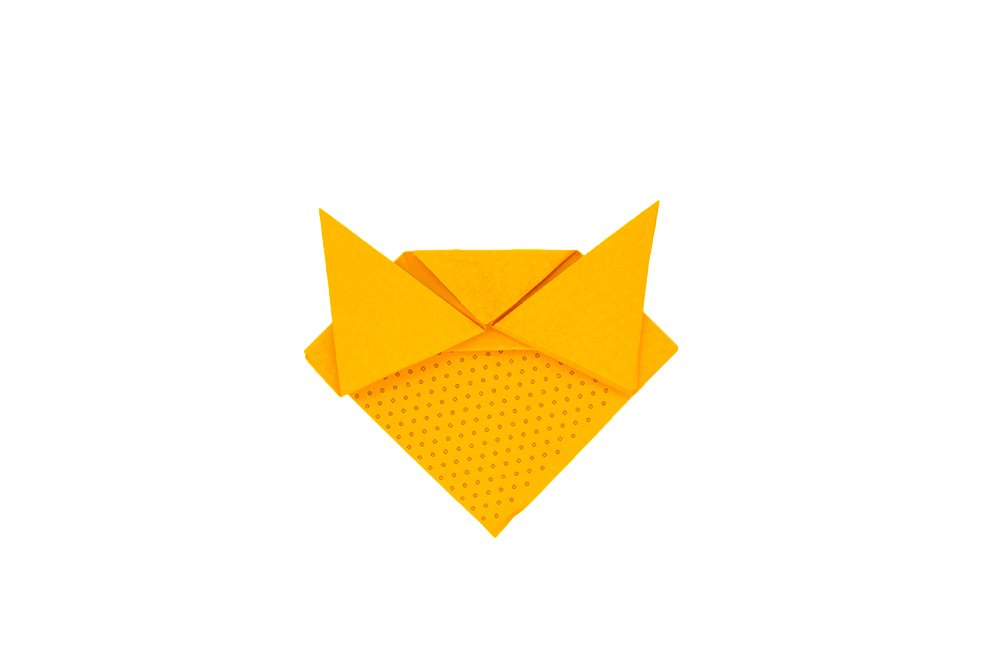
The head of the cat origami should now look this. Now, turn the paper around.
Form the chin of the cat origami by folding the bottom corner upward.
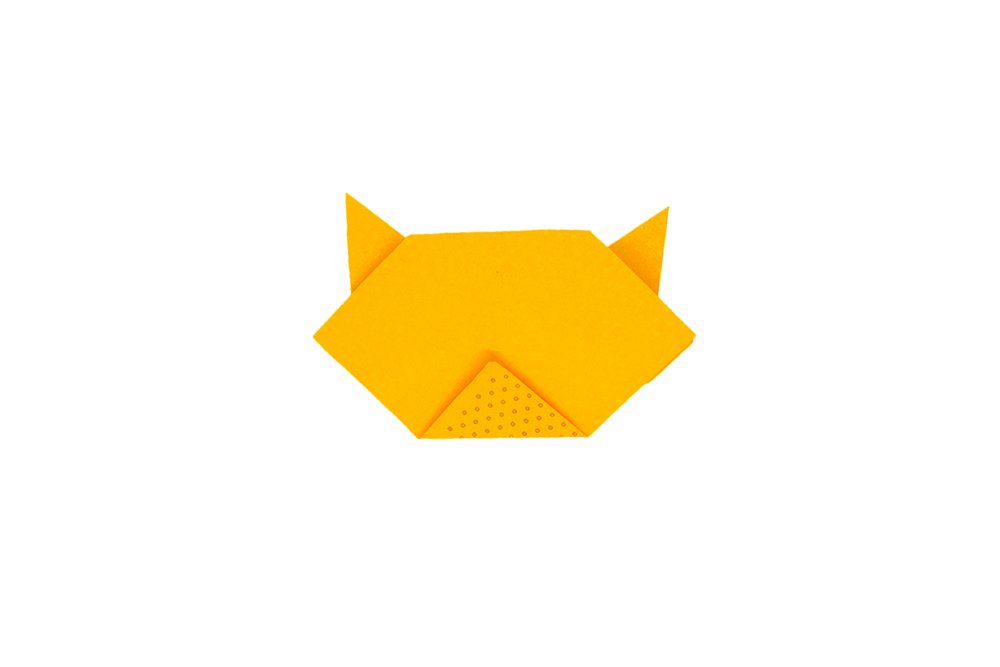
Then, fold the tip towards the edge of bottom edge. This will make the nose of the cat.

Great, the face of the cat is done! Time to get another piece of paper.
Make the body

Turn the square piece of origami paper into a diamond. Bring the left corner to the right corner. Crease the paper well and unfold.
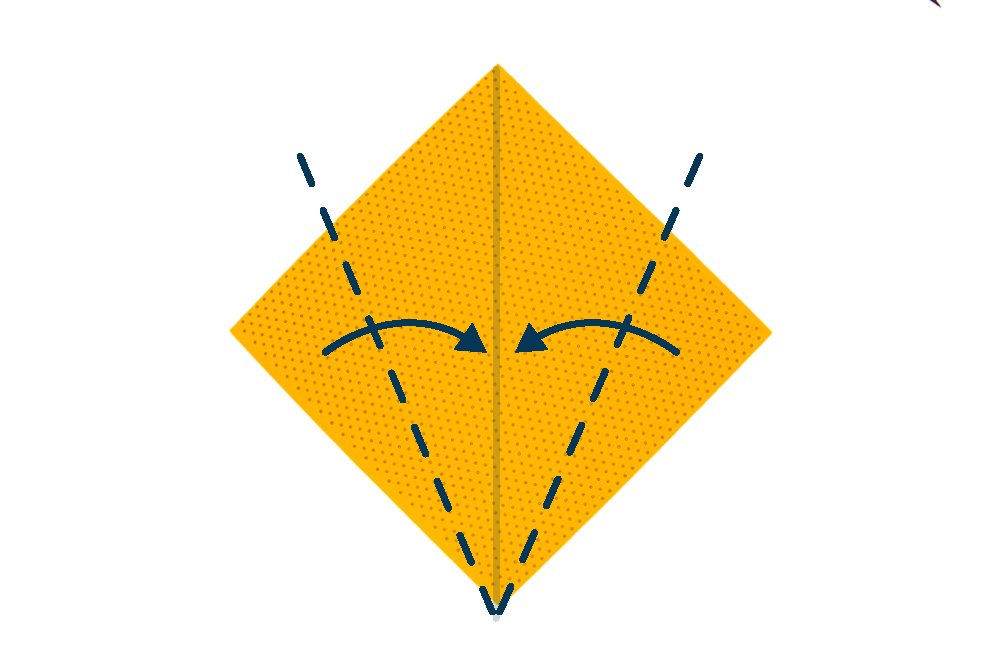
Fold the left and right corner to the middle crease line. Start the fold diagonally from the bottom and follow along the dashed lines.
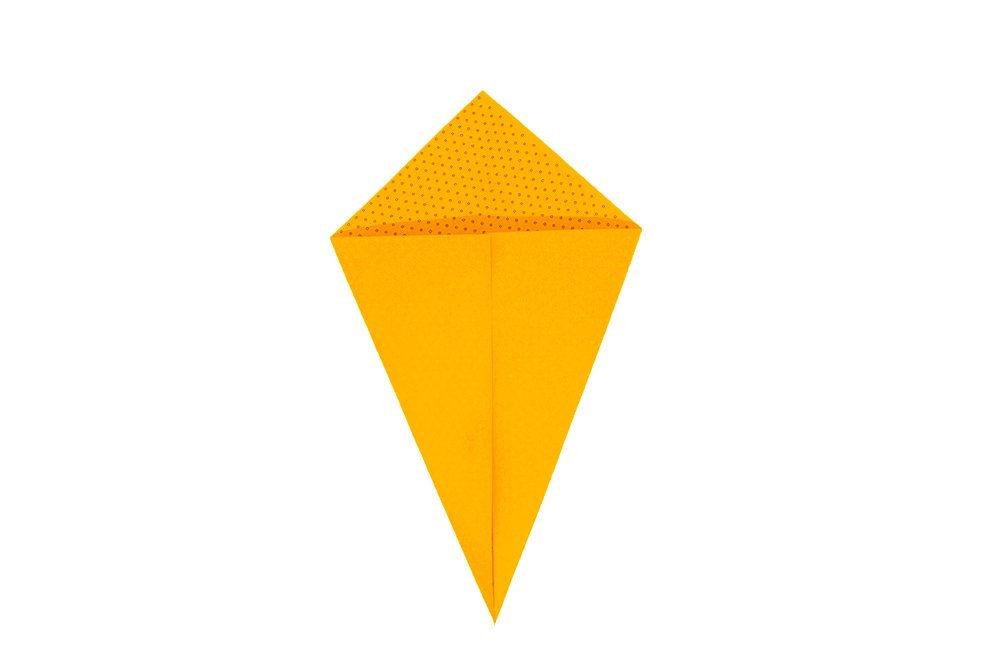
The paper now looks like a kite. Fold the paper in half. Follow the dashed line in the illustration.
Make the Body and Tail of the Cat
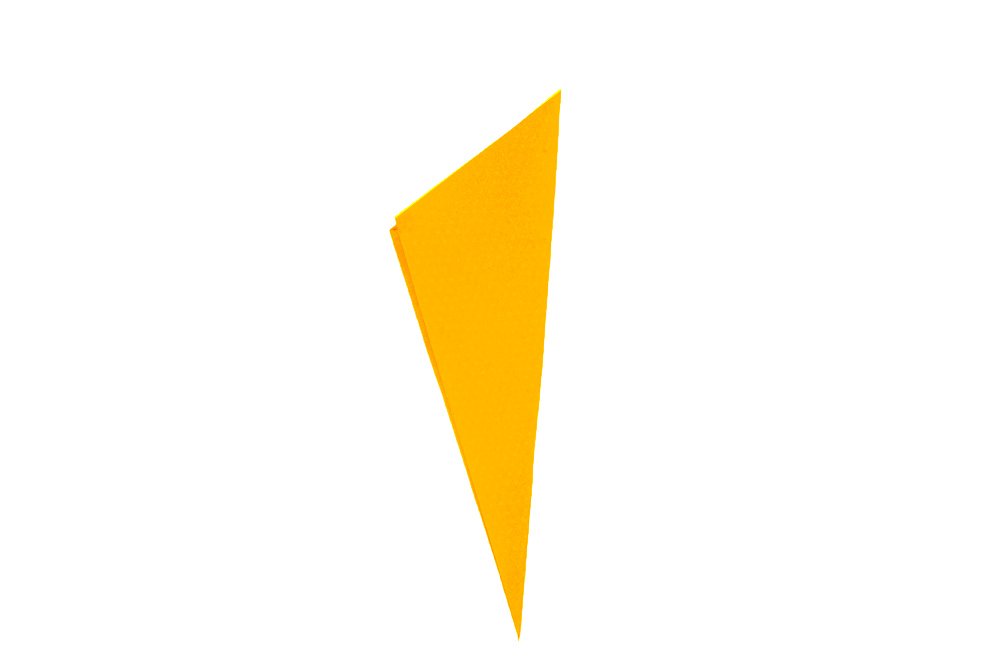
Rotate the paper 90 degrees counterclockwise.
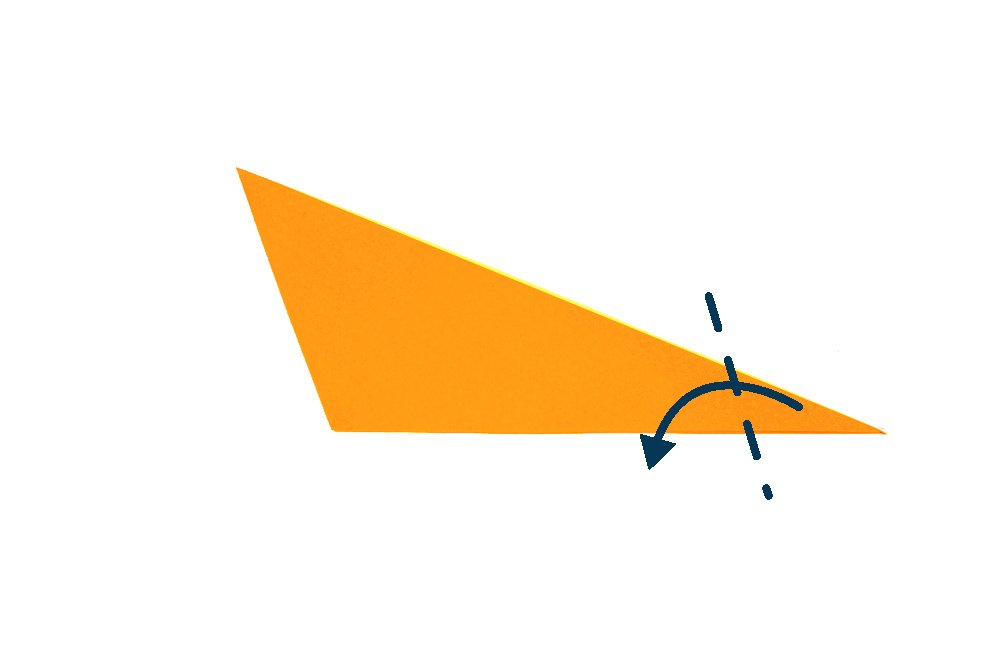
The right side of the paper will be the tail of the cat origami. Fold the right corner downwards along the dashed line

The cat’s tail is not yet done. Fold the flap made in previous upwards to the left.
Now you need to unfold the flap made in the previous two steps.
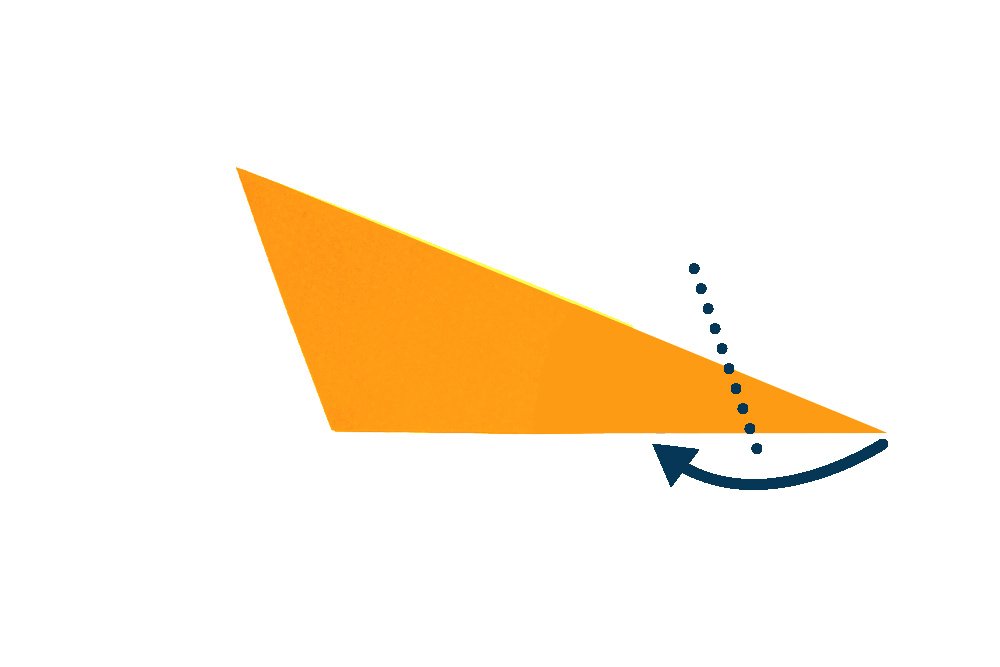
Using the creases recently made as a guide, bring the right corner to the left and squash it down. The flap will form into a diamond.

Bring the bottom corner of the tail flap to the top part.
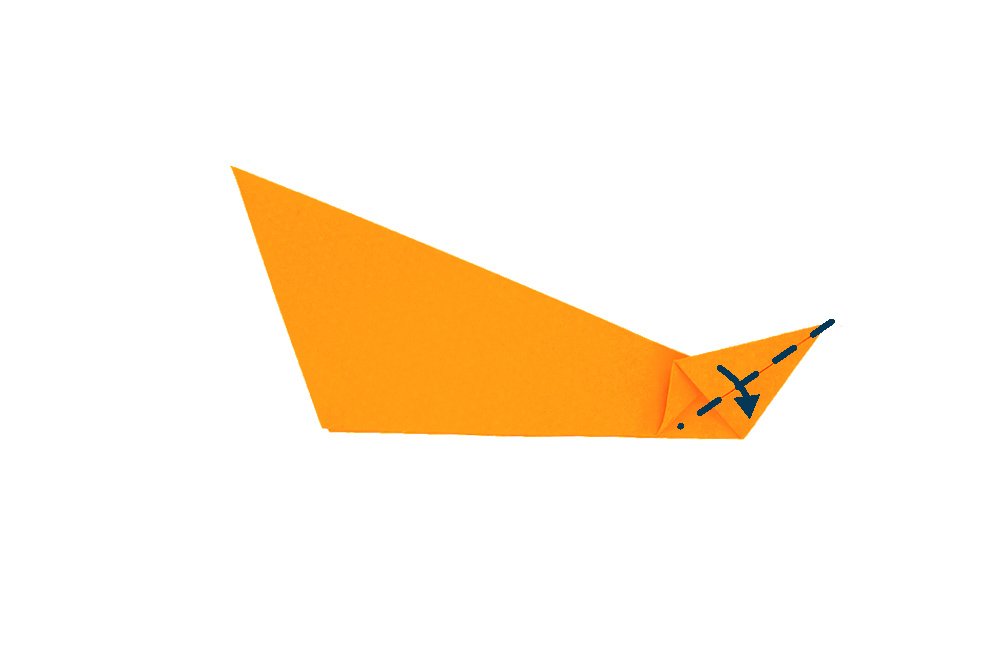
Fold along the dashed lines.

The body and tail of the cat origami is done! Time for the last set of steps.
Combine the head and body
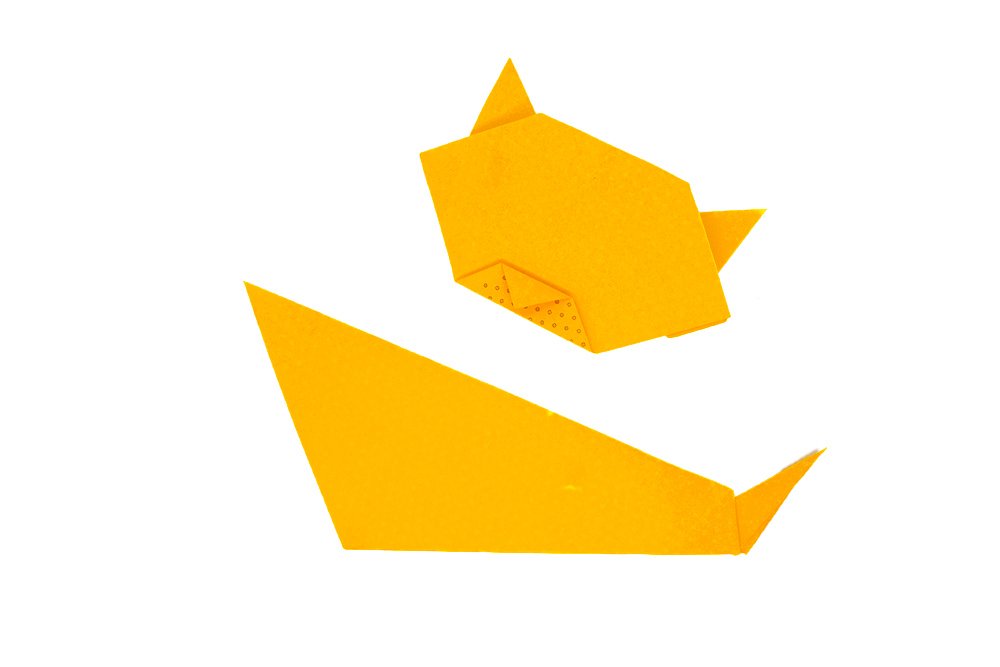
Get the two pieces of paper together to combine the head and body of the cat.
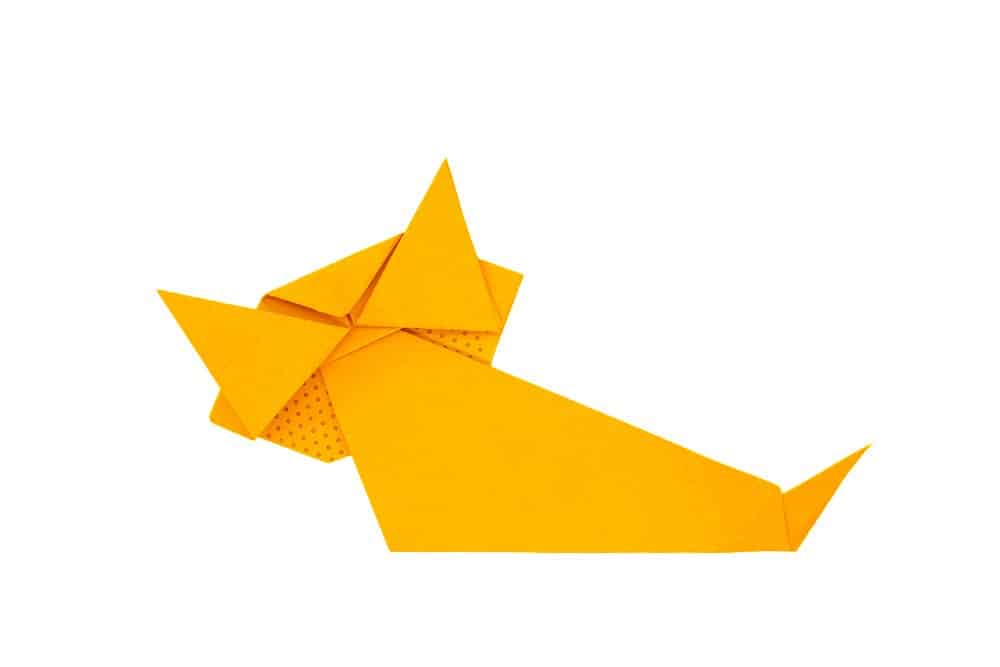
Work on the back side of the head Flip it over.
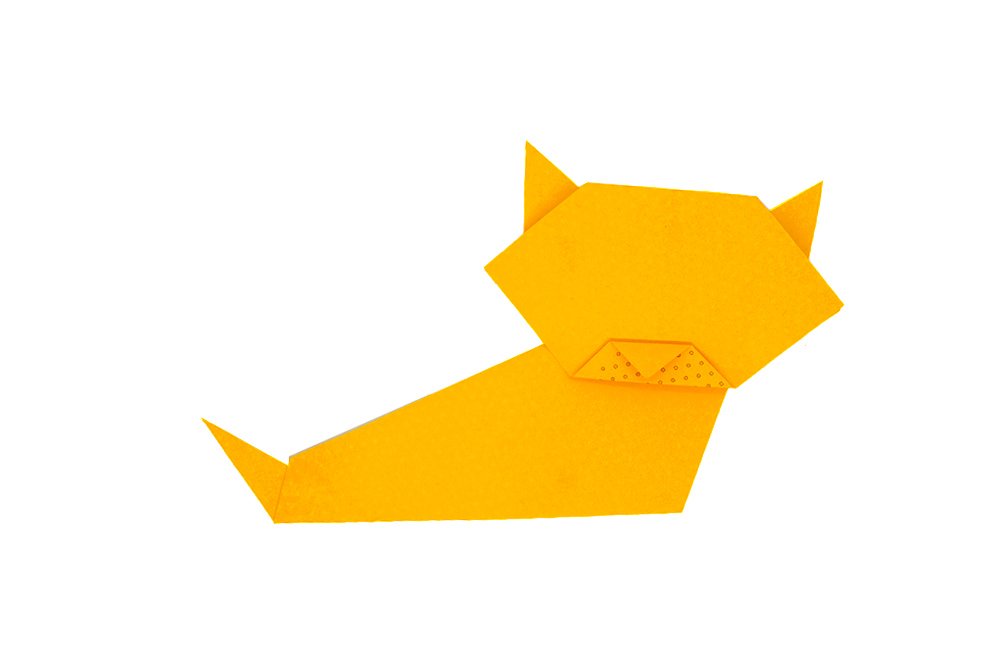
Meow! Your origami cat is done! Draw some eyes to bring it to life. Your cat can get lonely so why not make it a canine friend!
Extra Tips
- Use glue or tape to attach the head of the origami cat to its body.
- Do add some details to your origami cat once it's done.
- Make sure to follow the steps closely. Focus but don't forget to have fun.
- Make sure to make straight folds, and apply enough pressure all the way when folding.

I love this guide
Me is a feline fanatic – so yeah,I like this origami a lot!!
It is amazing you are so good at origami!😍👍🏼
My kids are gonna love it 🙂
I find this a bit hard but i figured out the steps in the step 4 section.