
Introduction:
You can make different kinds of origami boxes with various kinds of procedures. For this instruction, we are going to make a traditional origami box. Use a sturdy piece of paper to make this box so that you can put anything you want inside. You may use any color of paper or you can use a single-sided colored paper similar to the paper illustrated below.
This is an intermediate-level fold but it’s still pretty easy so even complete beginners are welcome to try it. With the help of the guide, the origami box can be mastered fairly quickly. Enjoy!
Create the base of the origami box

Start with a square piece of origami paper. Lay it on a flat surface and then fold along the diagonal dashed lines as shown. Crease the paper well and unfold.

Bring all the four corners to the center. The center is where the diagonal crease lines made in the first step cross each other.

Good, now your paper looks like the image above. Next,r otate the origami paper 45 degrees counterclockwise.
Make the Paper Narrower
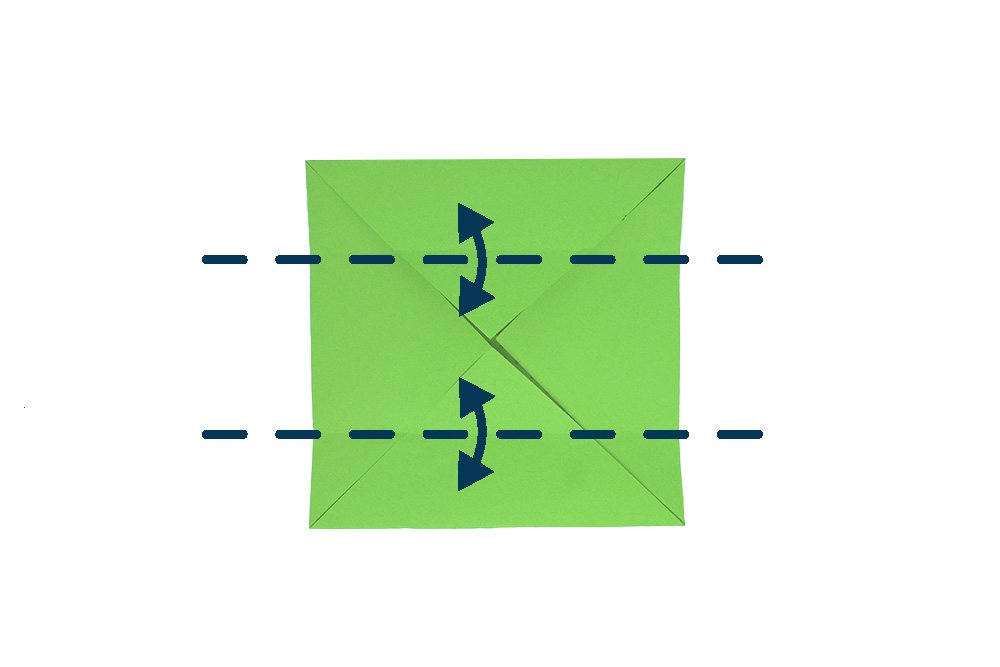
Bring the top side and the bottom side to the center. Crease the fold well and unfold.
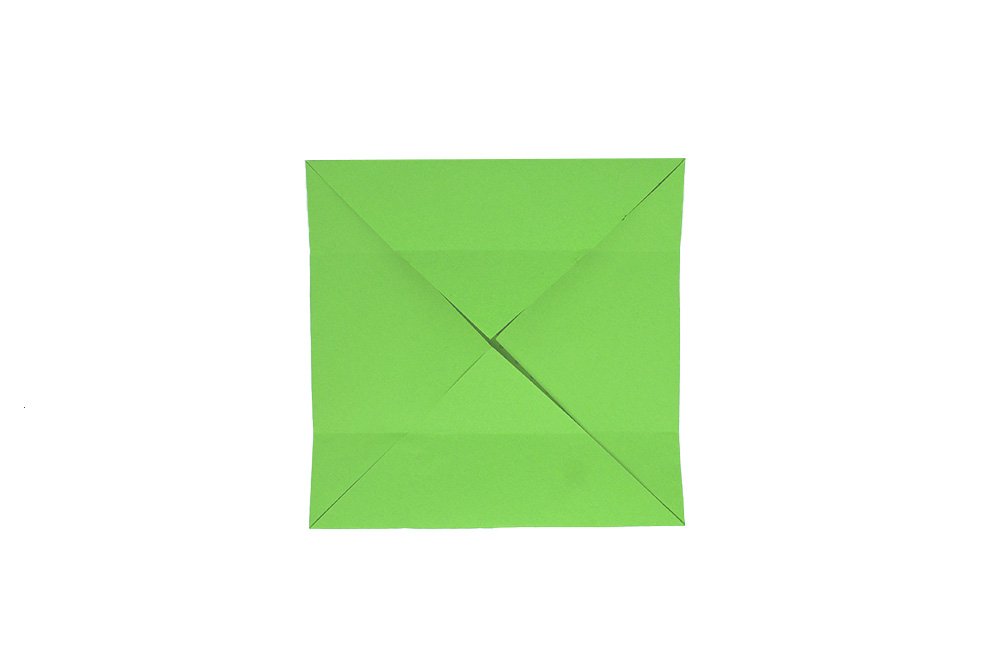
Open the top and bottom triangular flaps.

Fold the left and right side along the dashed lines.
Create creases to shape the box
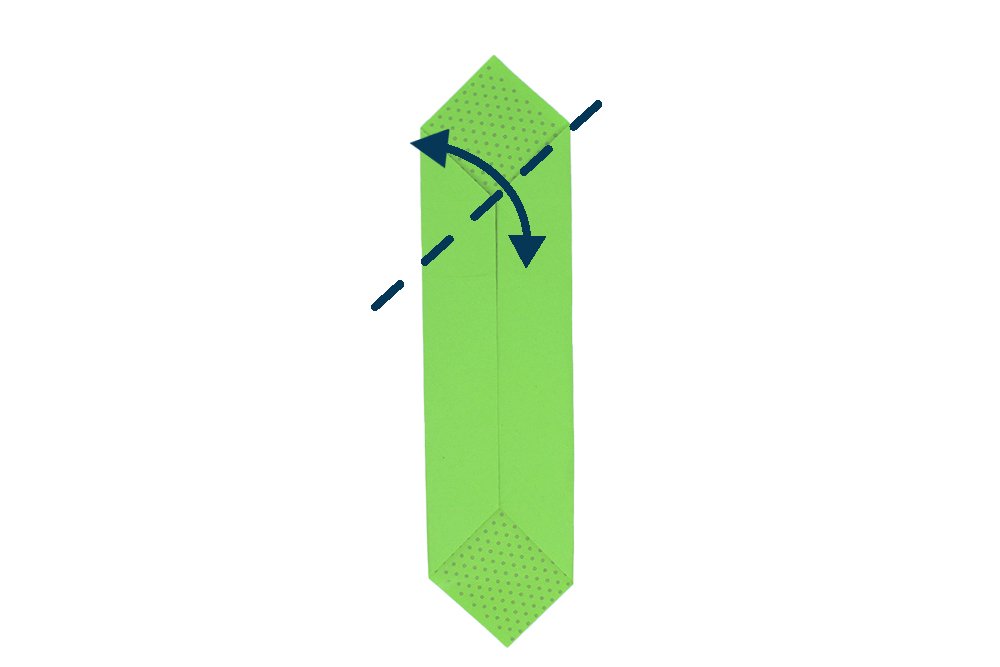
Diagonally fold along the dashed lines as shown. Crease well and unfold.
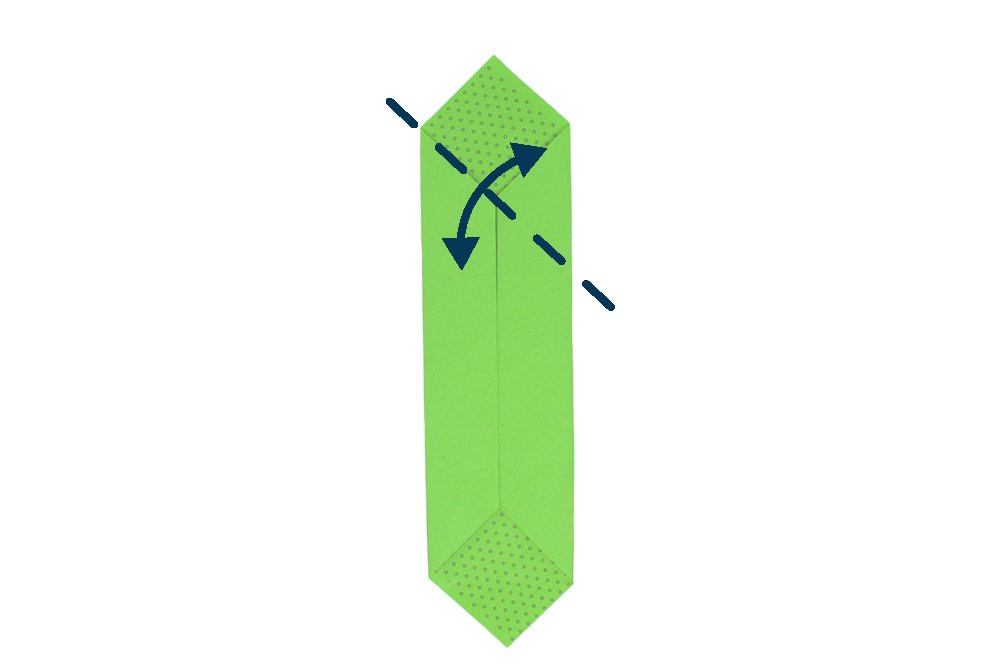
Now diagonally fold along the dashed lines again. Crease it well and then unfold.

Now, do what you did on the top part for the bottom part. Fold along the dashed lines and unfold.
Shape the paper into a box.

At the top part of the model, pry open along the creases made in previous steps. As you open, the top part will stand up.
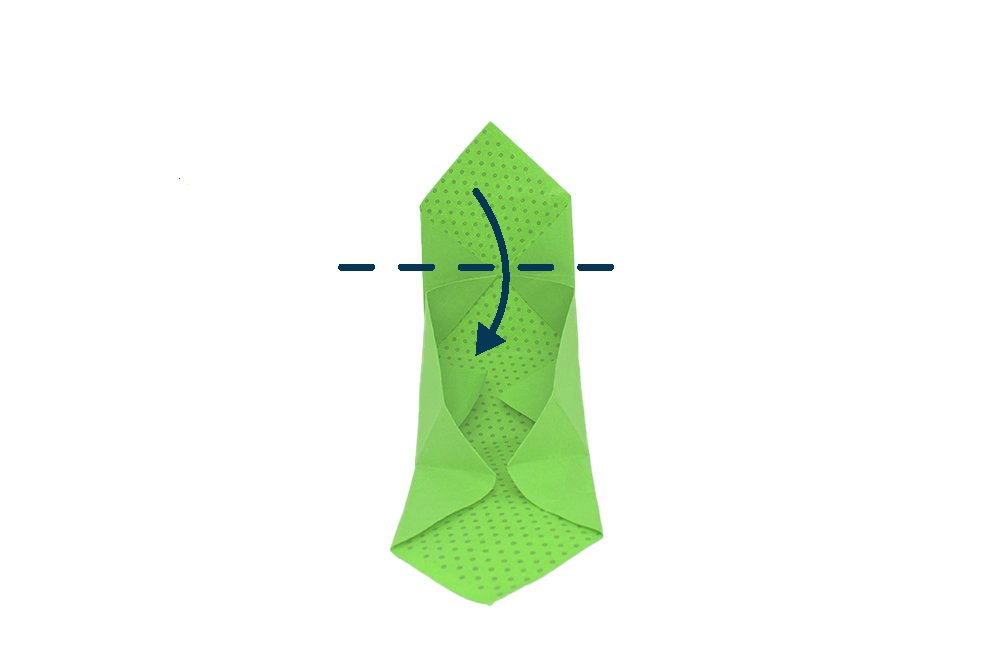
Fold inward the top part into the box. Follow the dashed line and use the crease line as a guide.
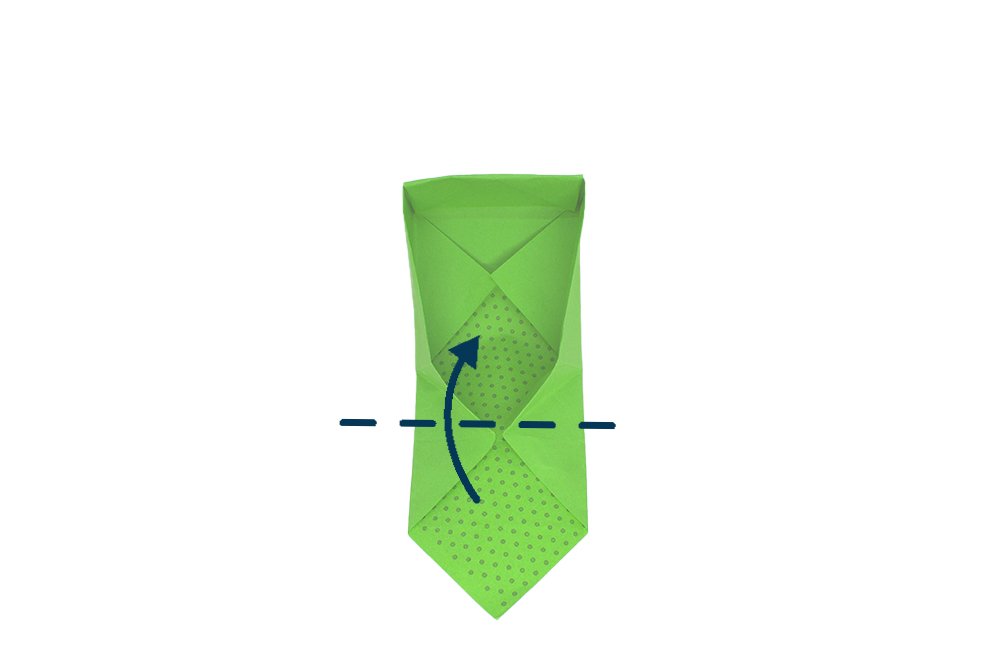
Almost done! Repeat the previous two steps on the other side of the model.
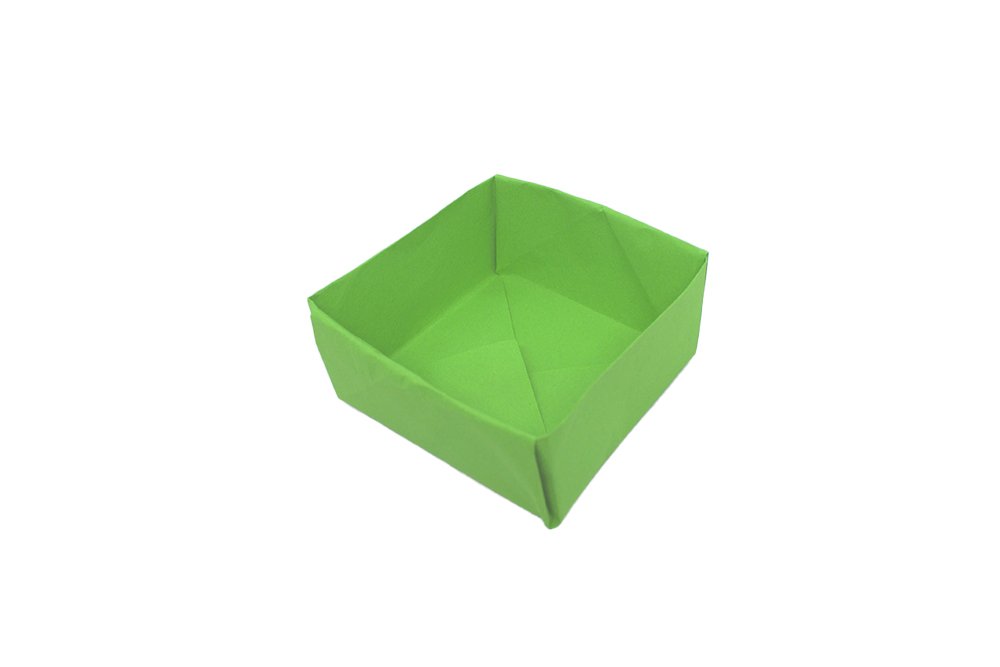
Your origami box is done. Experiment with different sizes of paper and different methods to make boxes.
Extra Tips
- Fold straight and apply enough pressure. If you make mistakes and need another piece of paper, get another piece of paper. It simply won't look good if there are unnecessary crease lines.
- Be sure to check some of our other origami guides. It's load of fun.
- You can create two origami boxes and put on on the top of another so you can create a cube. Inside the cube you could put a trinket or a small origami.


