Introduction:
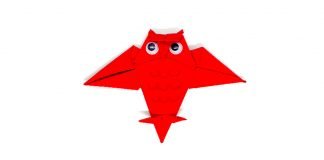
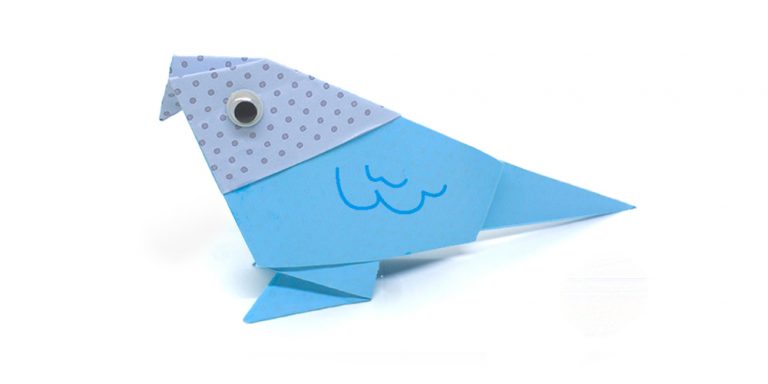
There are many ways and styles of making origami of a bird. One way of making a basic origami bird is through this method, as it requires only a few steps.
It is suited for adults and children with guided supervision, this bird origami is easy to follow and has less complex folds. Great as a decoration and a collection as it can stand on its own two feet once finished!
Form the body of the bird
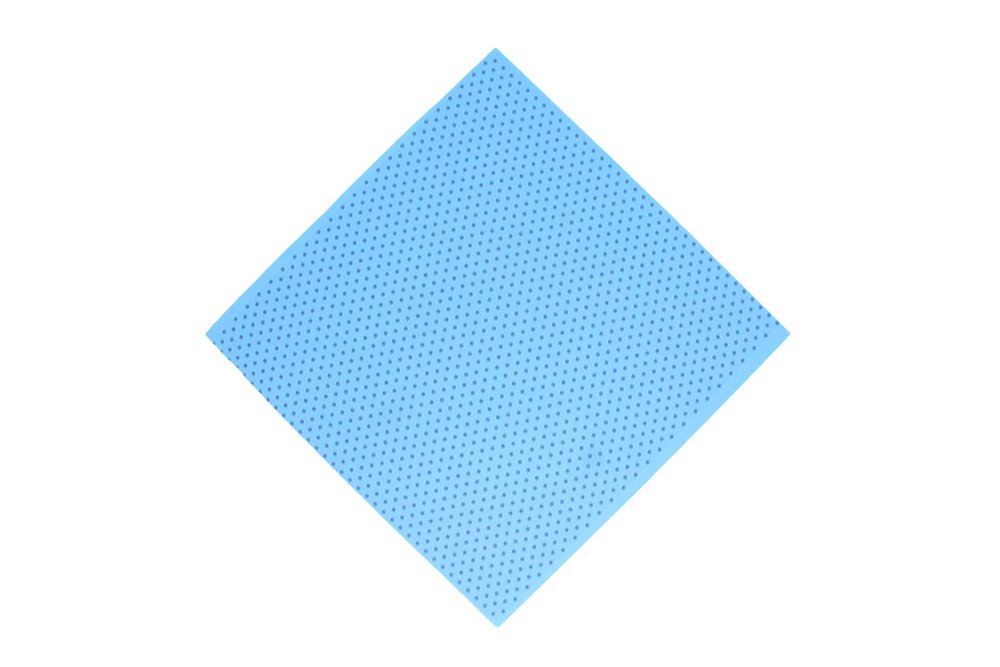
To make this bird origami, get a piece of square origami paper, preferably paper with different sides. Turn the paper 45 degrees, so it looks like a diamond as shown in the image above. Fold the paper lengthwise in half.

Crease it well then unfold.
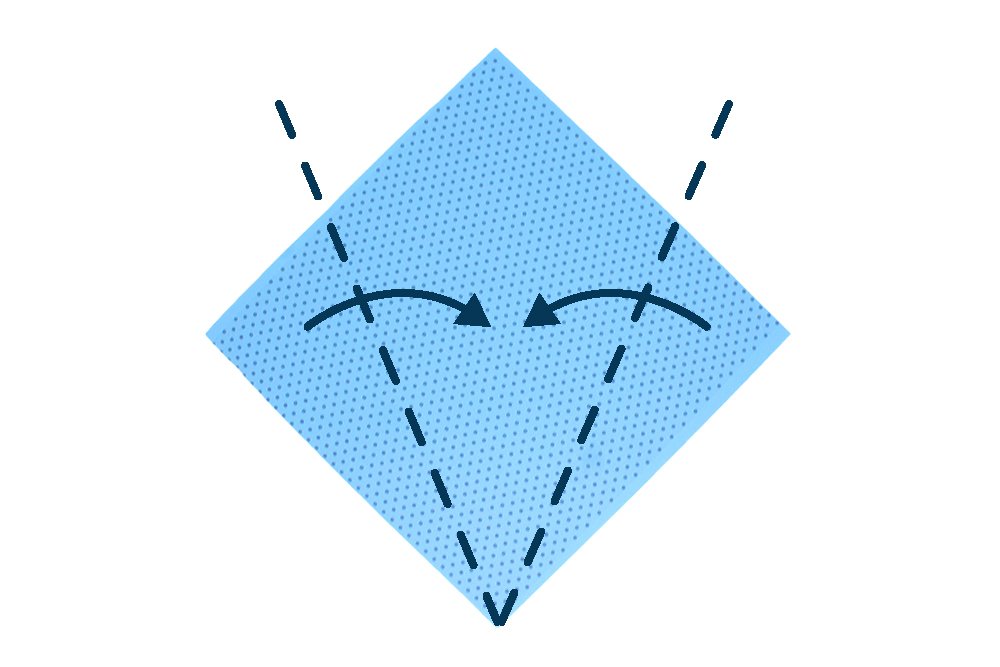
The crease line made in the first step will be used as a guide for the next step. Fold the left corner diagonally to the middle crease line. Do the same on the opposite side by folding the right comer to the middle crease line.
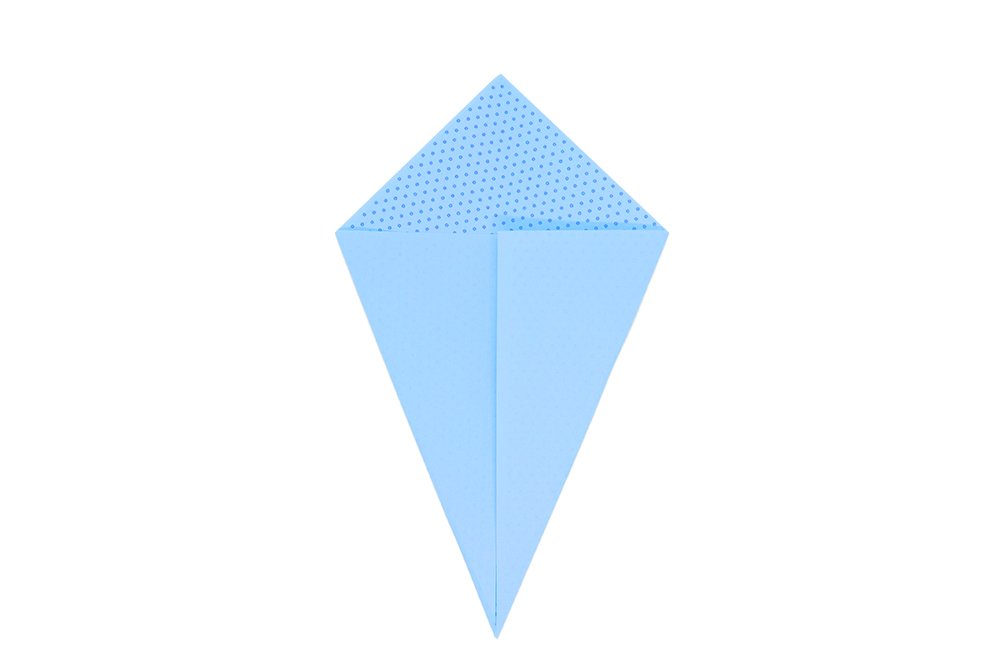
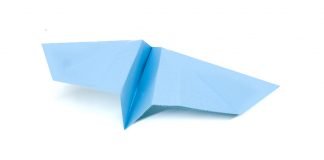
Now, you've made the body of our paper bird! Good job! Flip it over to proceed to the next step.
Create the feet
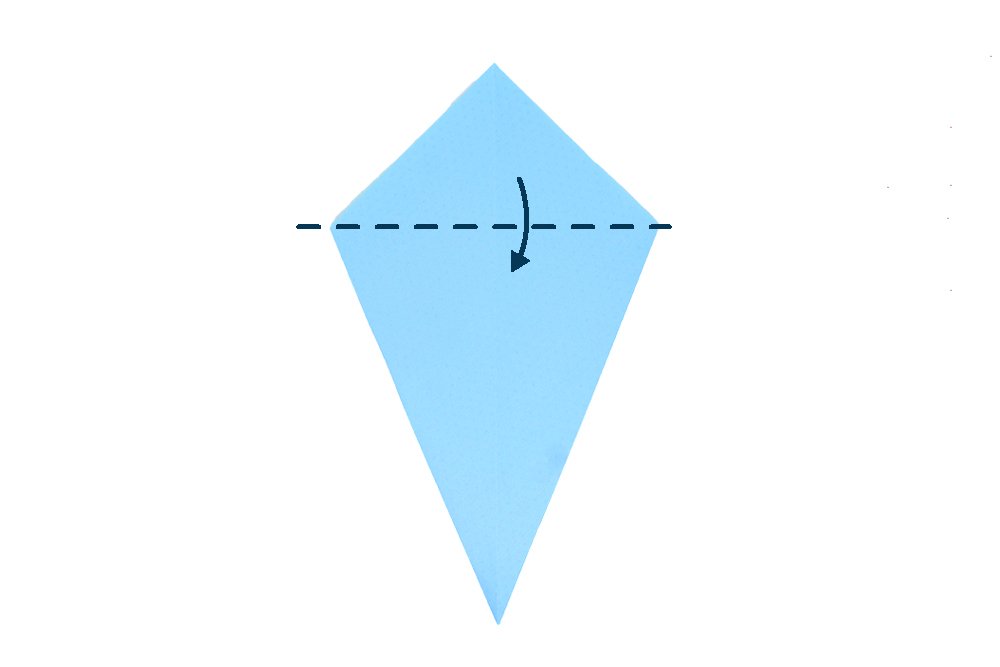
Fold the top corner down.
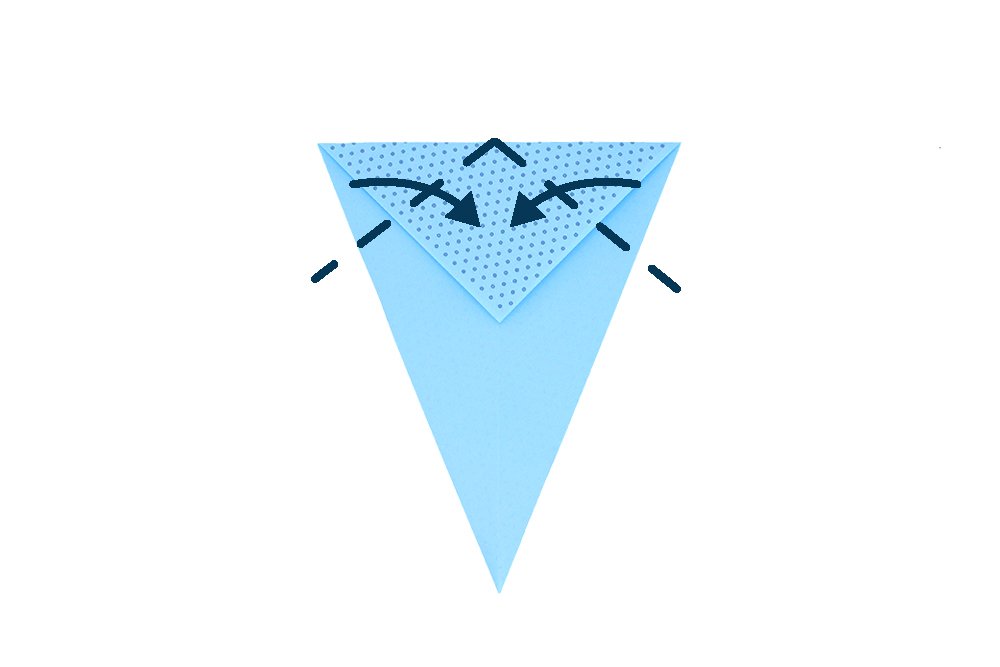
Fold the top left and right corners diagonally to the middle crease line.
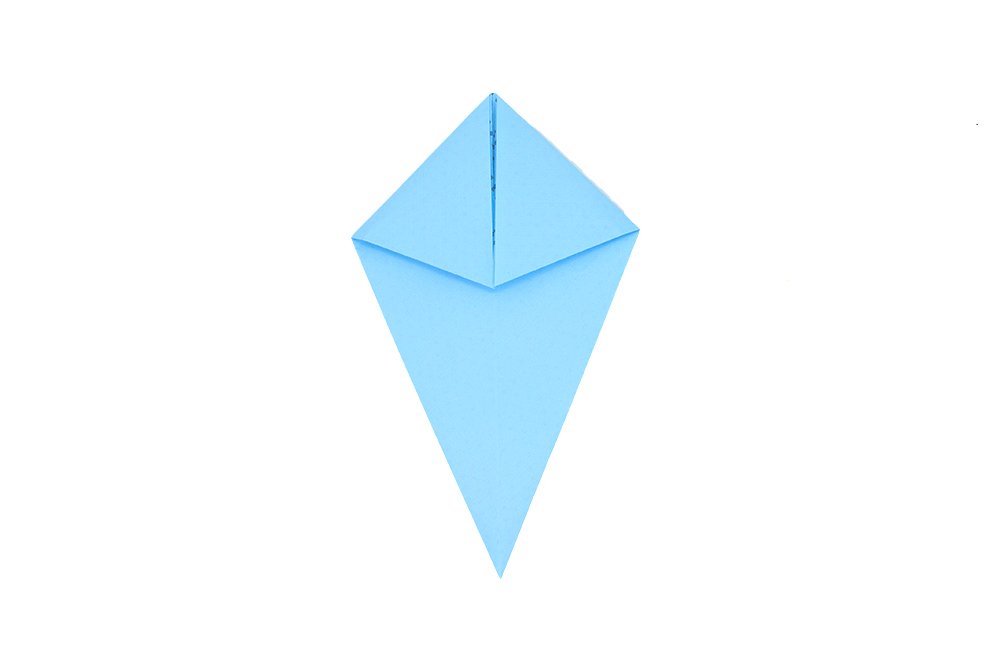
Unfold the top left and right triangles made from the previous step. This will establish two diagonal crease marks.
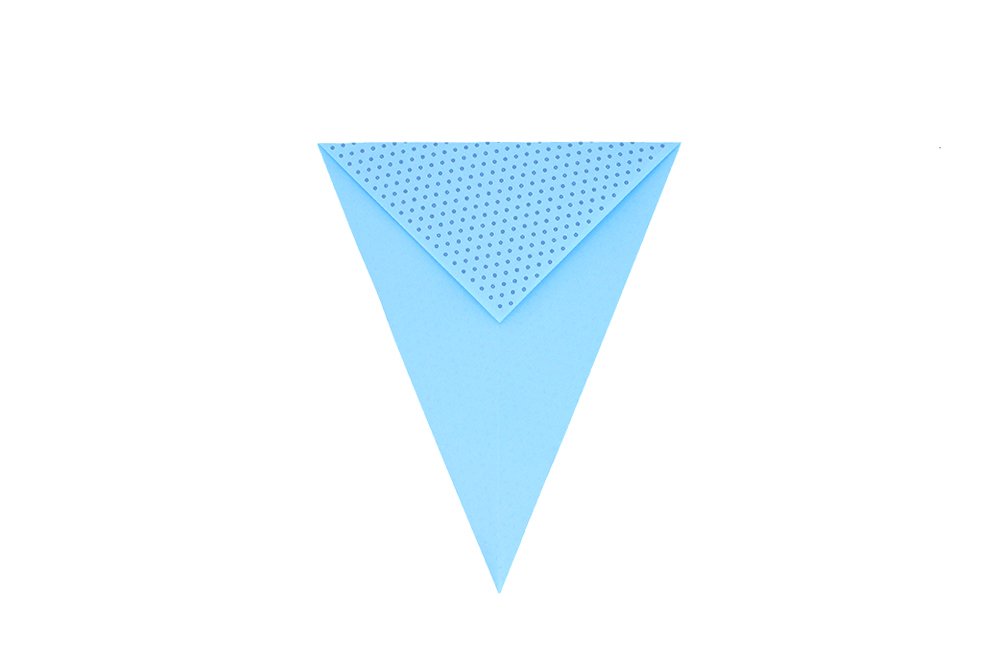
Turn your origami bird to the other side.
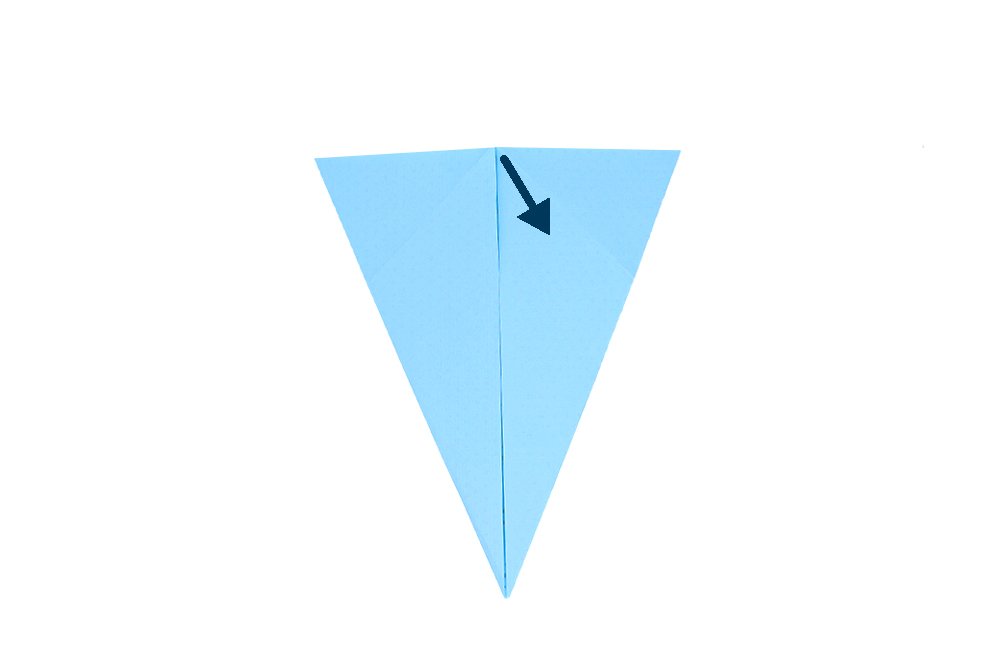
You will see that this side has two triangular flaps (left and right). We will make a “squash fold” on both sides using the creases made. Do the right triangle flap first by pulling down the inner corner of the triangle to the right.
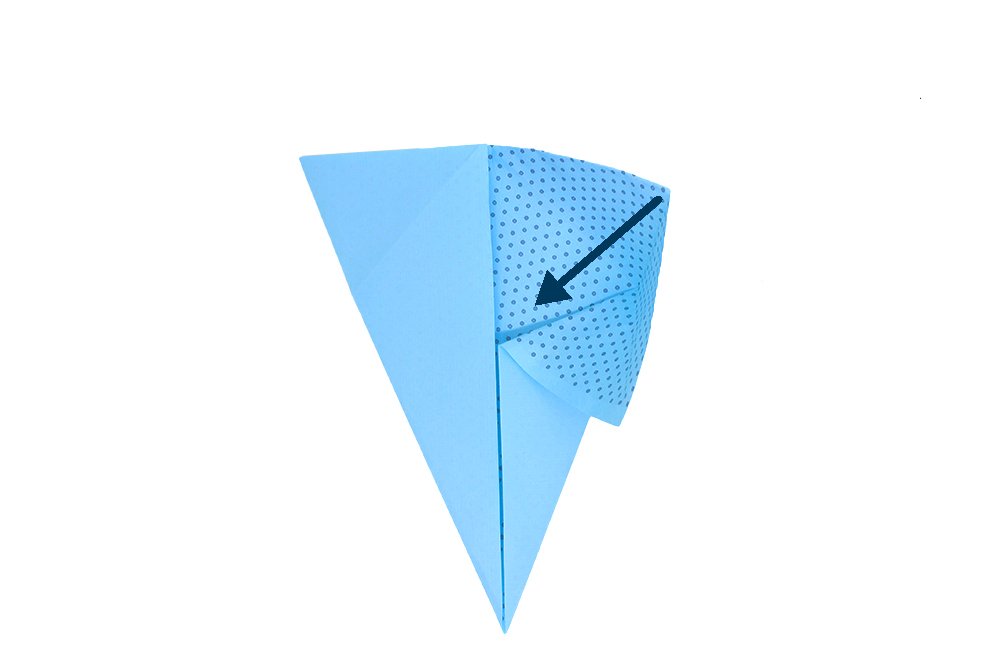
Keep pulling it downwards to the right. Once you are unable to pull it down further, squash it down and flatten.
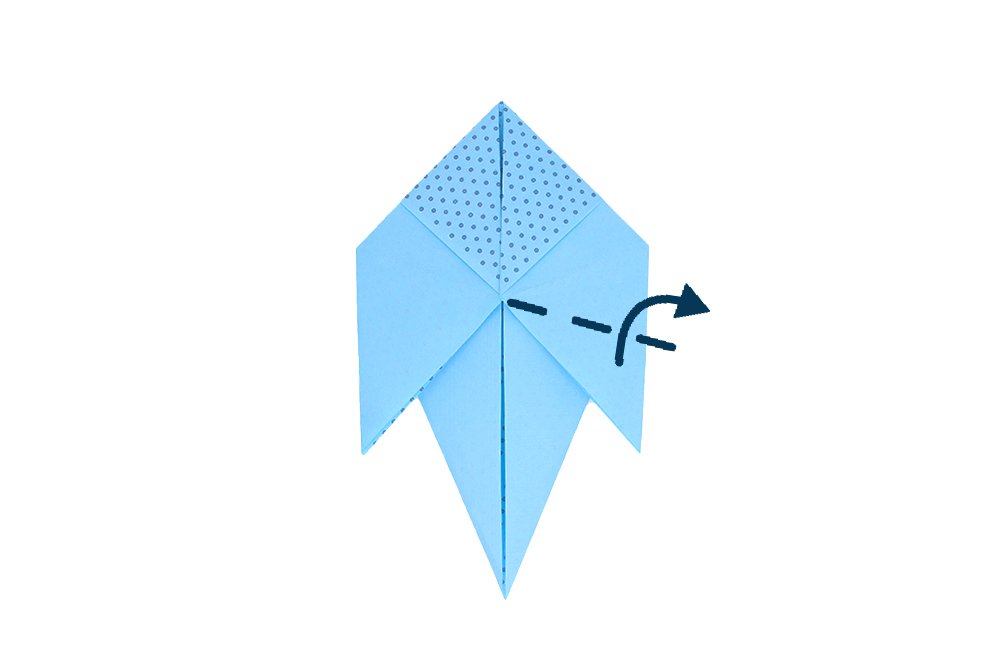
You have just made a squash fold! Repeat the squash fold on the other side as well. Make a valley fold on the top layer of the right side. To do this, fold along the dashed line as shown. This will be the foot of the bird.
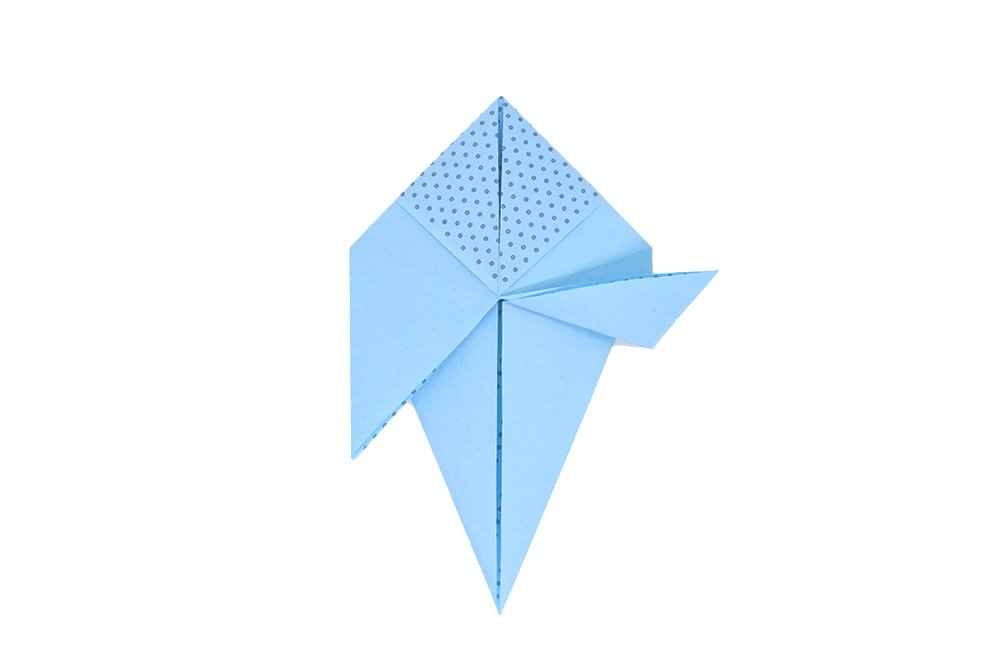
To make the other foot of the origami bird, Make a valley fold on the other side like what we did on the right side.
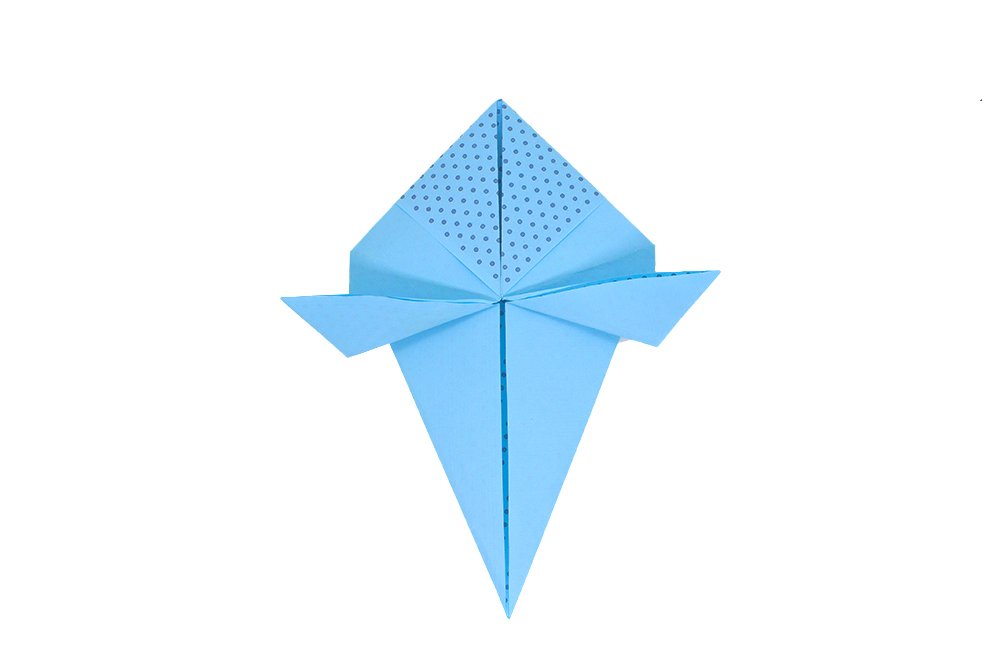
Now we've made the feet of the paper bird, fold the origami bird lengthwise in half. After that, rotate it 90 degrees counterclockwise.
Lastly, Make the Head and Tail
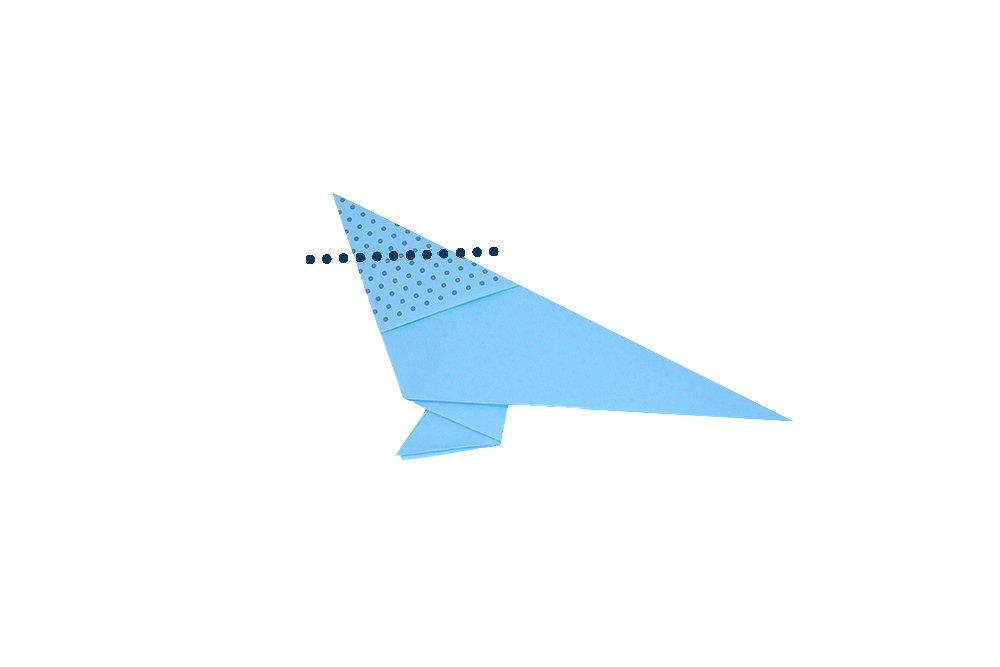
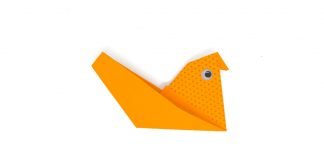
To form the origami bird’s head and beak, make an inside reverse fold on the top left corner (patterned area). To make an inside reverse fold, pry open the top tip. Then push it down inwards to the center, then flatten.
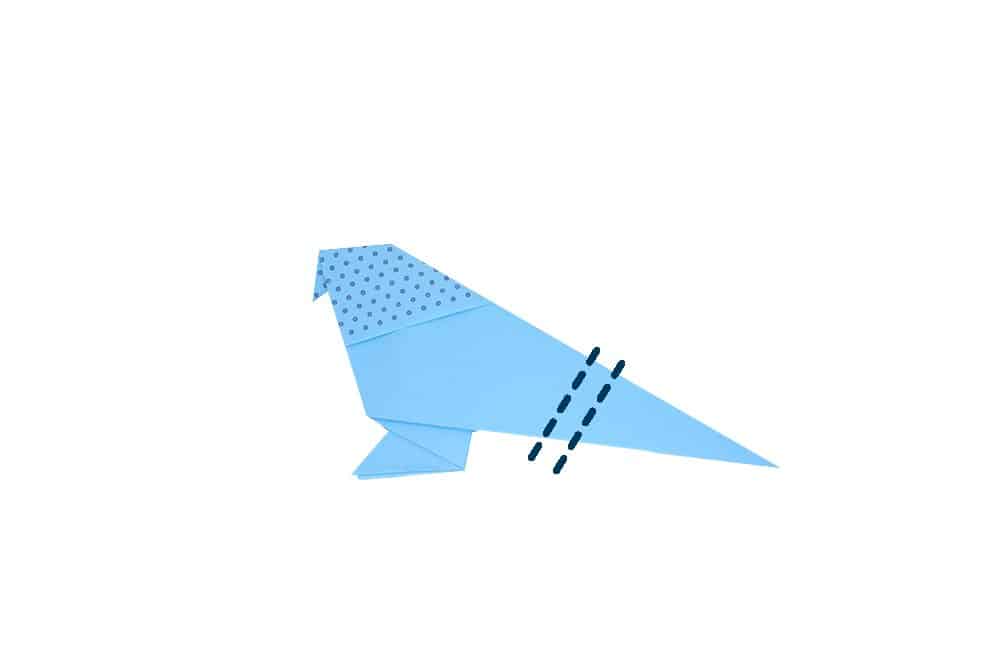
After doing the head and beak of the origami bird, let’s do the tail. Make a crimp by folding the tail to the back.
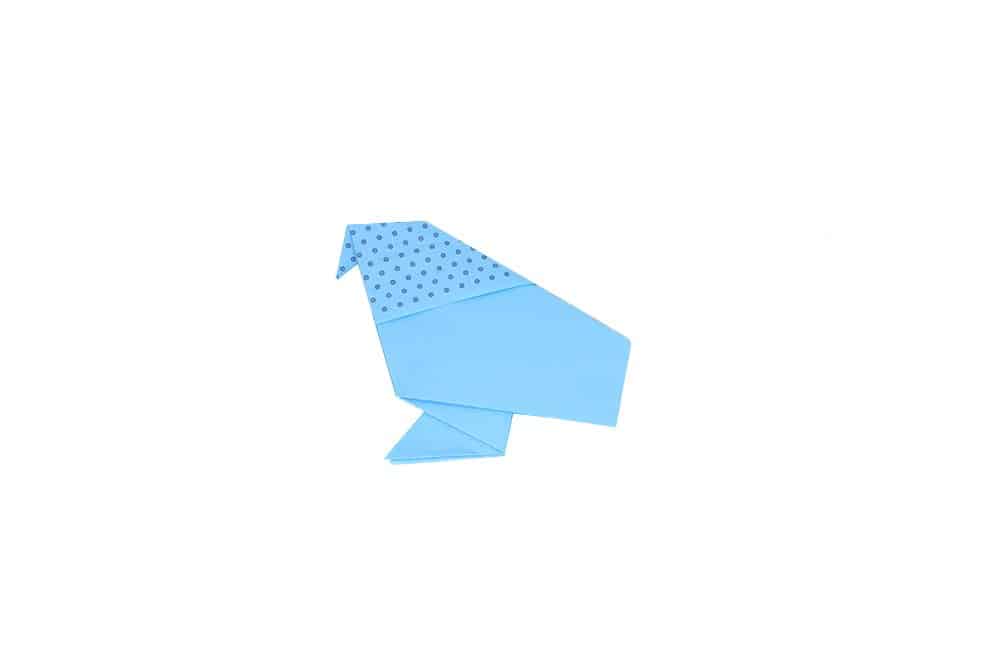
Then folding the tail again to the front leaving a small part at the back.
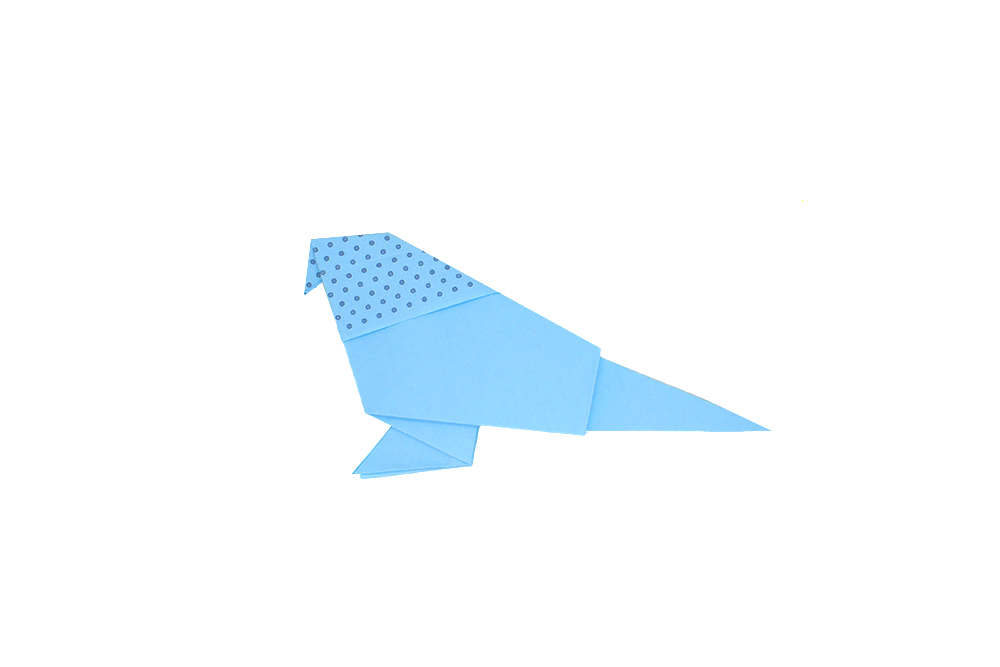
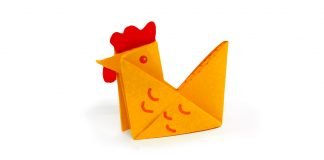
Your basic origami bird is done! It can now stand on its own and would make an awesome decoration anywhere in the house!
Extra Tips
- Customize it however you like by drawing its eyes or put some designs on its wings.
- Use different kinds of paper to make variety of birds. Experiment on color, textures and various materials!
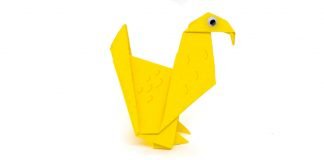
- To make various types of birds, use a specific color of paper. Example, yellow for a canary bird.
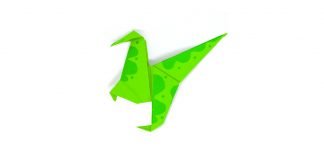
- Fun Fact! Do you know that birds are dinosaurs! according to Paleontologists, birds are descendants of dinosaurs and are actually considered reptiles! Why not make a dinosaur origami next? Quite a challenge but with our instructions, we'll guide you to make this cool creature!

