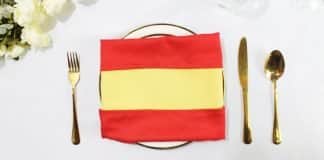
Introduction
You have come to the right guide to learn how to fold a pinwheel napkin. We have divided the steps into three main parts so that it would be much easier to remember. One important thing to care of is achieving symmetry.
The pinwheel napkin fold, also known as the windmill fold, is fun-looking and perfect for any event. Be it a birthday, graduation, social or corporate celebration. Because of the design, it’s like origami but you’re working with fabric!
Of course, you could also use a paper napkin for this fold.
The pinwheel isn’t hard to do but table napkins are there to elevate the event design! They serve a function while making your table setting look stylish. So proper execution is important.
Hopefully, this tutorial helps – enjoy!
Fold the Napkin Into a Shirt
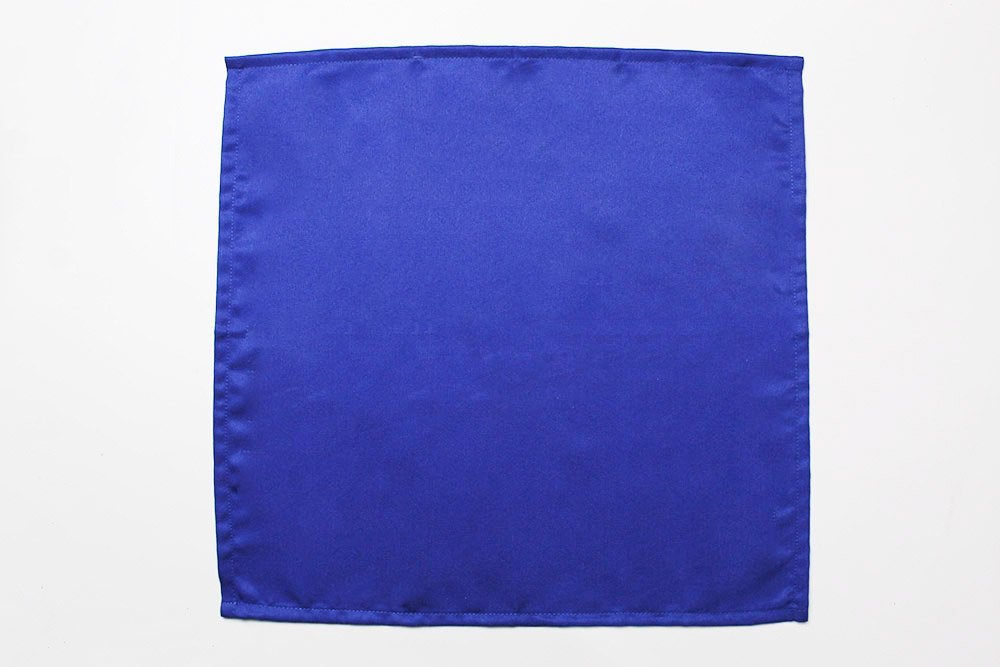
When doing the initials steps of the napkin pinwheel try to imagine making a shirt with collars. Lay the napkin in front of you - this is the first step.
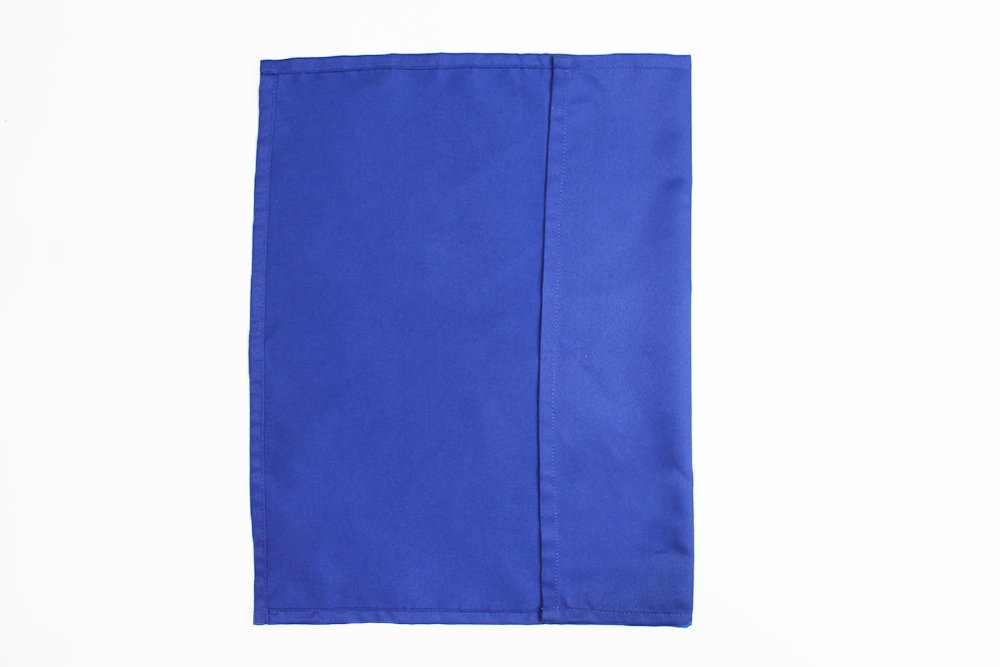
Fold the right edge into the vertical middle line of the napkin. If you do the same with the other, you should have a symmetrical shape.
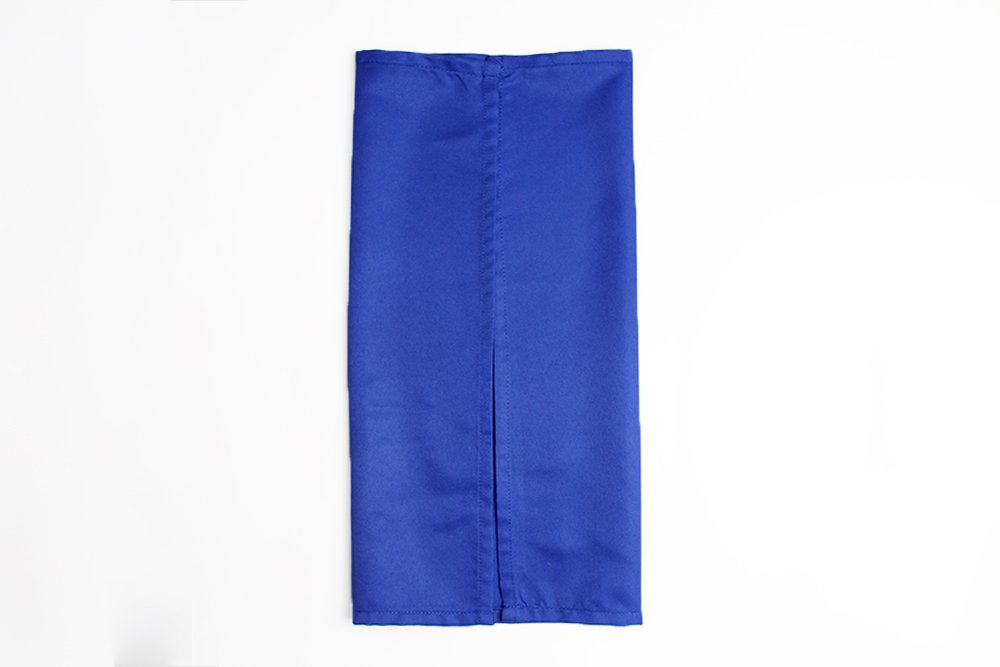
Now fold the left edge into the middle. Again, symmetry is important.
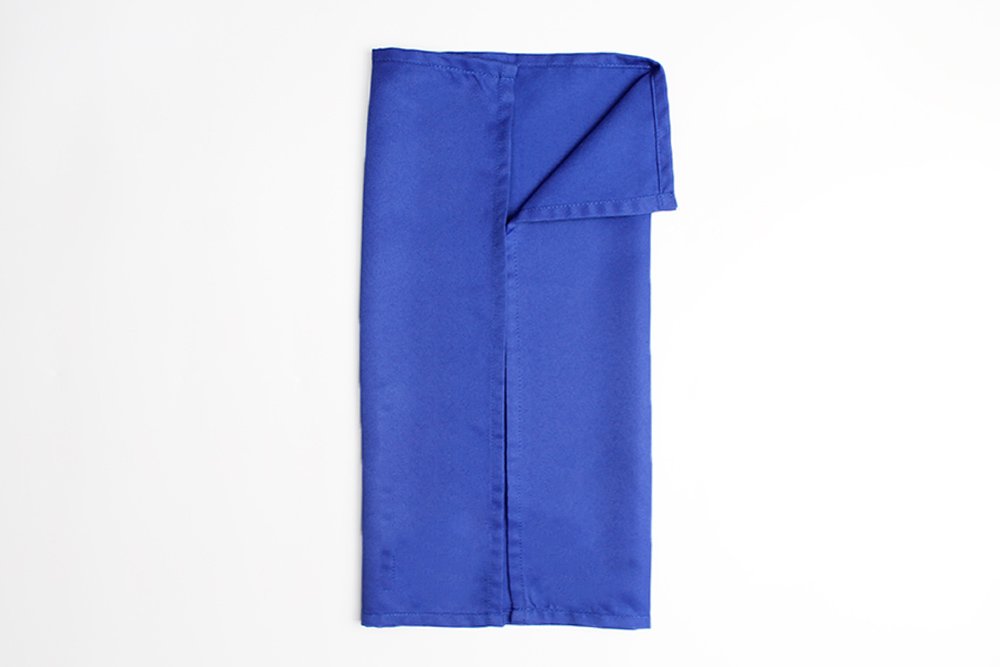
Fold the inner corner of the right side outwards. Another way of saying this is: fold the top left corner of the right side towards the bottom right.
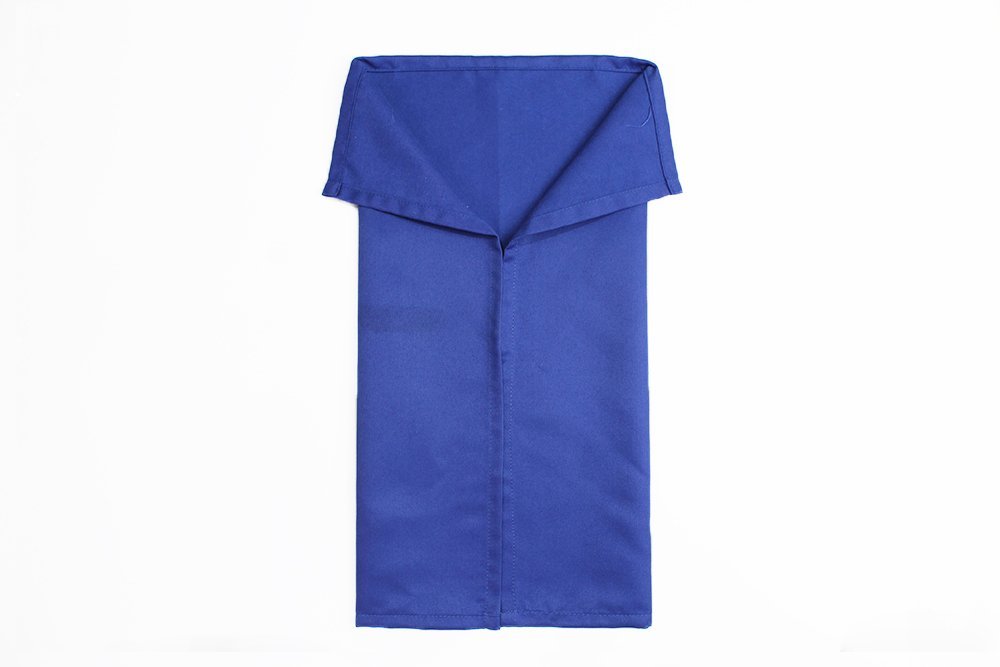
Do the same for the left side. And notice how it looks slightly like a sleeveless polo shirt. Good job, time to move on to the next steps of this pinwheel fold napkin.
Make a Hexagon
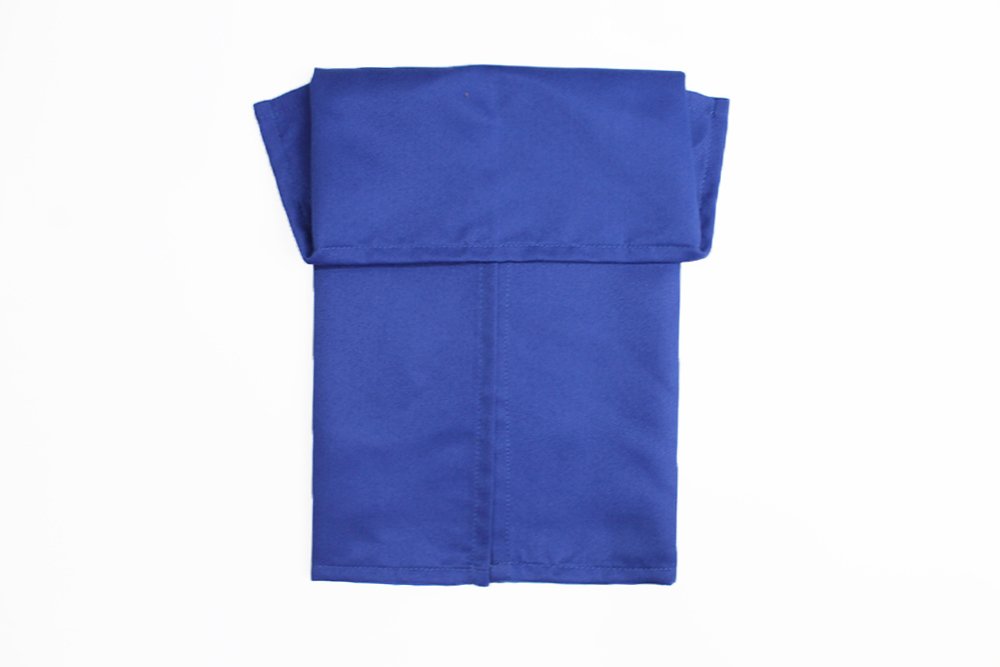
Try to imagine making a hexagon for this stage of the process. Start by folding the top edge downwards to the middle. You should fold the top edge towards you and not the other way around.
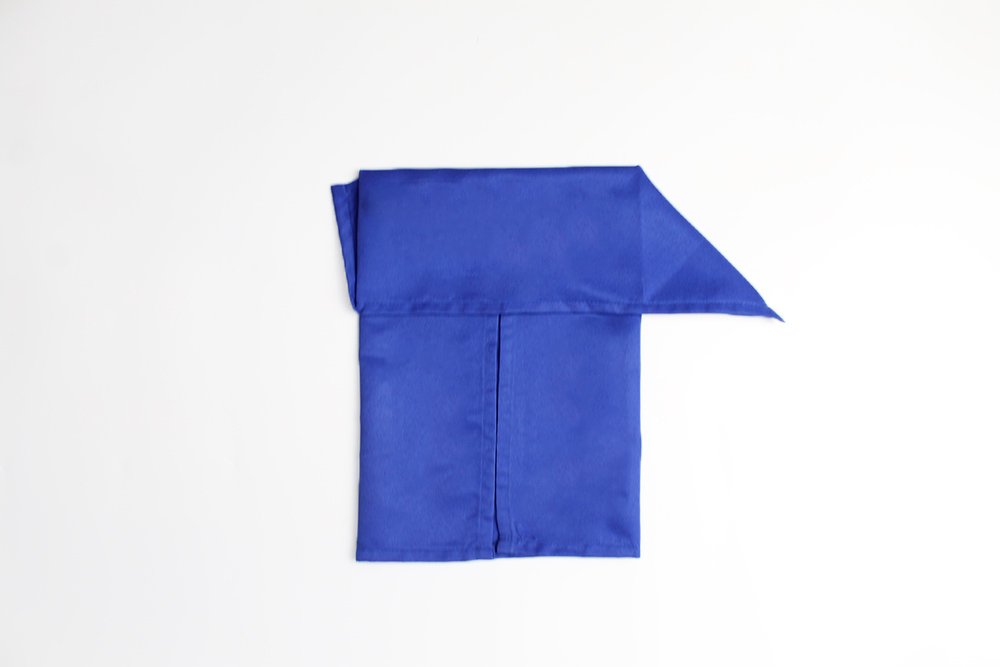
Then, extend out the right corner of the top edge.
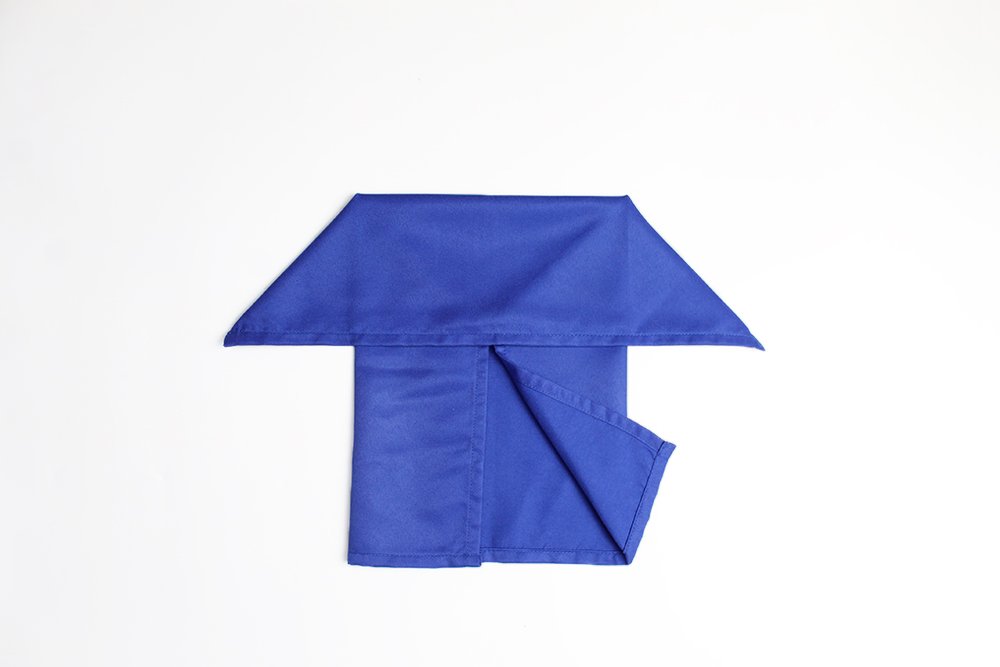
Do the same for the left edge. At this point, the napkin resembles a simple house.

Fold the inner bottom corners towards the outside. Start by folding the left corner of the right side towards the right.
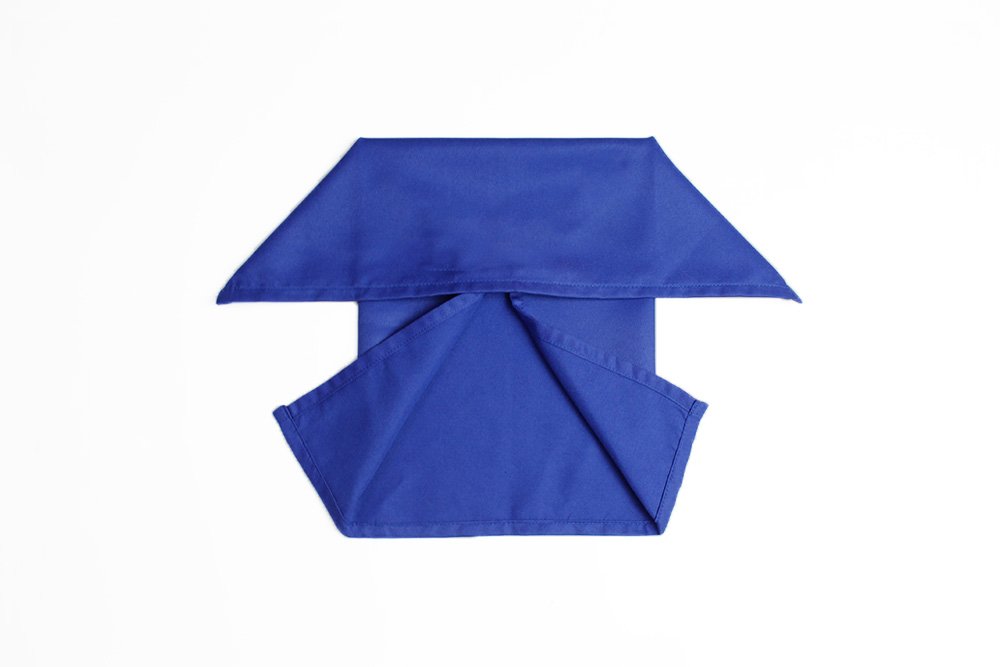
Then do the same for the left side. Again, at this point you have a symmetrical shape.
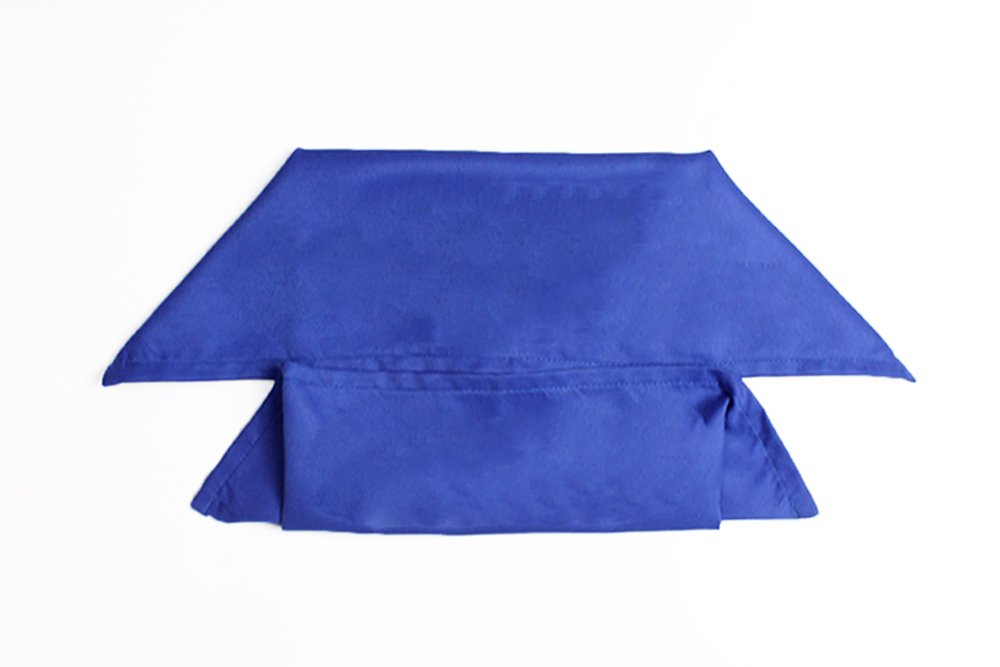
Fold the bottom edge towards the middle. Use the imaginary line made the outermost two points of the triangles you just made. Fold the napkin in this line,
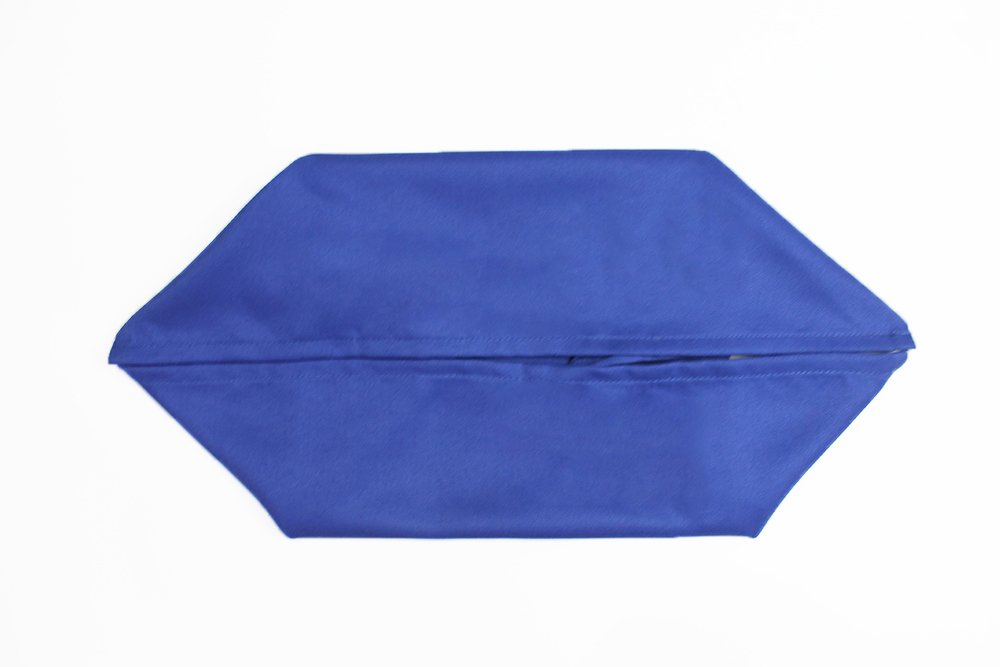
Then pull out the corners of the bottom edge outwards. Great job! Well, would you look at that - ain't that a hexagon.
Extend the Corners in Four Directions
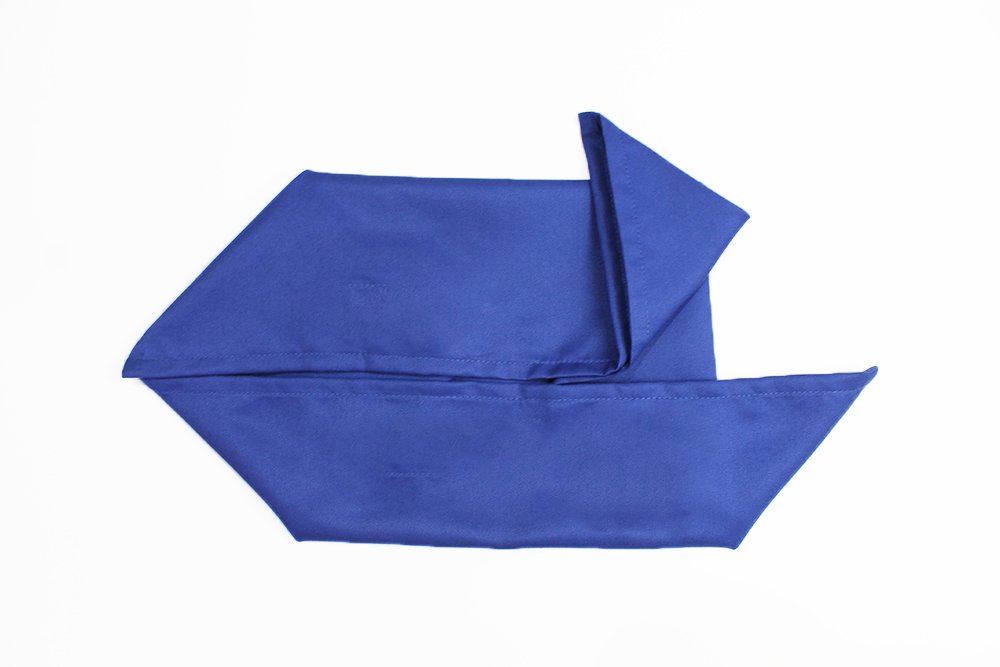
Fold the upper right corner to the top. Take a look at the picture above for your reference.
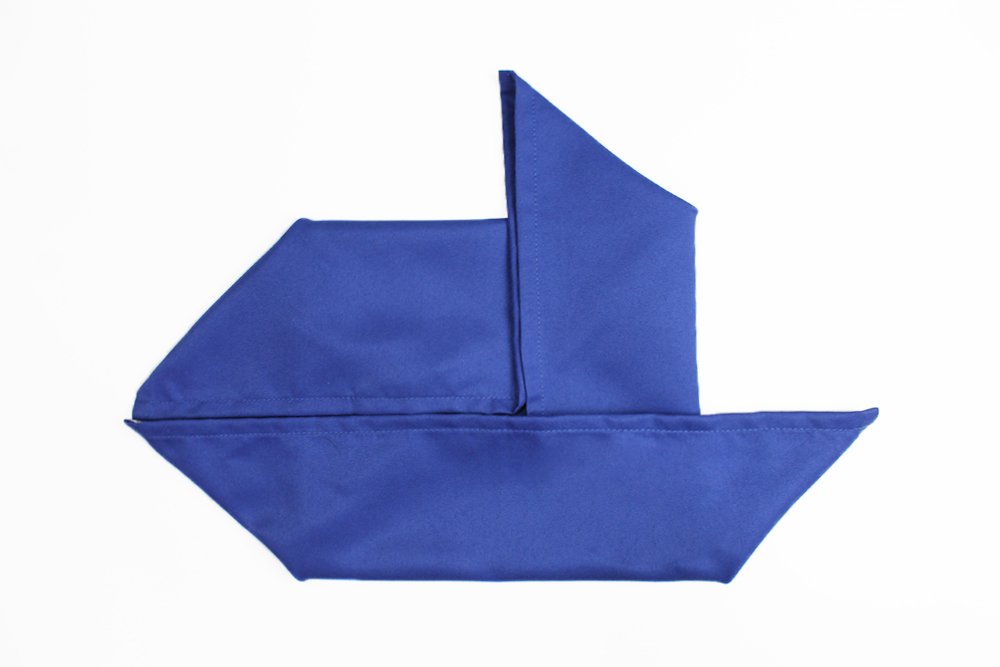
Now, extend the little triangle that you have just made upwards. One out of the four blades is done. You are close to finishing the pinwheel or windmill napkin fold!
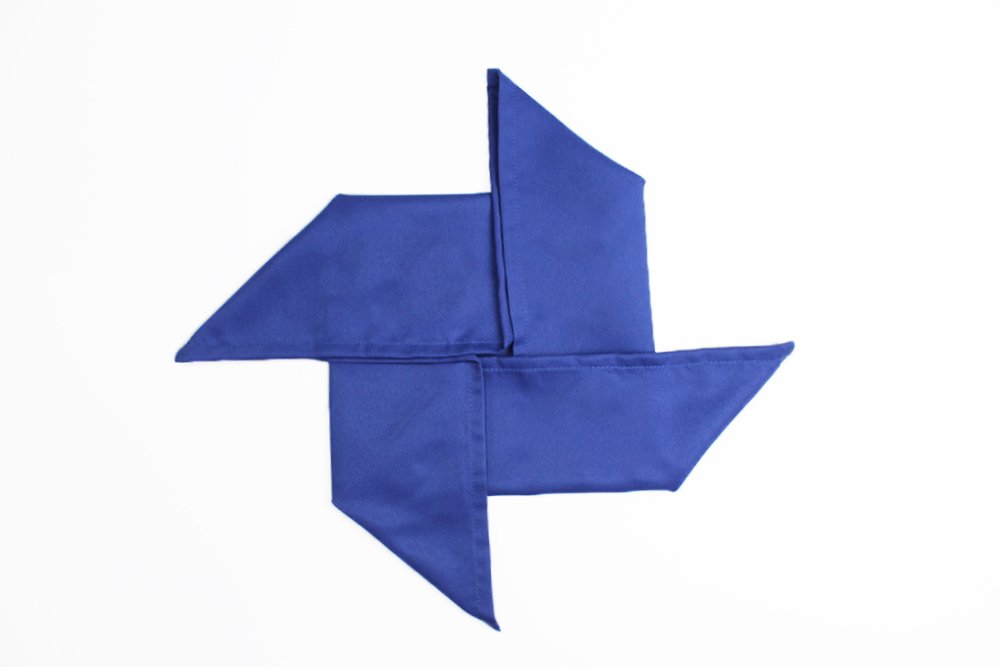
To make the other three blades and complete this fold, simply repeat what you did to the bottom corner.
And congratulations. You have made the fold. We hope you found this guide helpful and entertaining. Also, don't forget to take a look at our other napkin fold guides.
Extra Tips
- Find ways to add a personalized touch to your napkins. For example, you could add a small object in the middle that says something about you or the event.
- Think of napkin folding as something to enjoy.
- Ironing napkins are a good idea although you won't need to every time.

