How to Fold a Dollar Bill Origami Shirt
Introduction:
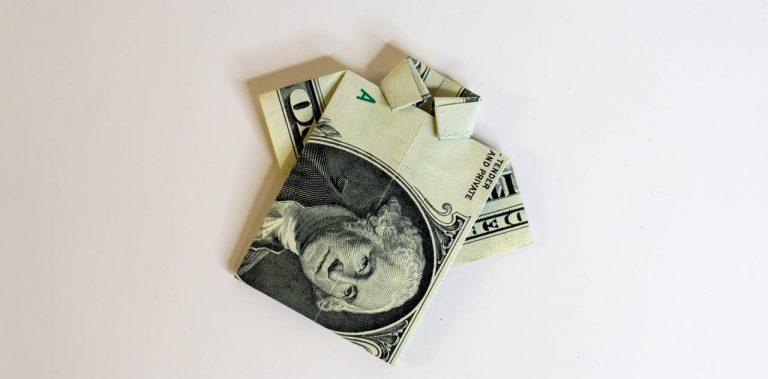
A great activity that you can make with a piece of dollar is to turn it into a mini version of various articles of clothing. One easy way is by turning it into a shirt. To make this paper shirt, you will be needing a smooth piece of a dollar bill. If you don’t have a dollar bill on hand, you may use a rectangular piece of paper with a 7:3 ratio. Follow the 9 step procedure below, and once finished, you can now have your own cute mini version of a money shirt.
This money origami does not take too long to make compared to other folds and there isn’t anything tricky. Overall, this is a simple but cool fold that you can make with a dollar bill. Have fun!
Make the base of the dollar shirt
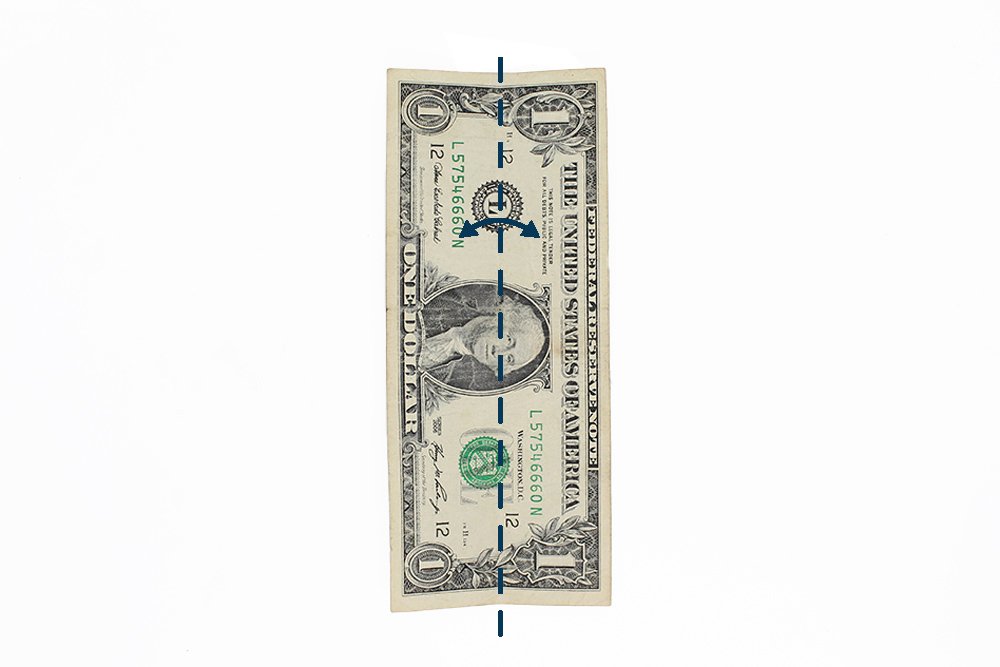
The first thing that you need to do is find a flat surface where you could fold your dollar bill. Your first objective is to make creases. Orient the paper in portrait position. Start with folding the bill lengthwise in the middle.
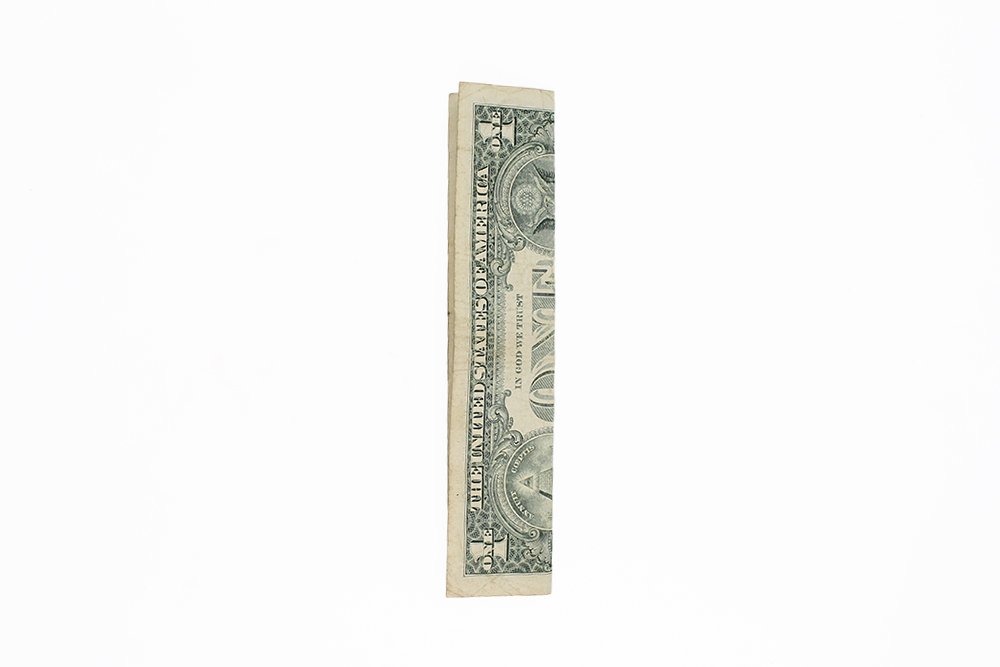
Then unfold. There should be a nice straight crease line in the middle of the paper.

The next step is fold the left and right edge towards the middle crease line.
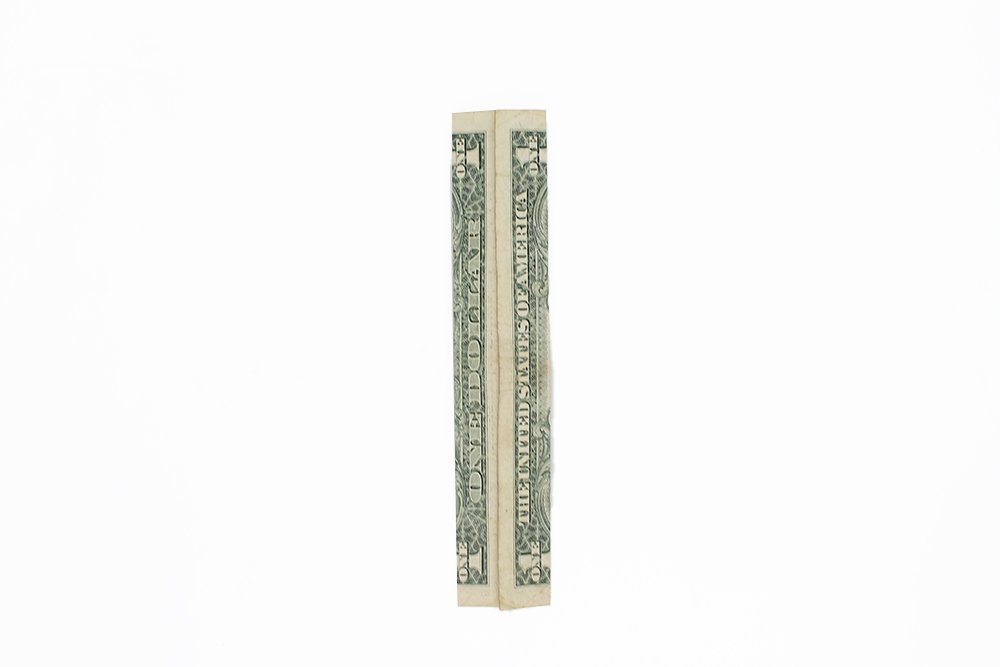
Once folded, crease it well and unfold. Good job, you've made the creases which would let make the dollar t-shirt. Time for the next steps!
Make the collar and body of the shirt
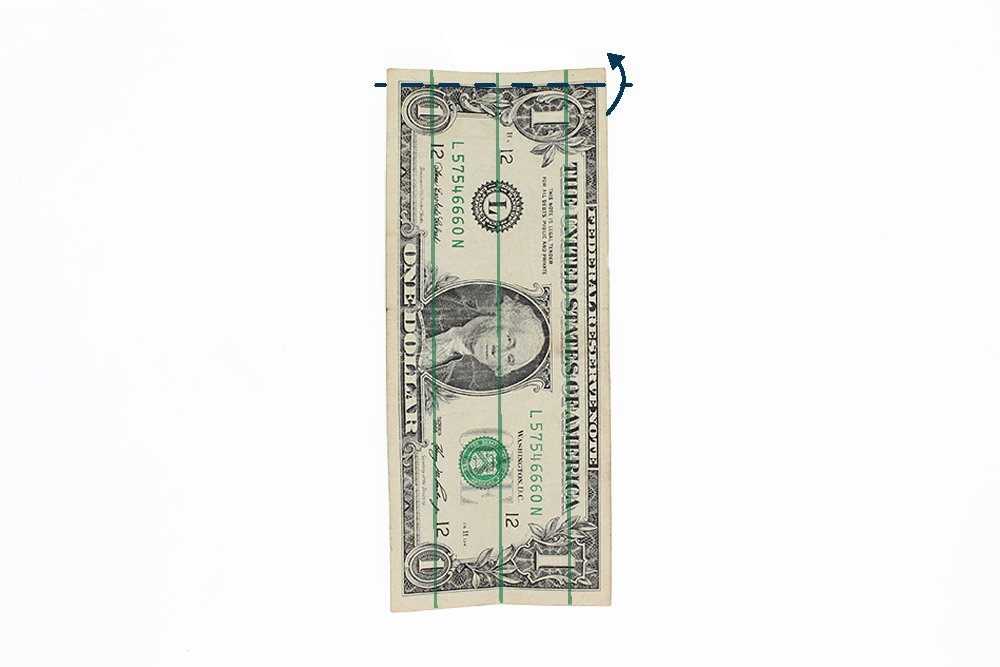
Mountain fold the top edge ( along the white border of the dollar bill) to the back.

Fold the bottom edge of the dollar bill 1/3 to the top. This stage will focus on creating the body of the shirt.
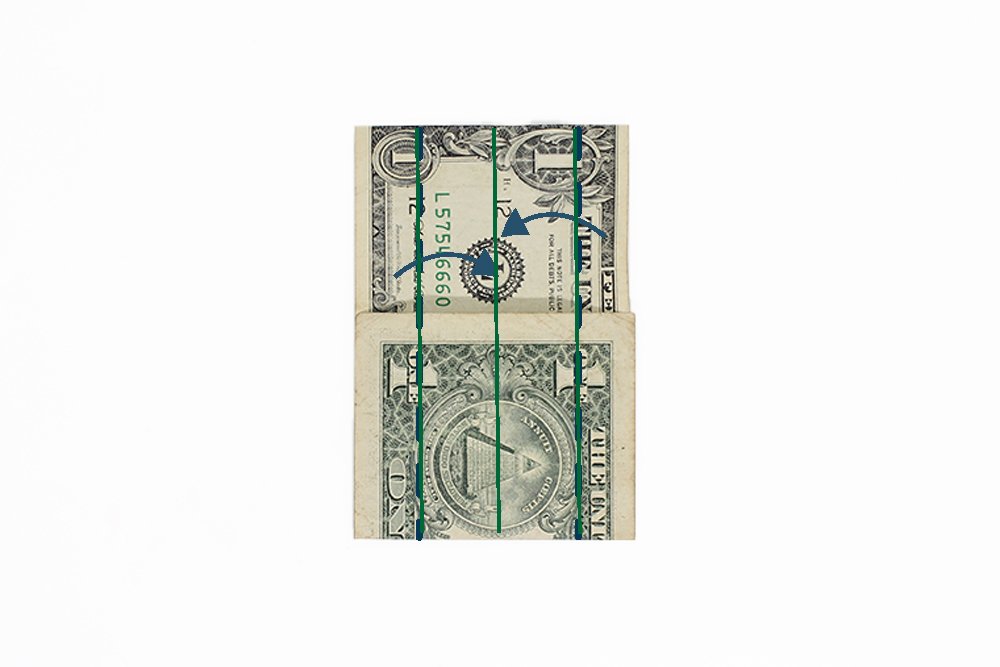
Using the crease marks made in the previous step, fold the left edge to the center crease line. See next steps for guidance.
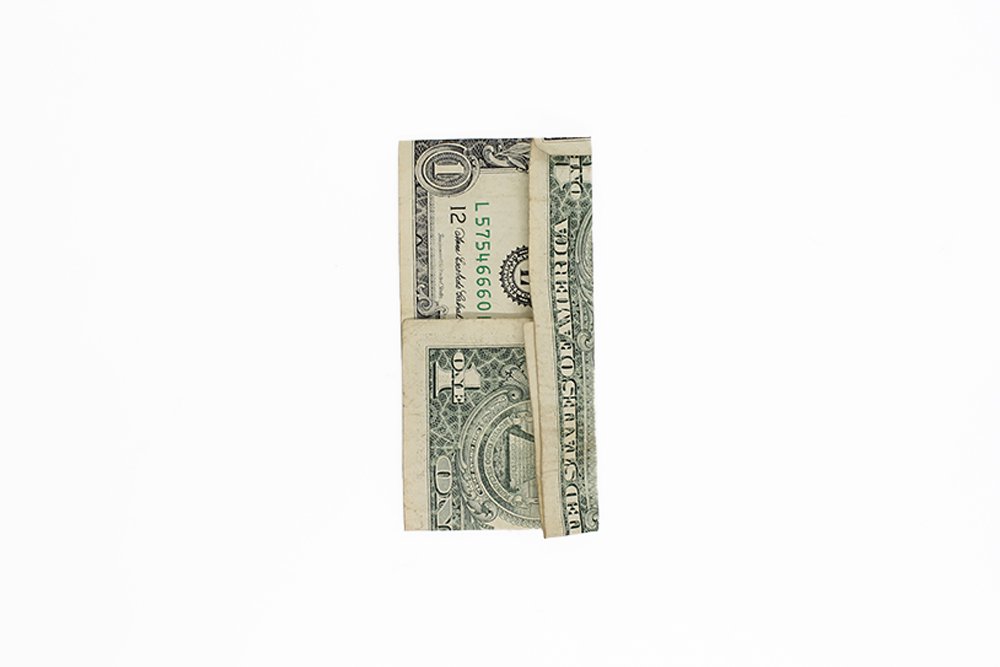
Fold the right edge first to the center crease line.
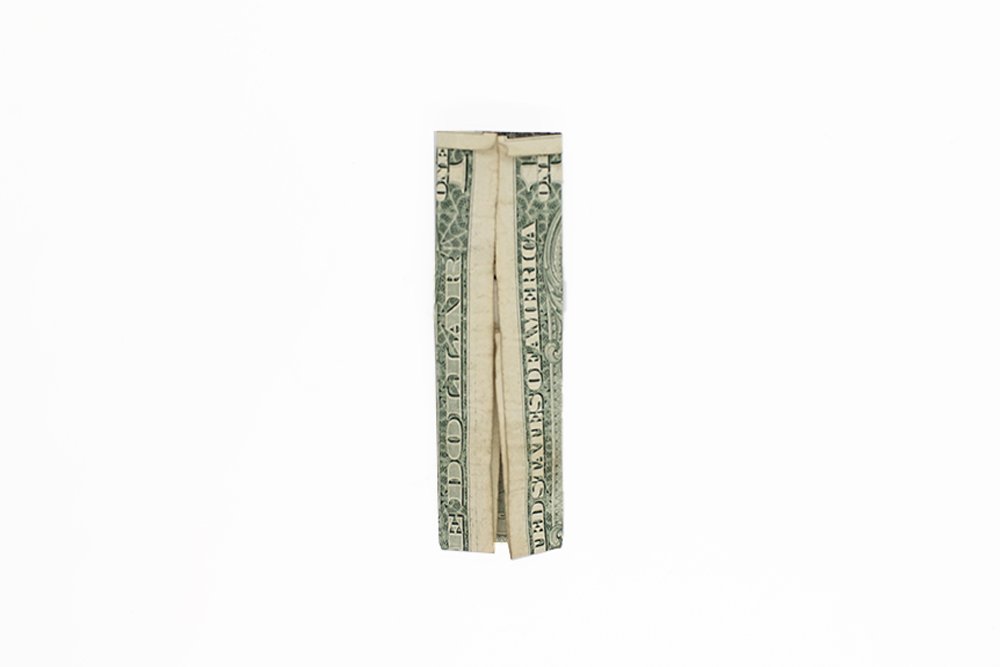
Then fold the left edge to the middle as well. Good job, now it's time for the last stage of the t-shirt dollar fold.
Make the Collar and Sleeve
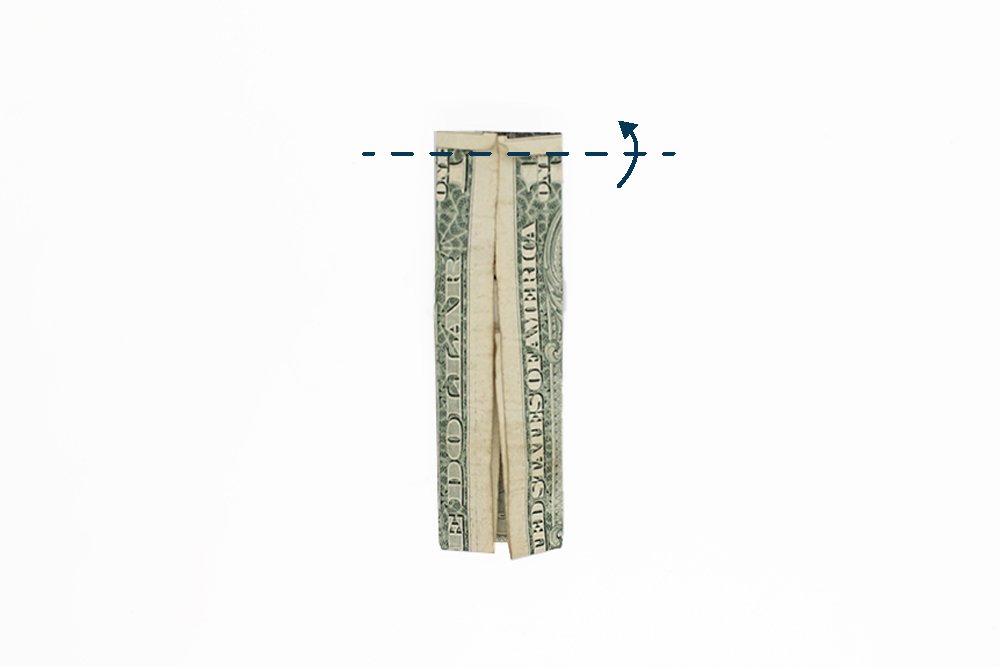
Mountain fold along the dashed lines as shown.

To make the collar, bring the top right and left corner (top yellow dots) to the center. See next steps for guidance.
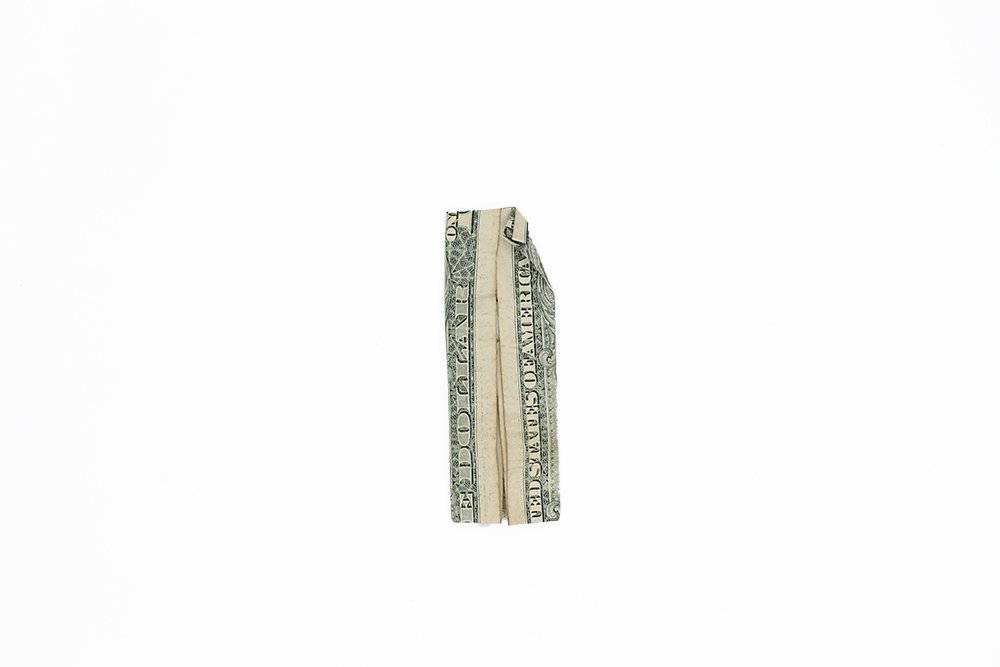
Bring the top right corner towards the middle. Then do the same for the left top corner.

To make the sleeves of the dollar shirt, fold the top layer of the dollar bill's bottom side outwards. Follow along the dashed lines as illustrated above.

Start with the right layer then do the same on the left.

Bring the bottom part of the dollar bill upwards, and then tuck the bottom edge under the collar. Flatten the origami well once you have tucked it securely on the collar.
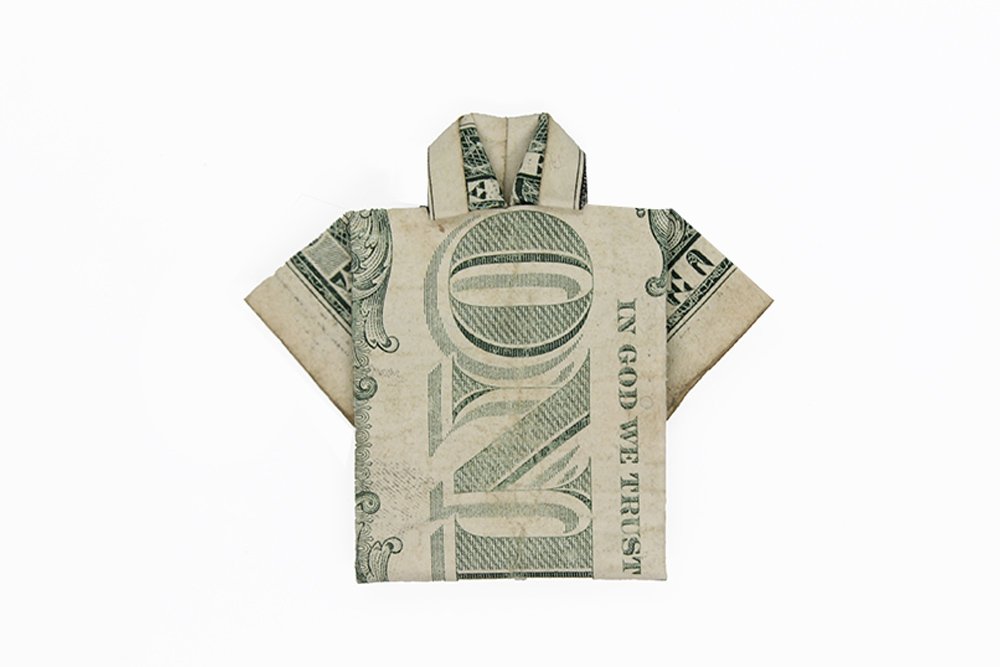
Ta-dah! Your Dollar Bill Origami Shirt is done. You now have a mini T-shirt that you could turn into a cute gift or give it as a tip.
Extra Tips
- You can put your bills inside a thick book so to get rid of unwanted creases. This also makes the paper more presentable later on.
- Remember to sanitize your dollar bills first before folding! Stay on the safe side by cleaning the paper/s first.
- This tutorial will always be here so you could come back in case you forget a step. And if you're stuck with a particular step just drop a comment down below - we'll help ASAP.




It really is easy, thankss
this origami is cute! thanks for making a guide on it
i like this one, might fold my bills before giving tips now ahaha
good job explaining it to us
Noice!!