Introduction:
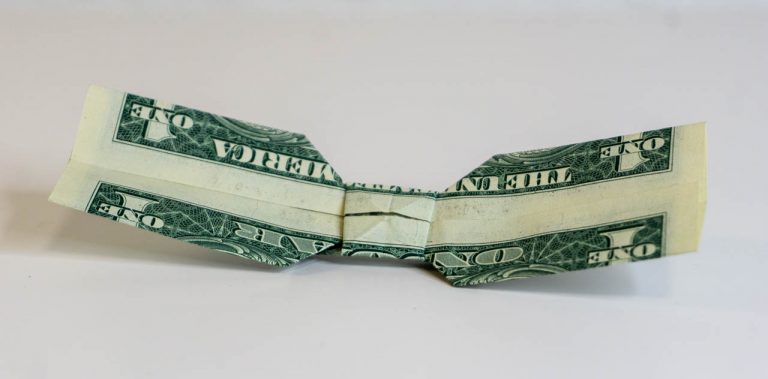
Making decorations can be a simple feat with this craft instruction below. We will be making an origami bowtie using a dollar bill for this tutorial. It is not necessarily required to use a dollar bill, and if you don’t have any available at the moment, you may use any rectangular piece of paper. Once you’re done, It can be a great gift to someone special, or use the paper bowtie as an embellishment anywhere such as a gift.
The ratio of the side lengths of a rectangle must be the same as the dollar bill ( 1:2.35) though. Have fun with this guide, and please tell us what your receiver thinks!
Make the base of the money ribbon
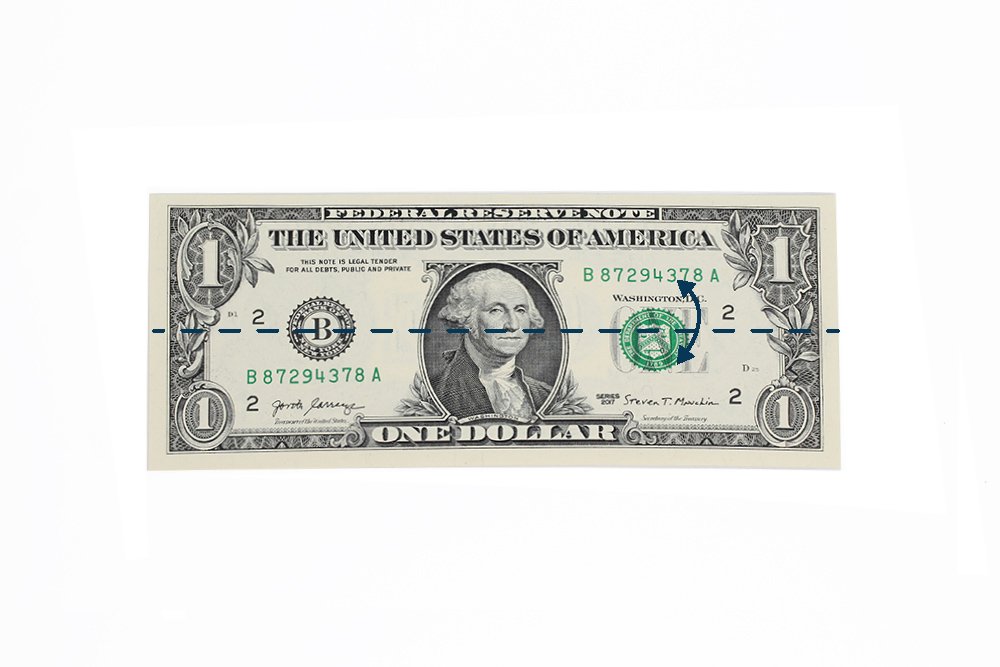
Your first step is to get a dollar bill and find a suitable surface wherein you could begin folding. Make sure to clean and iron the bill/s as necessary. Make a crease mark along the dashed line by folding and unfolding the dollar bill crosswise in half.
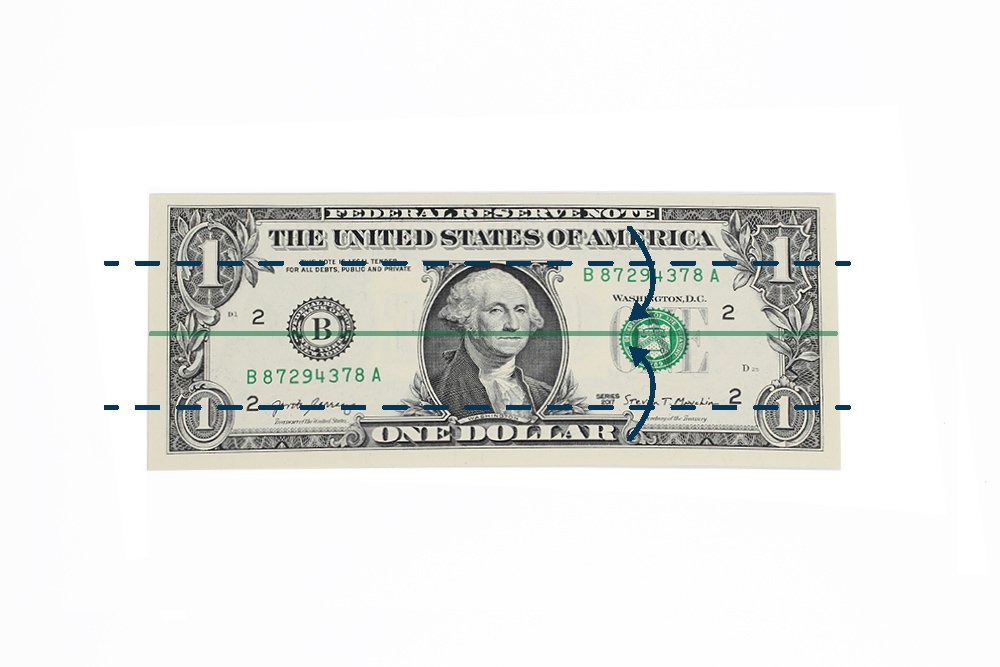
Bring the top and bottom edge to the middle. See next steps for guide.
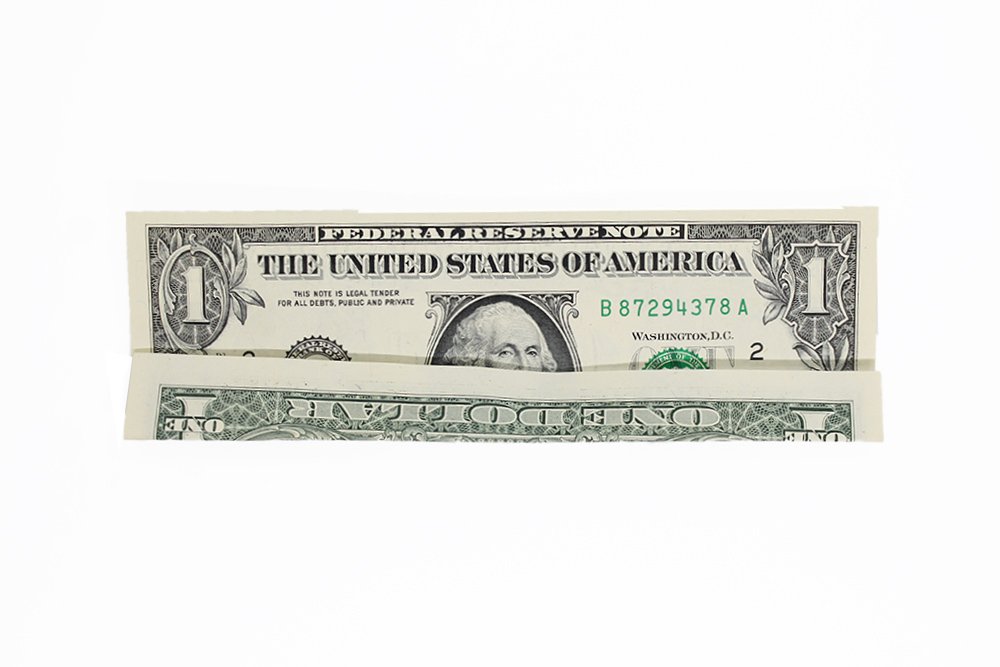
Fold the lower edge towards the middle crease line.
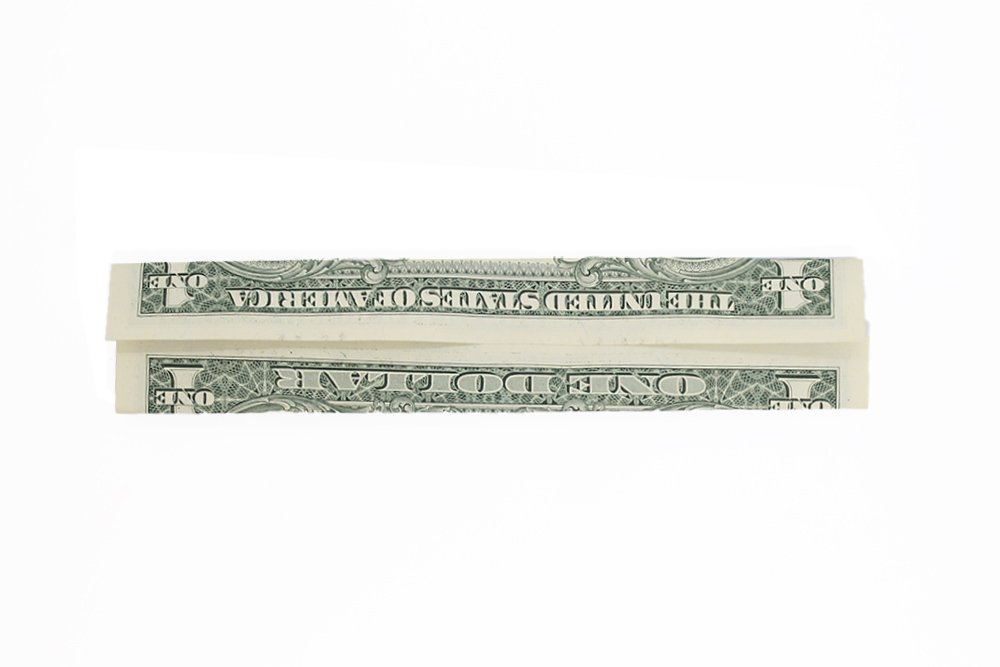
Then fold the top edge towards the middle crease line.
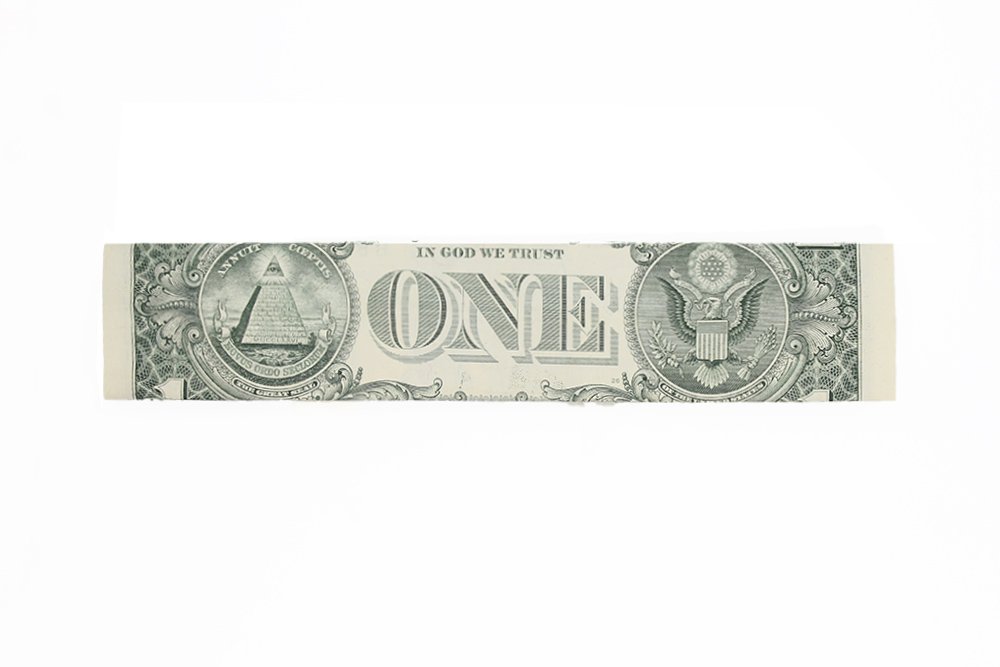
Turn the dollar bill over to the other side.
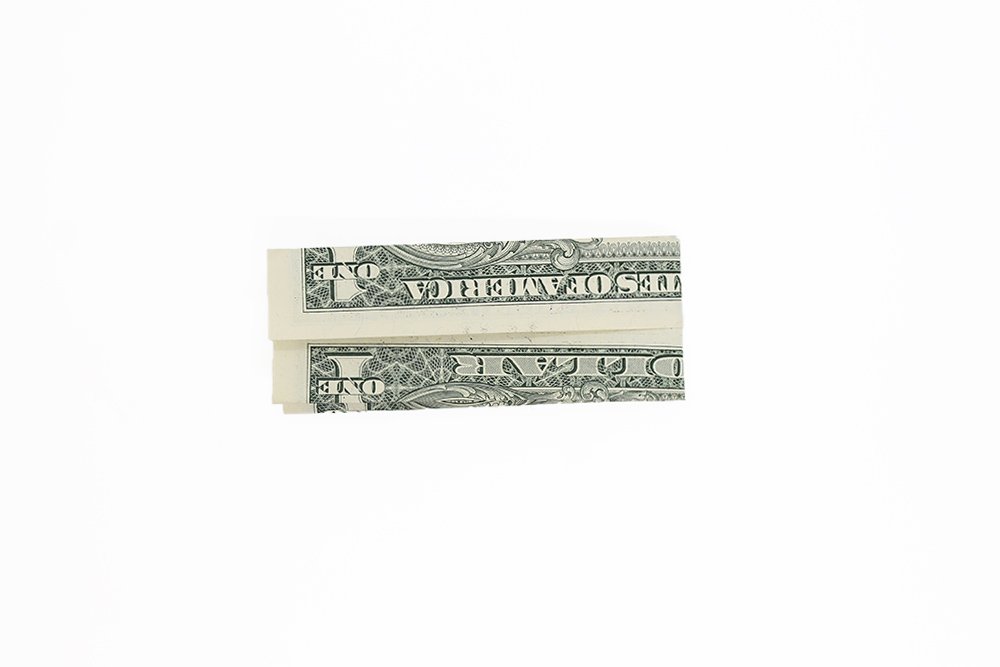
Fold the paper bill in half by bringing the right edge towards the left.
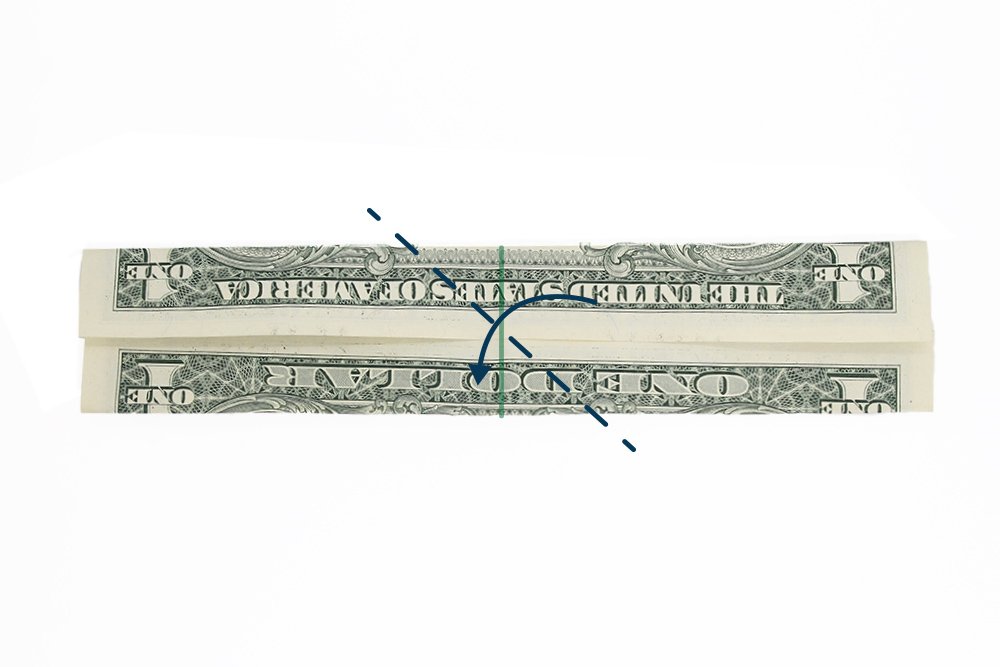
Then unfold it. You should now have a nice vertical crease mark. Take note of the dashed lines on the image above as you will be folding along this line next.
Build the knot of the bowtie origami
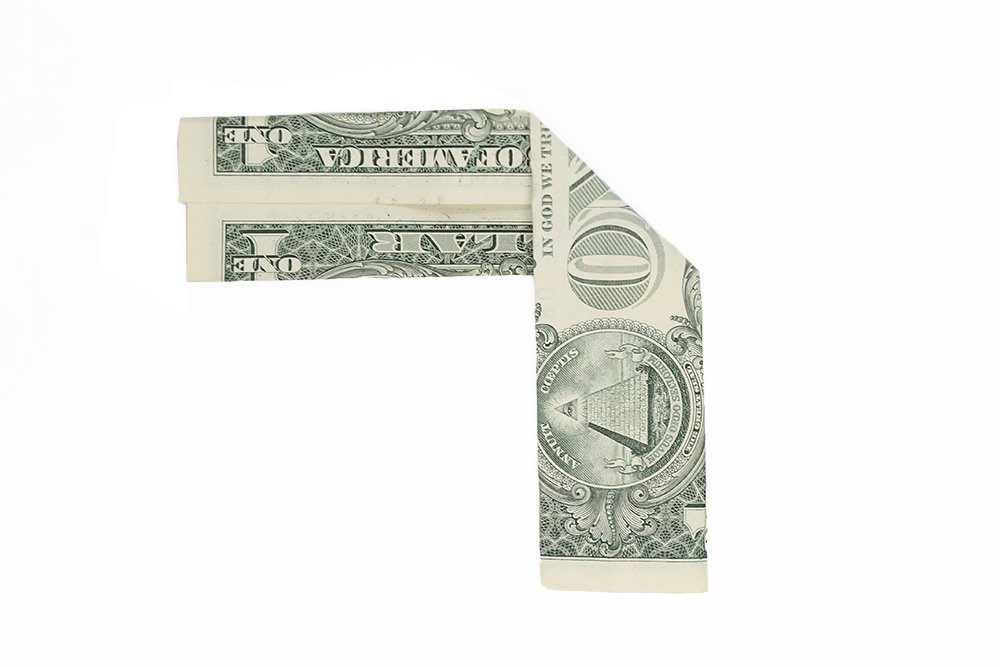
Diagonally fold along the right side of the dollar bill.
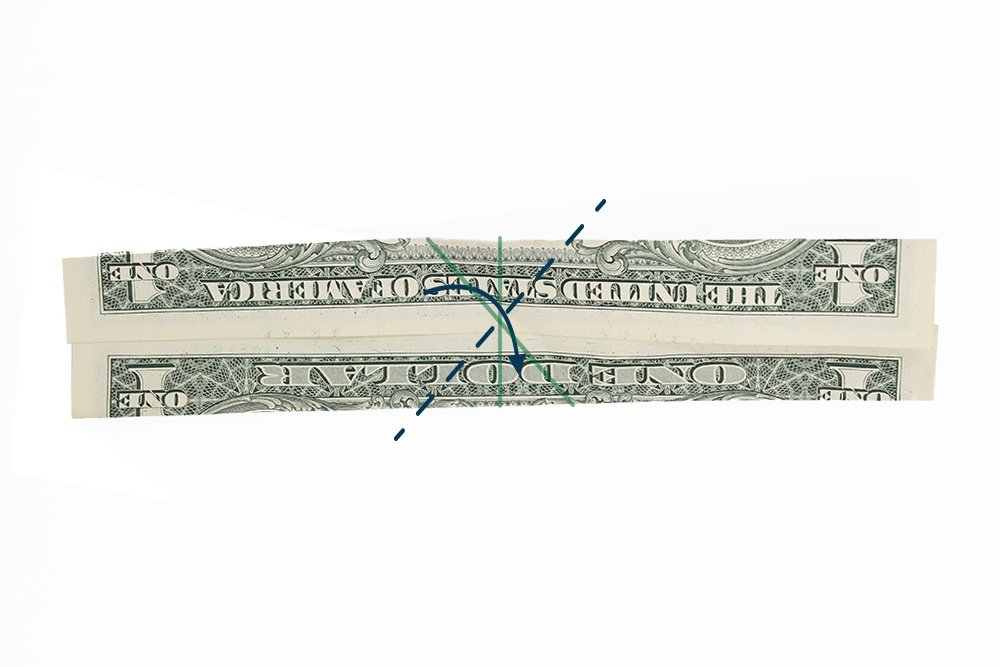
After creasing properly, unfold the dollar bill. You will be folding along the dashed lines that is shown in the image above.
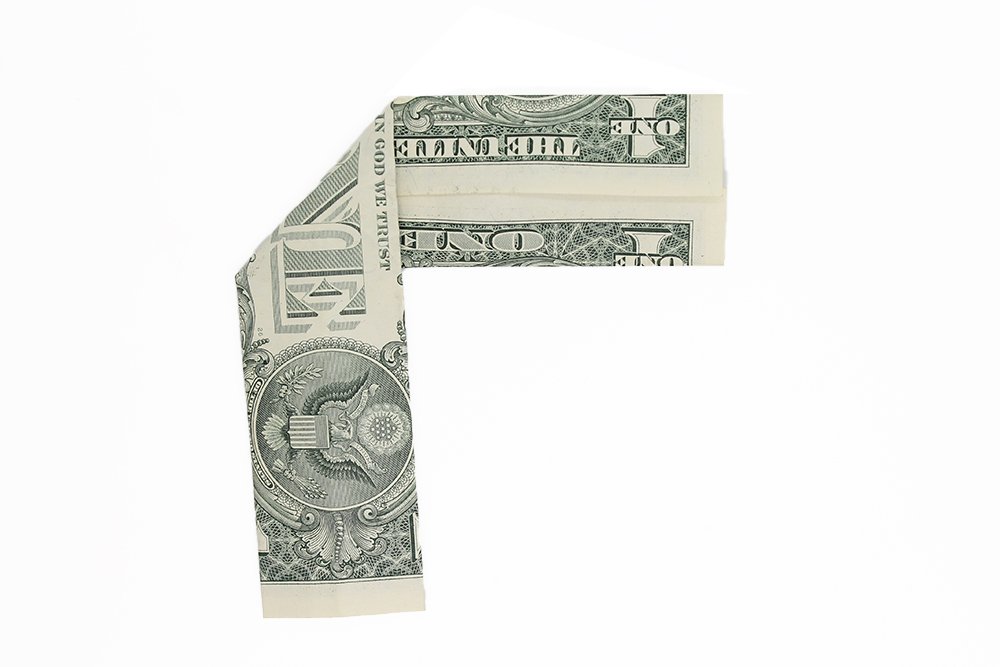
Then do the same for the left side. The crease marks are important for your next goal.
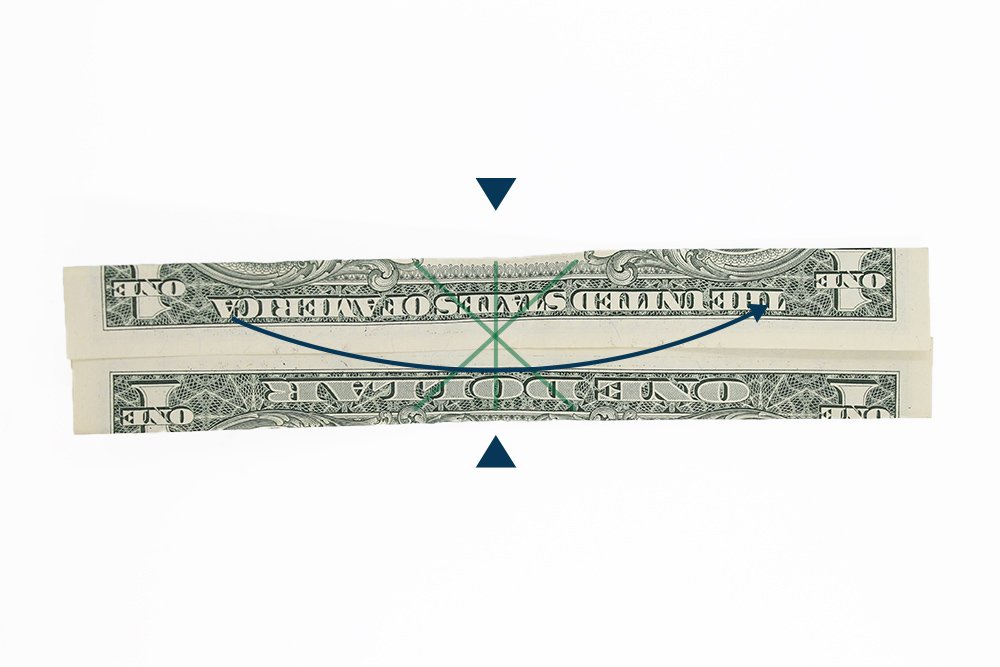
Unfold the money bill again. Then take a closer at the image above as they will be your guide for the next step.
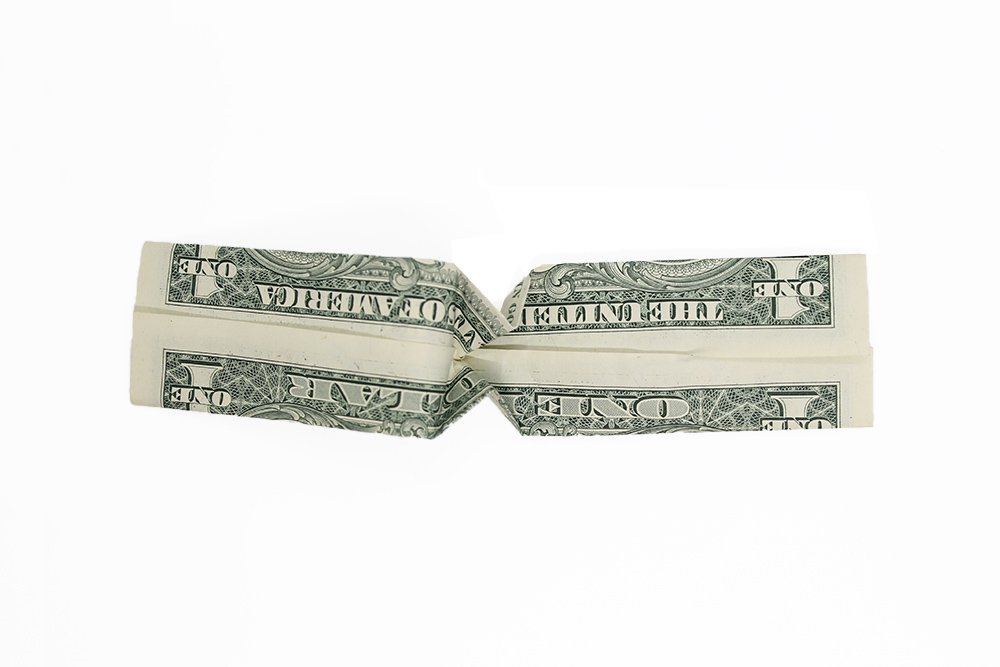
Once you have made the necessary crease marks pinch the top and bottom middle edges too the center.
Shape the money bow tie
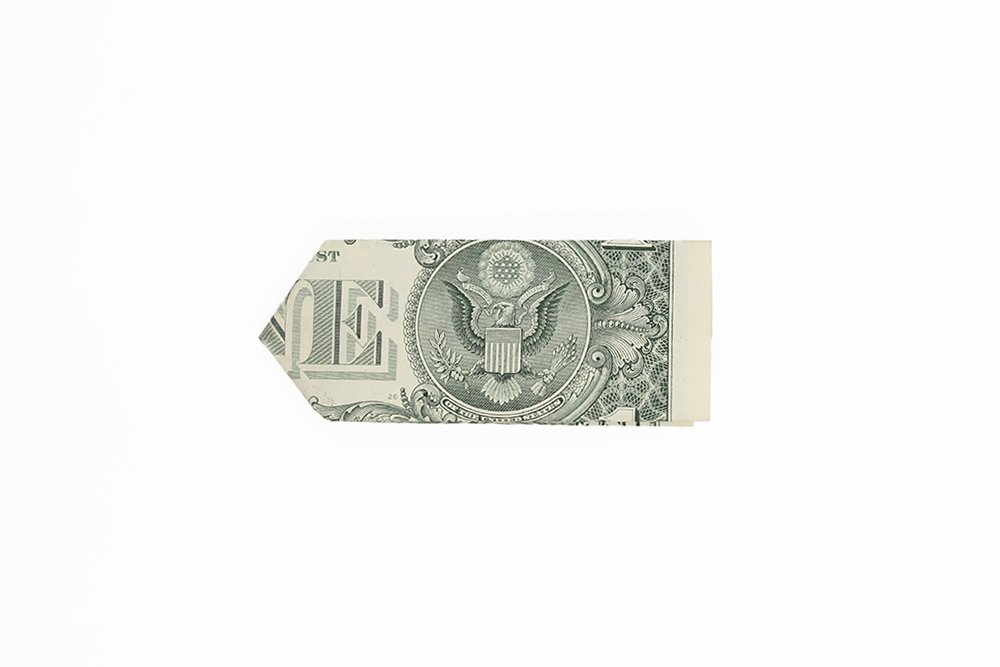
Then bring the right side to the left side. Because of the crease marks made previously, it should now look like this once folded in half.
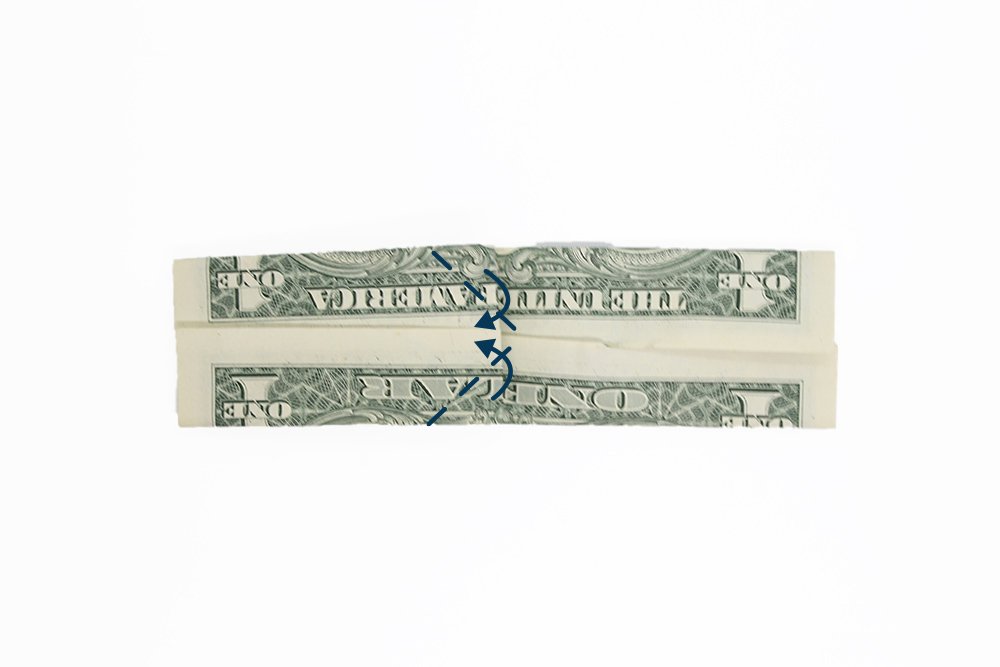
The next step is to diagonally fold the left top and bottom parts of the dollar bill. You will be diagonally folding towards the inside.
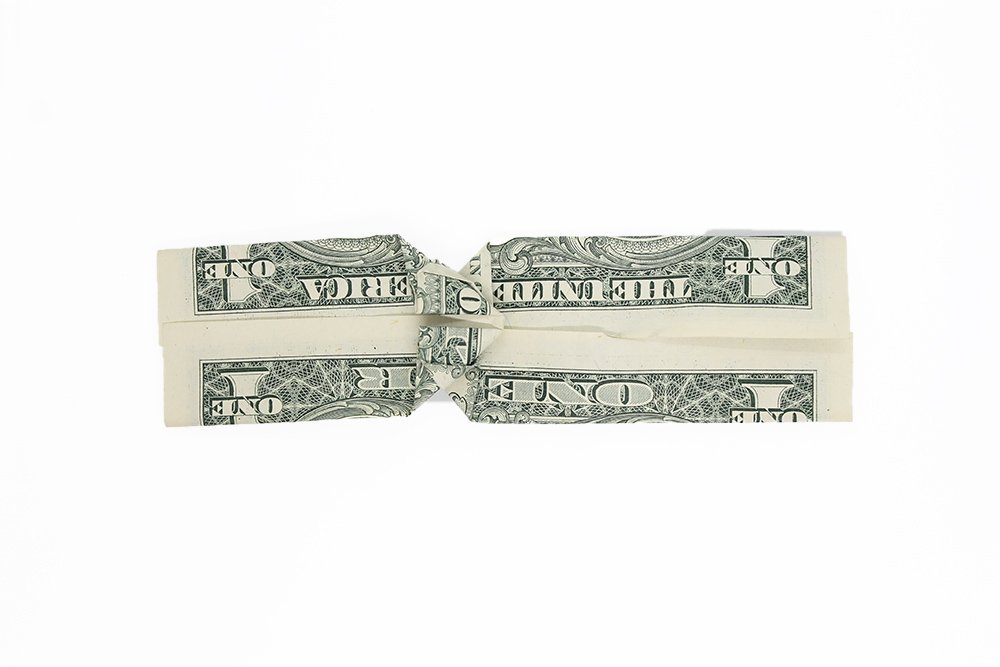
Flip it over to the other side.
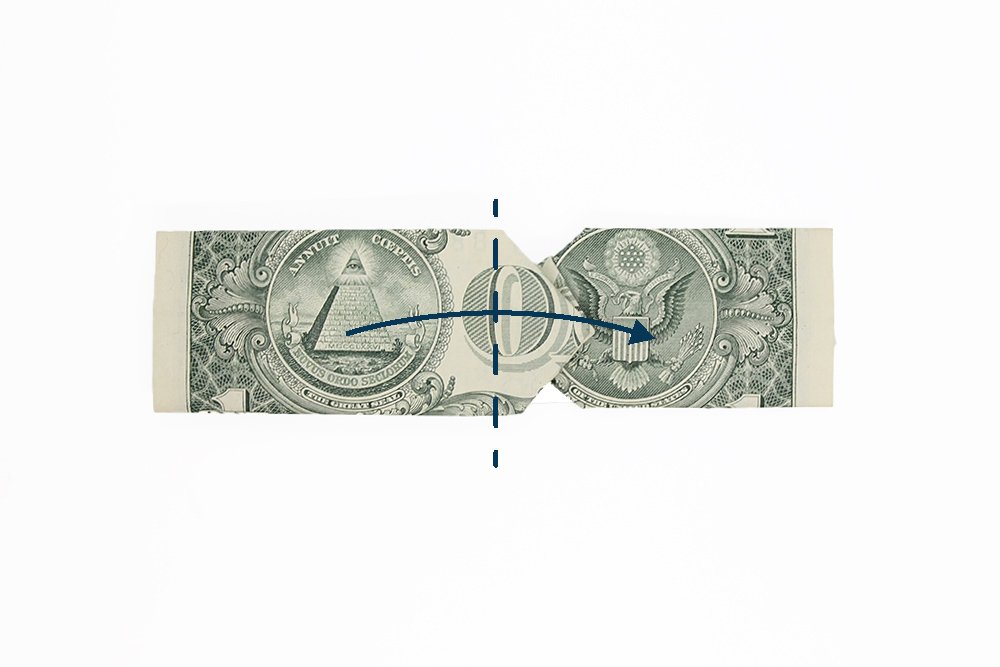
Fold the left side of the dollar bill to the other side along the dashed lines.
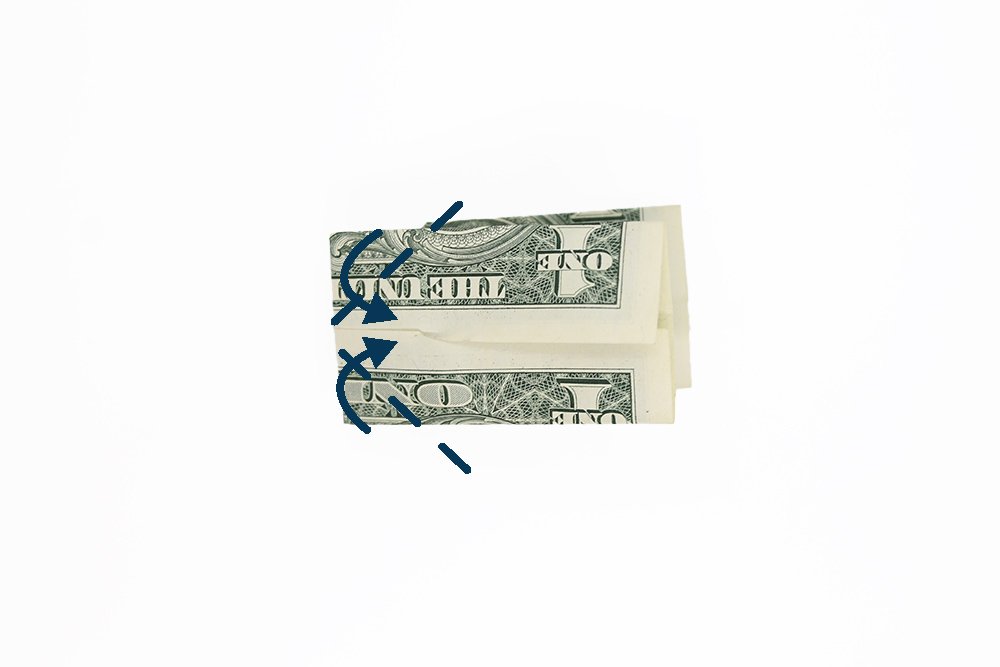
Just like what you did in previous step, Fold the corners along the dashed lines.
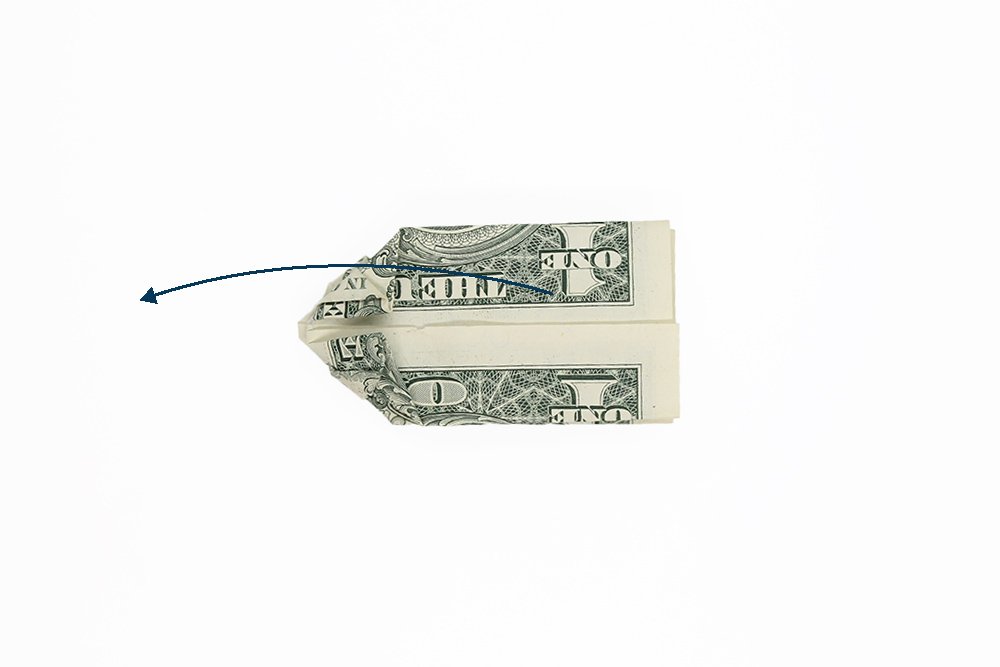
Bring the top layer to the other side.

It now looks like a bow tie. Carefully pull apart the left and right sides.
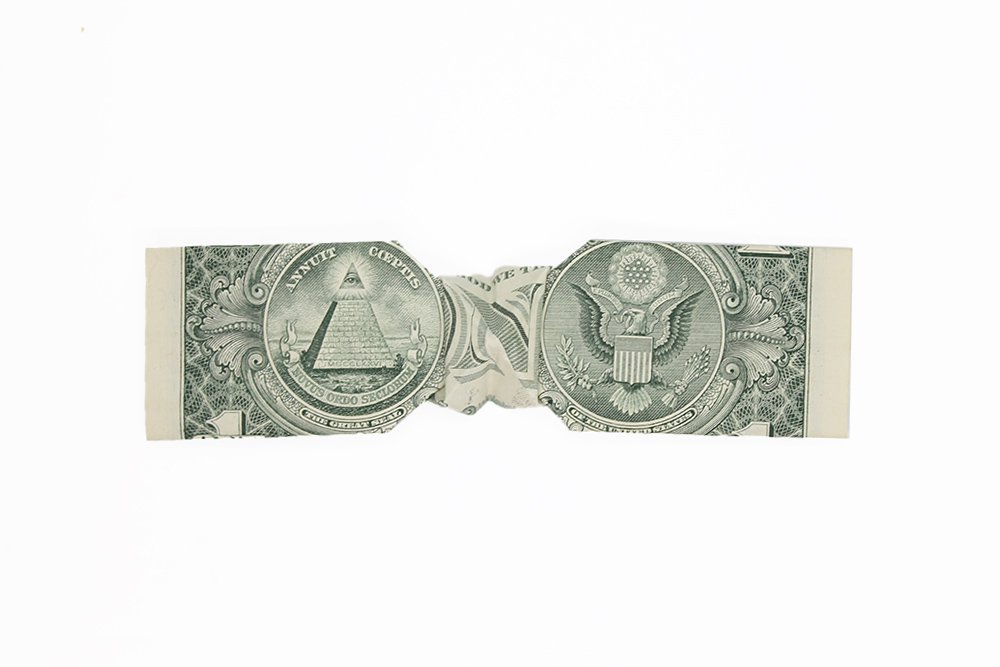
Hold the middle part of the bow tie on its corners in place while pulling on both sides. This will straighten out the bow in place without worrying that you might unravel the dollar bill.

Be sure to check out our other awesome dollar bill origamis. And leave us a comment - we'd love to hear from you!
Extra Tips
- It's important to make the creases properly. Apply enough pressure.
- Sanitize the dollar bill first. Money, once circulated, is unclean.
- Have fun! Make someone happy with your origami skills.

