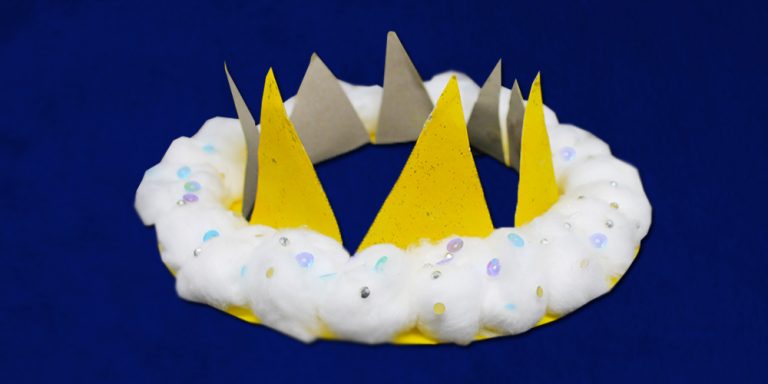
Introduction:
Learn how to make a paper plate hat with the help of our craft tutorials. For this project, we are going to make a paper plate crown. Using paint, cotton balls, and some glitters, we can make a sparkly crown fit for a prince/princess.

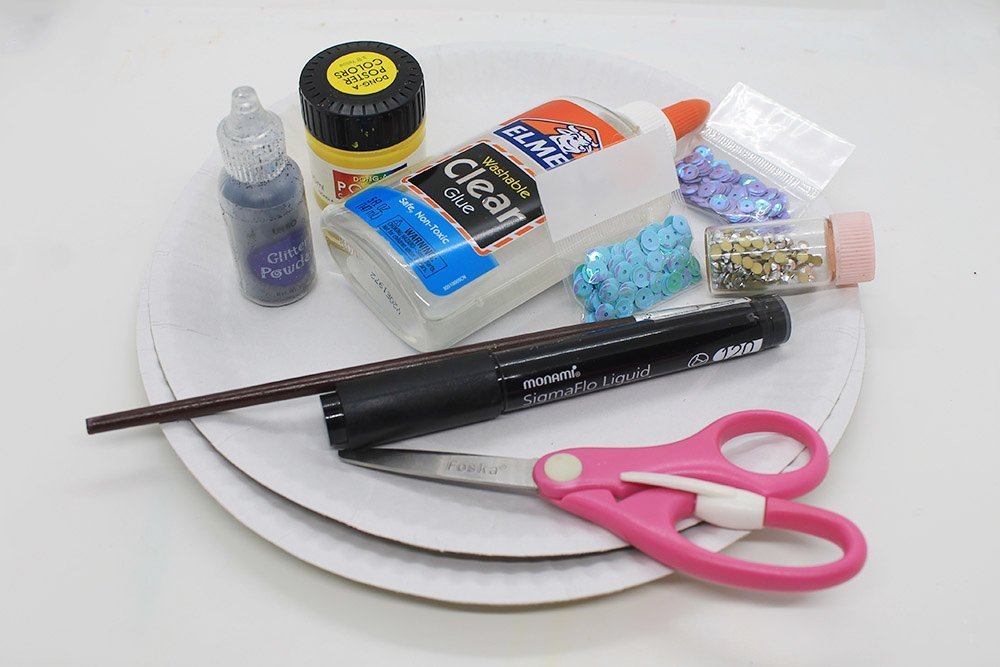
Tools
- Scissors
- Paintbrush
- Markers
Supplies
- Paper Plate
- Glue
- Glitters
- Paint (we used yellow)
- Cotton Balls
- Sequins (optional)
- Gems (optional)
- Stud (optional)
- Stickers (optional)

Paint the paper plate hat
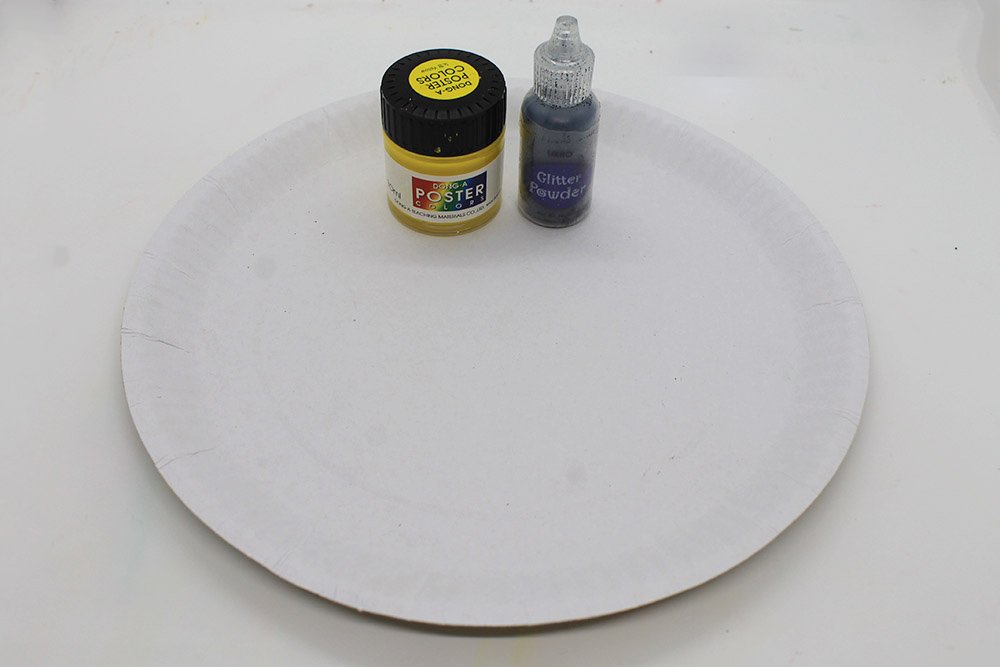
To make a “gold” paper plate hat, put some yellow paint and some glitter powder on the center of the plate.
You may use a different color of paint.
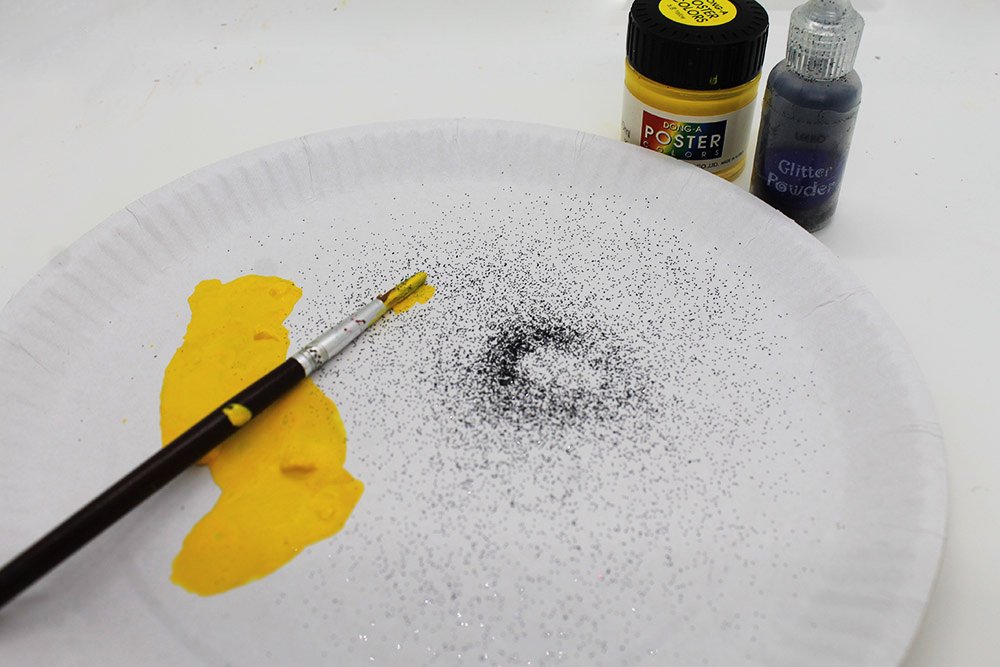
Mix it around until the whole paper plate is covered. Set the paper plate aside to dry after.
Glitter can be very messy to use. Rather than mixing the paint and glitters together on a separate container, you can mix it on the actual paper plate itself to prevent more mess.
Form the crown
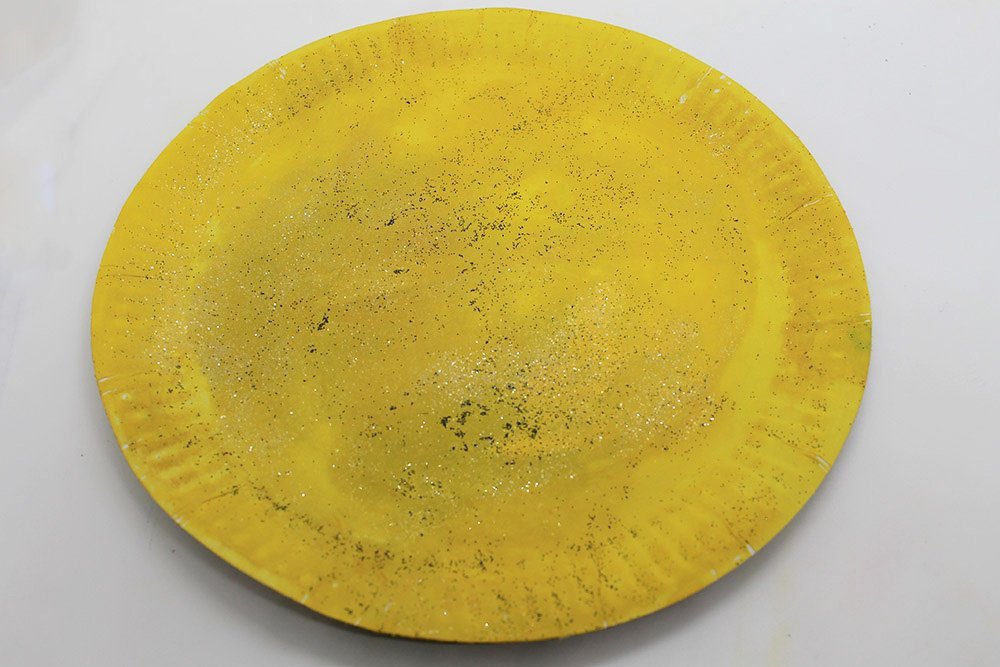
Fold the paper plate in half.
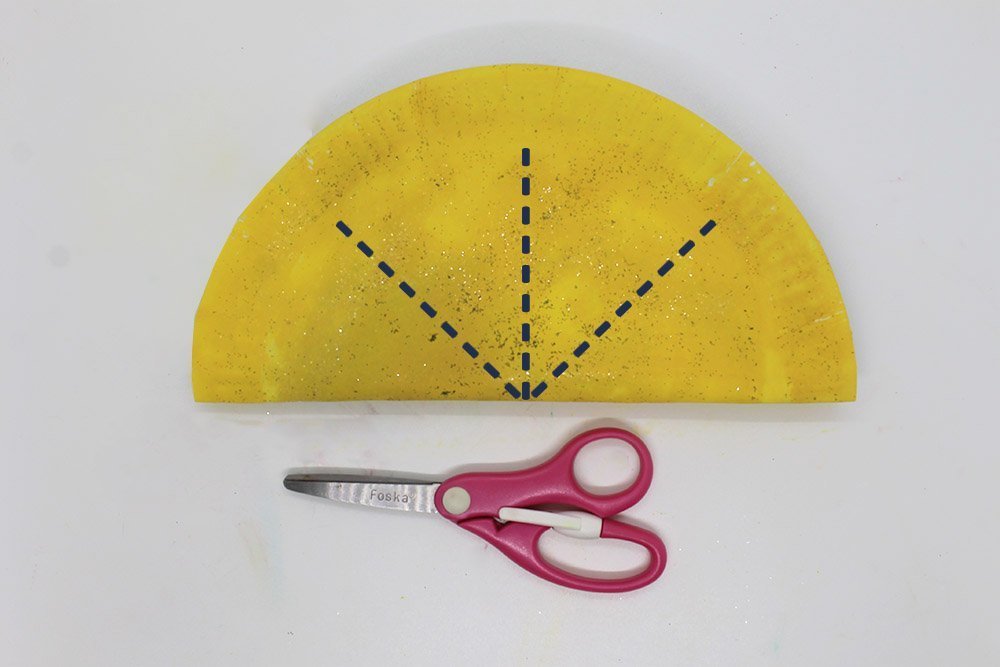
Cut along the dashed lines as illustrated in the image above. Be careful not to snip the edge of the paper plate.

Unfold the paper plate.
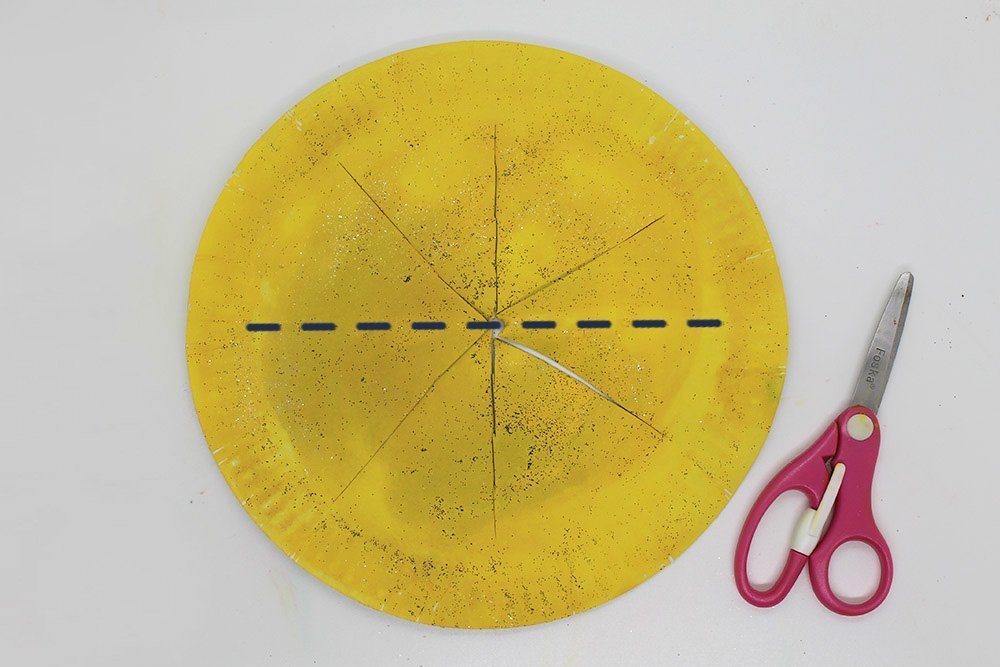
Cut along the dashed line as shown in the image above.
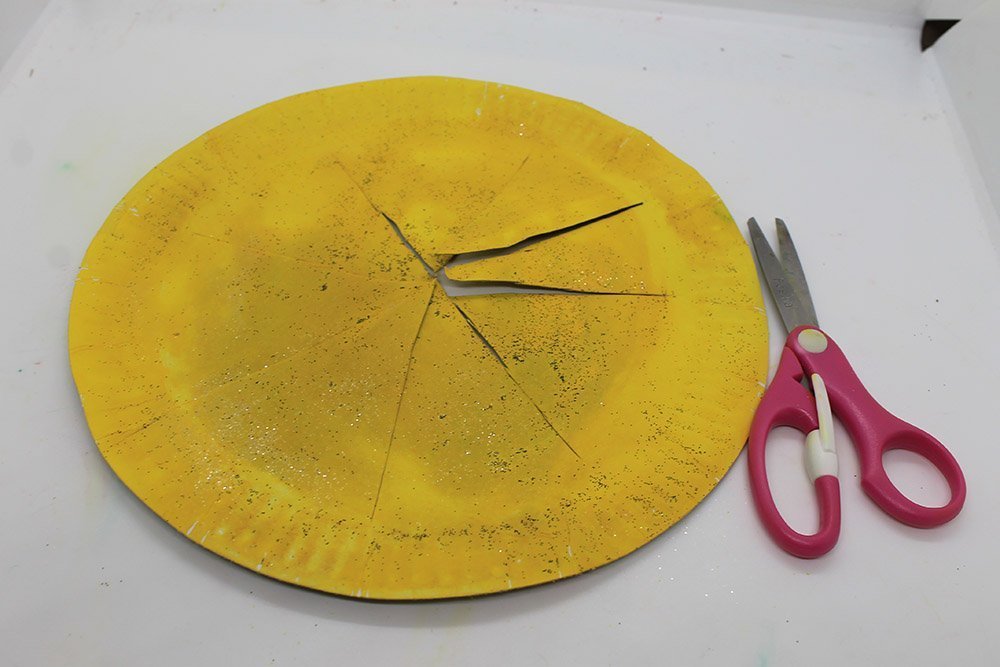
Lift each inner flap upwards at a right angle.
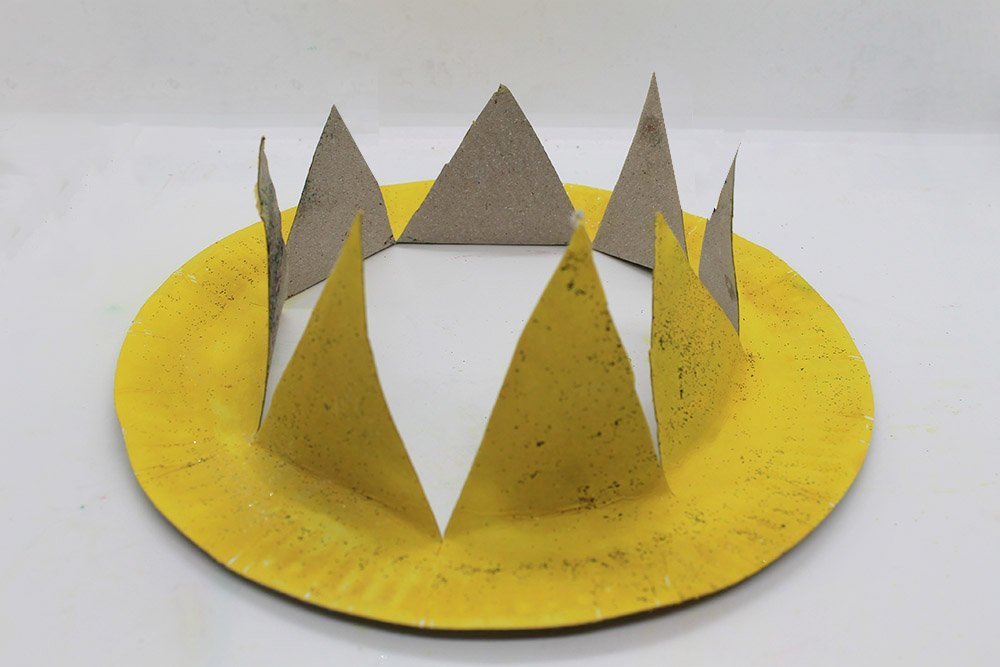
The base of the paper plate hat is done!
Add some fur trimming on the paper plate hat.

To make it look like it’s fit for royalty, add some cotton balls on the rim of the paper plate crown. This will make it look like the crown has fur trimming.
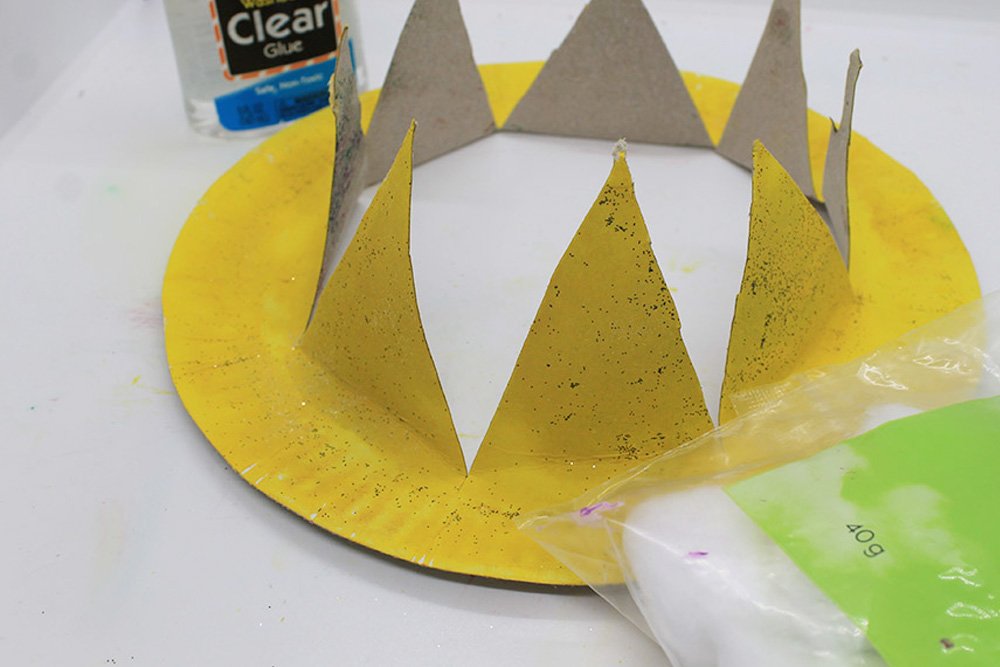
Stick some cotton balls on the rim of the paper plate.
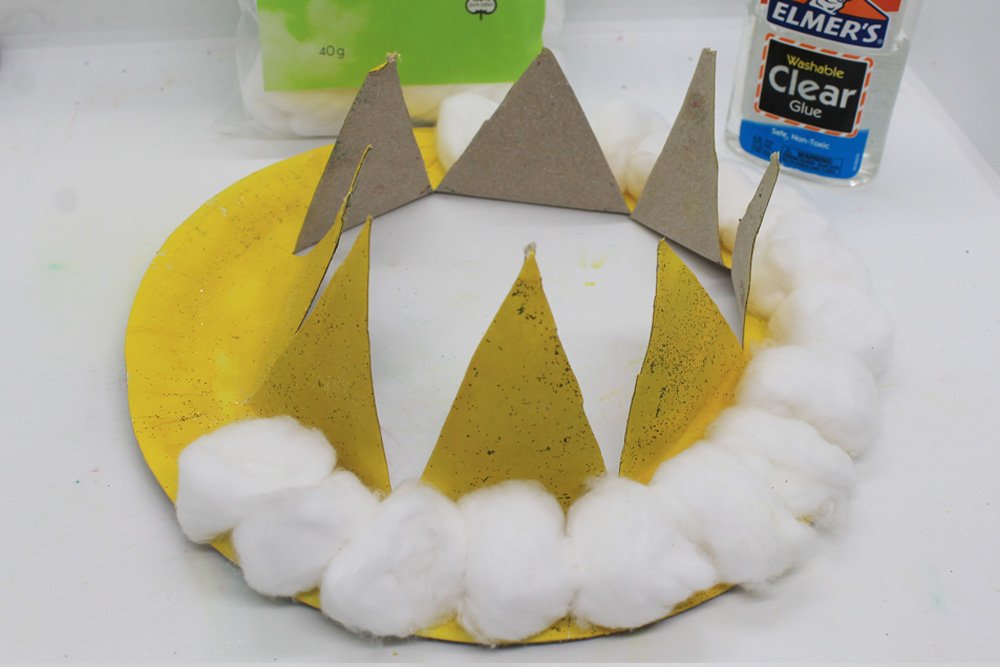
Halfway it should look something similar to the picture above.
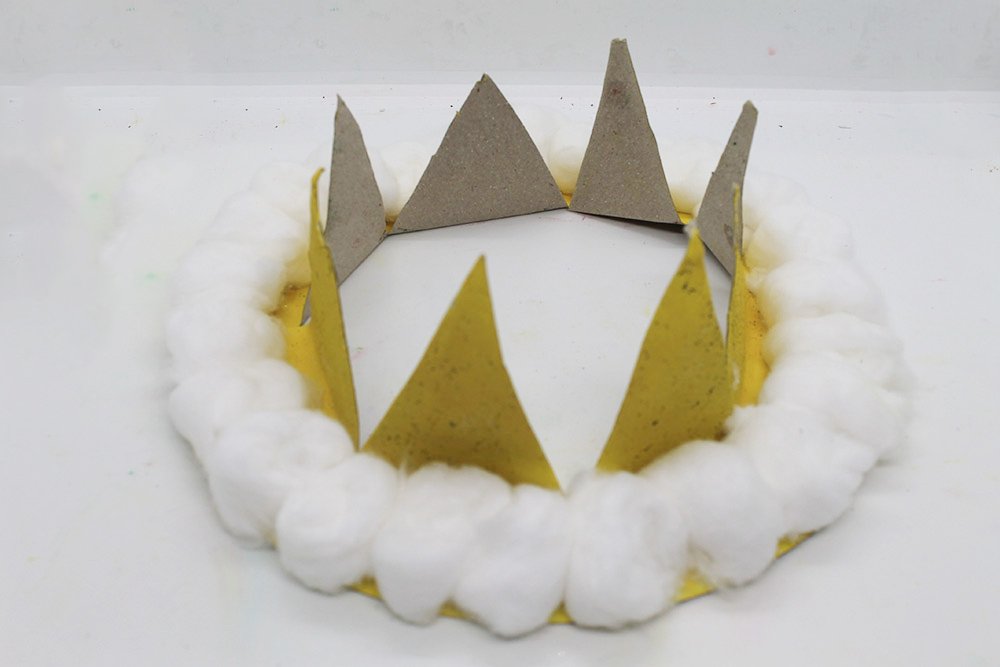
The paper plate crown is done! To make it look extra pretty, add some decoration.
Time to decorate!
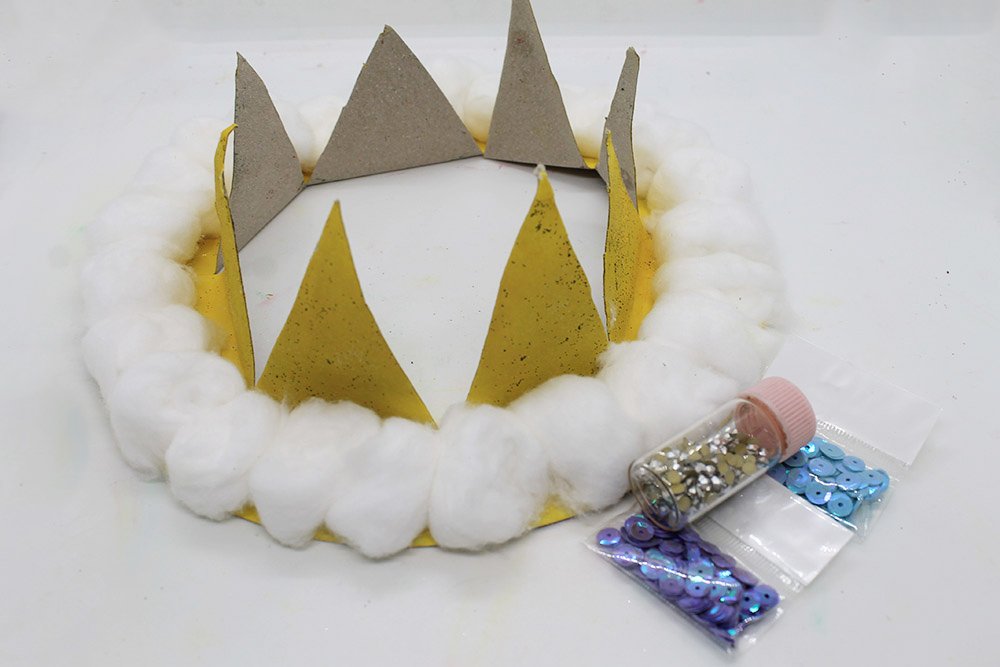
Grab some art materials and start decorating! For this hat activity, we used sequins and gem studs to decorate the fur trimmings of the crown. You may use markers or stickers to decorate the hat however you like!
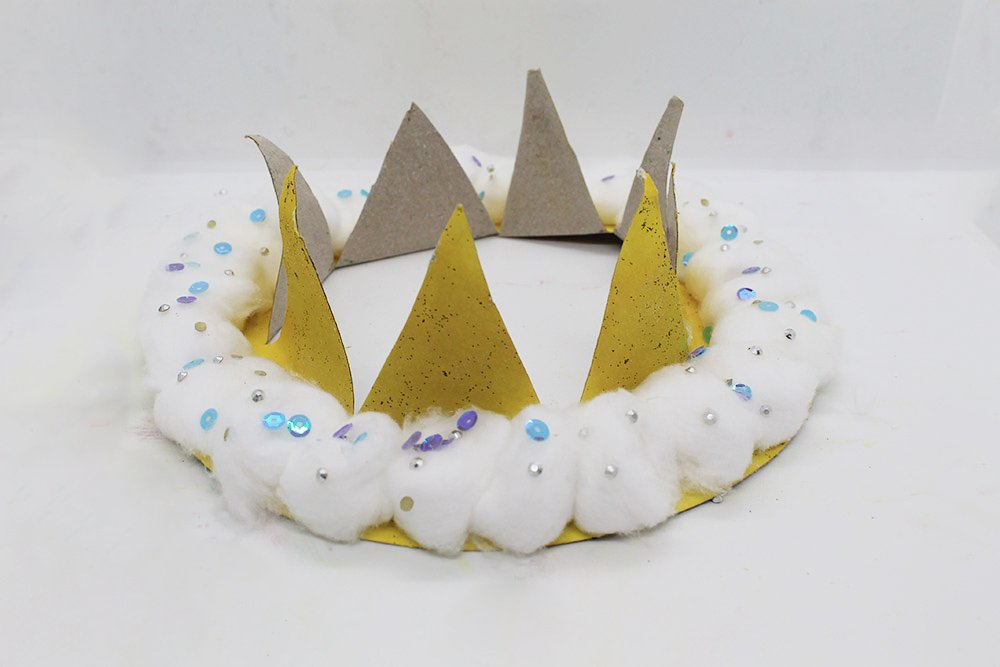
The paper plate hat is done! You can now wear this crown!


