Introduction:
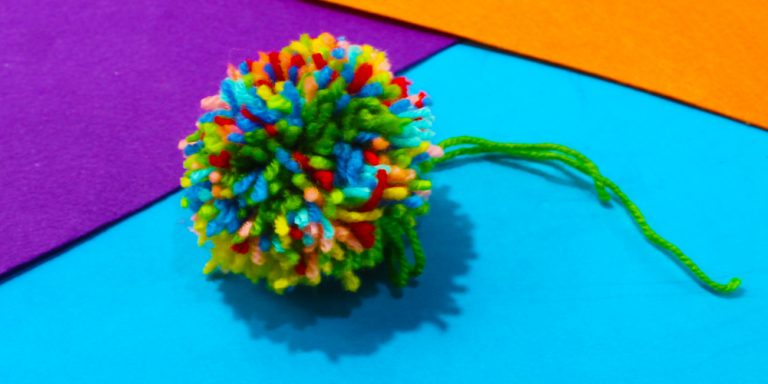
This pompom is a great DIY project idea for children. Also known as the bobble for a hat, this pompom is made from simple wool that is wrapped through a cardboard template. Once finished, you will have your own bobble that you can use as a keychain, a toy, or as decor for a garment.
Making a pom pom hat is easy as this guide has lots of pictures and detailed instructions to guide you. There’s a bit of weaving and cutting involved so it’s challenging (and fun) for kids to do.
Hope you enjoy reading this guide as much as you make the pom-pom balls.

Tools
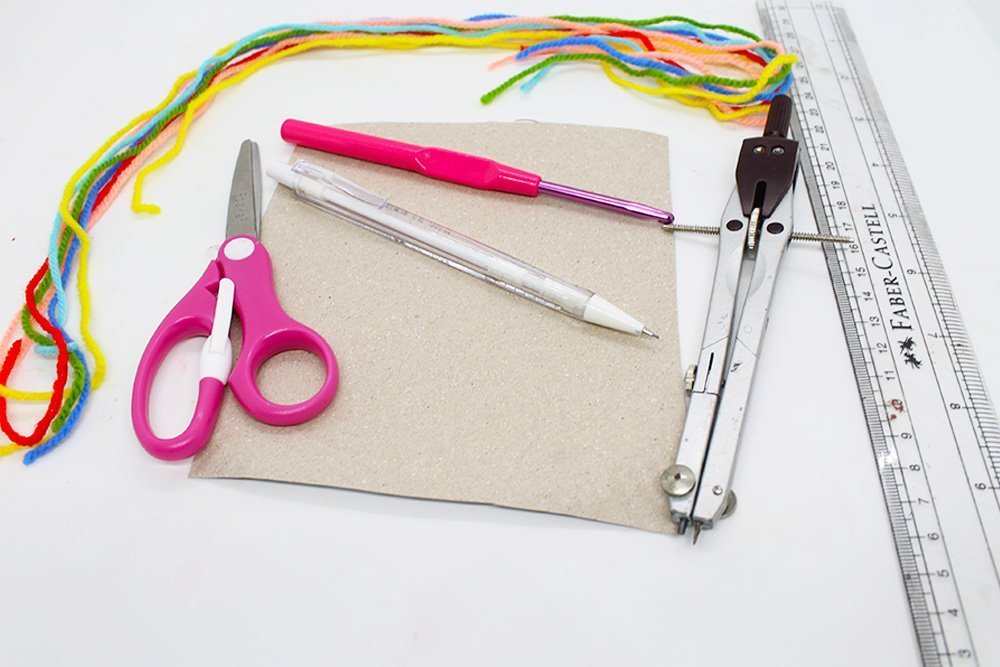
- Ruler
- Compass
- Scissors
- Crochet Pin
- Pen
Supplies
- Different colored yarns
- Cardboard

Draw a Small Circle
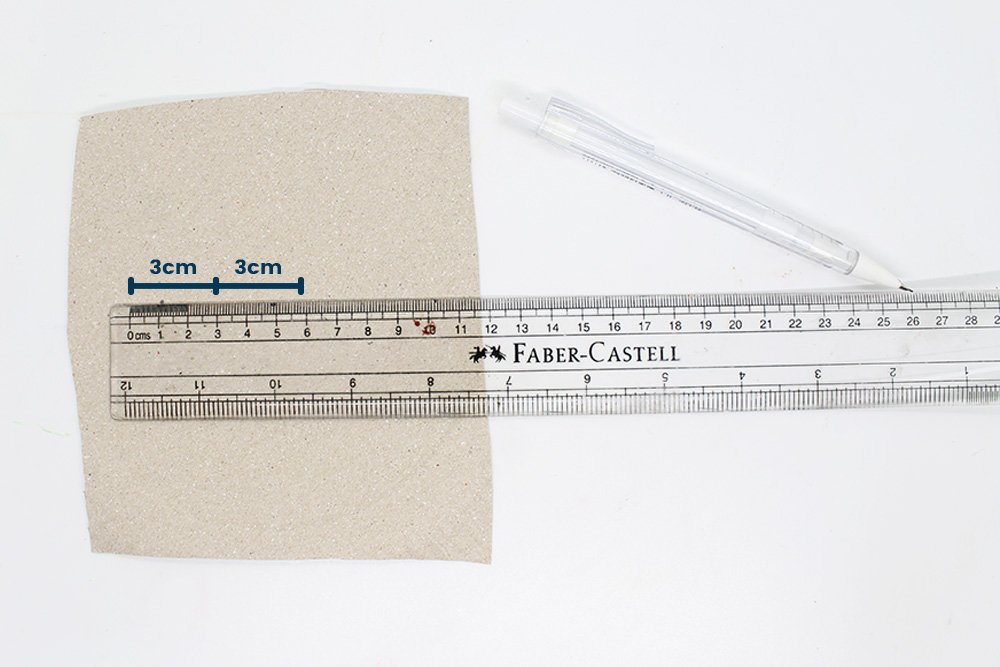
Get a ruler, cardboard or anything similar, and a pen. A pencil is fine too. Make sure there is ample space in where you would draw.
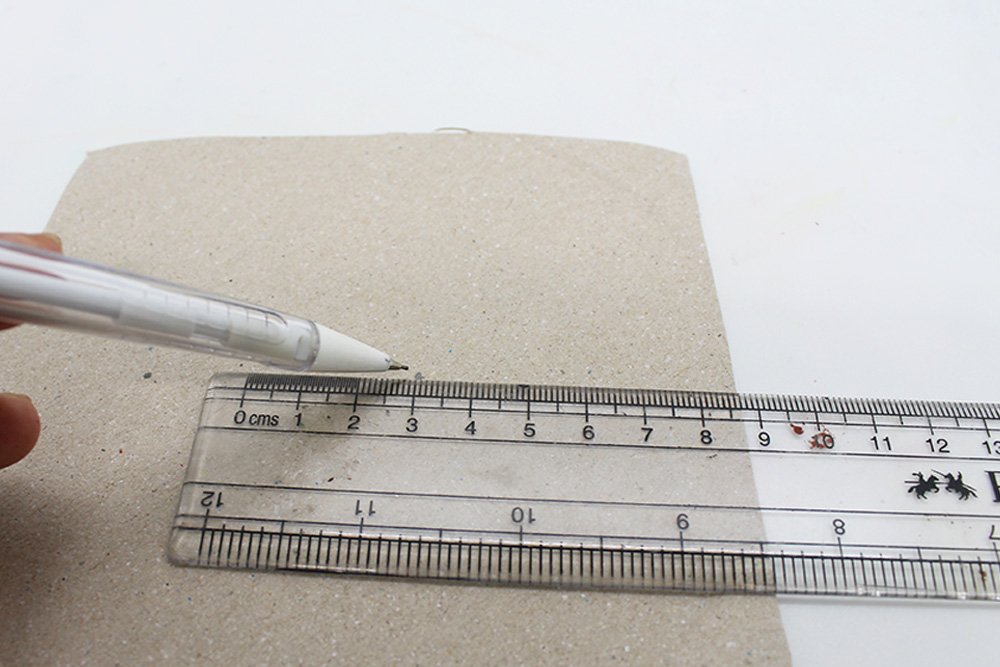
Draw a point and make sure there is more than 3 cm of length from both sides.
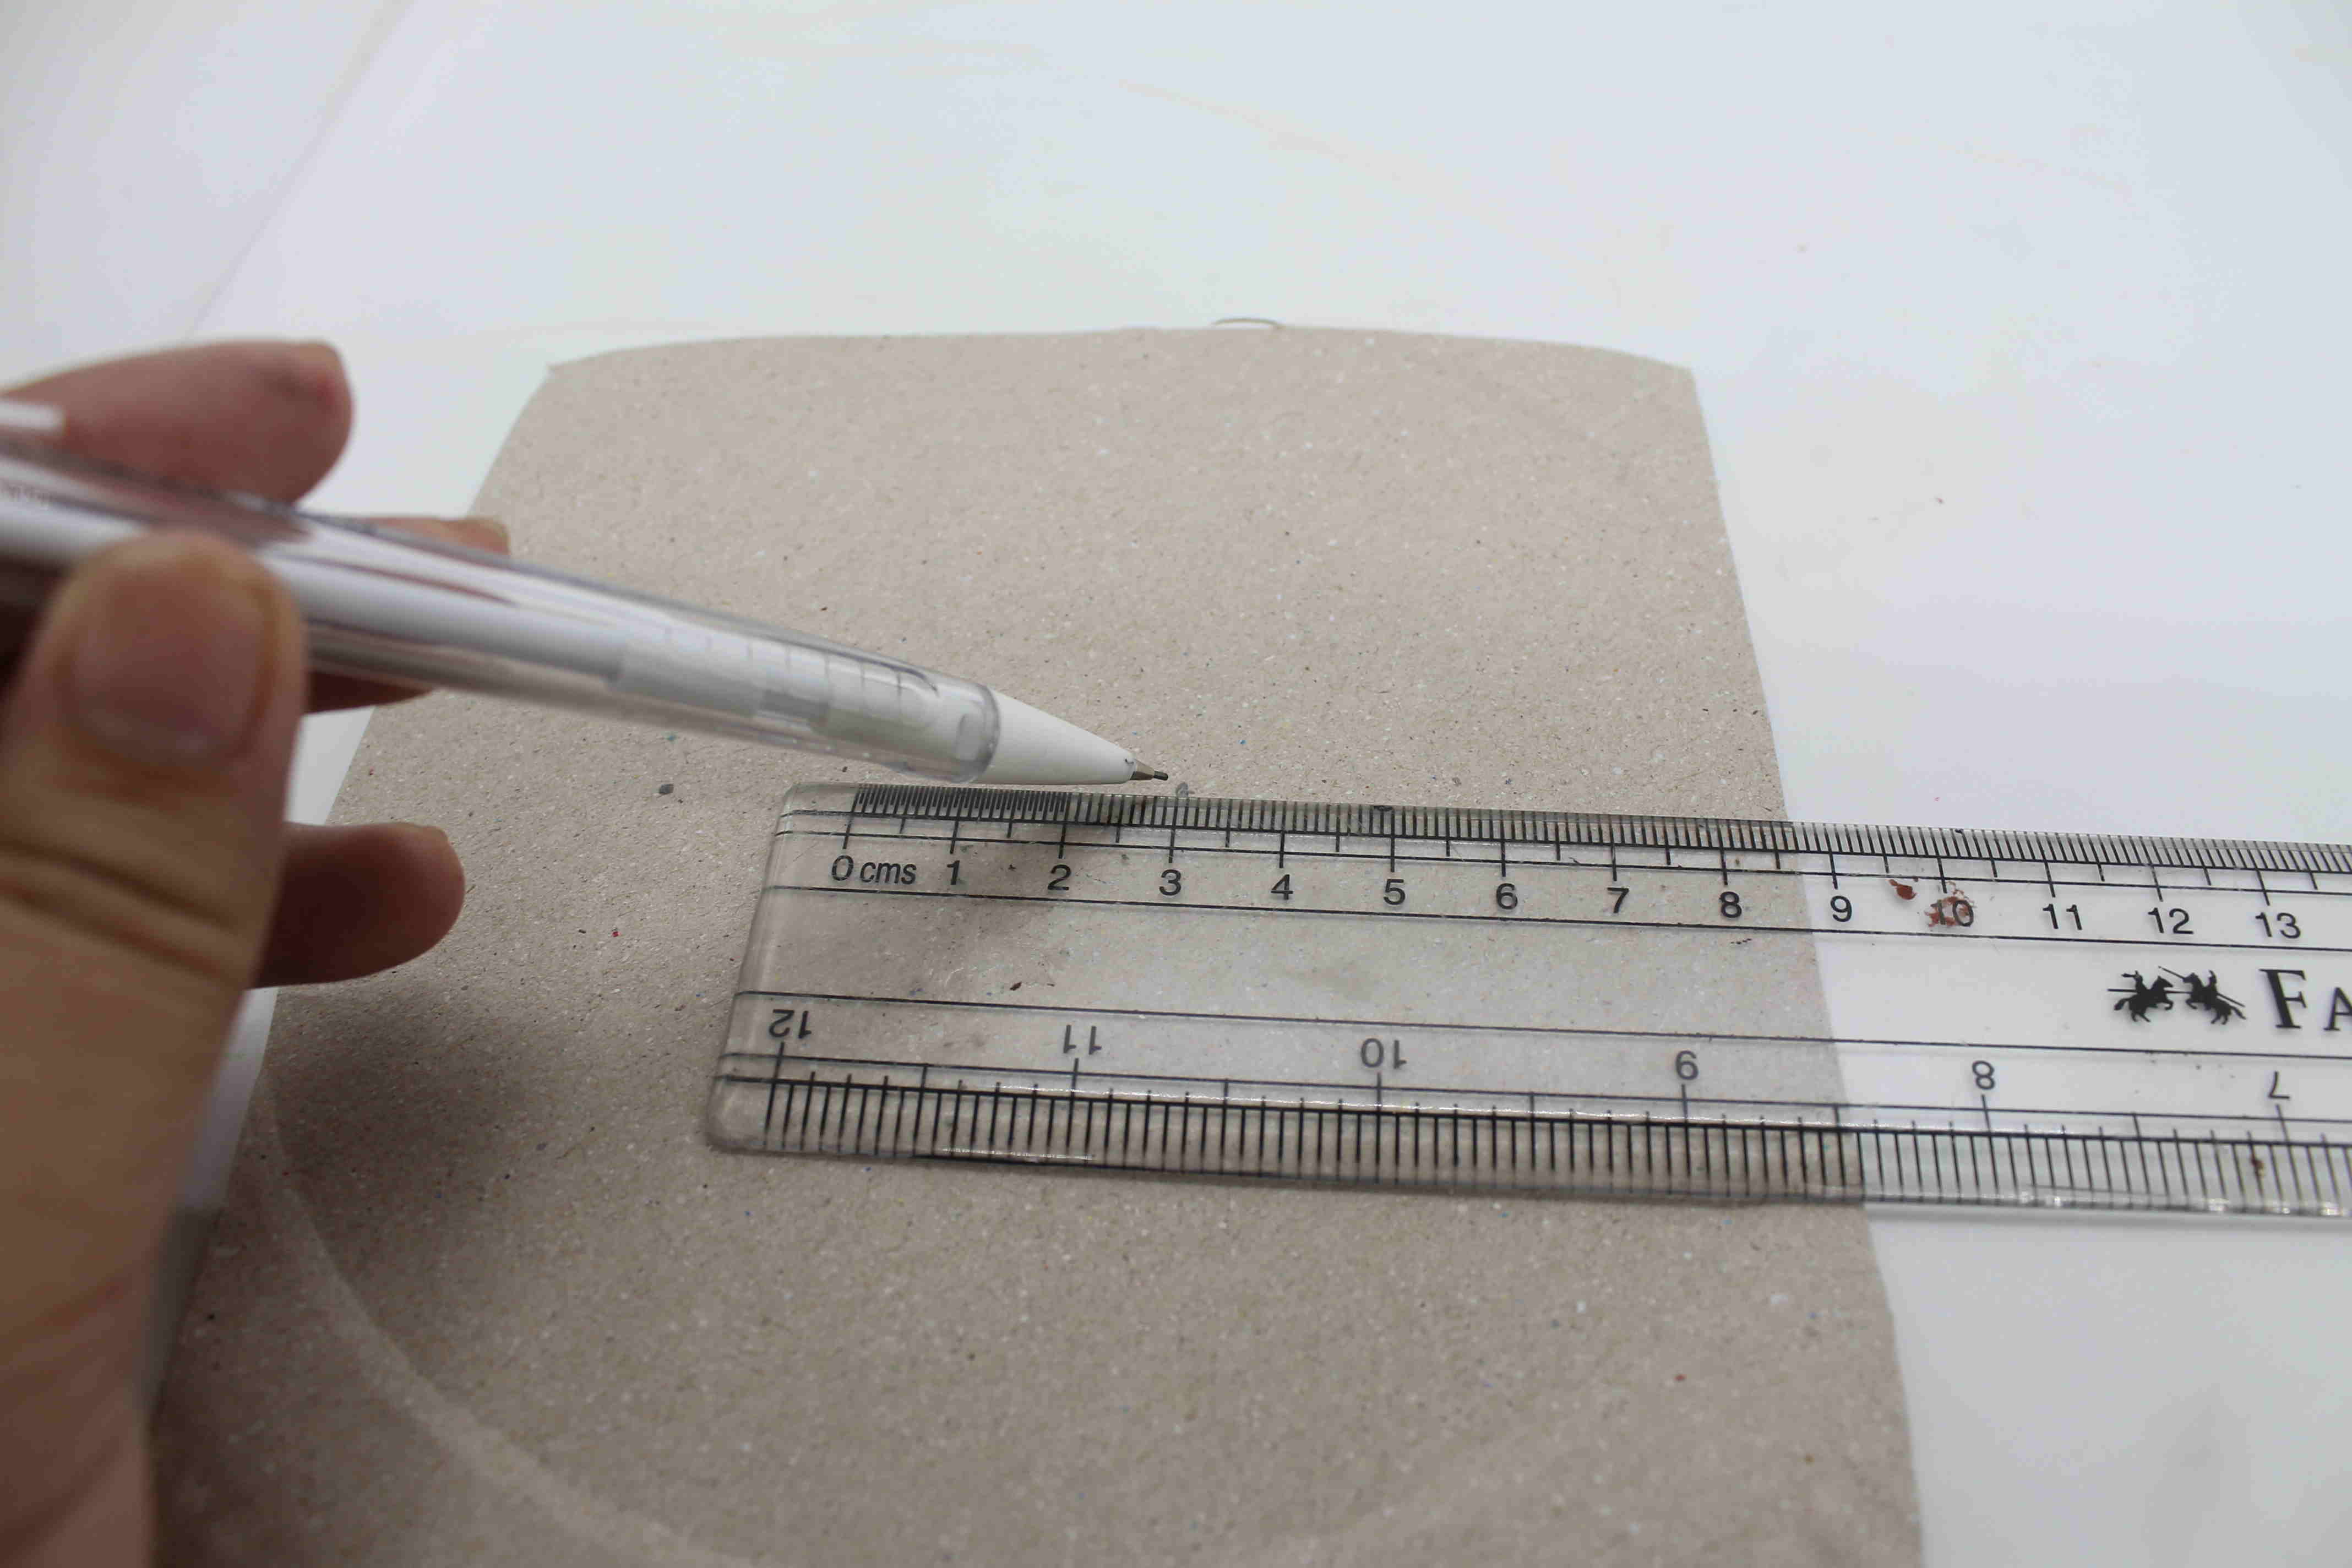
Then draw a point 3 cm to the right or left of the dot you made. Use the ruler so that that the points are aligned horizontally. Note: You must be careful not to pierce your cardboard.
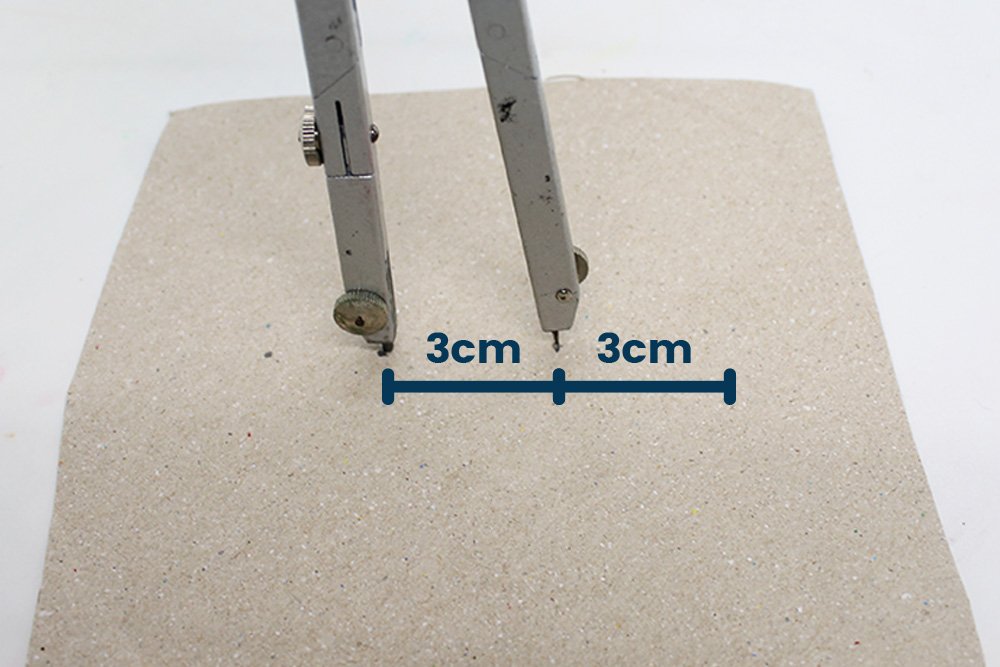
Next, place the pointy edge of the compass on the first dot you drew. Yes, that's right you will be making a circle with 6 cm diameter.
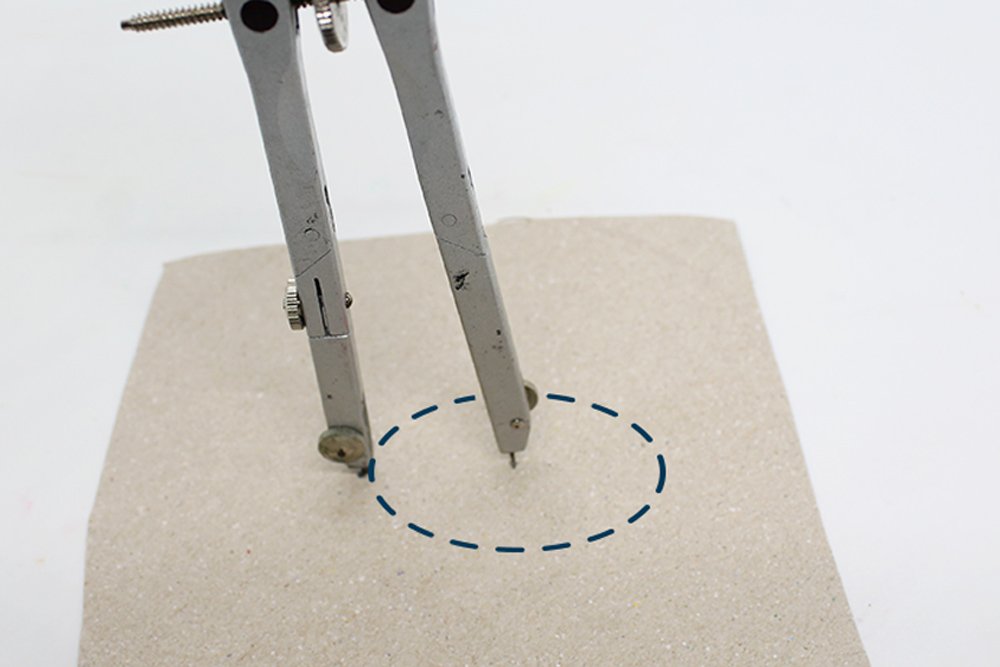
If you don't know how to use a compass then it would be a bit tricky doing this for the first time. Practice a bit on a different paper so that that you could create a perfect circle.
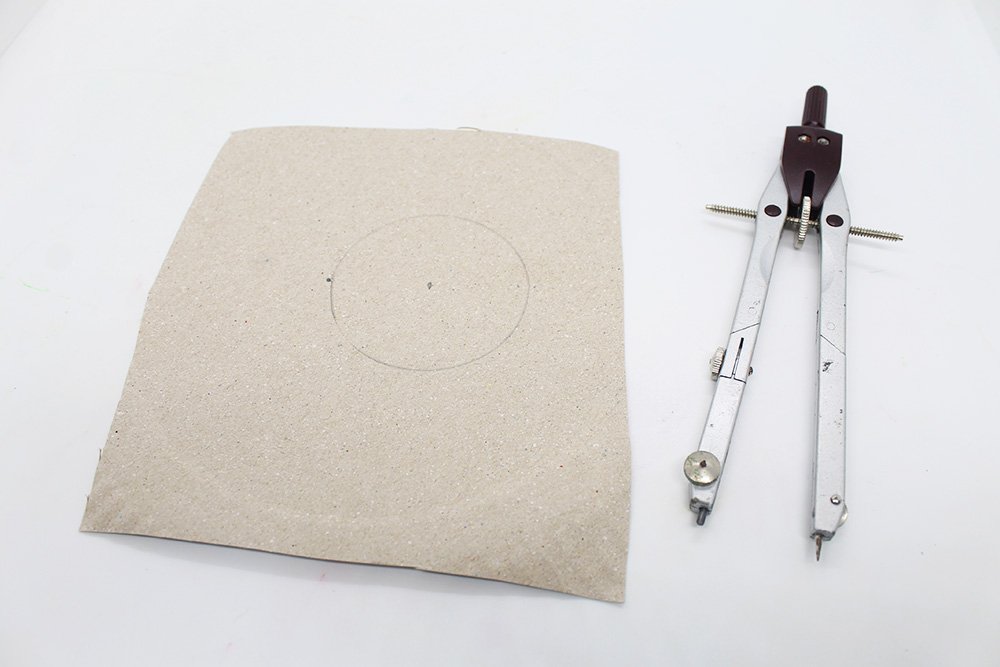
Then rotate and press the compass so that you would create a circle that has a 6cm diameter. Good job!
Make Two 2-D Donuts
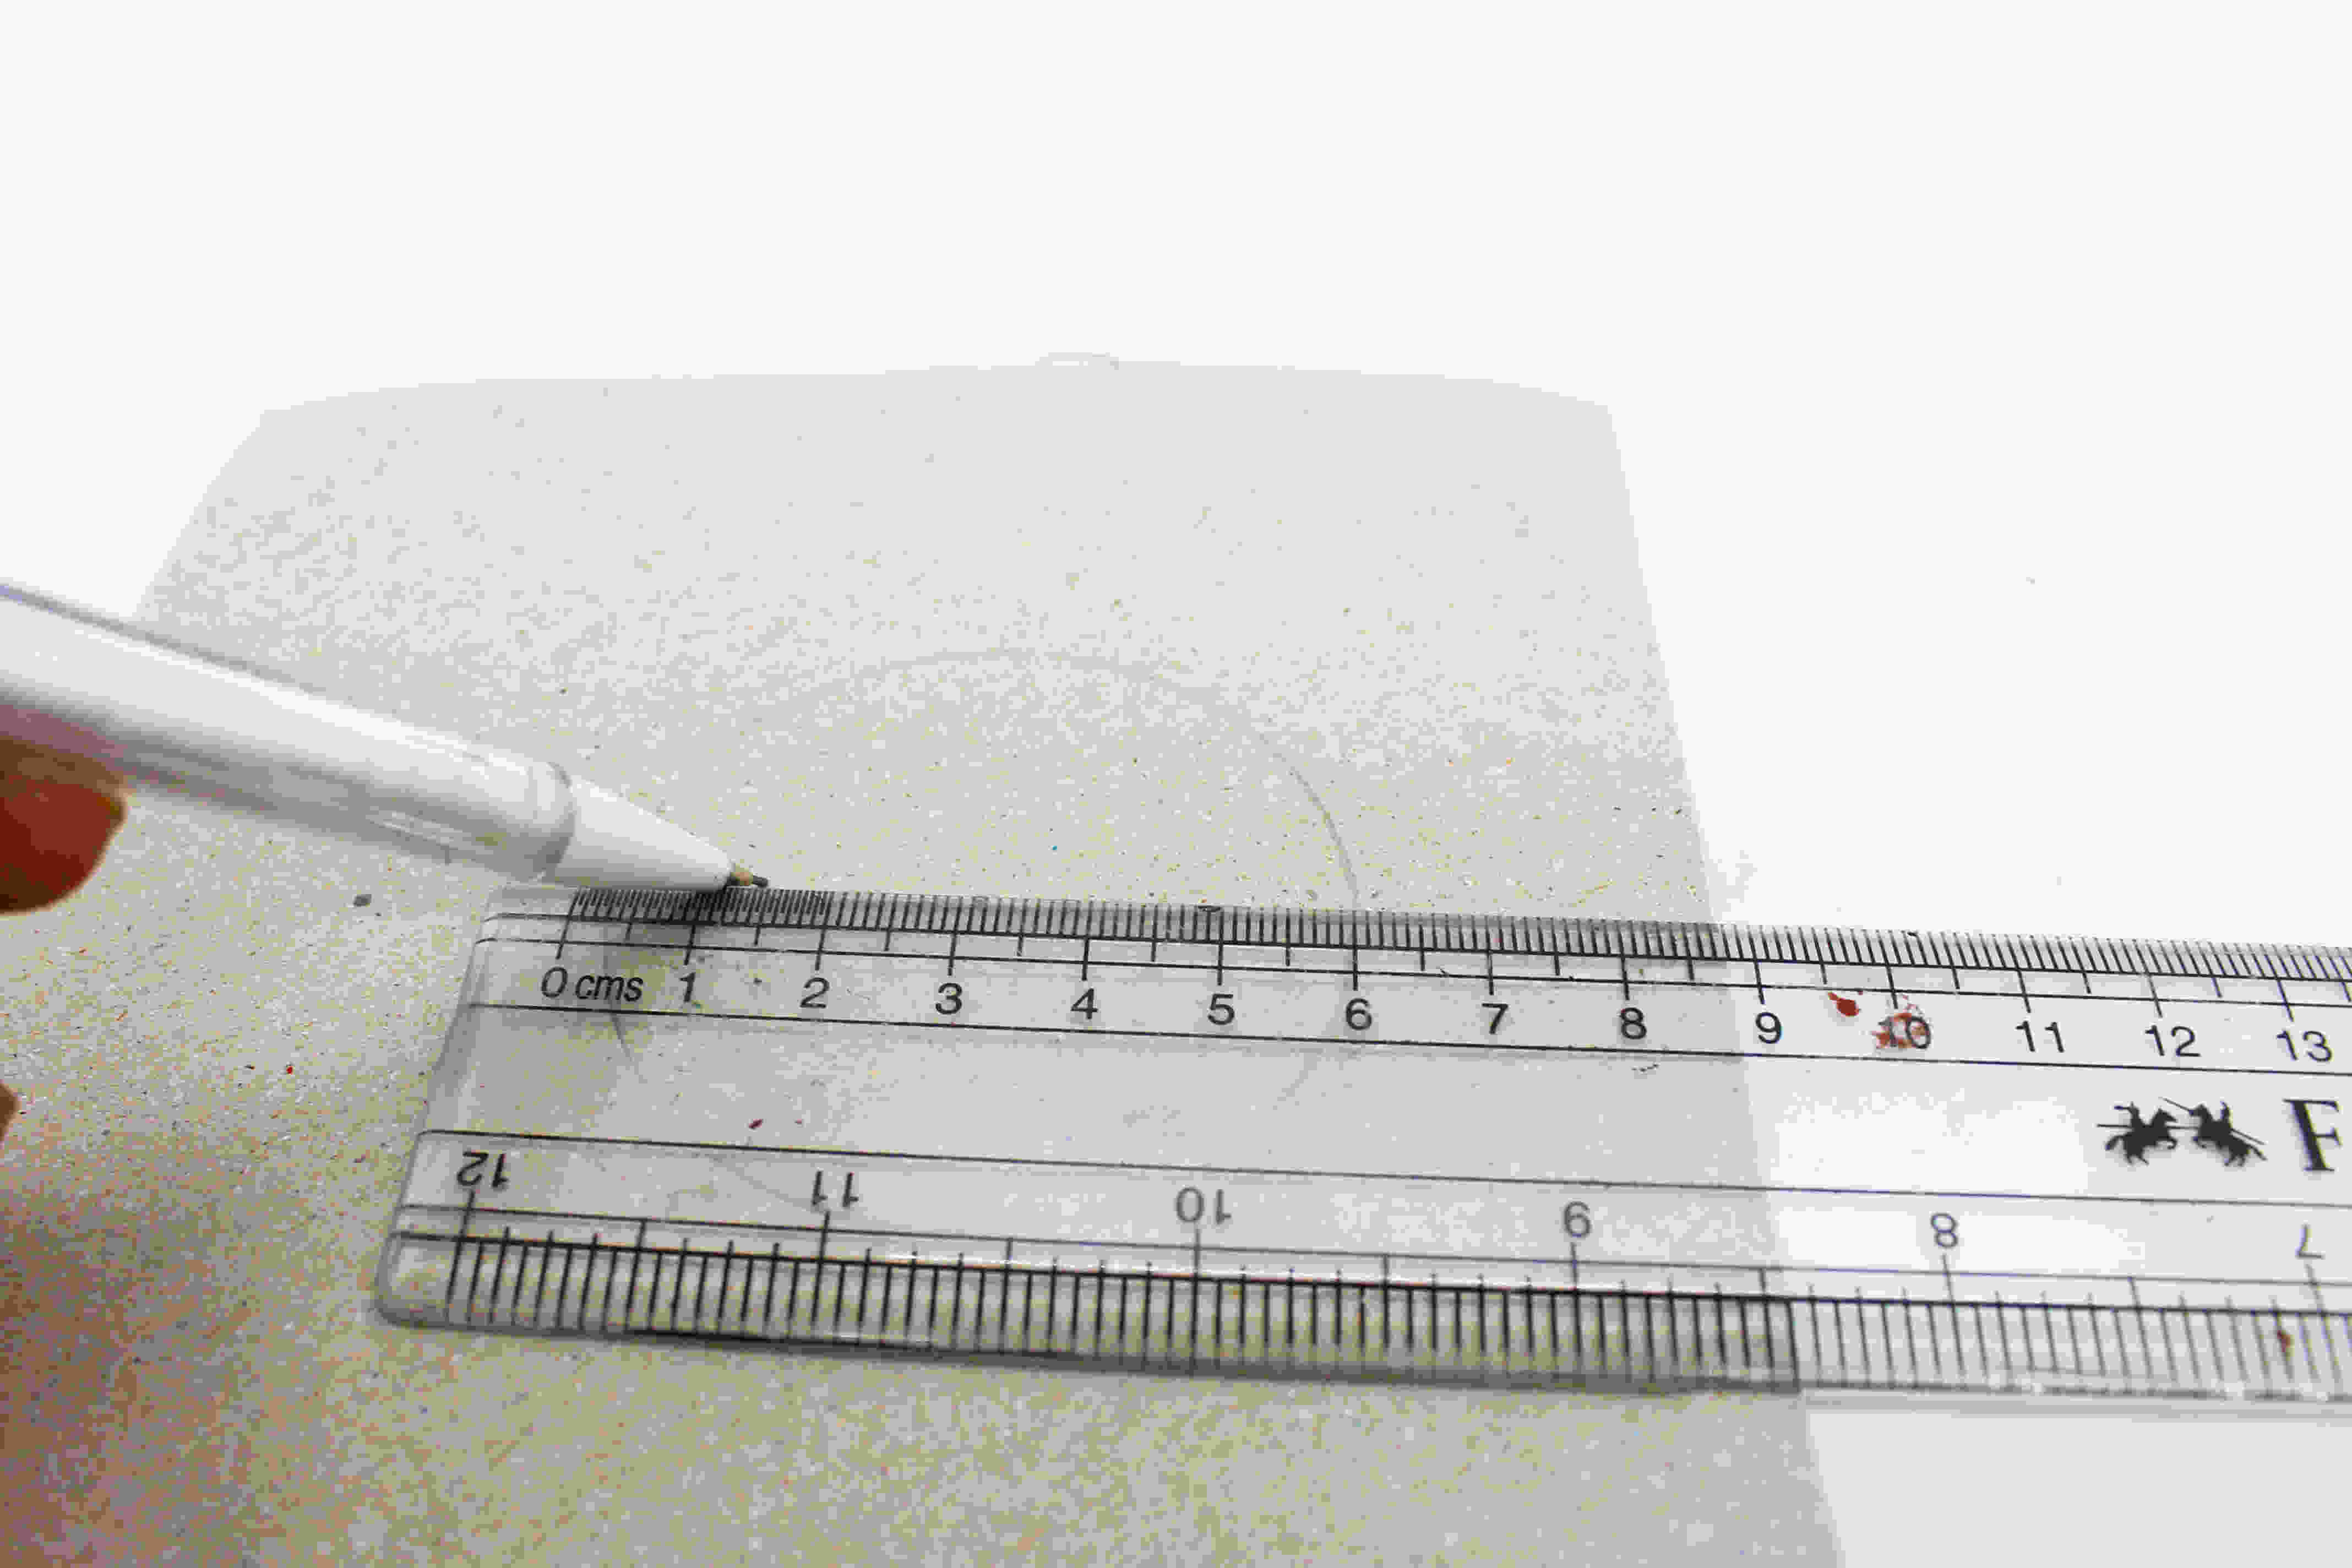
Right, for this step you will be making two circles with a circular hole in the middle. Draw a point 1.5 cm away from the center of the circle.

Then adjust your compass as you will be again making a smaller circle. The radius would be 1.5 cm for the smaller circle,
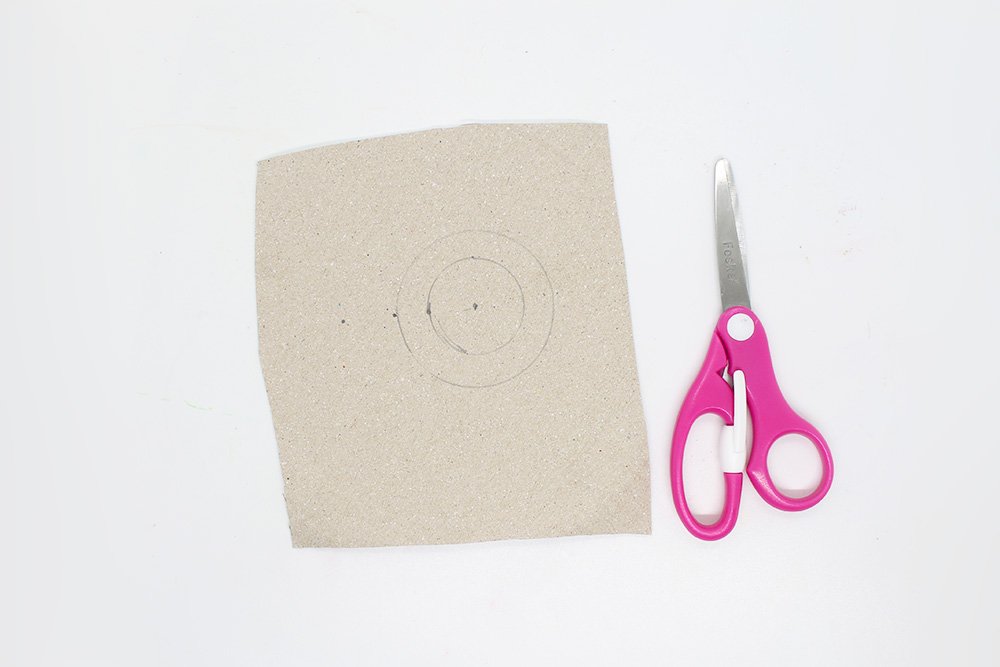
Use your compass again to make the smaller circle. Make sure that you do this step correctly because it will affect the final product. Get your scissors too as you will be cutting in the next step.
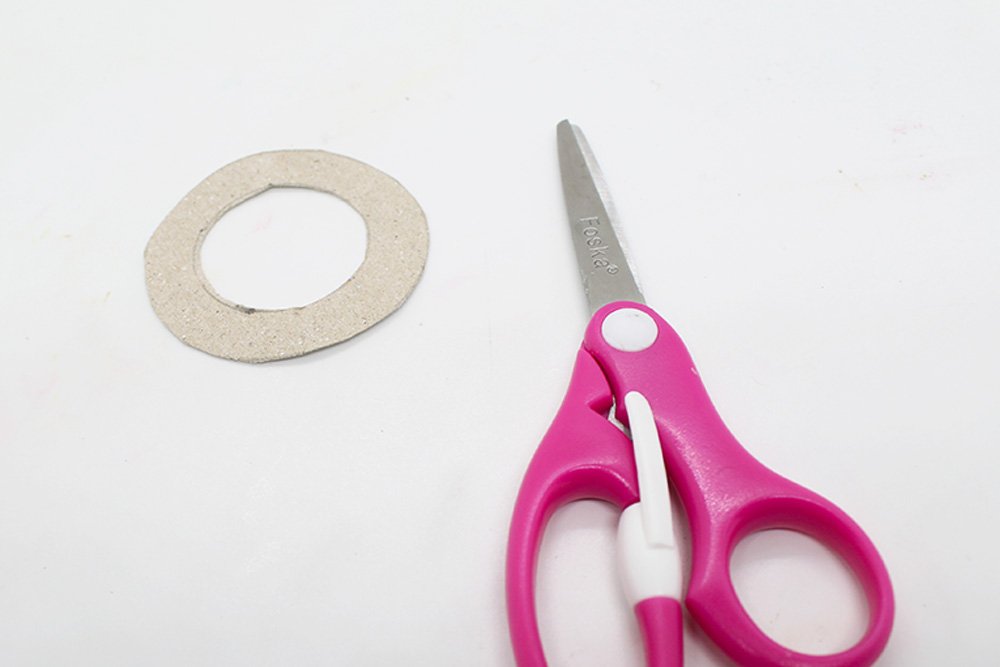
Cut out the circle from the paper. Then fold the cutout in half. Then cut out the inner circle from the larger circle by following the line you made from your compass. And then unfold. You should now have a circle with a circular hole in the middle.
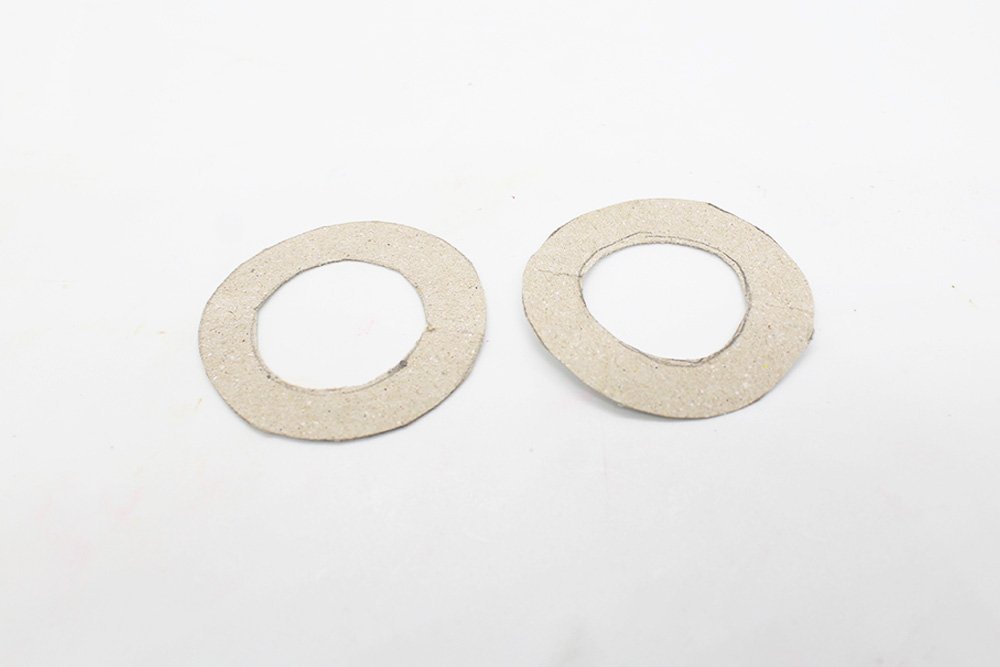
Repeat the entire process so far to create an identical object.
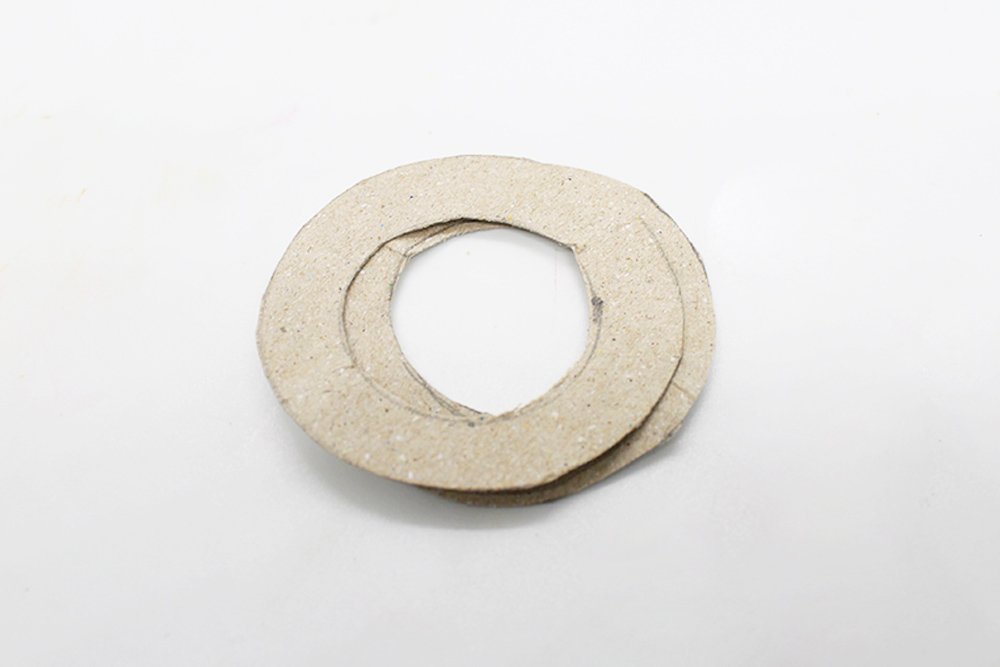
Set aside these two things for now as you will be shifting your attention to the yarn. Great job!
Tie Different Yarn Together
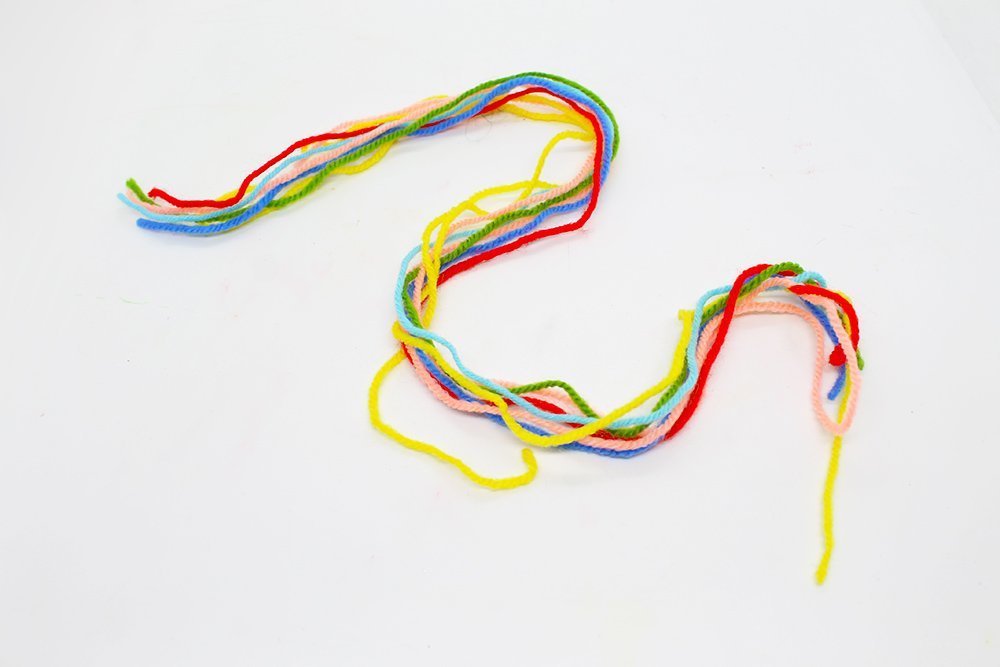
Gather yarns of different colors but of identical length. A length of one feet is alright. There are different colors because the pom-pom will be multi colored.
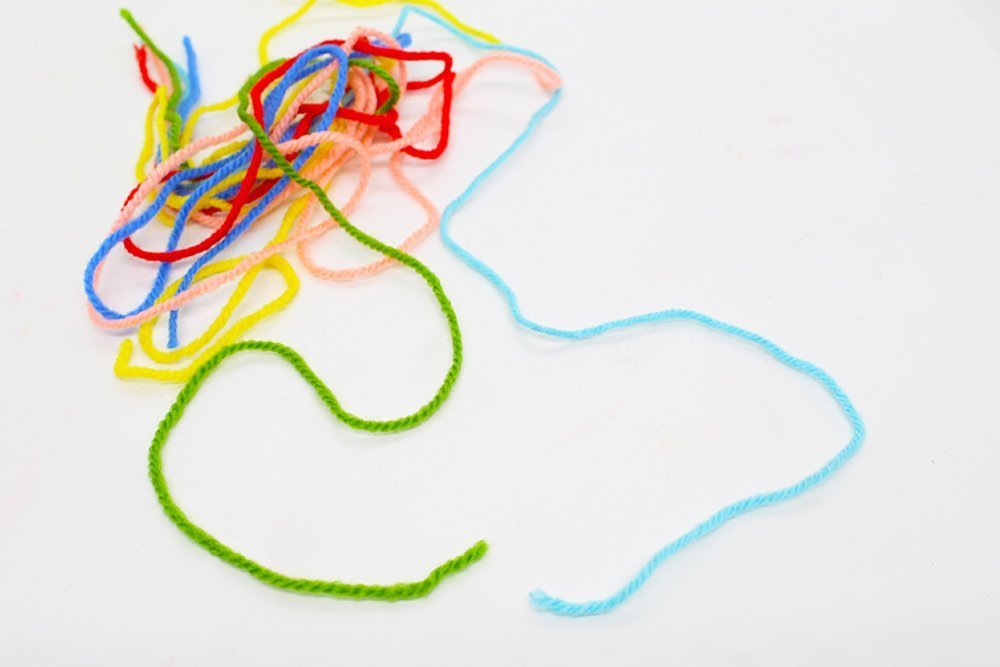
Get two yarns of different colors. The color combination between two yarns doesn't really matter but the overall selection of colors does. Also, you could choose a single string only in which case you'll have pom-poms with one color only.
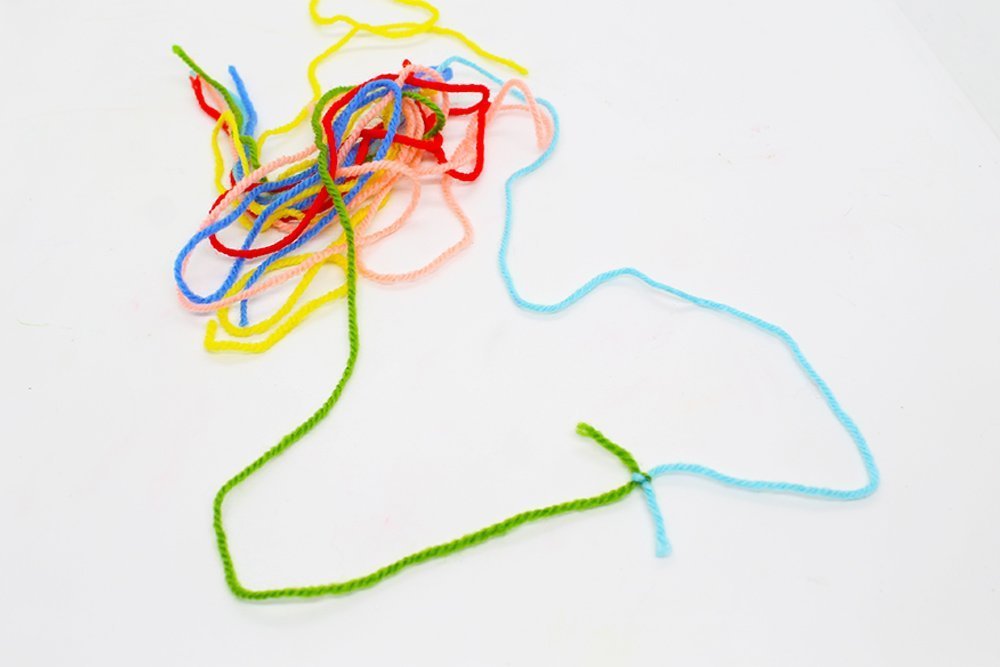
Tie the ends of the two yarns together.

Then keep on tying the ends together until all yarns are attached with another. Then get a crochet hook. Good job, time for the next step!
Wrap the Yarn Around the Cardboard
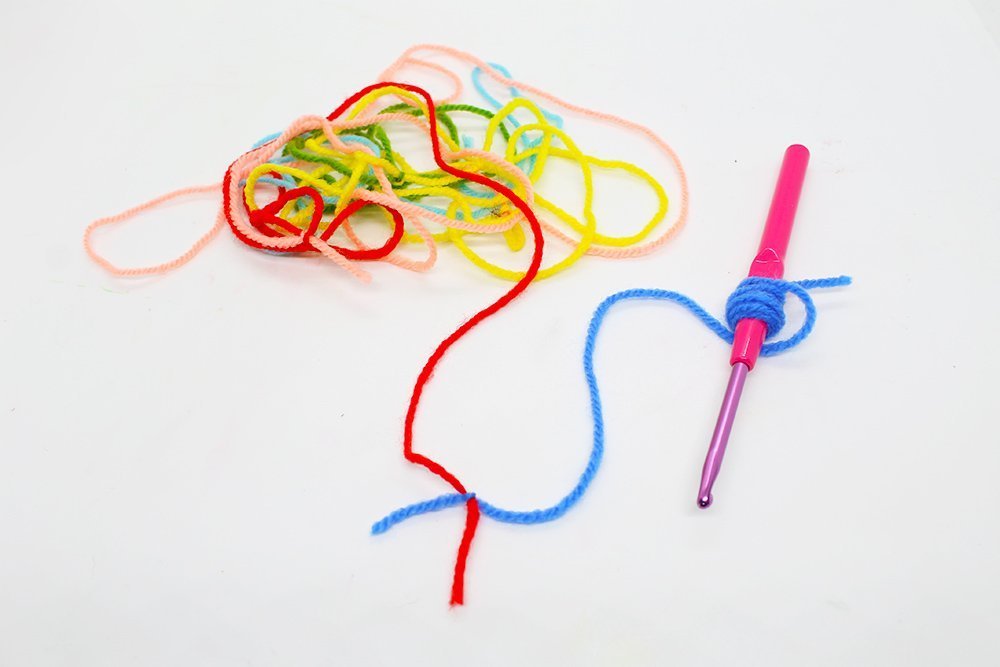
Wrap the yarn around the hook first. You could do this part without a crochet hook but it's better to have this tool. A pen or a thin stick is also alright.
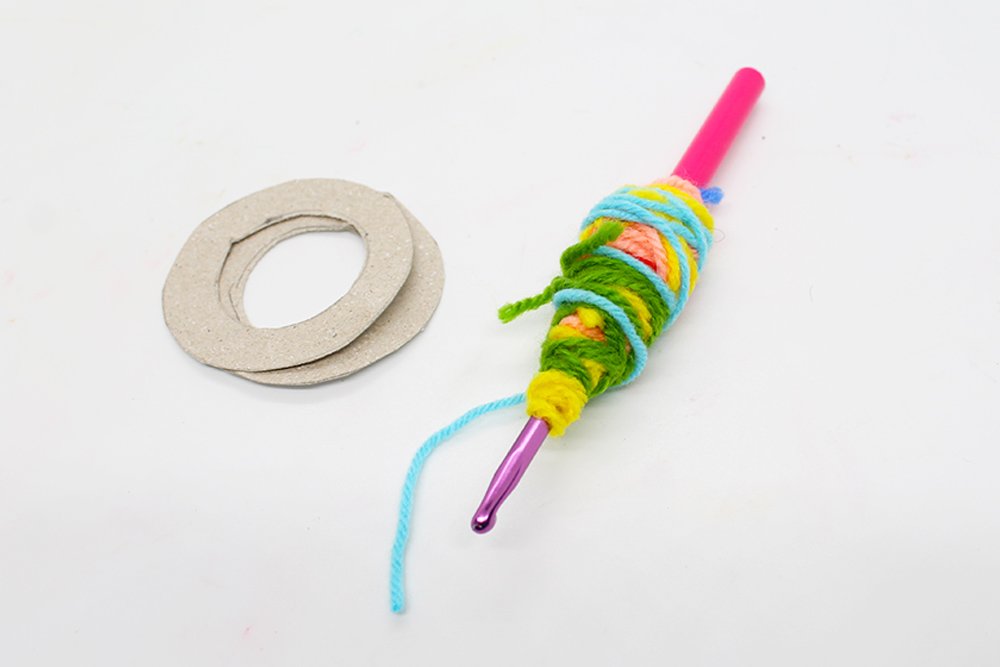
Then continue to roll and roll the yarn until only a short length is left. With the hook, it's easier to to accomplish your goal.

Tie the end of the yarn into the cardboard donut. Make sure to have placed the rings on top of each other.
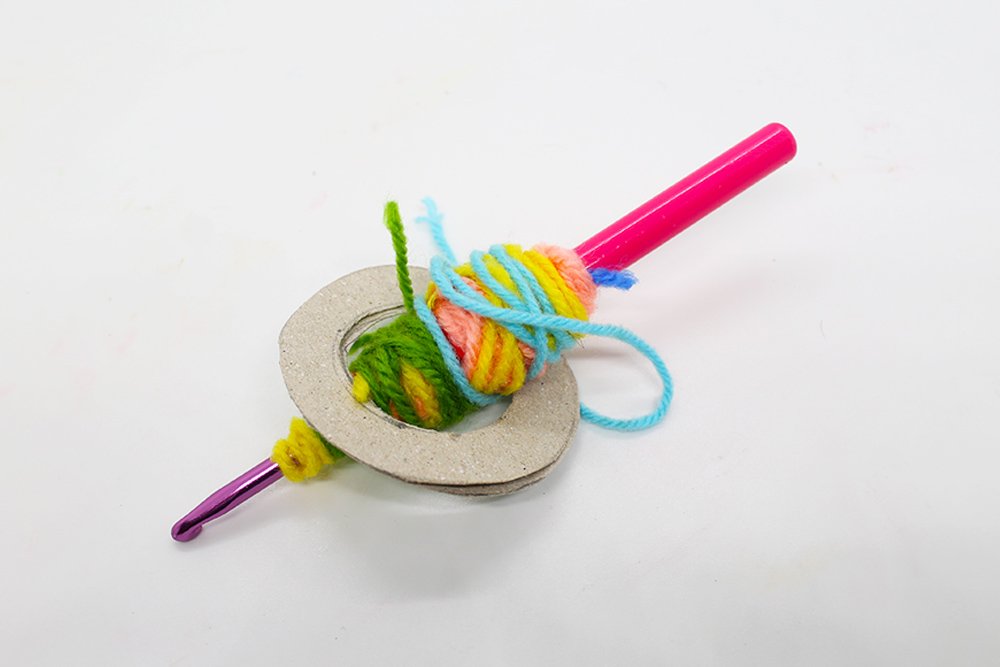
Then to wrap the cardboard with yarn simply insert the stick inside the hole.
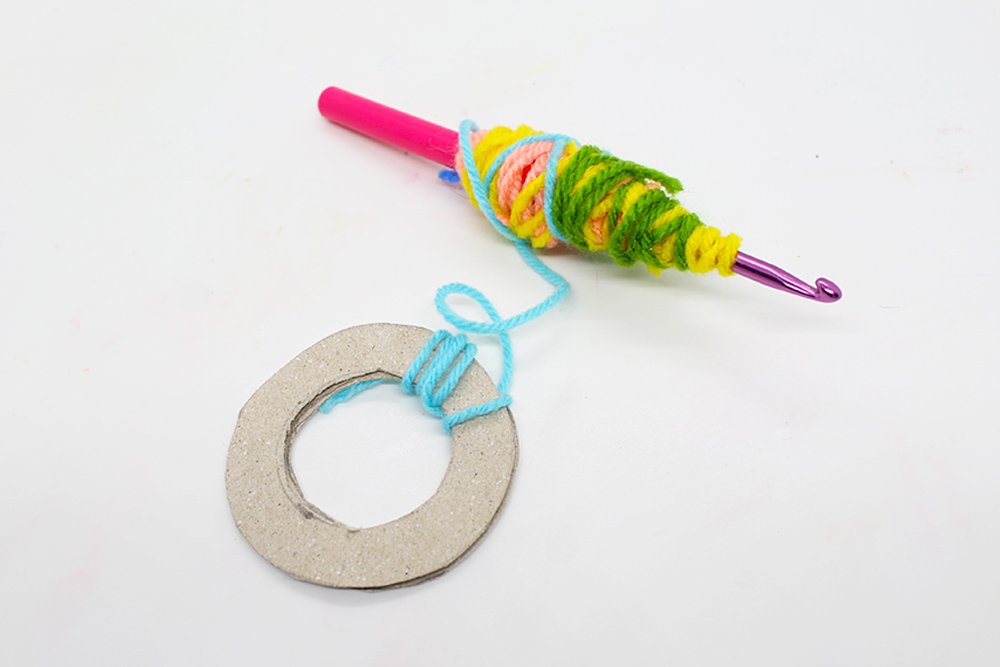
Then loop it around to the sides so that the cardboard will slowly be wrapped in yarn,
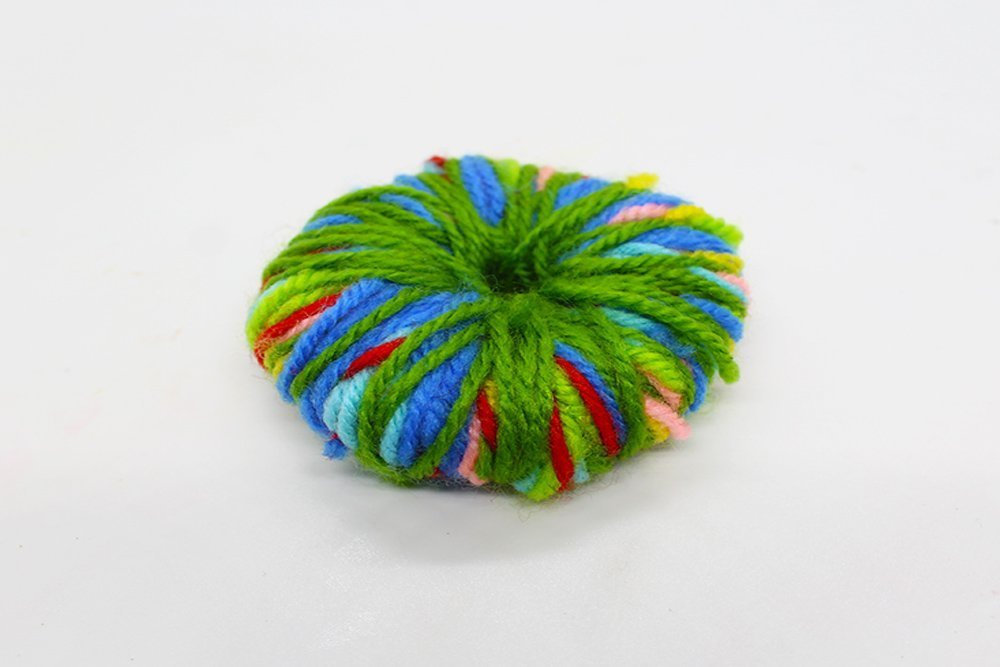
Continue inserting the yarn in and out into the hole until the length of your yarn is all used up.
Make a Ball
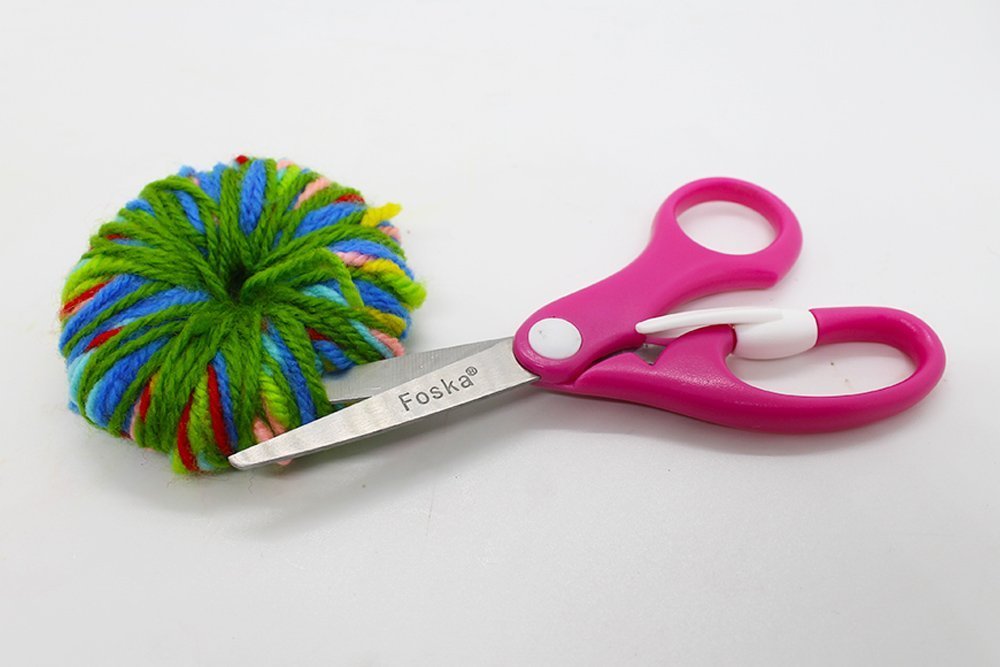
Now take the bobble and choose a side where you want to insert the scissors. Push through the thread to the side so that you can see the template for the pompom. Now put one blade of the scissors between the two halves of the template.
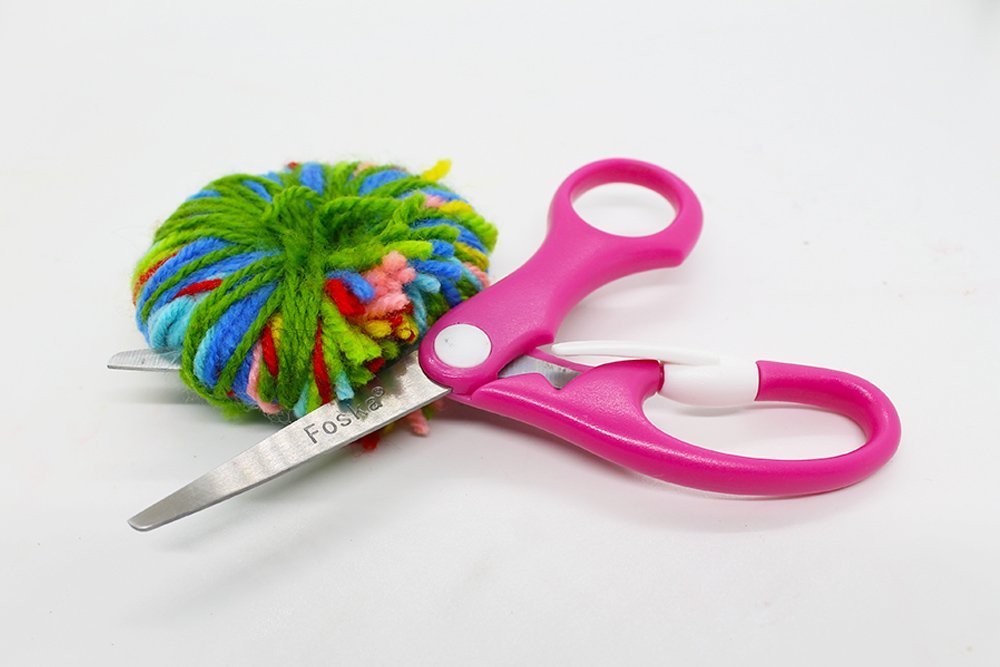
Now cut the threads in between the two halves of the pompom. Be careful not to damage the cardboard itself. The cardboard is the one that stabilizes the pompom.
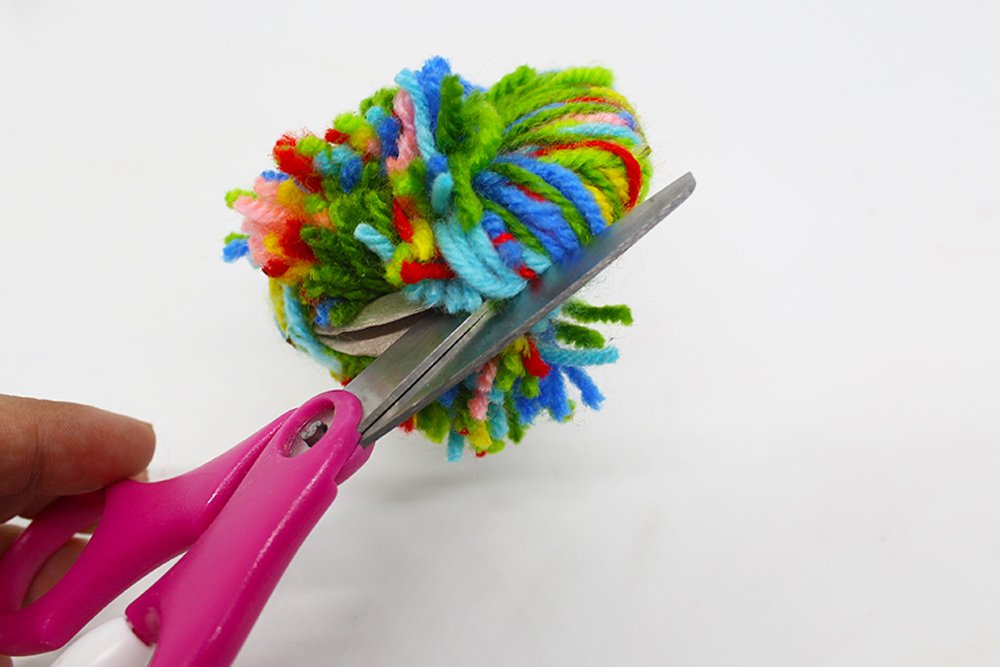
Continue cutting until there is no more yarn that is visibly wrapped into the rings.
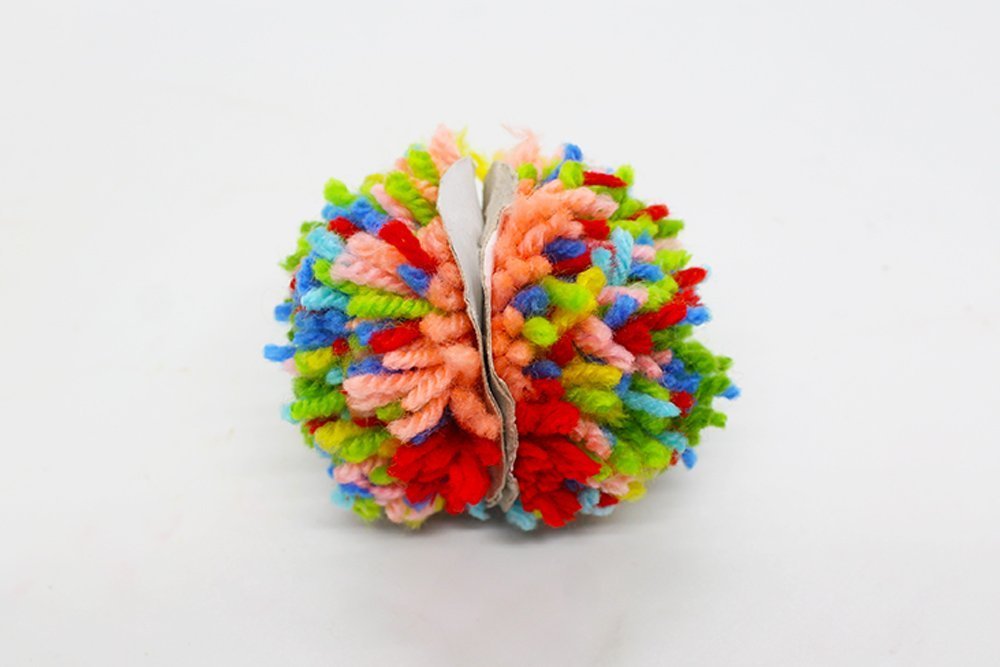
Great job. This is what your artwork should look like.
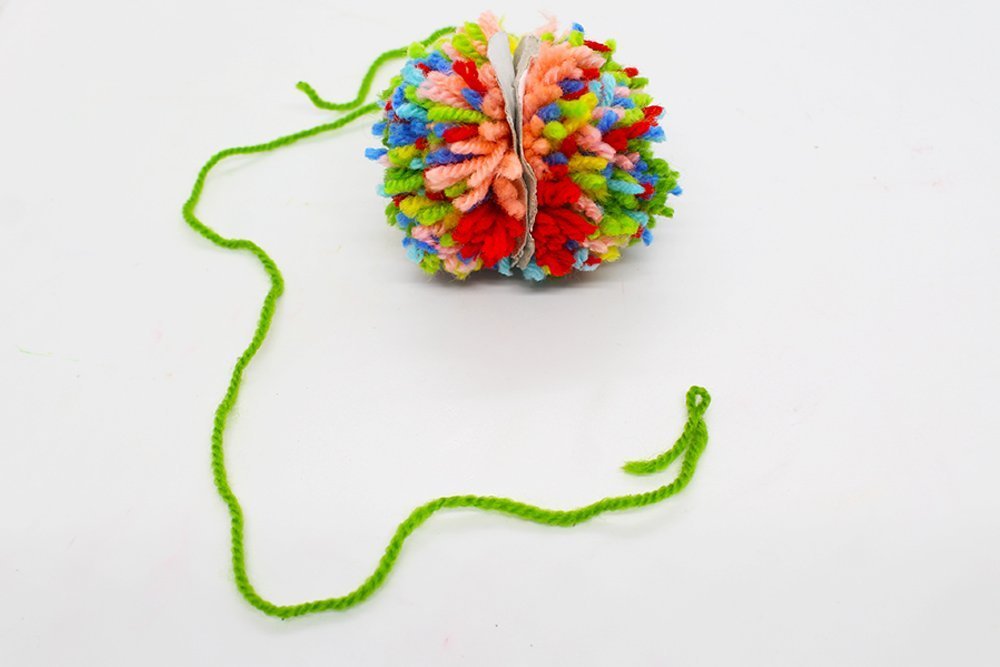
Then tie a string into the pom-pom ball. You want your pom-pom balls to stay as a whole so that you'll tie each individual string together.
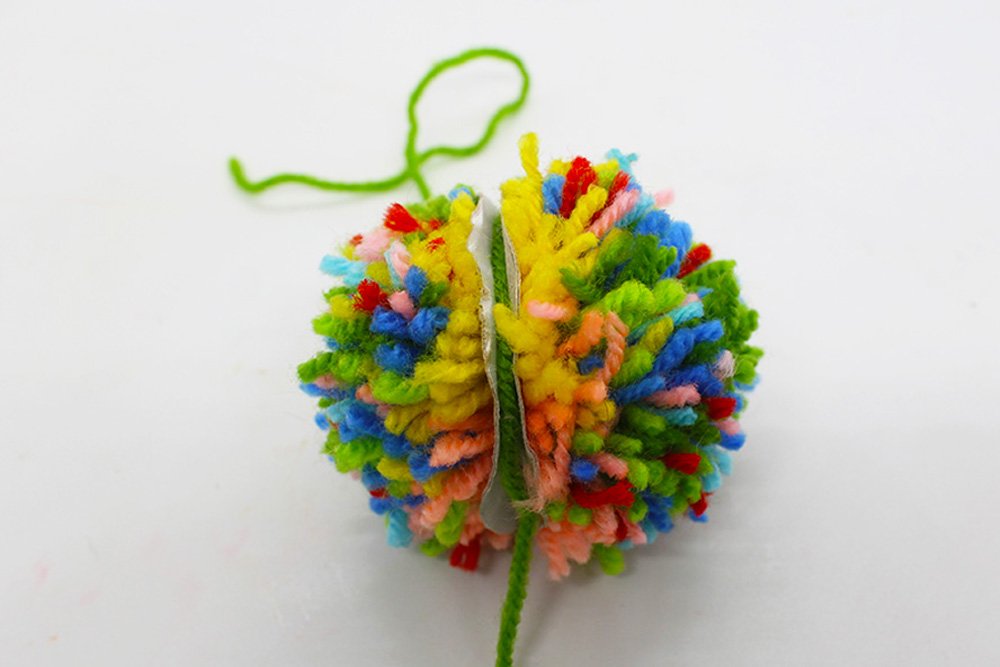
Wrap the yarn inside the two rings so that it will tie all the other strings together.
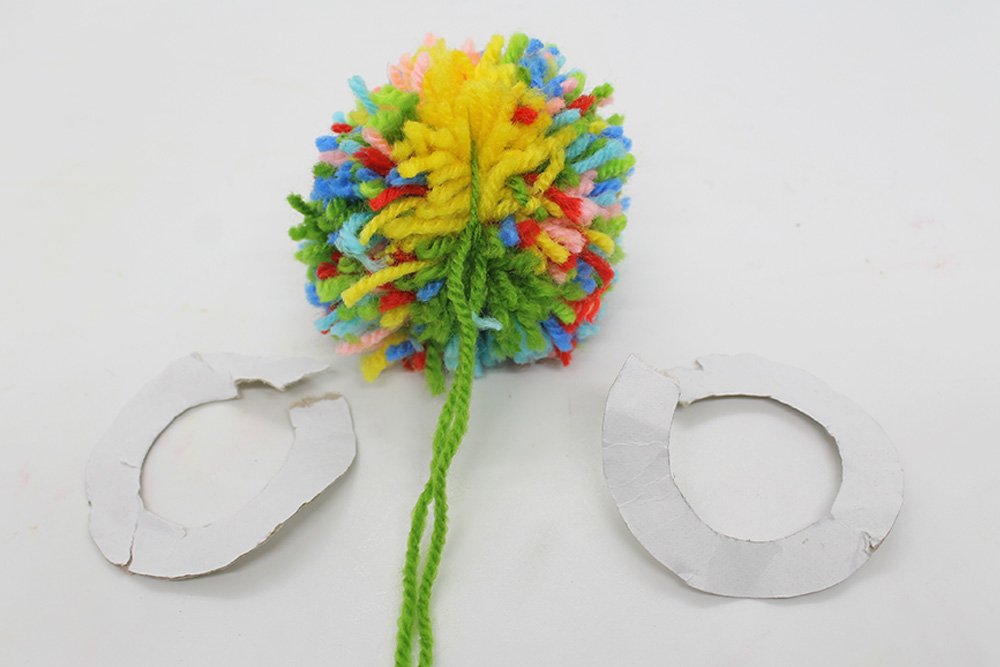
Remove the rings.
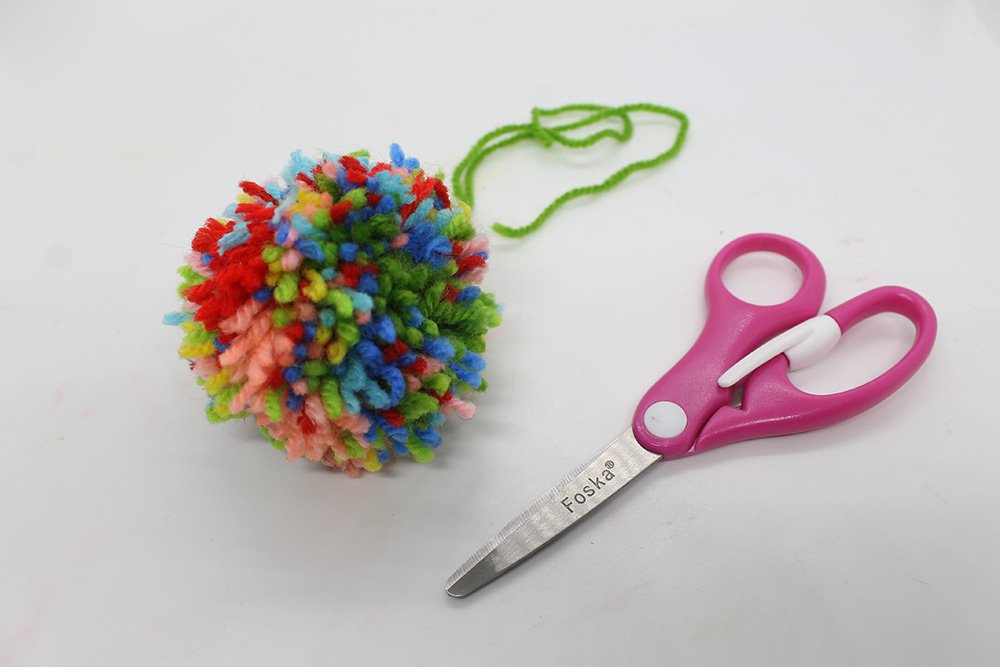
Cut away any excess length.
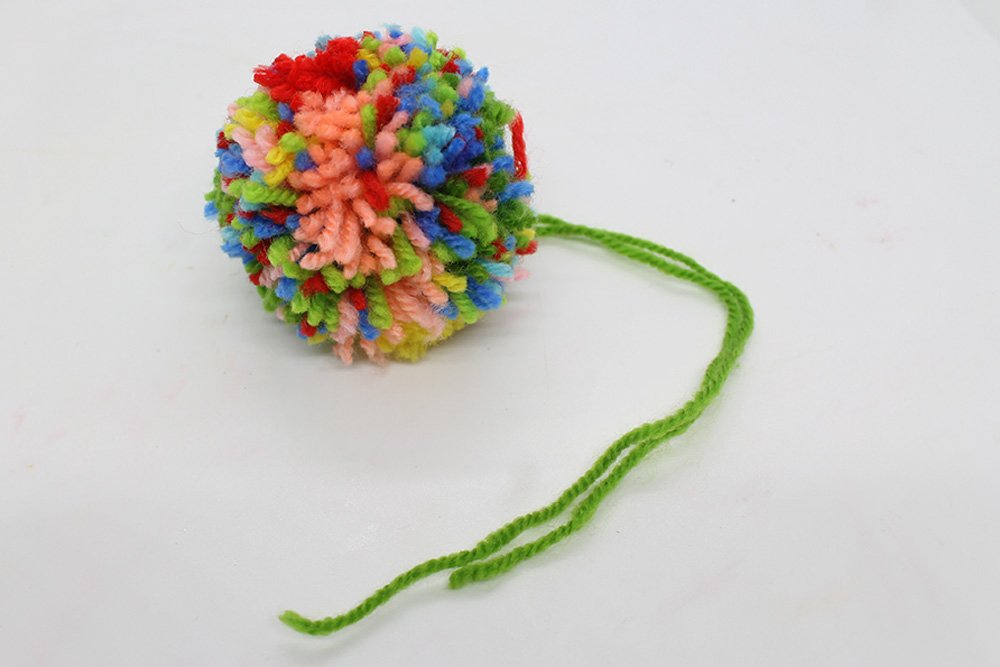
Congratulations! You have finished making the pom-pom craft. For more awesome kids craft check out the articles below.
Extra Tips
- Be careful when using scissors. Use the appropriate pair of scissors for your child.
- It's important to use paper that is stiff.
- Color combinations are important. You could go with two sets of colors or four. It's up to you - find your style!

