3D Paper Star With Printable Star Template
Introduction:
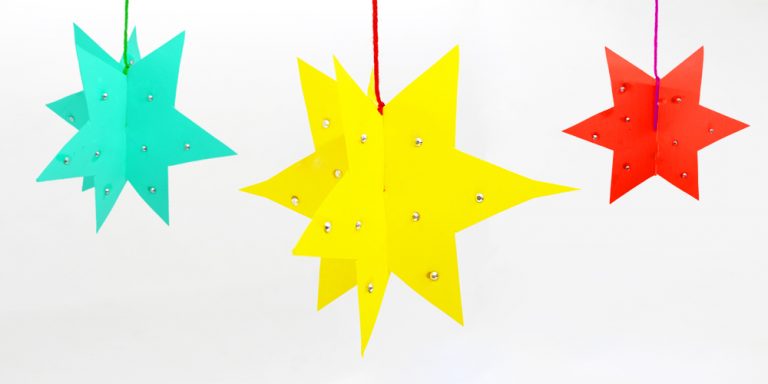
Make a simple 3D star using the template below. The 3D star is a great activity for kids to do. The instructions are easy and the materials are mostly available in any household.
Using sharp scissors is involved which is why it’s highly advisable to have an adult present when cutting the paper especially when little children are going to do this activity.
There are some things you could do to minimize the danger posed by scissors to young kids. You could also prepare your child in using scissors so that they will get better at it a faster rate.
Try reading an article (scissor cutting skills) from ot-mom-learning-activities.com because they have a good article about teaching kids how to use scissors.
Anyways, we hope that you and your child will enjoy making the 3d star! And oh, one neat thing about this craft is that it looks awesome in any kids room.

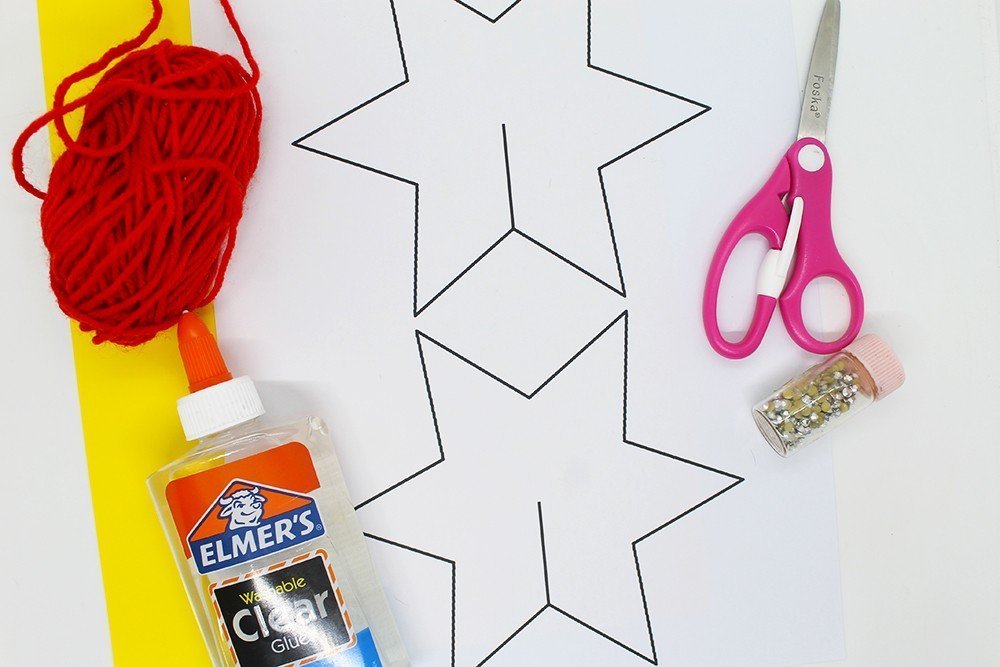
Tools
- Scissors
Supplies
- Printable
- Yarn
- Glue
- Yellow construction paper

Download Area
Download TemplatePrint and Cutout the Template
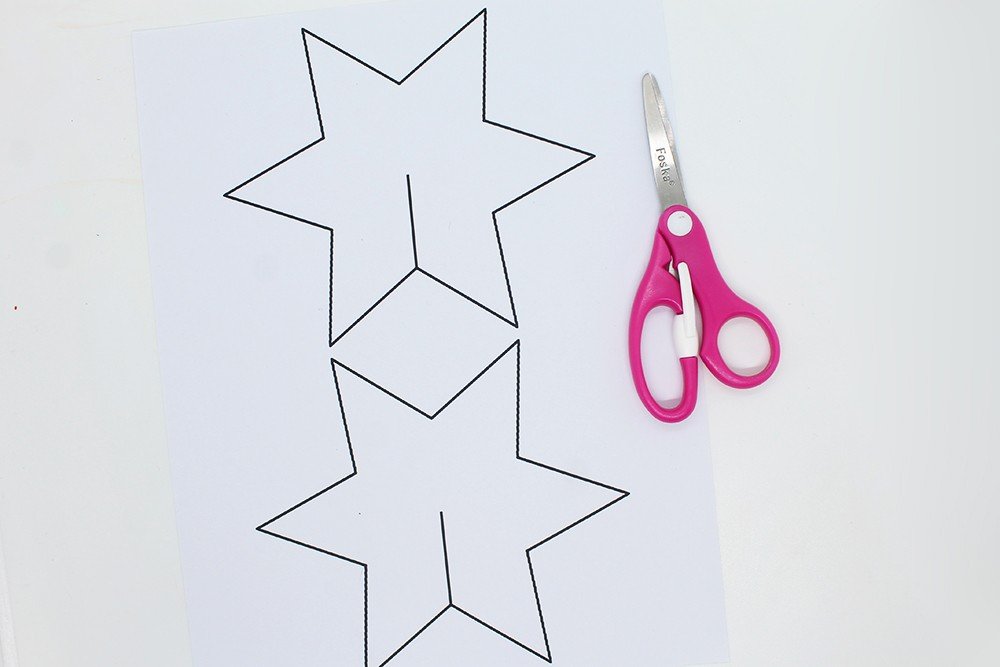
The first thing that you should do is to download and print the template which could be found above. Also, make sure to supervise your kids if they aren't good with scissors yet. It might be a good idea to print the downloadable file multiple times.
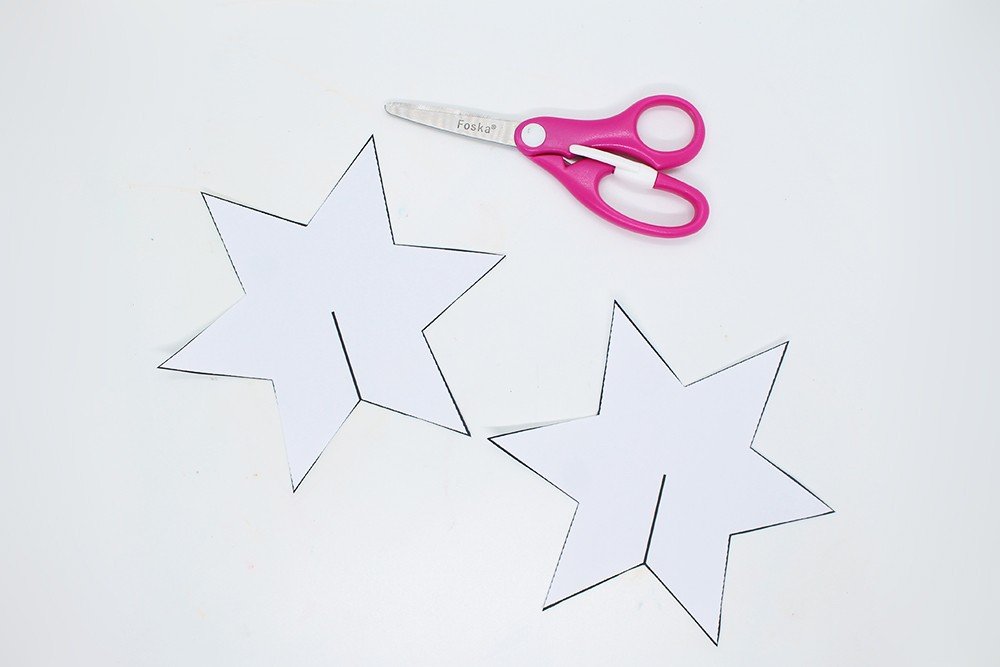
Cut the stars out of the printable. This should be be a breeze if you know how to use a scissor properly. And don't be discouraged if you make a mistake - just keep trying!
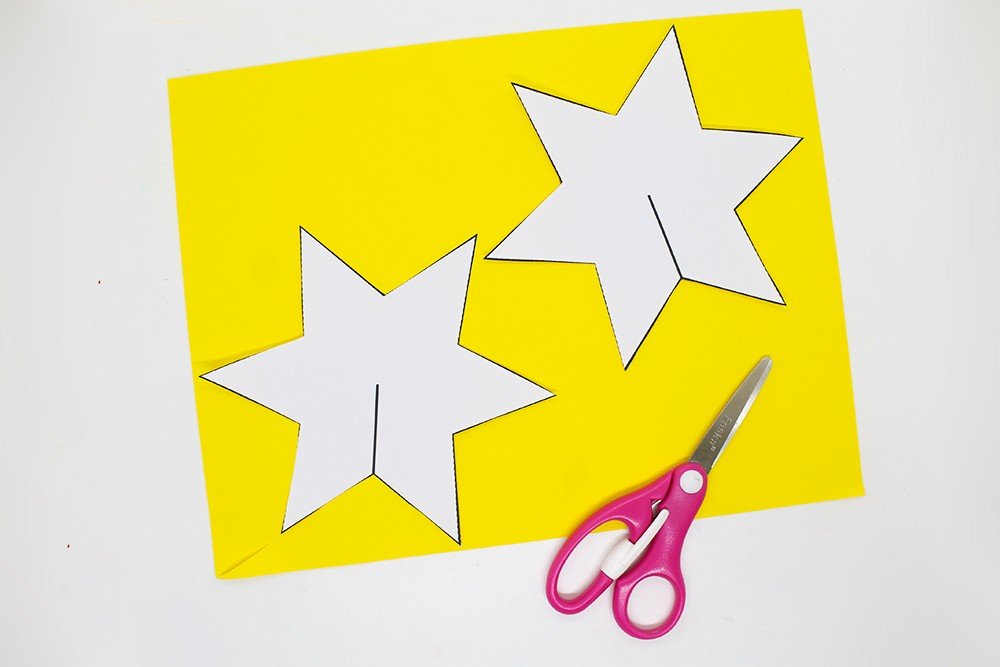
Place the stars on top of yellow paper. A thicker variety would be better. You could use a pencil to trace the stars then cut the shapes out.

And you have to cut the yellow paper and use the white stars as a guide so that you'll have yellow stars instead of white ones. Also, don't forget to make a slit as this will be important later on.
Great job! The 3d paper star is almost complete.
Tie a String to a Star
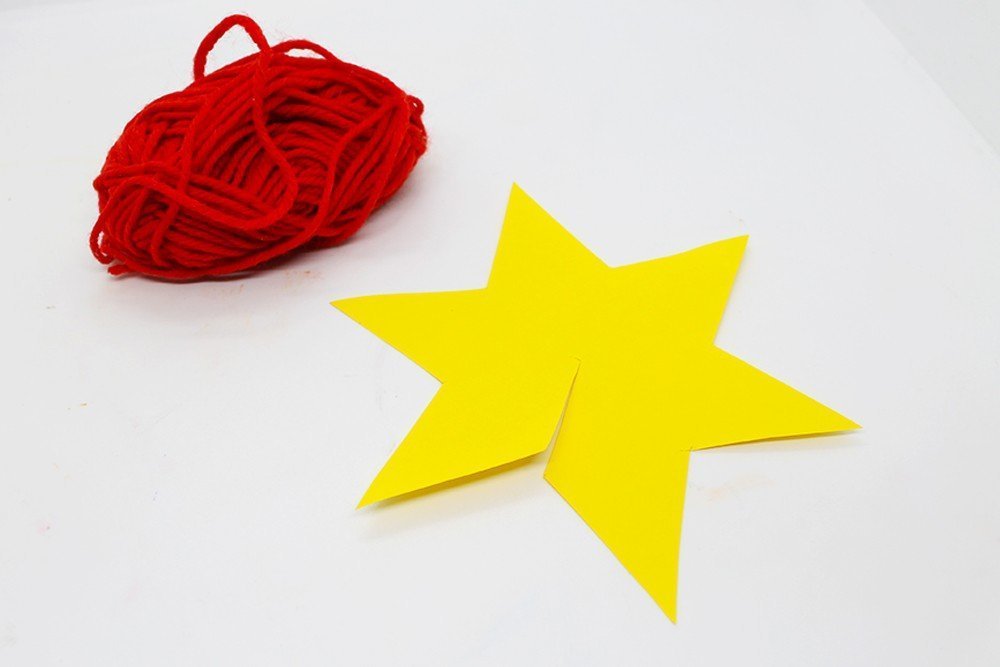
Get your ball of yarn, and select any of the two stars. In the next step, you will be decorating the object. Also, red and yellow make a striking match together but you could choose other colors!
Tip: You can also use a sewing thread for the star. This thread is less noticeable when hanging.
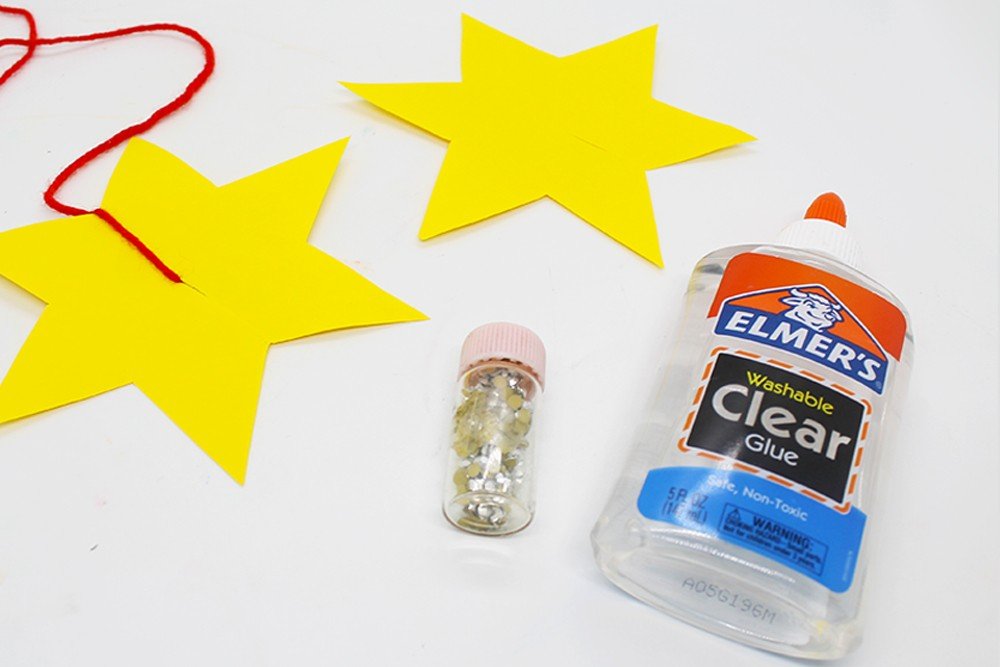
Use the slit to attach the string then tie a not at the opposite side of the slit. Ready your stickers or any other decorating supplies you might want to add to your stars. Here, jewel stickers were used. And clear glue was the adhesive.
Join the Stars Together
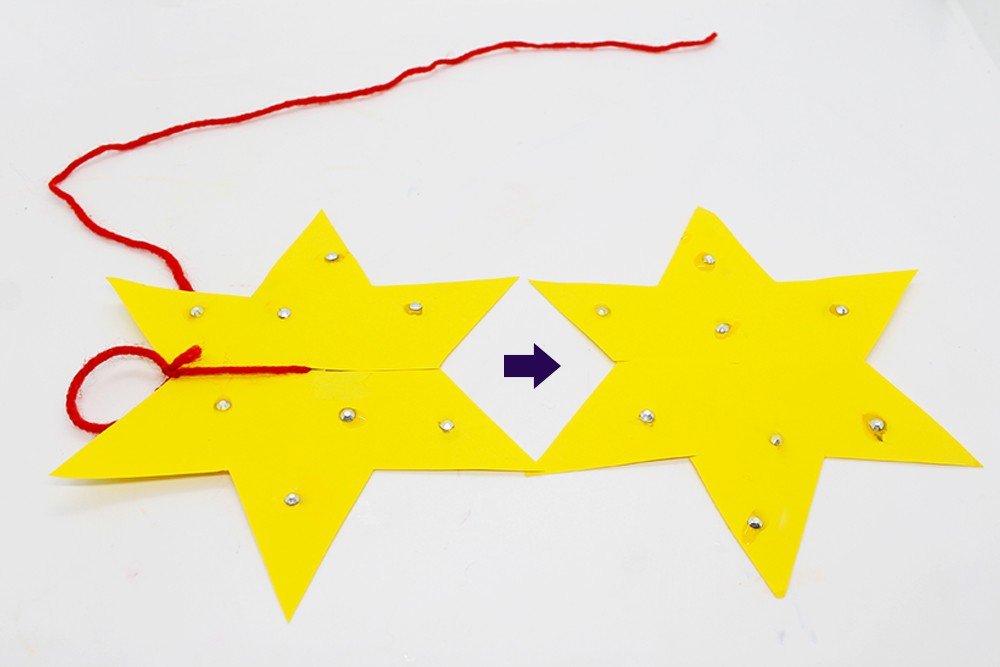
It was said that a 3D star is what you will be making. And that is what you will have! Arrange the two stars as shown above.
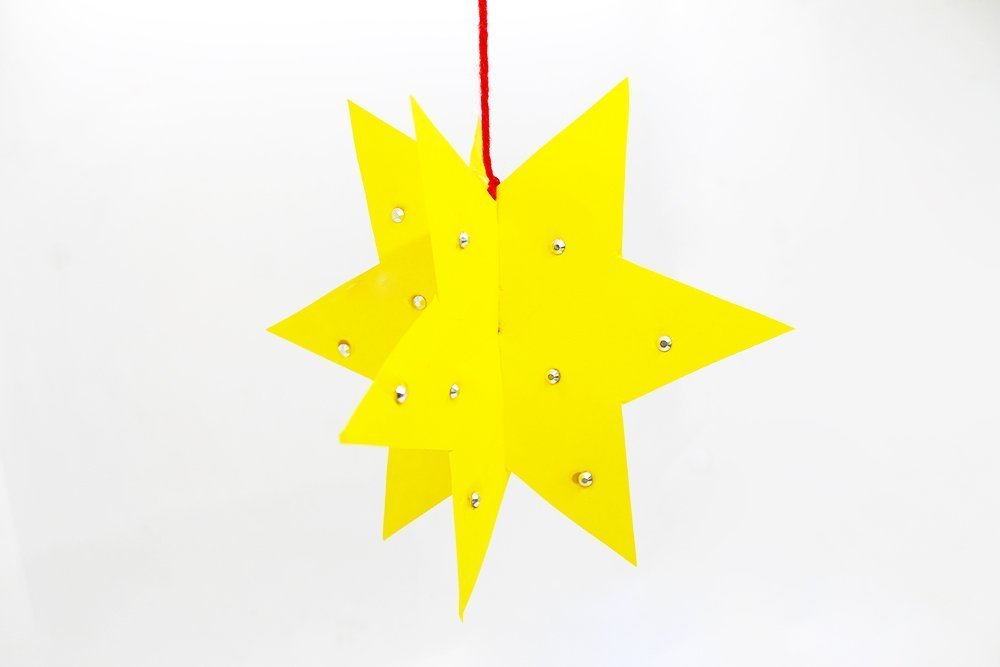
Then put the two halves together. Use some glue if necessary. And you are finished! Be sure to check out our other crafts for kids. We have some amazing DIYs that you'll surely want to try!
Since children enjoy doing handicrafts, activities such as this don’t make them bored easily. That is why we have put together many more handicraft instructions for you on this page. Suggest down below which handicraft ideas you want in this blog. All you have to do is to comment down below!
Extra Tips
- The stars could be designed in an infinite amount of ways. Make sure to think and consider where you will display it after.
- Use blunt nosed scissors for kids. And let them use a right or left handed scissors depending on their dominant hand.
- Consider using our other crafts to go with the 3d stars. It can make your room fantastic!



Them stars look good when hanging from above – well done
thankss for showing the process so clearly
I bought blunt-tipped scissors and I am more relaxed now letting my young kids have fun with these kind of crafts
The stars that i made were wonderful! 🤩
thankss DIY-mag