Discover How to Make an Easy 3D Origami Stingray Folding
Introduction:
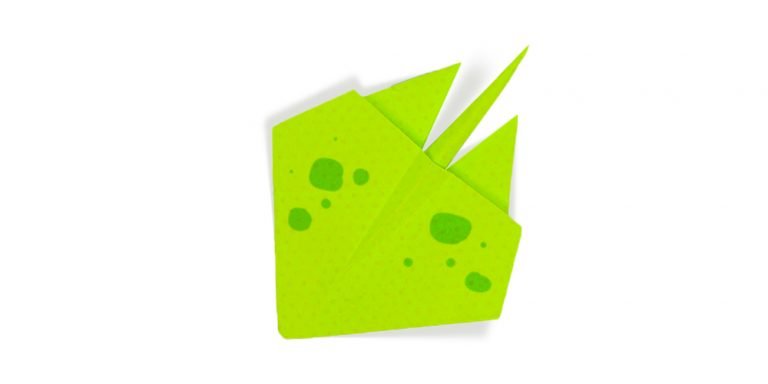
There are plenty of ways of making various aquatic animals with a piece of paper. One of the sea creatures that you can make is stingray origami which is fairly easy to do. You only need a piece of paper and this step-by-step instruction, and you can have your 3D origami stingray.
The overall process is short and simple so you can make this fold in less than a minute once you figure it out. Another cool thing that you can do after you have folded is to get some crayons or pens, some art tools basically, and give your origami stingray some details.
Enjoy!
Fold the left corner to the pocket
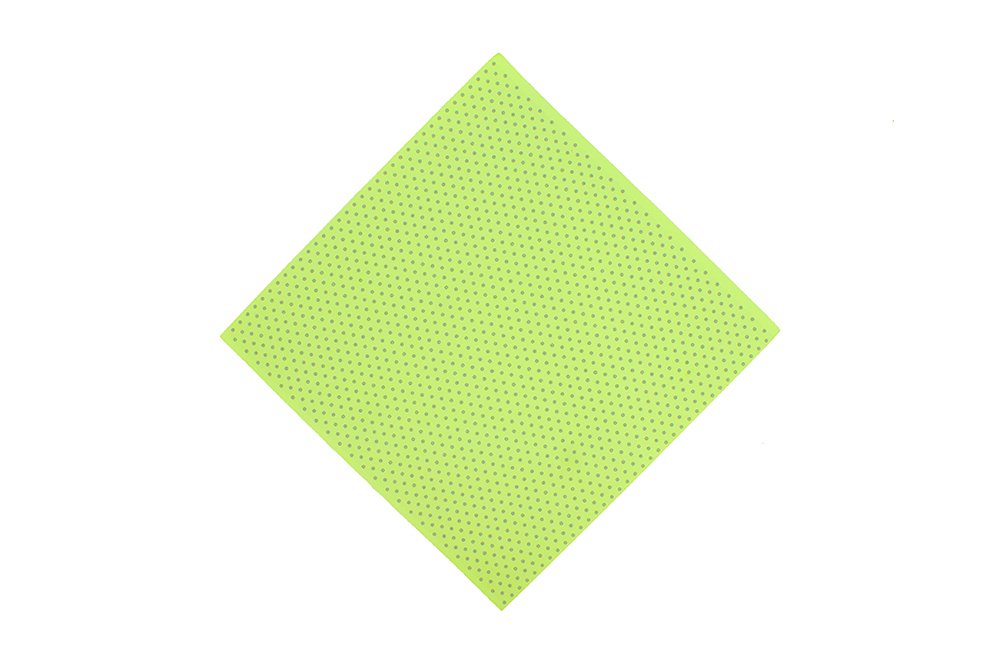
Get a piece of square origami paper. To follow this origami stingray better, use a paper that has different sides to one another. Face the colored side down. Orient as shown in the image above.
Fold the bottom corner to the top.
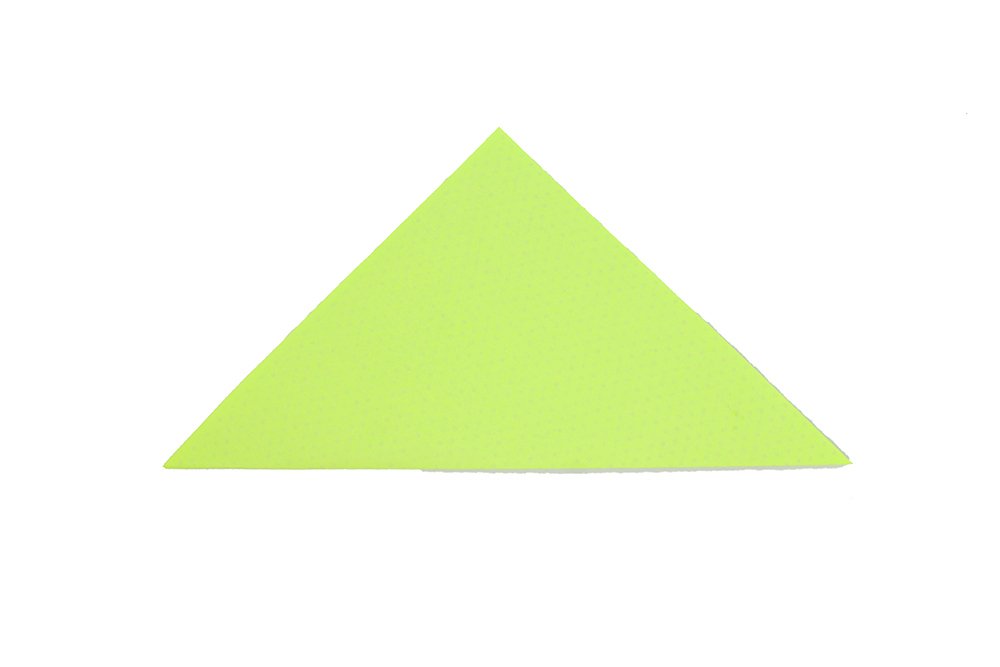
Unfold the triangle made.
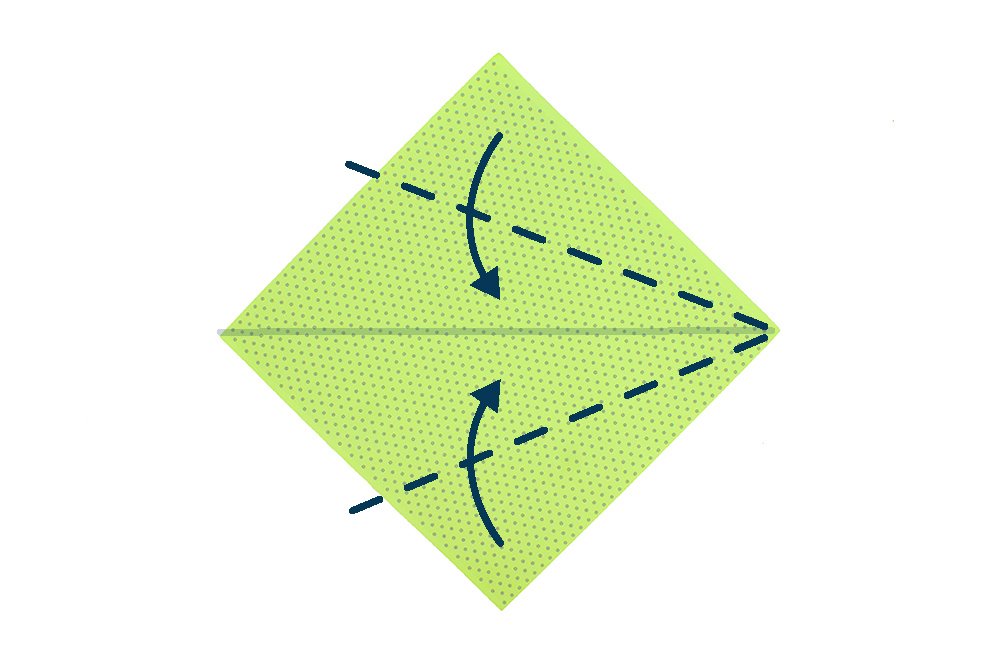
Bring the top and bottom corner to the middle crease line. Diagonally fold it along the dashed lines.
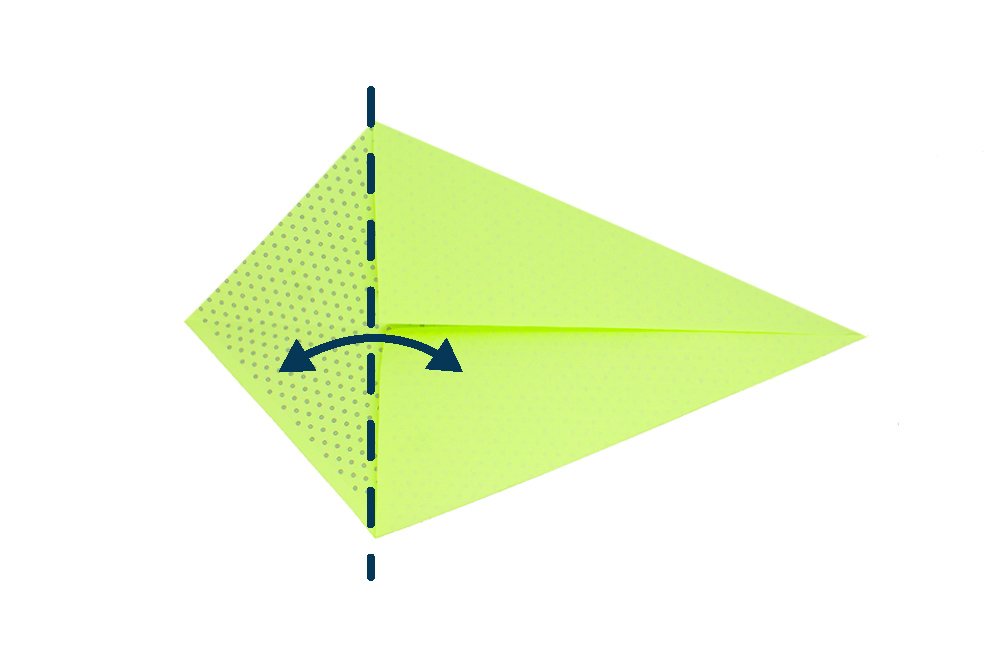
The paper should now look like the image above. The pocket is made up of the two flaps in the right side. Fold the left corner up to where the start of the pocket is, then crease the paper well and unfold.
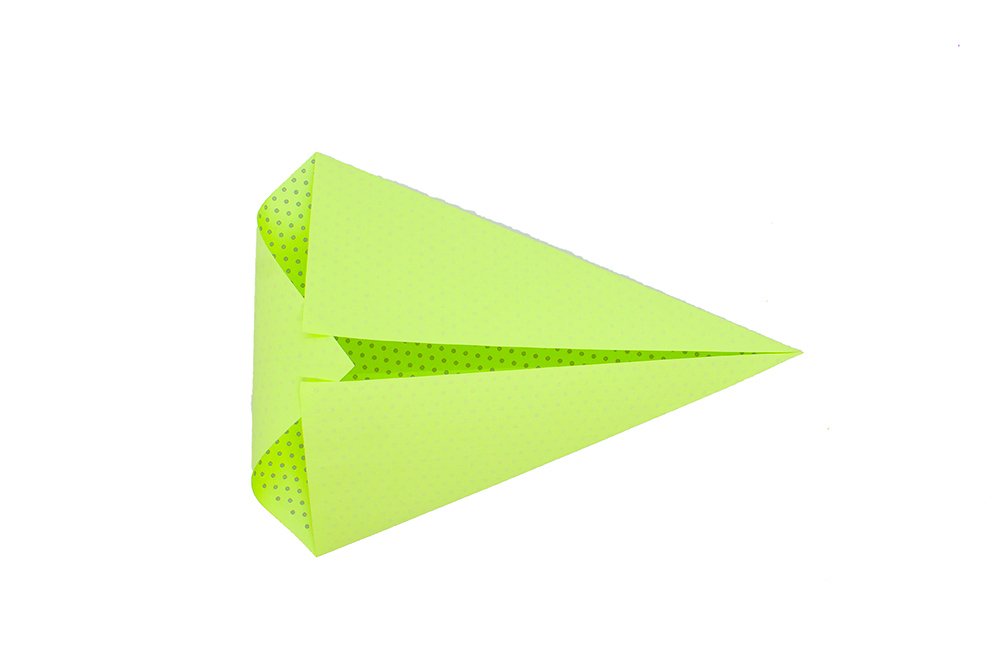
Begin to insert the left corner to the right. Finish inserting the left corner inside the “pockets.” It is now easier to insert the origami paper because of the crease made in the previous step.
Fold the tail of the stingray origami
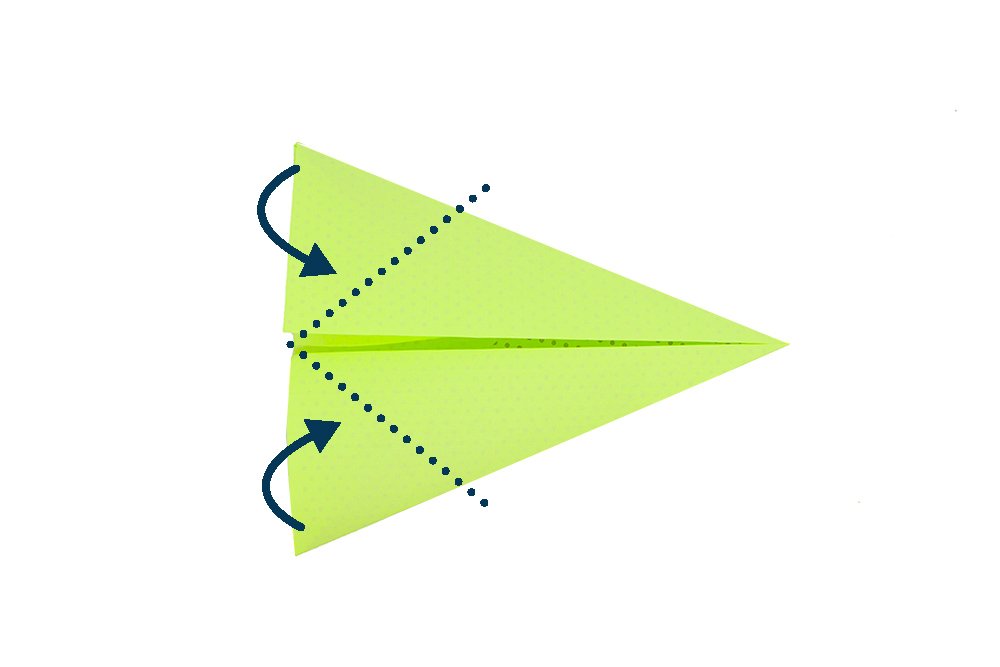
Make an inside reverse fold along the dotted lines. To make an inside reverse fold, crease the paper along the dotted lines. Pry open on each corner and push the corners inward to the center.
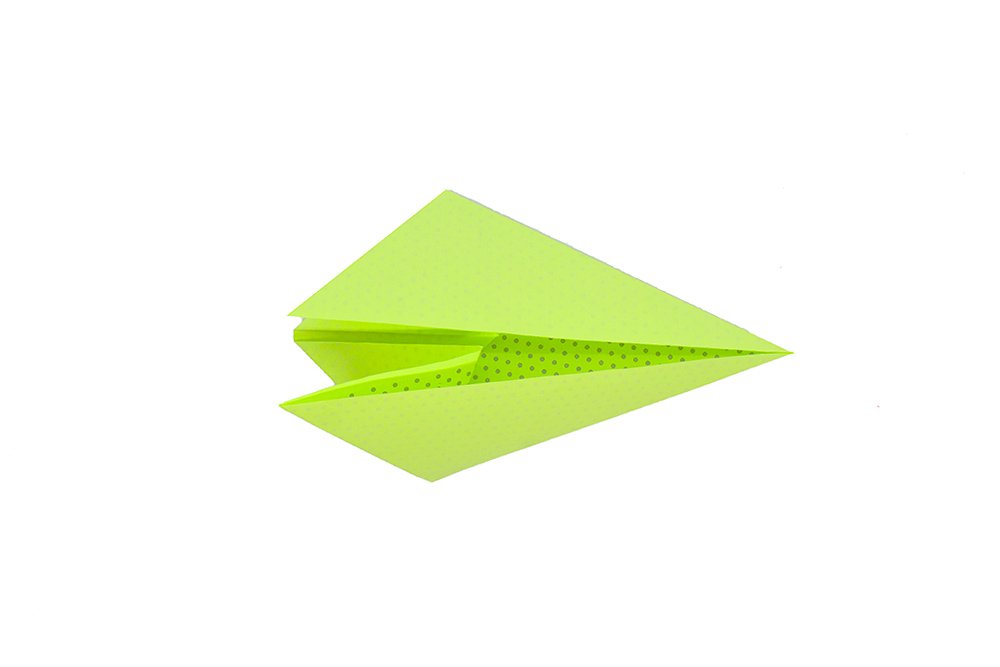
Your origami stingray should now look like this. The right side will be the stingray’s tail. Fold the right corner across.
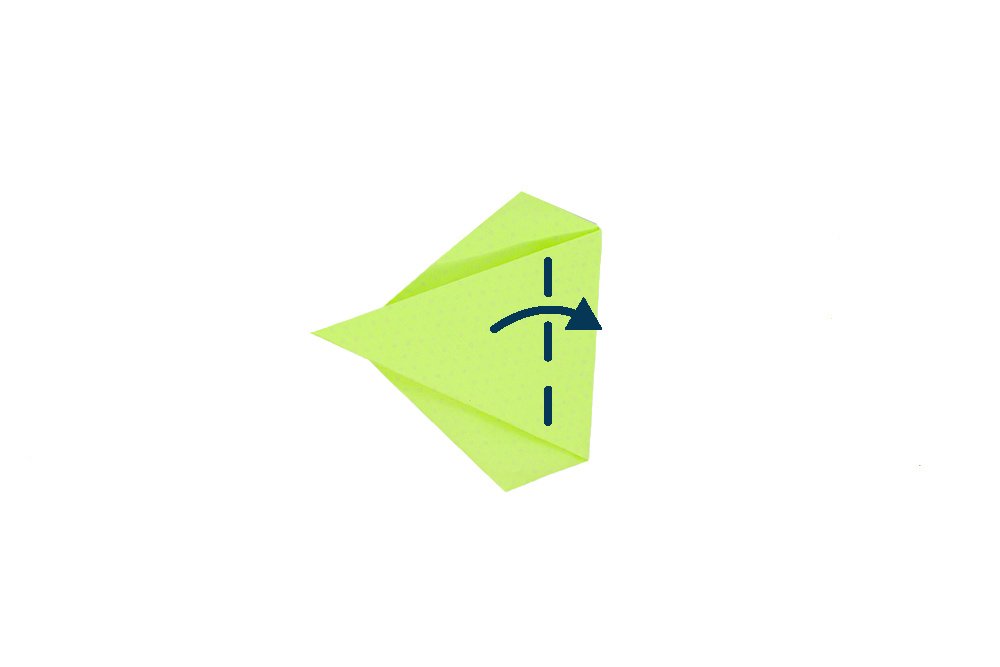
Bring the tail of the stingray back to the right side. Do this by folding along the dashed line.
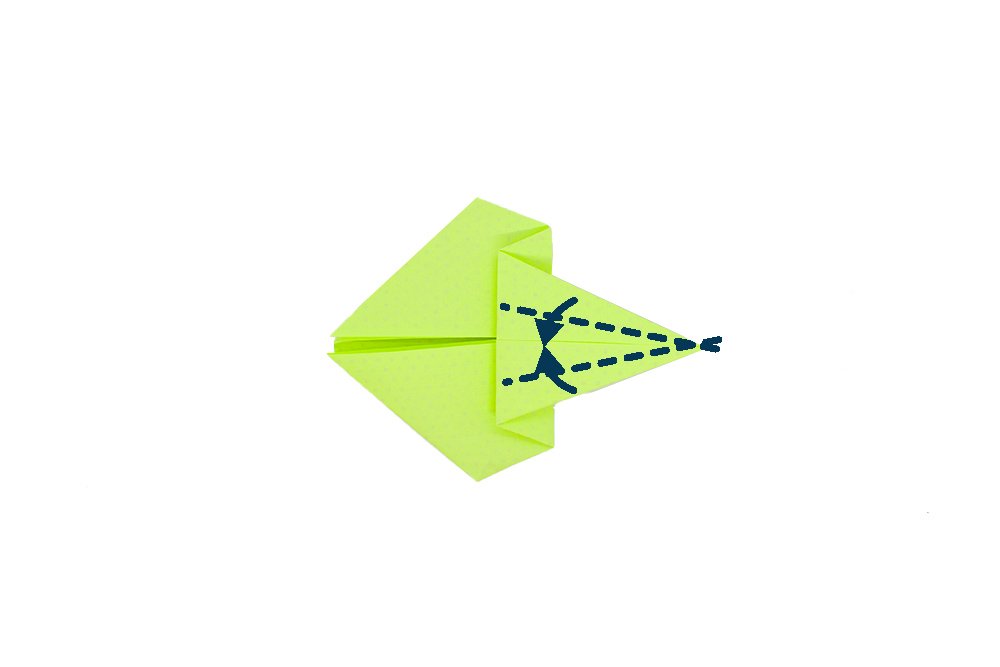
Slim down the tail of the origami stingray by folding the tail’s sides along the dashed lines.
Make the body of the paper stingray three Dimensional
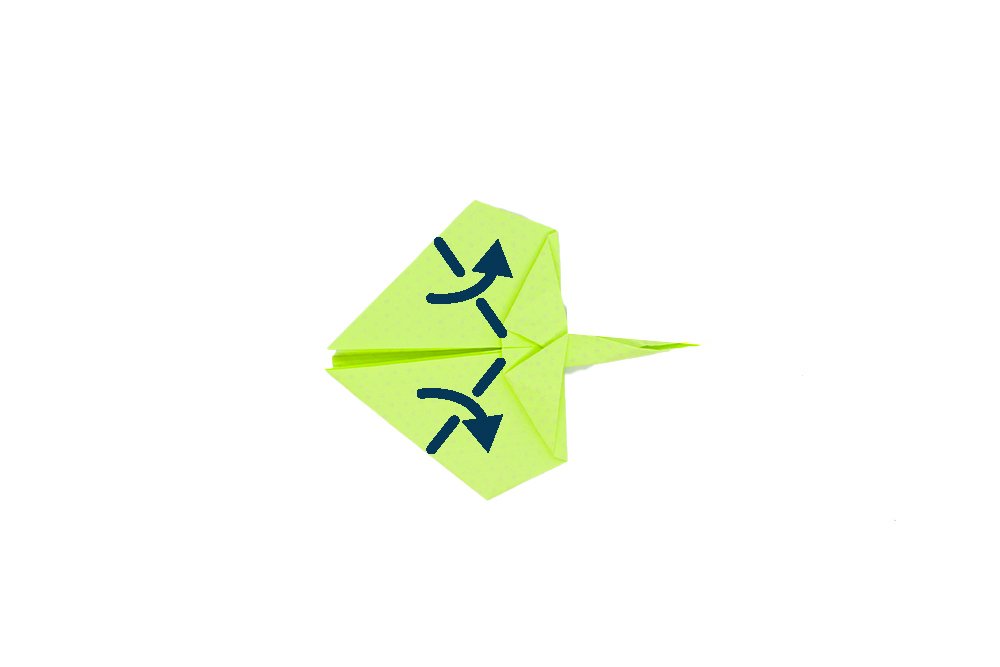
Make two diagonal folds along the dashed lines. Fold the top layer only.
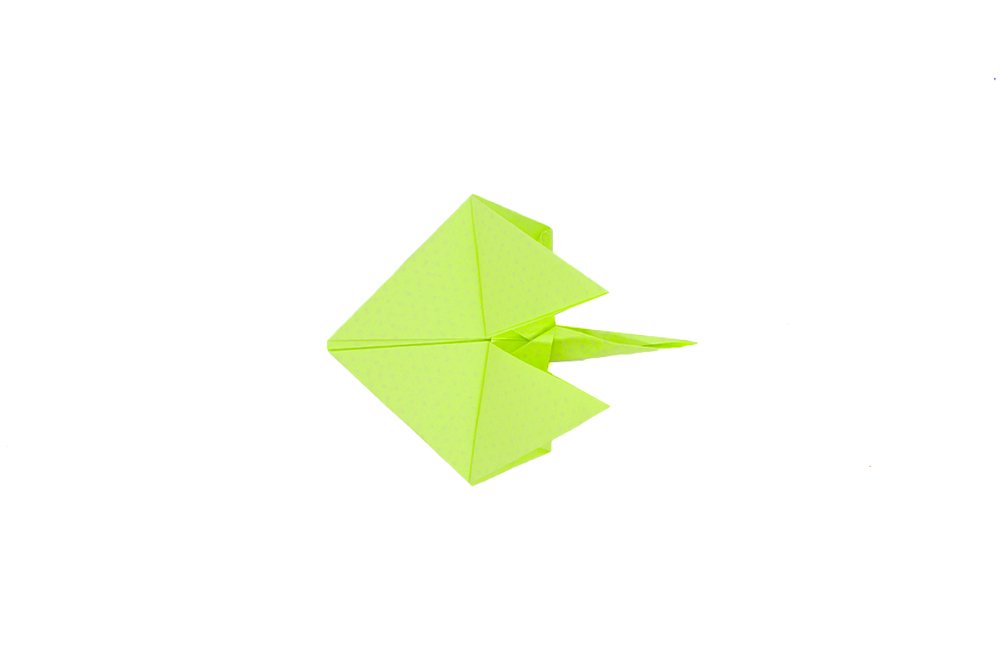
It is now an actual shape of the stingray. Now fold the paper origami crosswise in half.
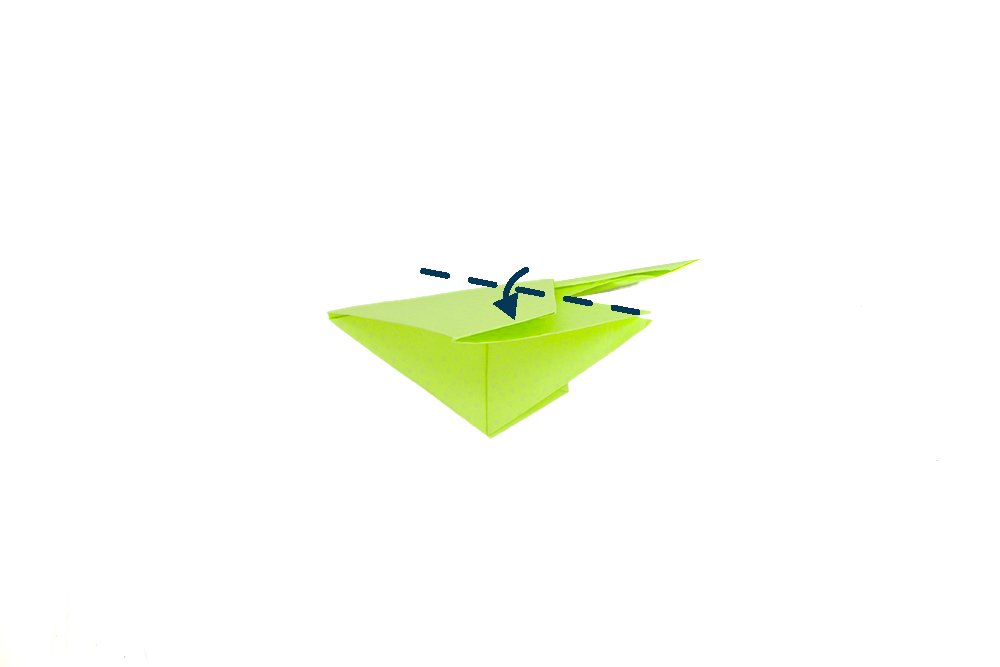
Sideview: Make a small diagonal fold as shown. Crease well and unfold. Repeat the same step at the backside.
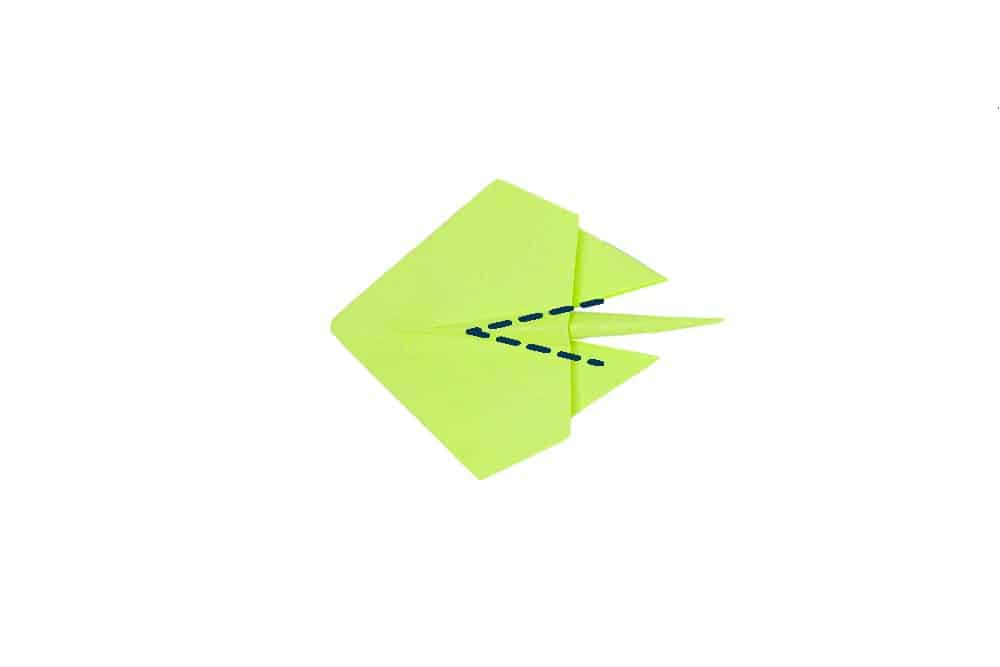
Unfold the body of the stingray origami. It should now look like the illustration above. Repeat the creases on the diagonal folds made in the previous step. This will make the body of the stingray more three-dimensional.
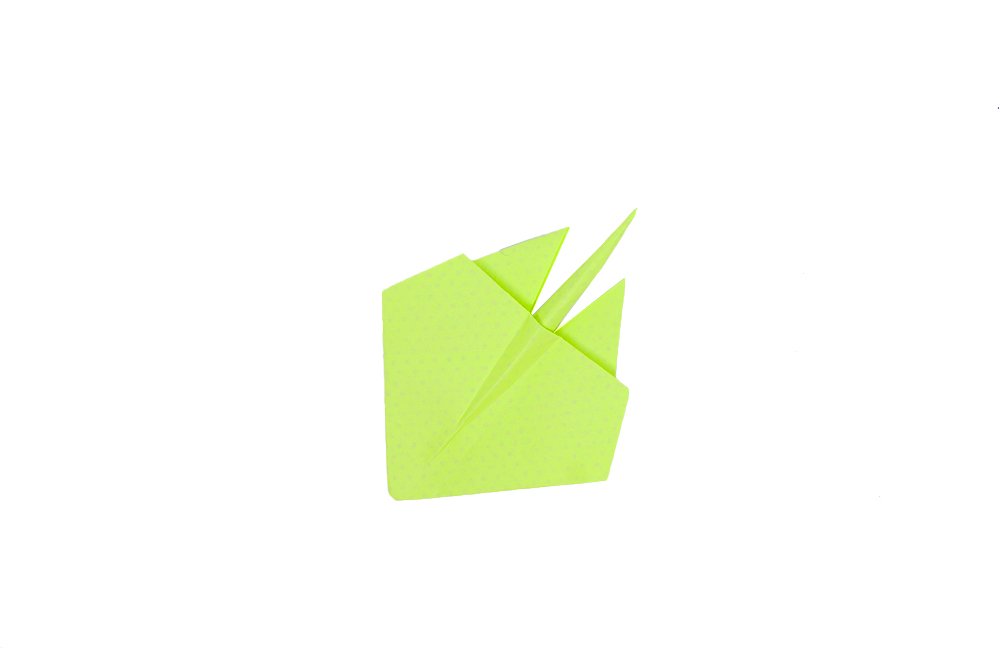
Your origami stingray is done! Why not make it some sea friends such as the fishes, dolphins, and turtles. You can find more instructions on our origami catalog!
Explore new ways to make sea creature out of an origami paper here.
Extra Tips
- Make sure to add details to your origami stingray!
- Fold straight and apply enough pressure. If you make mistakes and need another piece of paper, get another piece of paper. It simply won't look good if there are unnecessary crease lines.
- Take your time and be patient. Follow the steps closely but don't forget to have fun.



Wonderful! I am so amazed
Screwed it up, next time I guess it will be better😂
This was so amazing I got confused on how to do the tail but other than that this tutorial was amazing!
Woah the spine tail thing is 3d! cool right?
Good job, my stingray turned surprisingly well. Thank you 👍👍