Introduction:
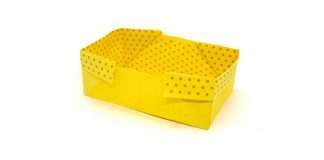
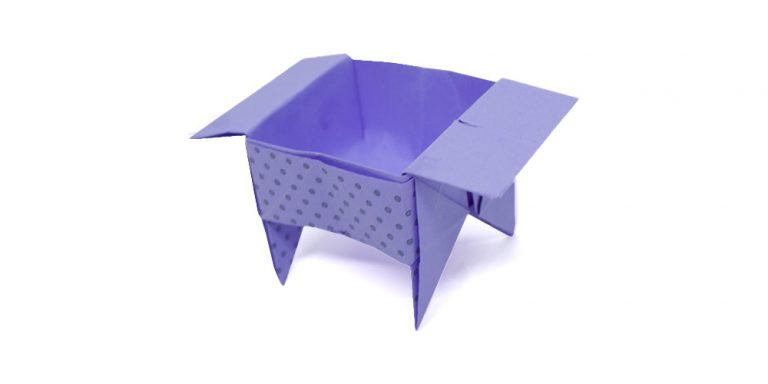
Also known as an origami candy dish, this origami candy box is a great paper craft to store sweets or any small trinkets that you have. It’s a fun and useful origami craft that you can make quickly and easily.
To make this paper box, use a sturdy piece of paper. To make it clearer, the paper we use have different sides. That way the instructions are a lot easier to follow. Now let’s get folding!
Enjoy.
Form the diamond base of the candy box

Get a square piece of origami paper. Lay it on a flat surface and then fold the paper diagonally along the dashed lines. Crease the paper well and unfold.
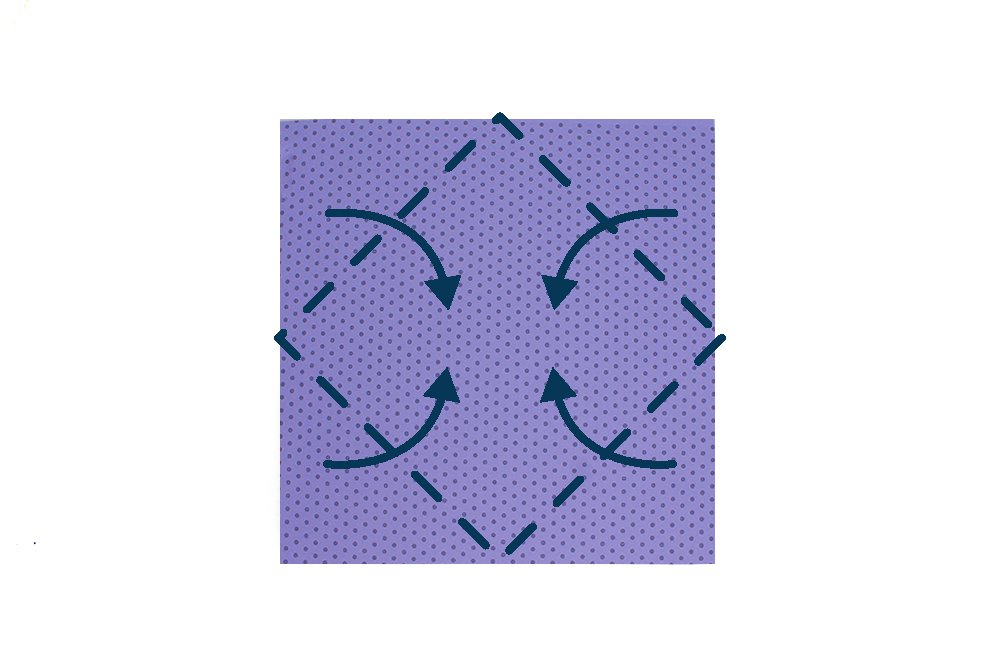
The second step is to bring all the 4 corners of the square paper to the center. The center of the paper is where the diagonal crease lines intersect.
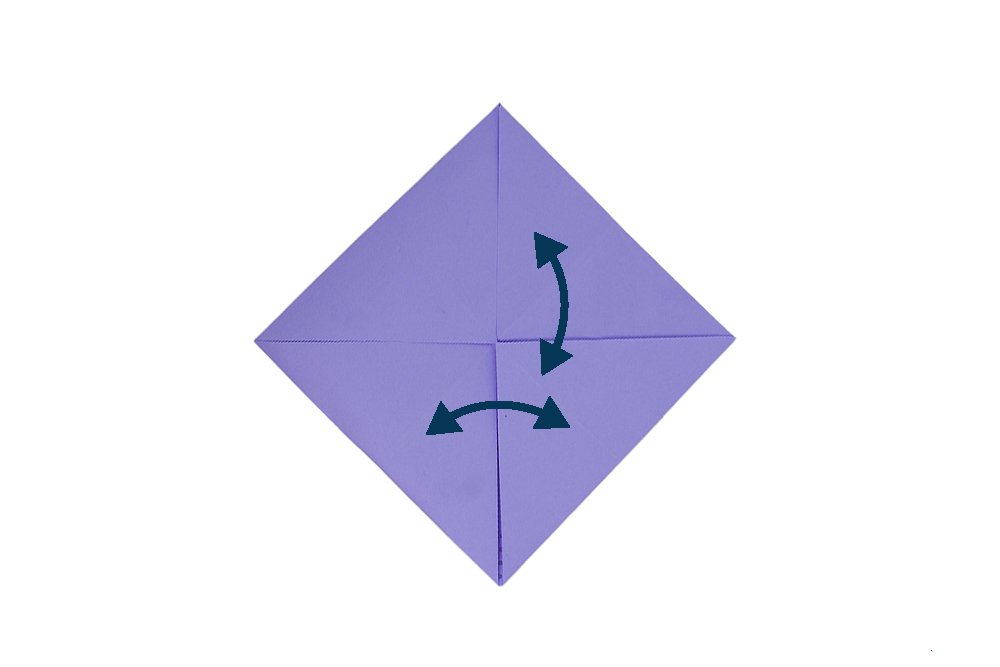
Fold the paper crosswise and lengthwise in half. Crease the paper well and unfold.
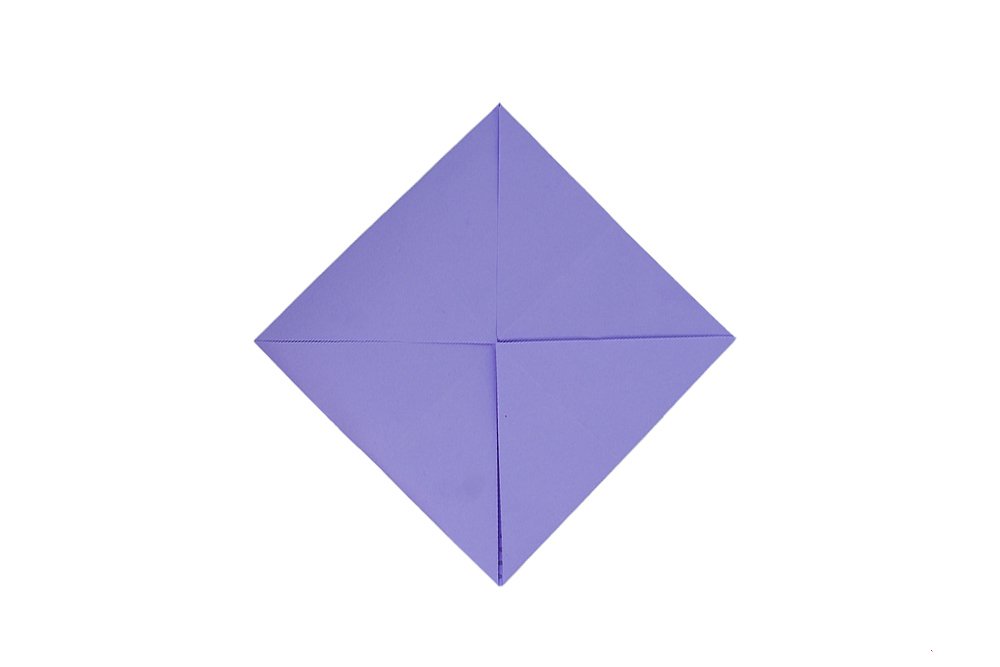
There should be nice crease marks now.

Flip the origami piece to the other side. Diagonally fold the paper along the dashed lines.

After making all those crease lines it's time to bring the top left and right corner downward to the bottom corner.
Flip the Sides of the Origami

Pry open the outermost layer of the origami paper.
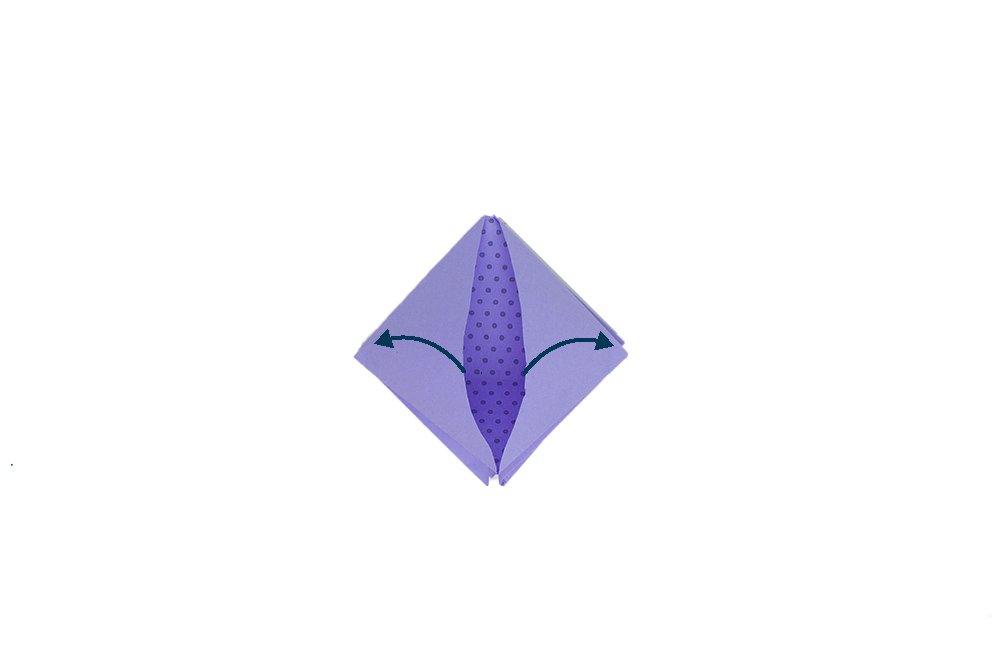
As you pry open the outermost layer, lift the bottom corner upwards to the top.
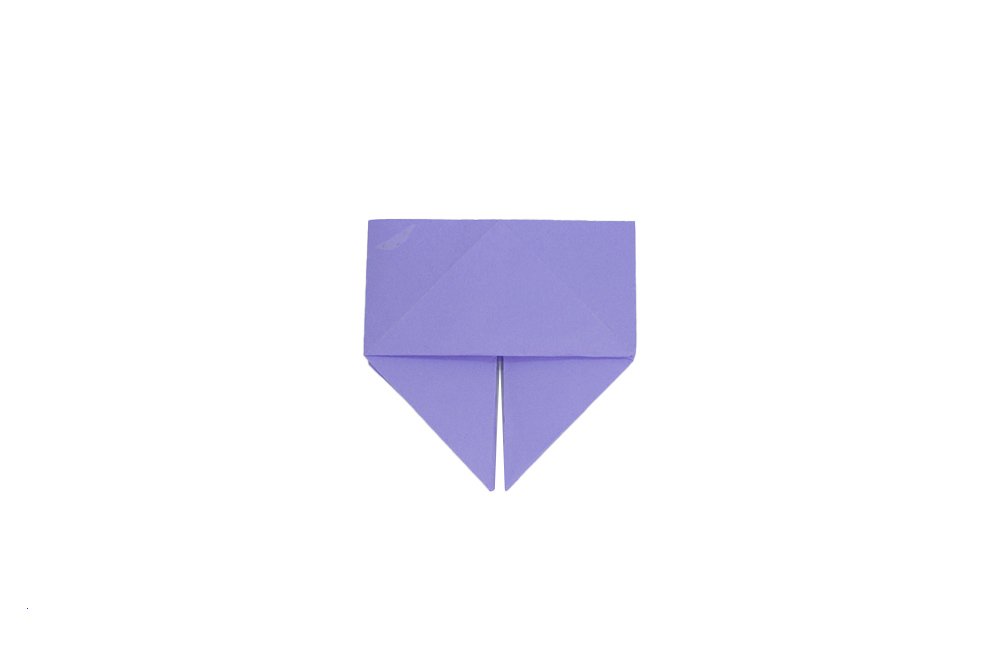
Repeat previous step on the back side of the origami paper. Rotate the paper 180 degrees counter clockwise.
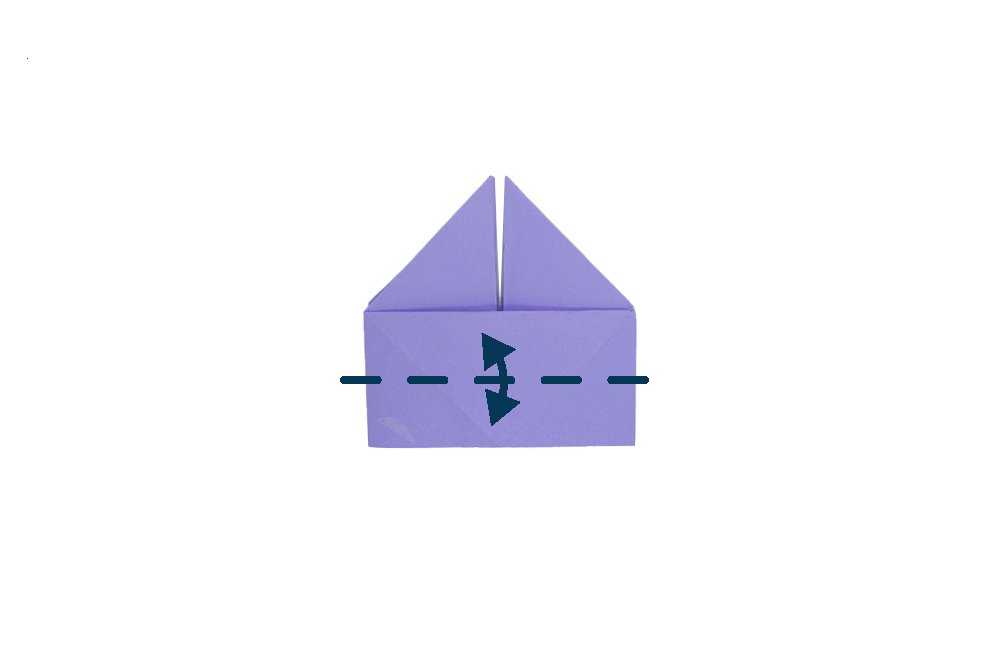
Make a crease mark along the dashed lines as shown in the illustration above.
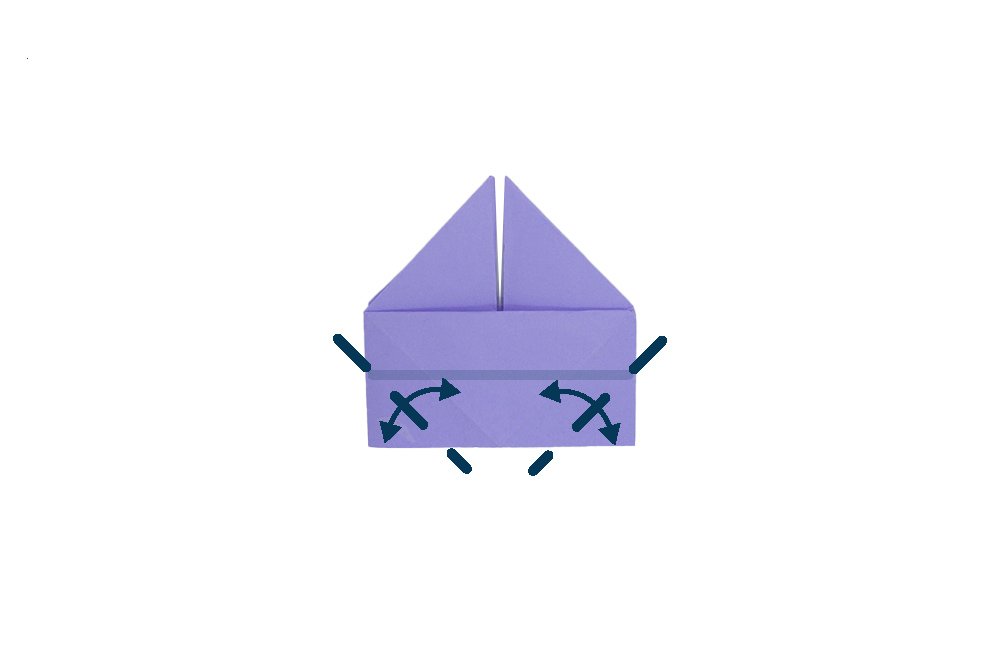
Fold the top layer of the bottom corners up towards the crease made in previous step. Unfold the paper and then repeat the same step on the back side.
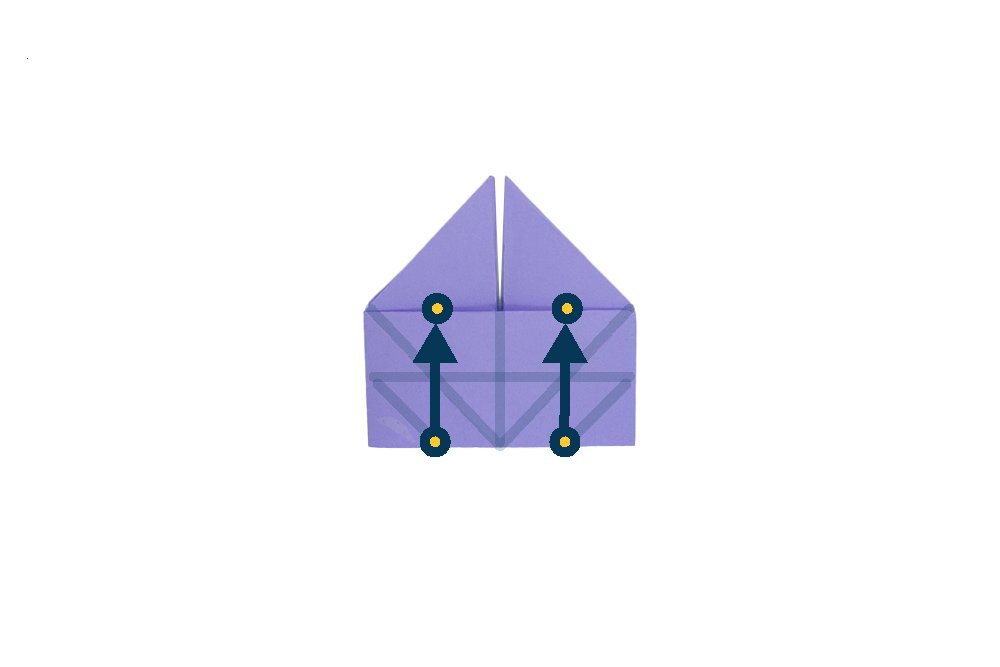
Using the crease marks as a guide, Fold the yellow dots upwards.
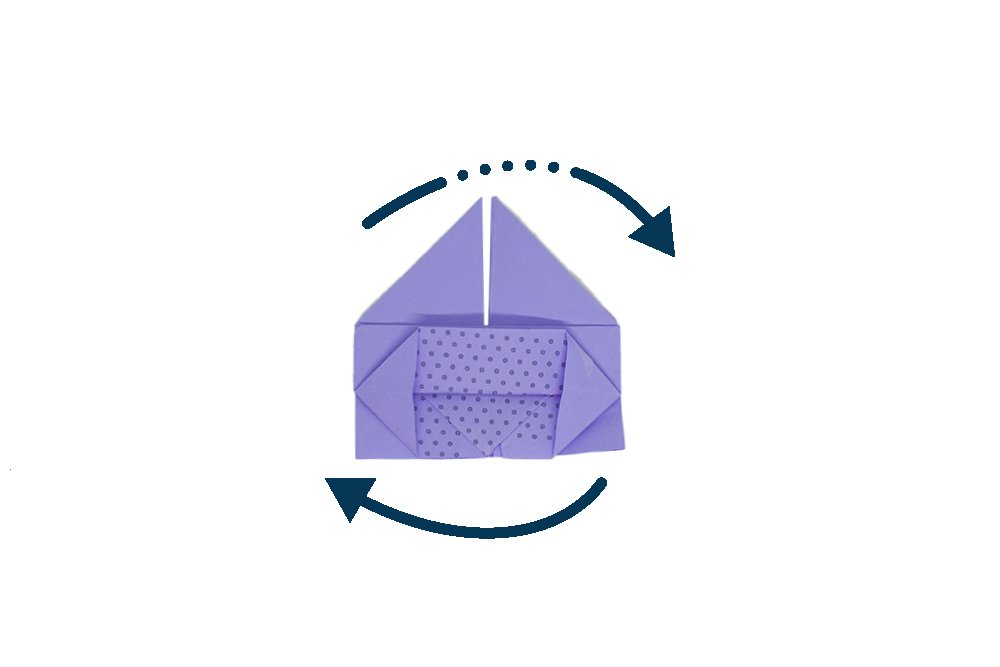
Like flipping a page from a book, turn the right outer flap to the left. Do the same at the back. Good job! Now it's time for the next set of steps.
Finish the Origami Candy Box
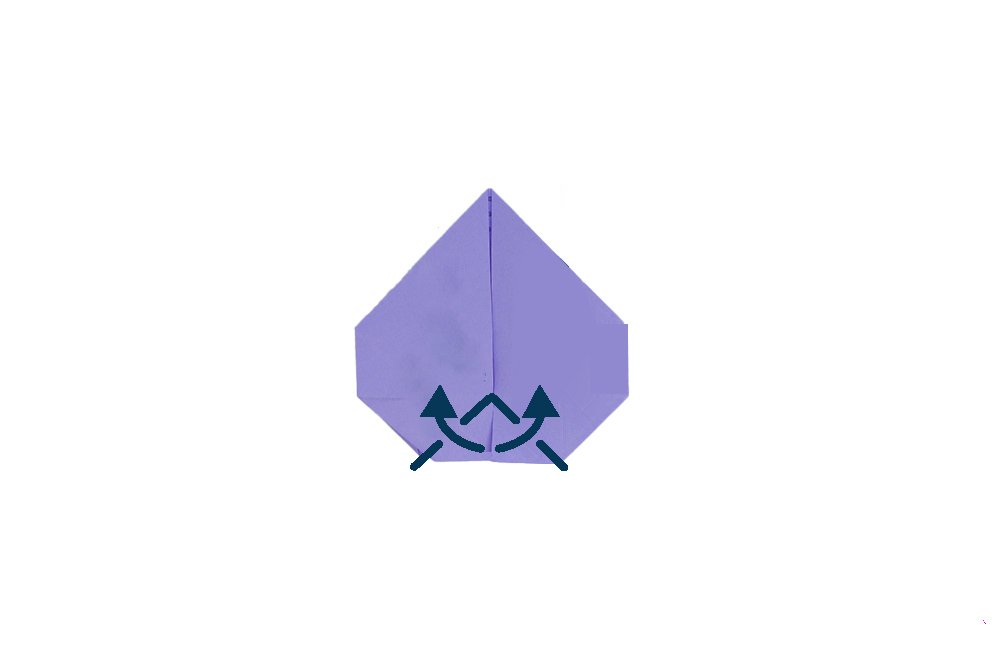
Diagonally fold the inner corners upwards to the creases you just made. Do the same on the back side.
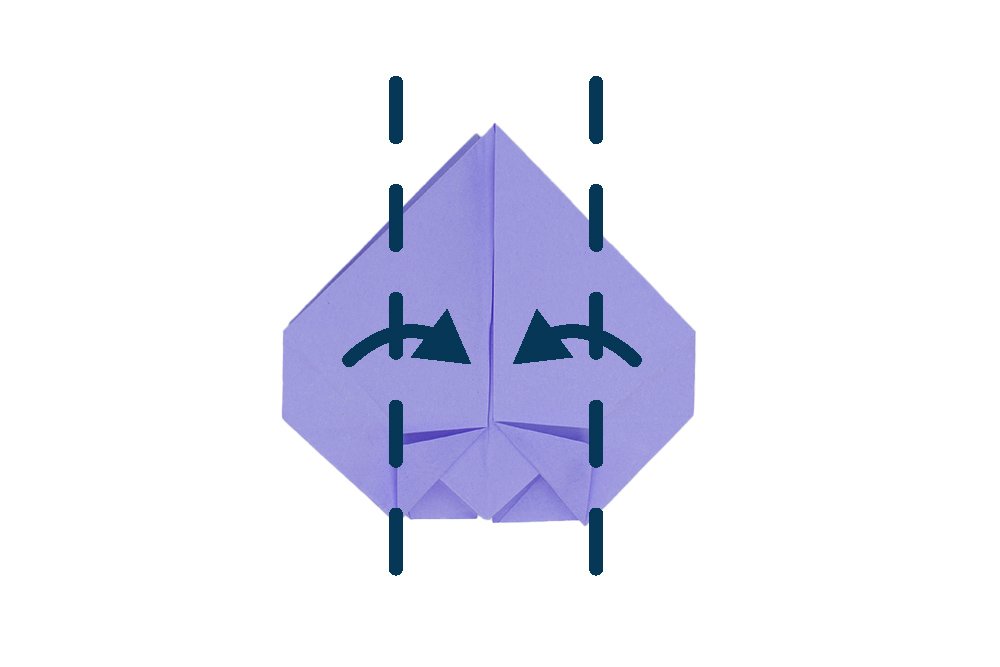
Fold the left and right side to the center.
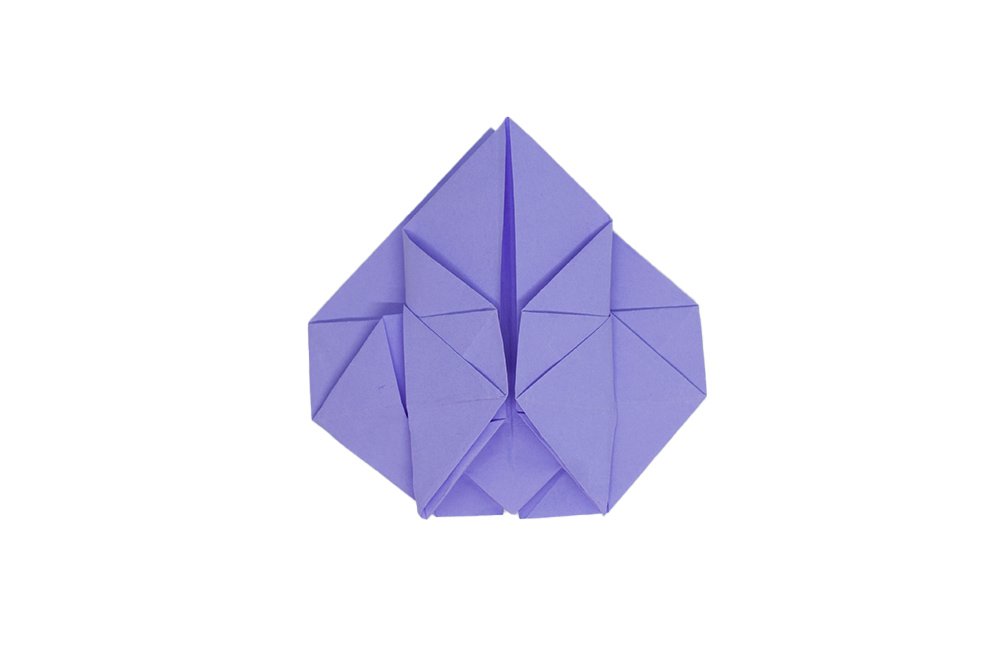
Do the same on the back side of the paper.
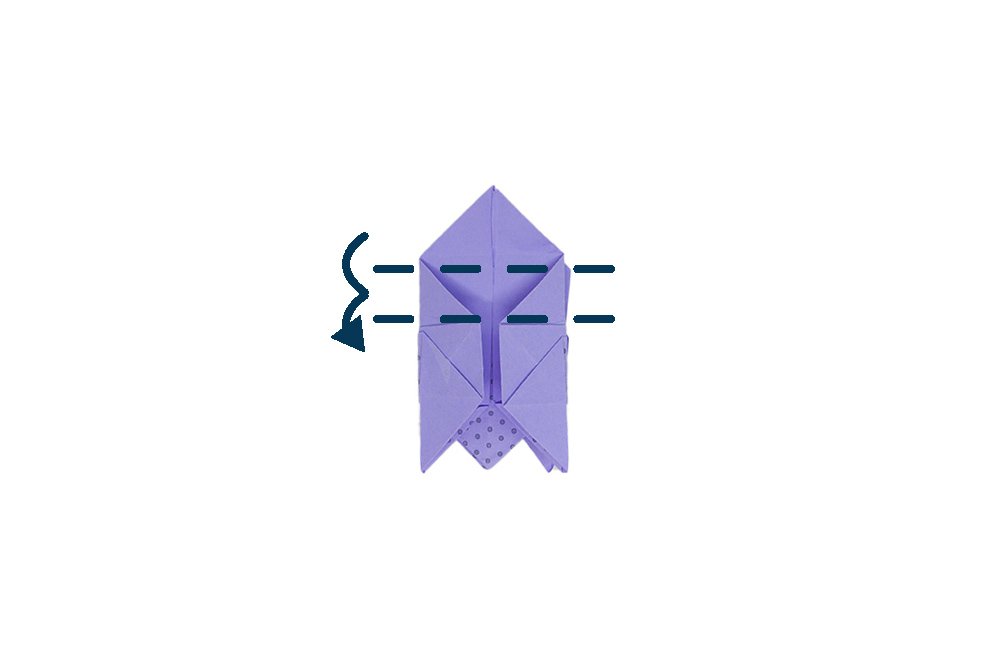
Double fold the top corner of the front layer. Repeat the same on the back side.
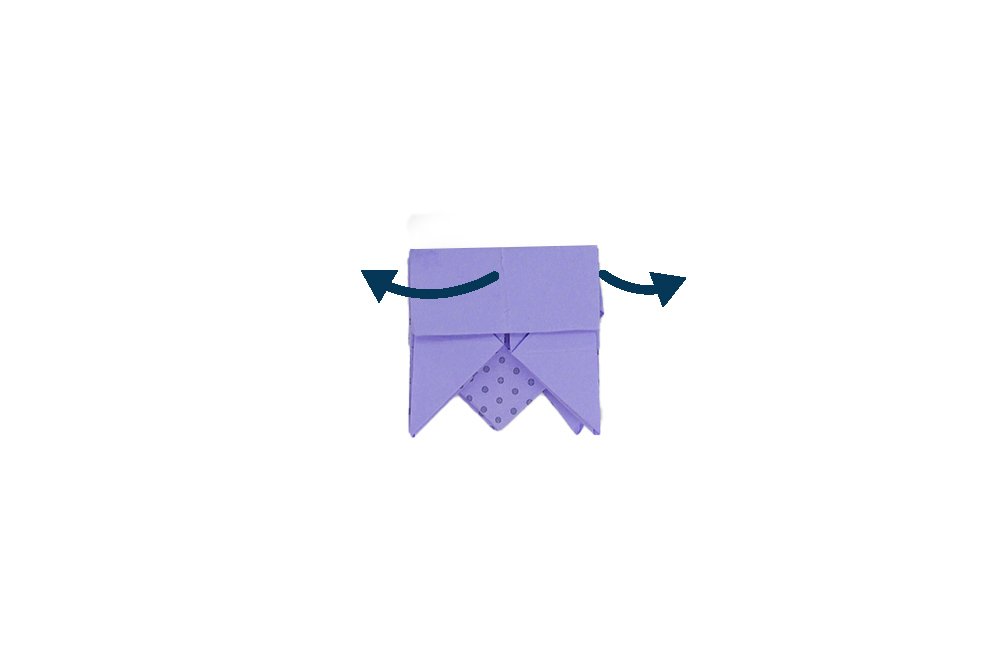
Almost done! Gently pull apart the front and back sides.
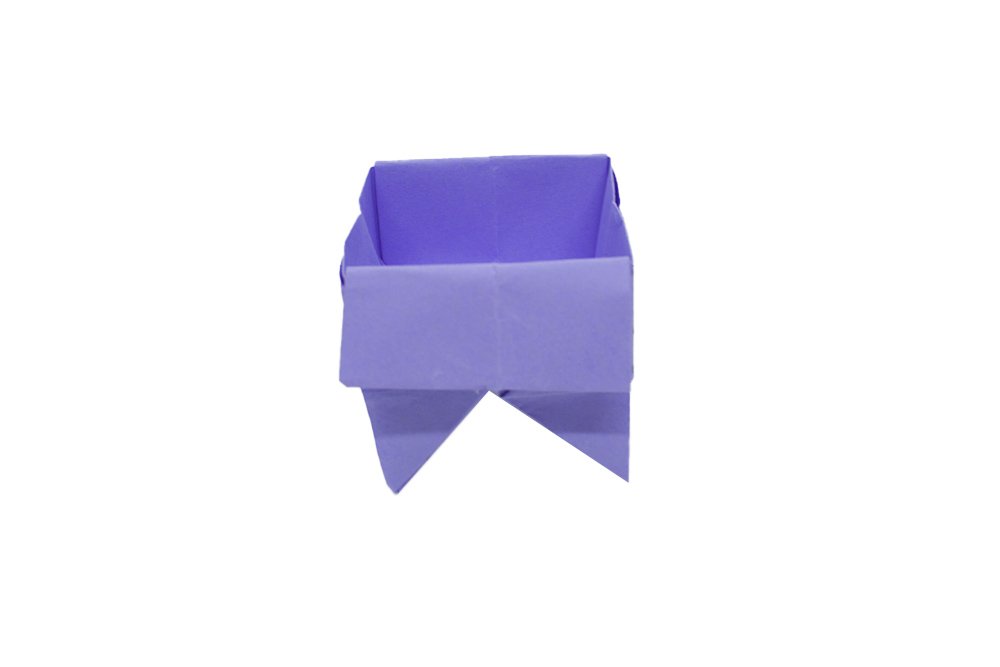
This is what your box should look like now.
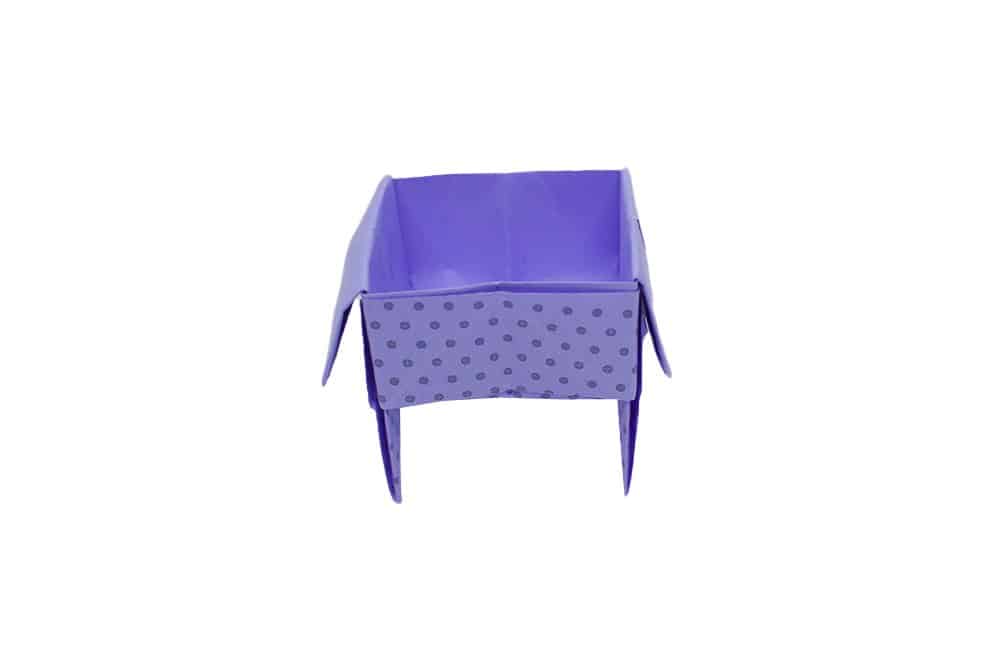
You can adjust the sides, or the lid, so that they flare out.
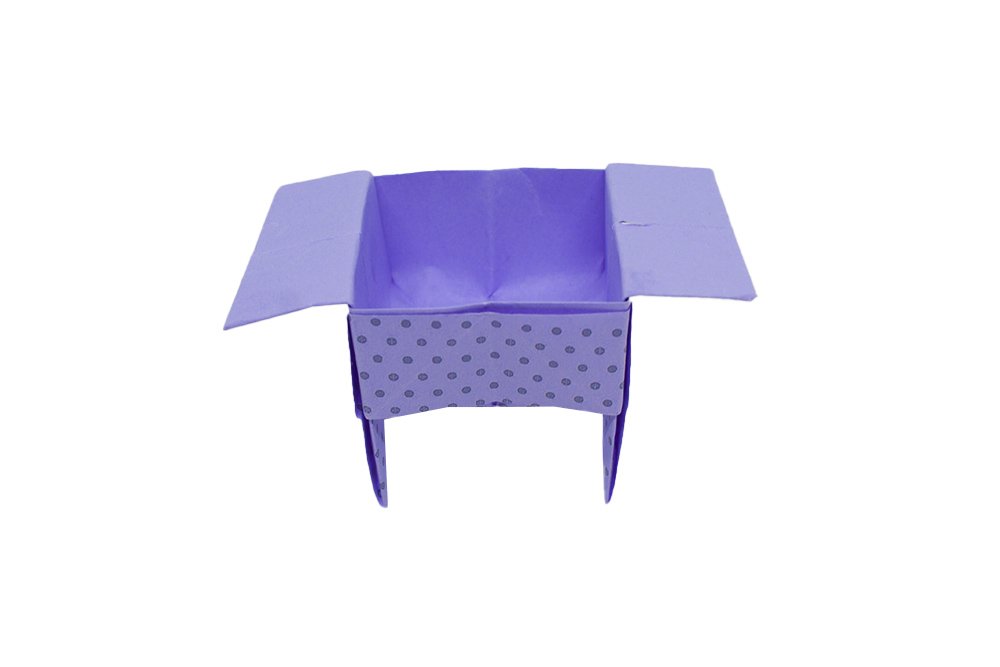
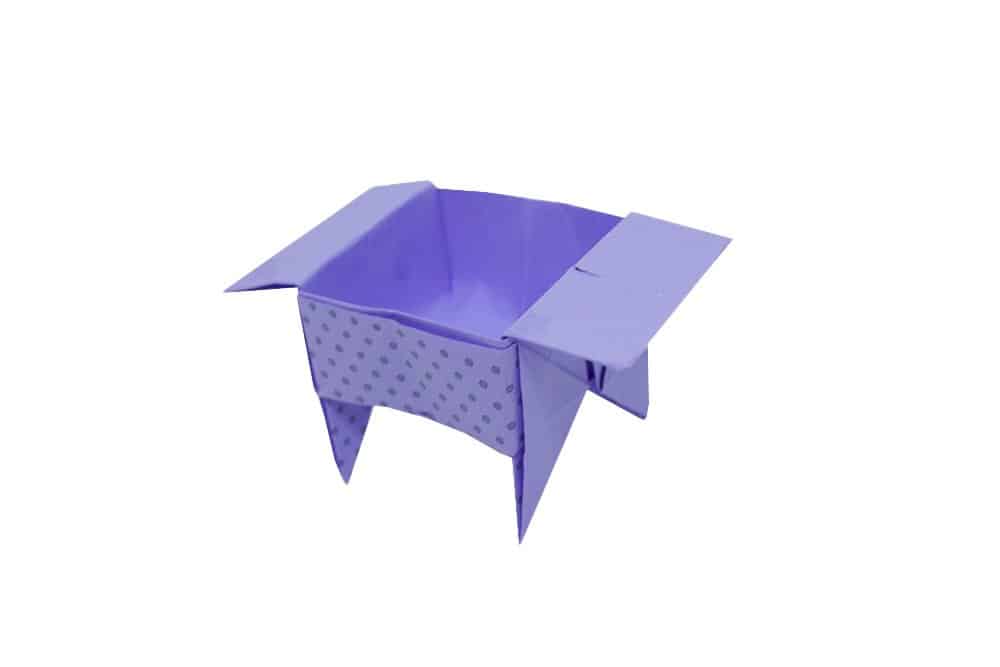
Your origami candy box is done! Now you have your own candy dish where you can store some sweets.
Extra Tips
- Make sure to follow the steps closely. Focus but don't forget to have fun.
- Do add some details to your origami cat once it's done.
- Make sure to make straight folds, and apply enough pressure all the way when folding.

