Introduction:
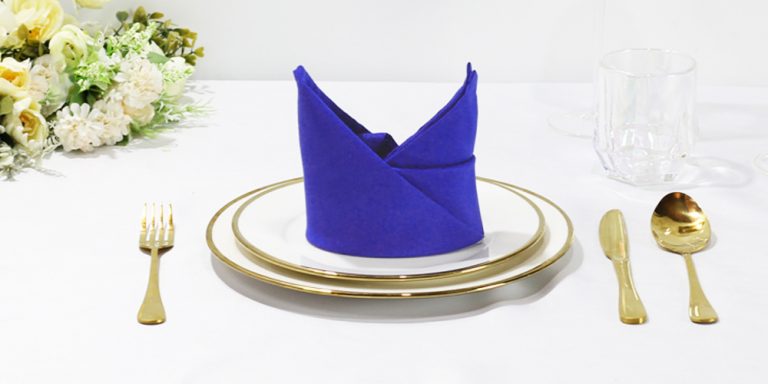
The bishop hat napkin fold is an elegant classic that fits perfectly on any table. These simple instructions for folding the napkin are suitable for both paper napkins and cloth napkins. The Bishop is practically an all-rounder and a good choice overall.
It’s easy and fast to make. And in terms of aesthetics, it doesn’t disappoint as well. It’s a simple standing napkin fold that’ll look good on the center of a plate. To begin mastering this fold, get a square napkin and read this entire guide.
Enjoy folding the bishop!
Make the base of the bishop hat napkin
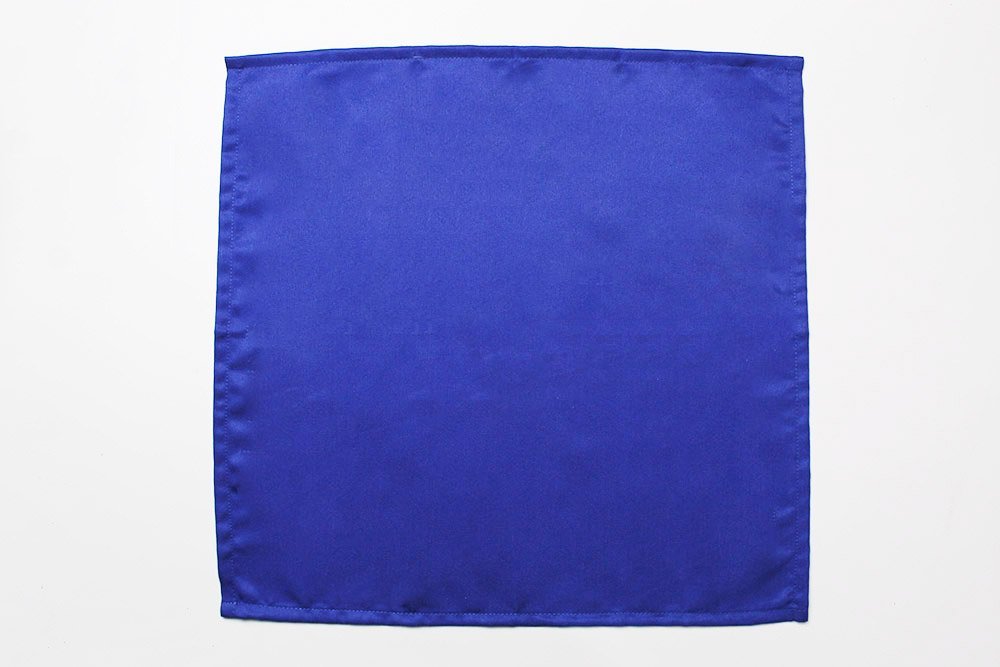
Lay the napkin flat in front you in a table you are comfortable working in.
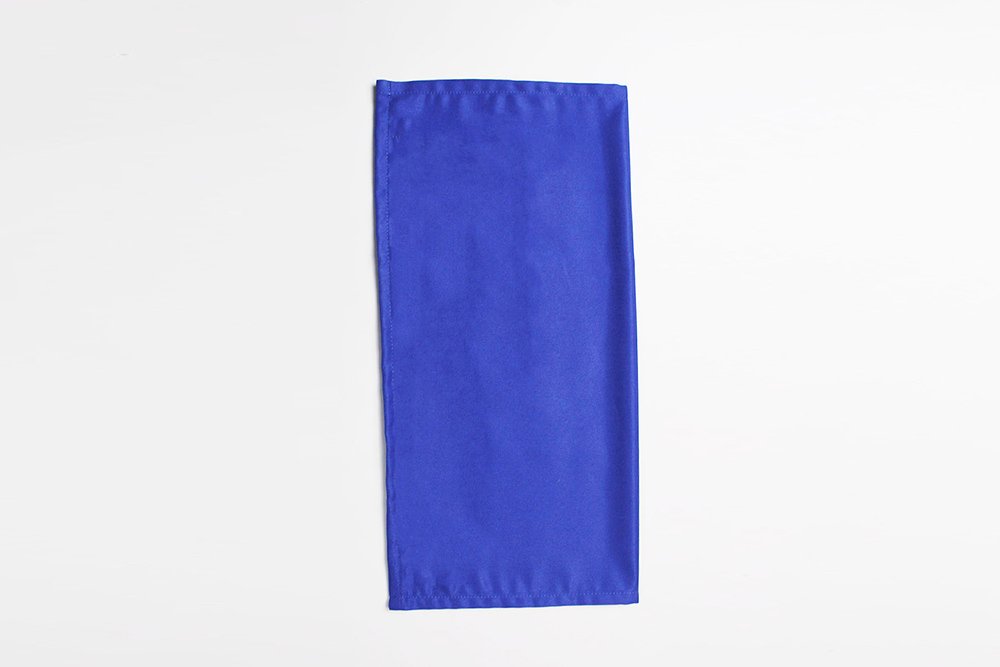
Fold the napkin lengthwise in half by bringing the right edge towards the left.
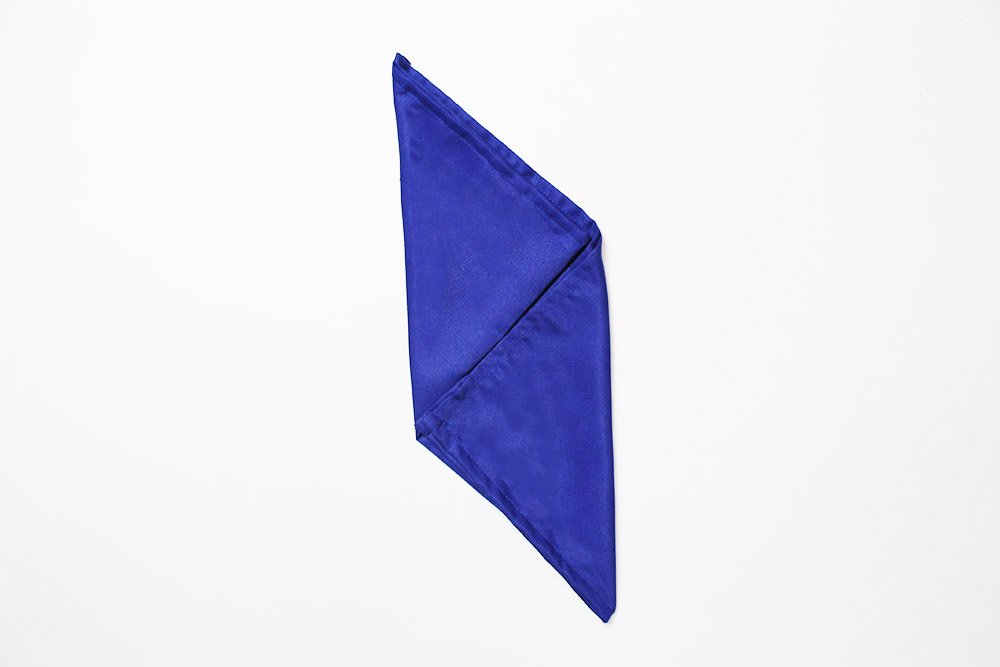
Make a diamond base by folding the bottom right corner to the left edge. Then, fold the top left corner to the right edge. Once folded, orientate it like the sample image above.
Shape the napkin into a bishop's hat
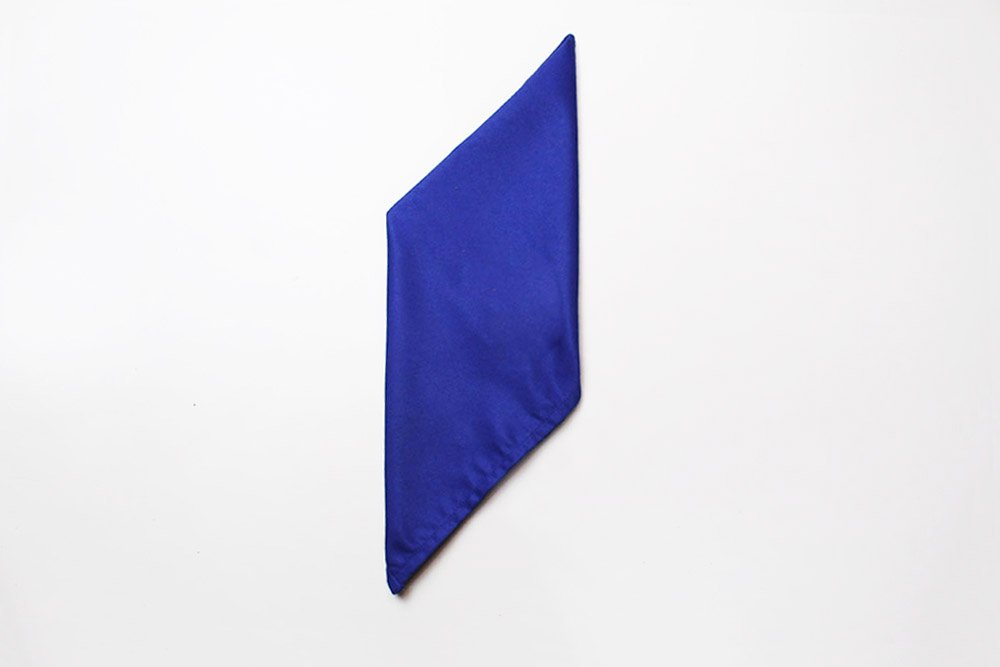
Flip the napkin over to the other side.
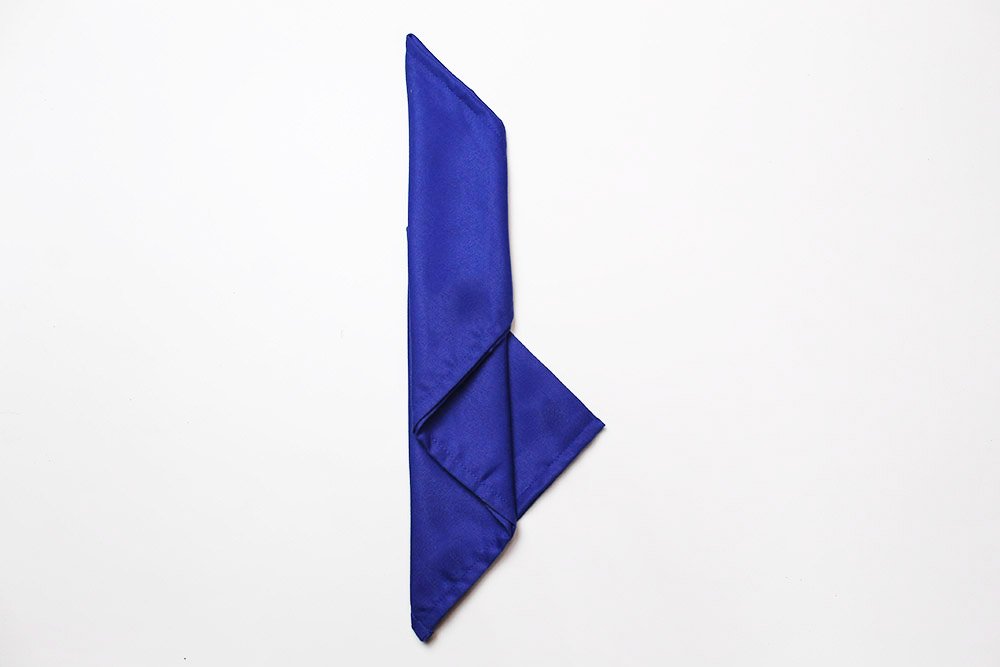
Bring the right edge of the top layer to the left.
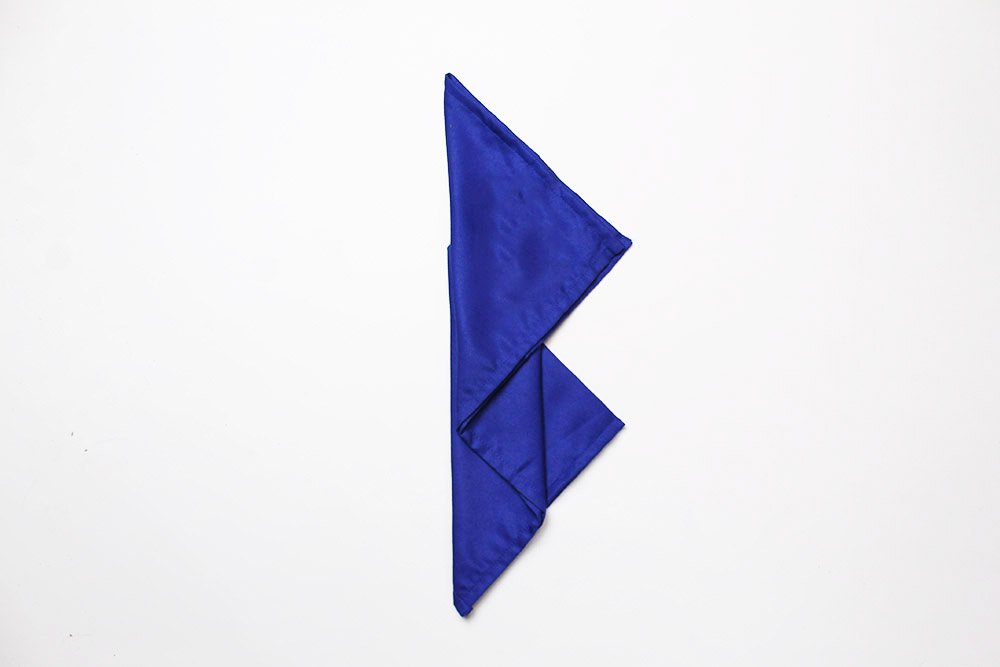
Unfold the top triangle flap. It should now look like the following image. This band could then be connected to make the bishop fold.
Connect the ends of the napkin to shape the hat
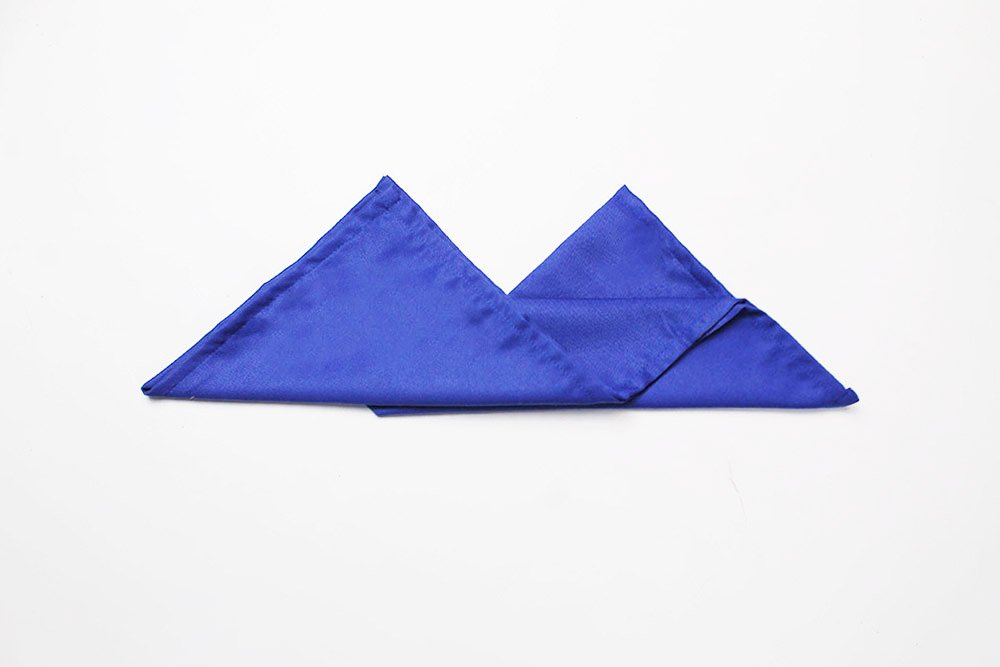
Rotate the napkin 90 degrees counterclockwise.
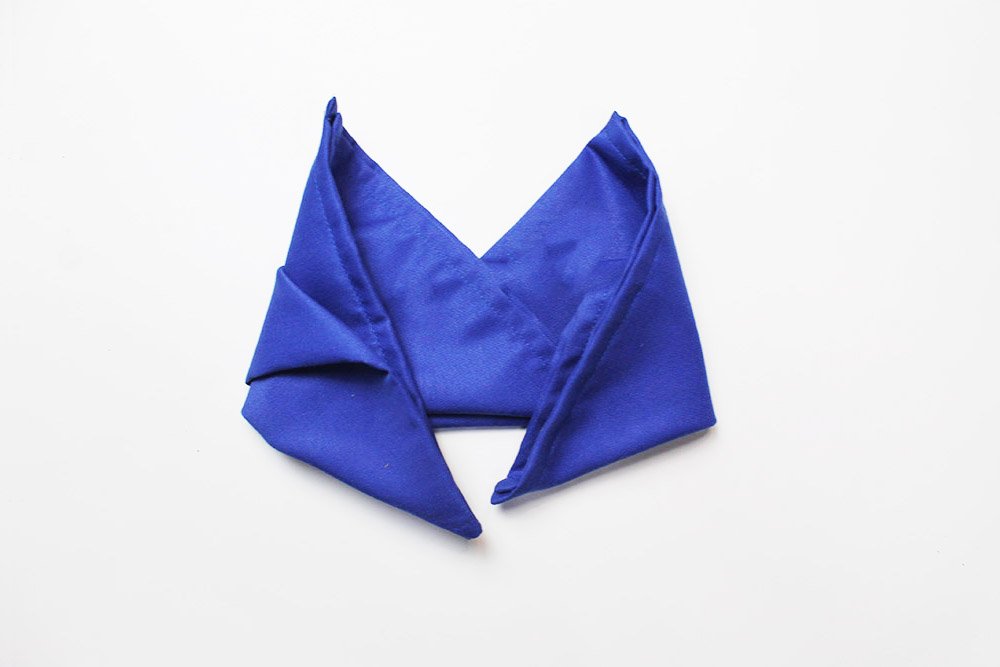
Shape it into a hat by inserting the left end to the inner pocket of the right end.
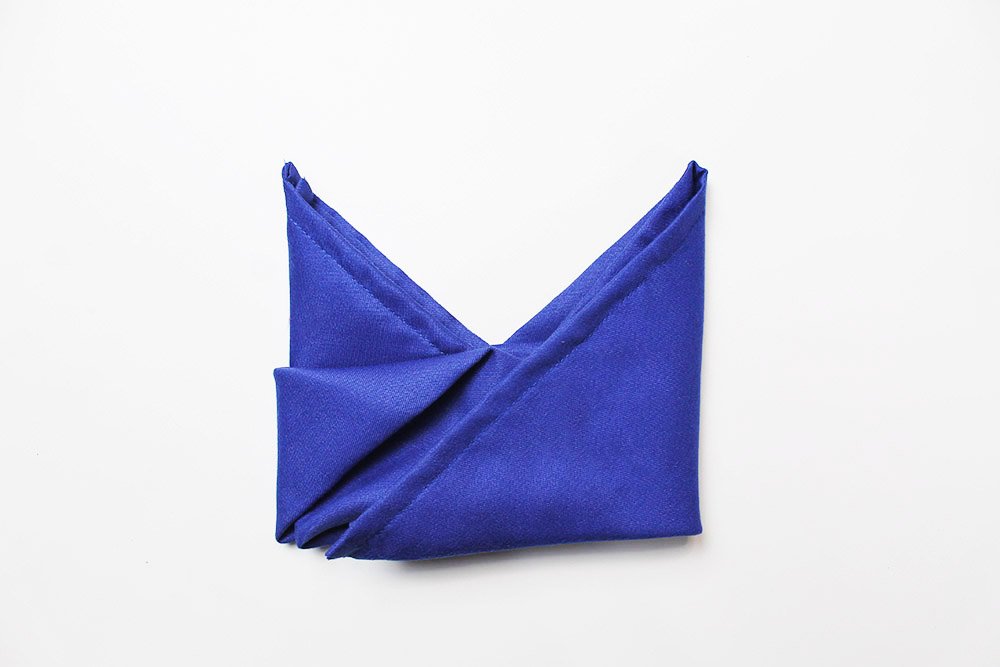
Once secured, flip it over to the other side. Congratulations! The bishop's hat napkin is done!
Extra Tips
- Ironing is an option you could try first. Starching is something you could also do to make the napkin stiffer.
- The Bishop napkin is usually placed at the center of the plate. You could make it stand upright like an actual 3D hat or lay it flat on the plate.
- A napkin fold is supposed to elevate your table setting so get your A-game on!

