Introduction:
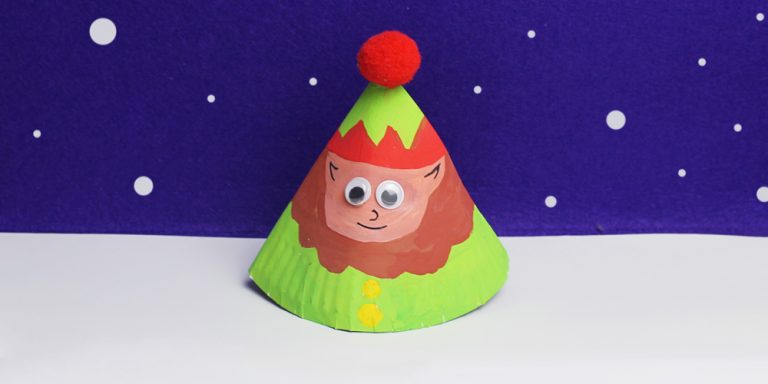
Making a paper plate elf hat is a craft you and the kids will enjoy especially if you like painting and drawing! This guide will show you all the steps required so that you can create a lovely hat that shows a happy elf. Plus, the tools and supplies needed are easy to find.
Now, don’t be misled – this is a hat craft for kids that features an elf. However, you can redesign this craft so that it could look different – maybe you’d want a Christmas or witch hat. You need an image in your head and creativity to create whatever hat craft you want!
Have fun!

Tools
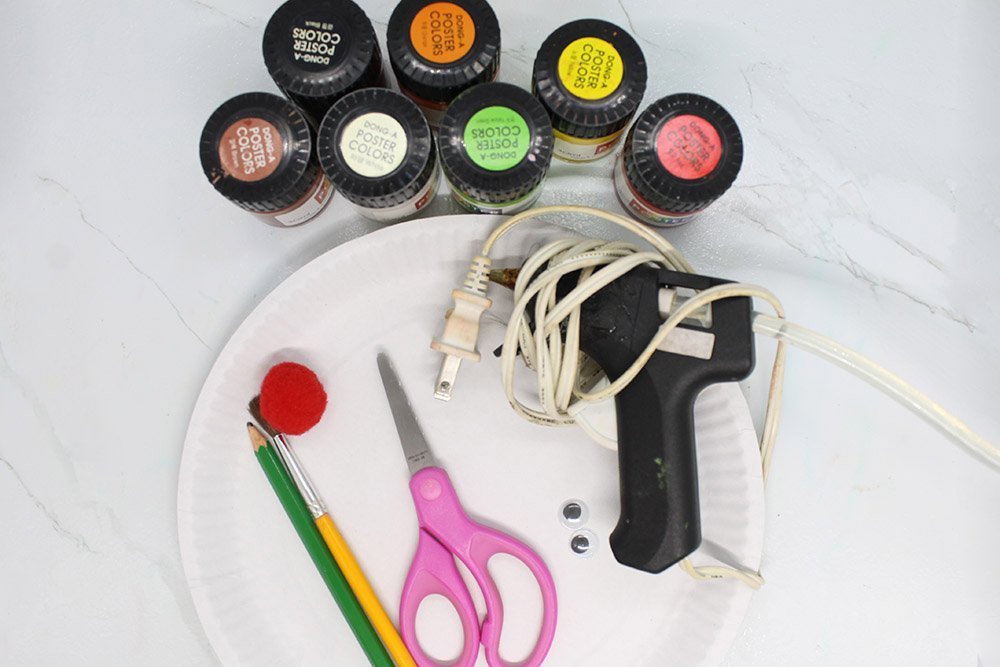
- Scissors
- Pencil
- Brush
- Glue gun
Supplies
- Paper plate
- Poster paint set
- Glue stick
- Googly eyes
- Pompom

Make a Hat Out of a Paper Plate
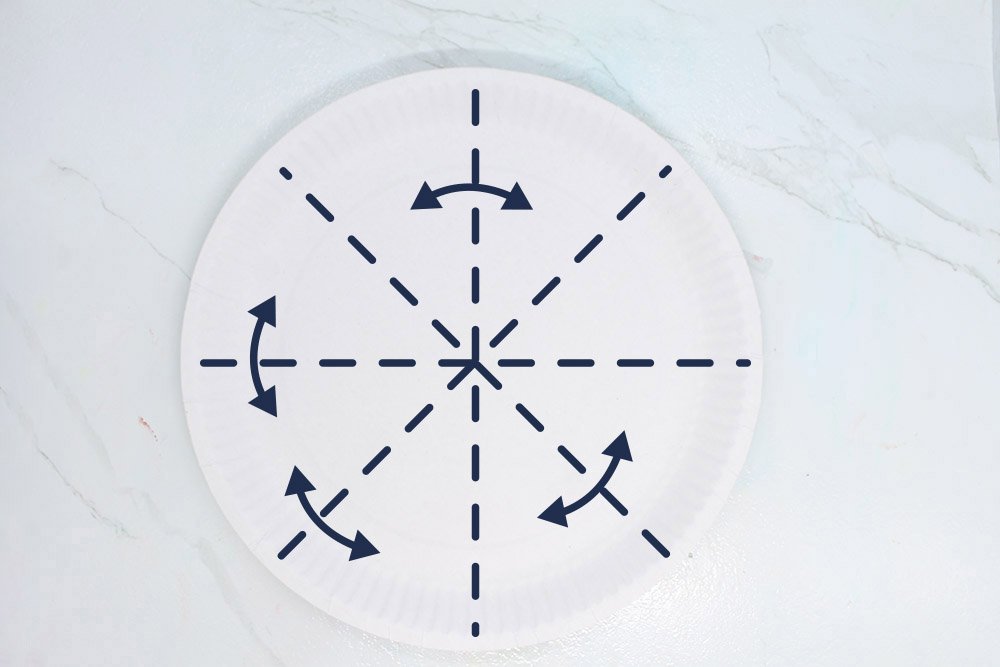
Divide the paper plate into eight equal parts and then remove 3 parts so that you could create a cone. The shape of the elf hat will be conical.
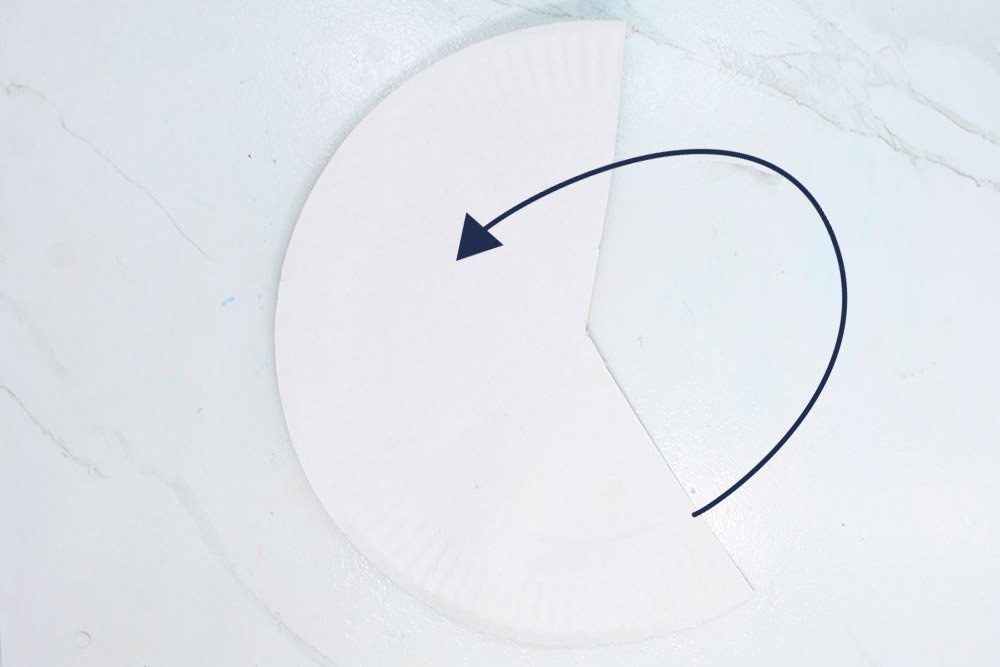
The next step is to fold the paper plate so that a cone will be formed. You want the white part of the paper plate to be exposed.
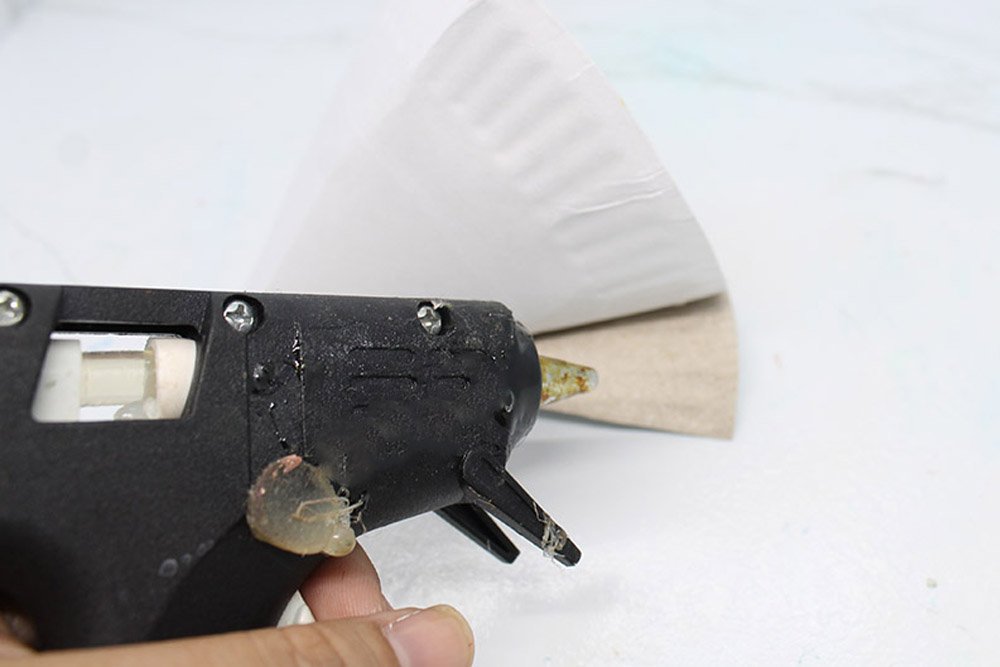
And then, with the use of a glue gun, secure the edges. Apply pressure until the glue hardens.
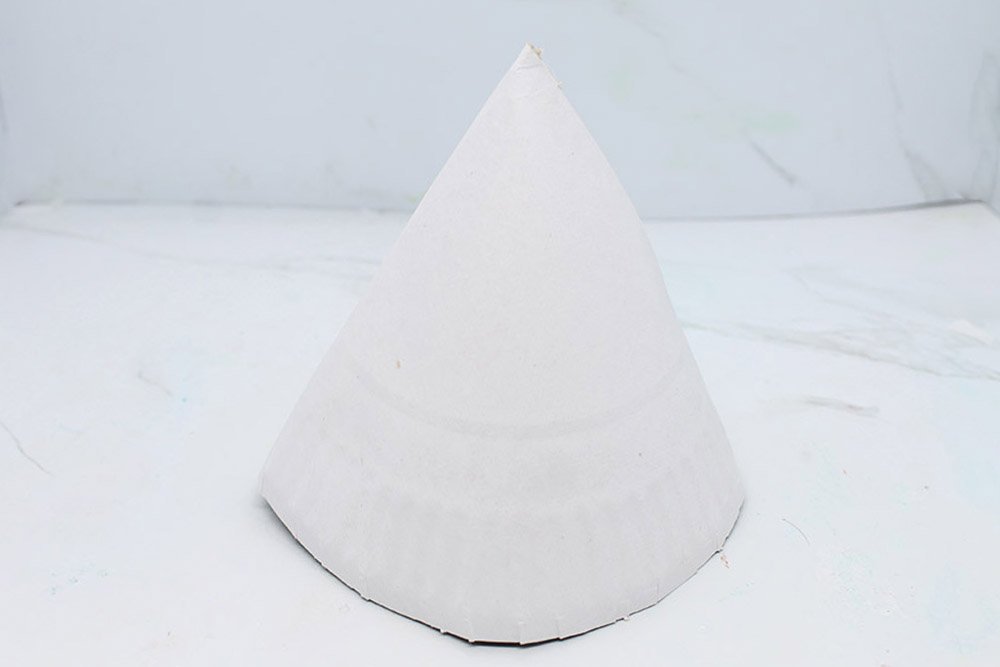
Make a few minor adjustments if needed. And your paper plate should look like the image above - good job!
Draw on the Hat
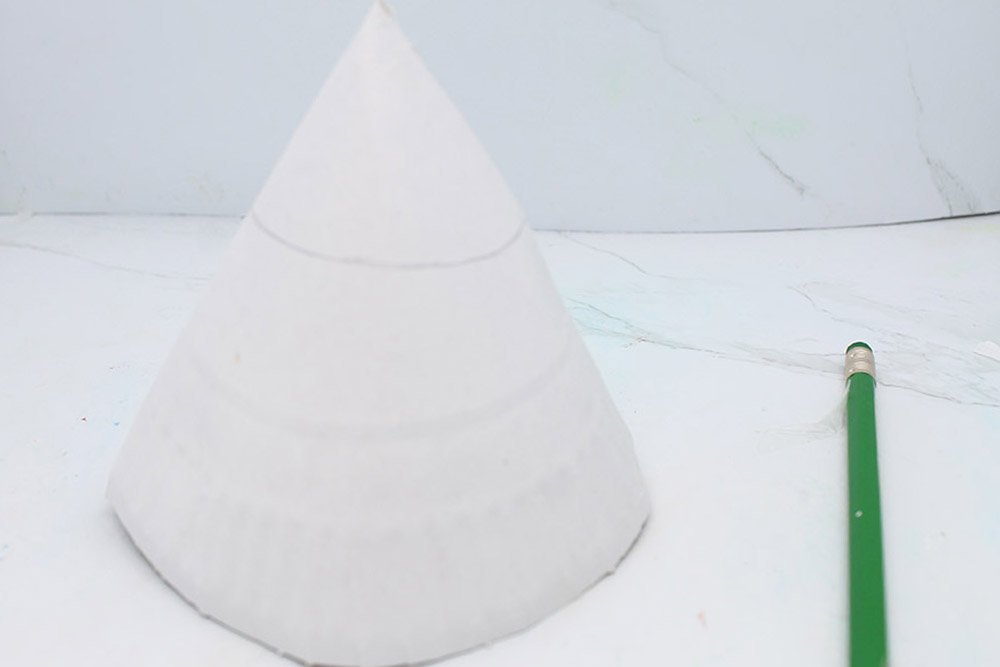
Draw a concave on the hat. Your immediate goal is to make the elf's face. You should model your drawing after the image above.
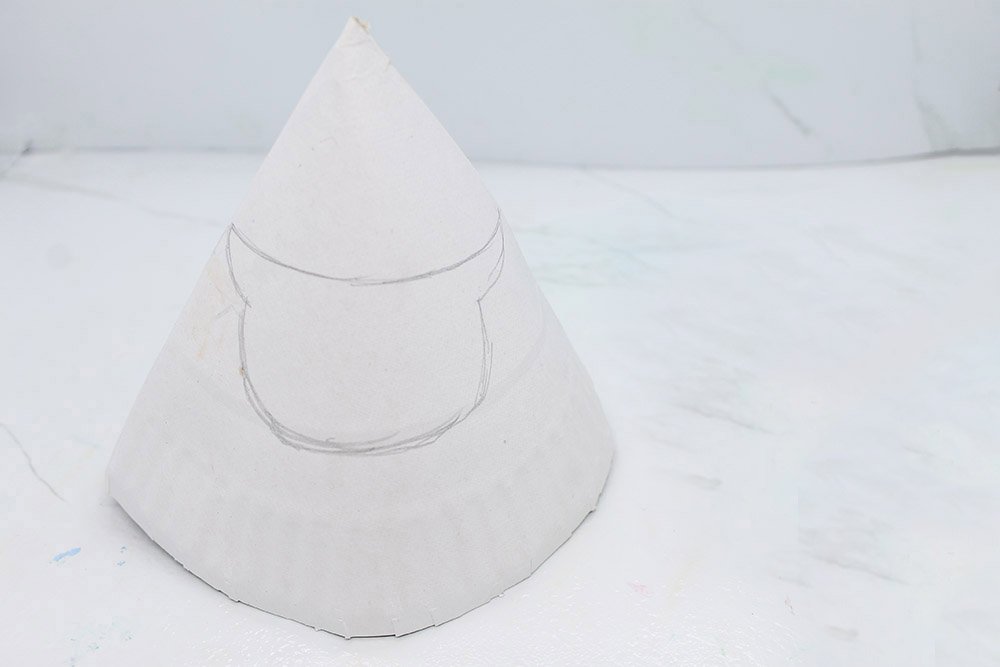
Add lines to the curve that you made so that you could create two horns and a face. The elf does not have horns though - at this moment it seems as if it does.
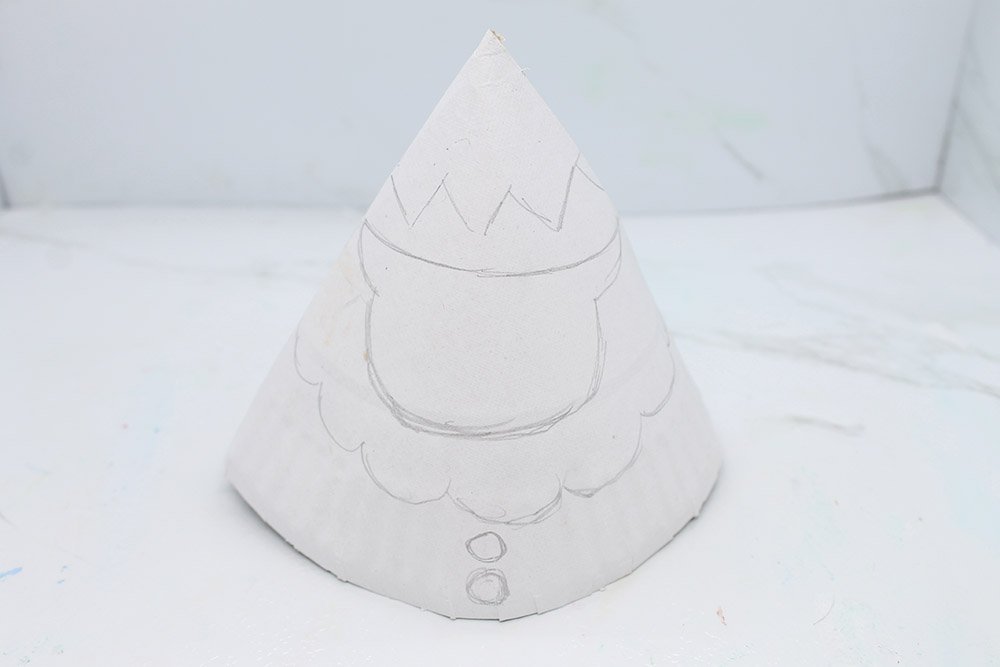
Next, what you want to create are 2 different lines. On the upper part create a zig-zag line and on the bottom part create wavy lines. Then draw two circles below the wavy lines.
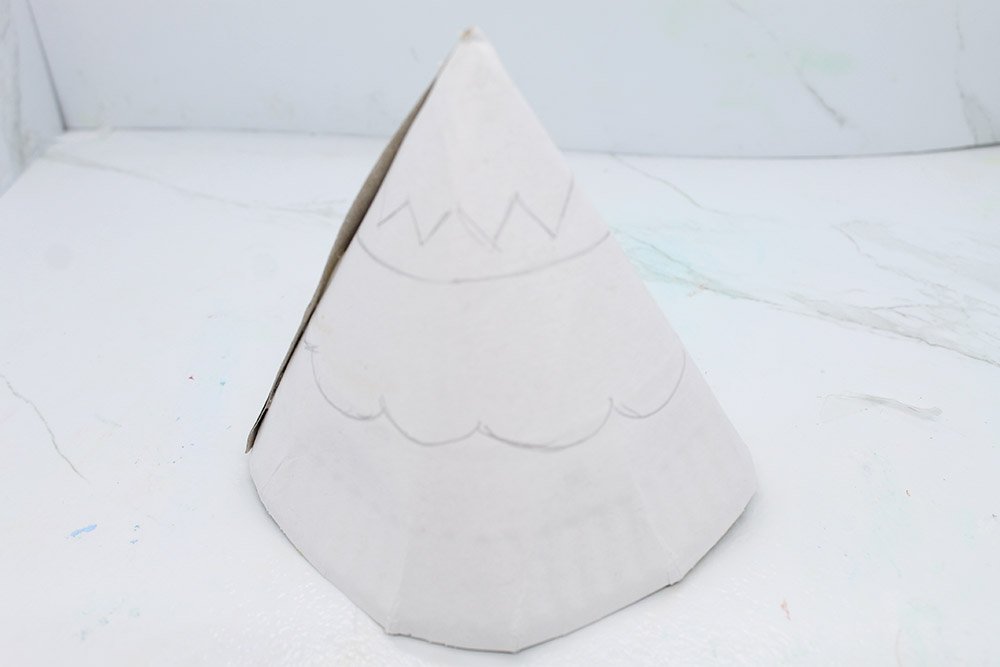
Make sure that the entire part of the hat has zig-zag lines, a straight line, and a wavy line. Great! Now it's time to move to the next step.
Paint the Paper Plate Hat
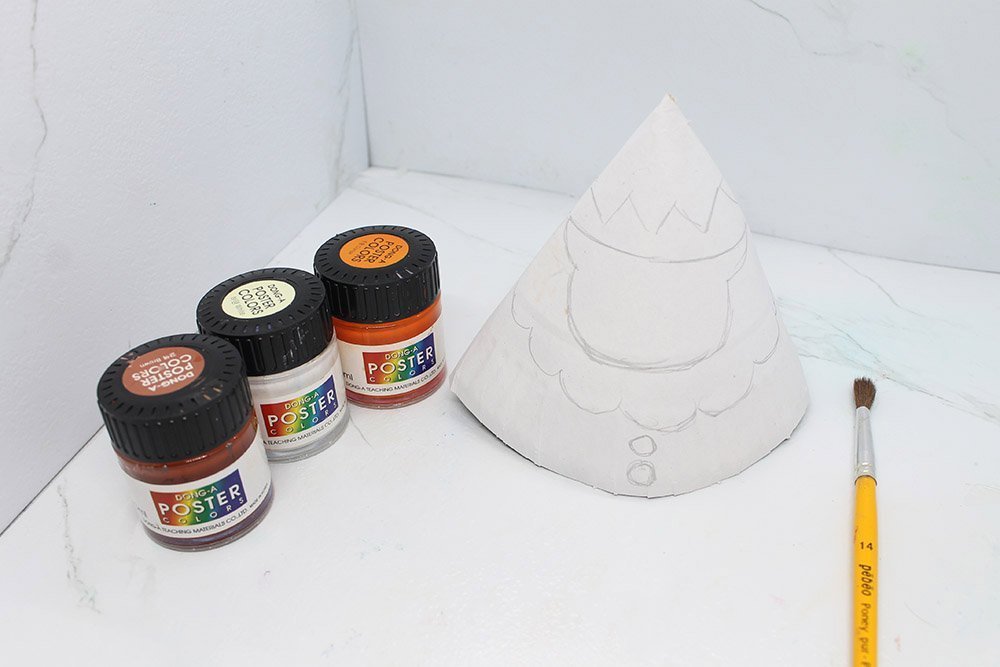
Get your poster paints and a brush because you will be painting the hat. Remember that you could choose your own colors for this step.
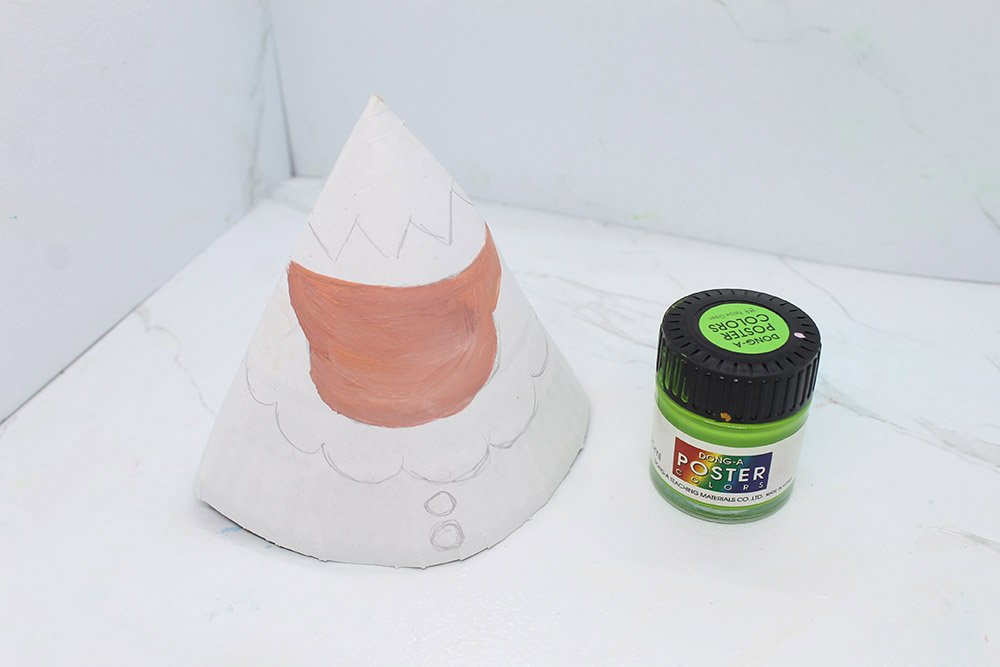
Paint the face brown. Make sure to apply the paint evenly.
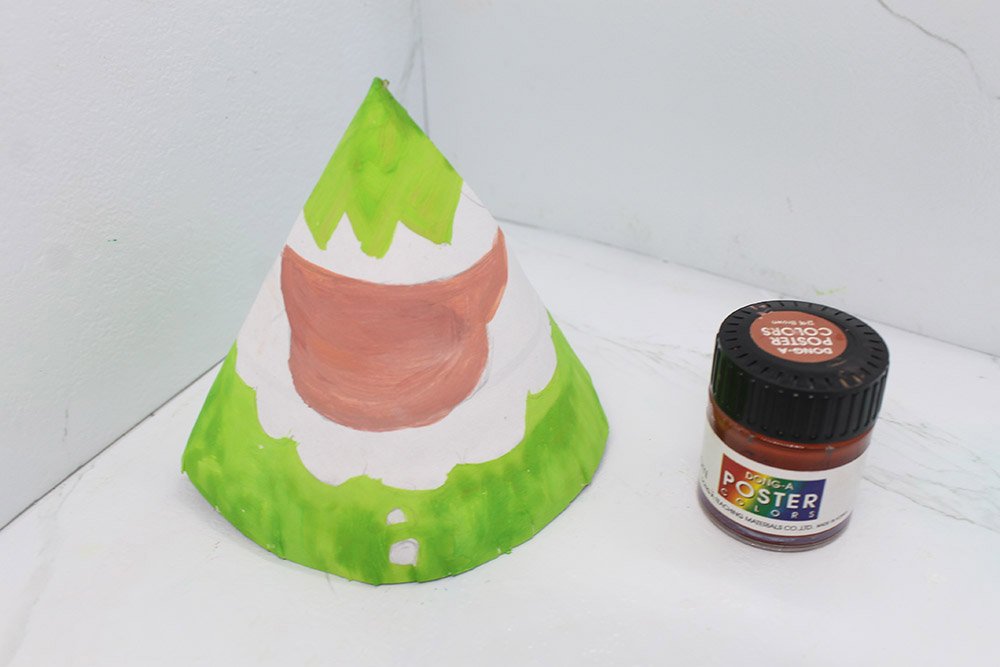
Then paint the top and bottom parts of the cone green.
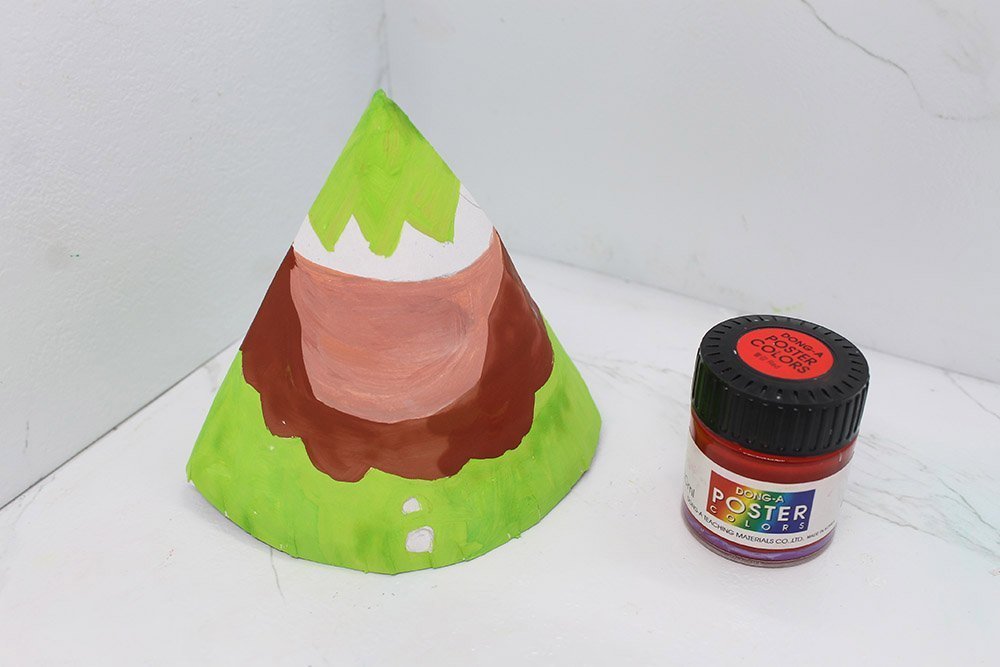
The space between the face and bottom green part should then be painted dark brown.
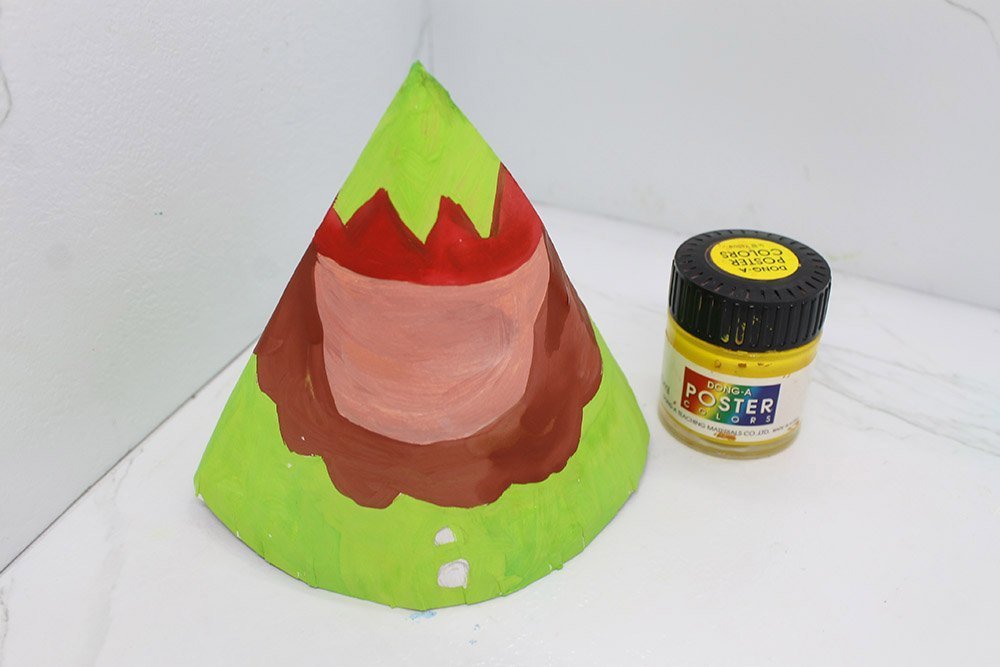
Paint red the space between the upper green part and the face.
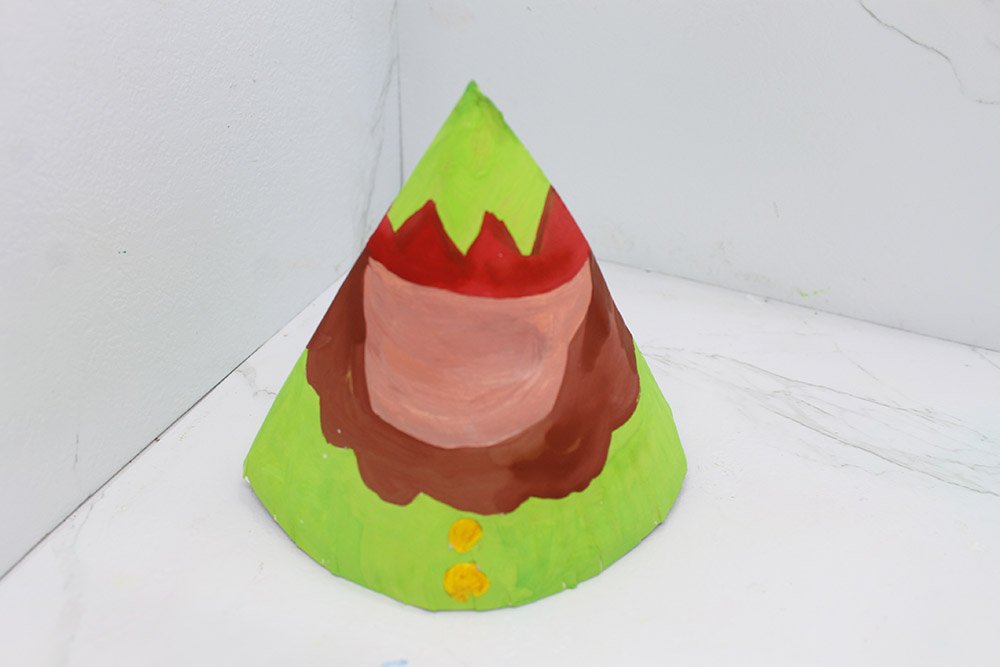
Lastly, paint the two circles yellow. Fantastic! What you need to do next is to add a few details only.
Complete the Face and Add a Pompom
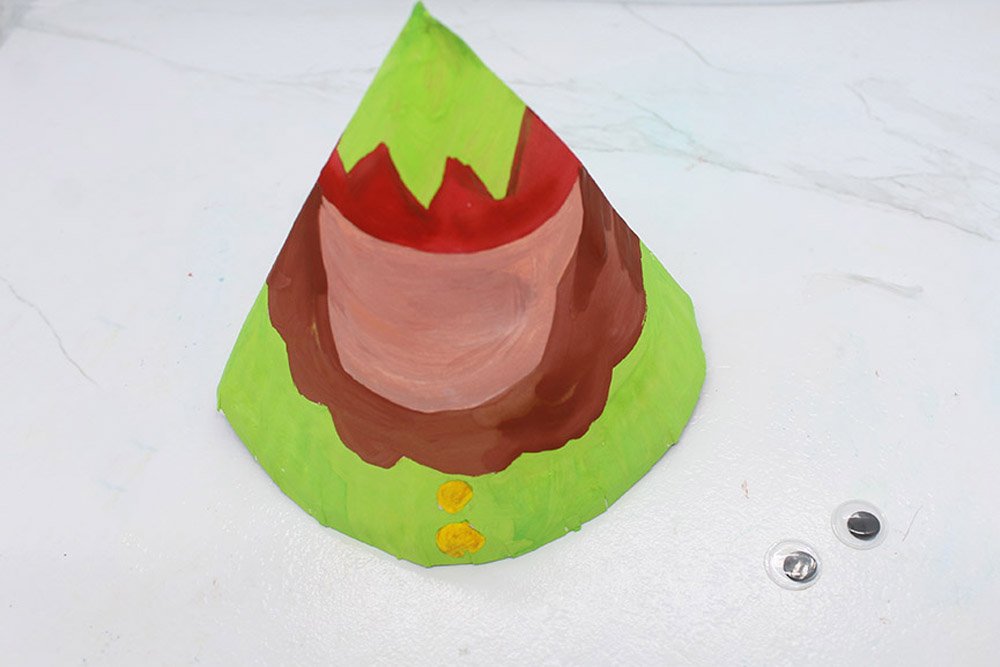
This paper plate elf is almost done. But there are still a few last steps that need to be done. Get your googly eyes.
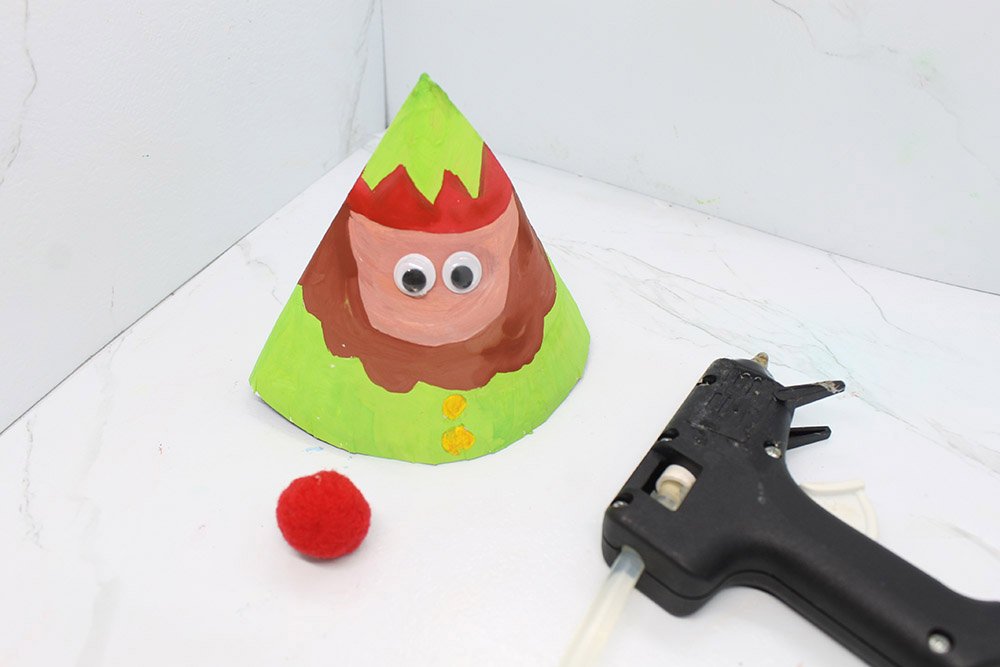
Then use the glue gun to attach the googly eyes to the face of the elf. The face is not complete yet. Also, get the pompom ball.
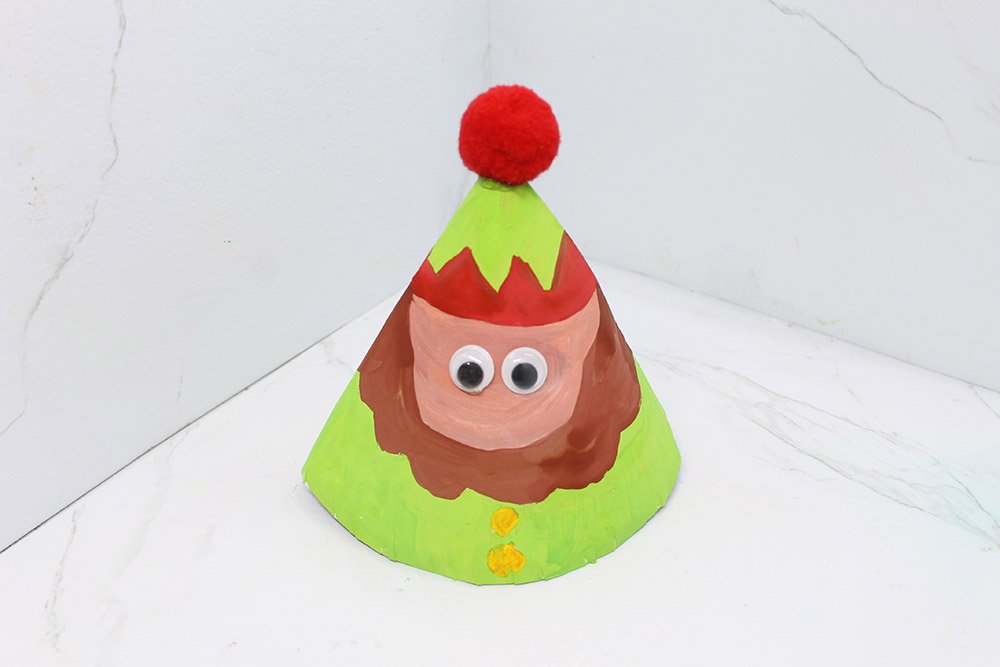
Then attach it to the point of the paper plate elf hat. Cool, right?
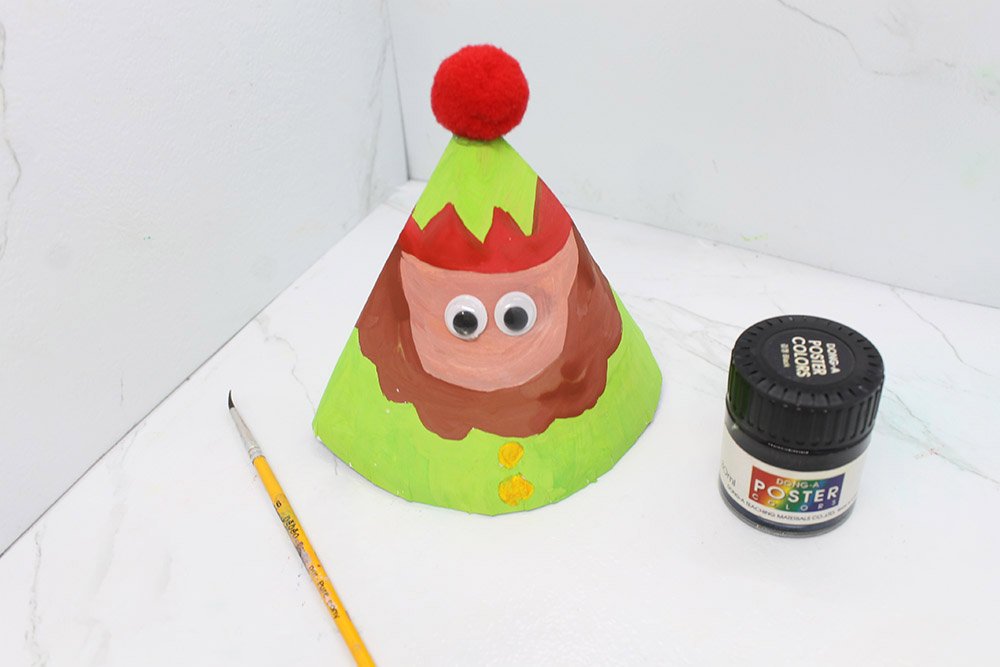
Get your black paint and brush. The face still needs some details!
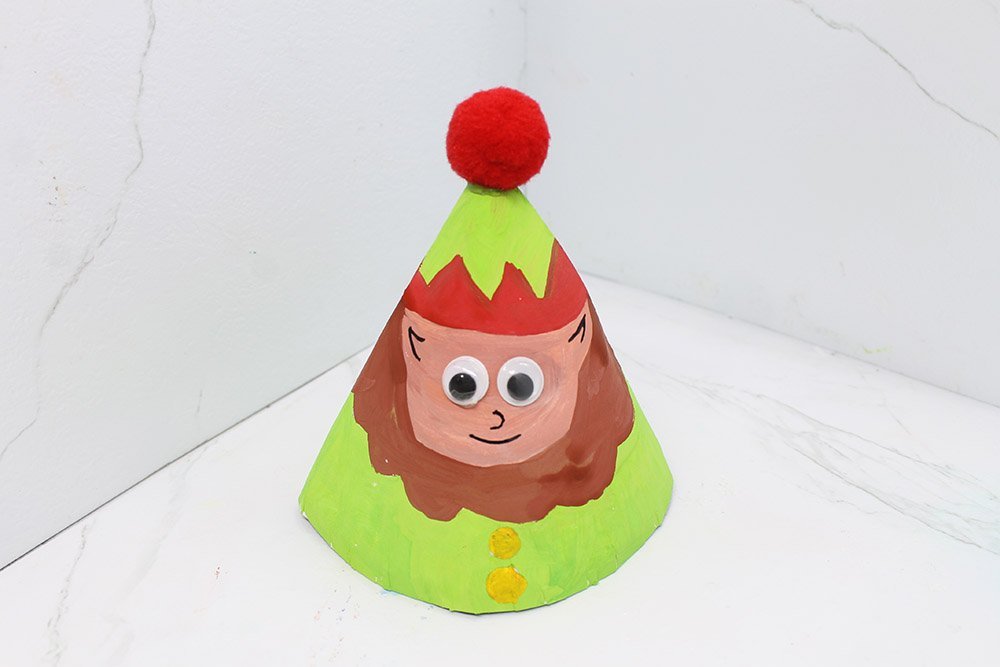
And go make the nose, ears, and mouth using the brush. After making the face of the elf, you are done with the craft. Congratulations!
For more cool crafts for kids, check out our suggested articles below. And don't forget to drop a comment.
Extra Tips
- You can create your drawings and color schemes! Be creative and more importantly have fun.
- You can also add your own props too. What fun stuff can you add to make the paper plate elf look unique?
- Kids should be supervised when using the glue gun and scissors. And the young kids should not be using a glue gun. And when it comes to scissors, they should be trained first before they start using scissors.


