Introduction:
A classic window star for Christmas! This poinsettia leaf makes a great Christmas decoration in any room. You can make this décor with any color besides red so that it could be an ornament for all seasons. The star is made of simple colored paper and has a beautiful pattern due to the many creases and folds. Now let’s start folding!
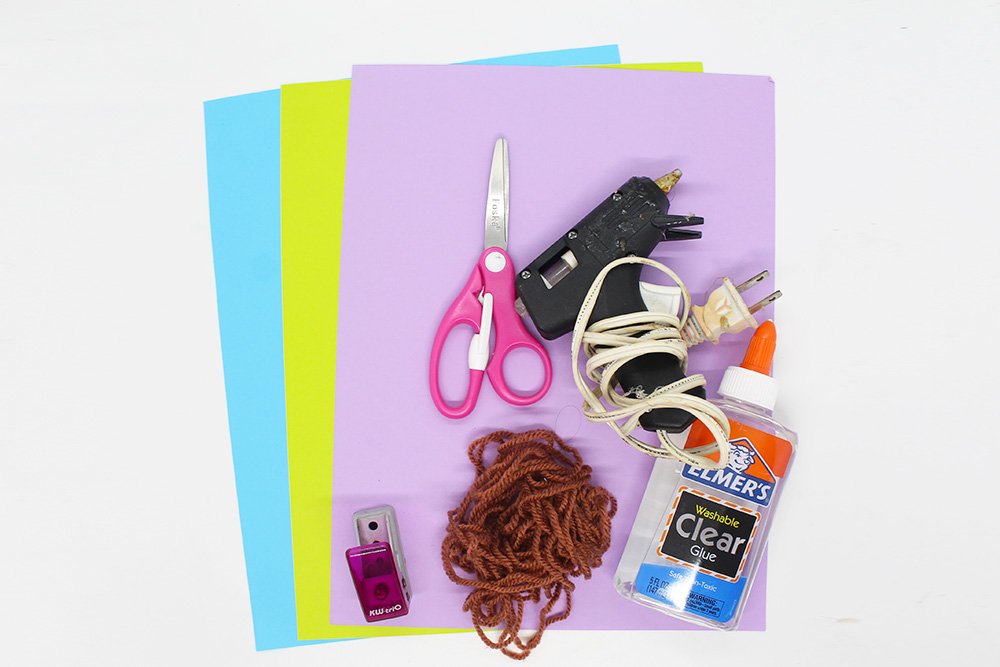
You’ll also need glue and scissors, but these things are all you’ll need aside from the paper. It’s easy and fun to make, and we encourage you to try displaying it during the Holiday season.
Enjoy making your Christmas window clings!

Tools
- Scissors
Supplies
- Colored Paper (red)
- Glue Stick

Make Nine Small Rectangles
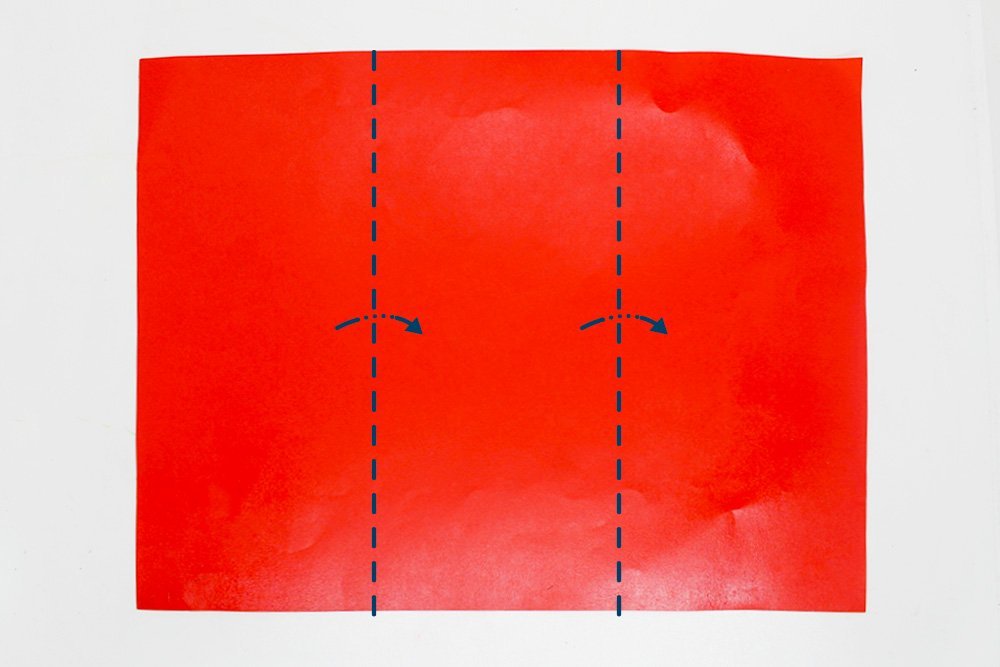
The firs objective is to make nine small rectangles out of your chosen paper. Orient your paper in landscape position then divide it into three equal parts. Fold and unfold along the lines shown in the image above.
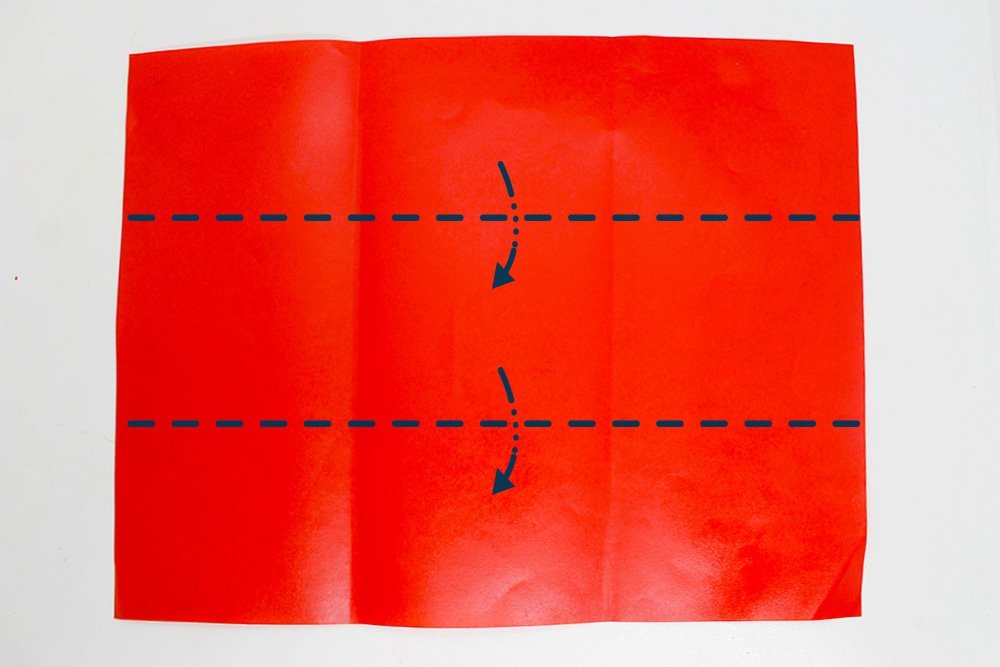
Then divide it again but this time you will make horizontal folds. You are making important creases that will help you later!
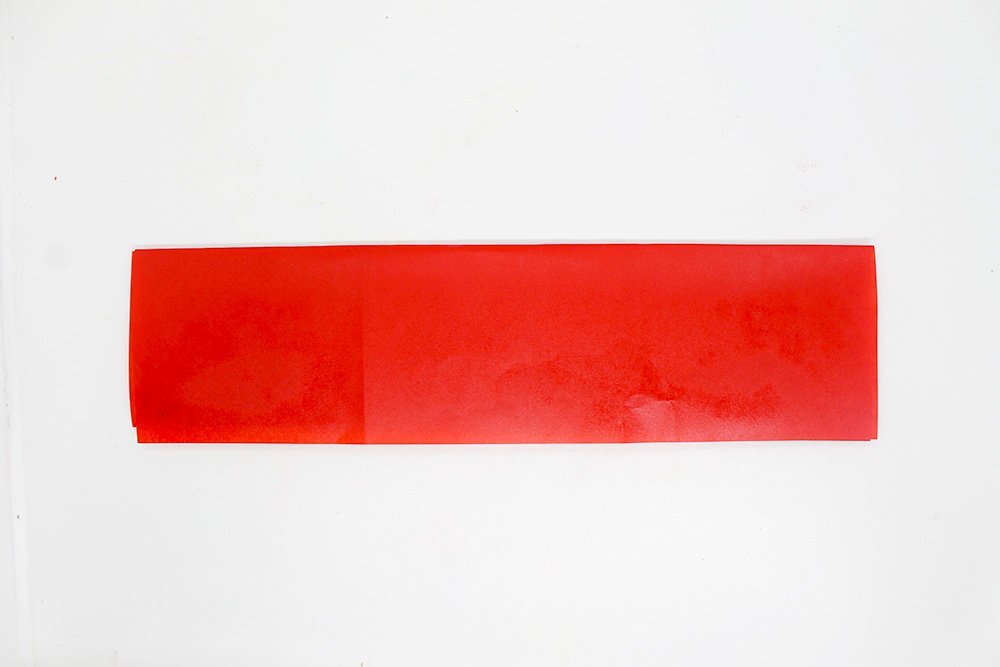
Fold the paper horizontally twice, and you should have something similar to the image above.

Unfold the paper and get your scissors. You now have nine equal rectangles which you must all cut out from the paper. The crease lines make it easier to cut them out. For this activity, you will only be needing 8 pieces. The remaining piece is just an extra, in case you made a mistake or one of the papers got ripped.
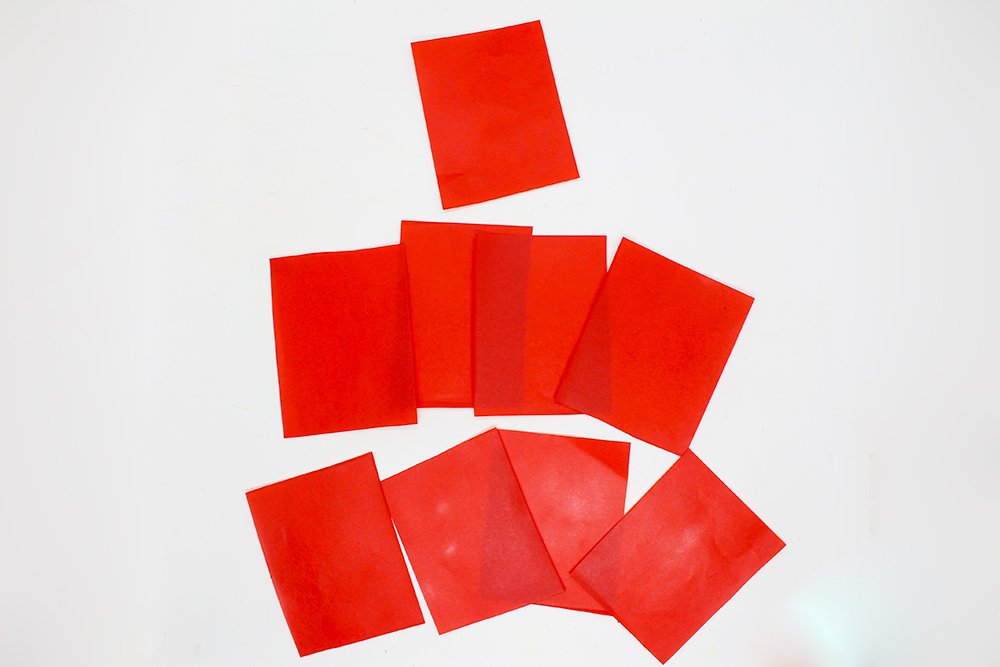
Cut the paper into nine equal parts. It's so much easier to do this with the crease marks in place. Great job so far! Now it's time to fold.
Make the Points of the Star
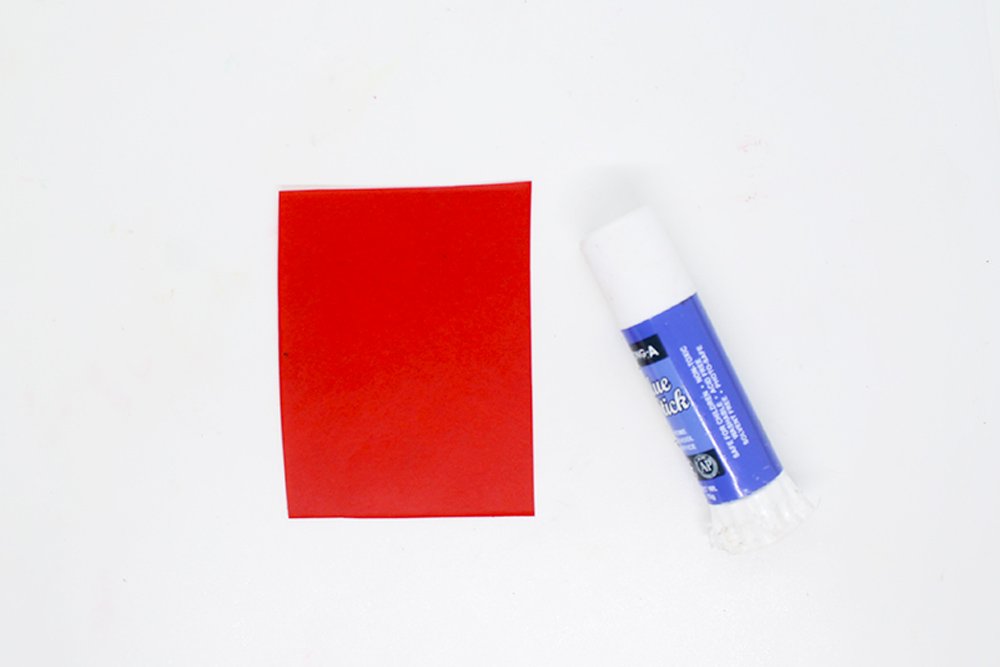
Get your glue and one of the rectangular strips. You will be making a part of the star. In this activity, you will fold the eight strips then combine them to form a star.
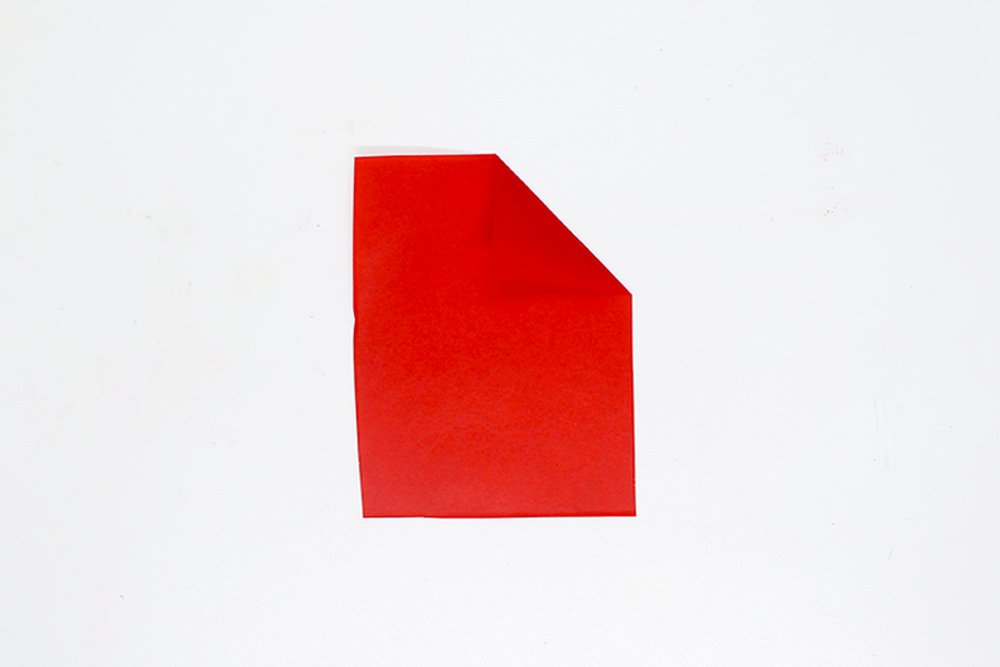
Fold the right corner towards the middle.
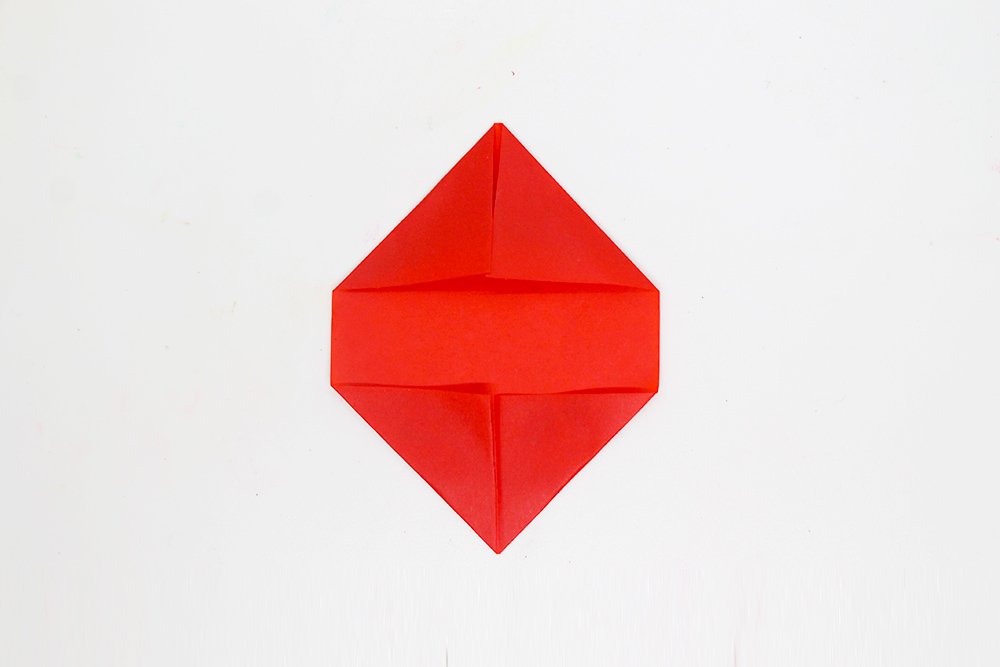
Then fold the remaining corners towards the middle. You can actually start to use glue at this point but if you do, do it lightly.
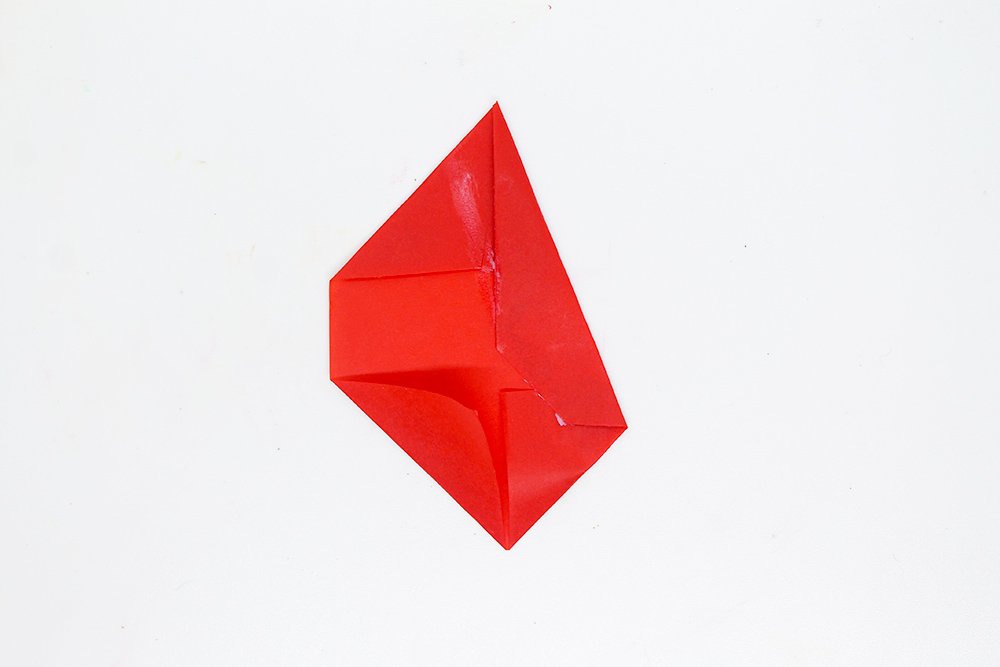
Next, apply some glue into the paper then diagonally fold the right edge. You want your parts tp retain its shape and the glue will help in that regard.
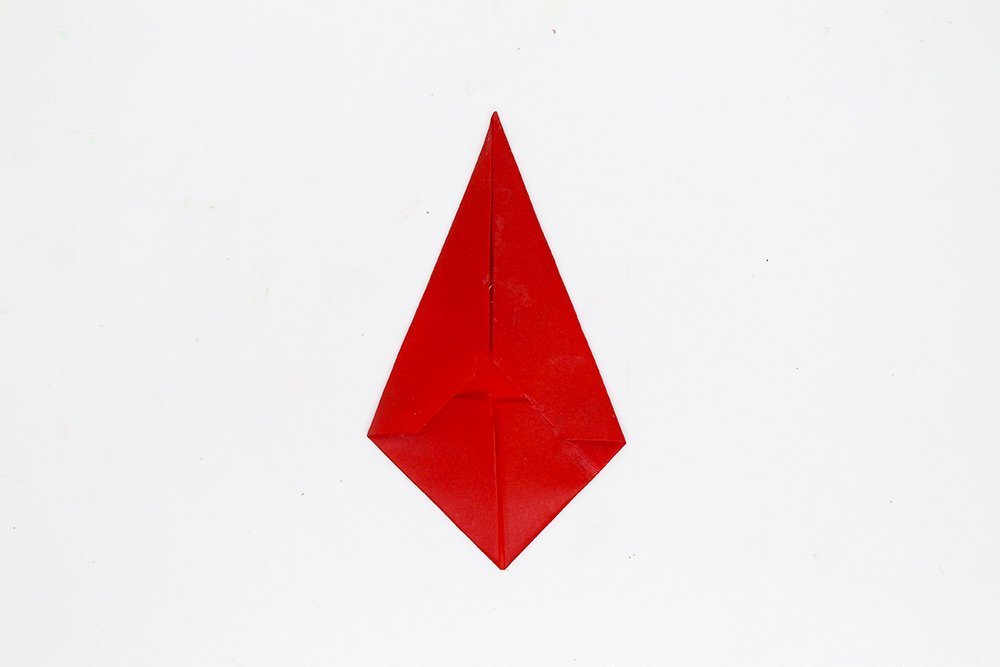
Do the same for the left edge and make sure you secure this side with glue as well. Good job! Now for the next step, you'll have to make seven other star parts.
Bring the Pieces Together
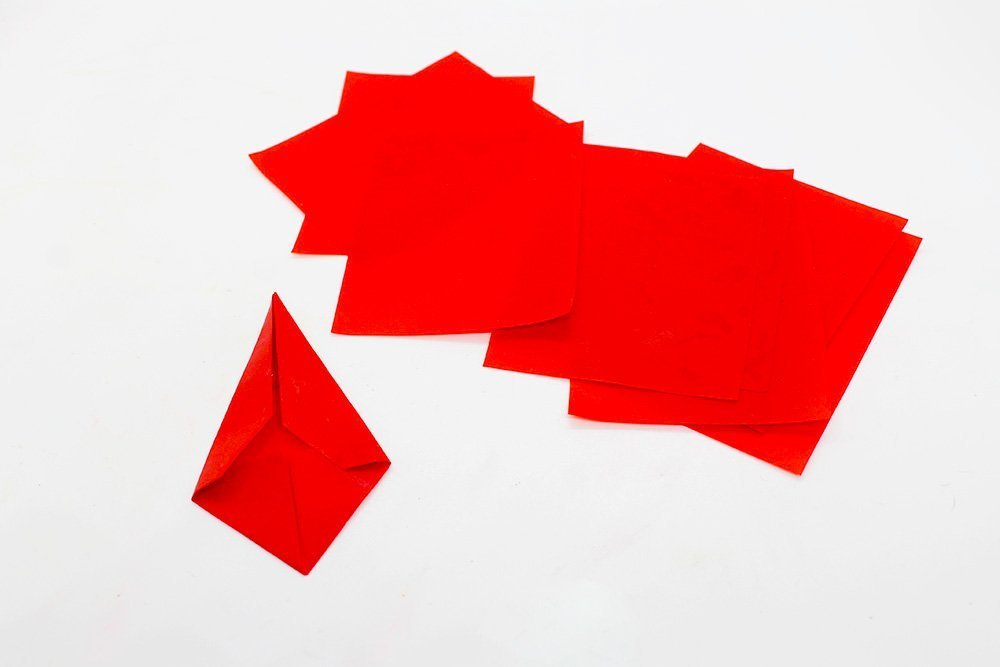
Get your seven rectangular shapes. Get ready to fold and glue them.
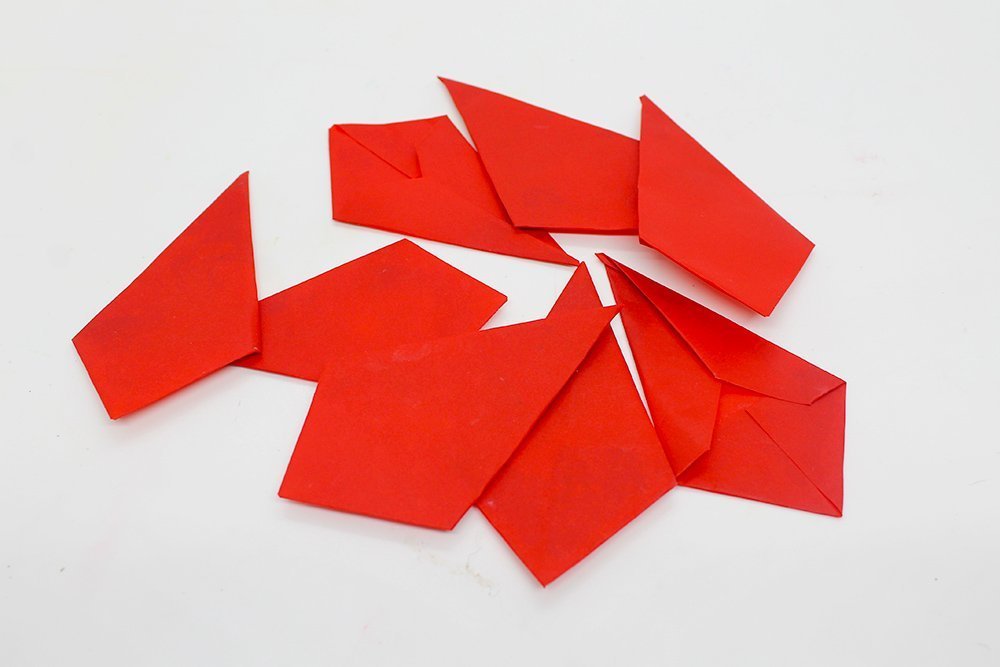
Do the the exact same thing you did last time to the other seven rectangles. You'll have a total of eight parts after and all you need to do after is to combine them to form a star!
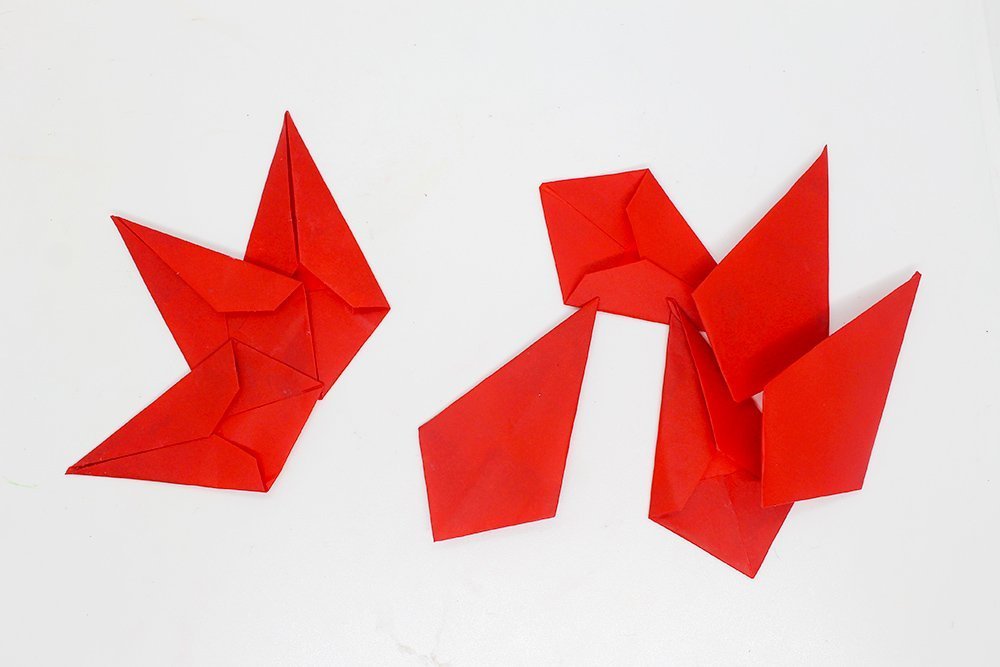
To get a beautiful poinsettia, the tips must now be glued together. Use the lower, “blunt” tip and wet half of the tip with glue. One of the seven other tips must now be glued onto this half of the tip.
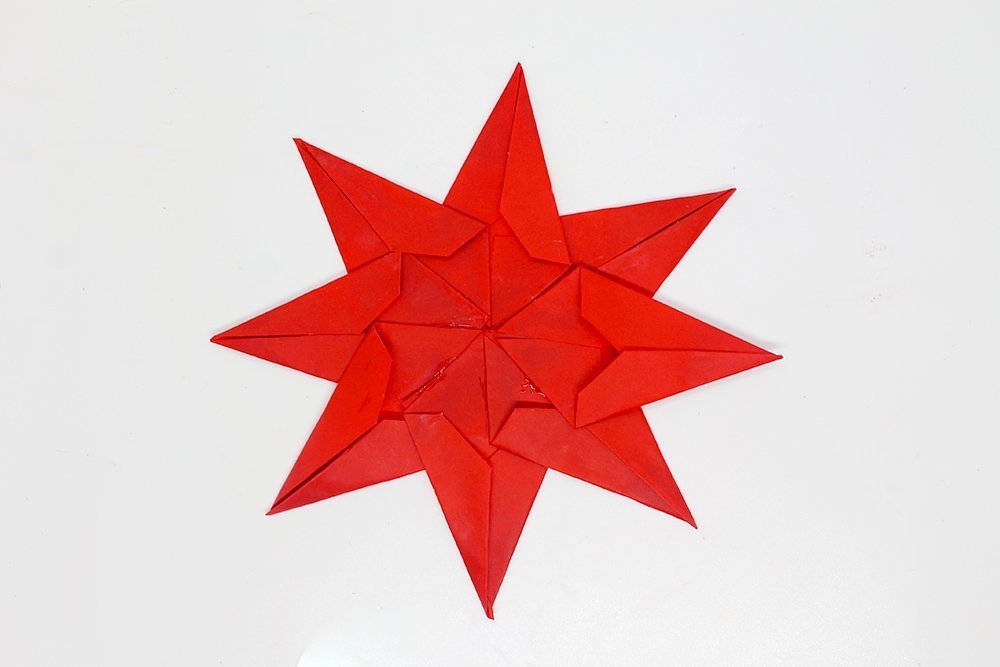
Then repeat the previous with all other tips glued together to form a poinsettia.
Your poinsettia/window star is now ready. It’s best to stick the star to the window with a small strip of scotch tape. Use double-sided tape or a rolled-up tape strip so that it sticks on both sides. Have fun decorating!
Extra Tips
- What do you think about using different colors? It's a way to liven up your window star clings!
- Try adding some props that can compliment the window clings.
- Choose a color other than red if you want to use this decoration for an even other than Christmas.

