Introduction:
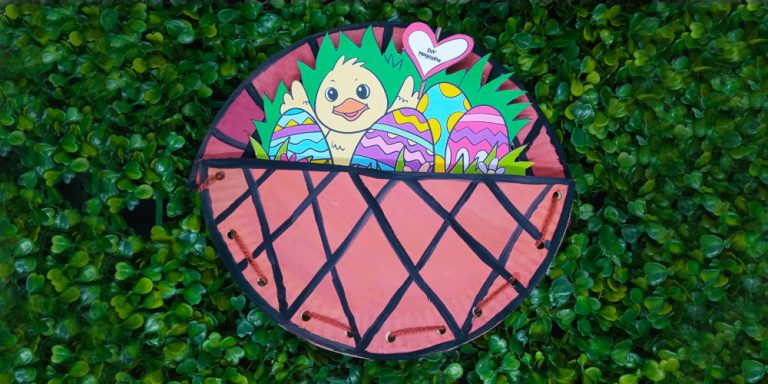
Wish people a wonderful easter with our paper plate basket greeting card. Did you know that you can make a basket out of a paper plate? What’s great about this craft basket is that you can insert letters inside like an envelope once finished. We have included a cute Easter-themed greeting card that you can print absolutely free for this craft activity. You can insert this greeting card inside the basket and give it out to people you care about a lot.
Colorful eggs, fun-filled basket. Here’s to a fun and bright celebration!

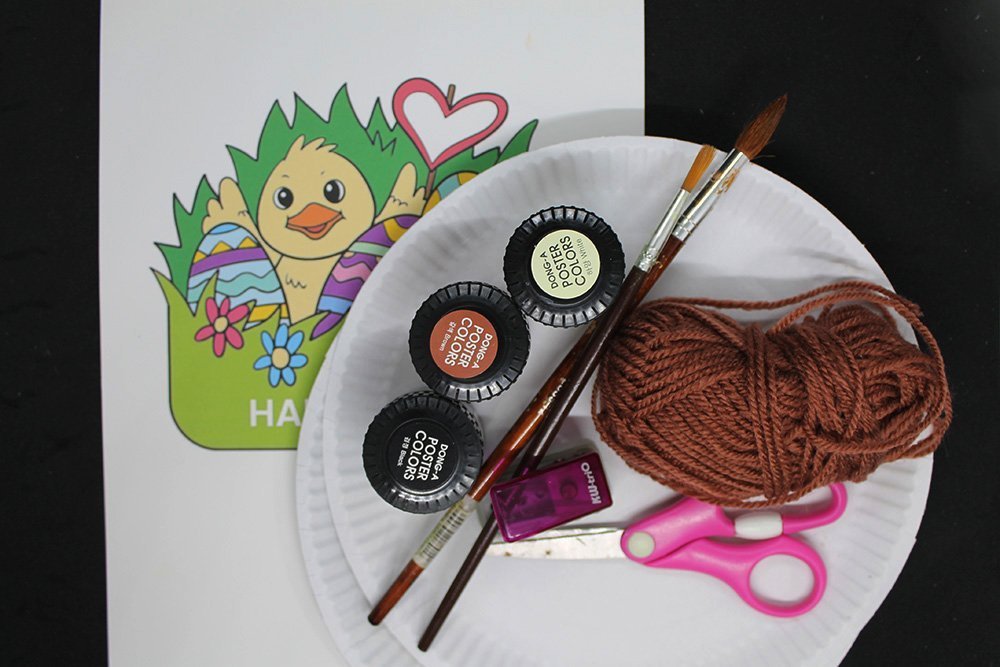
Tools
- Paintbrushes
- Scissors
- Puncher
- Any writing materials to write a note
Supplies
- 2 Paper Plates
- Brown, black, and white paint
- String/Yarn
- Printable (download below)

Download Area
Download TemplateCreate the base of the paper plate basket

For this tutorial, we will be making a light brown basket. Grab 2 pieces of a paper plate and paint it with a light brown color. Do so by mixing brown and white paint.
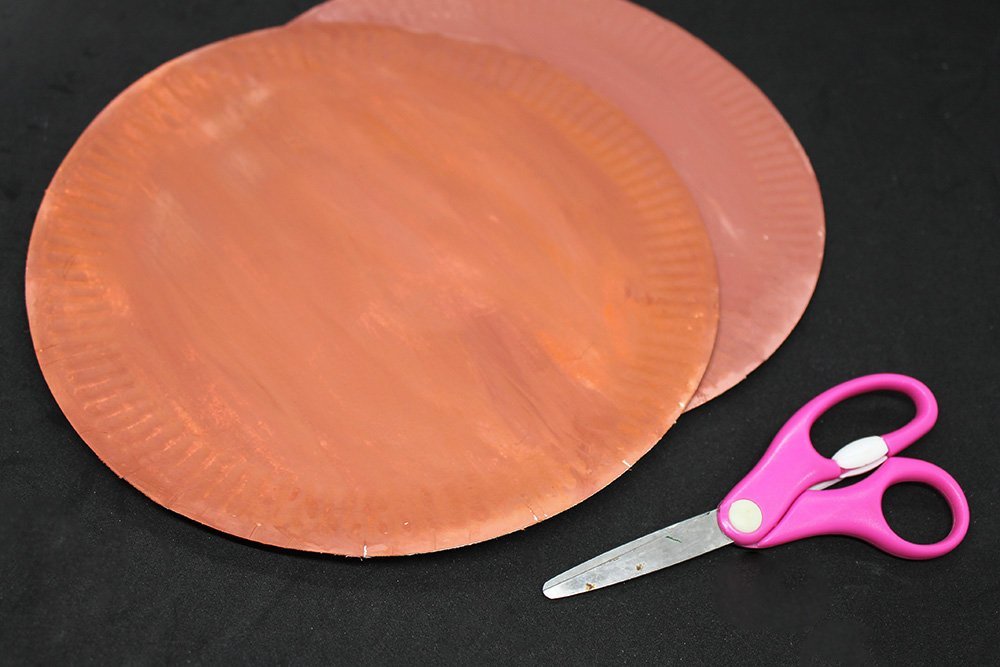
Once painted, it should look like the picture above. Set aside one of the brown paper plates, and then grab the scissors and let start cutting!
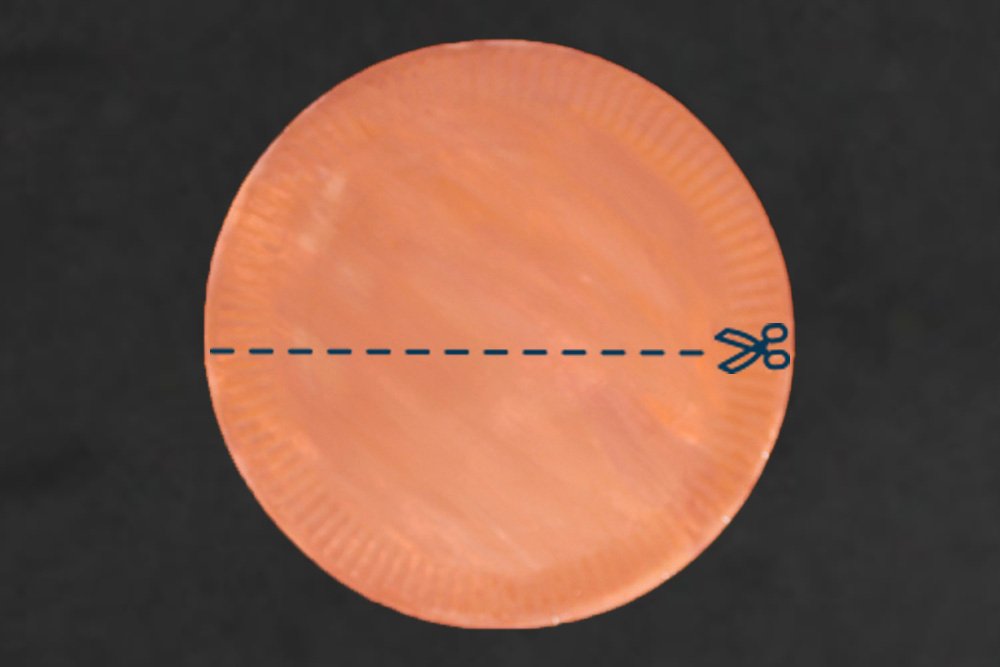
Cut one of the brown paper plates in half.
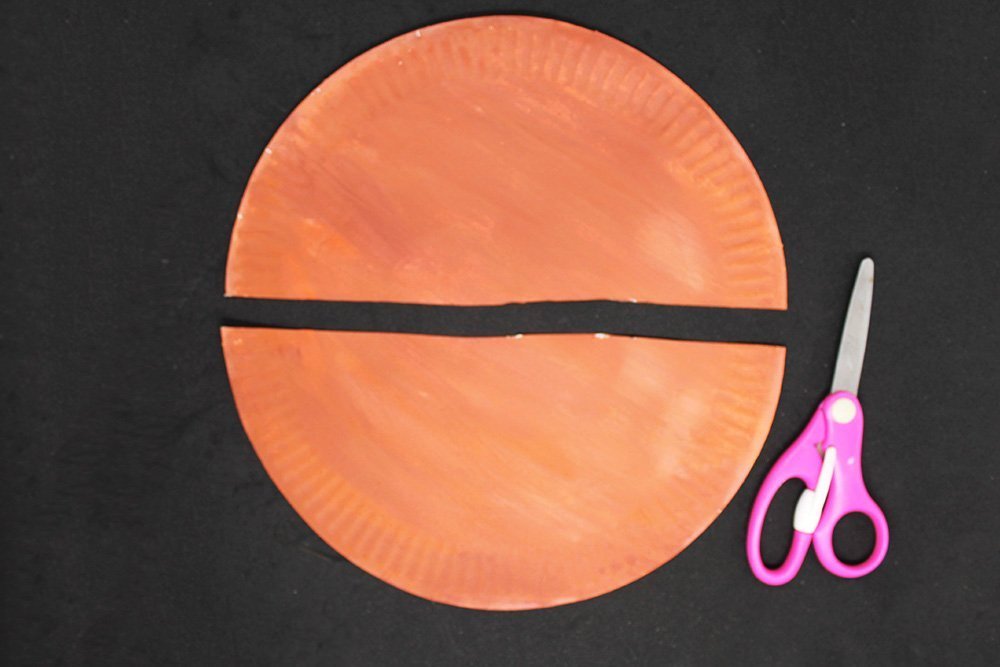
Once cut, stack the two halves together.
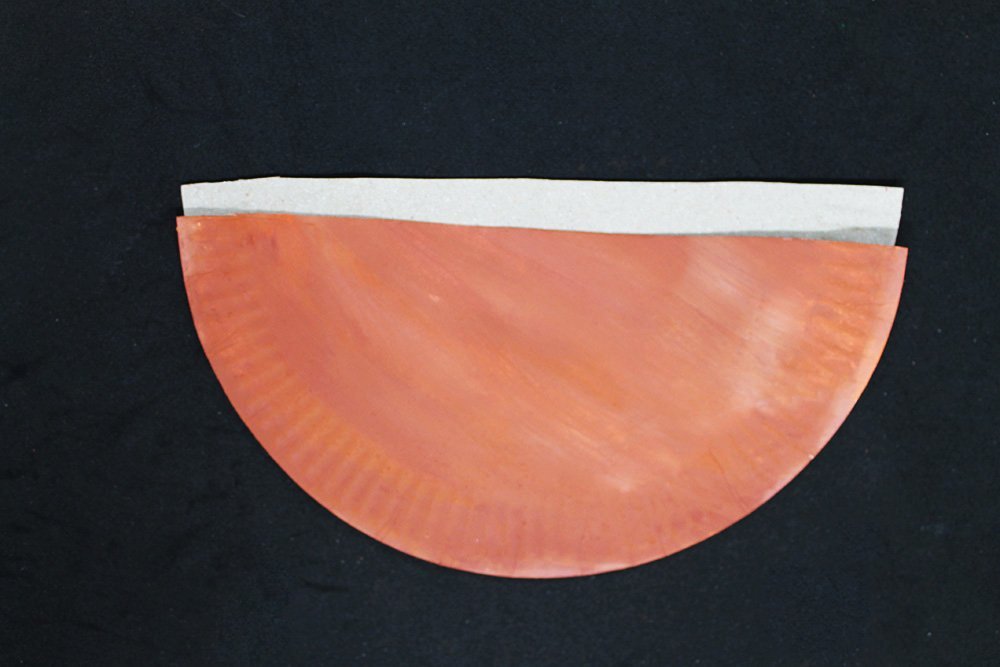
Stack it as shown in the picture above. The colored part of each paper plate’s halves should be outside. Set this paper plate aside for now.
Make the handle of the basket.

Grab the other brown paper plate and fold it in half.
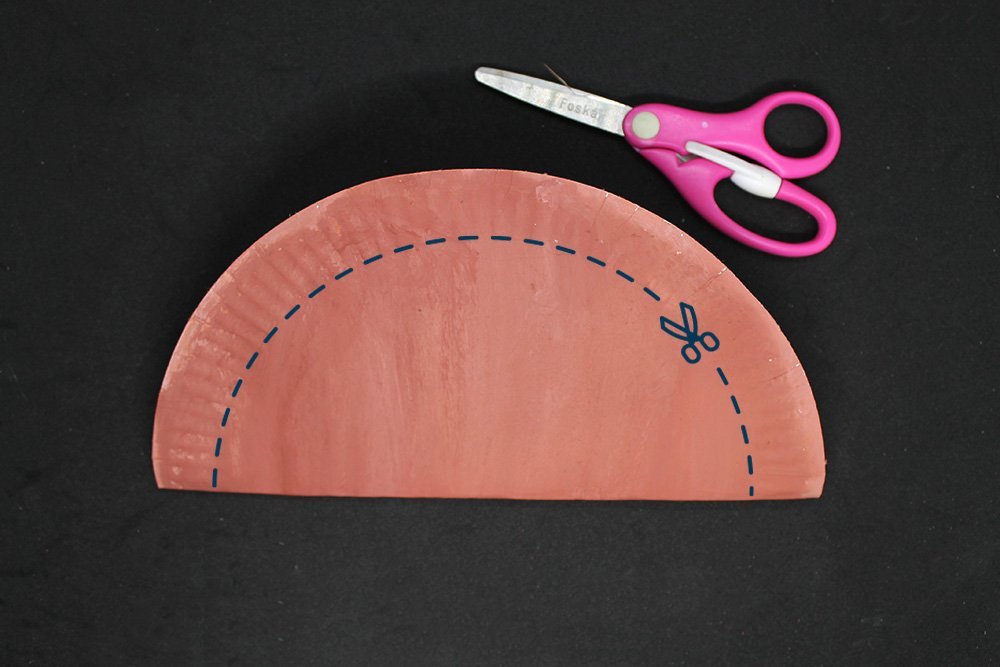
Cut along the dashed line as illustrated above.

The top cutout on the picture will be the handle of the basket. Discard the bottom cutout or recycle it for another project.
Prepare to assemble the basket.
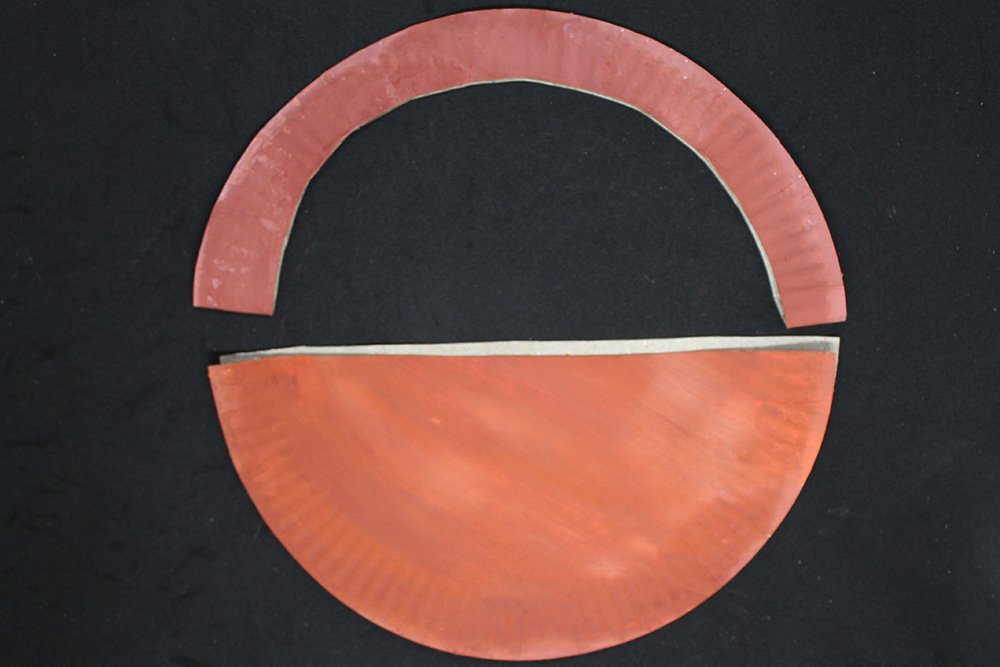
To assemble the basket, you need to punch some holes in the basket to attach the handle and base with some yarn.
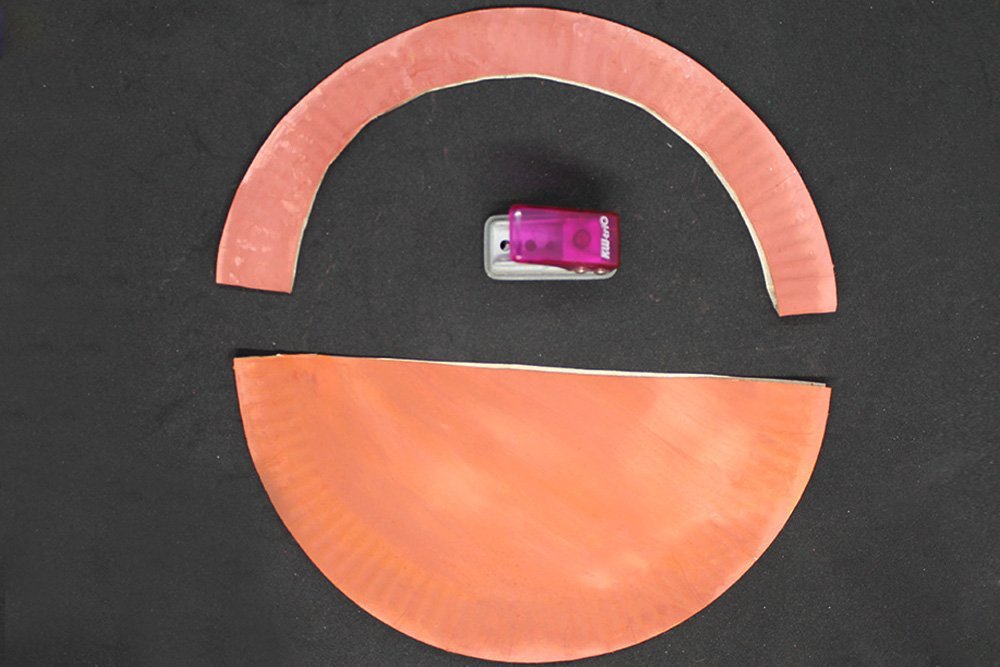
Punch holes on the bottom edge of the base and the left and right end of the basket’s handle with a puncher.
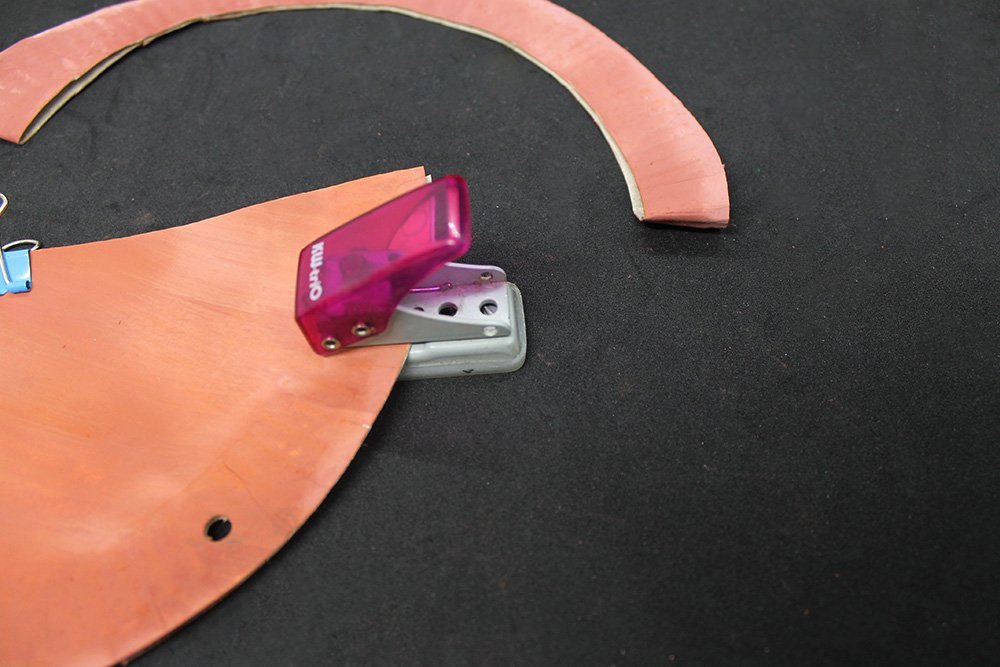
When punching some holes to the edge of the base, the holes shouldn’t be too far apart. The more holes on the bottom edge to pass the yarn through, the better. See next picture for guide.

Once punched (with a puncher), it should look like this.
Assemble the basket with a yarn
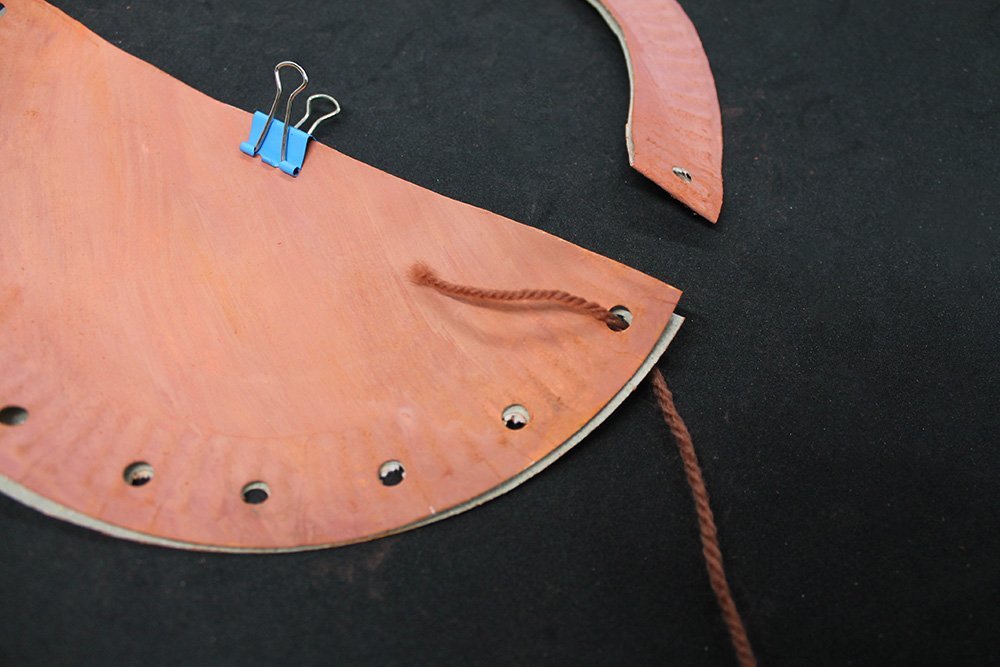
Using a foot of yarn, insert one end to the top right hole on the base of the basket.
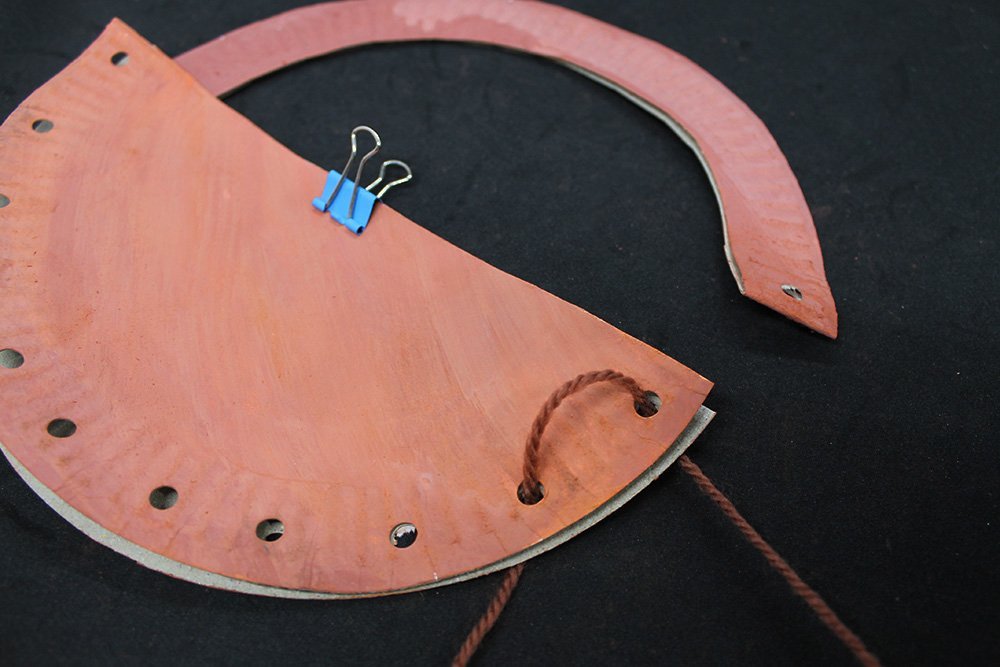
Insert the yarn into the hole next to it.
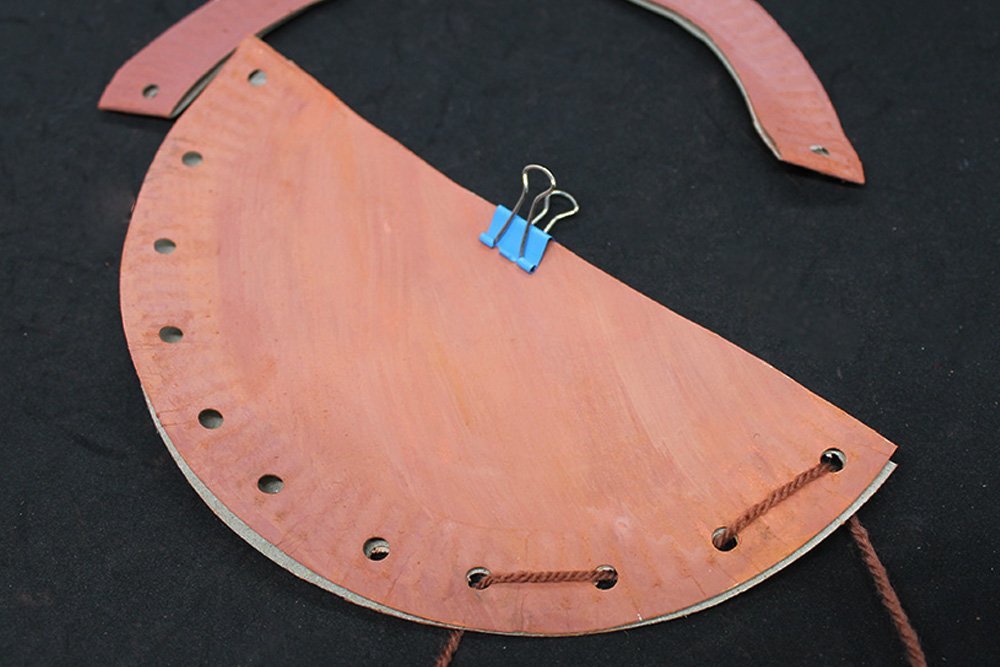
Keep passing the yarn in and out of the holes of the bottom edge—kind of like doing a running stitch.

Once the whole yarn has passed through the bottom edge, attach the handle by inserting each end of the yarn to each of the holes of the paper plate handle.
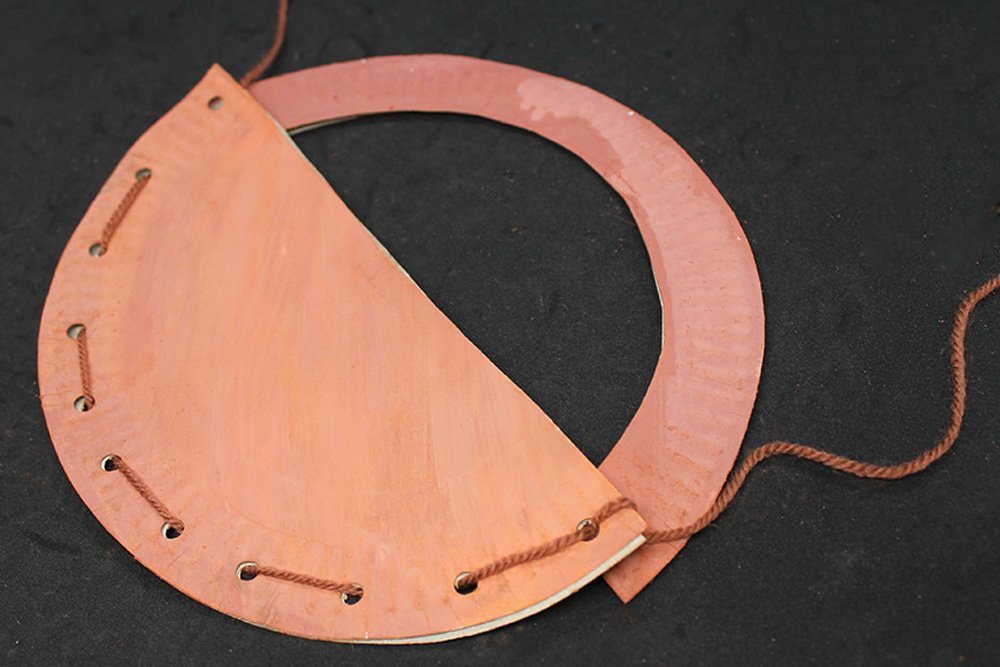
Once inserted, secure the handle to the base by tieing a double knot. Do the same on the left side.

The paper plate basket is now assembled.
Add some finishing touches to the basket.
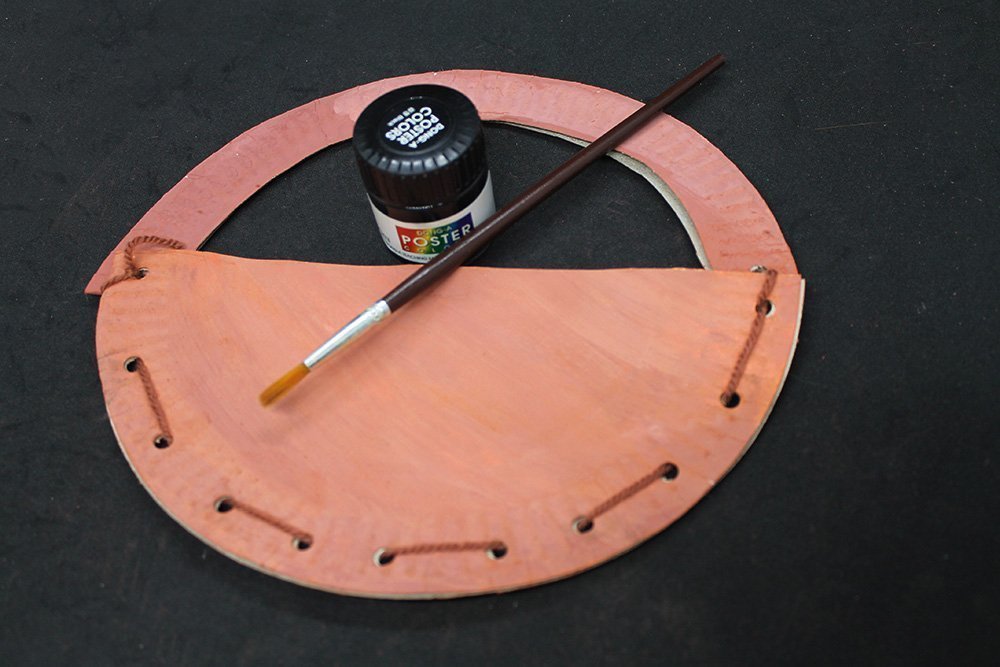
To make some “weave marks” to the basket, draw some parallel diagonal lines to the base of the basket with some black paint.

Make a crisscross mark by drawing opposite diagonal lines to the base of the basket.
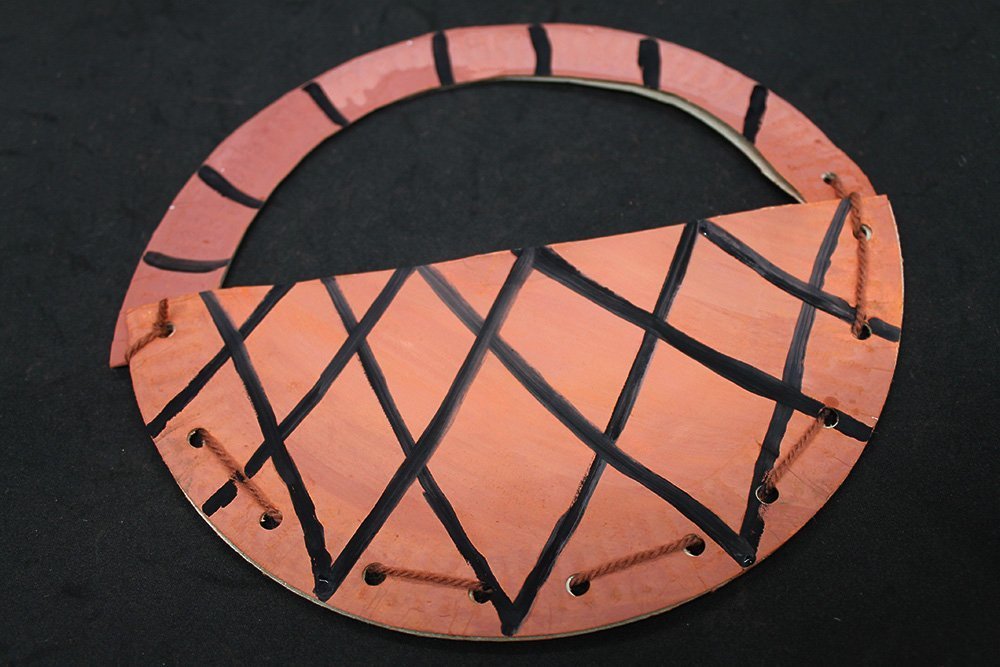
Add some details to the handle of the basket.
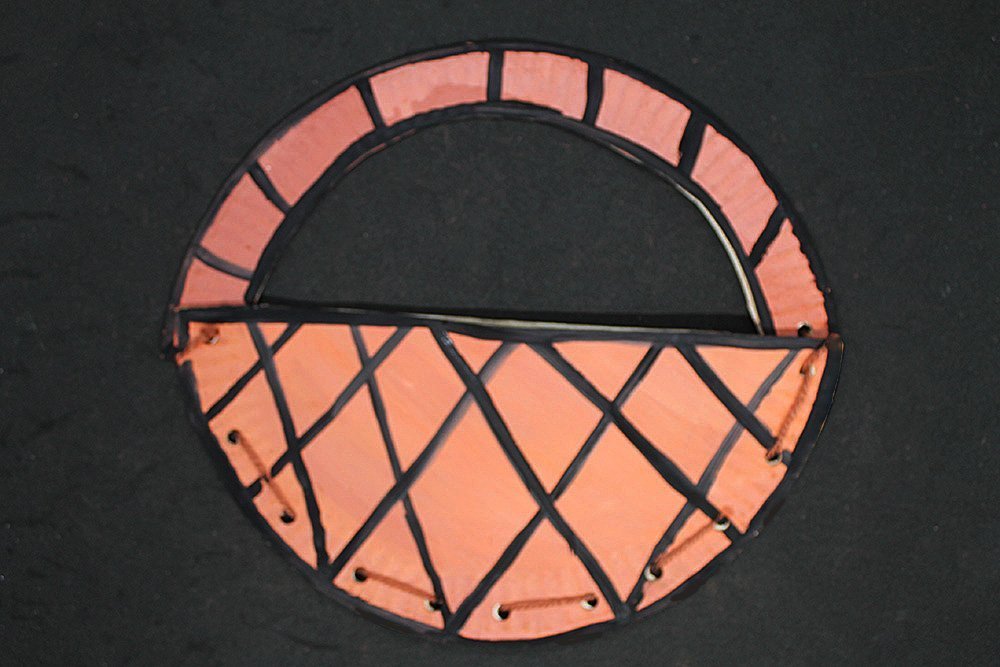
Outline the basket with some black paint, and it’s done! The paper plate basket is done! Time to prepare the greeting card.
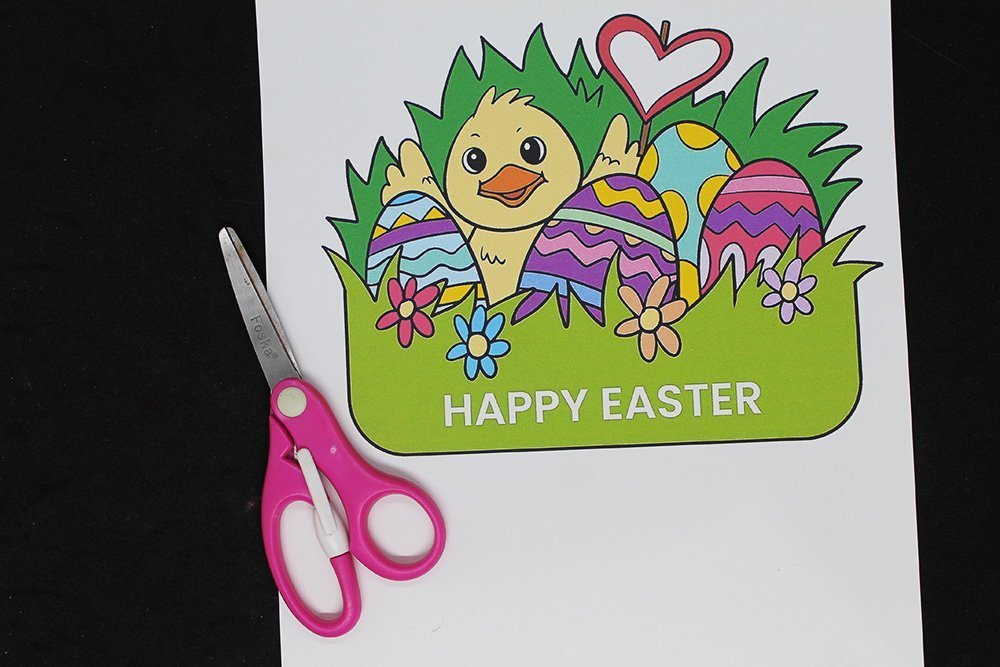
No Easter basket is complete without Easter eggs! We have prepared for you a printable greeting card adorned with Easter goodies.
The printable is colored already and ready to be used.
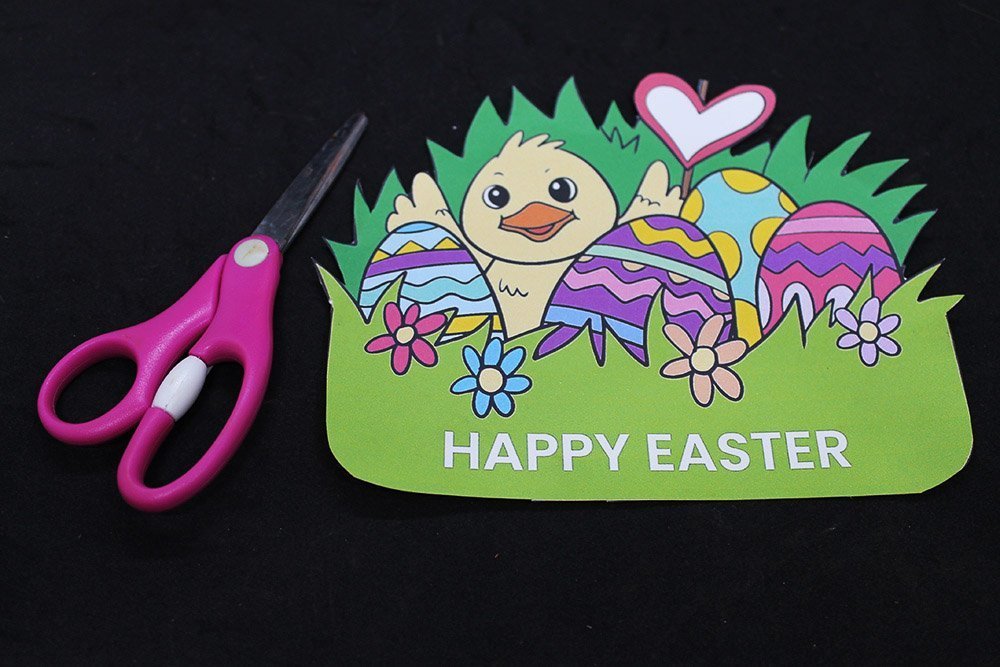
Cut along the outer edge of the printable, and the Easter greeting card is done!

Insert the greeting card inside the basket.
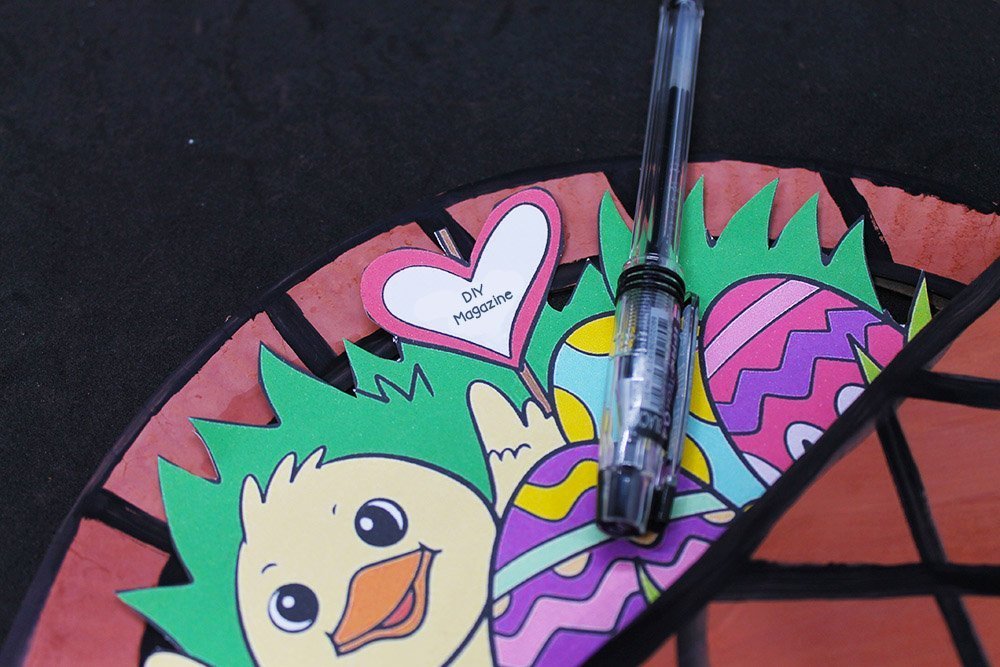
You may write a heartwarming note on the back of the printable, on the grass below, or the heart before giving it to someone.
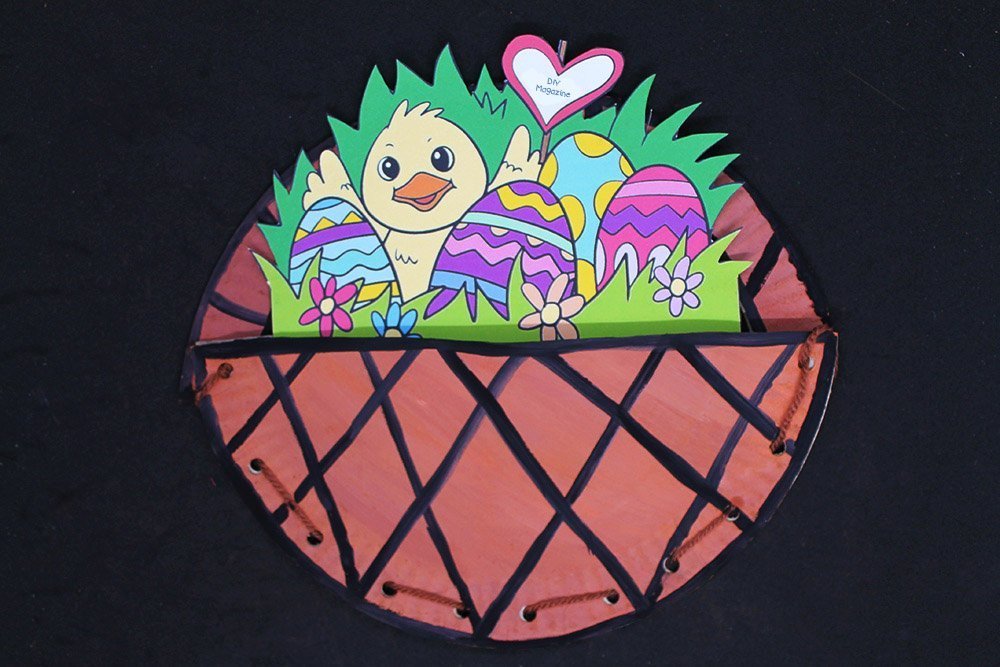
The Easter paper plate basket greeting card is done!
Extra Tips
- If you want to draw straight lines, use a ruler.


