Introduction:
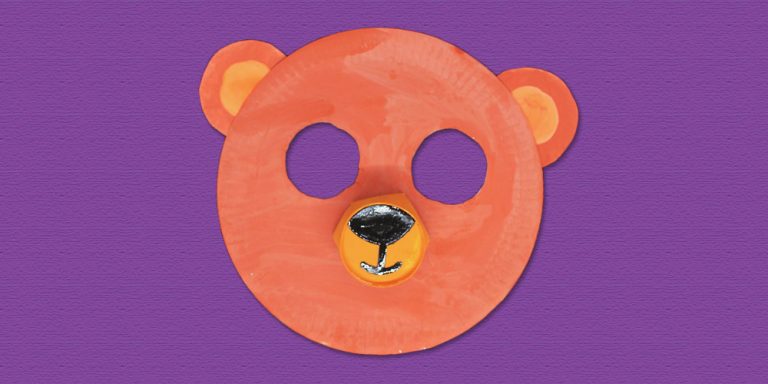
Create an adorable paper plate bear with the help of paper cups. This mask craft is fast, easy to make, and suitable for children to do with their parents or guardians. If you’re looking for a quick costume, then you’re at the right place! All you need to do is grab a few materials and you’re all set!

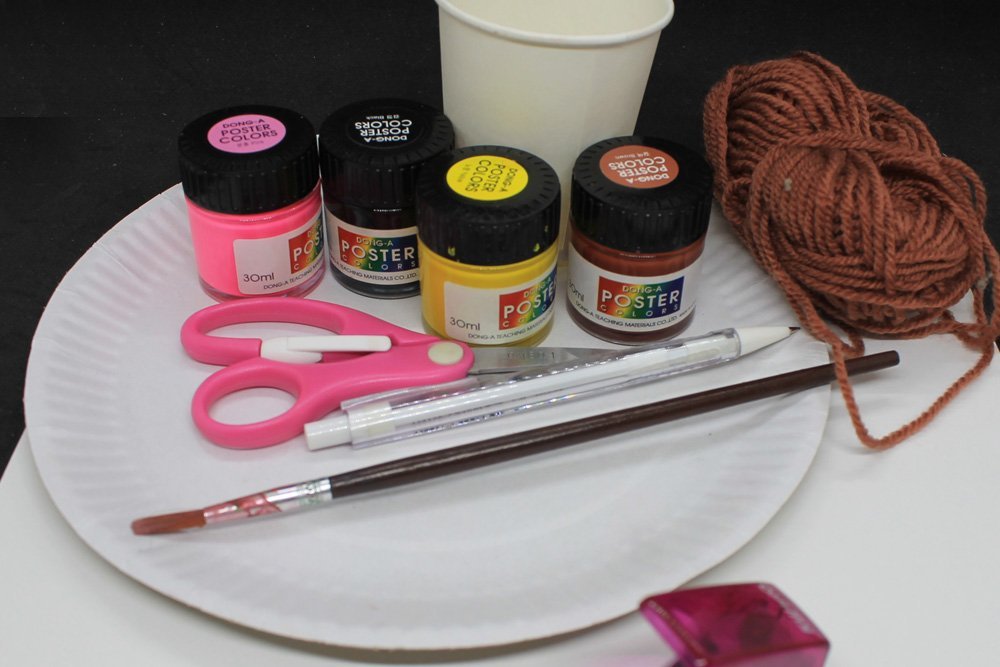
Tools
- Scissors
- Pencil
- Paintbrush
- Hole puncher
Supplies
- Paper Plate
- 2 pieces of paper cup
- Glue or Hot Glue
- Yarn
- Pink, Black, Brown, Yellow and White Poster Paint
- Yarn or String
- a piece of white thick paper (vellum board, cardstock or a thick piece of bond paper will do)

Create the base mask for the paper plate bear
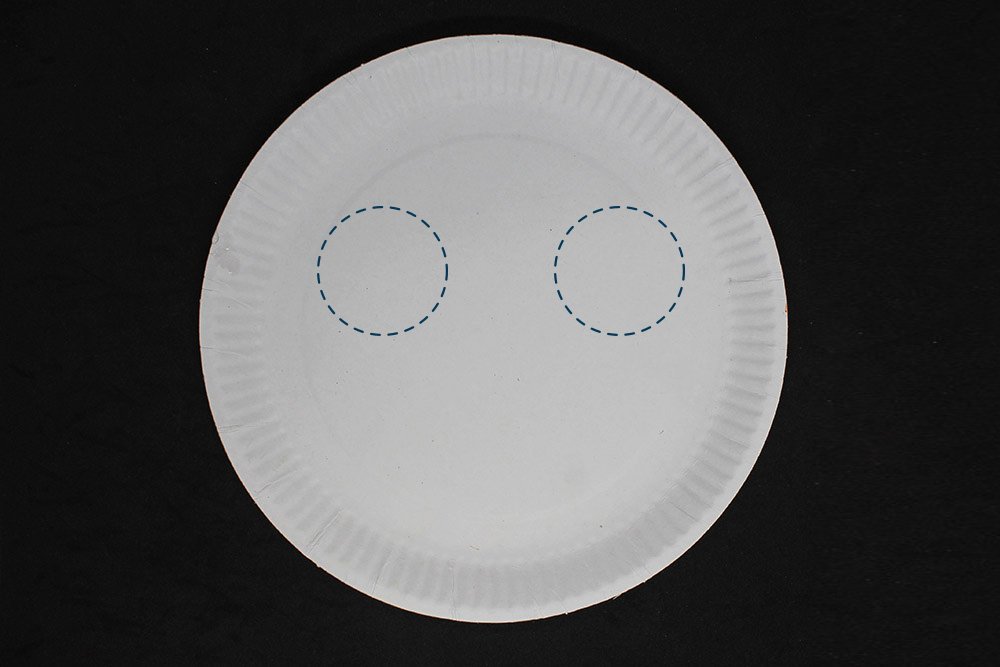
Using a pencil, draw two circles for the peephole of the mask.
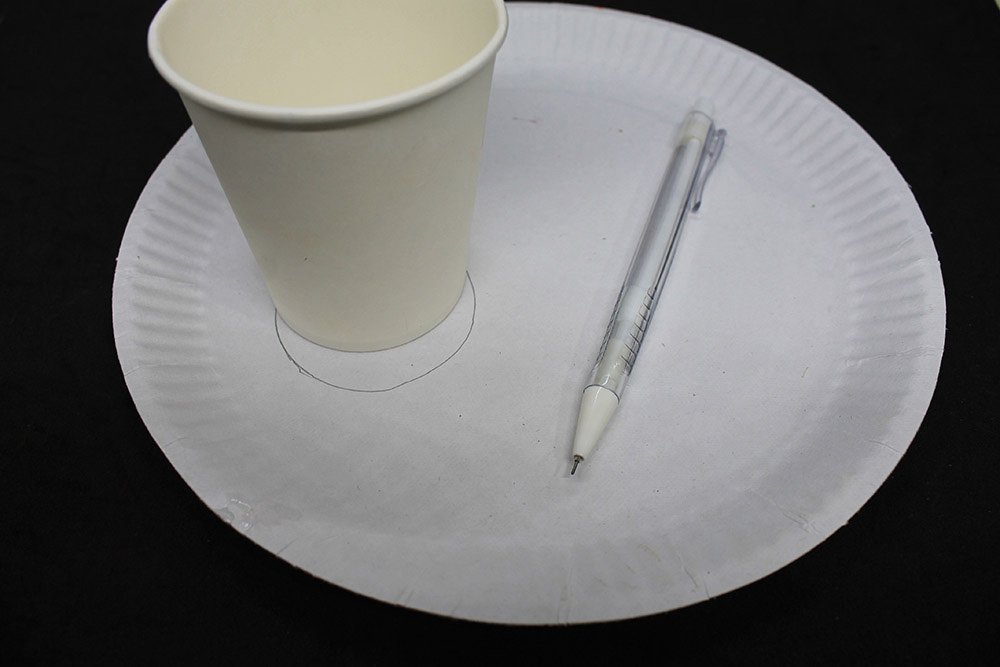
Use the bottom of a paper cup to trace a circle in the mask with a pencil.
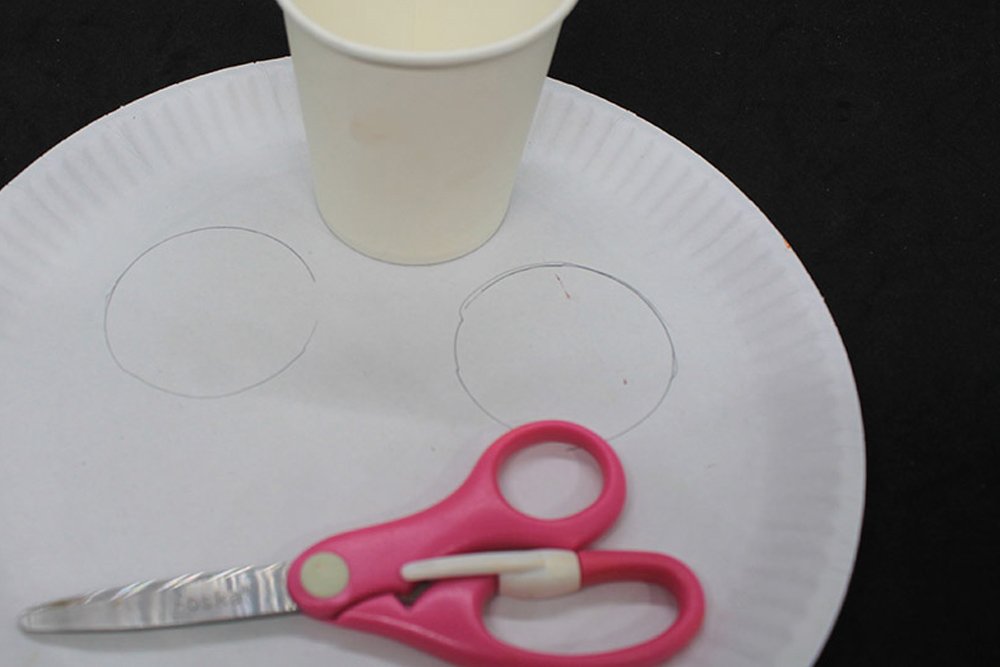
Cut along the outline made to make the peephole.
You may use a cutter if you find it easier. Just be very careful when handling sharp objects. Ask an adult to help, and do not let small children use a cutter on their own.

The peephole of your mask is finished! Time to paint!
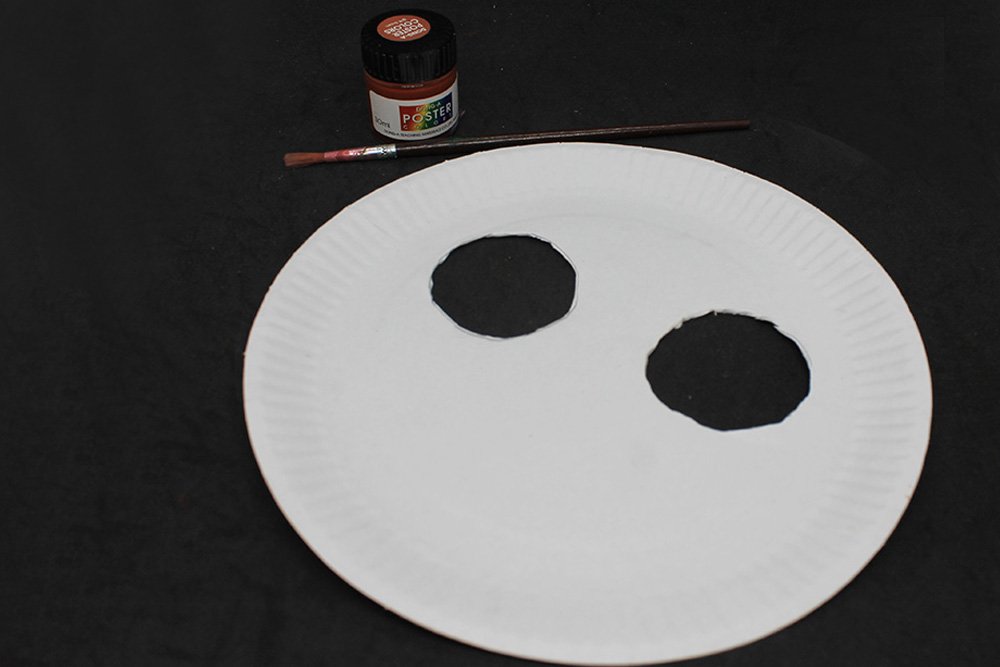
Paint the whole paper plate with brown.
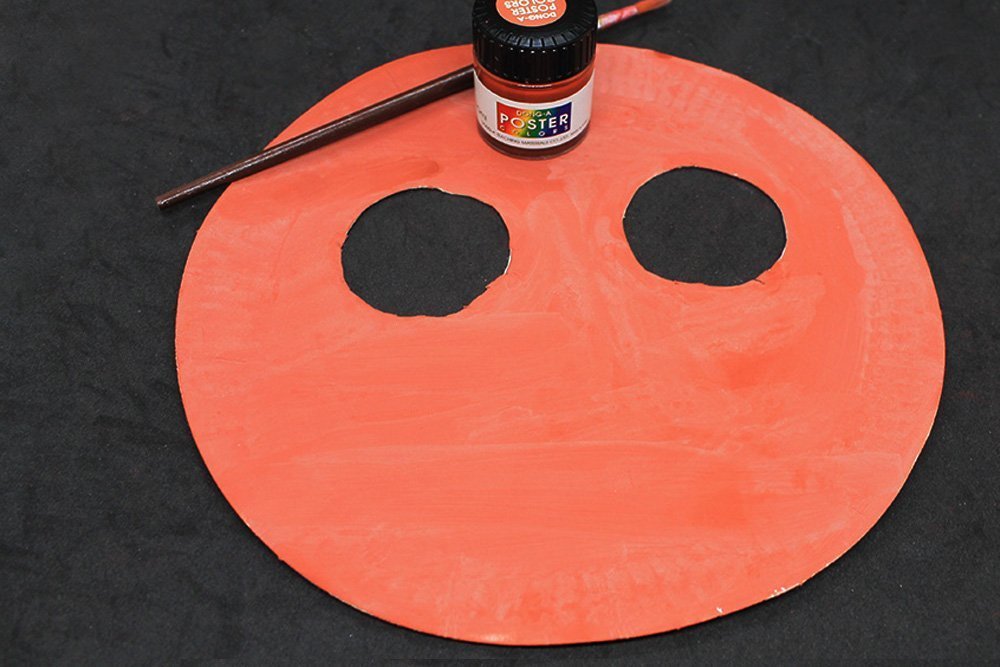
Set the paper plate aside to let it dry.
Make the paper plate bear’s ears
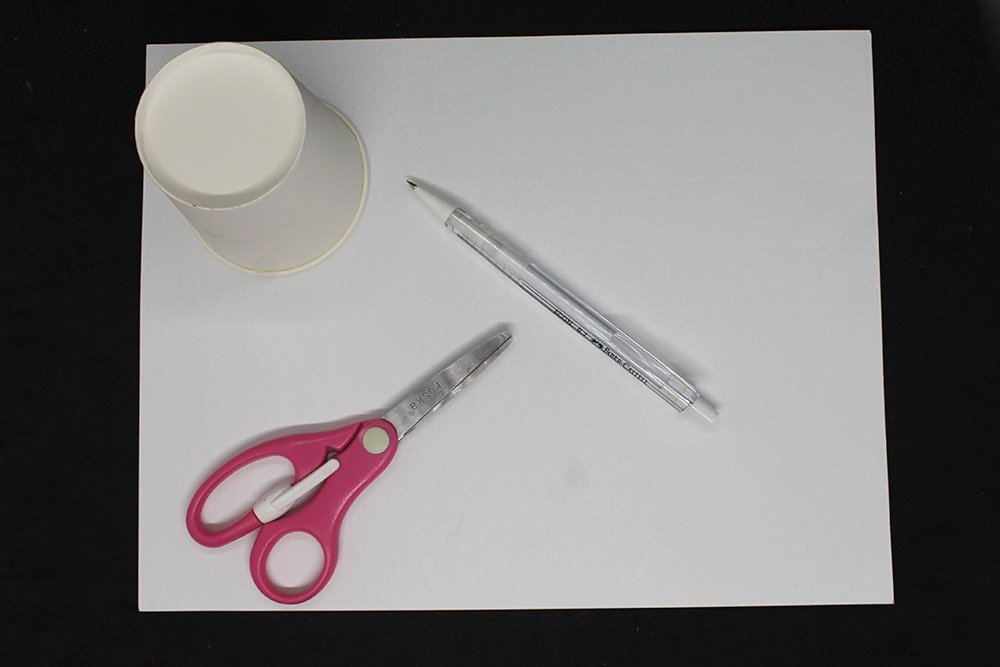
Get a paper cup, pencil and a thick piece of paper.
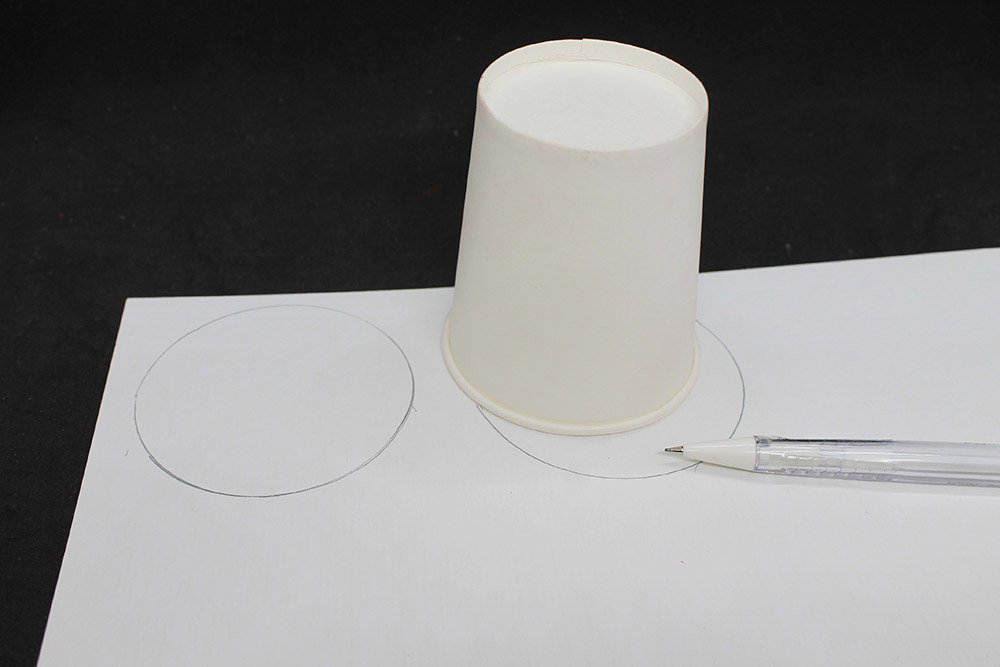
Trace the wider end of the paper cup to make a circle using a pencil. For this project, we need 2 circle cutouts.
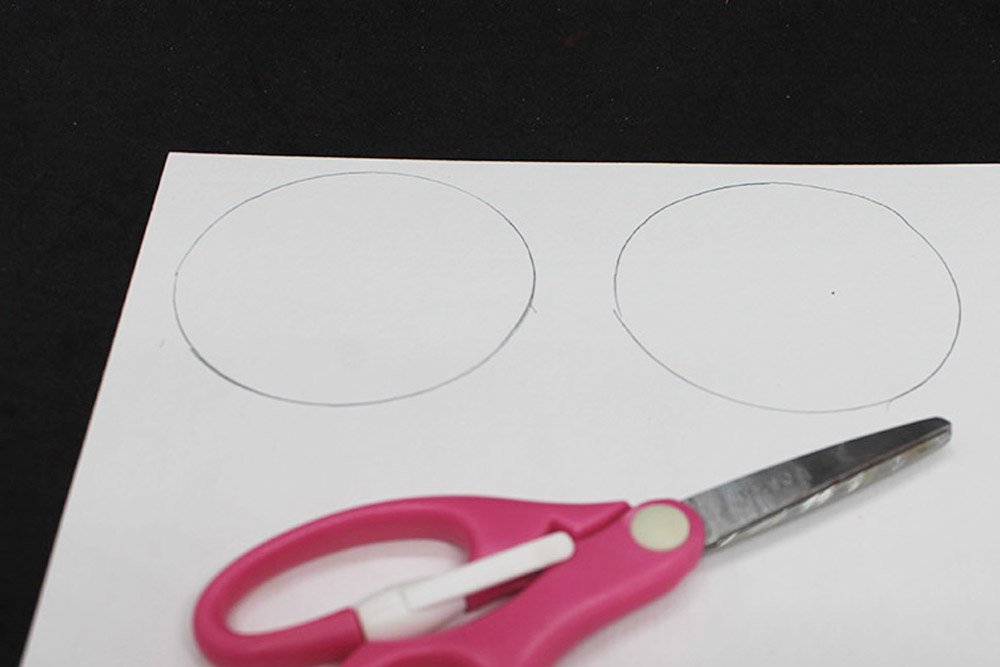
Cut the circle outline made with a pencil.
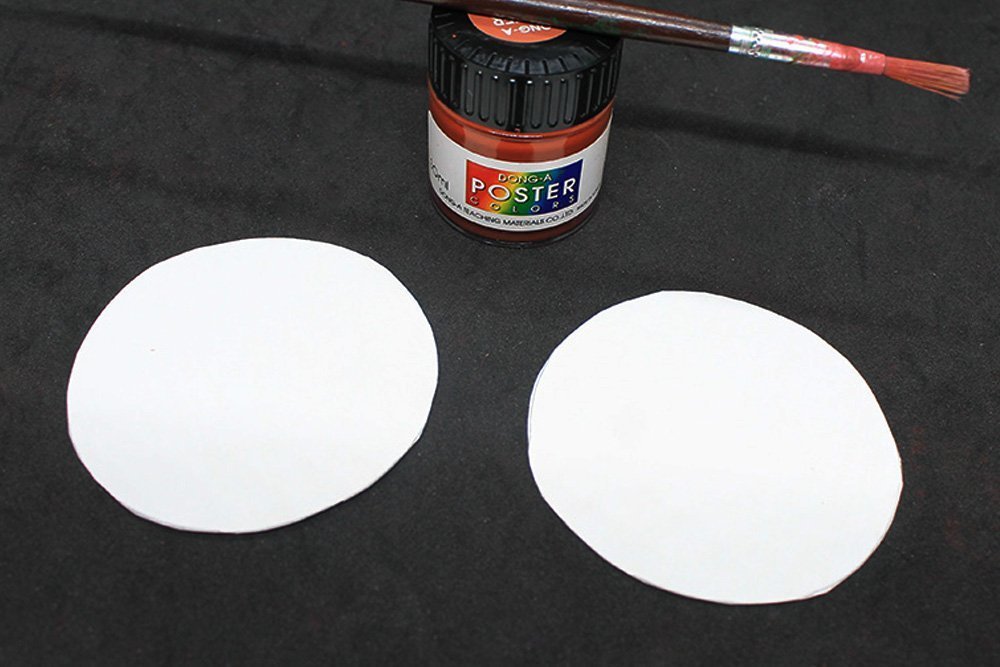
Once 2 circles cutouts have been made, paint it with the same brown paint used for the mask.

To make some details in the ears, paint an inner circle on each cutout.
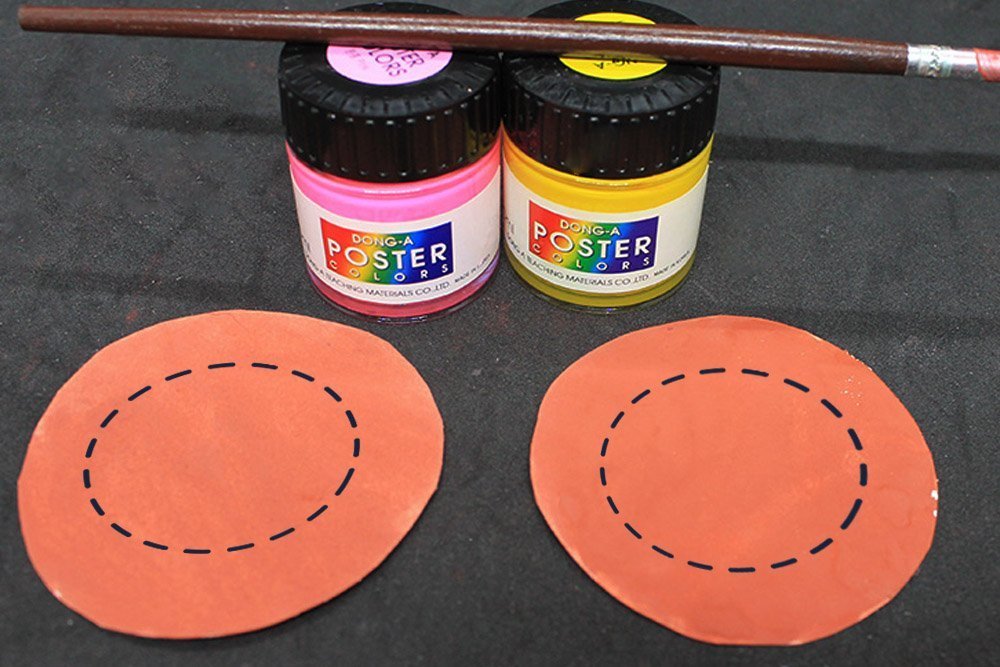
Mix pink and yellow and color a small circle on each cutout.
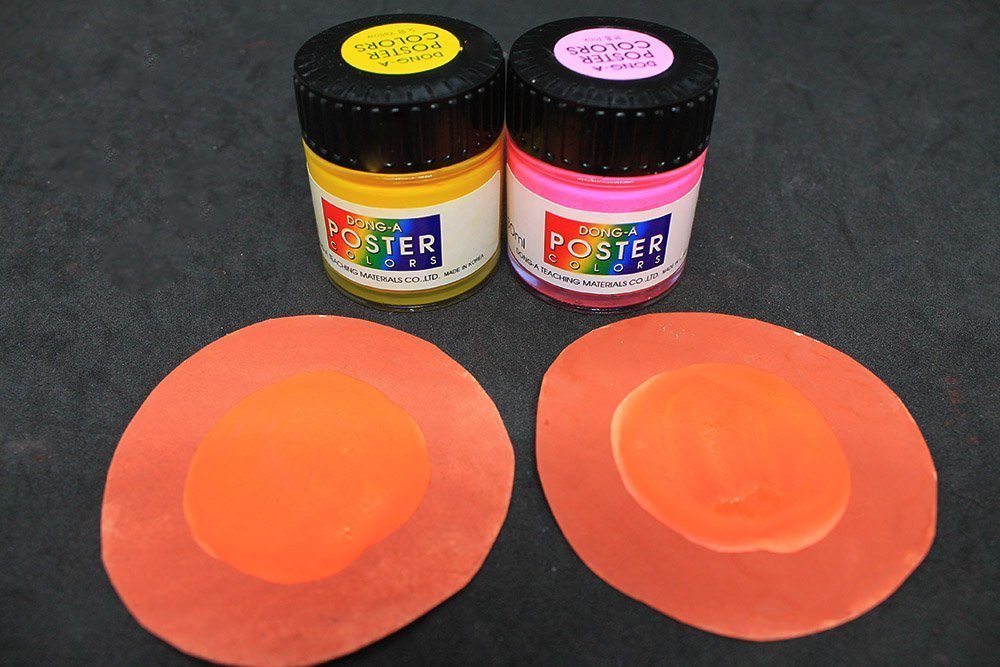
Once finished let the paint dry.
Make the snout of the bear using a paper cup
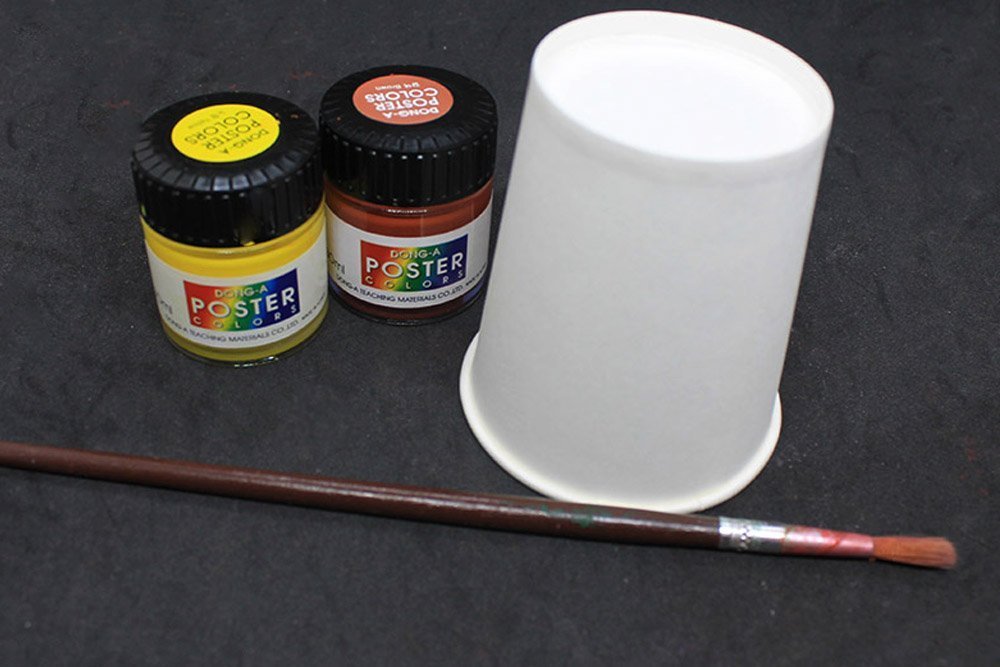
Mix brown and yellow and paint it all over the outer shell of the paper cup.
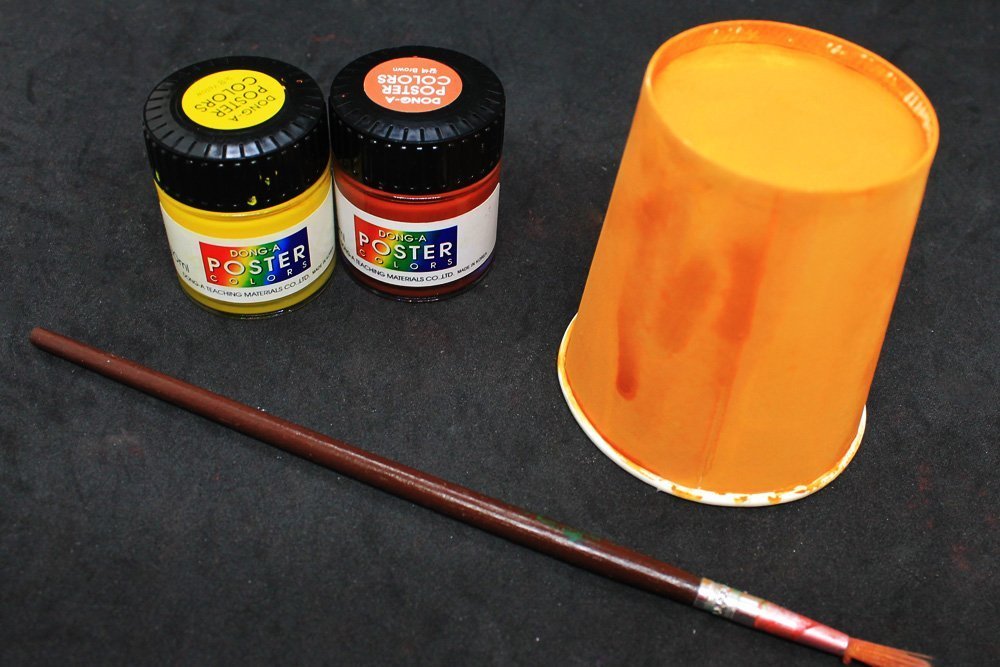
Let it completely dry before proceeding to the next step.
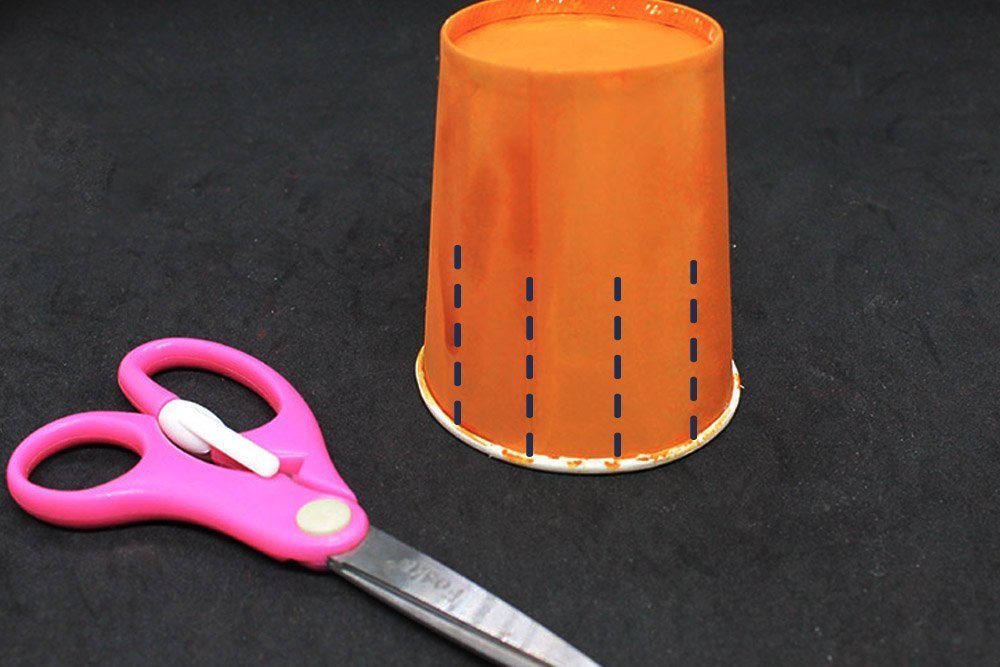
Cut some split around the paper cup. Just cut the slits halfway. These will be the “tabs” of the paper cup to stick the paper plate and cup together.
It doesn’t matter how many slits are made in the paper cup.
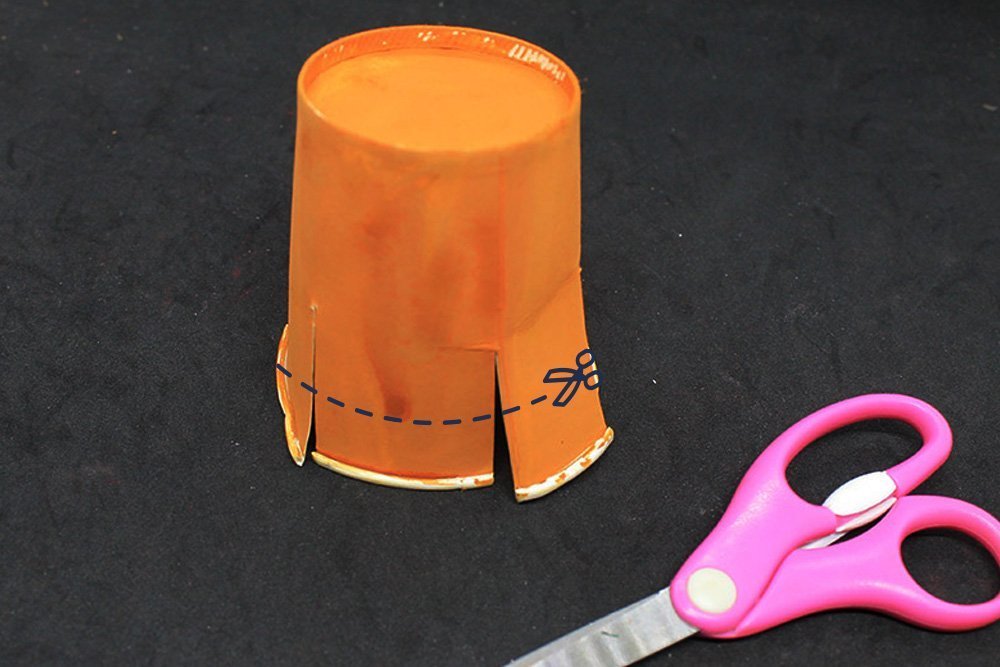
Cut a bit off the top of the paper cup.
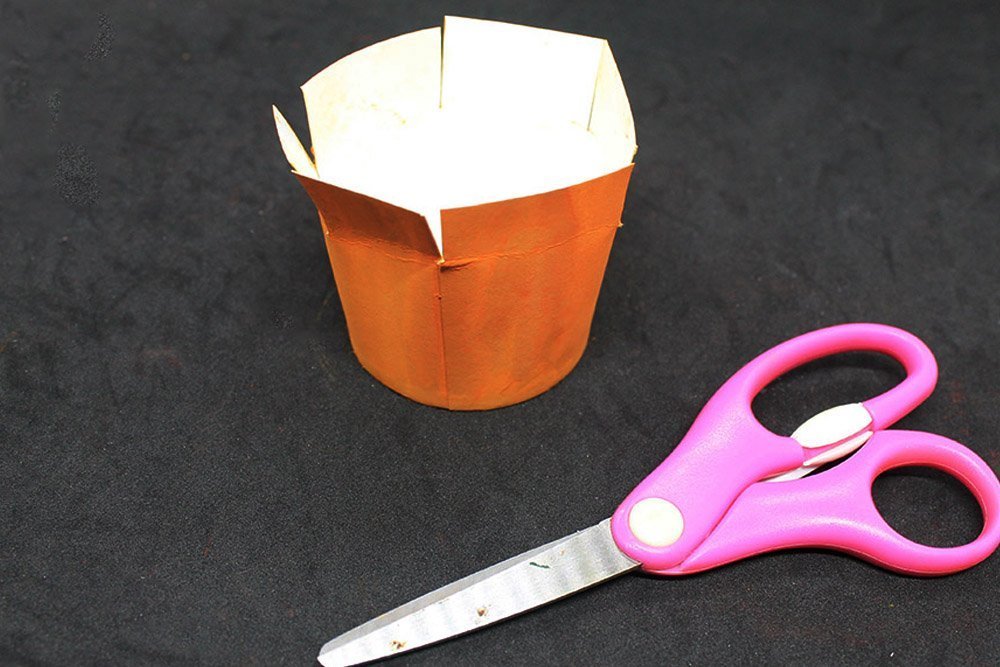
Push each “tabs” inwards to the center.
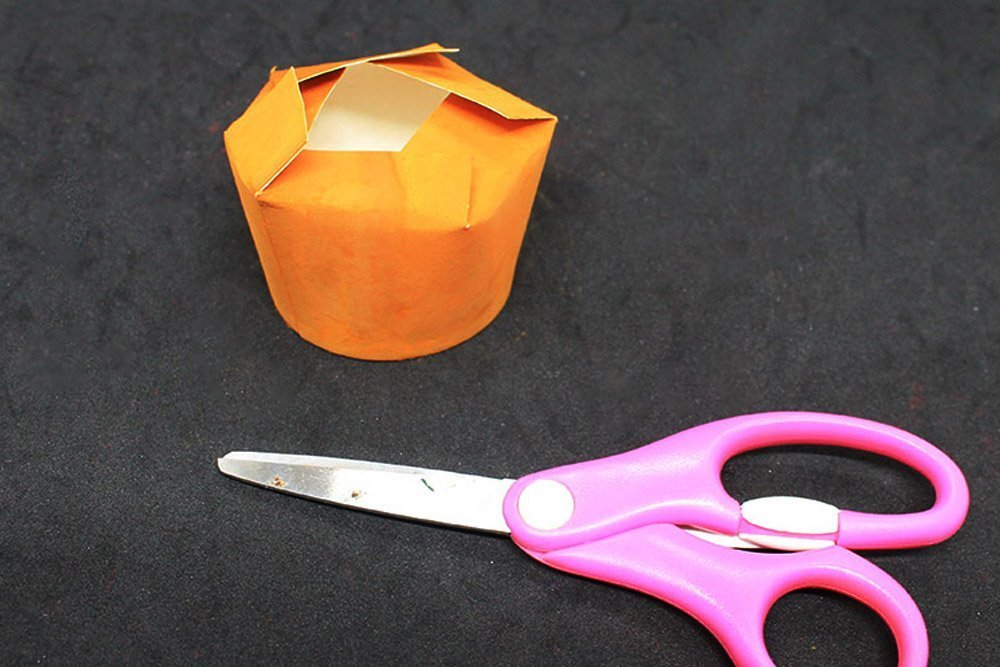
The snout base is done!
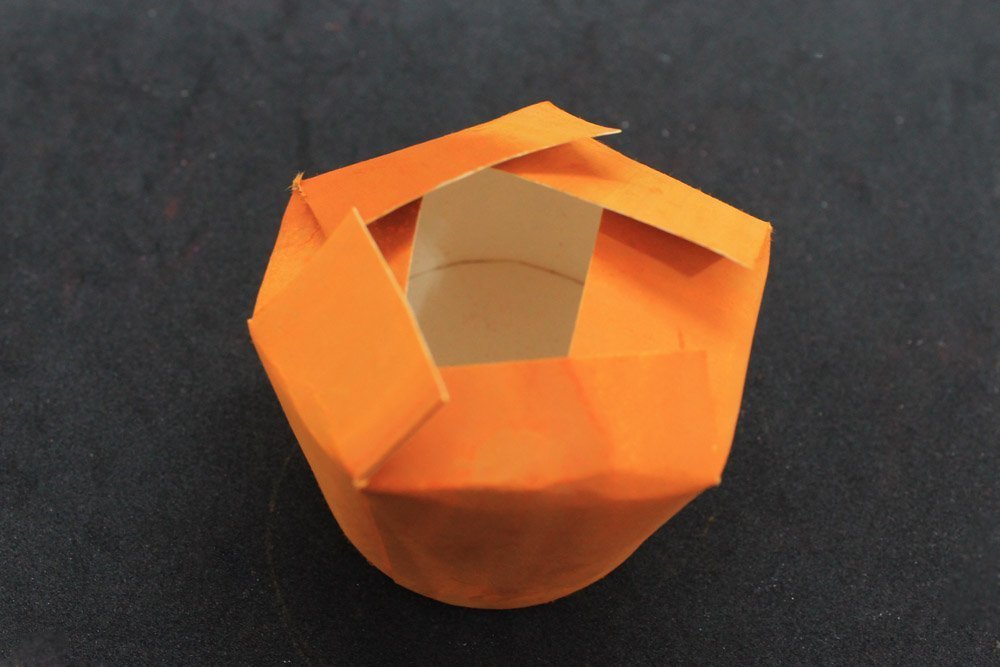
Flip it over and grab the paper plate base mask and some glue.
Stick the snout of the paper plate bear mask
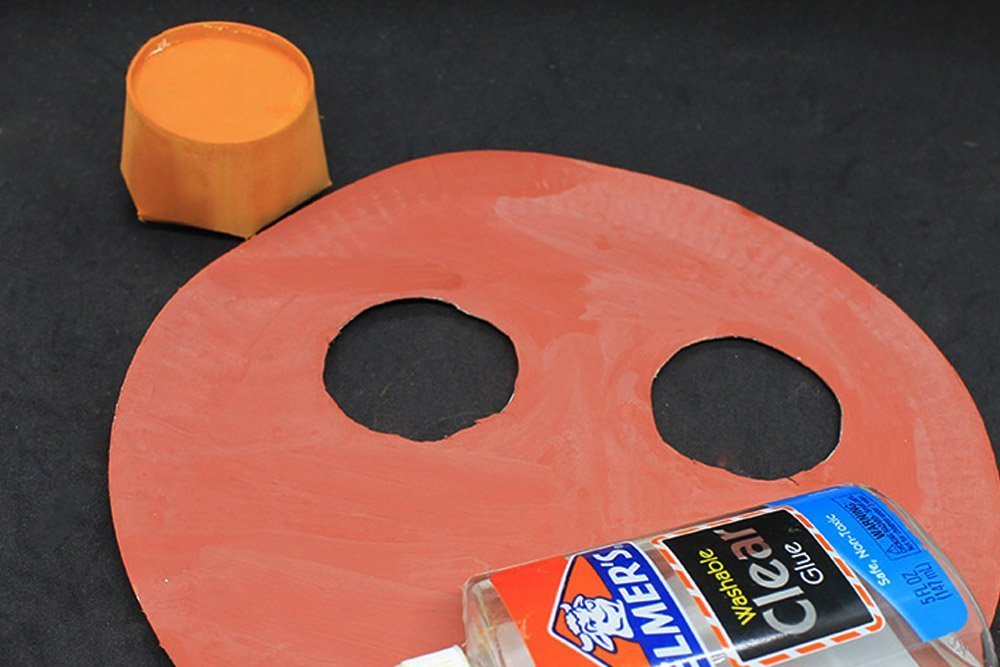
Stick the paper cup snout on the center of the paper plate mask.
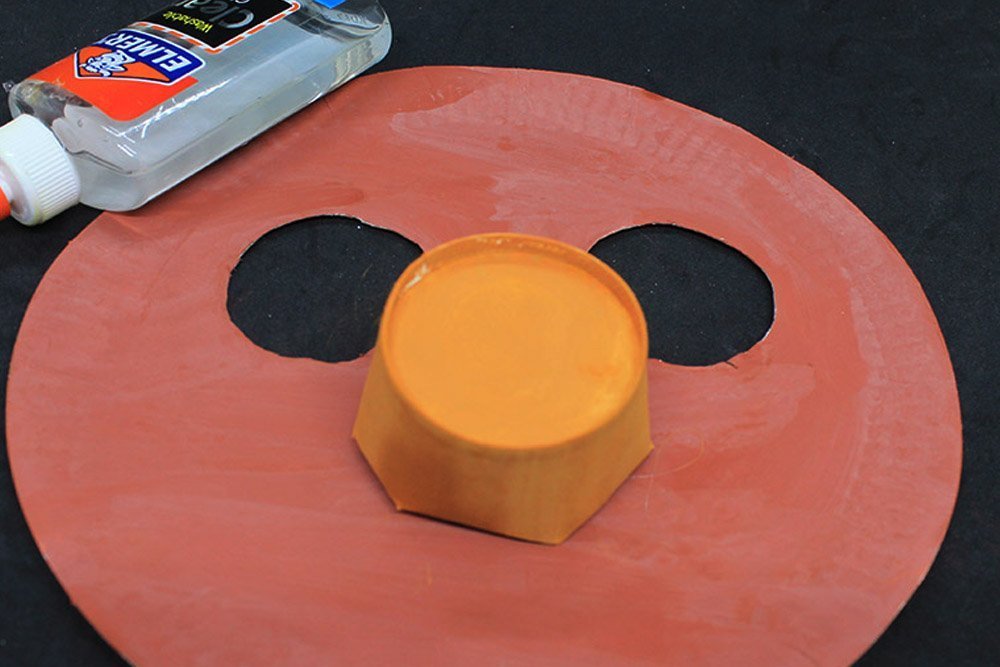
You may use hot glue if you want it to dry faster and stronger
Stick the ears of the paper plate bear
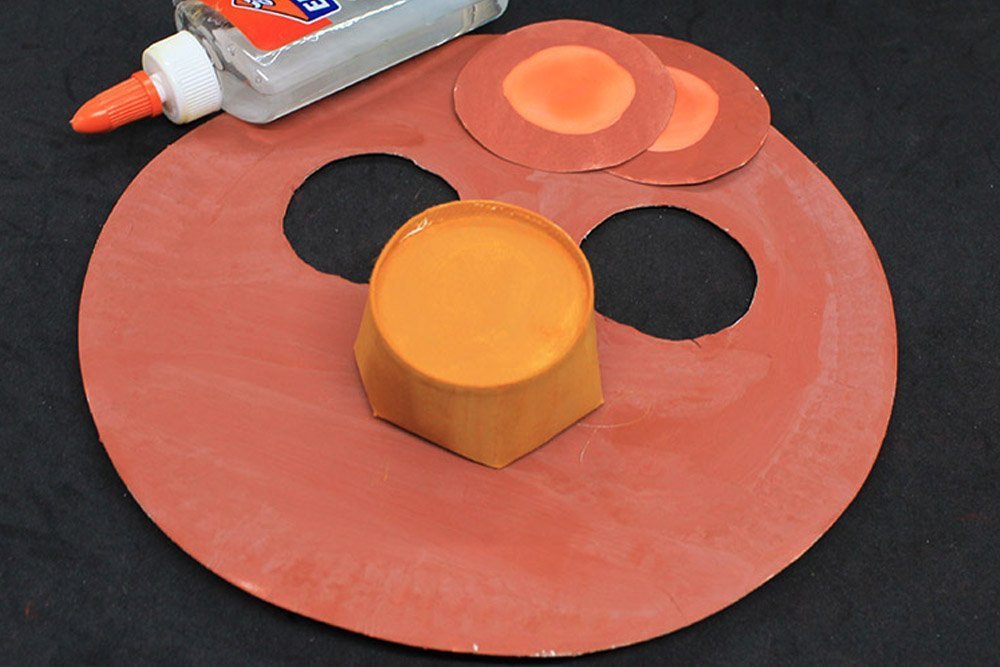
Stick the ear cutouts at the back of the paper plate with some glue or hot glue.
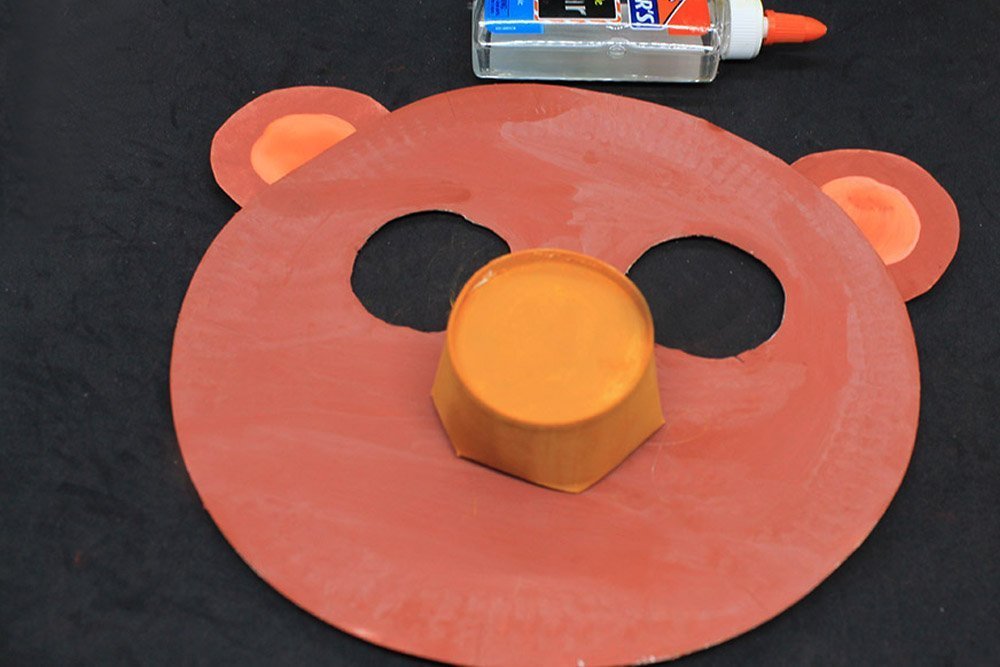
Let the adhesive dry for a bit.
Add some details to the paper plate mask
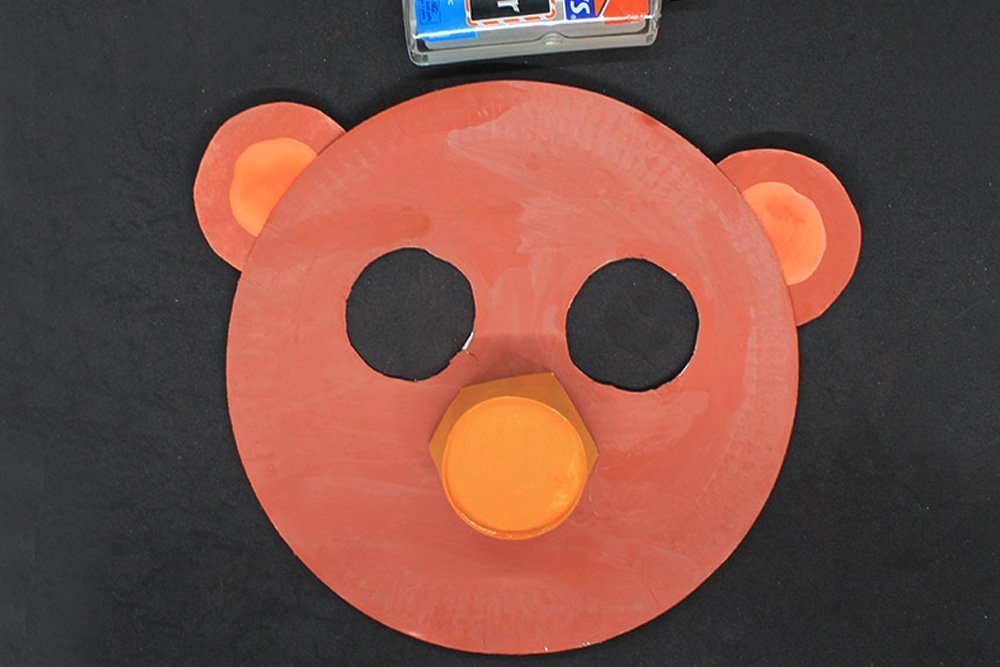
The bear needs some finishing touches to make it look complete.
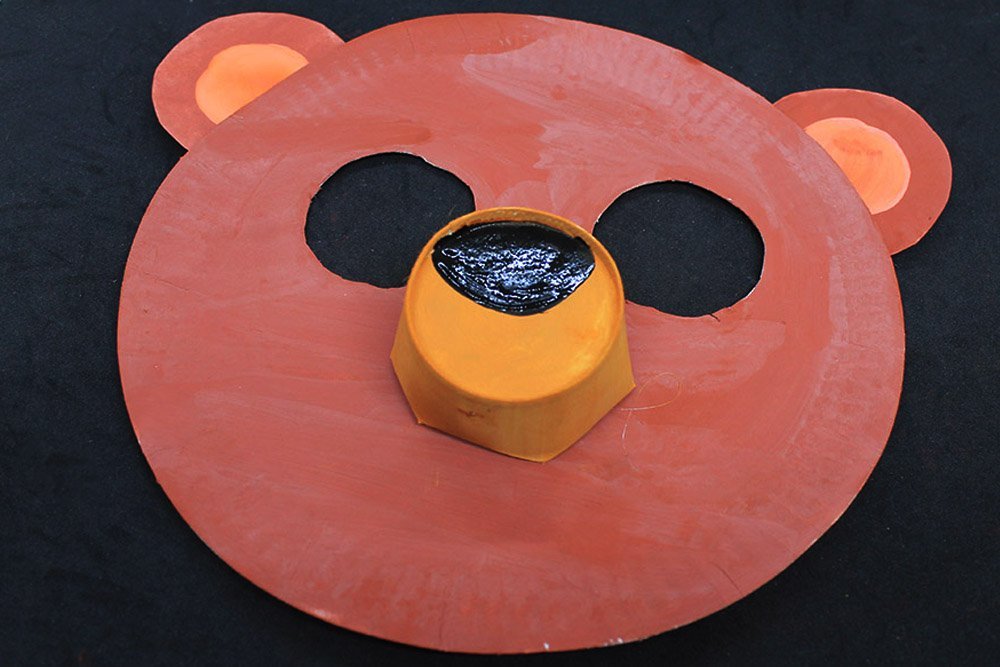
Paint a nose on the snout using black paint.
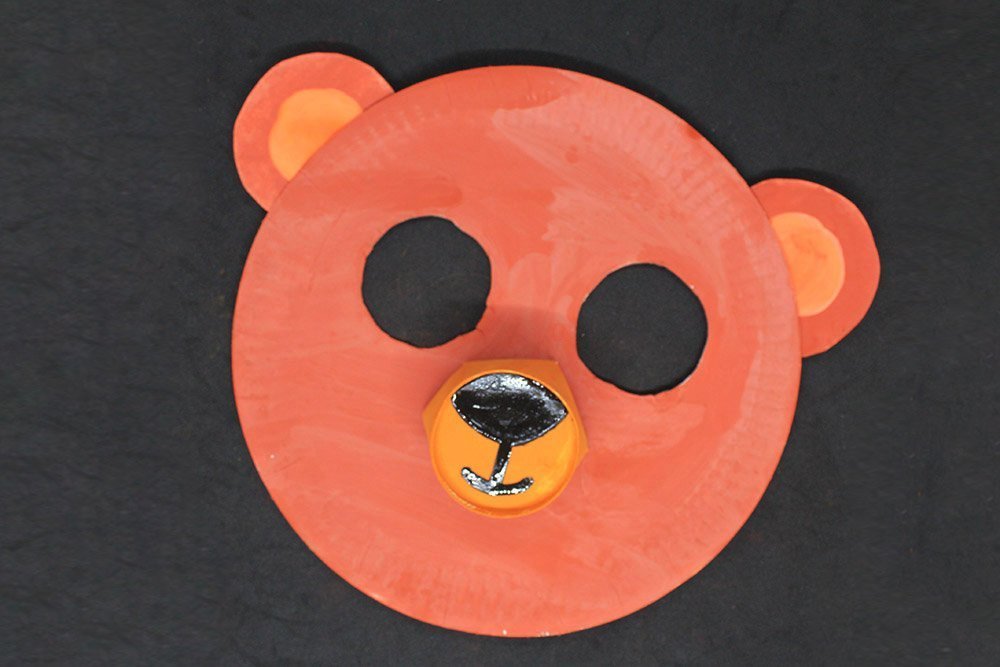
Lastly, give the bear the most adorable smile you can make 🙂 It’s done! If you want to wear it as a mask proceed to the next step.
Attach strings to the bear mask
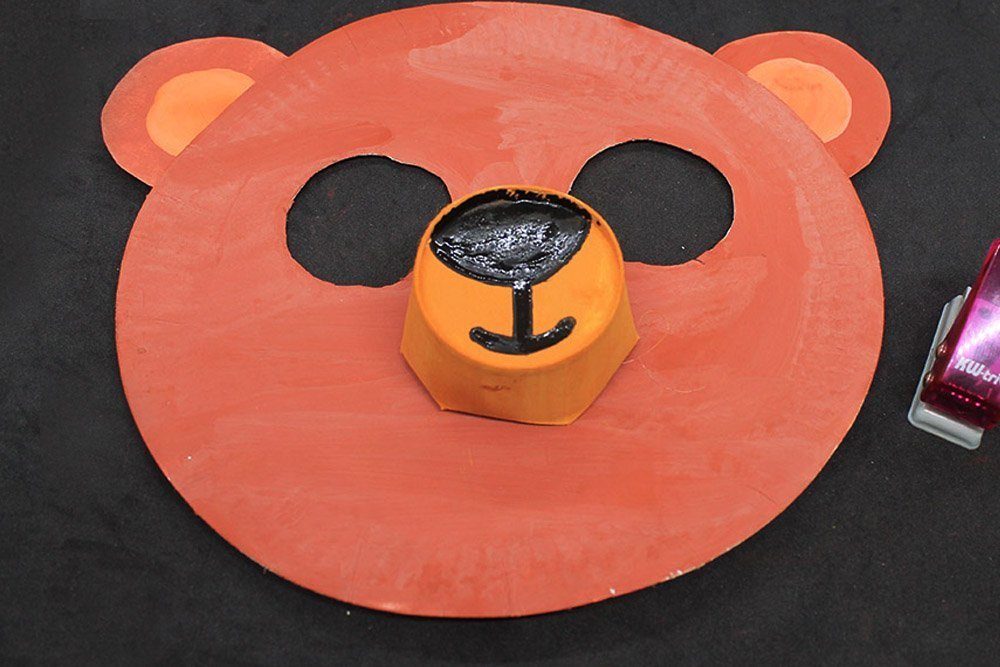
Get a puncher and two pieces of string.
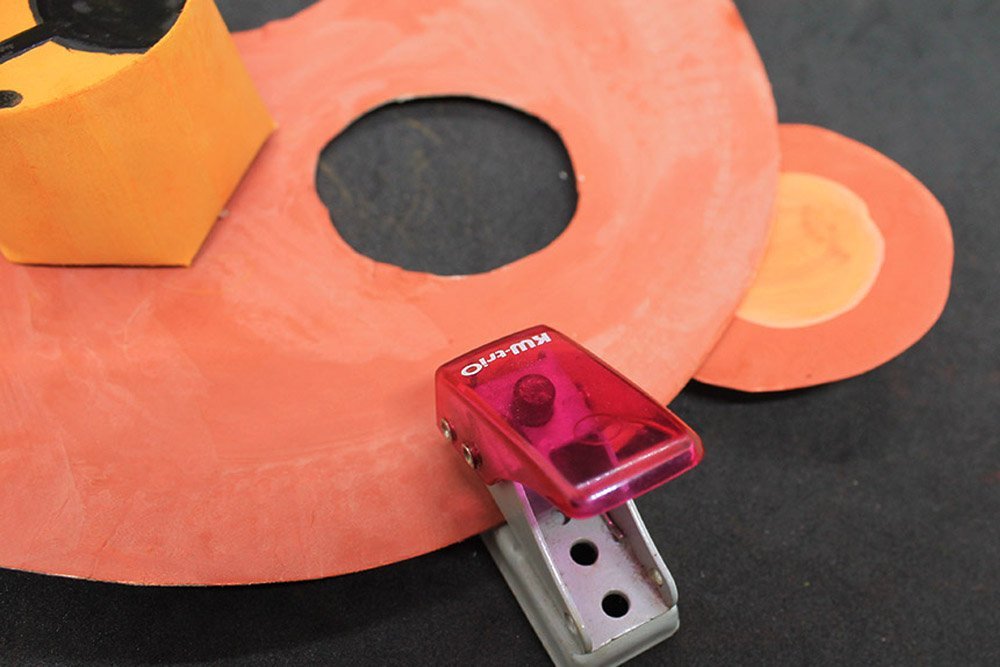
Punch a hole on one side of the paper plate near the peephole area.
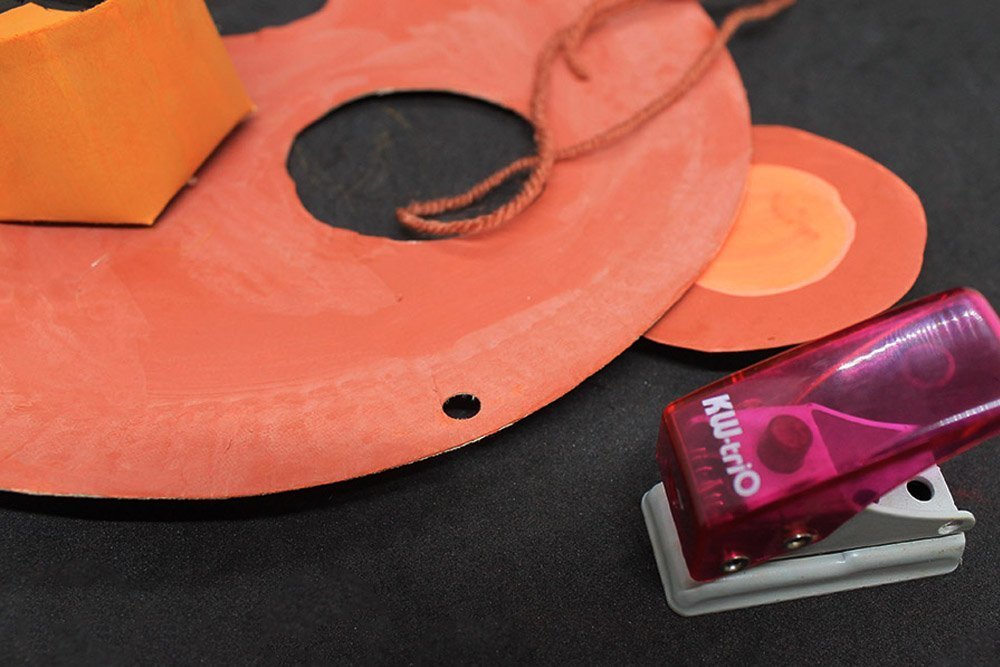
Insert a string on the hole.
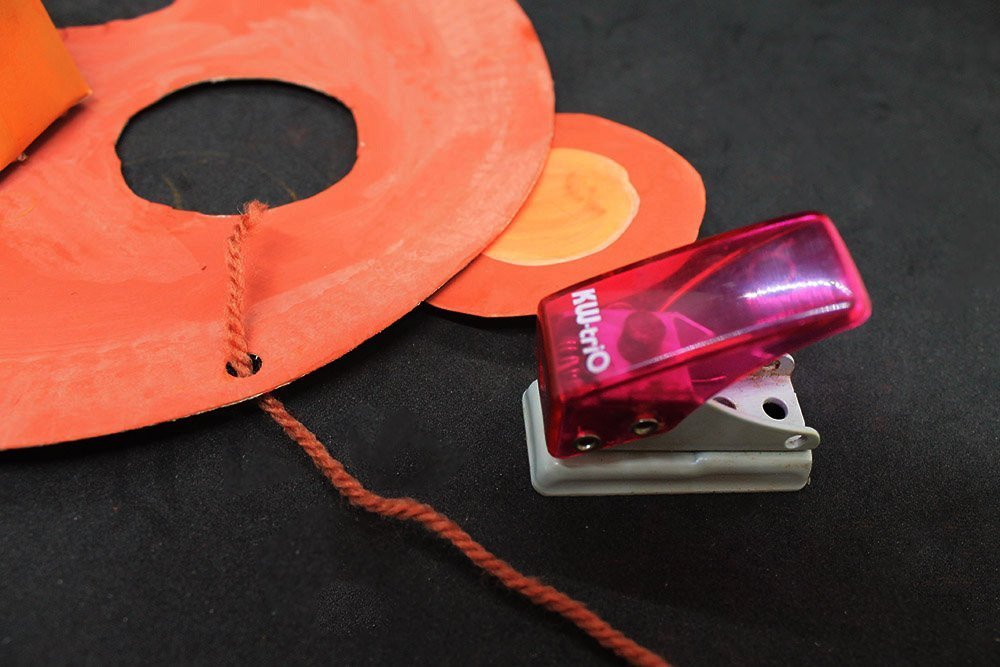
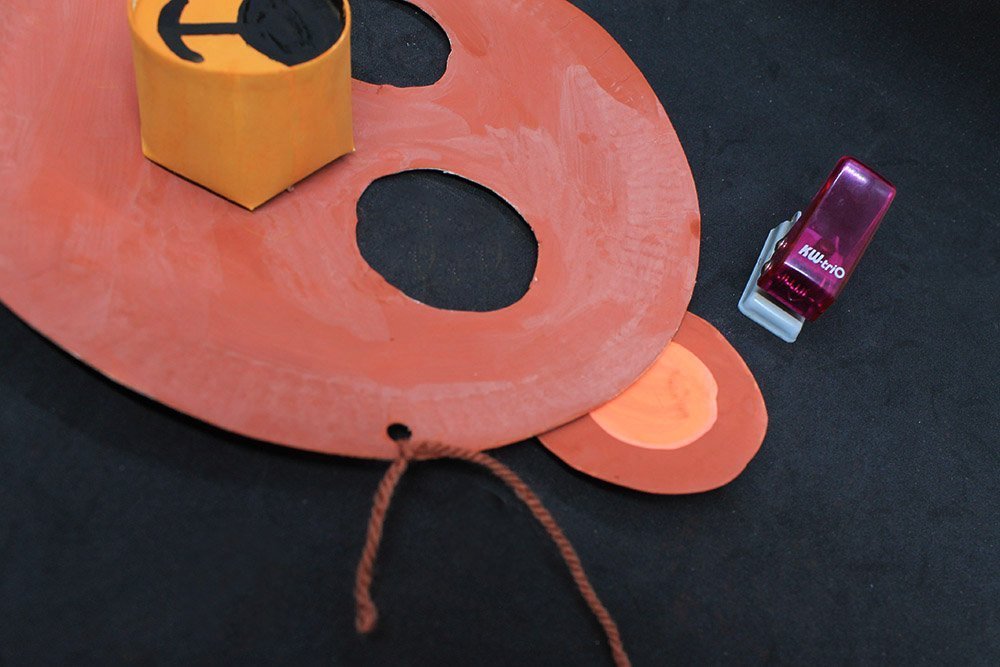
Tie a double knot to secure the string.
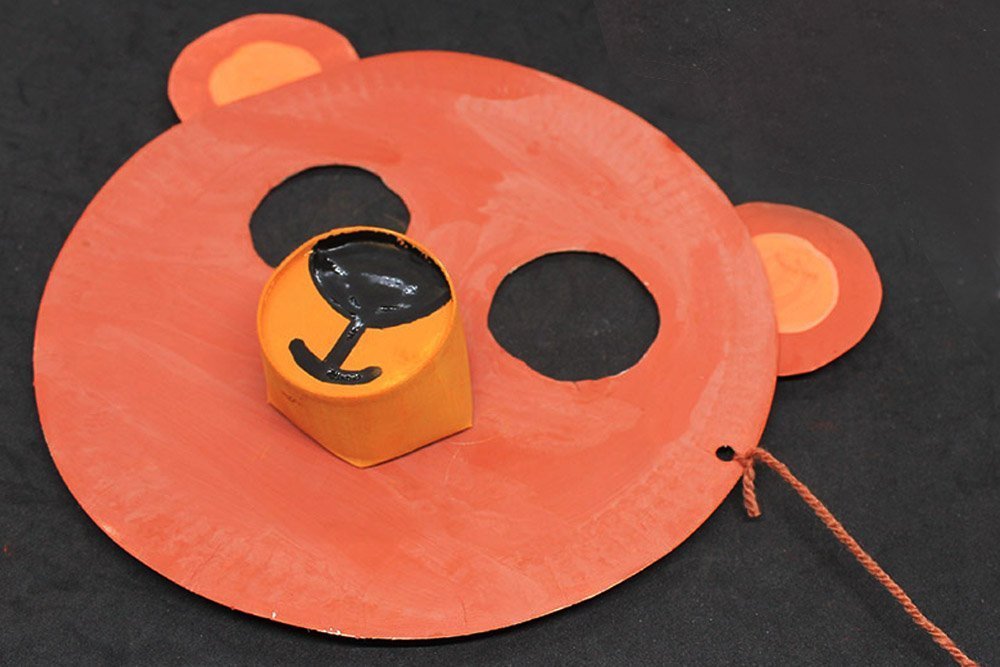
Repeat the same steps on the previous side to attach another string.
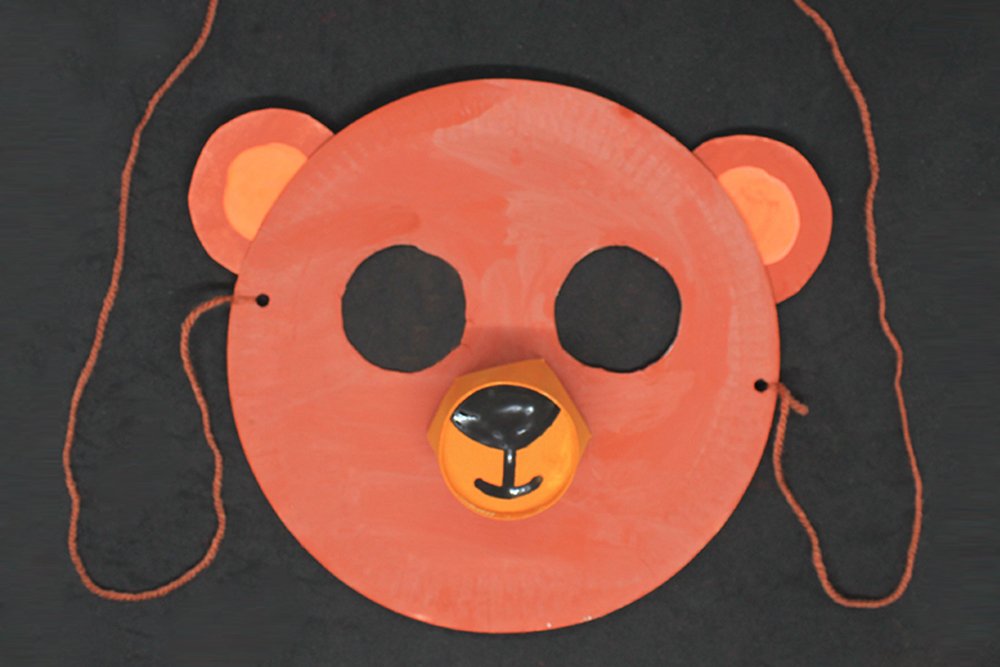
The paper plate bear mask is now done!


